The Conversation (0)
Sign Up
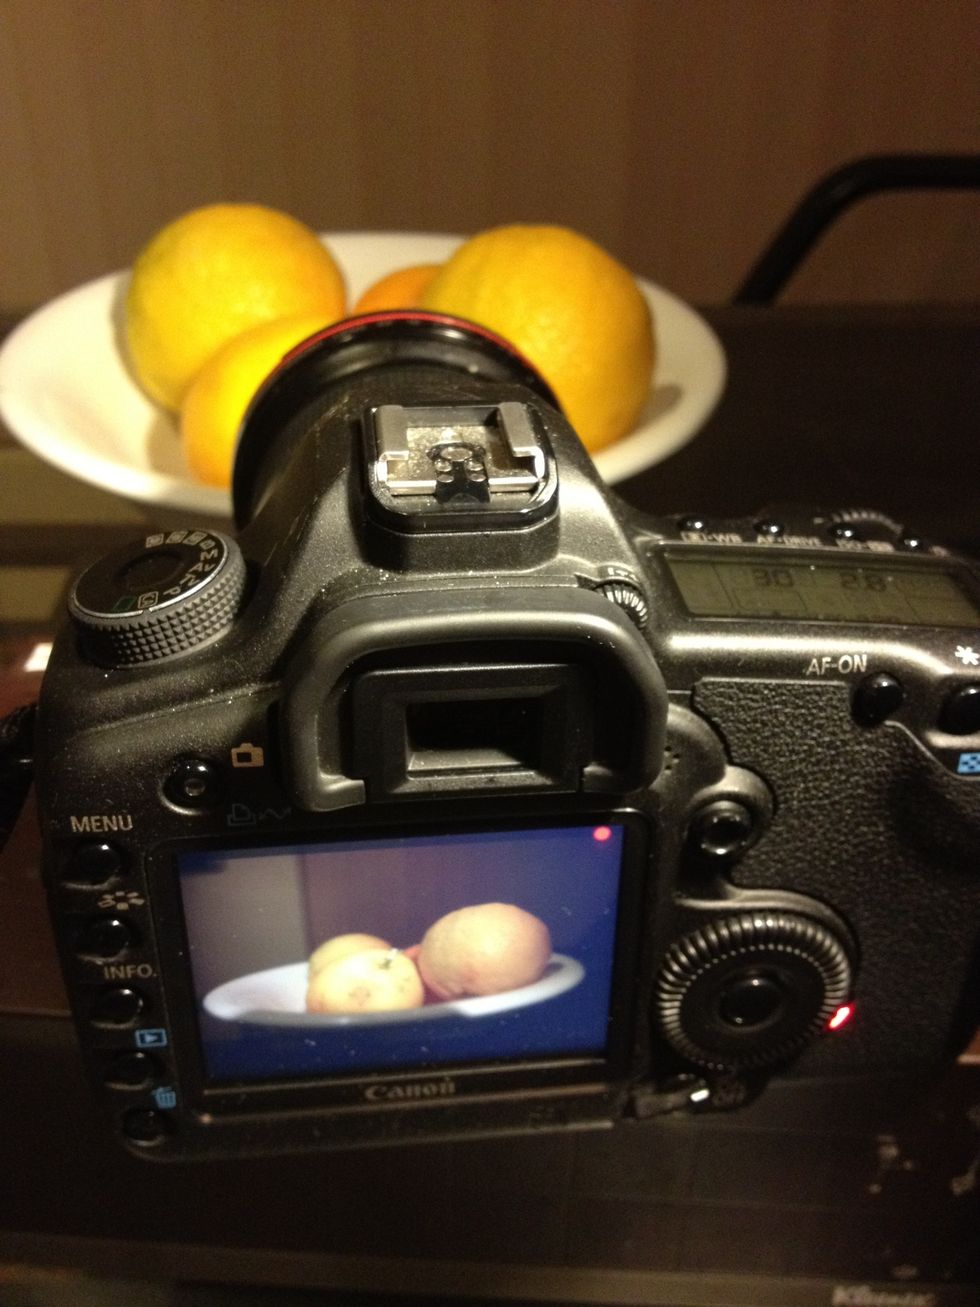
This guide shows you the crucial factors to consider when shooting video on a DSLR camera. I will be using a Canon 5d mark II but the process is the same for most cameras.
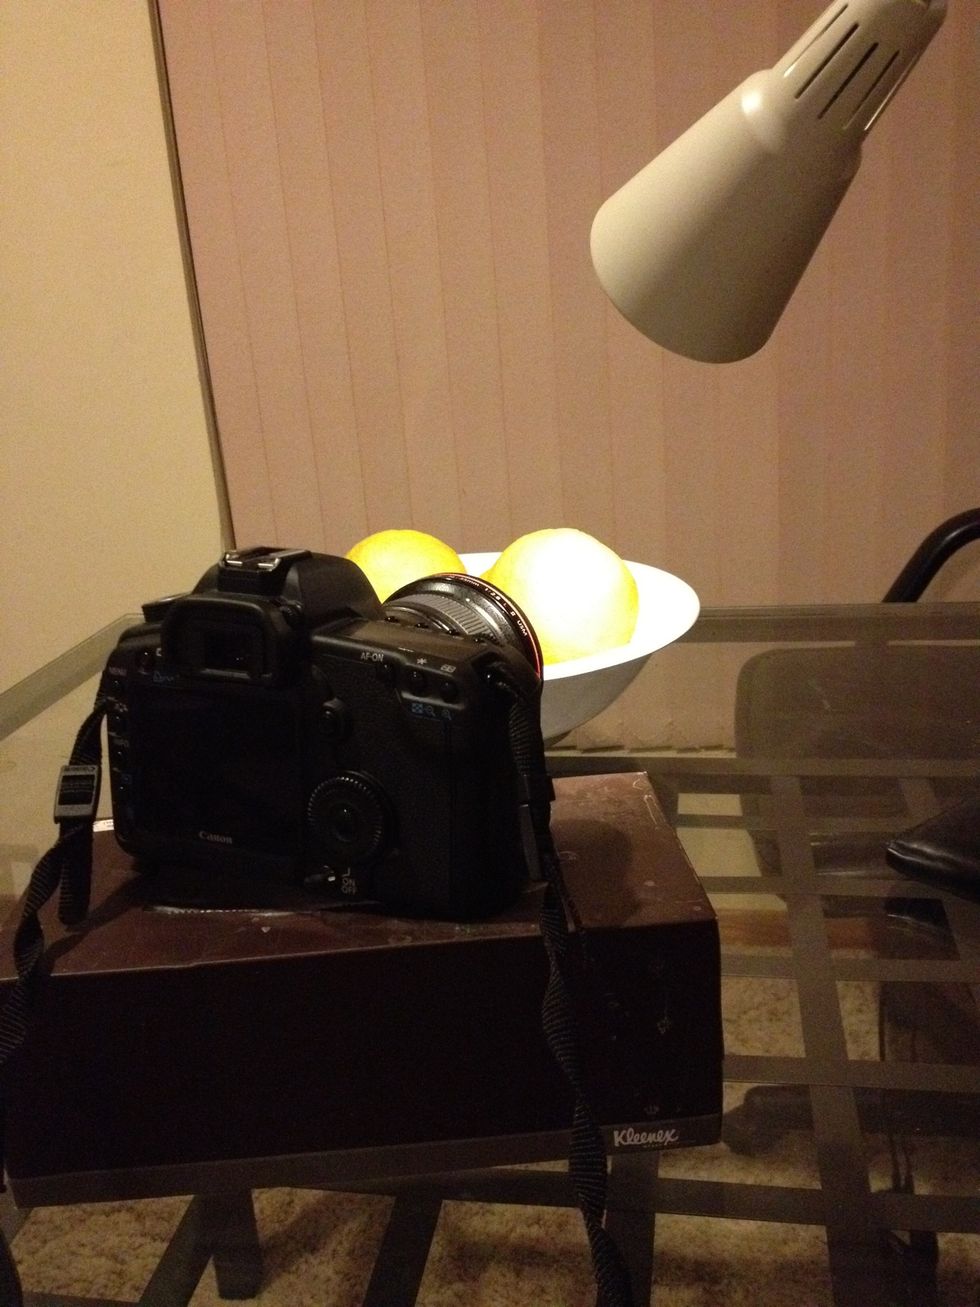
First, make sure you use a tripod or steadycam to stabilize your camera. Your shots will look much more professional. I forgot my tripod so I am improvising with a tissue box.
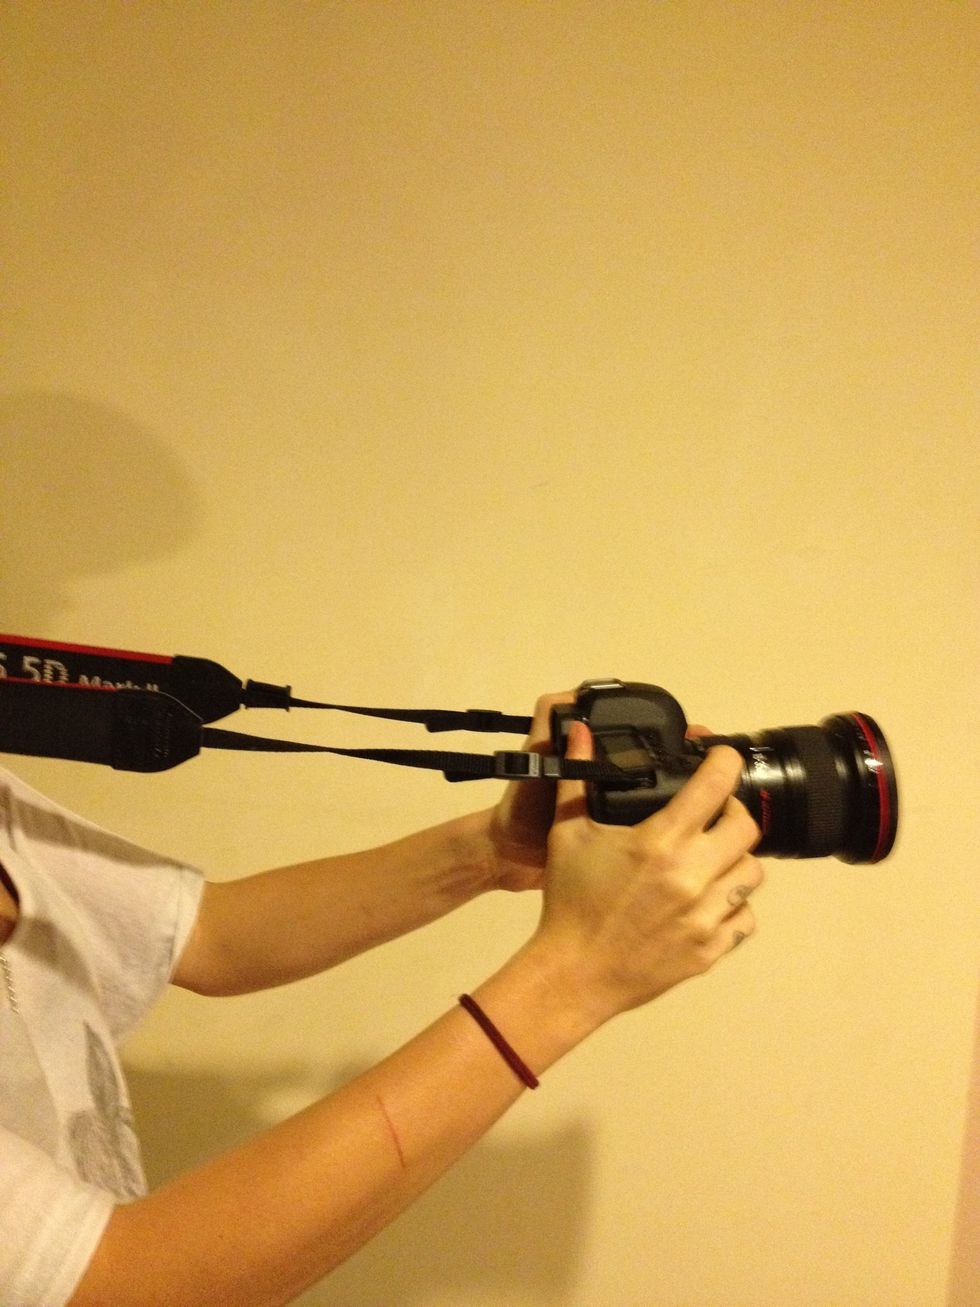
If you must shoot handheld, put the neck strap on and hold the camera away from you so the strap is tight. This is suprisingly effective in steadying your shots.

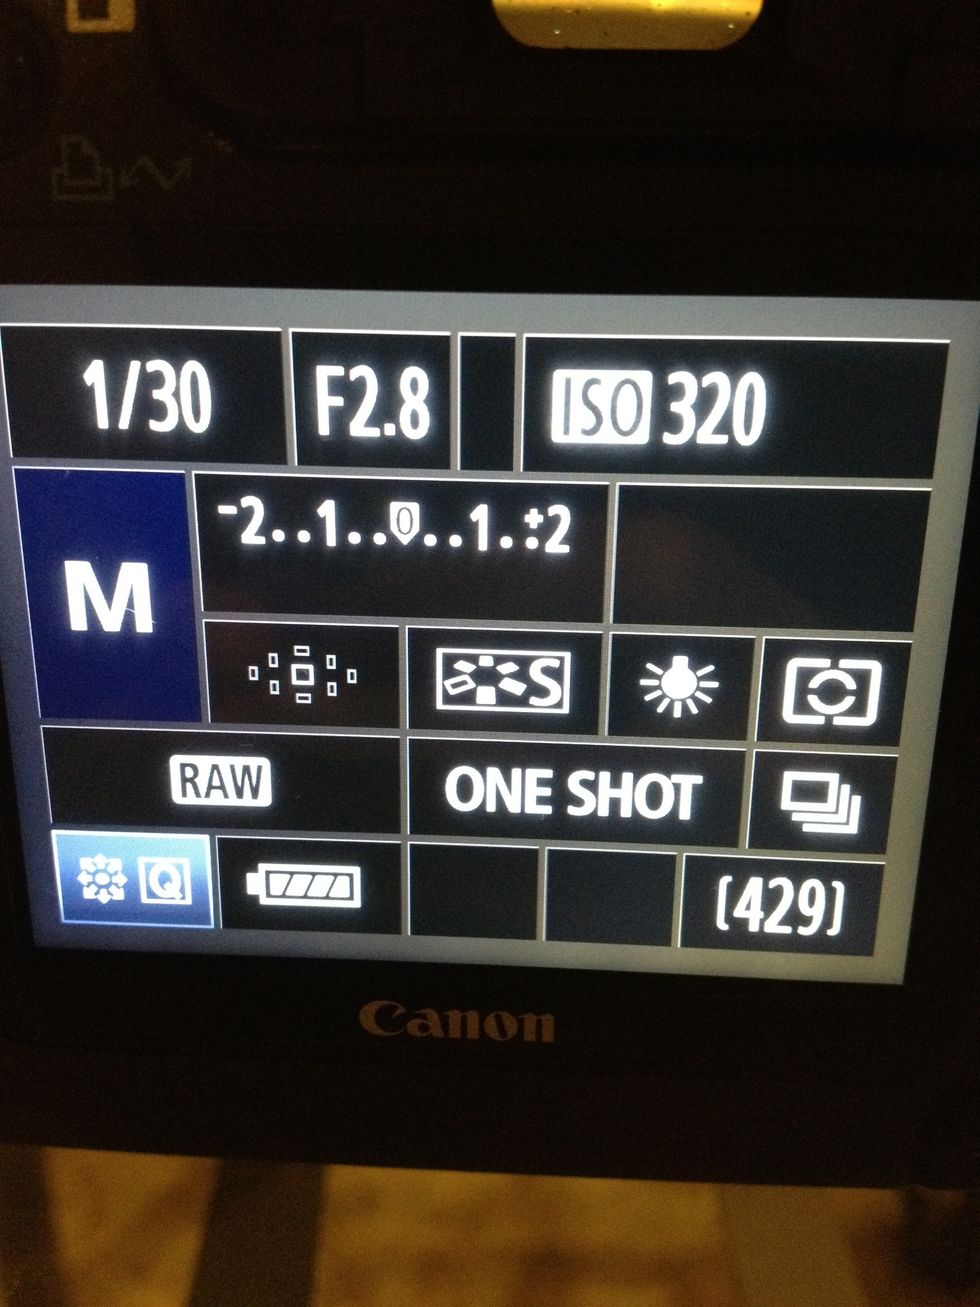
The second step is to consider your exposure. You will need to flip the camera mode to M for manual.
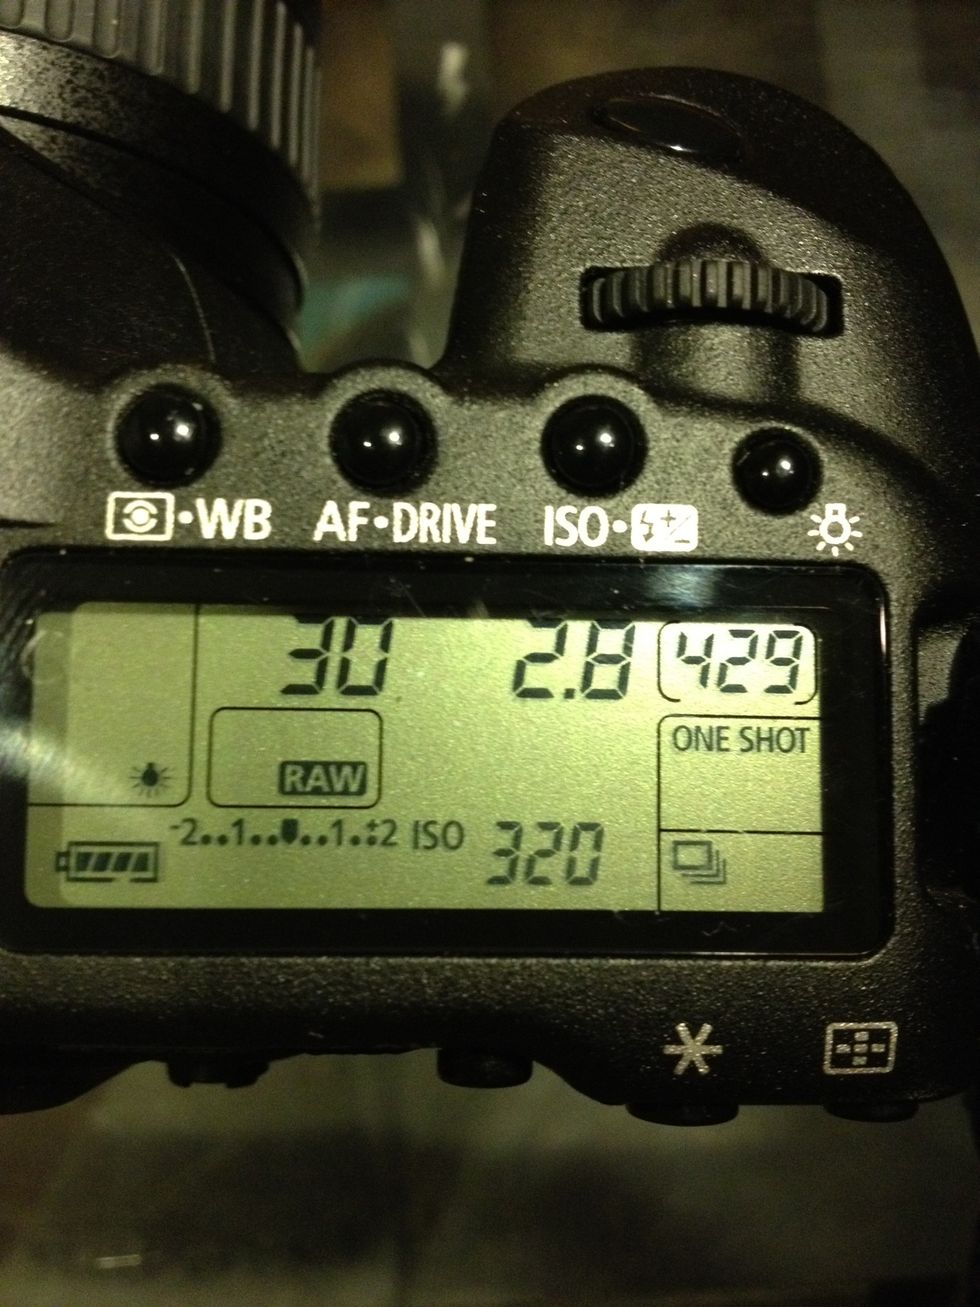
Exposure is controlled by three elements - ISO, shutter speed and aperture. The general rule is to keep your ISO below 640, to avoid grainy results. (here mine is 320)
The lower number you have for aperture (here mine is 2.8,) the smaller your range of focus will be. This creates a fuzzier background. A lower aperture also means a brighter image.
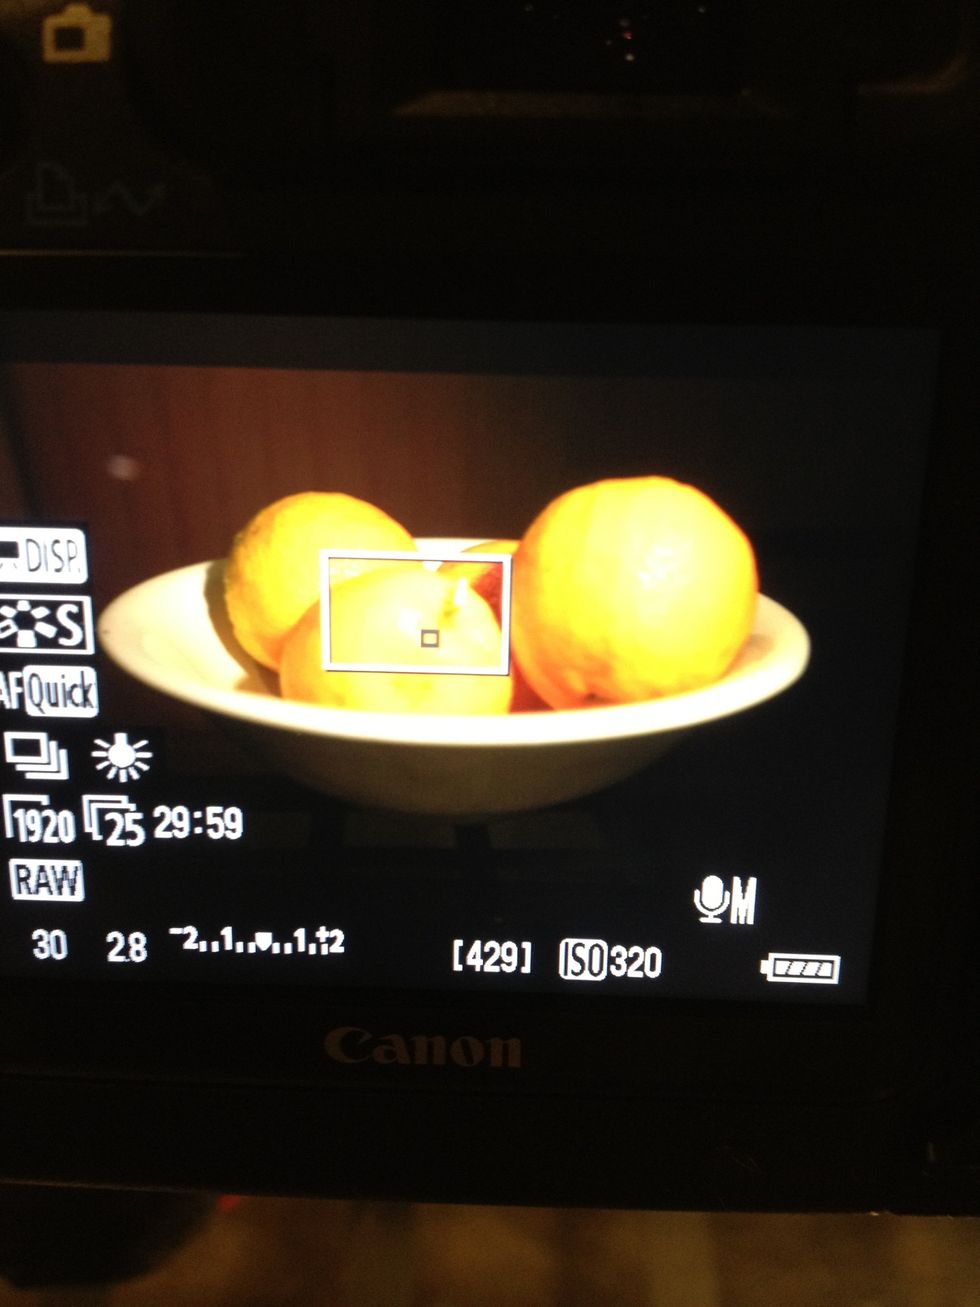
Shutter speed is more forgiving, set this to suit your exposure. (here mine is 30.) Some lights will cause your image to 'flicker' at the wrong shutter speed, so play around until it looks right.
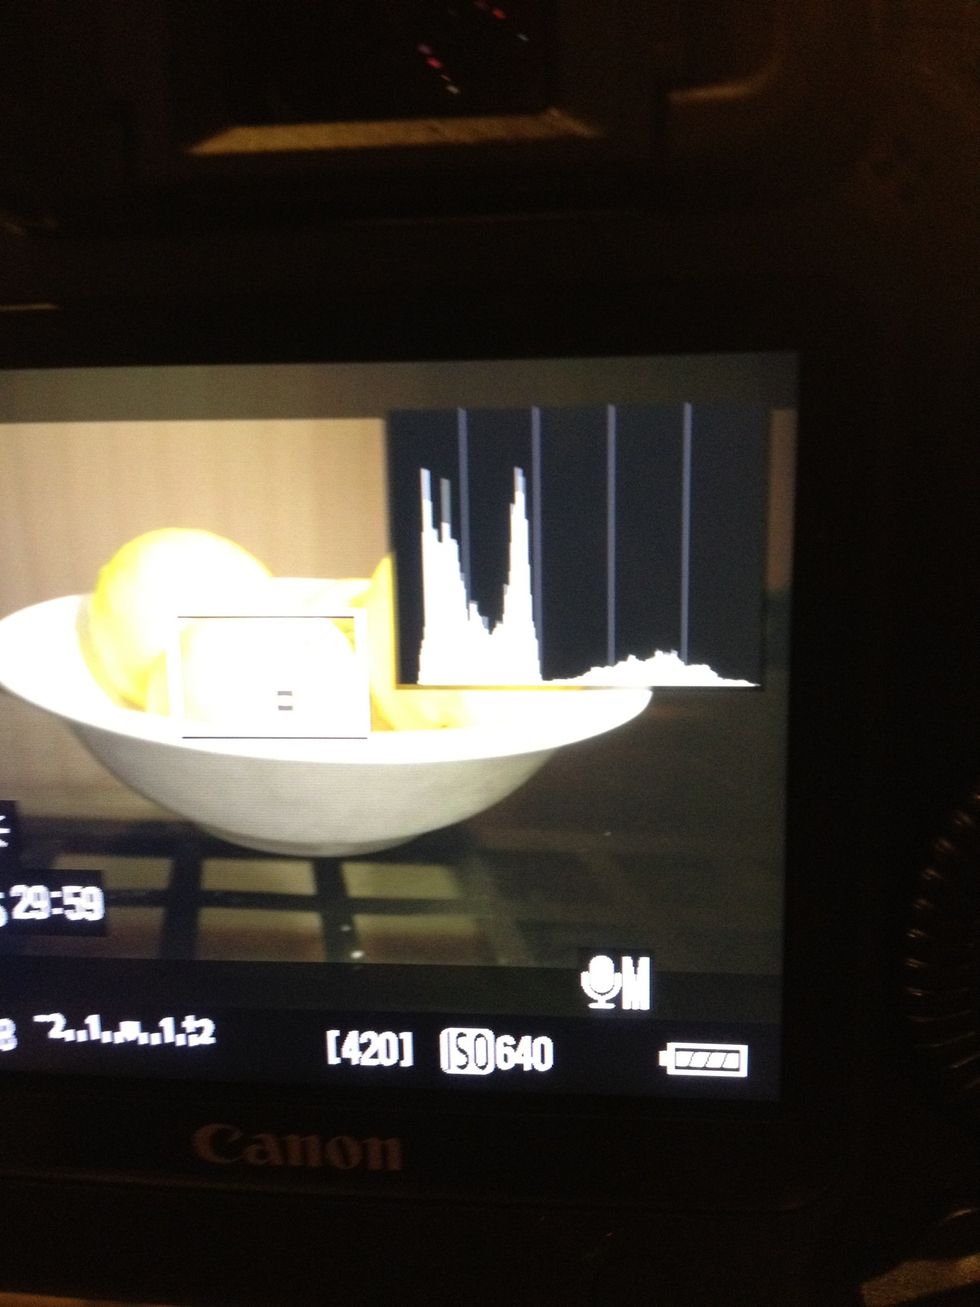
By pressing the INFO button, display the histogram. Adjust your exposure via ISO/aperture/shutter until the white areas don't touch the sides of the graph. This avoids blown out whites or blacks.
Always trust your histogram, even if the image on the screen looks too bright or dark. The biggest mistake most people make is overexposing their video, and it cannot be fixed later. Trust the graph!!
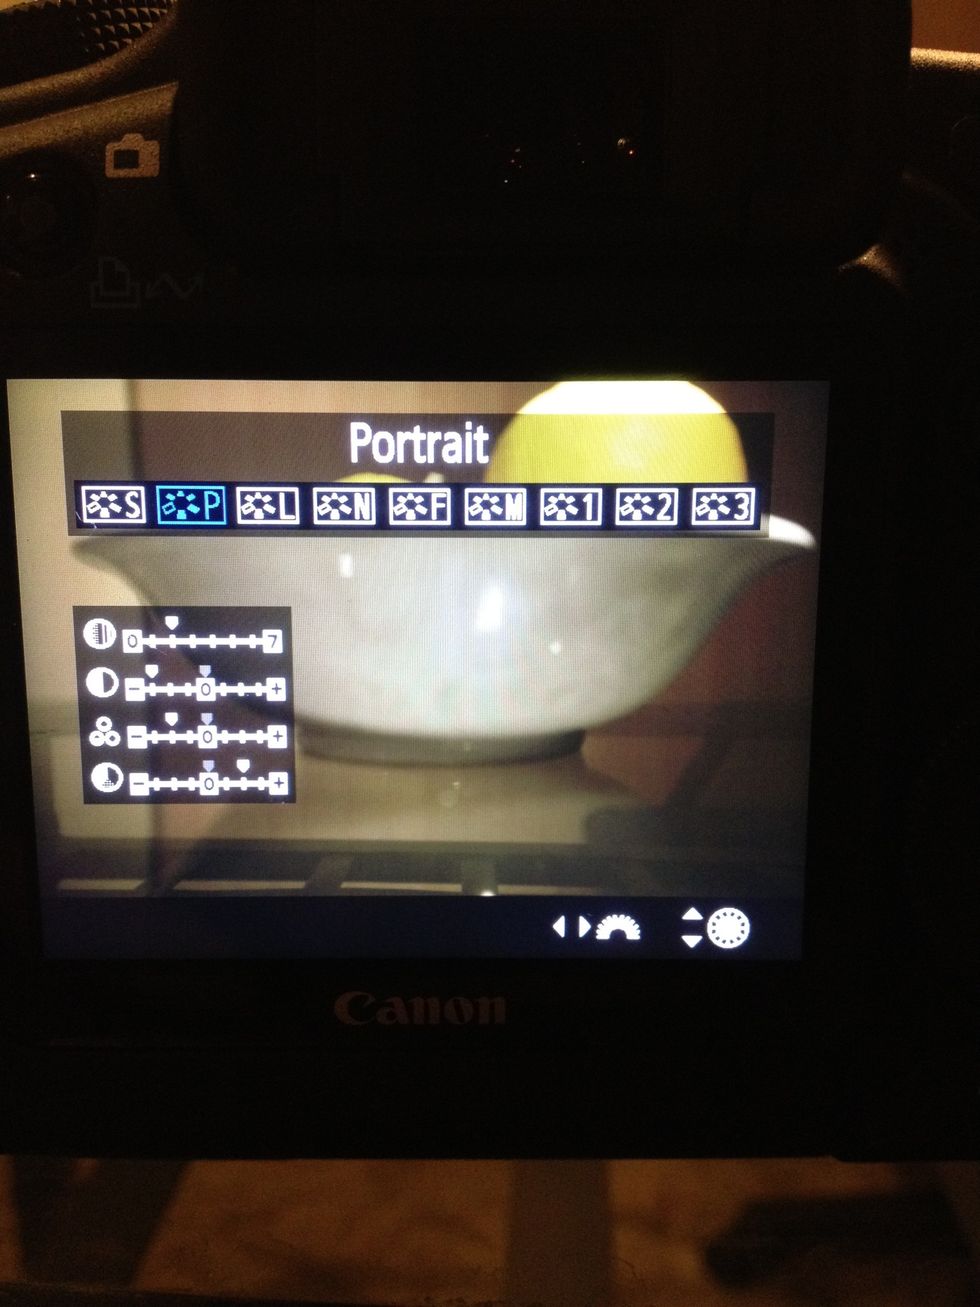
Next consider picture style. This determines the contrast & saturation in your image. If you're using your video as-is, any picture style is ok. Play around and choose one that compliments your video.
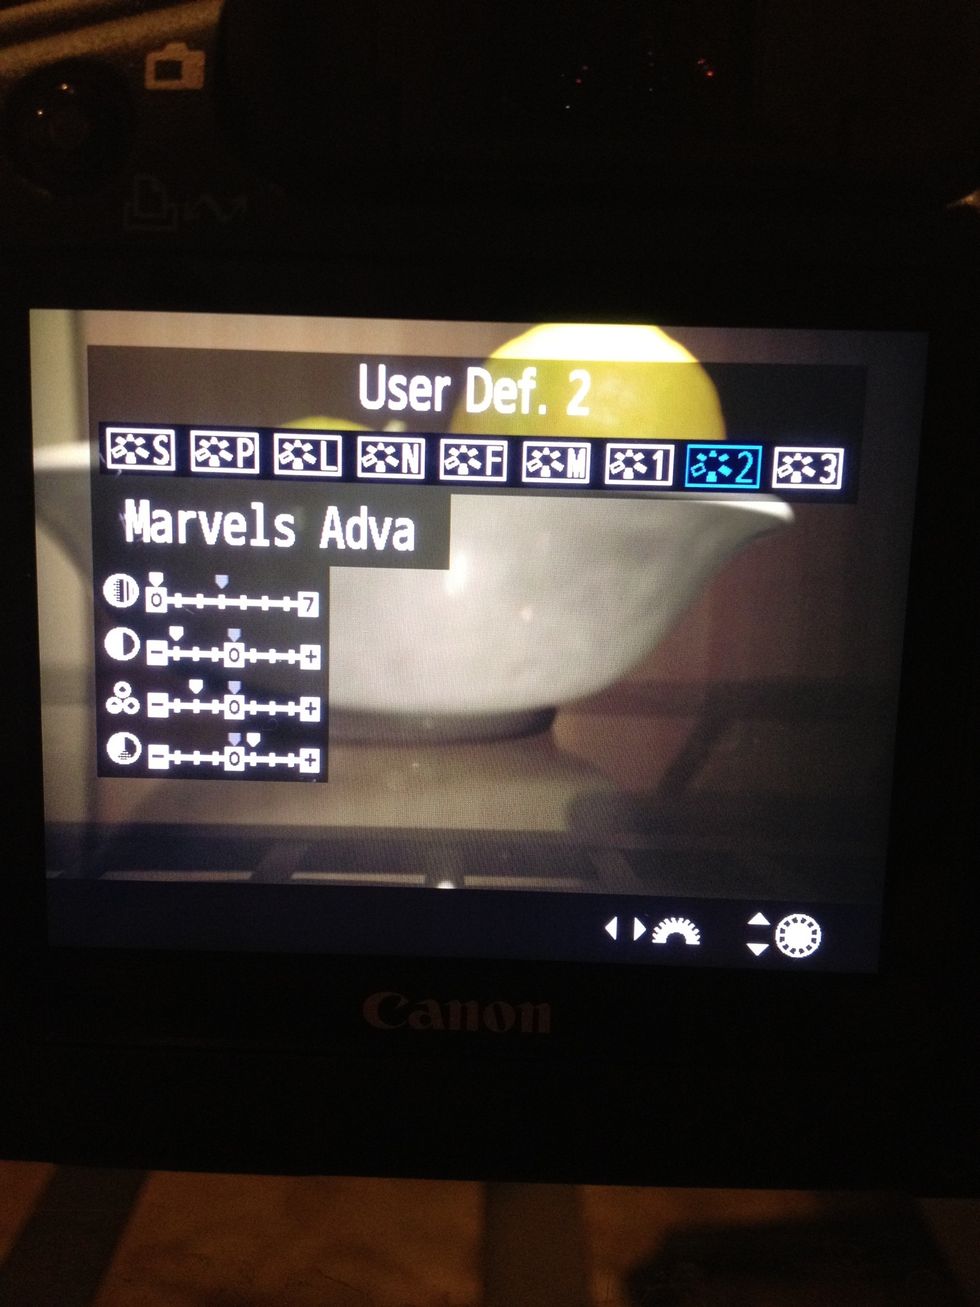
But if you want to colour grade your footage you should try a flatter picture style such as Cinestyle or Marvels Advanced, which you can download for free online.
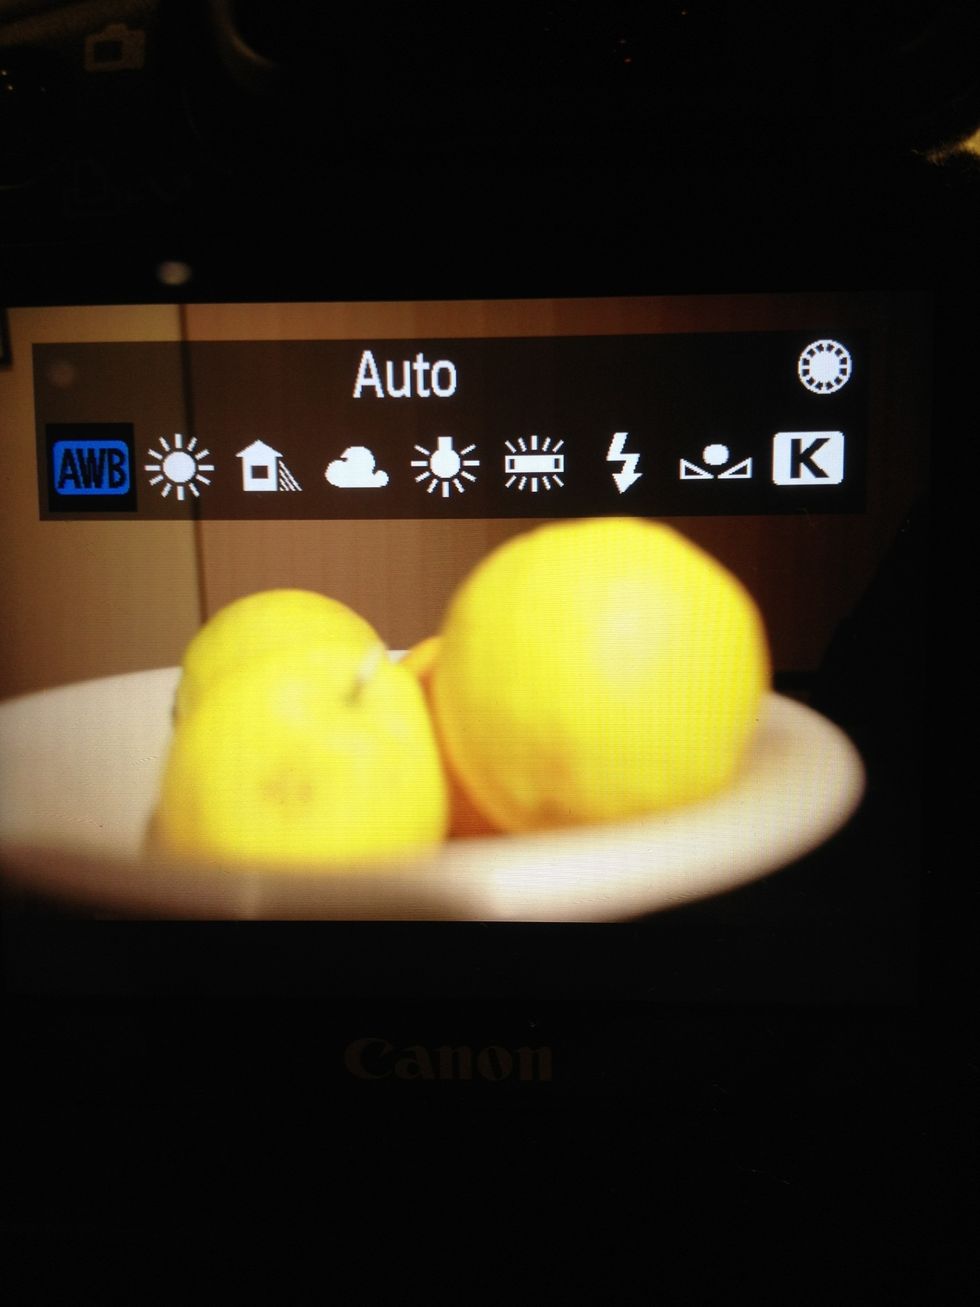
Next is your white balance. This determines how cool (blue) or warm (yellow) your shot is. Setting to 'Auto' is the best bet for beginners.

Or you can fine tune your white balance by using the 'colour temp' option. Point the camera at something white and adjust until it looks balanced between yellow and blue tones.
Make sure to re-check your histogram after adjusting your picture style and white balance, as they may have affected your exposure.
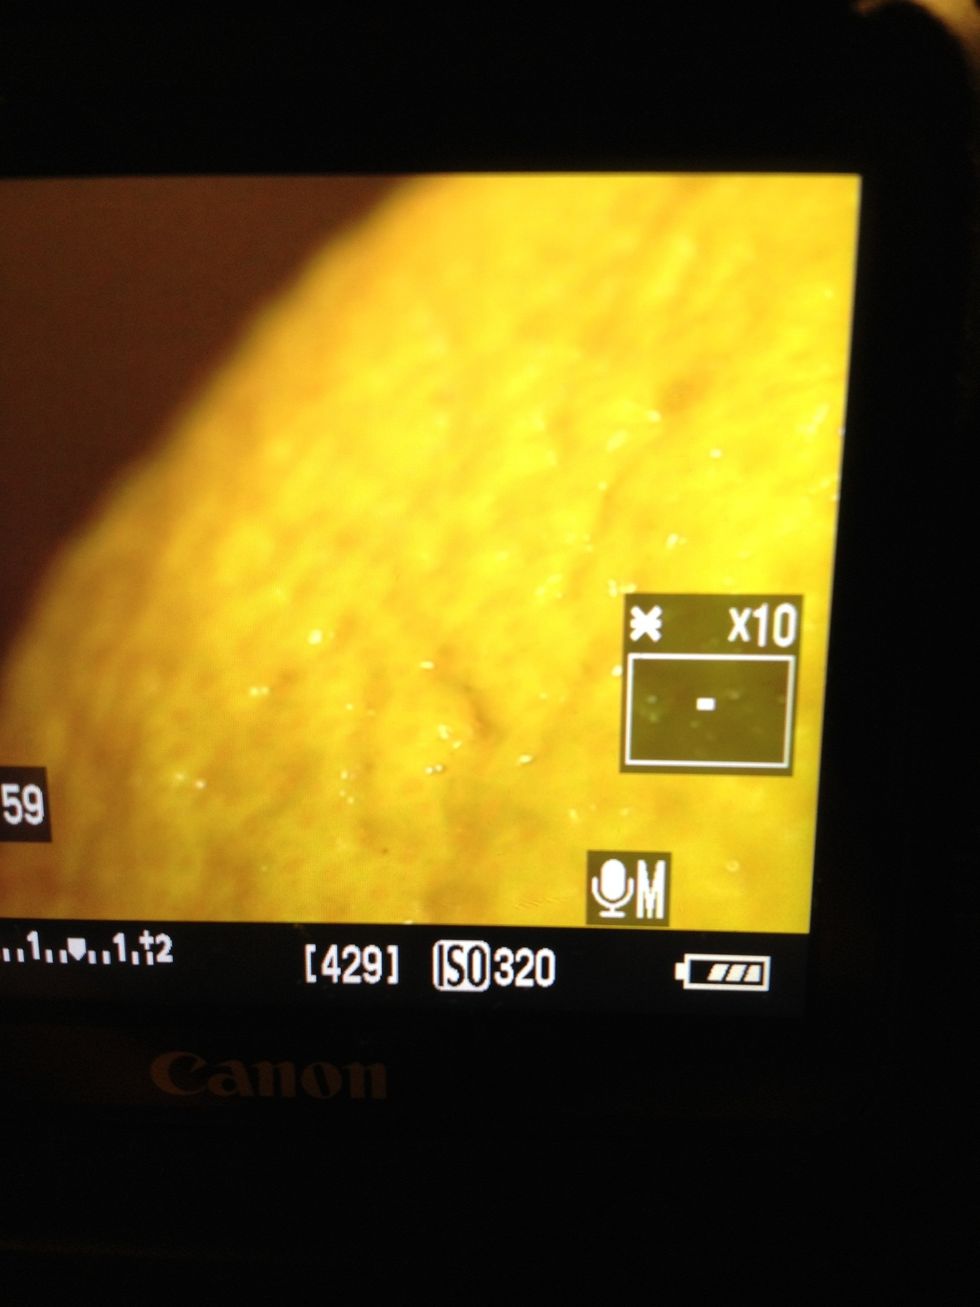
Next (and most importantly) is focus. You can either set your lens to autofocus, or use the zoom button to magnify your image 10x. Rotate the focal ring on the lens until your focal point is sharp.
Finally, press record! Remember to keep checking your focus and exposure you you record, if you are moving around. You can change your exposure while recording using the shutter speed control.