The Conversation (0)
Sign Up
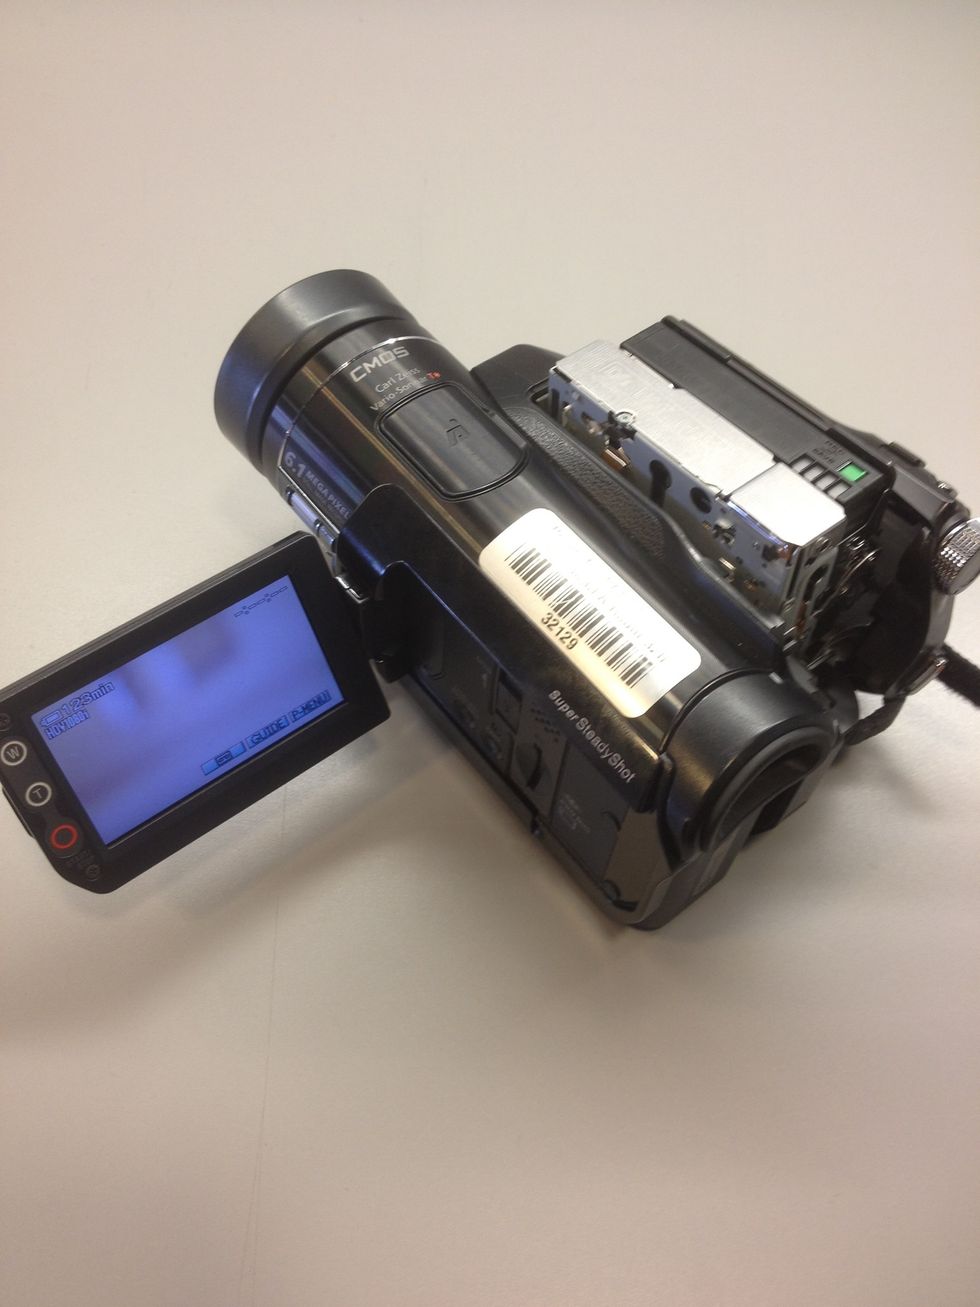
You have recorded some HDV footage and now you want to capture it to a computer. First you'll need to verify the camcorder settings. Make sure your tape is in the camcorder.
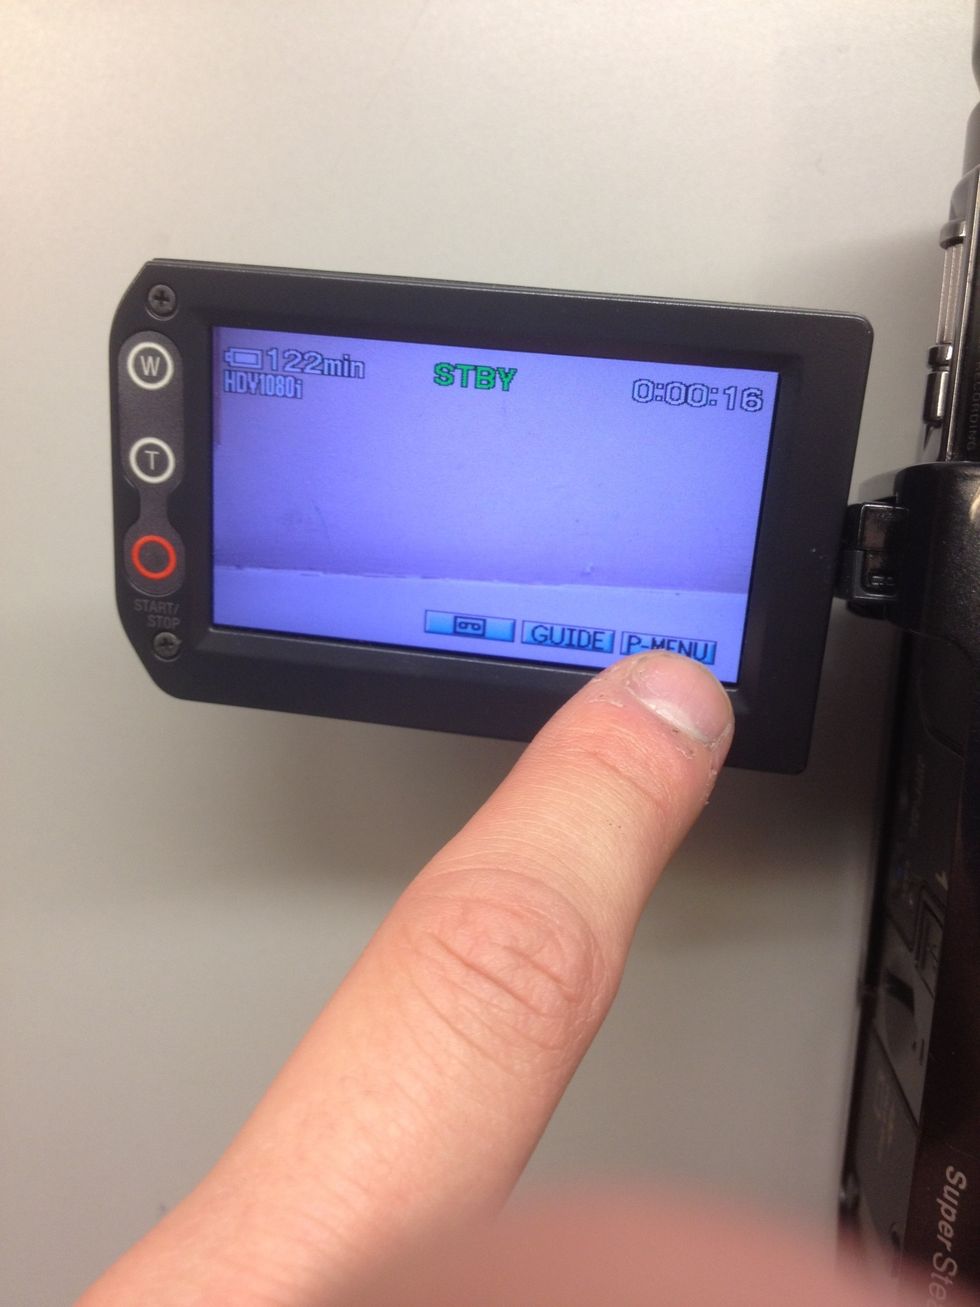
Press the P-MENU button on the screen.
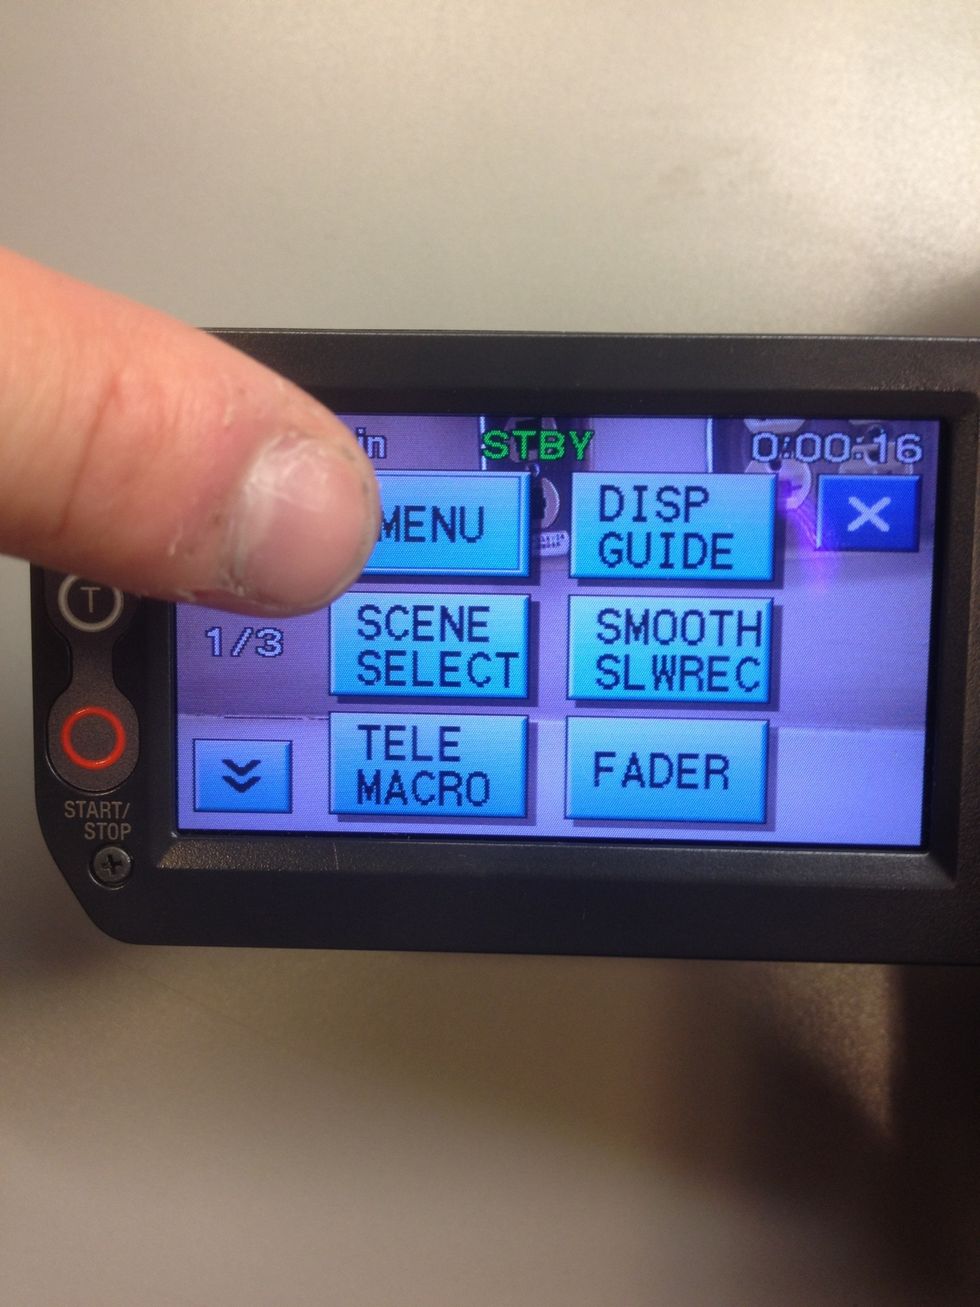
Press the MENU button.
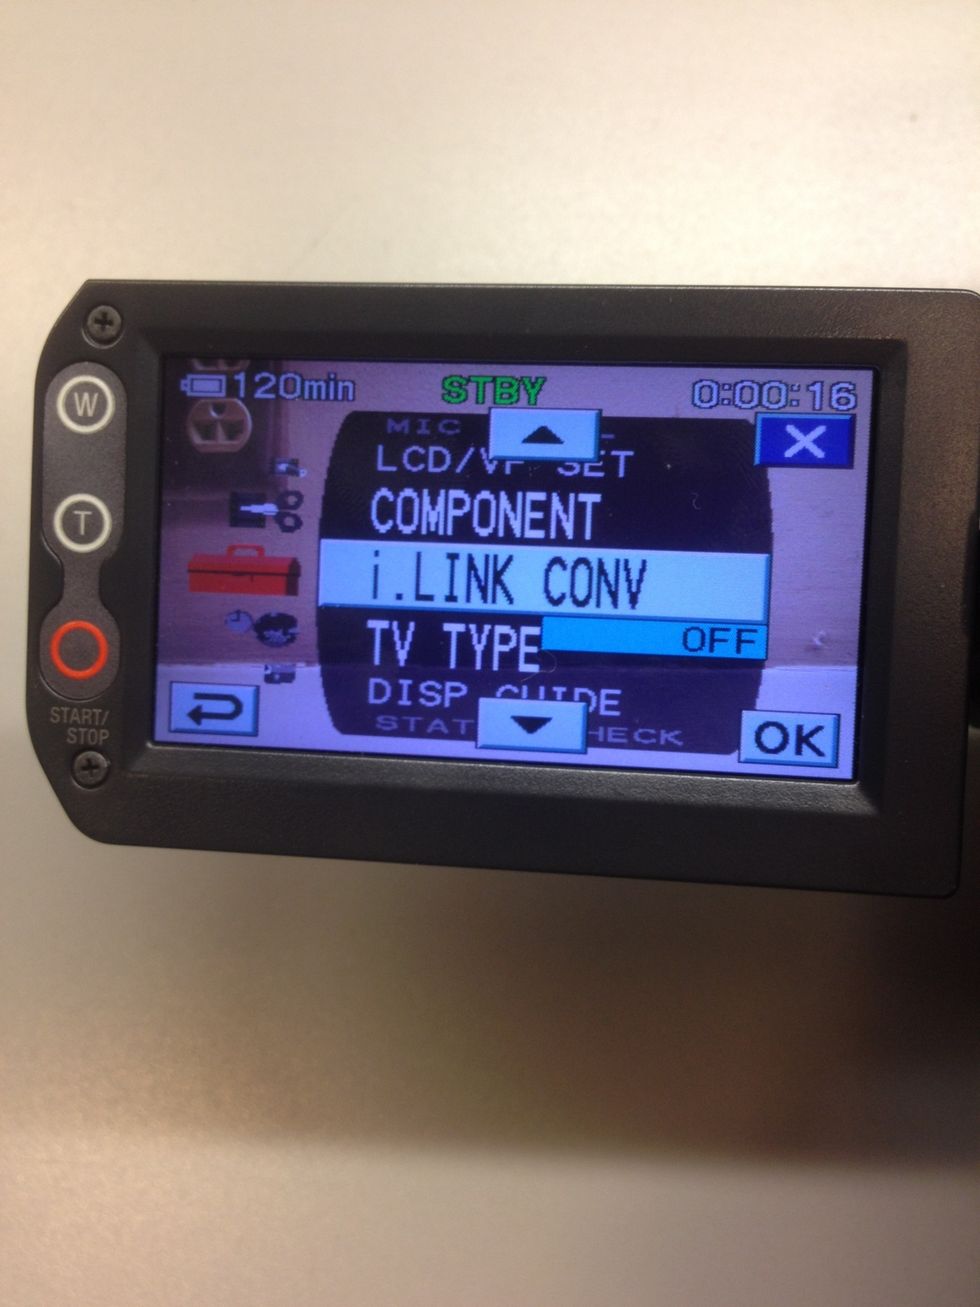
In the menu list, navigate to i. LINK CONV. This controls the format in which the computer reads the footage. Make sure it is set to OFF.
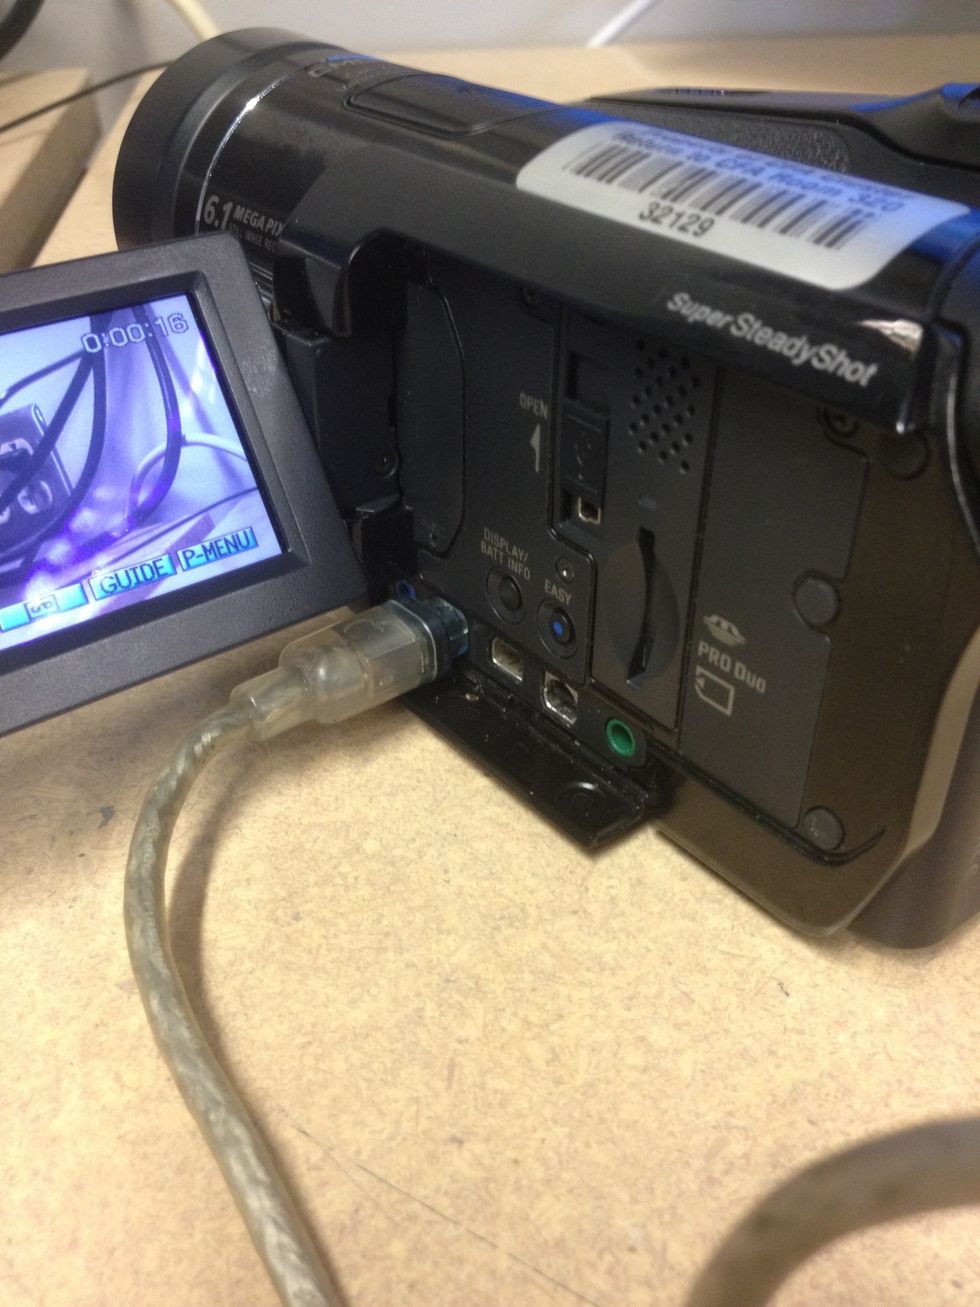
Plug the 4 to 6 pin FireWire 400 cable into the bottom left panel of the camcorder.
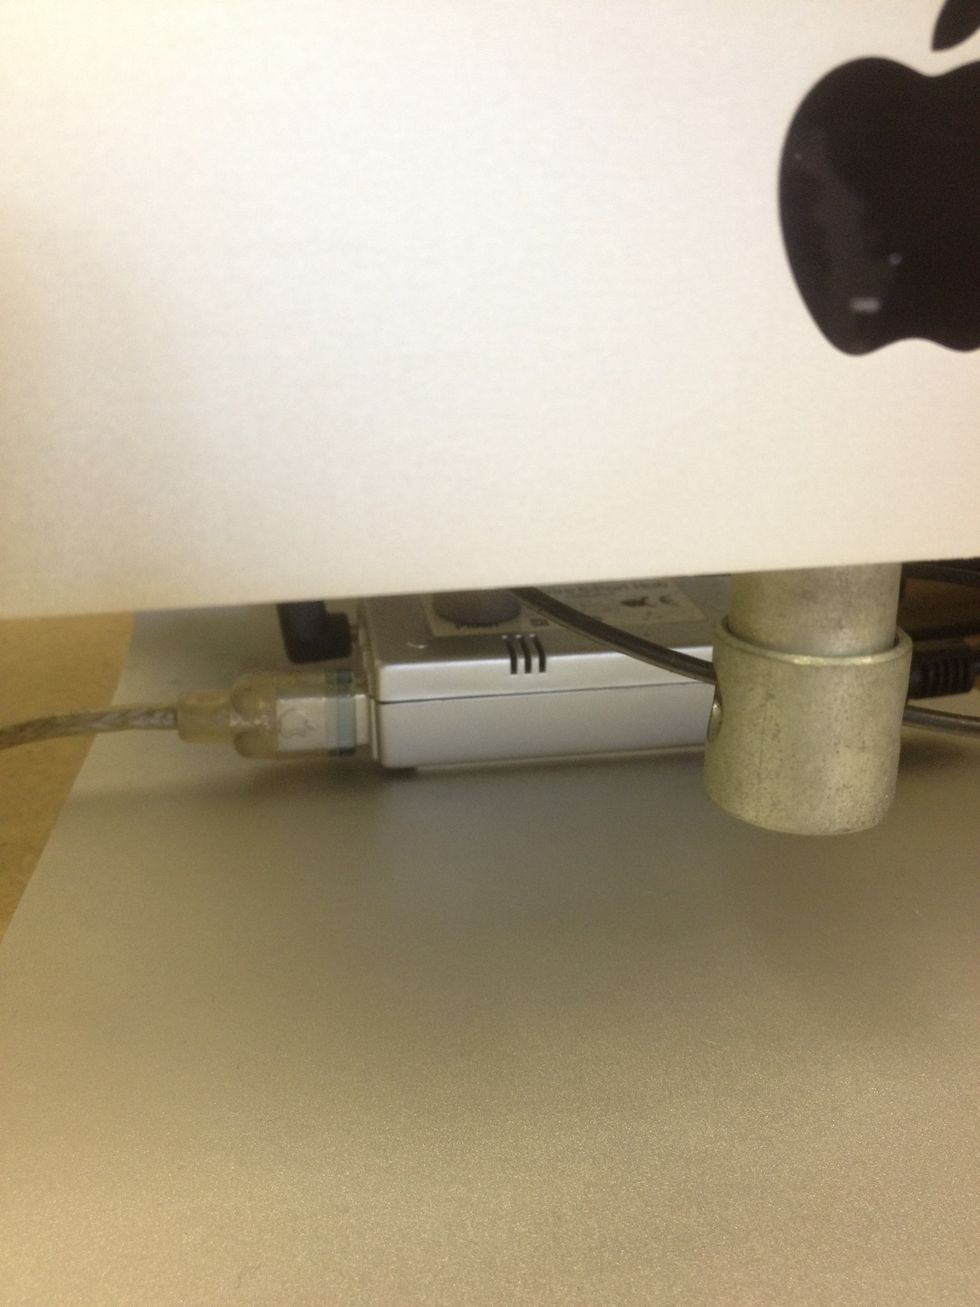
Plug the other end of the cable into the firewire hub underneath the iMac.
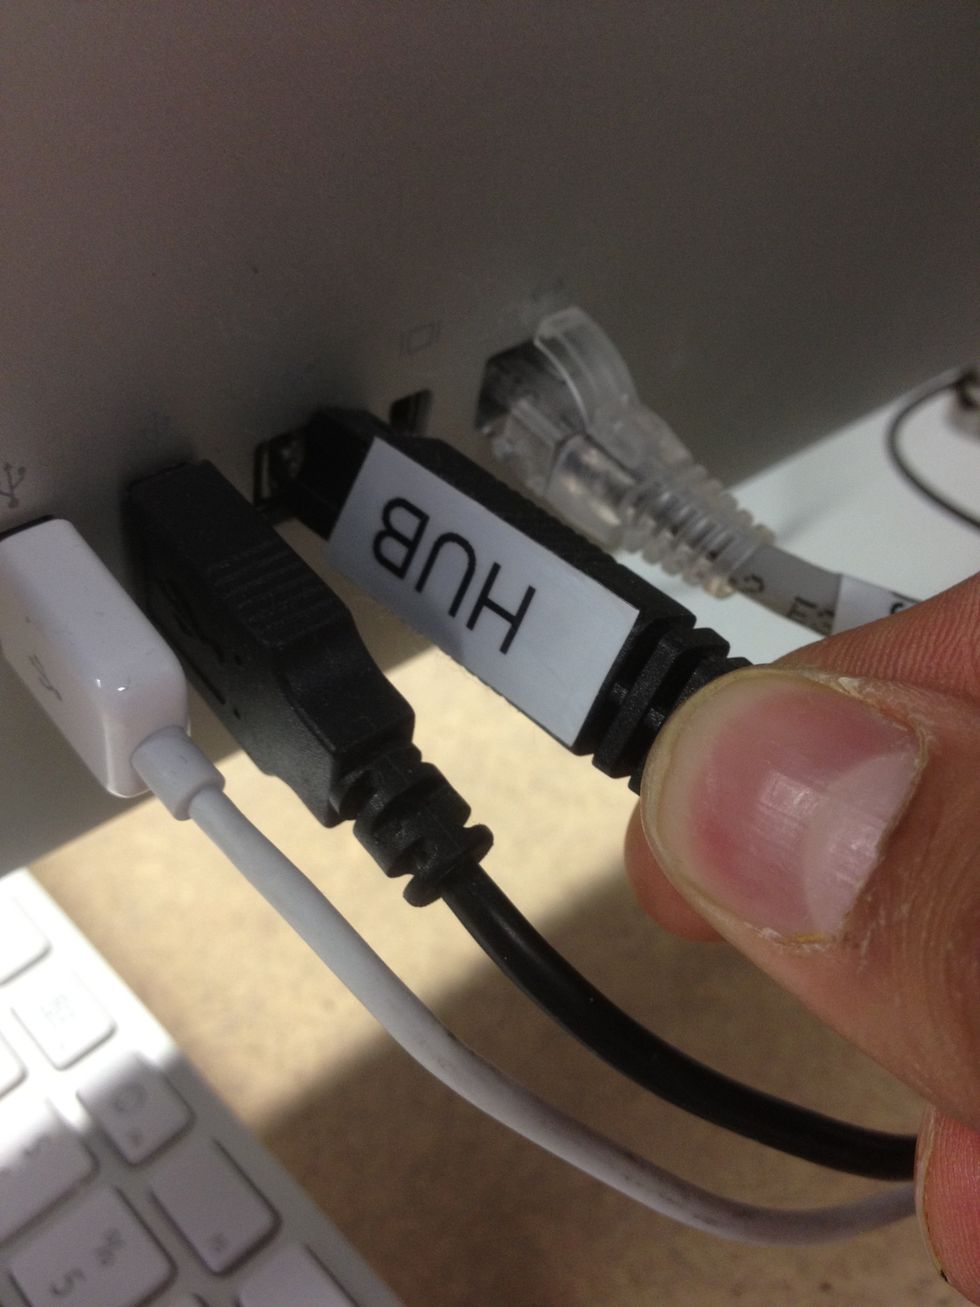
Make sure the hub FireWire 800 cable is connected to the iMac in the back. If you have an external drive you can daisy chain the hub to the drive, and connect that to the iMac instead.

Open Adobe Premiere Pro and select New Project. Note: Being over your AFS quota can cause significant problems; check your AFS quota at my.cmu.edu.
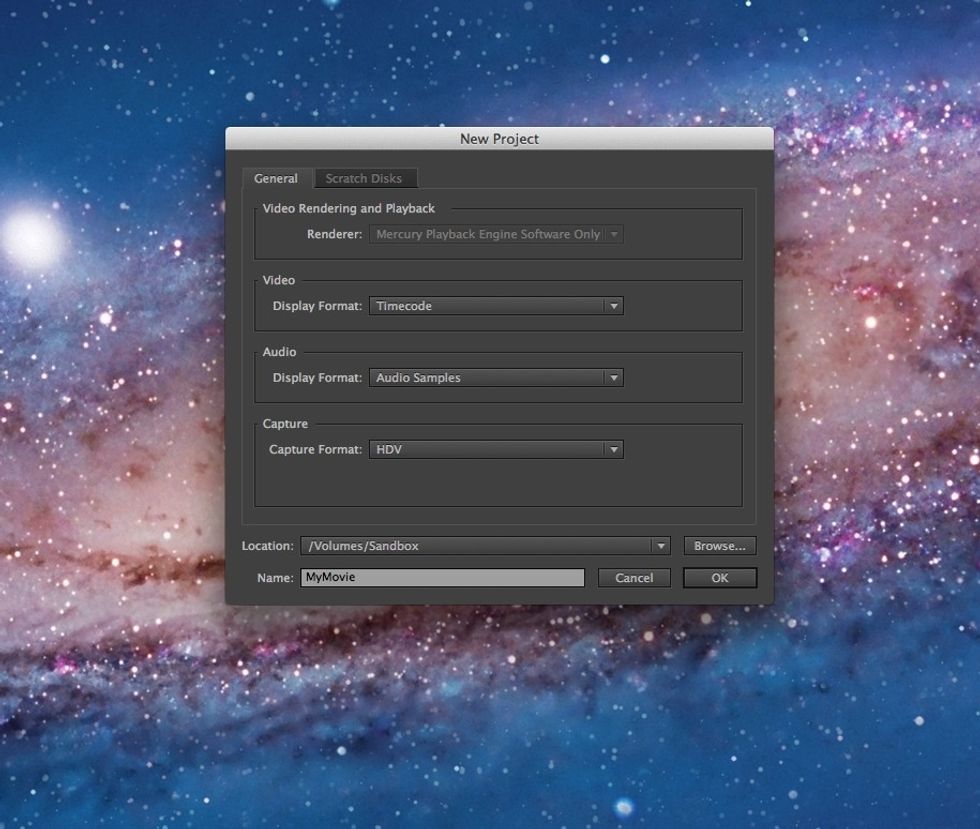
The Capture Format should be set to HDV. Change the Location selection to the Sandbox or to your external hard drive. Note: The Sandbox is cleared on log out so be sure to back up your files!

Make sure the sequence is set to HDV 1080i30 (60i).
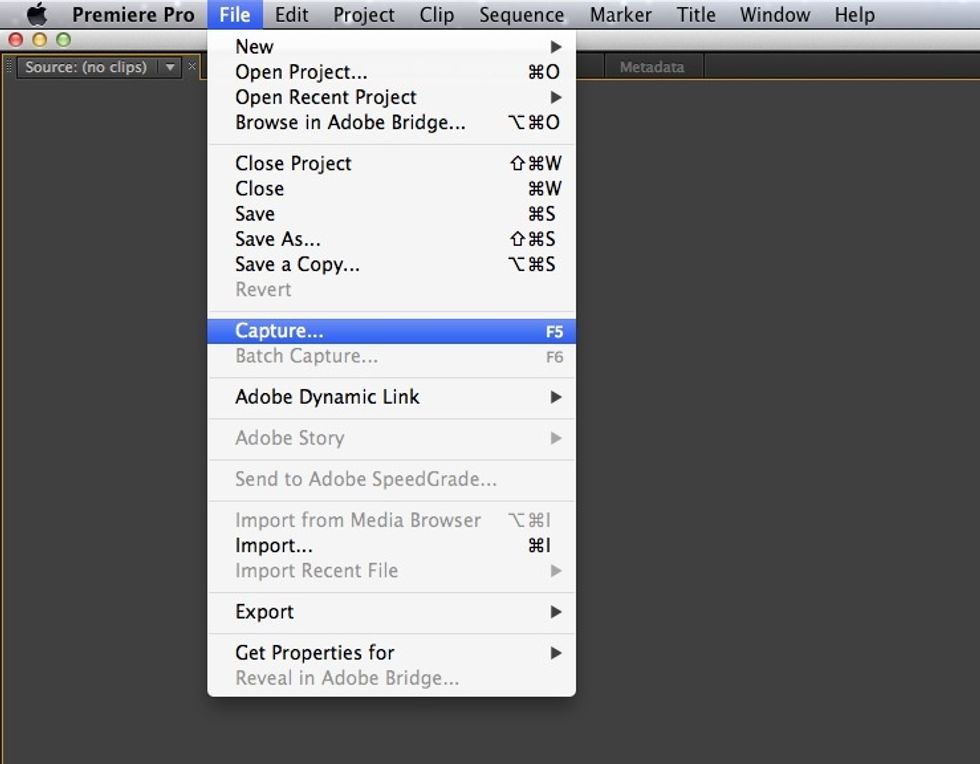
Once Premiere is loaded, select File and then select Capture.
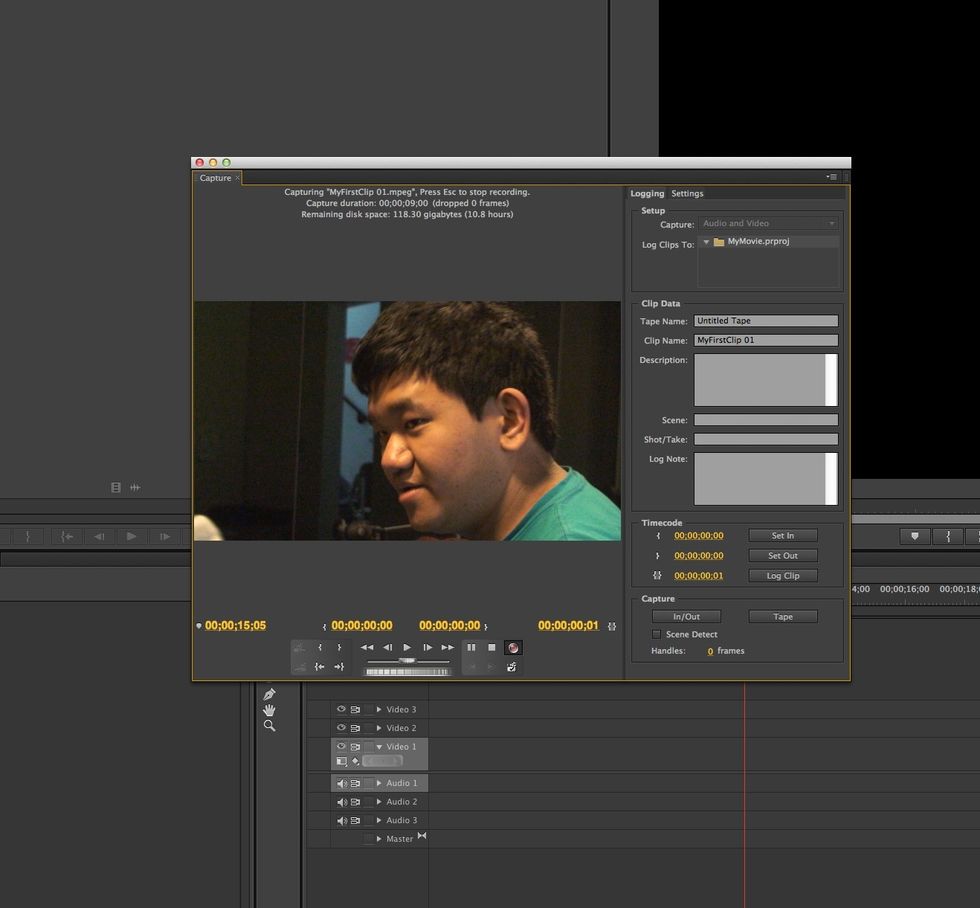
In the Capture window, press Play to start rolling your tape, then press the red Record button to begin capturing. The word "Capturing" should display at the top.
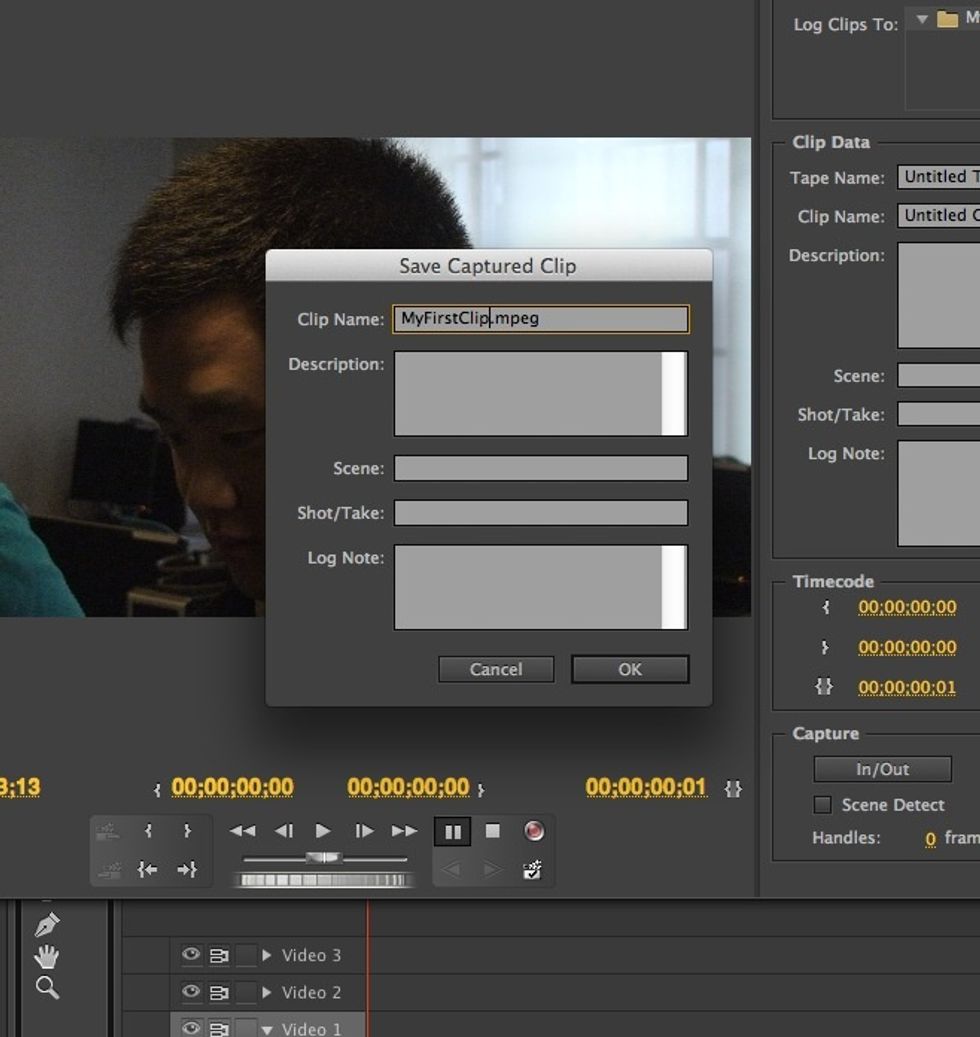
Press the Stop button to end the capture and save a clip. In the Save Captured Clip settings, you can name your clip. Keep capturing clips as necessary.
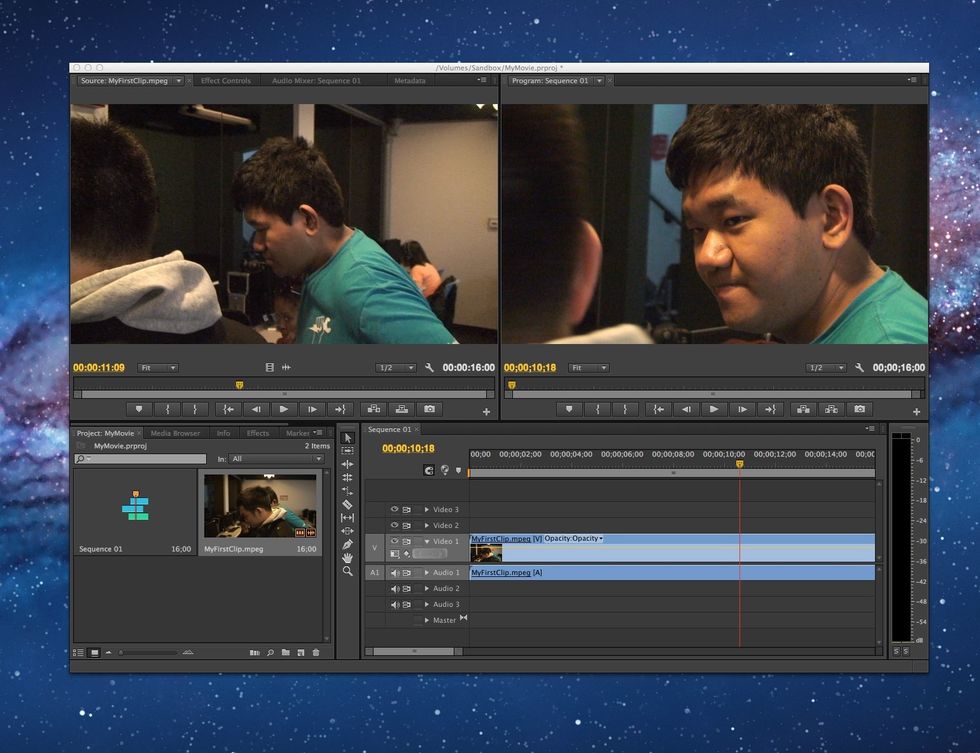
Your clip will display on the bottom left Project panel. You can now drag it to the timeline and begin editing!