The Conversation (0)
Sign Up
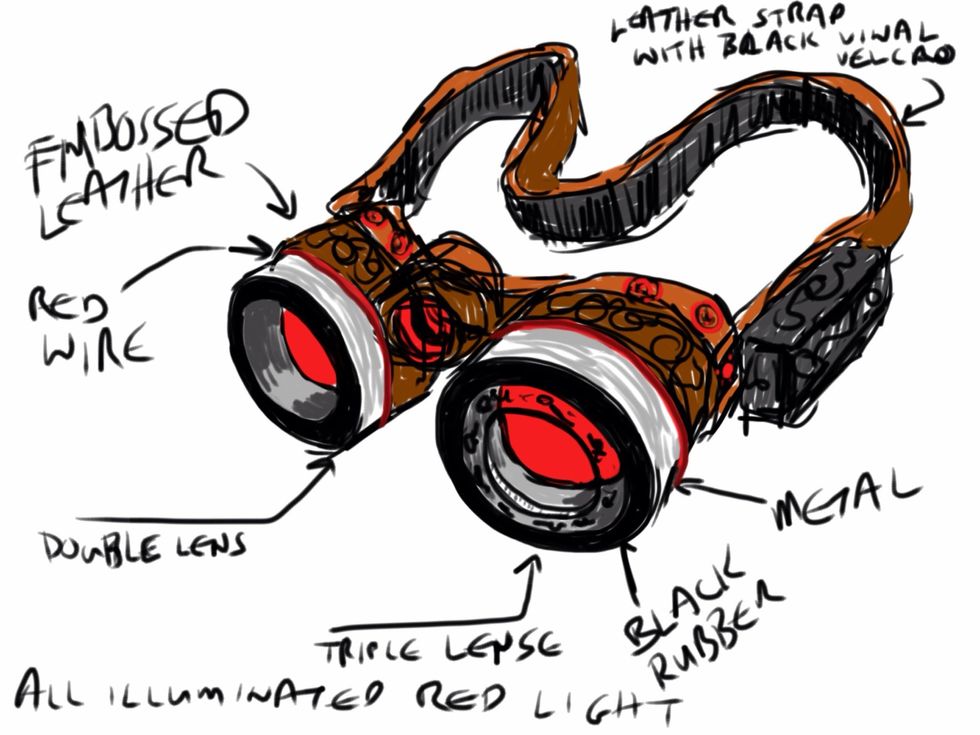
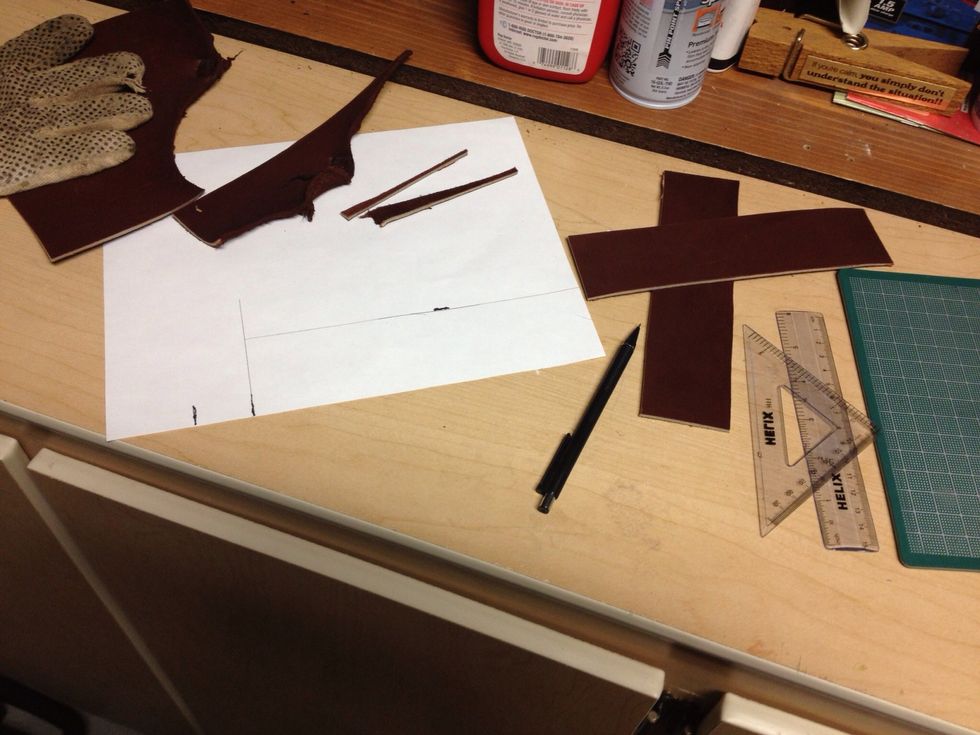
Draw or sketch your goggles before you start. Just to get your idea on paper.
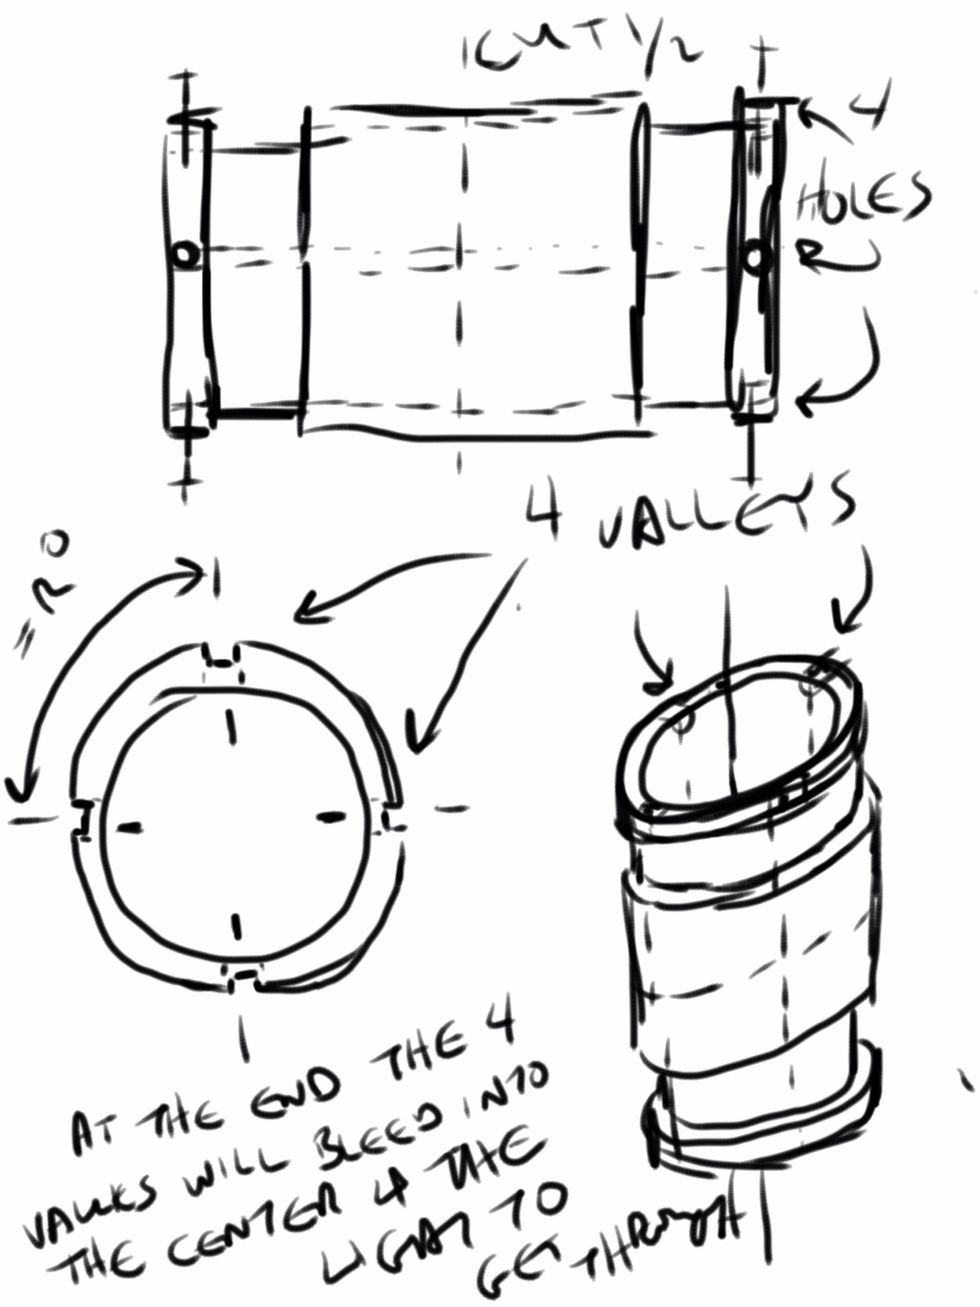
Sketch out technical specs of parts and pieces you will create and or modify.
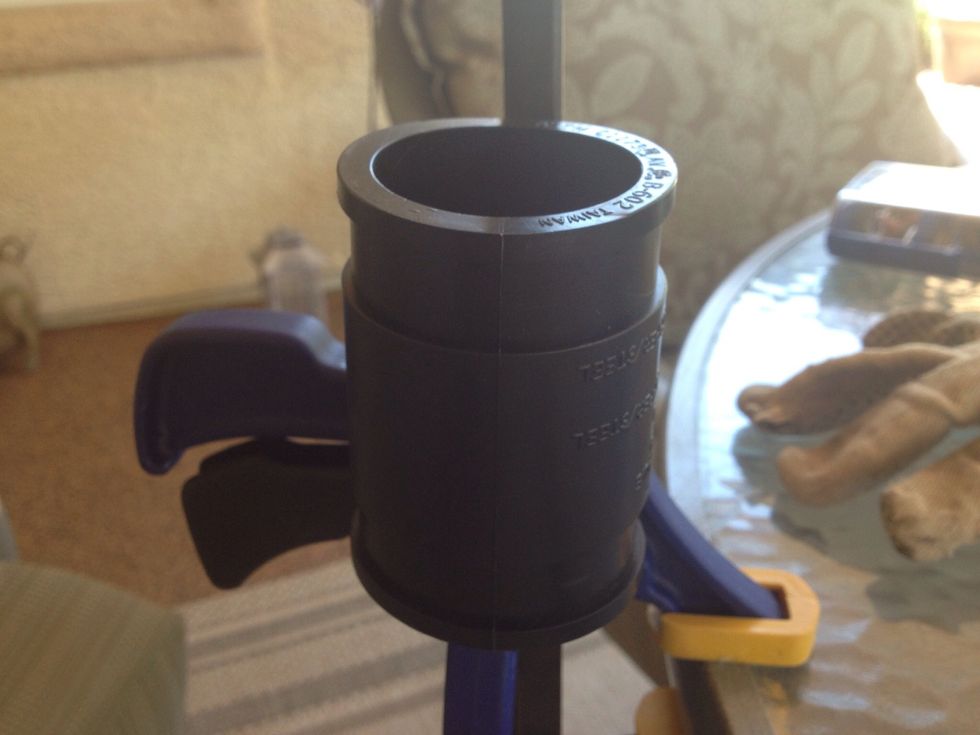
Mount smaller thicker coupling to begin modifying for the garland lights to be fit mounted on to.
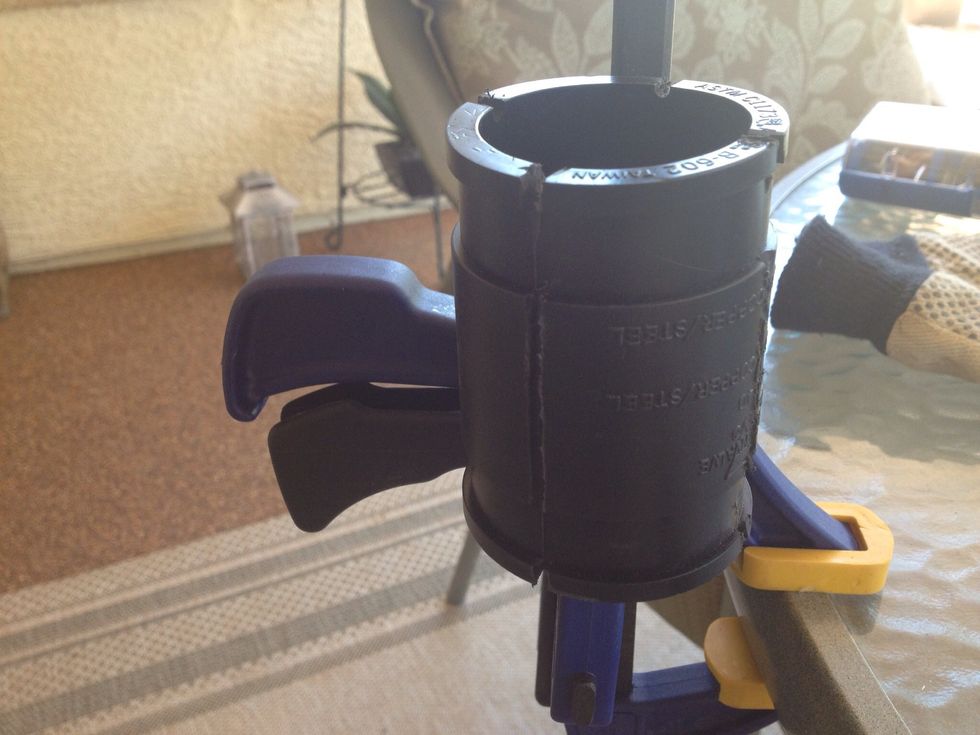
Here is the finished modification of the coupling before it is cut in two

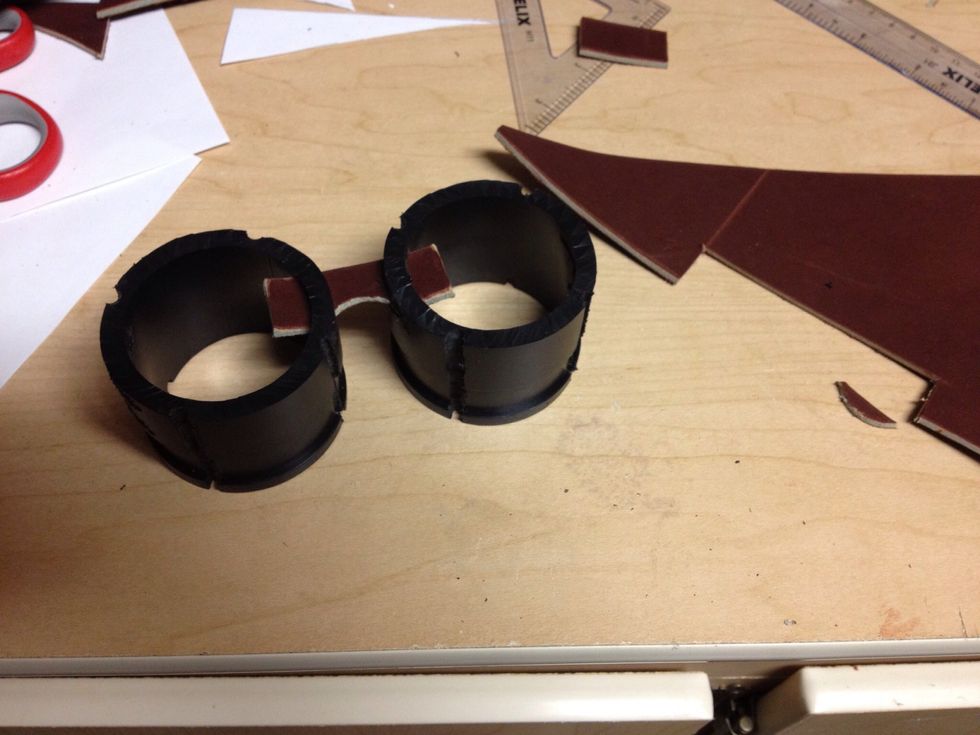
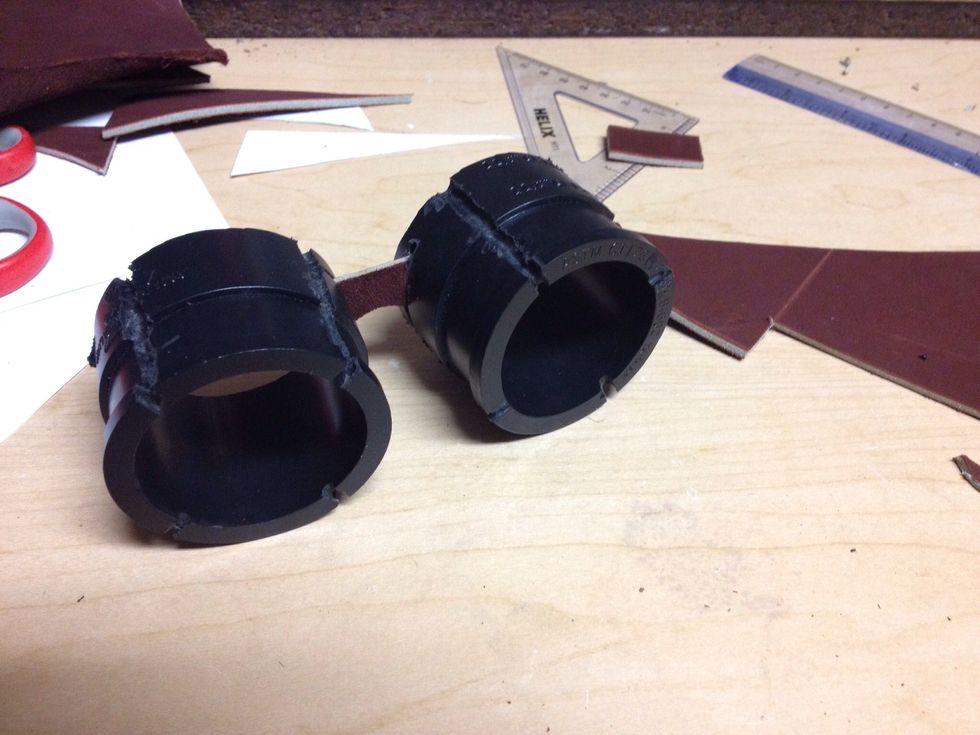
After the coupling is cut in half
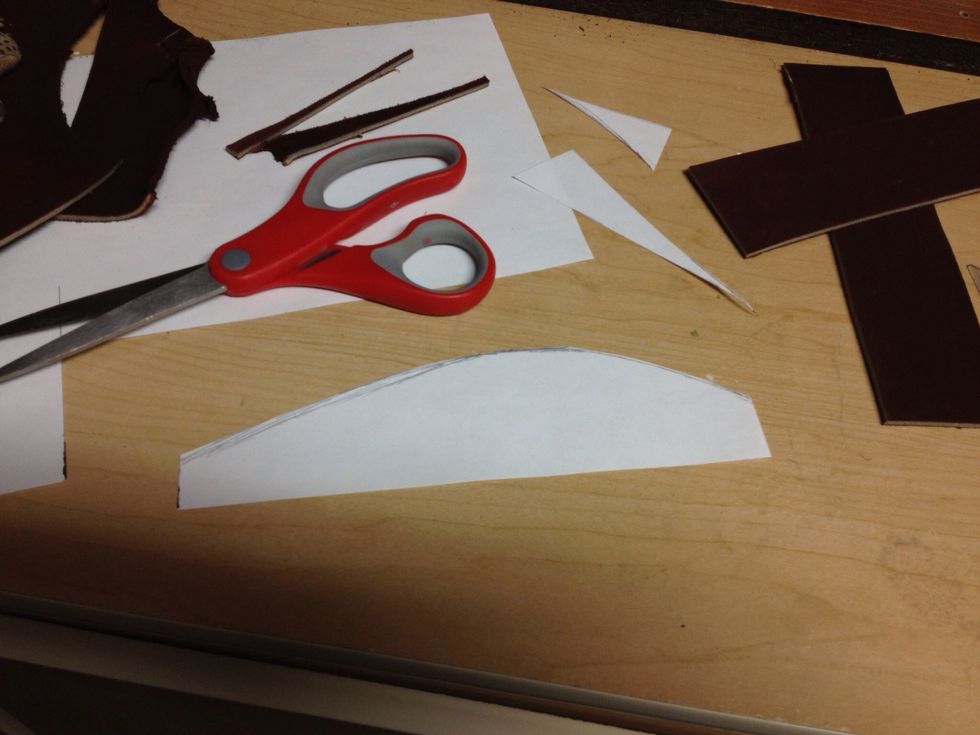
Use paper to wrap around one of the cut couplings to mark the height and surface to make a cutting template

From this template, make a wave curve template to cut the coupling leather covers
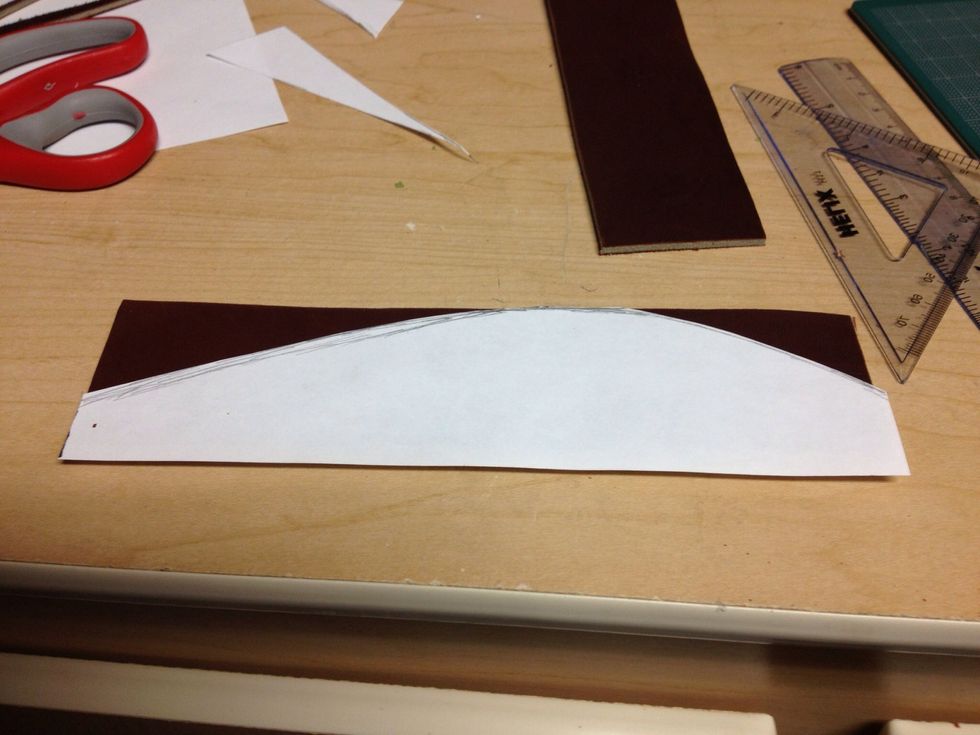
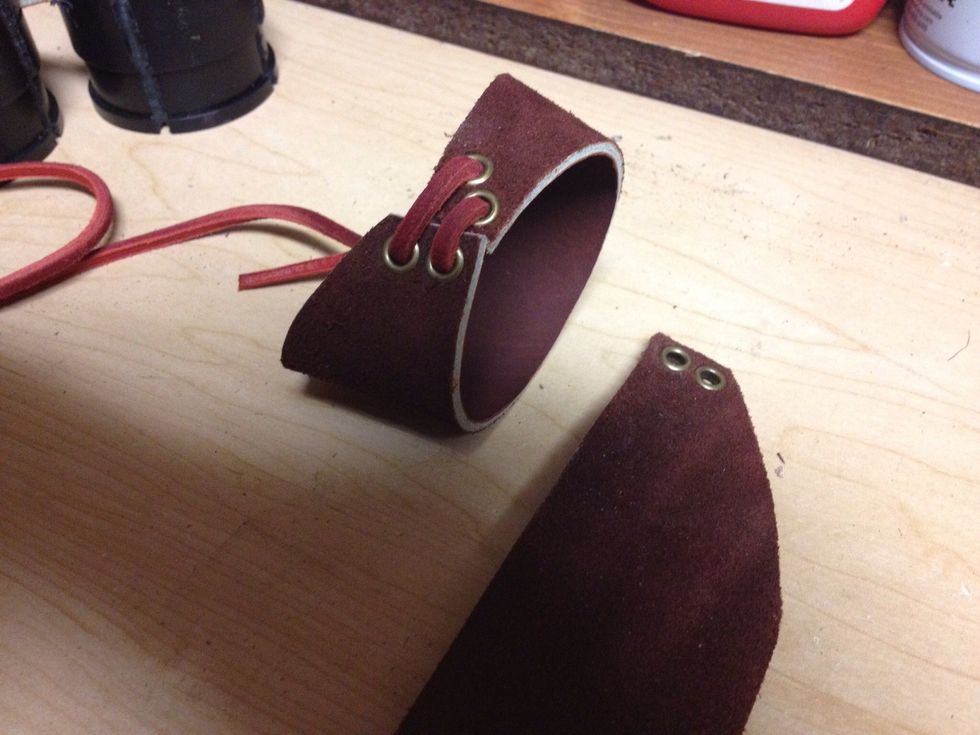
Trace over the leather and cut, making sure the second piece of leather opposes the first
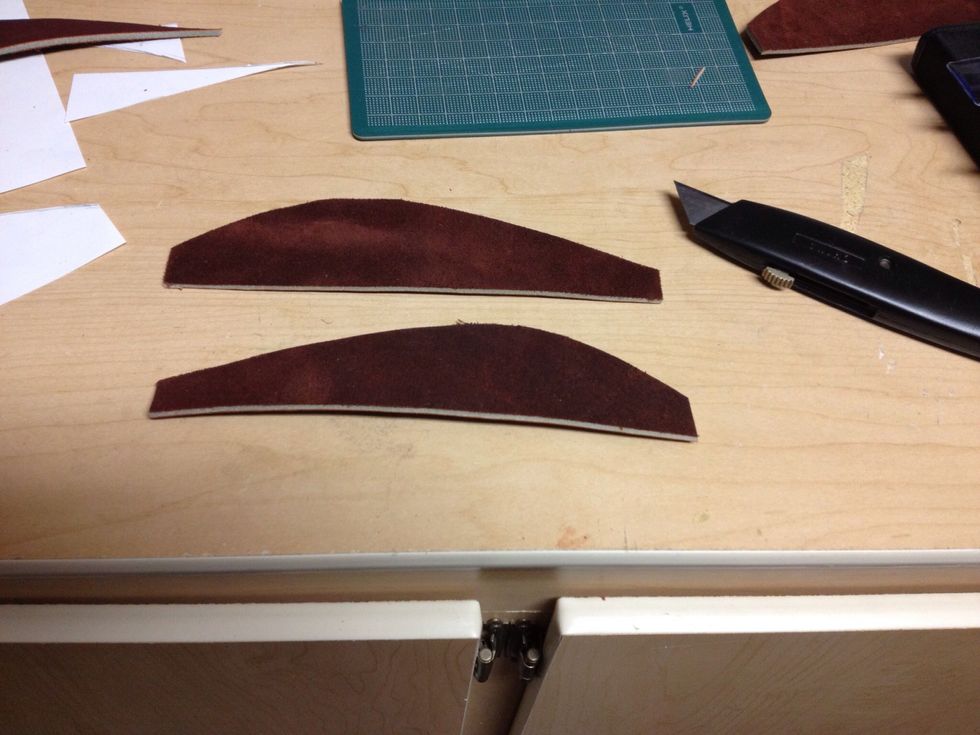
Like so

Cut out a nose bridge
Slide the nose bridge into the side slots to help you gage where the brads should go
After you are happy with the spacing, make holes in leather

Then insert the brads into the holes
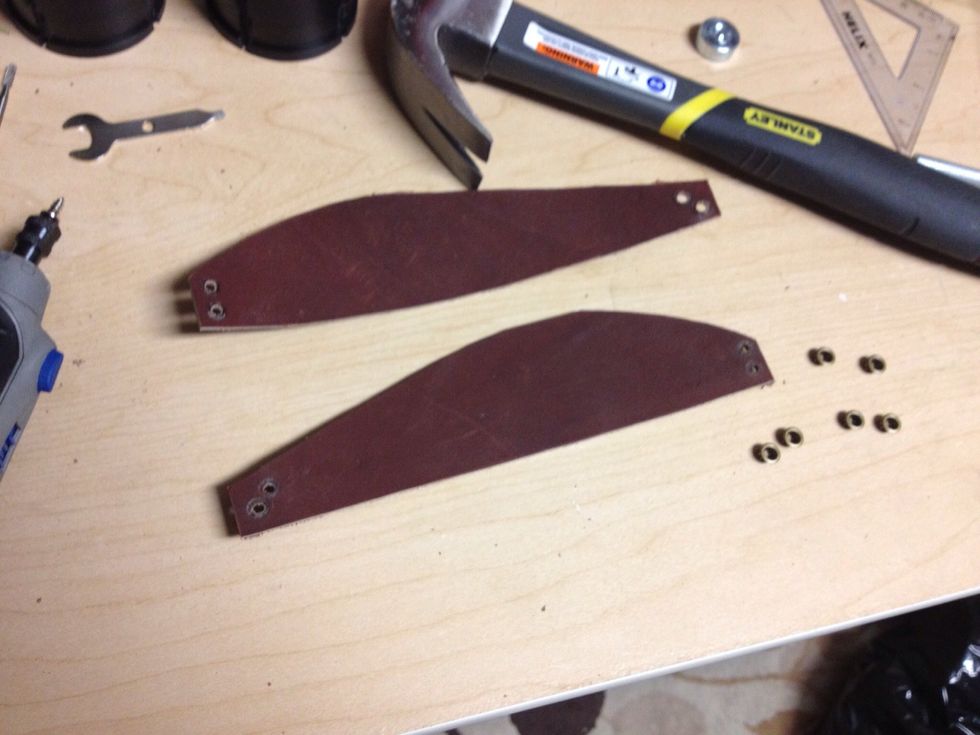
Next punch holes into the wave straps you just cut out
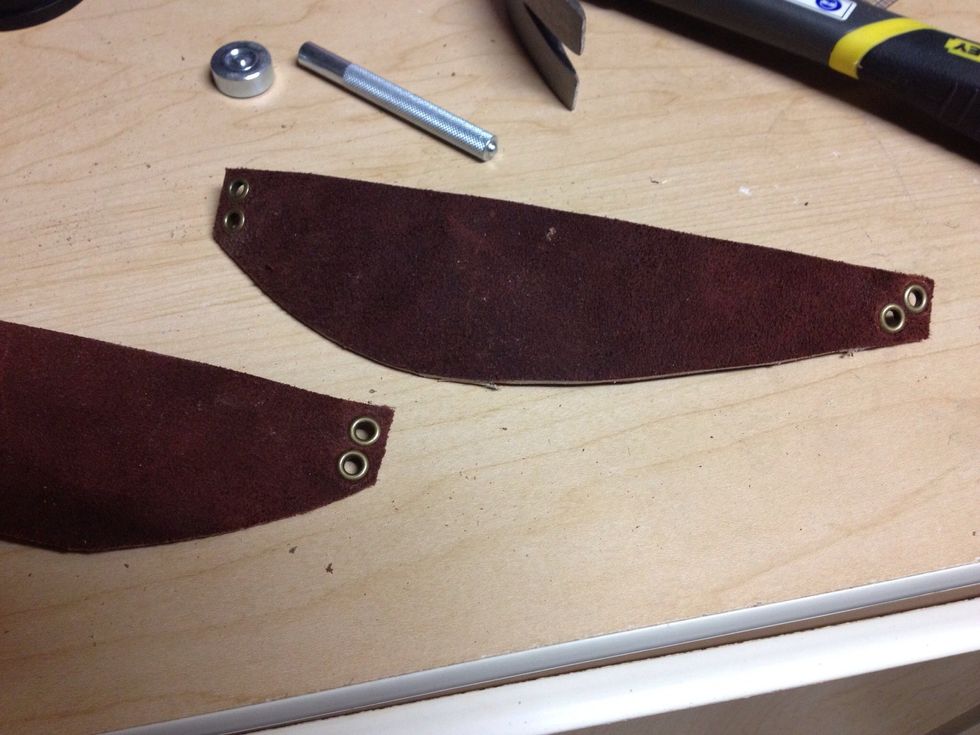
Insert brads
Tie together both sides like this, making sure you have enough length on the end side because you will need to tie off the nose bridge

Fit the leather covers over the cut couplings like this
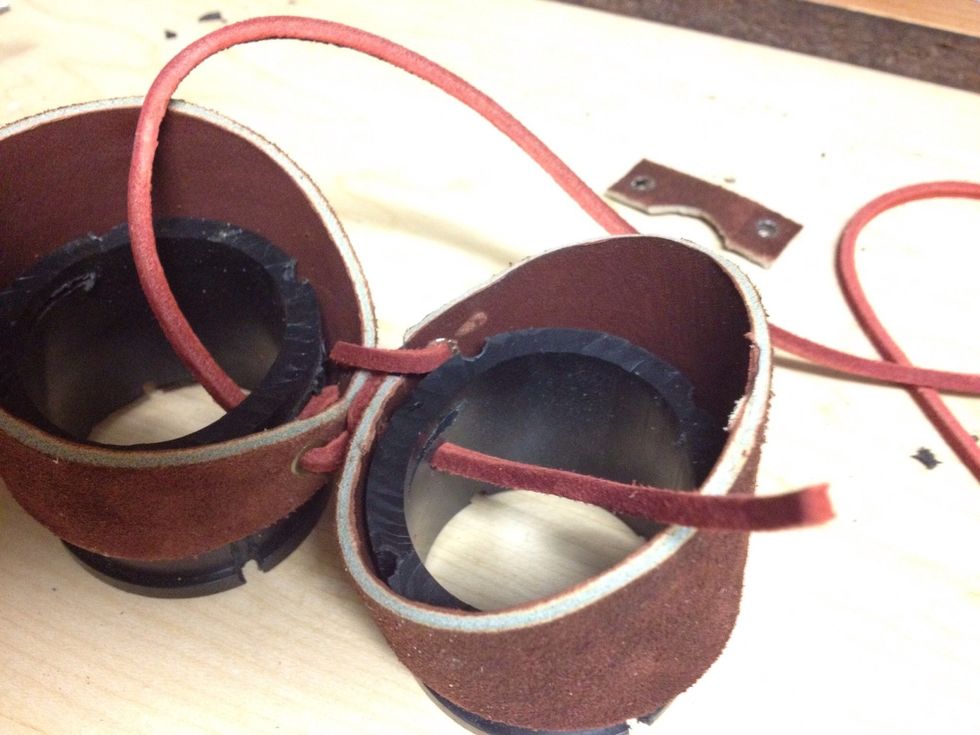
Thread the end pieces through the side of each cut coupling.
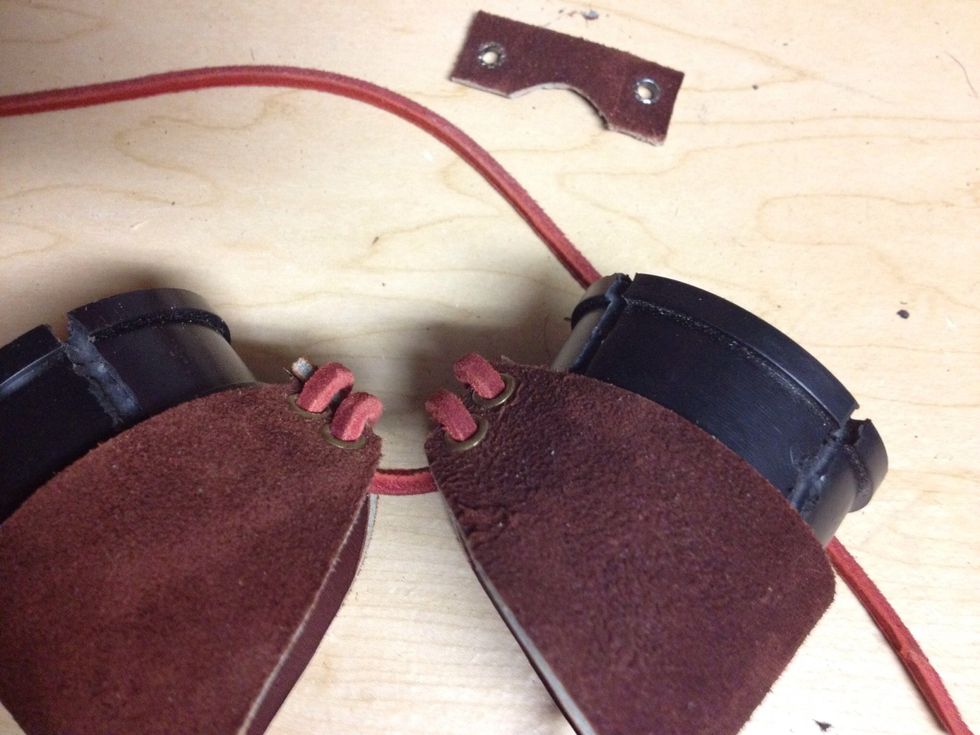
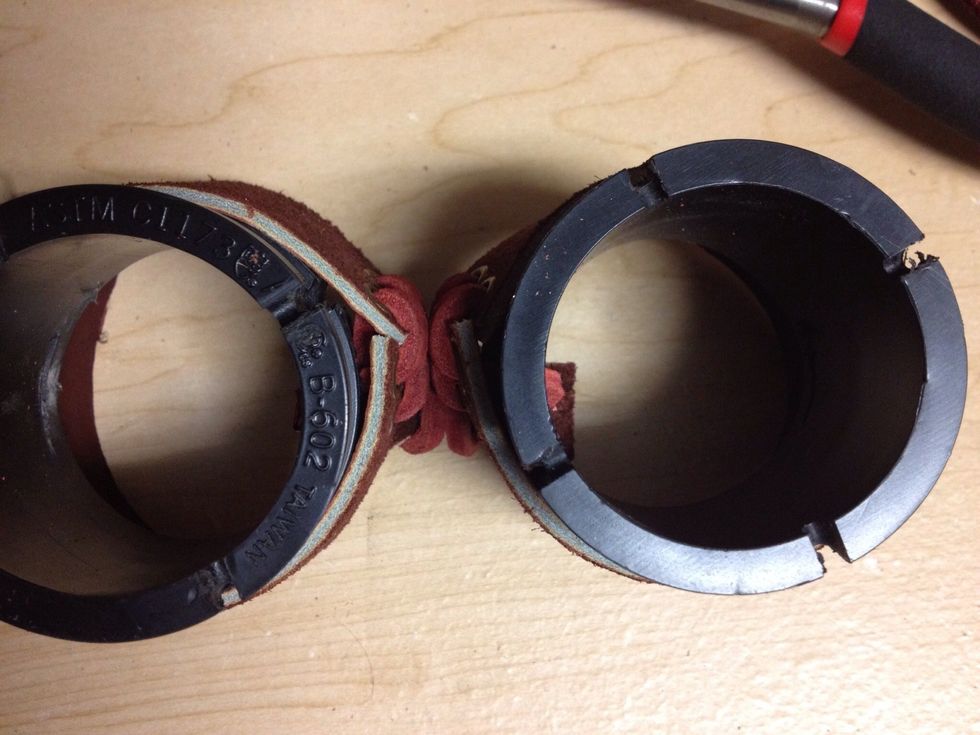
The covers should look like this from above. Now tie the nose bridge on
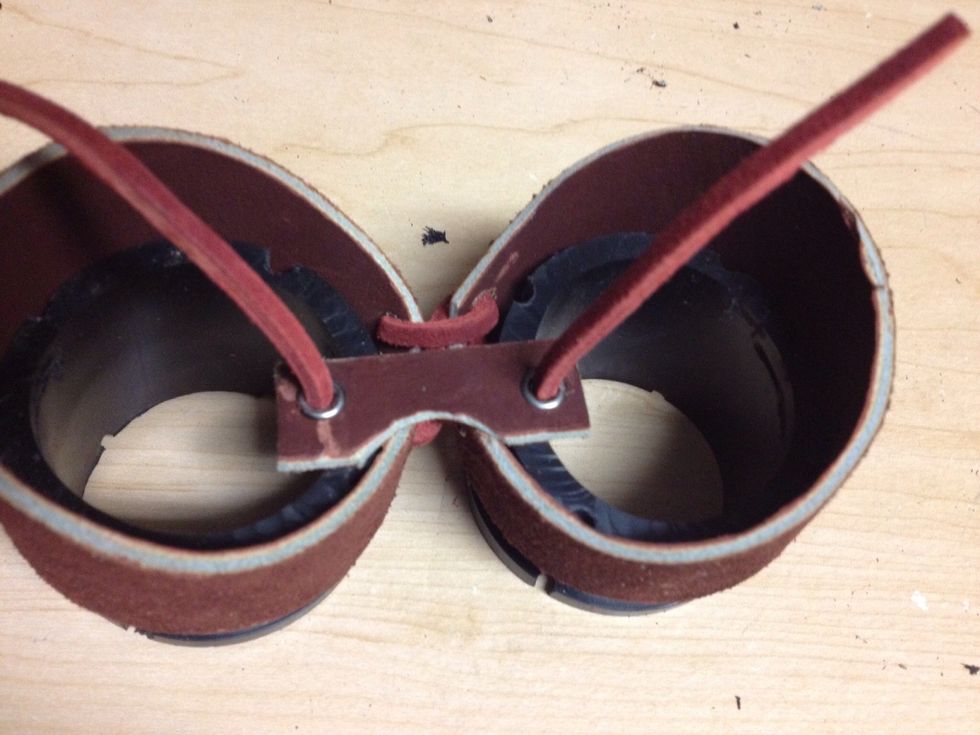
Make sure the tied area of the coupling covers are above the nose bridge as shown
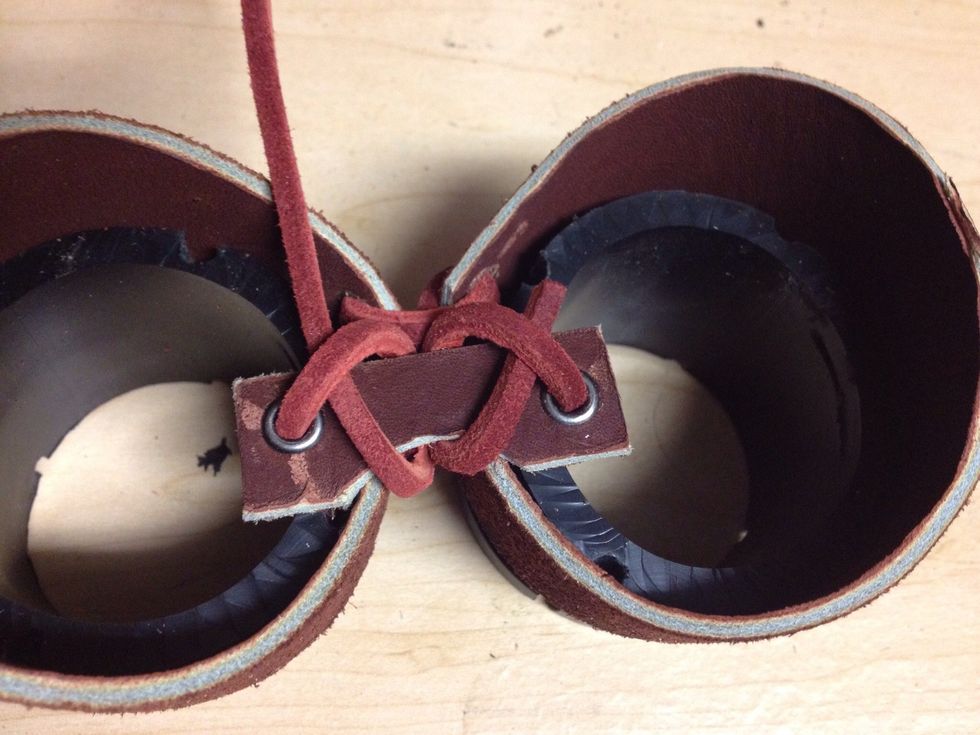
The ties should look like this
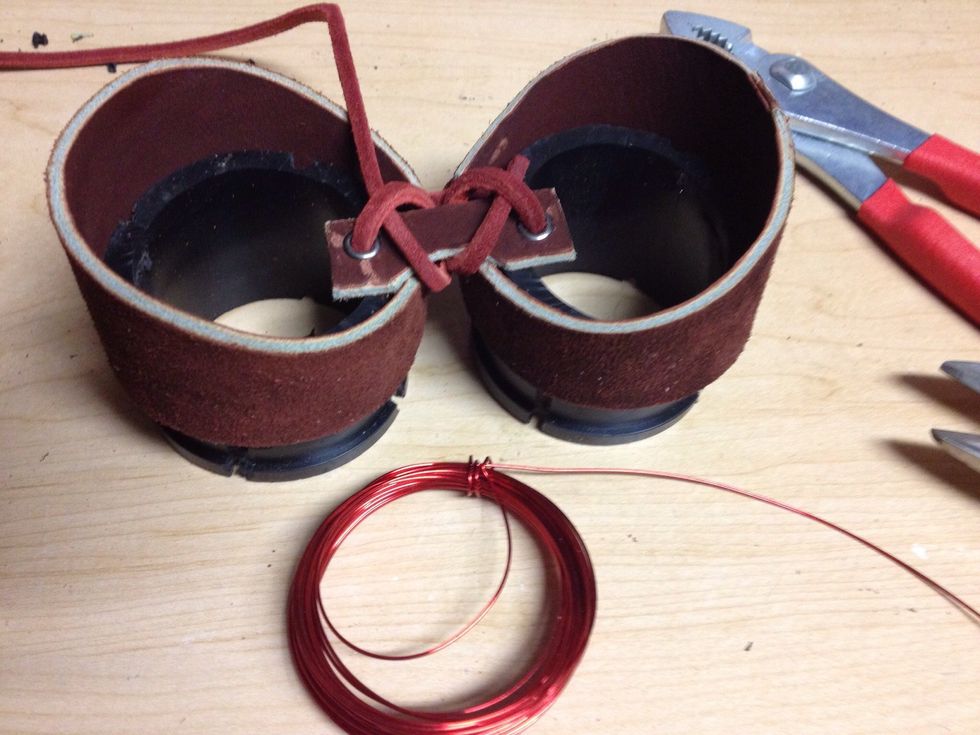
Now you will tie off the leather cords with the red wire
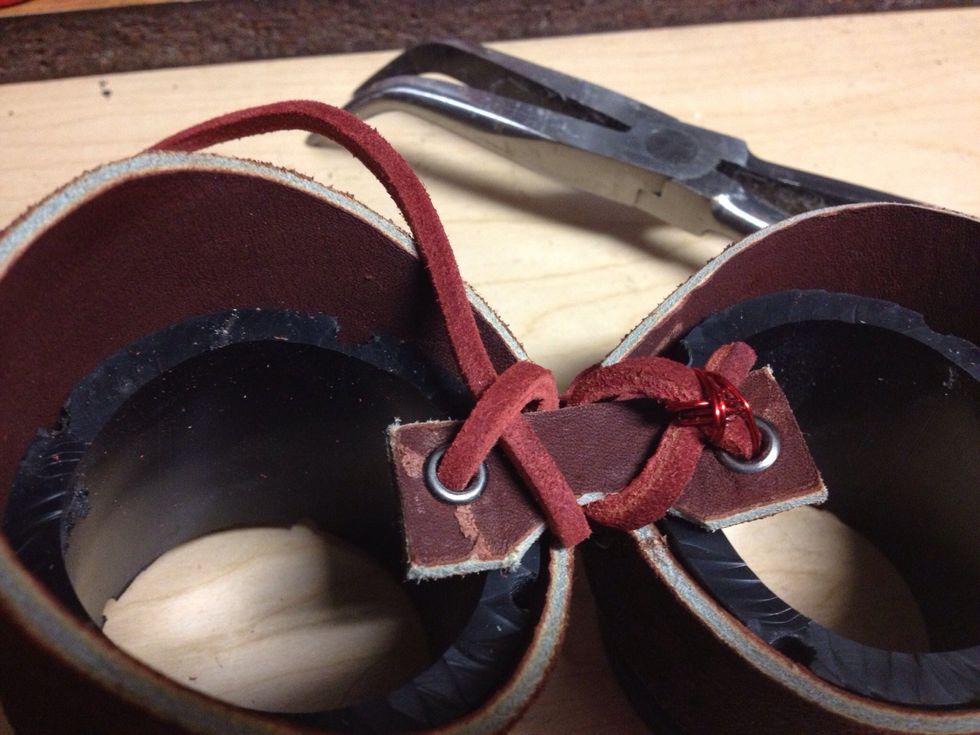
First wrap the end cord from the first coupling you wrapped
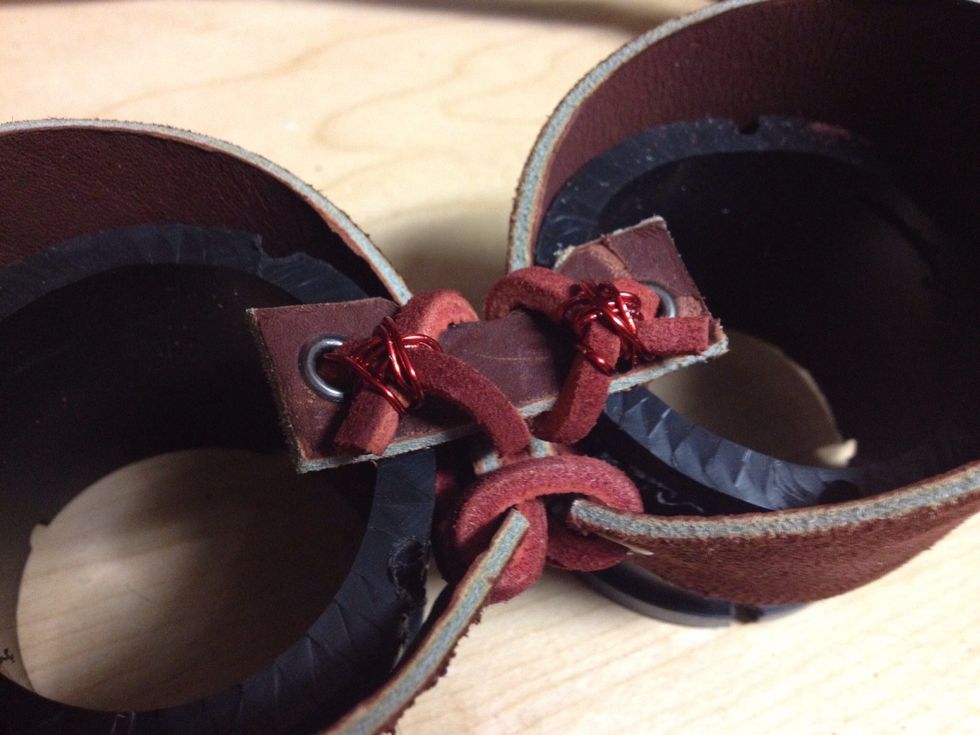
Make sure you keep the wire ends away from the front of where your face will be.
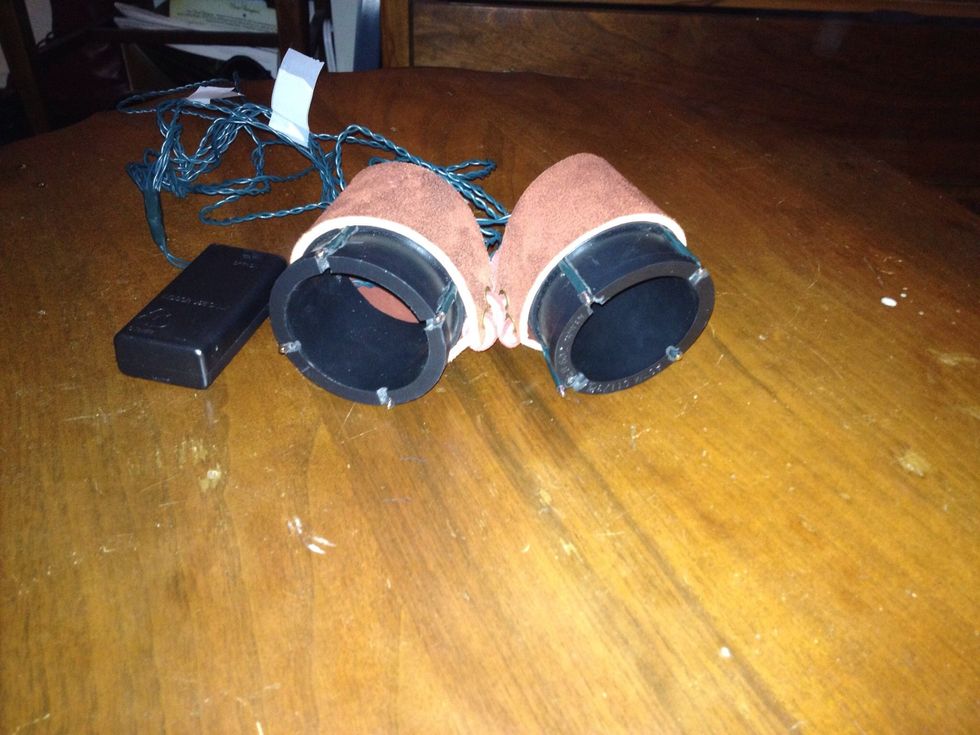
The finished covers and nose bridge should look like this from the front view of the goggles
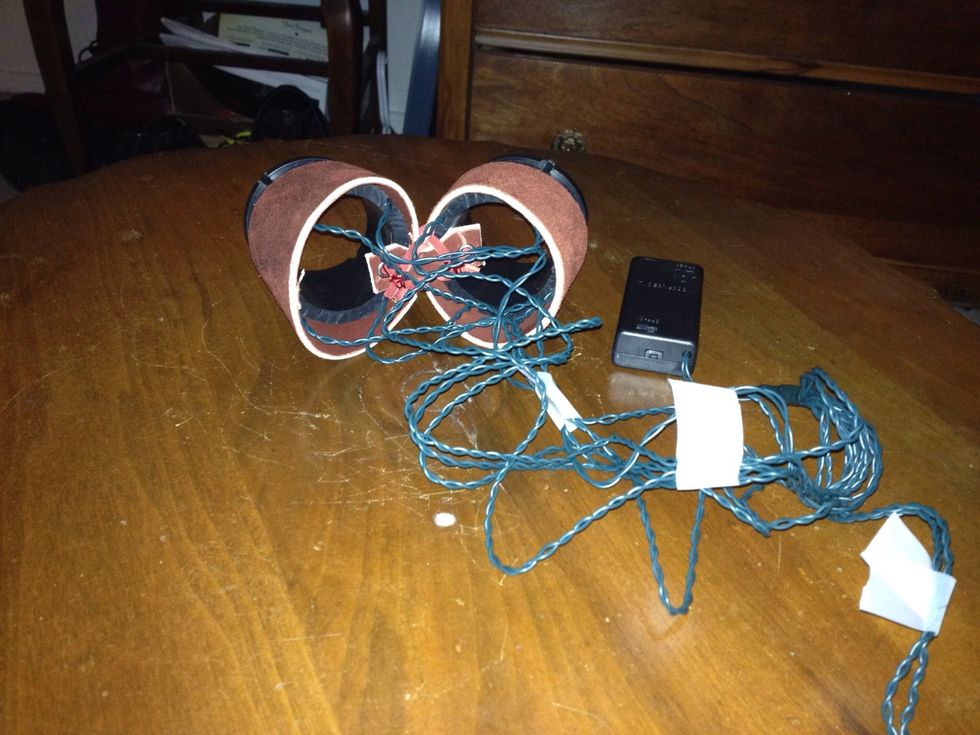
Now you can organize and insert your garland lights
The lights should be flush to the very end of the couplings
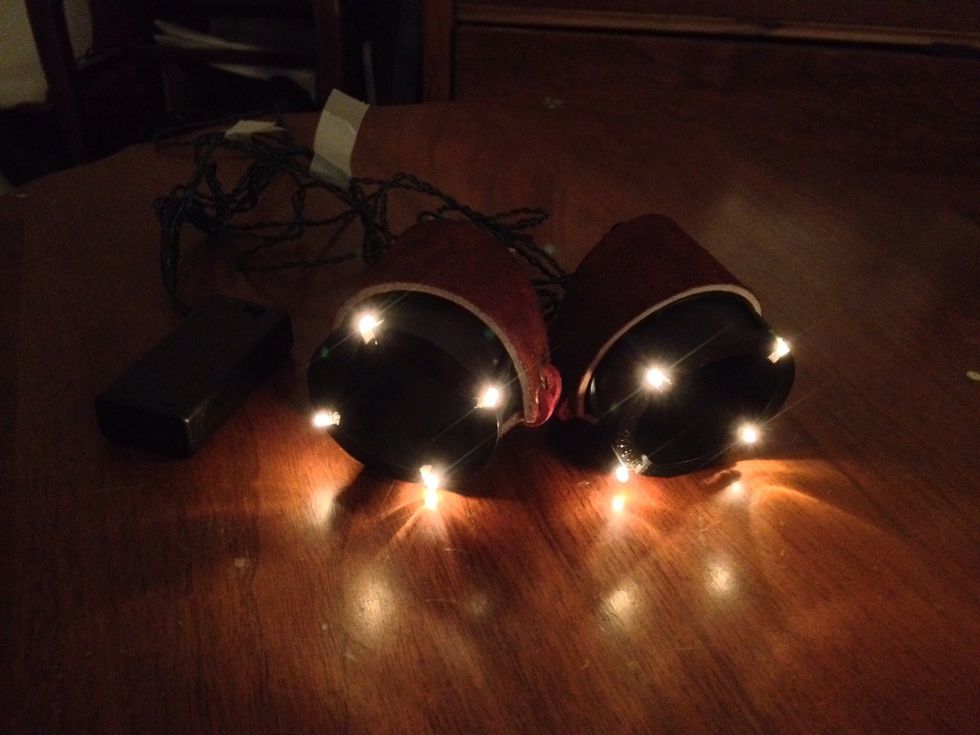
Now test the lights
This is the end of part 1. In part 2 & 3 we will construct and craft the framing of the goggles and garland wires to fit the straps, craft the straps and battery housing, and put it all together.