STEPS
TOOLS
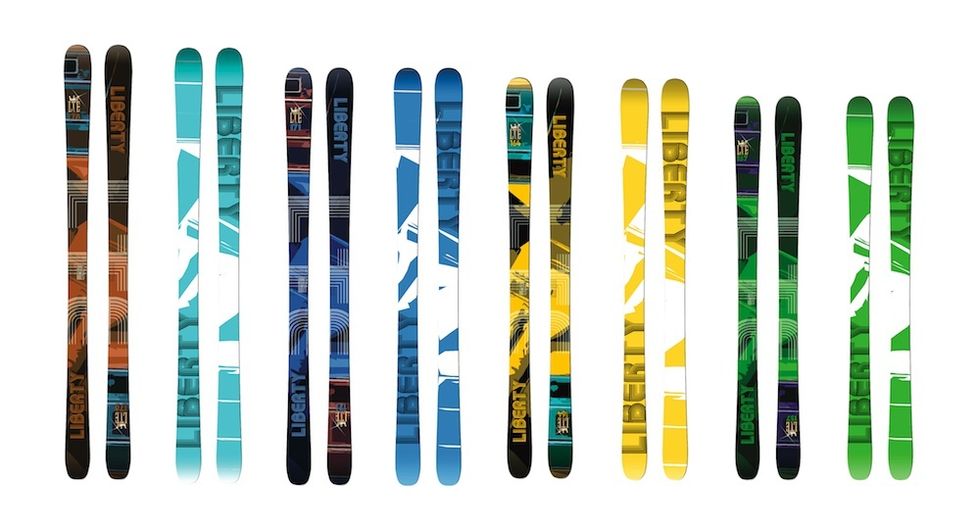
Choose a Graphic for the ski
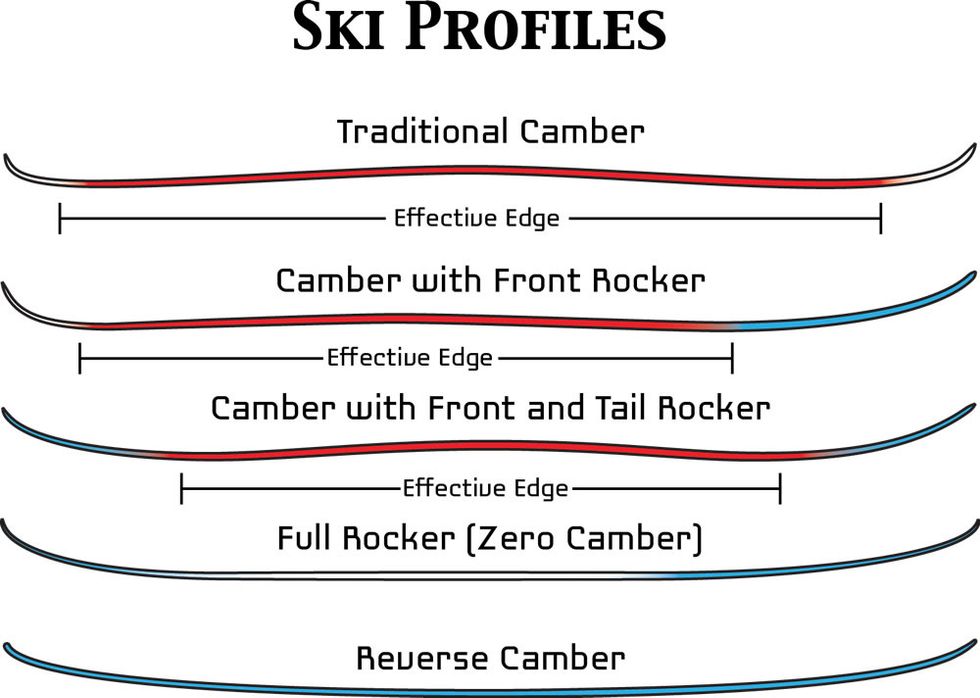
Choose the shape and dimensions you want to make the skis
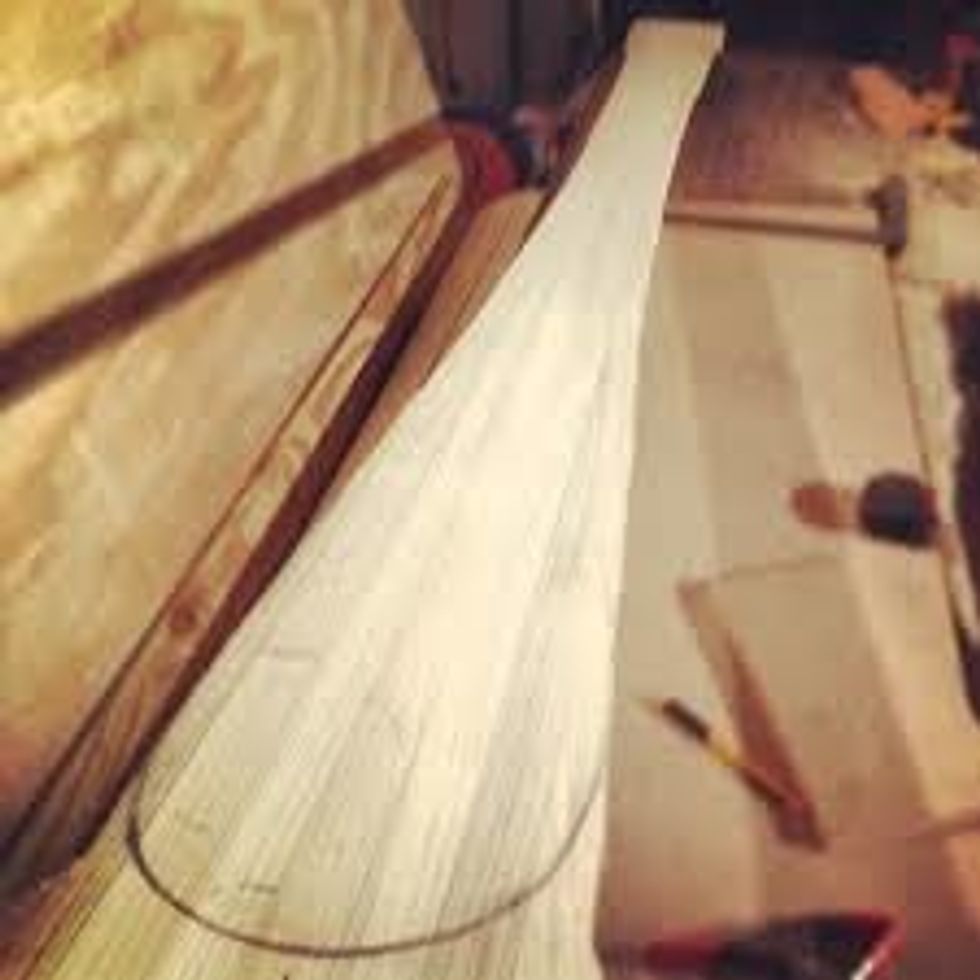
Cut out a template for the the ski using a saw
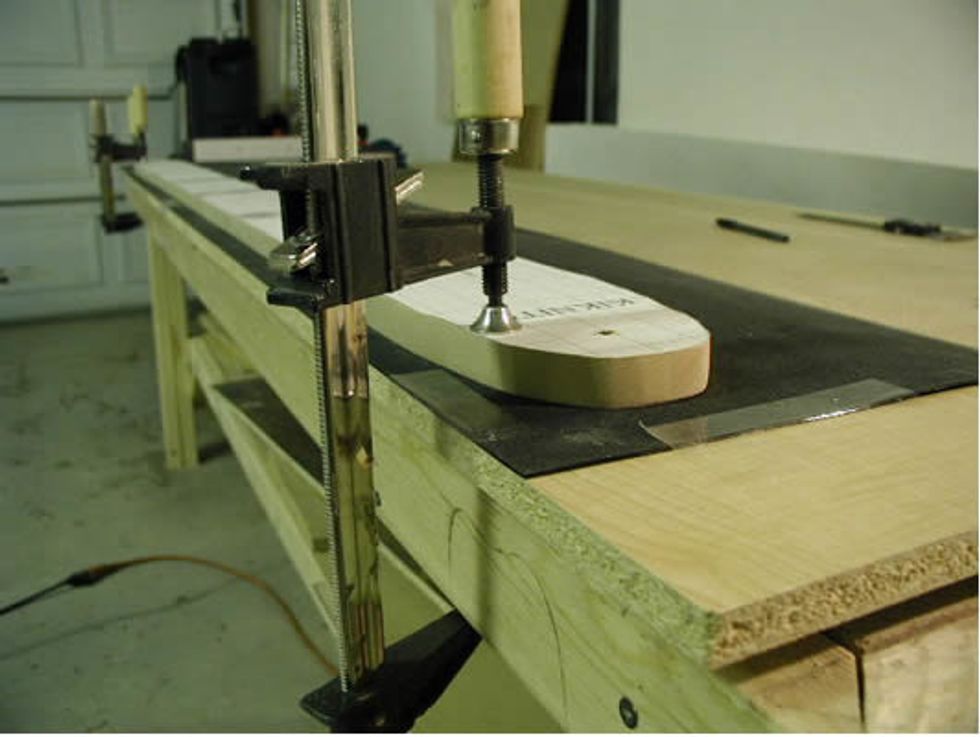
Use the template to cut out the base material
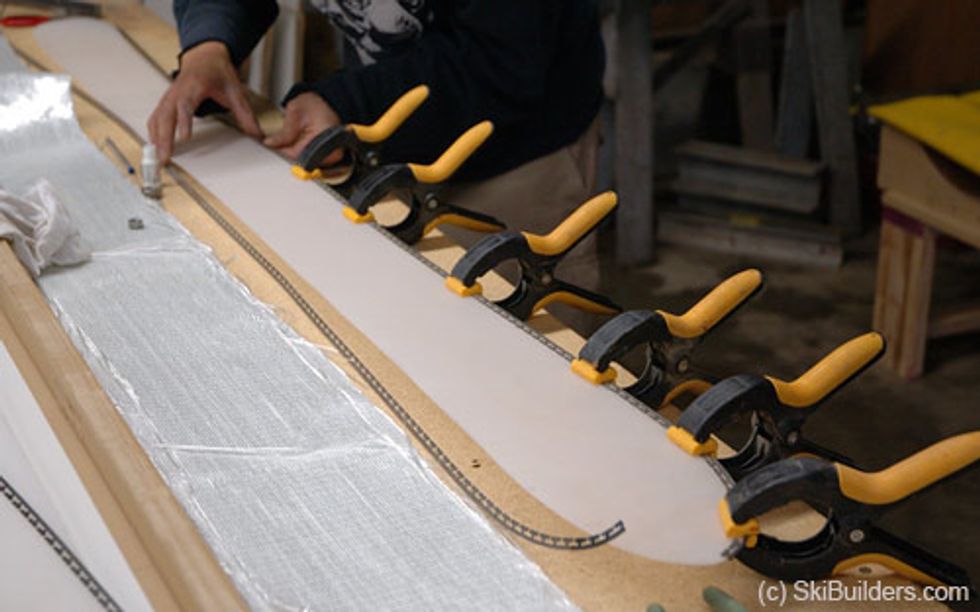
Bend the edges and line it up with the cut out base material
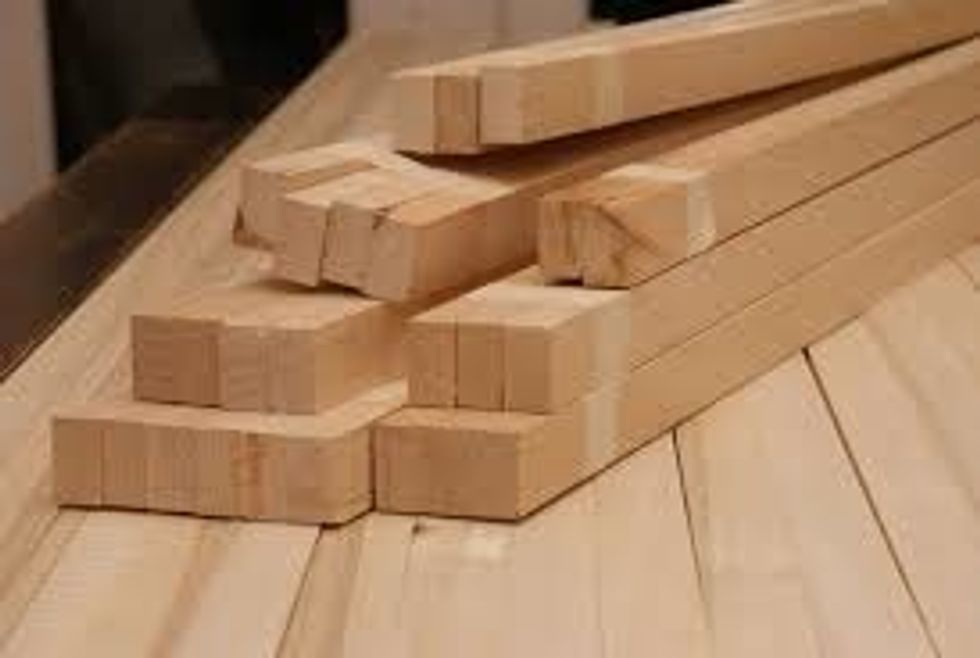
Choose the wood you would like to use for the core
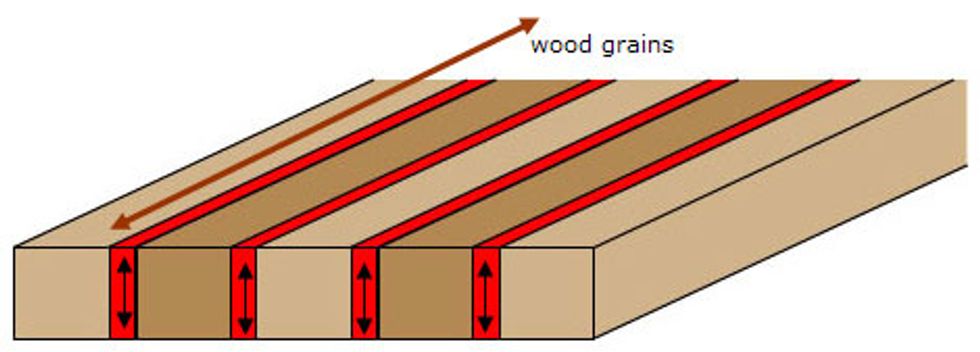
Laminate the wood by gluing the strips of wood together
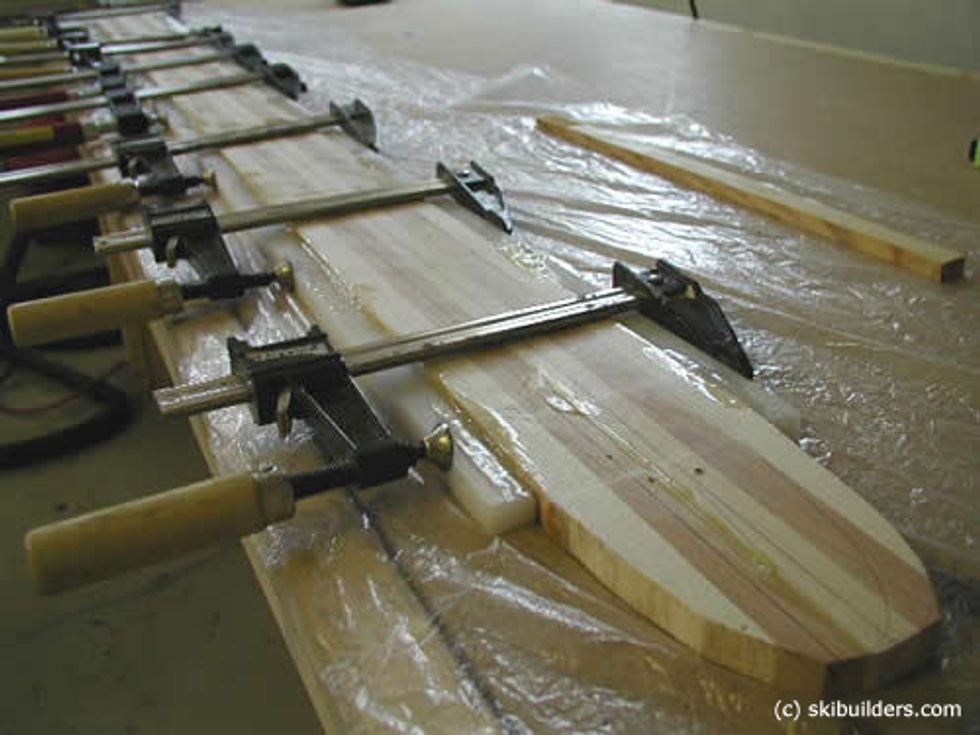
Glue the sidewall material to the laminated wood and clamp it tight
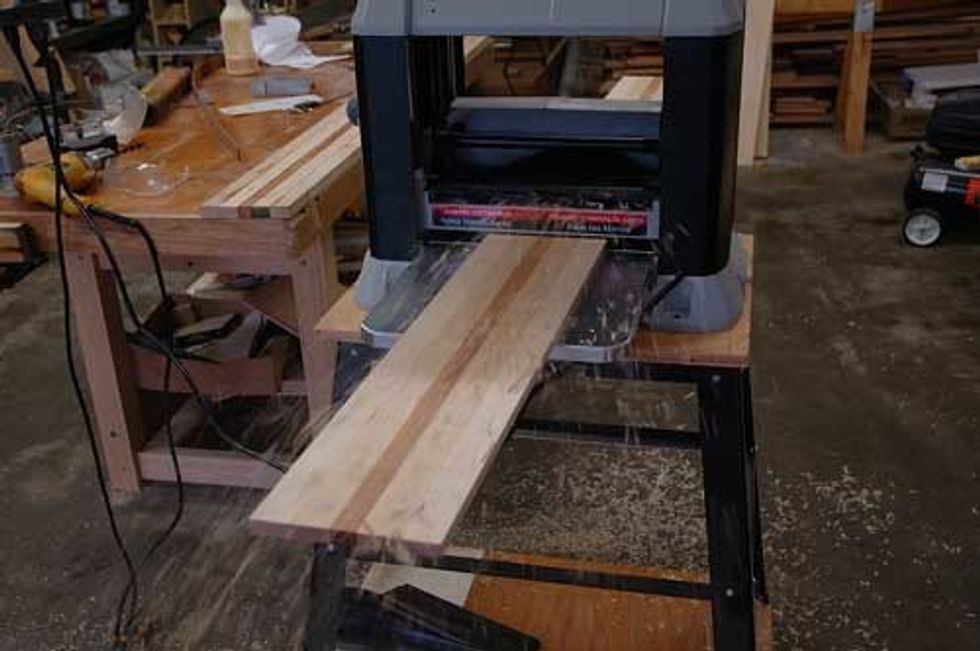
Use the planer to cut the profile of the ski to a desired shape
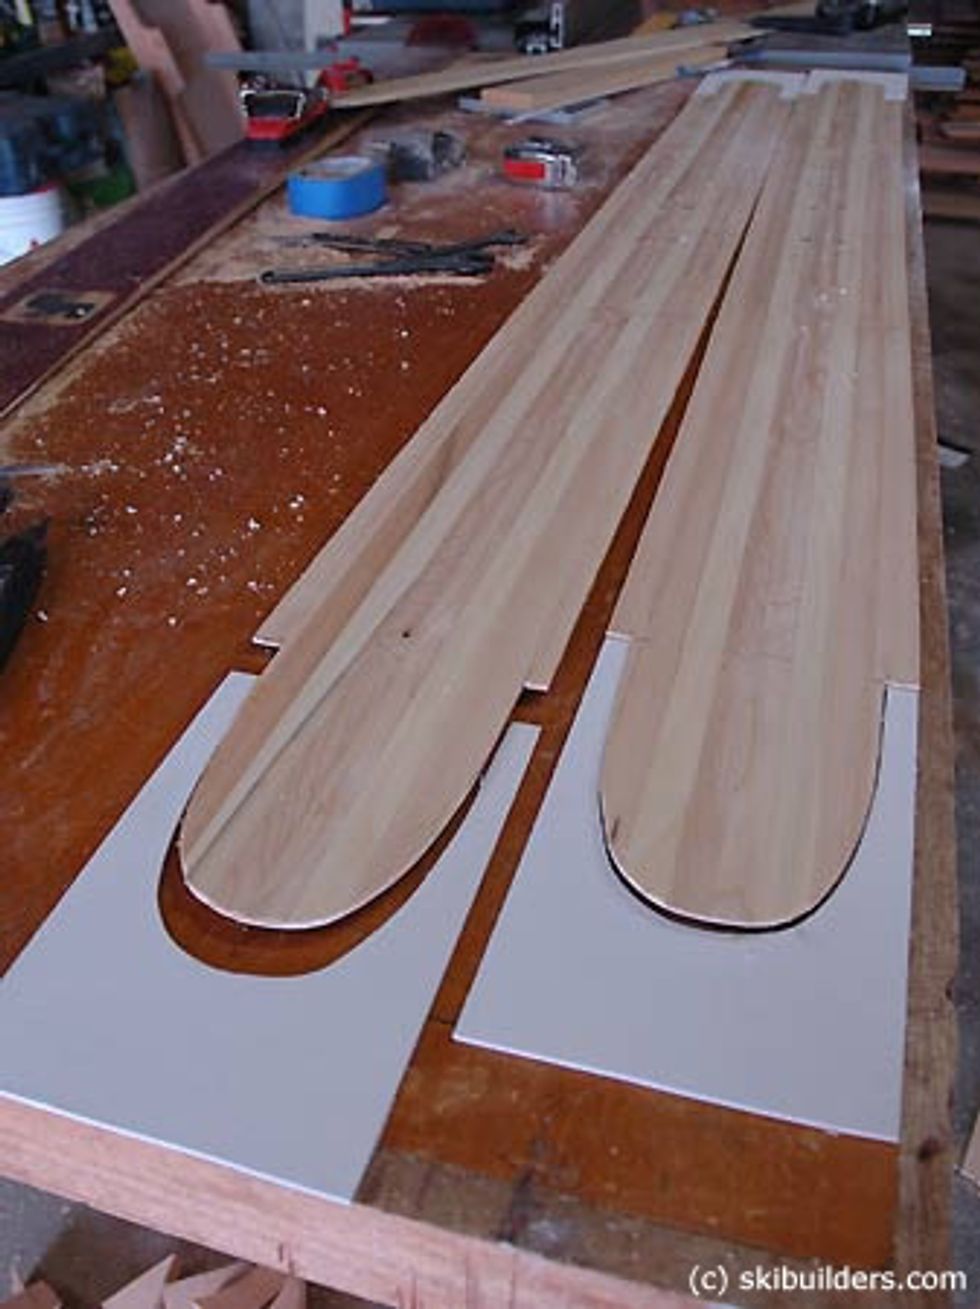
Cut the outline of the skis to create tip spacers
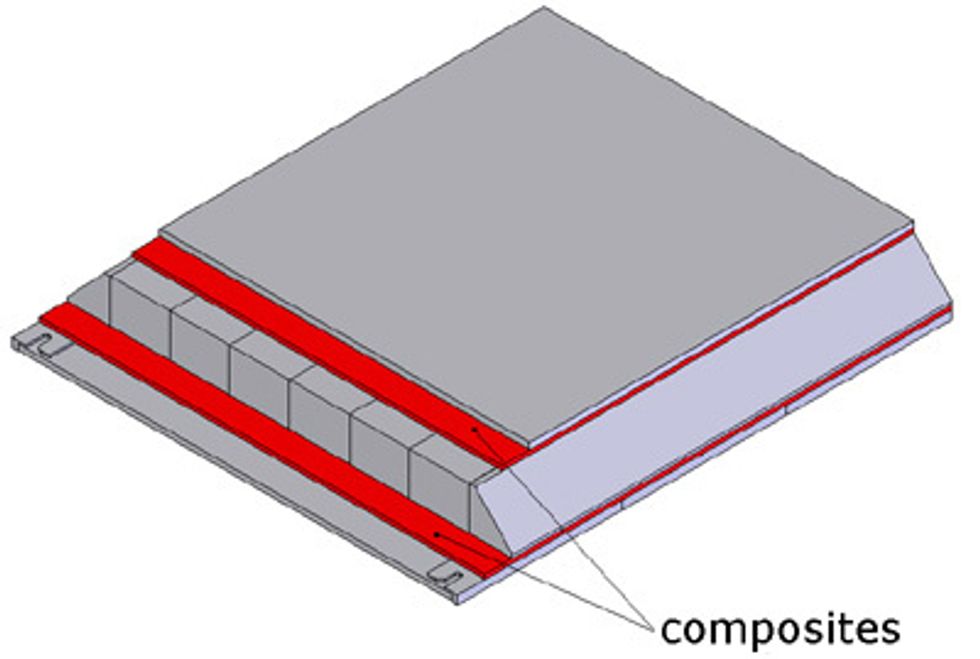
Cut the strips of fiberglass for added strength, commonly called composites

Choose a top sheet to use with graphics of your choice
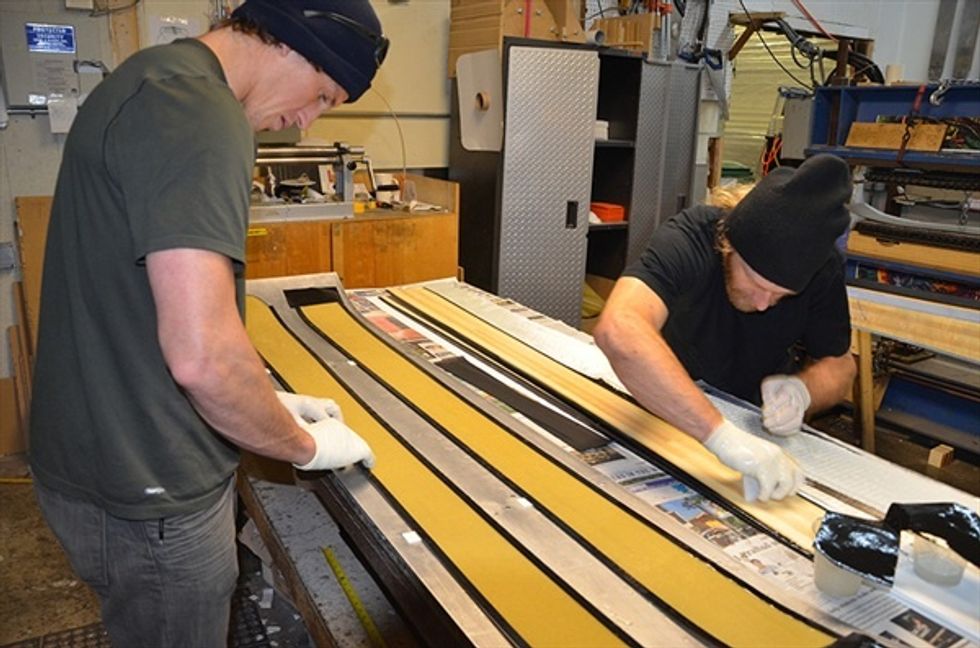
Clean the mold and get all materials ready for the final layup of the ski
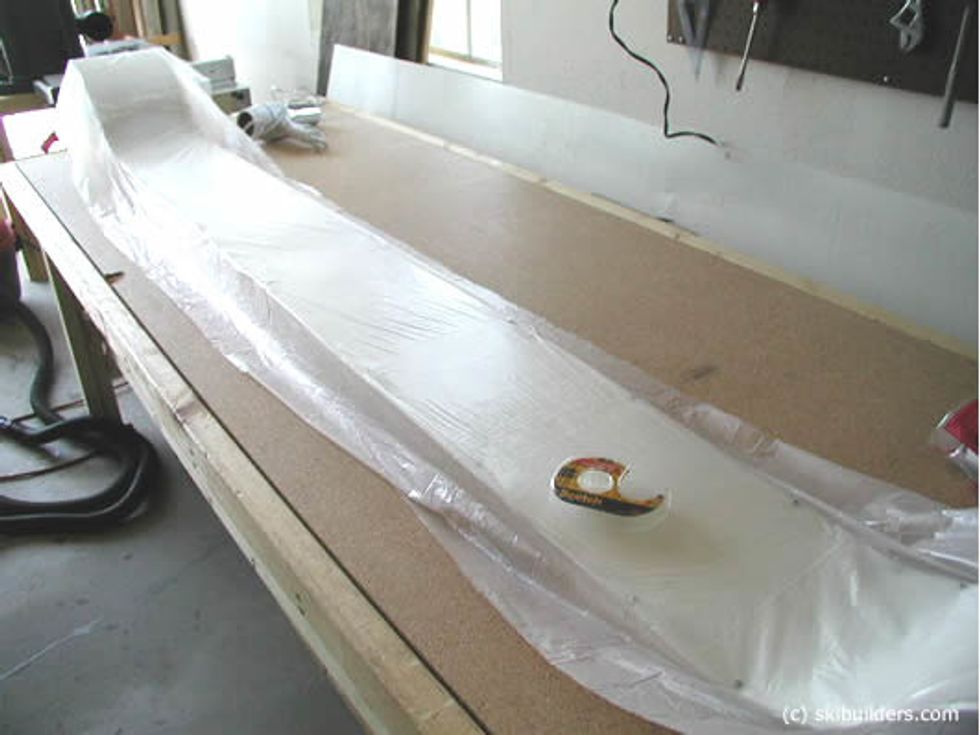
Create a plastic bag cover to place over the mold to catch excess epoxy that may come up when pressing
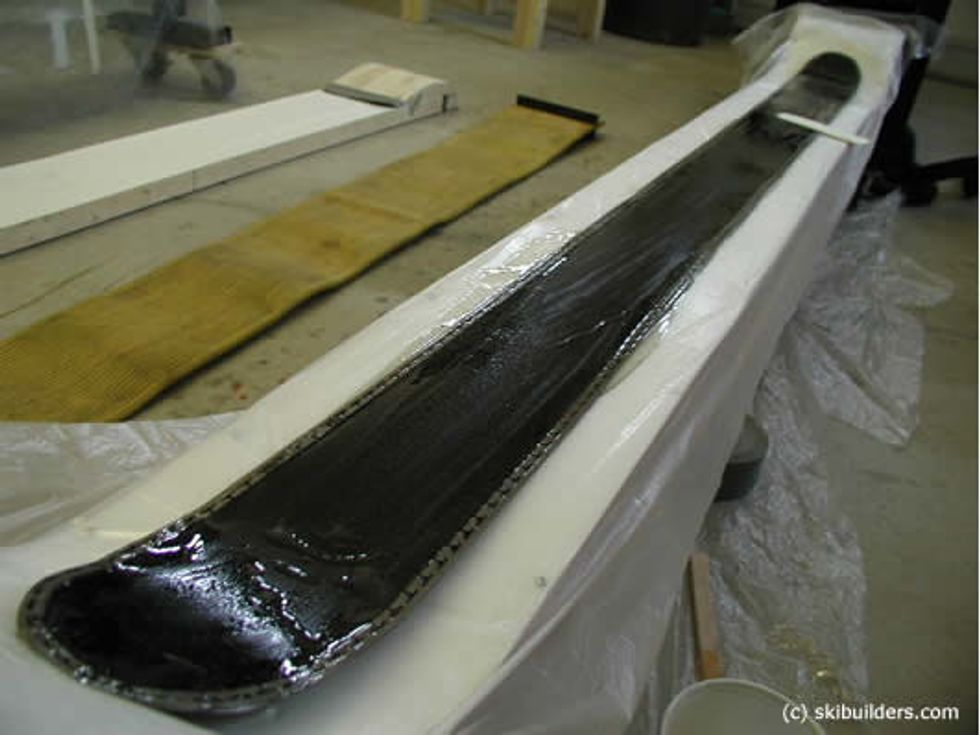
Apply a good layer of epoxy over the base material
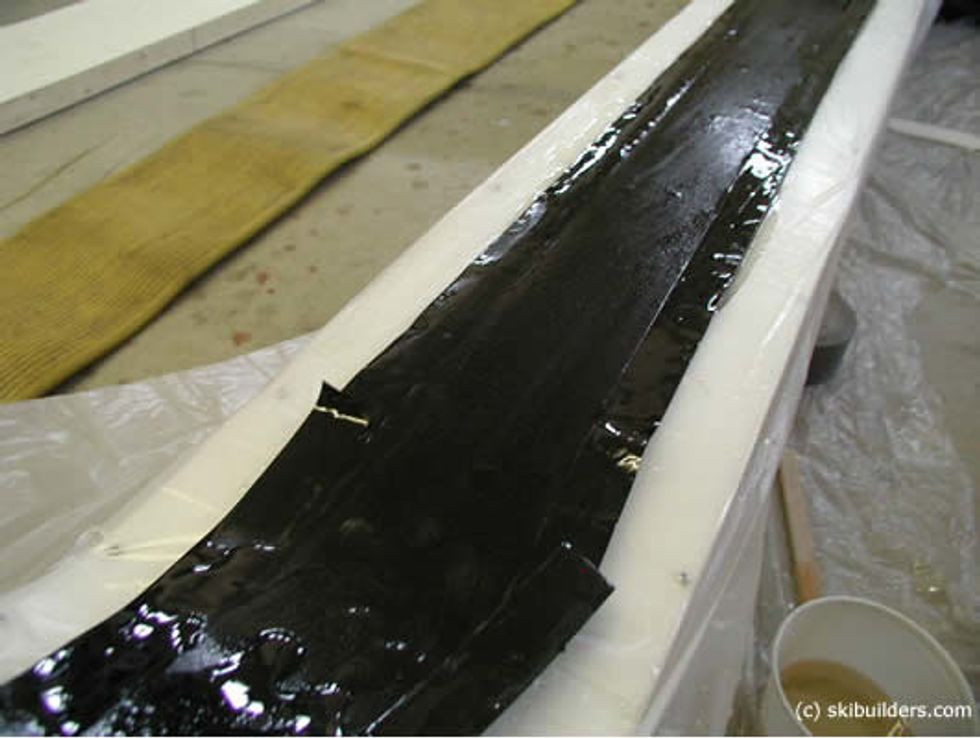
Place the rubber dampening strips over the base with epoxy on it
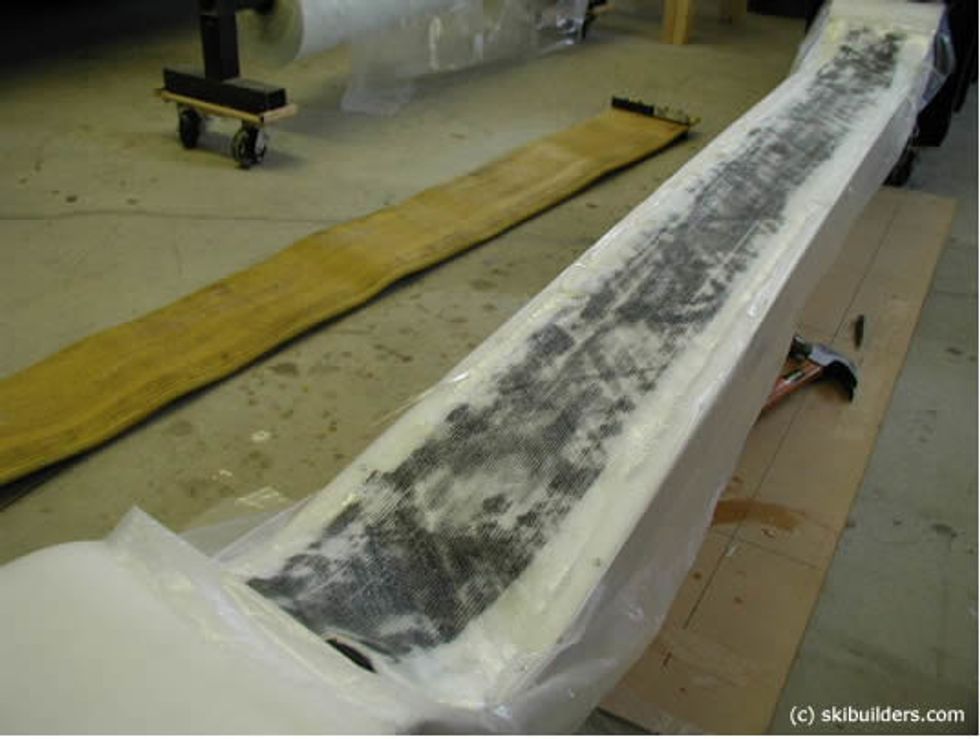
Lay the fiberglass over the rubber dampening strips and coat with epoxy
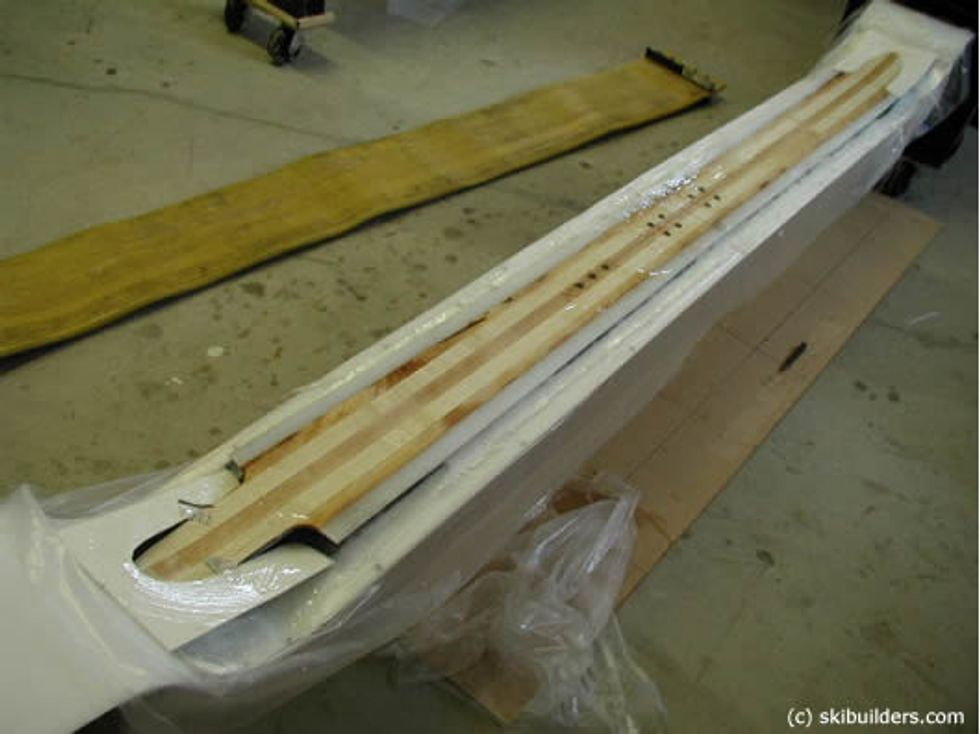
Spread epoxy on the core and put it on top of the composite material
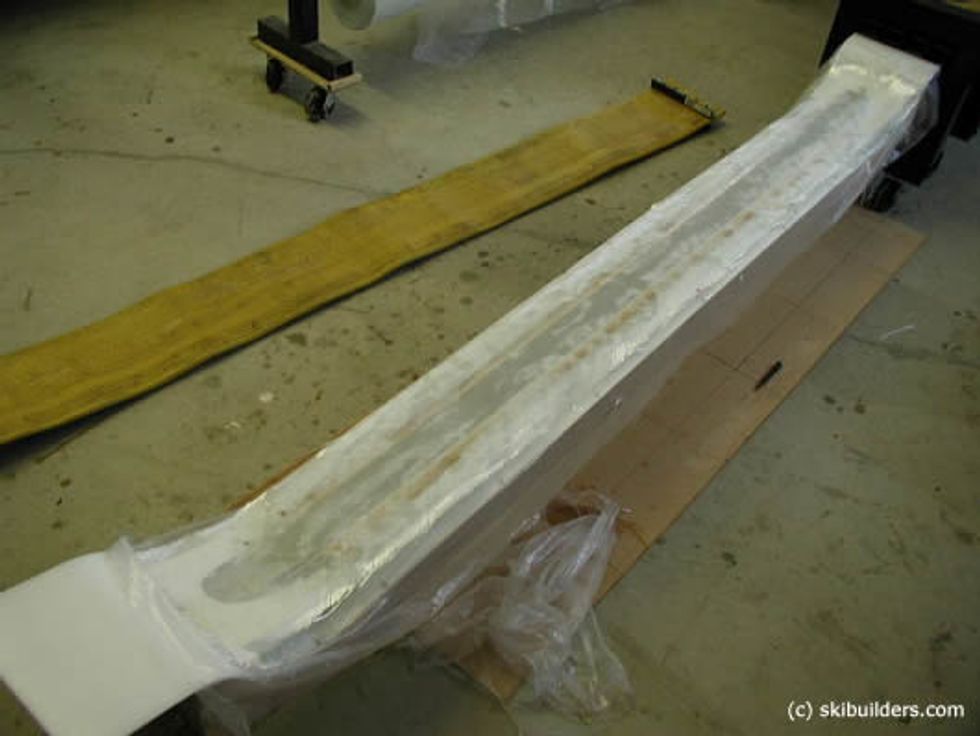
On top of the core, add the second layer of composite material along with a coat of epoxy
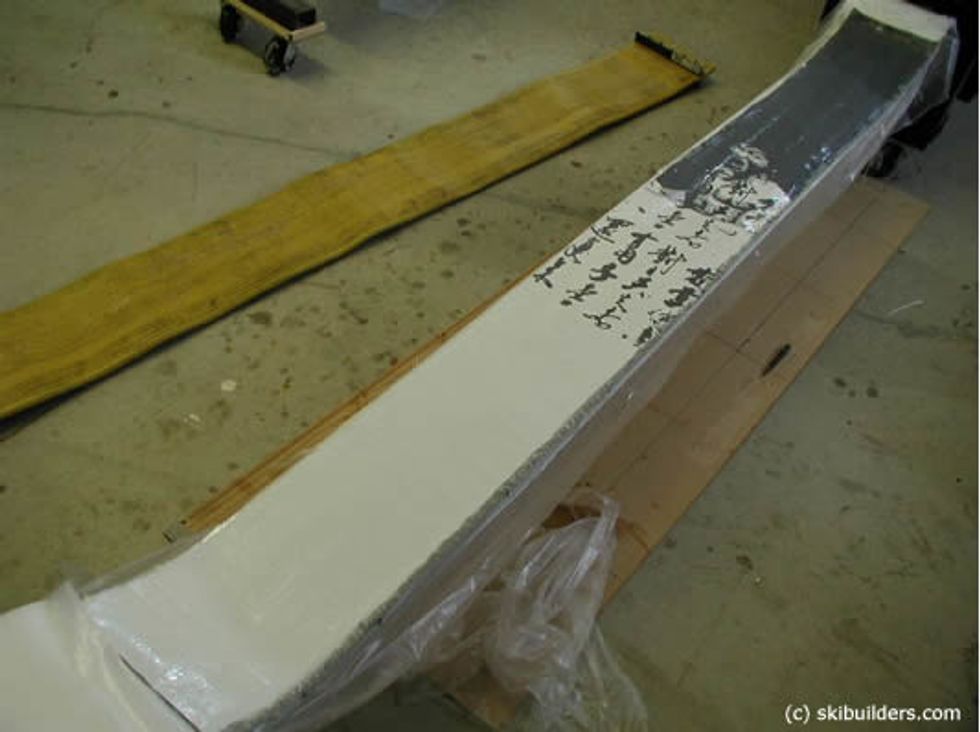
Place the top sheet layer with graphics to the top
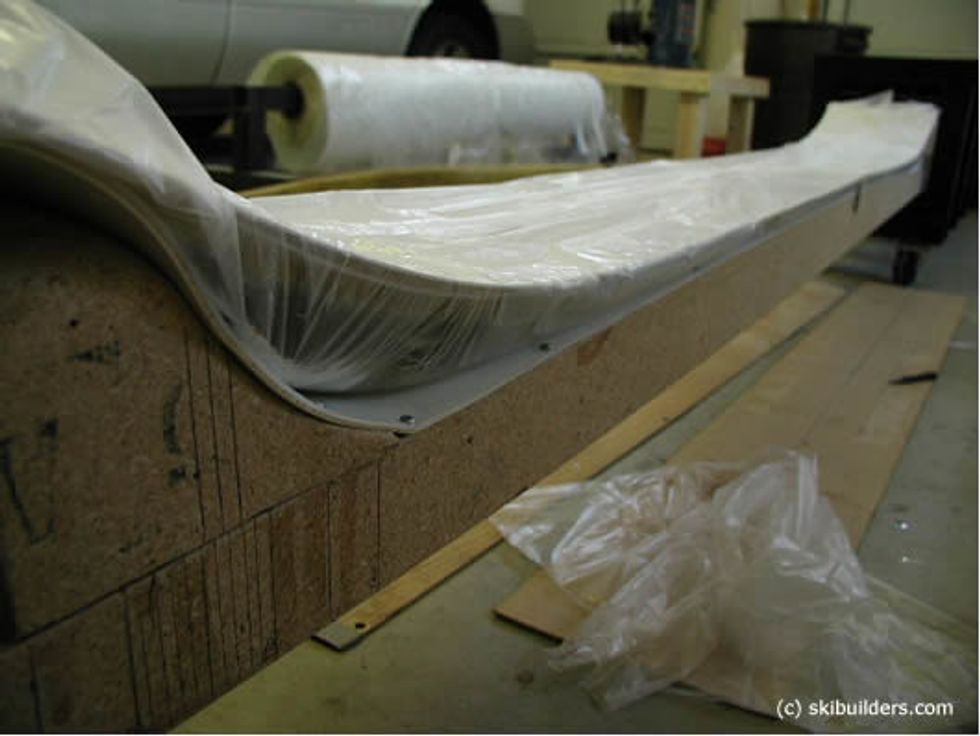
Seal the plastic sheet on the mold so that it is air tight around the ski
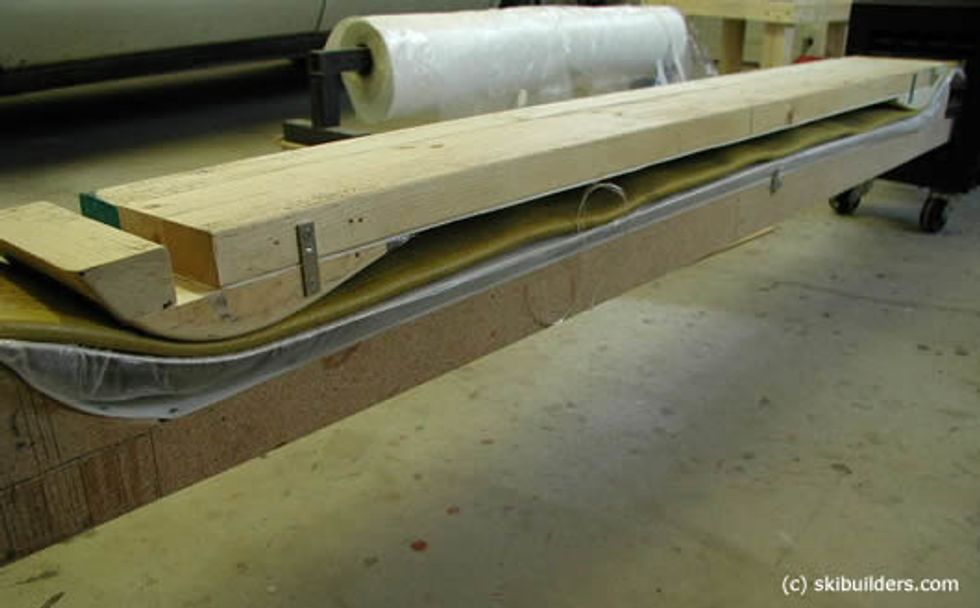
Place the bladder on top of the ski and then place the top of the mold on the bladder
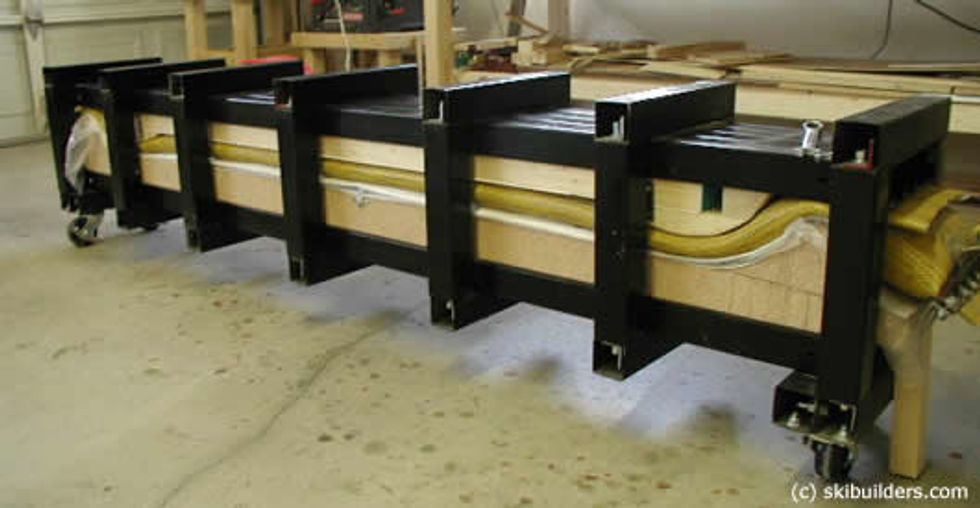
Place the mold into the press and connect the bladder to an air compressor, let sit for 10-12 hours
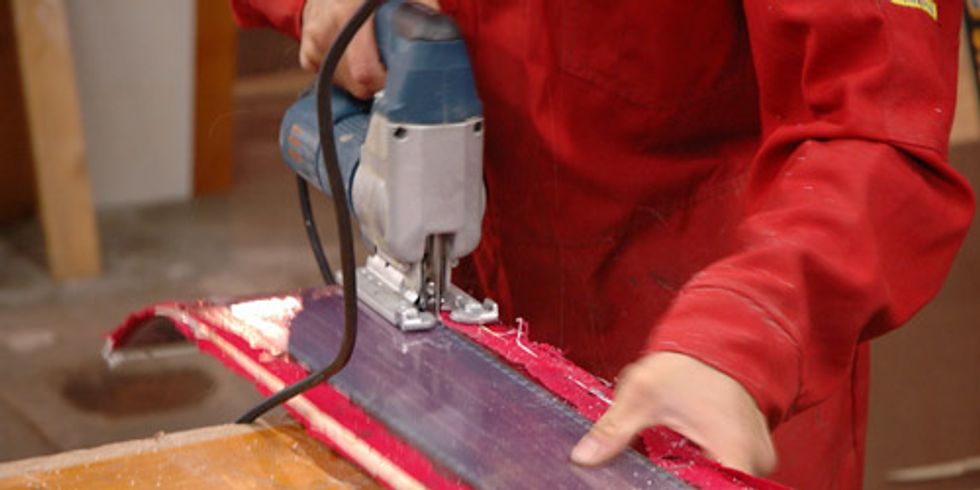
Once out of the press, trim all the excess material off using a saw
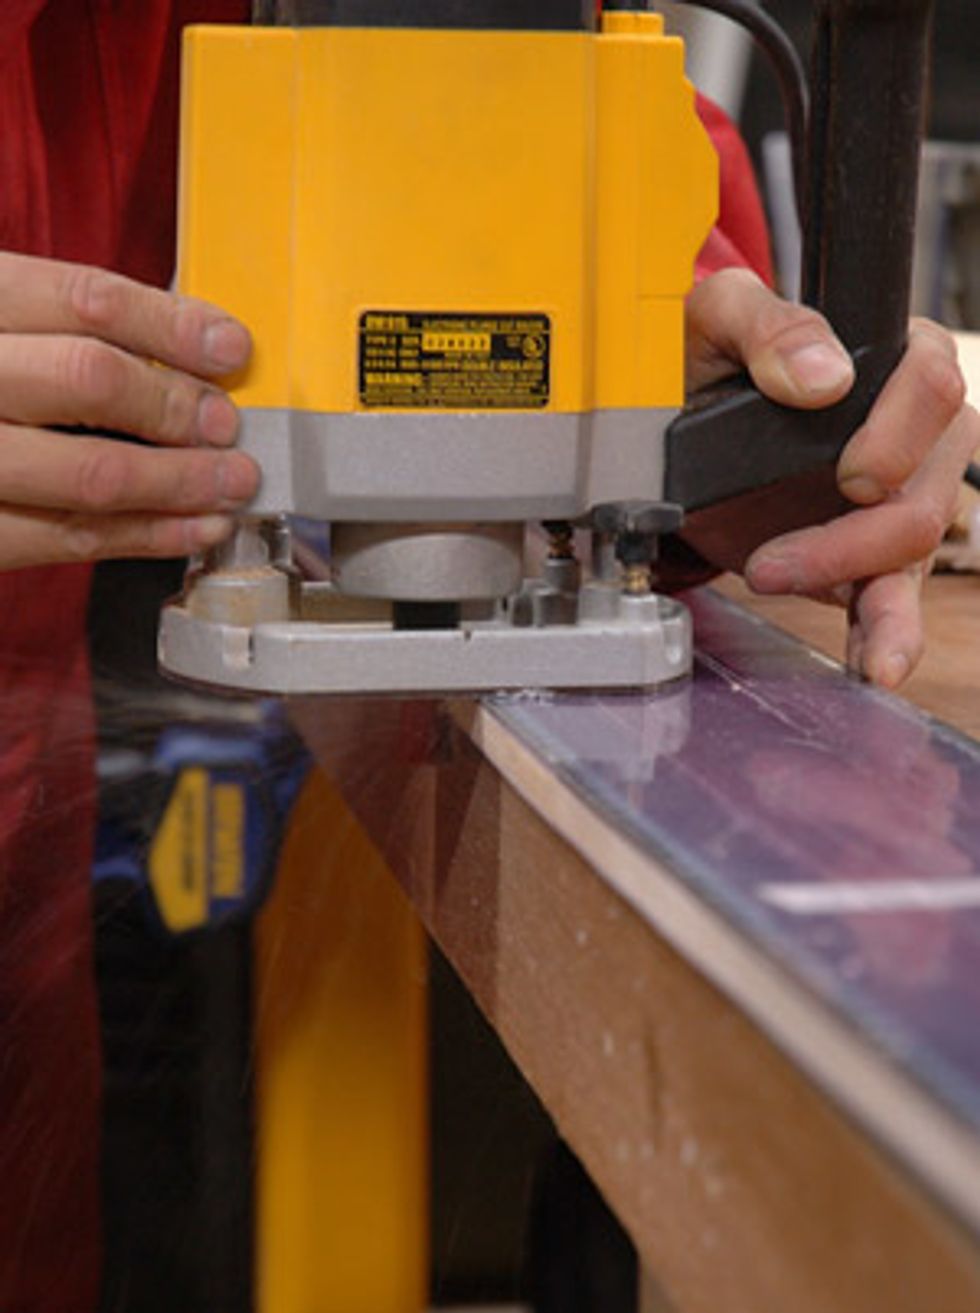
Using a router, go around the whole ski to shape the sidewalls to a preferred angle

You now have completed your skis
- Wood
- Composites
- Top Sheet Material
- Base Material
- Edges
- Sidewall Material
- Tip Spacer Material
- Rubber Strips
- Epoxy
- Press
- Mold
- Router
- Band saw
- Plastic Wrap
- Bladder
- Air Compressor
- Clamps
The Conversation (0)
Sign Up