The Conversation (1)
Sign Up
Warning: Don't show the results of this guide to your LEGO-addicted kids. They'll want it in their room immediately!
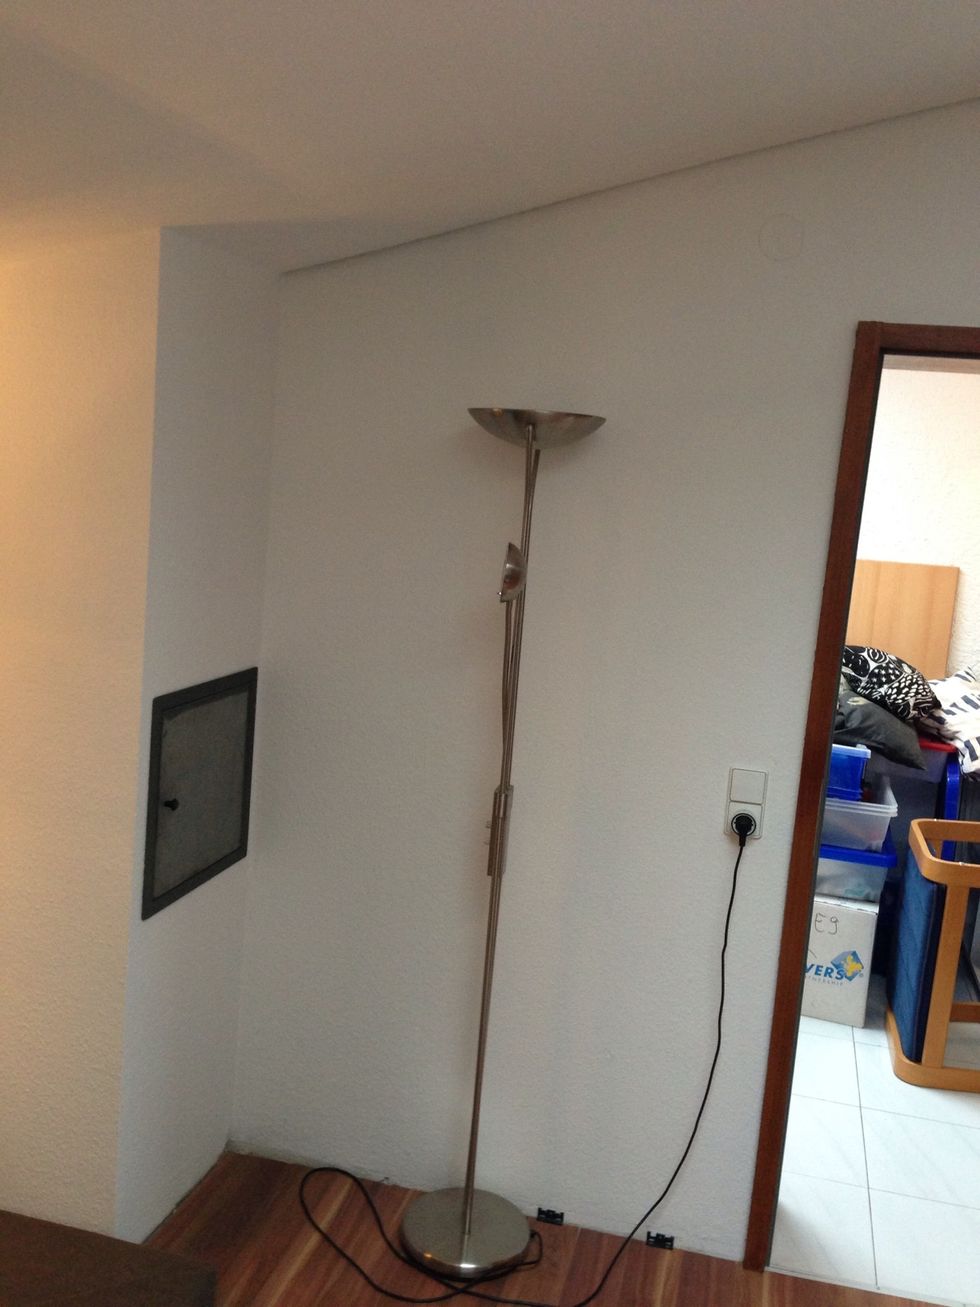
So the basic idea of this guide is to turn some corner like this...
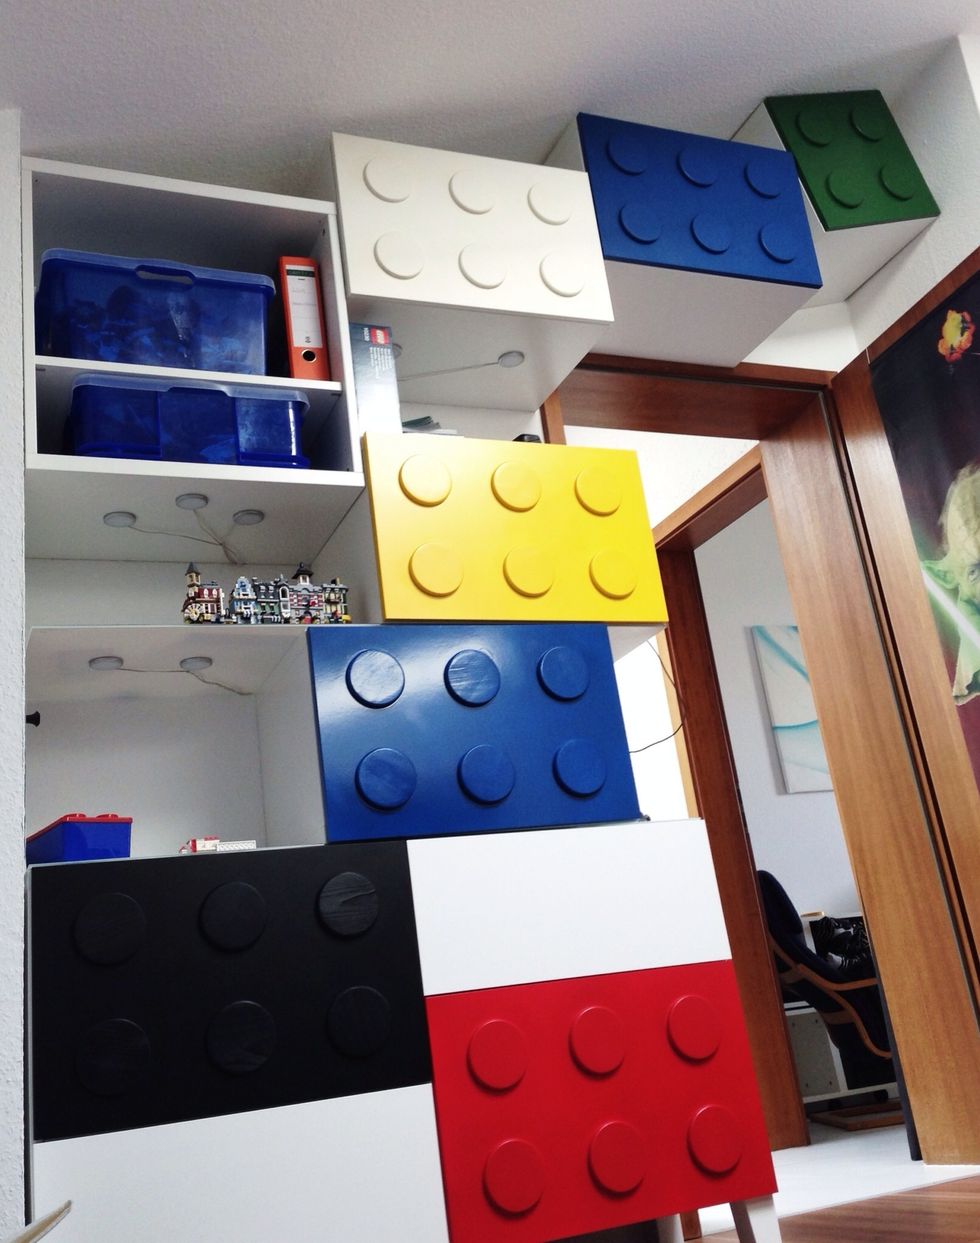
...into a LEGO-themed storage with display areas like that:
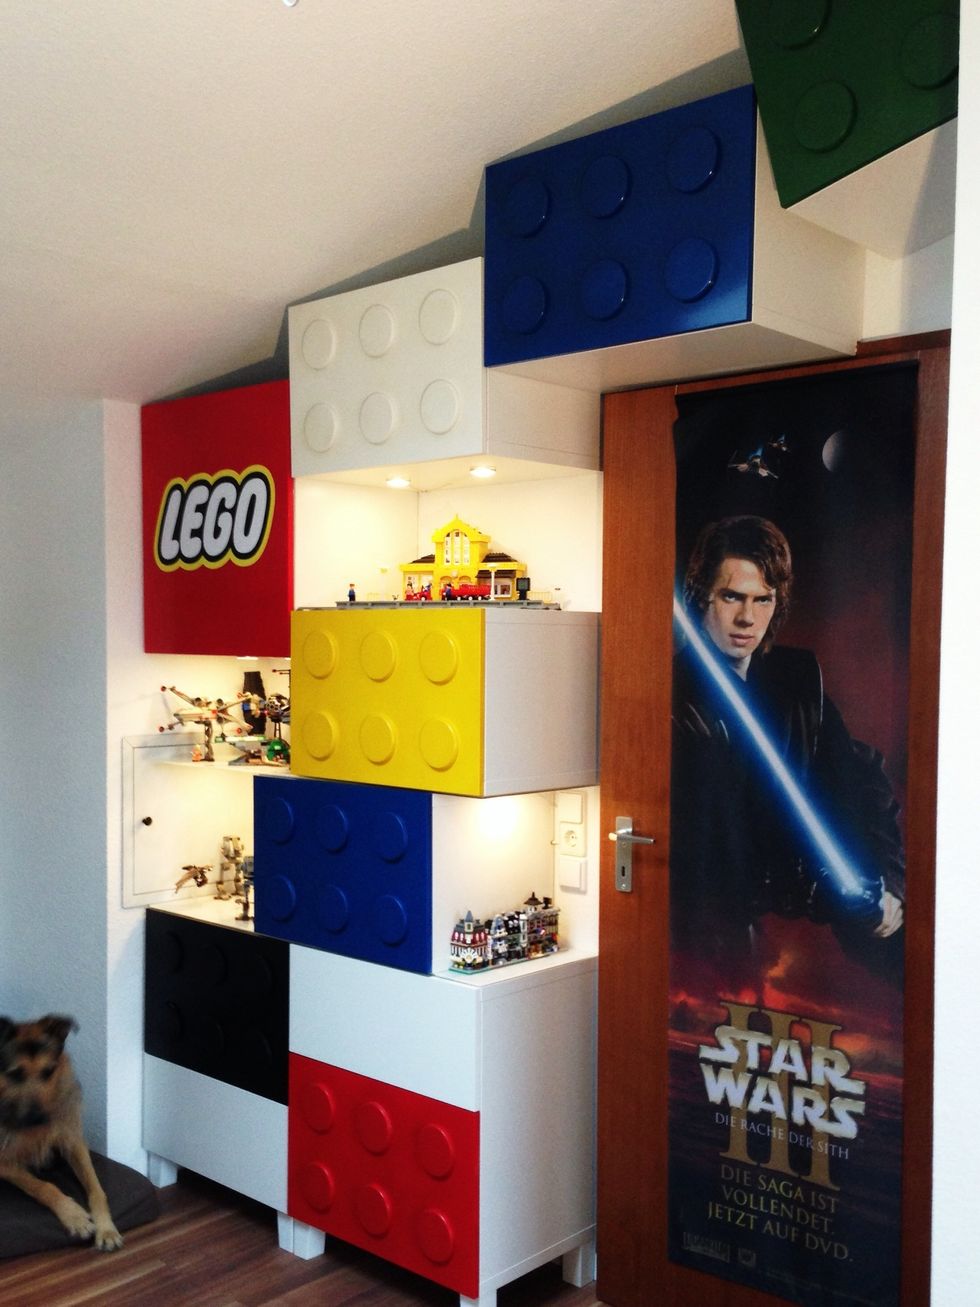
A LEGO-themed storage with display areas.
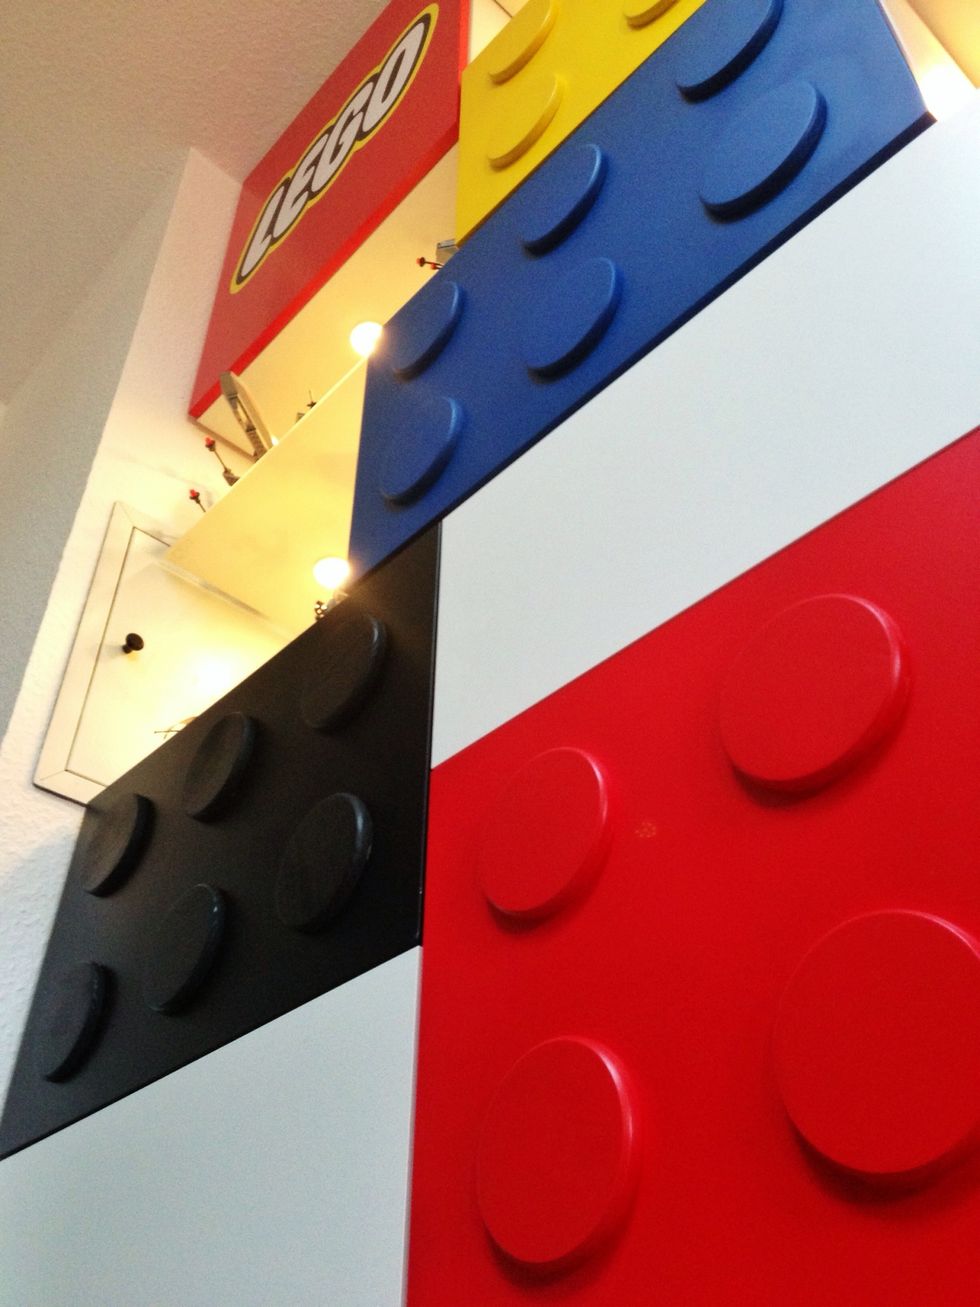
Here is a closer look at the doors.
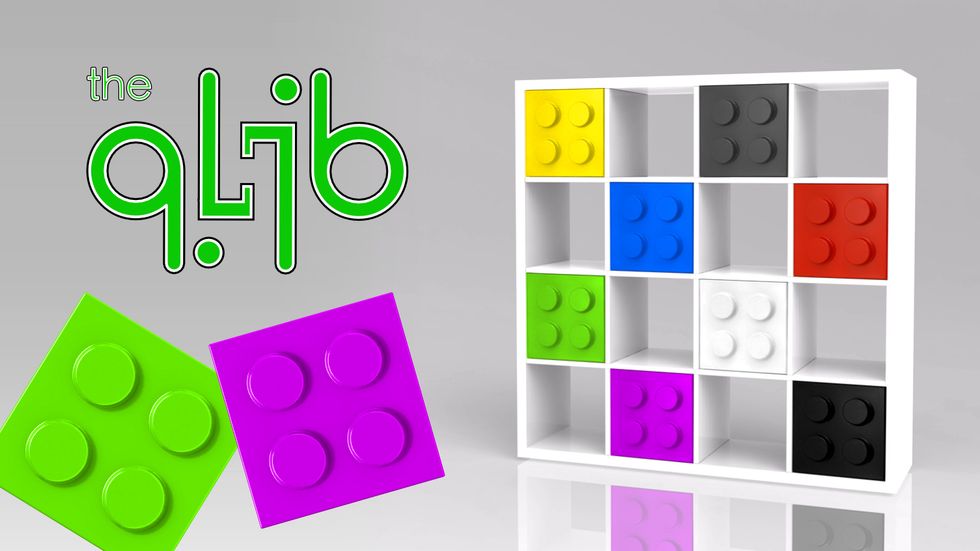
And in 2016, I took it even a little further: I created an easy qlib-on option, that you can put on Kallax & Expedit shelves. Find out more on http://qlib.it
I had two main goals: more storage and some nice display areas to showcase my latest LEGO projects
You can do this with any old shelves you have, as long as they have LEGOish measures. Anyhow, I'll show you how it is done from the beginning...
First: Note all measures
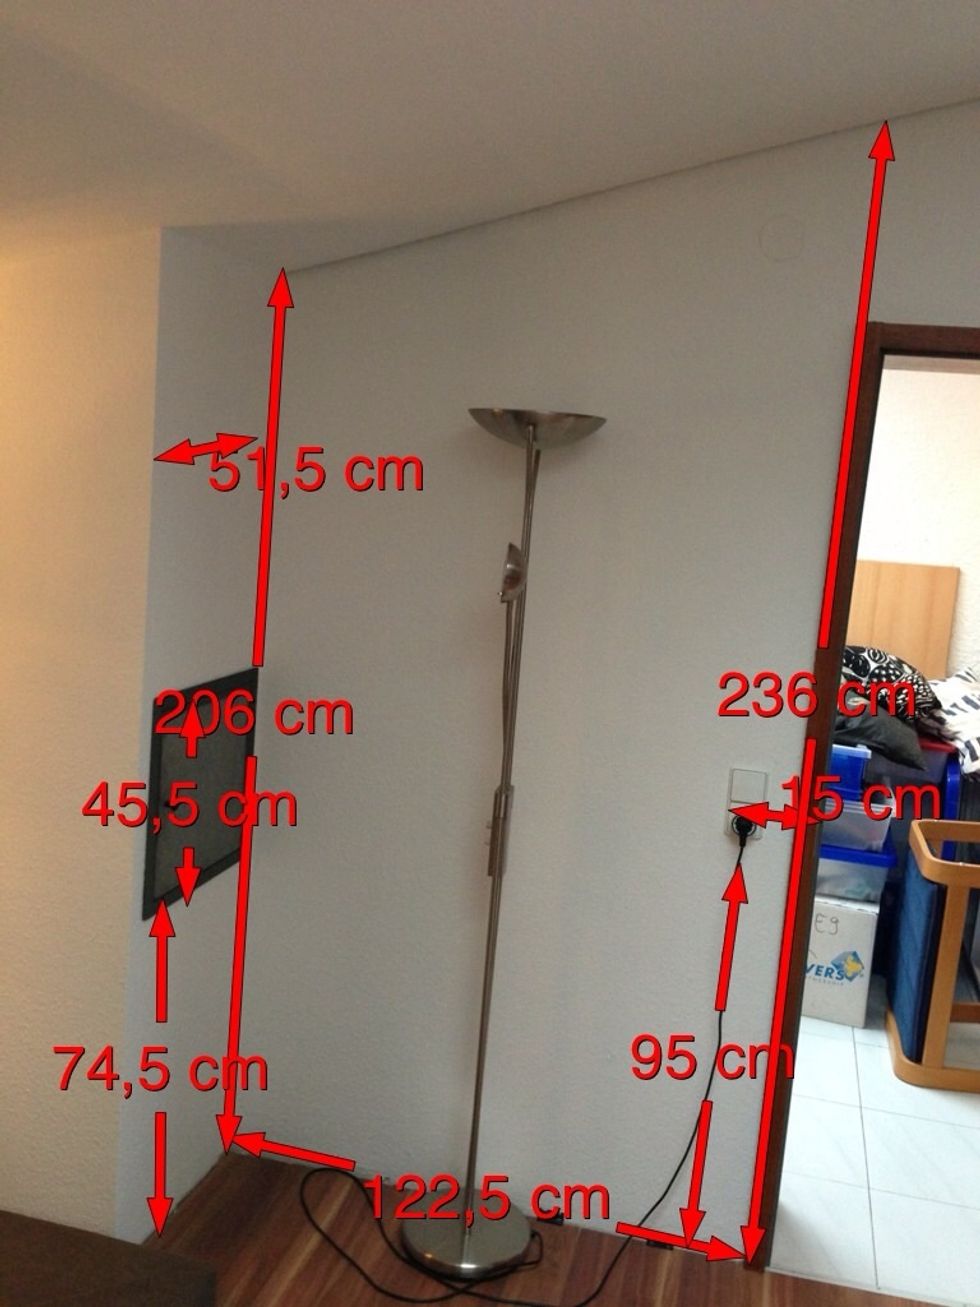
I use an app called 'Measures' to note my measuring. Sounds reasonable, doesn't it?
Next up: Imagine what it will look like
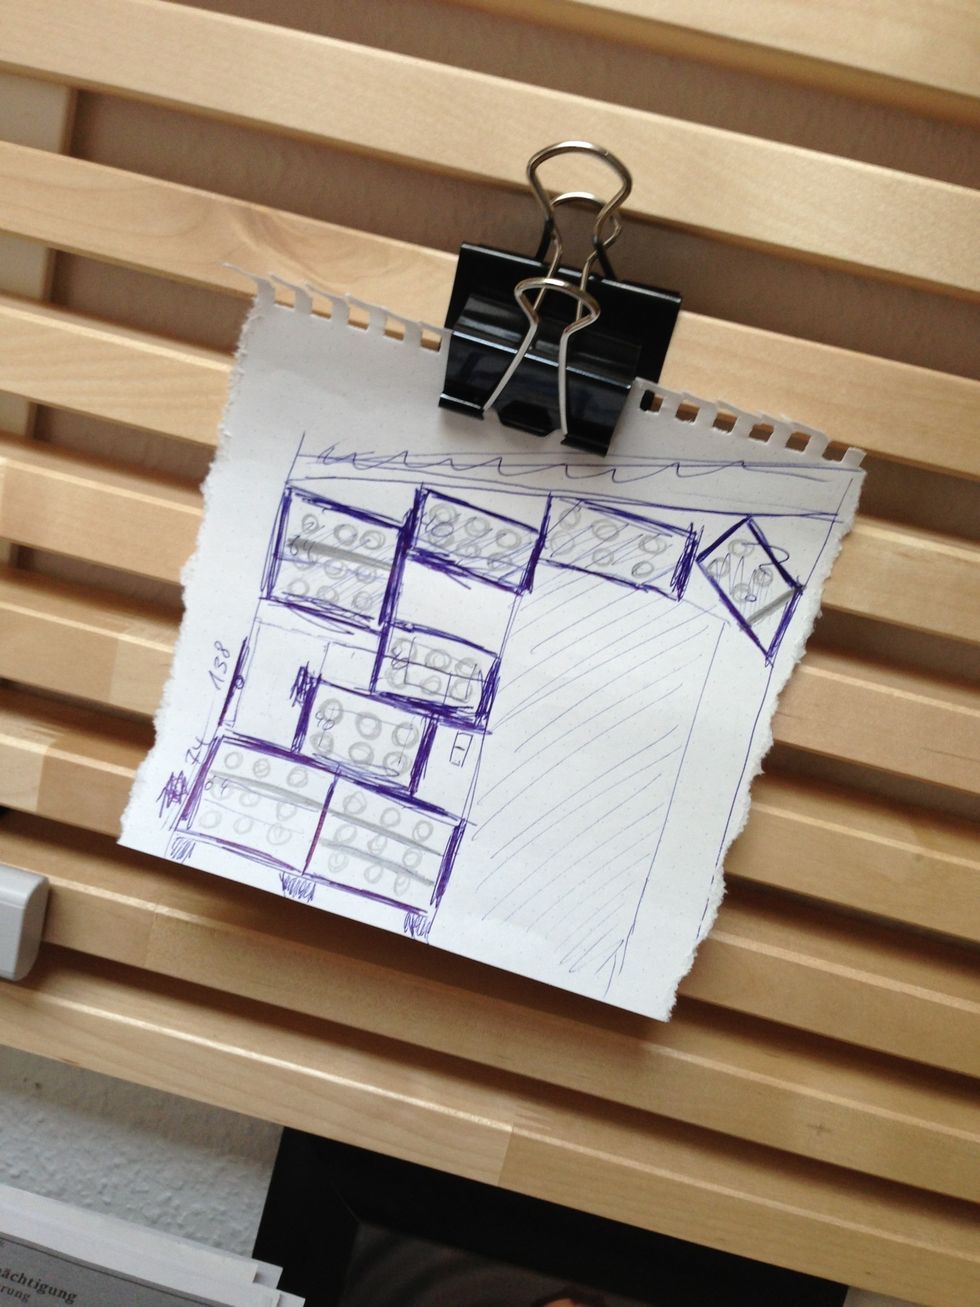
Draw it...
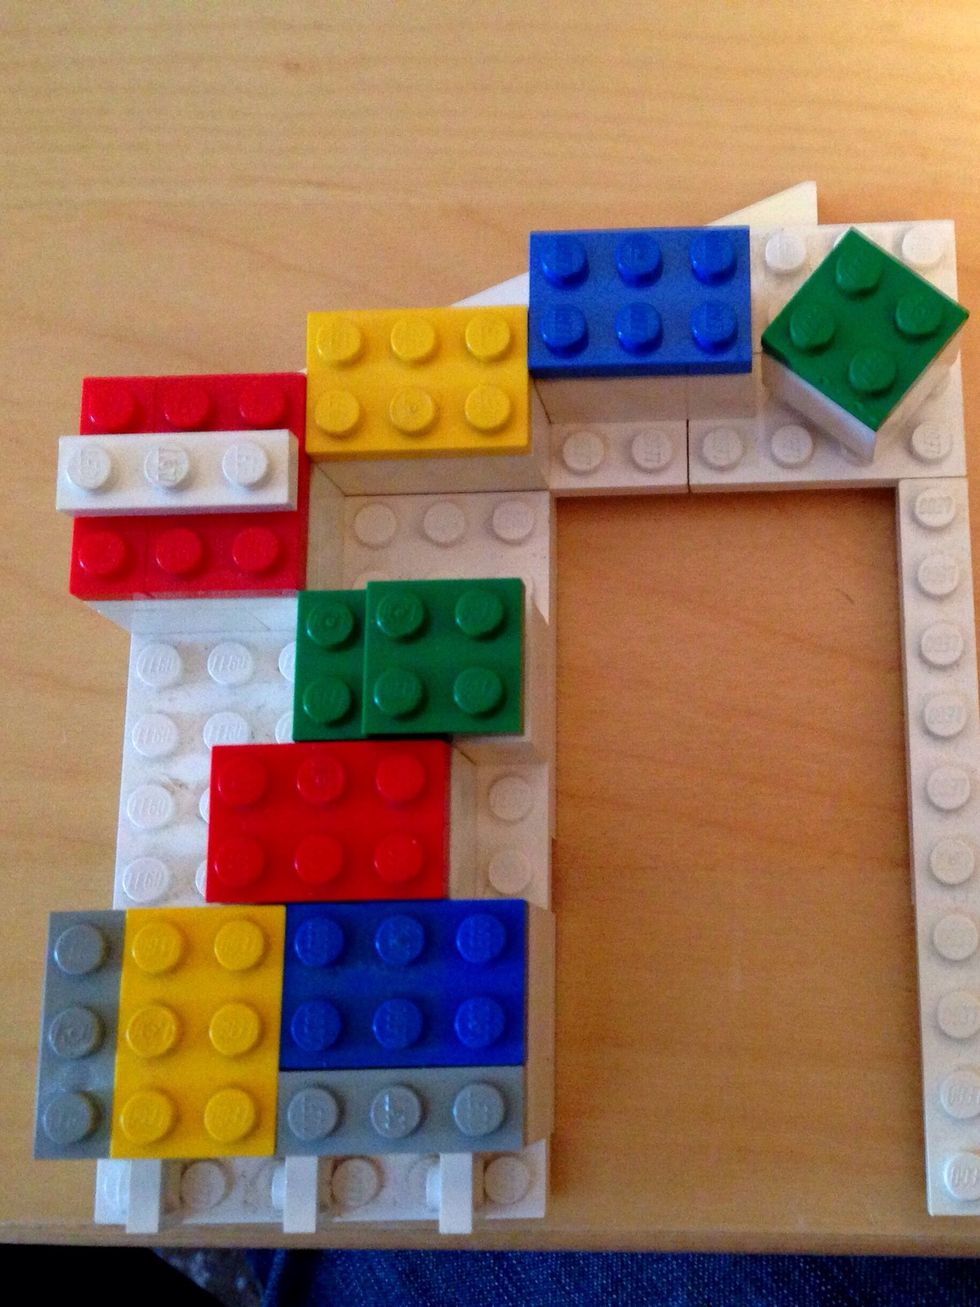
... maybe build it.
I had a look around and found that doors for IKEA BESTA shelves had the best proportions to resemble LEGO bricks.
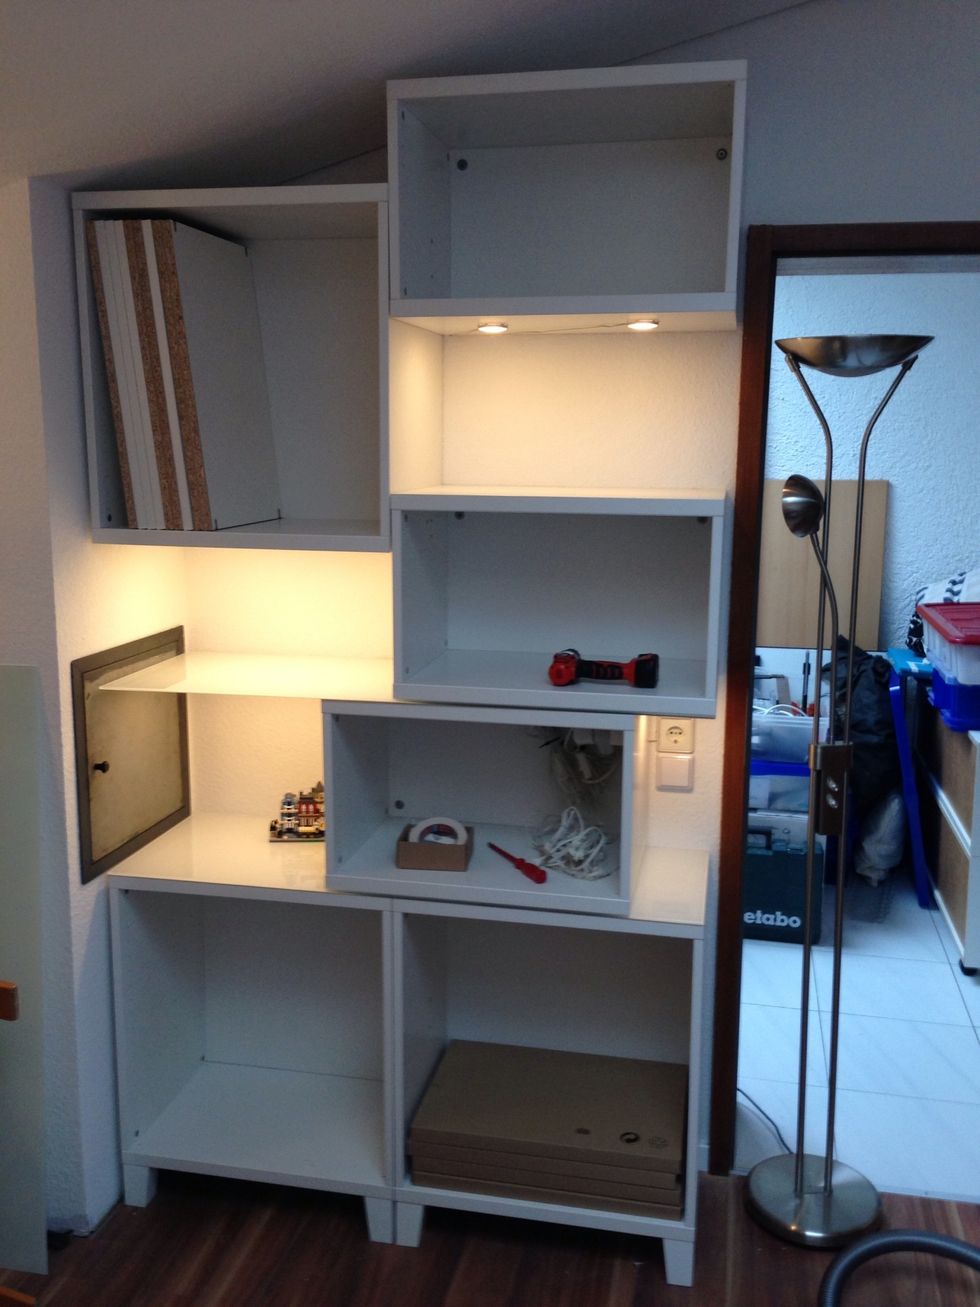
Buy the shelves & assemble them.
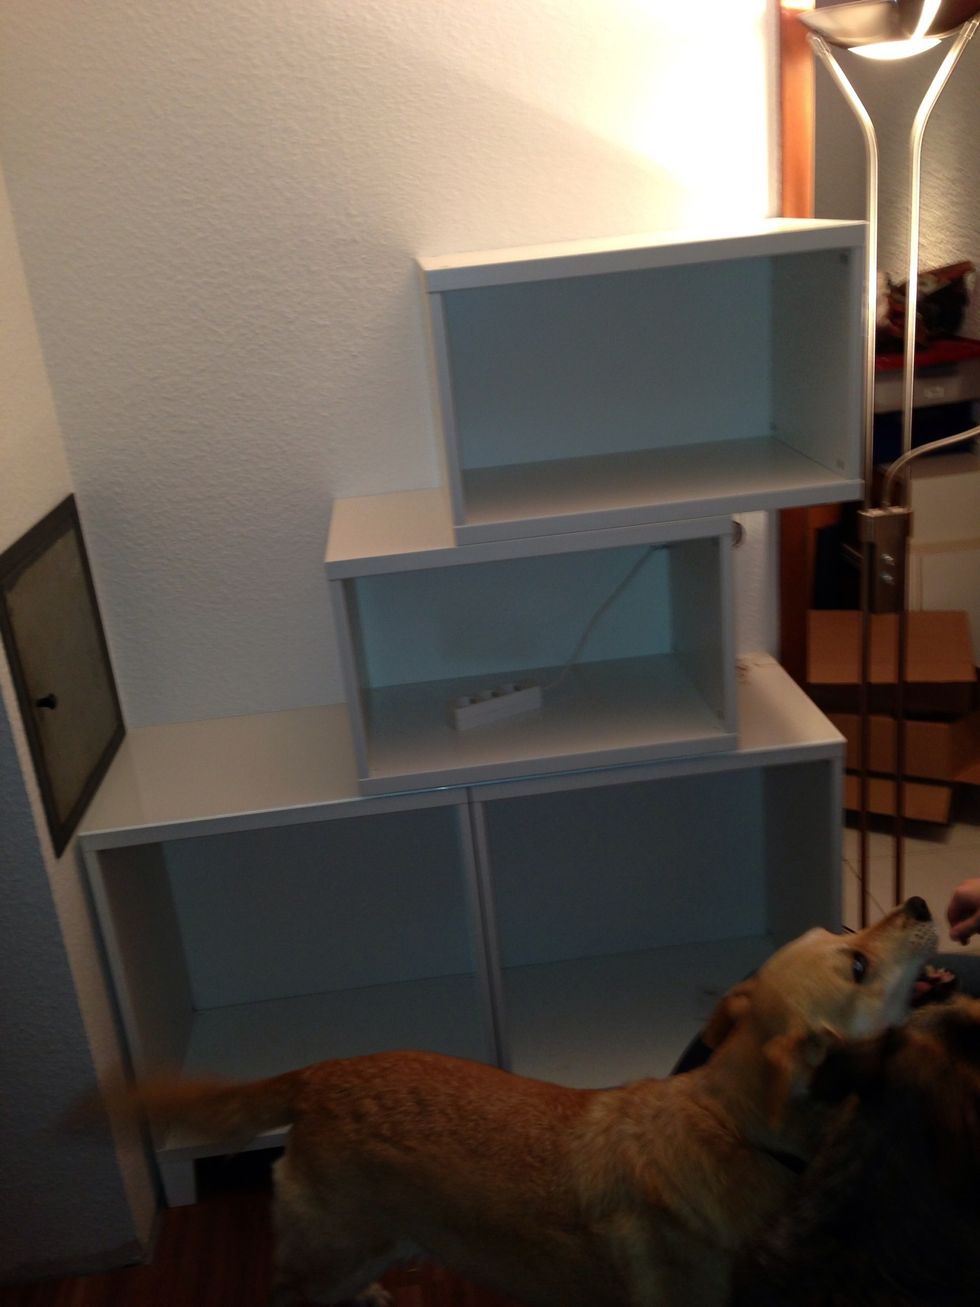
In case you want to add lights, don't forget: You'll need some power (look at the center of the picture, there it is)
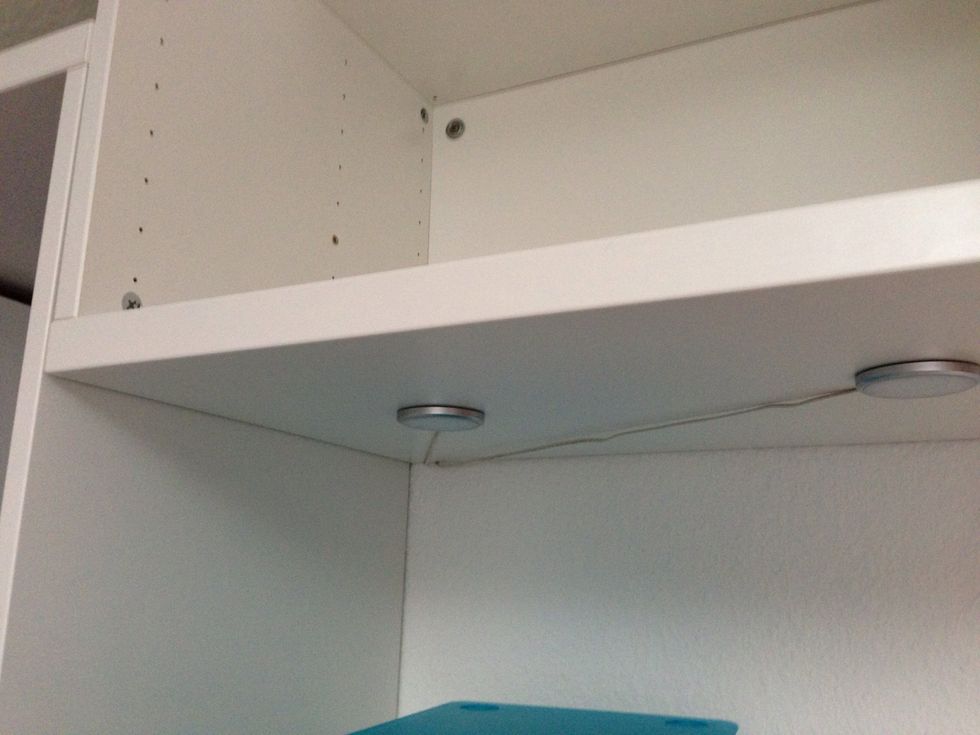
I added IKEA Dioder lights to highlight the display areas
Lights: Working.
All shelves hanging.
Last & most important: The LEGO-doors
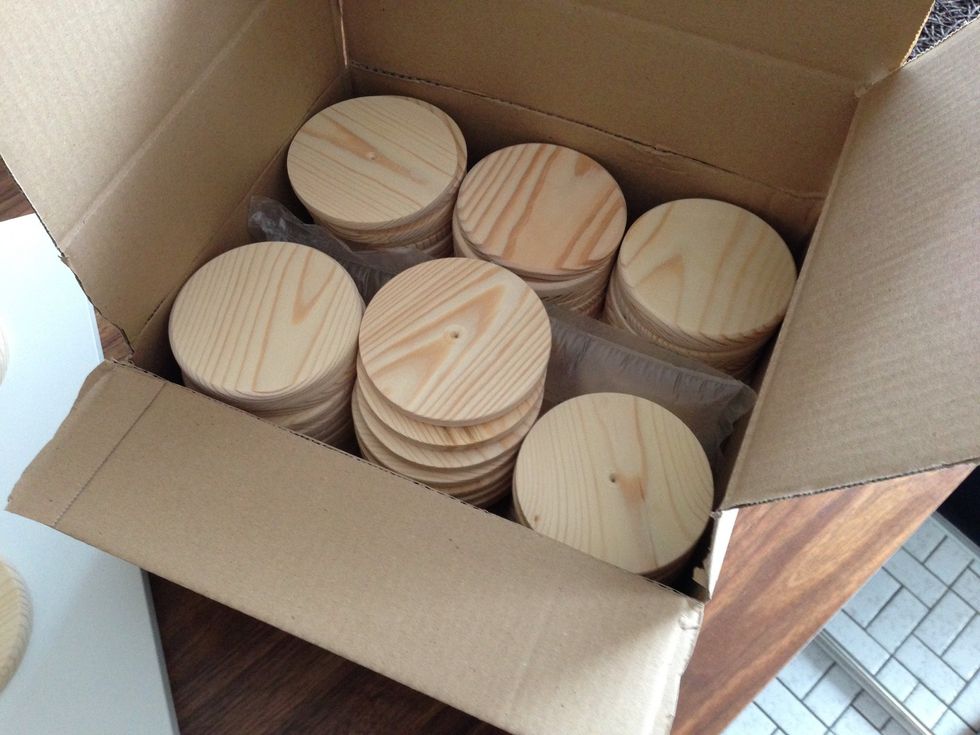
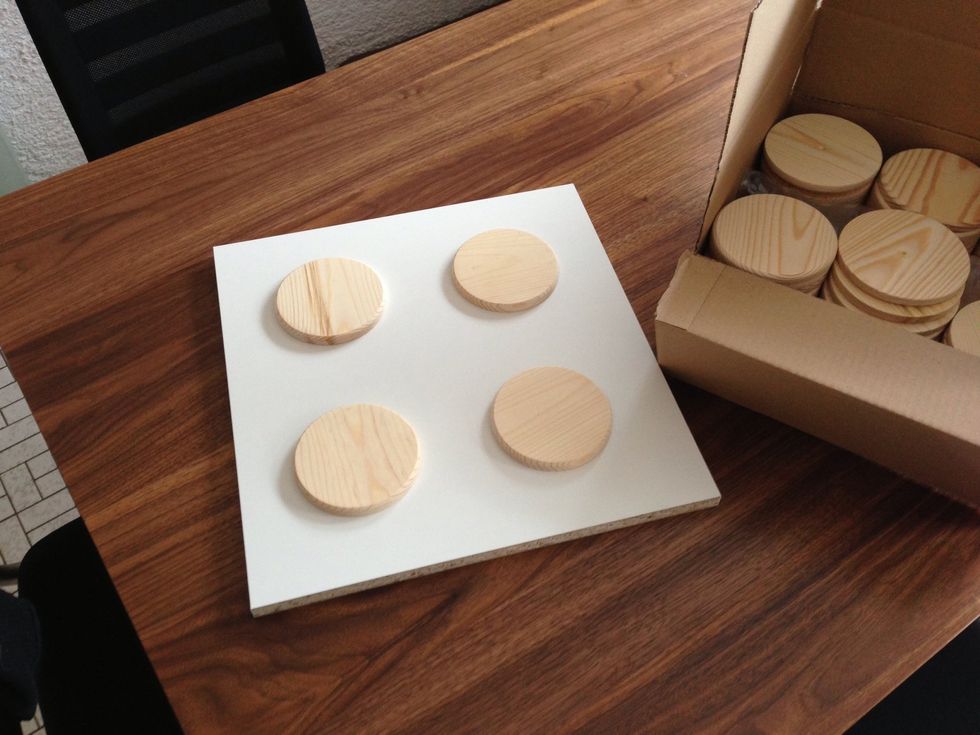
I ordered 60 of these wooden coasters to create the LEGO-doors. Found them on eBay.
The concept is easy: Attach the coasters to the doors ...
... and paint it in any color you planned.
The detailed steps for the LEGO doors:
Get dressed properly for painting stuff. Put on your DIY shirt and some old pants. Keep in mind: You might look like this in the end...

Just kidding 😉
First of all, the base colour of the doors and the coasters has to be the same. I bought white doors, so I had to paint the coasters white as well.
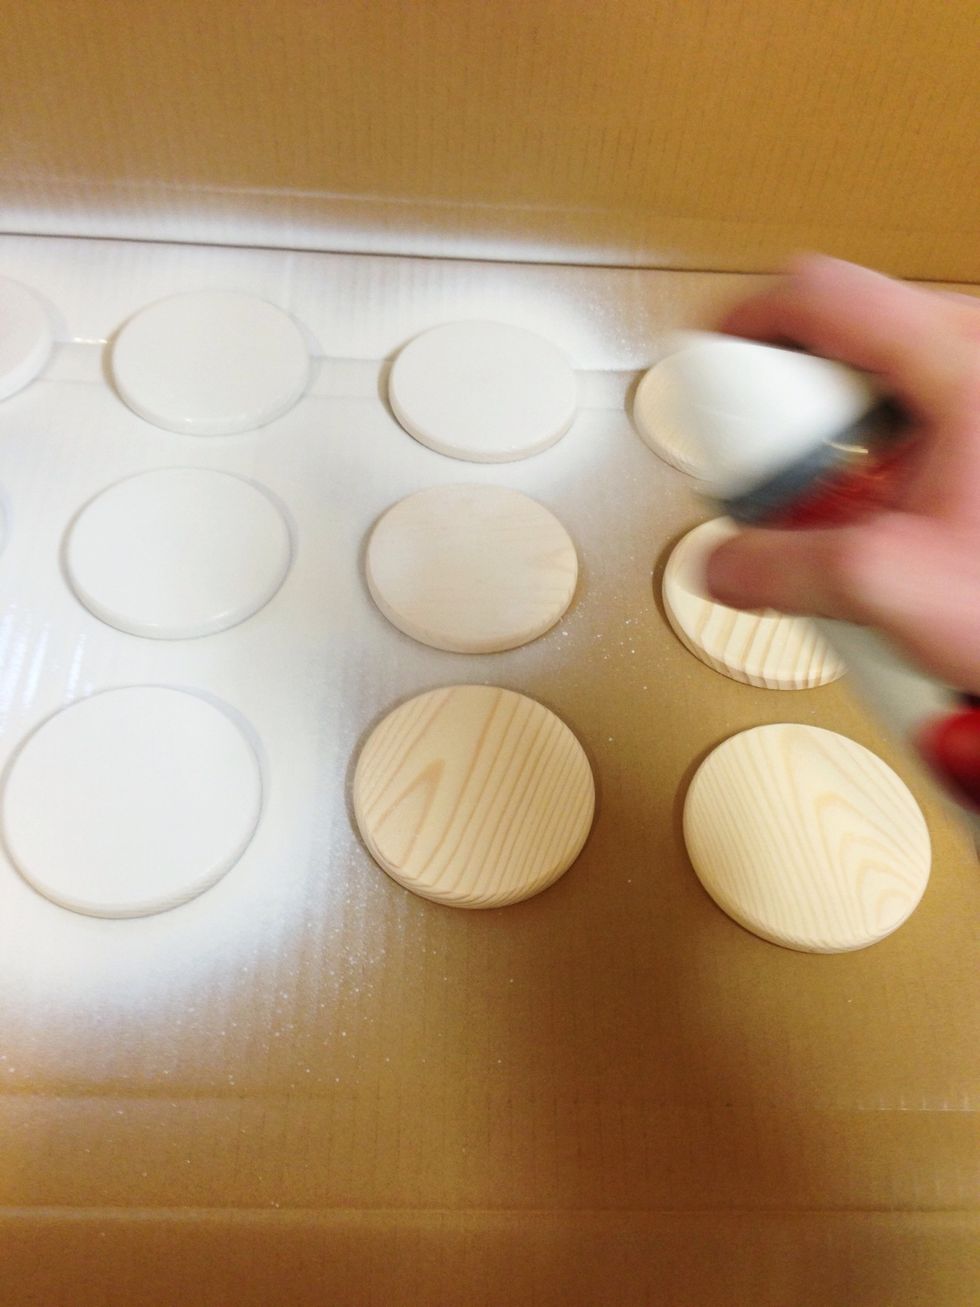
Lay out the coasters on a large piece of cardboard and start painting them.
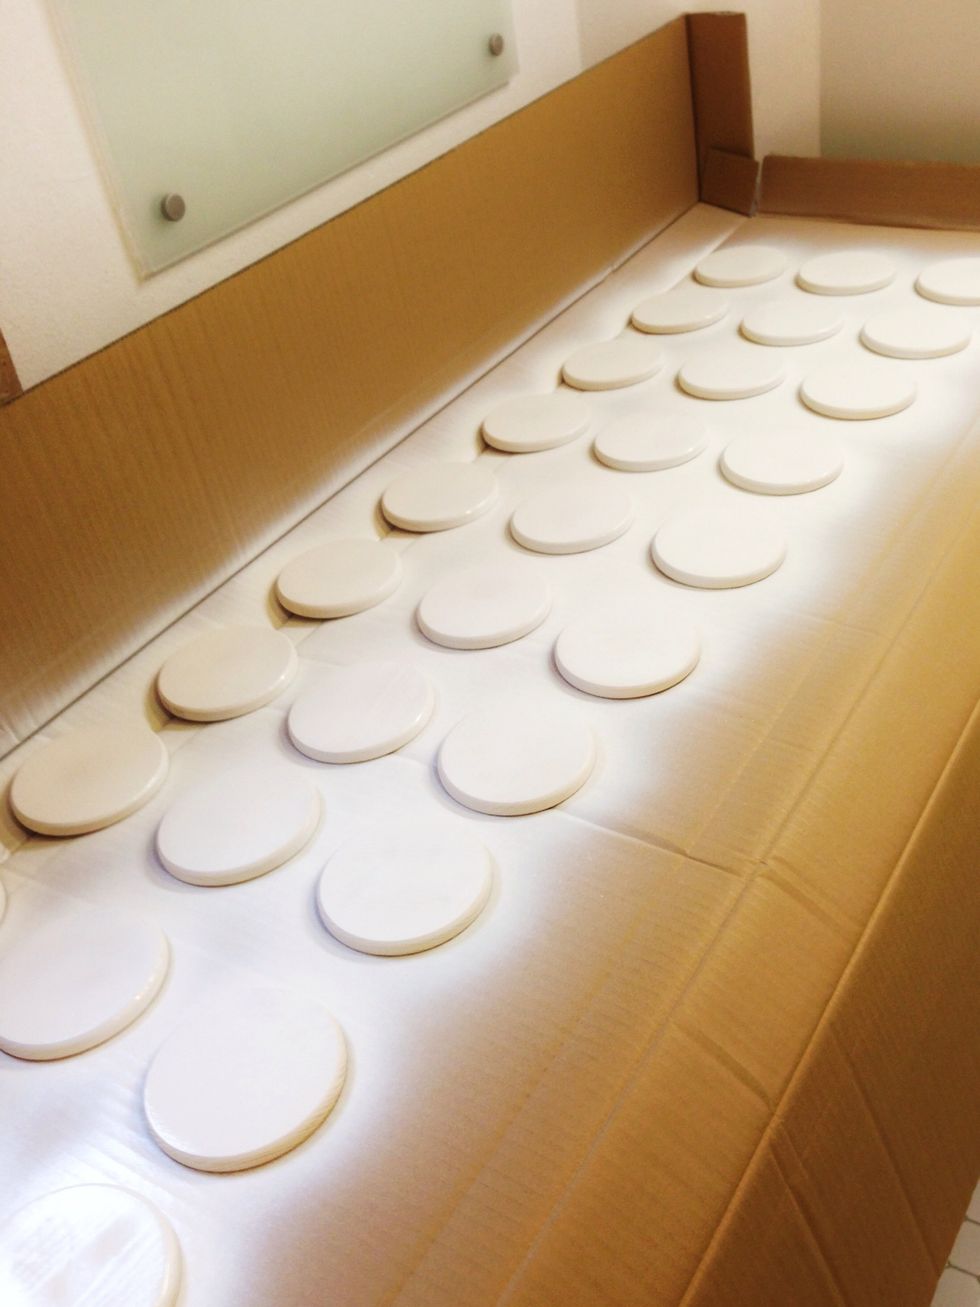
When you're done, wait for the paint to dry.
Meanwhile ... Prepare the door!

Put in the screws carefully.
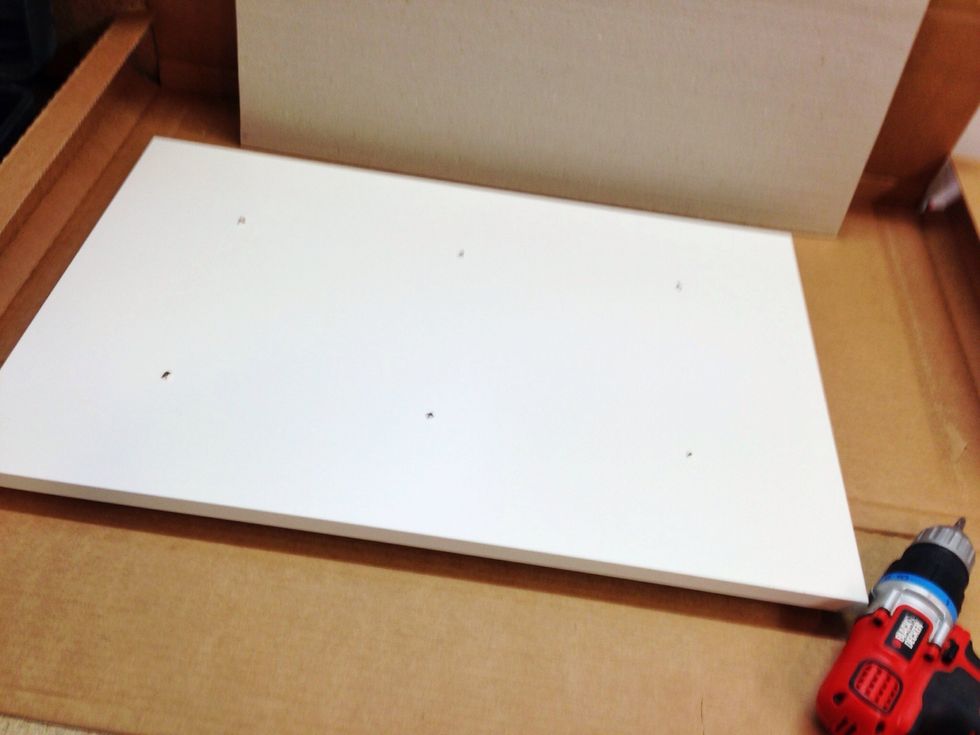
They'll come out the other end.
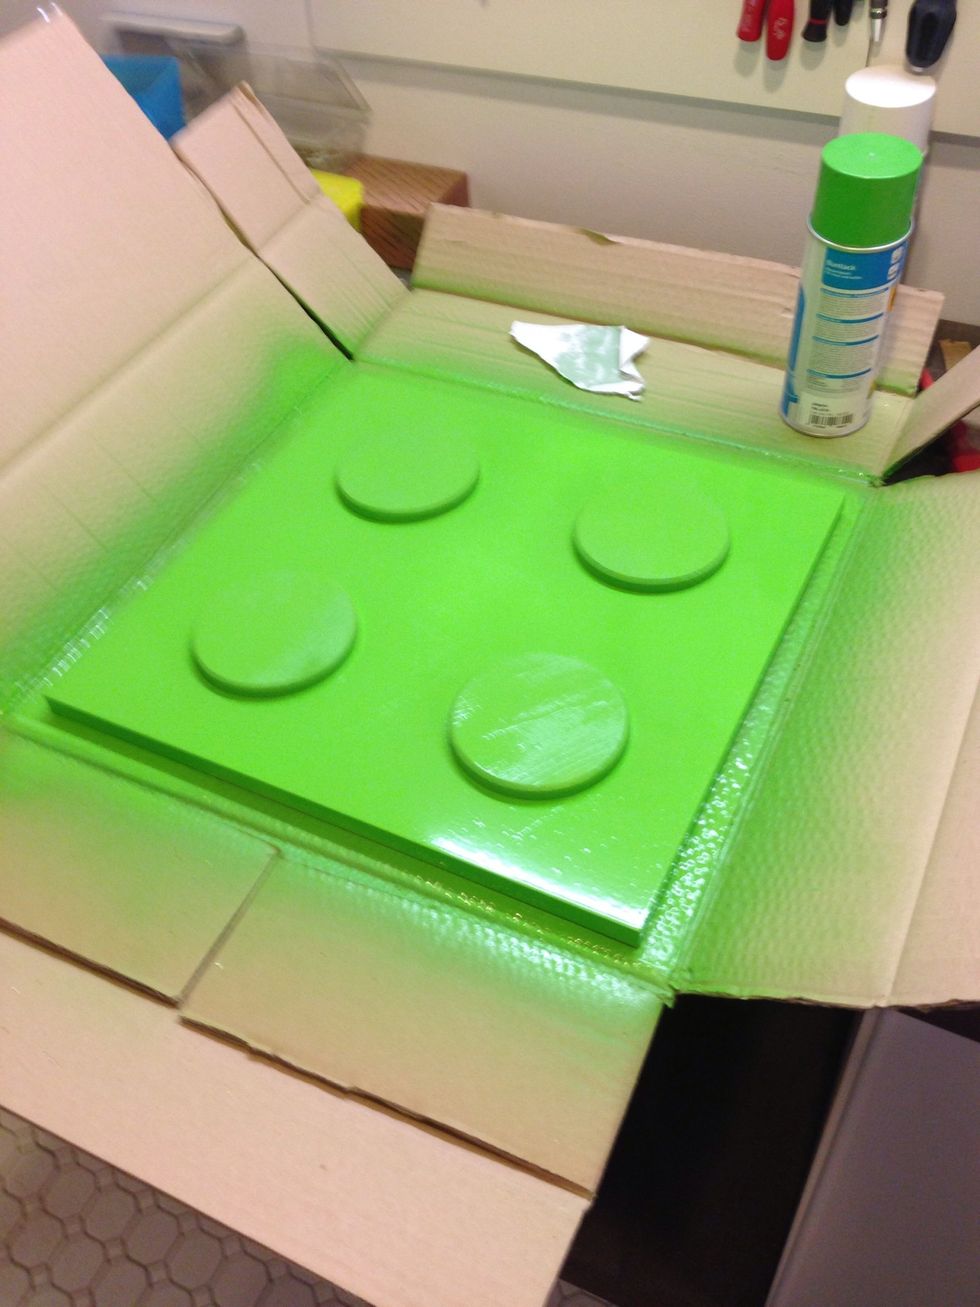
But: LEGO has many colours. So let's go on painting!
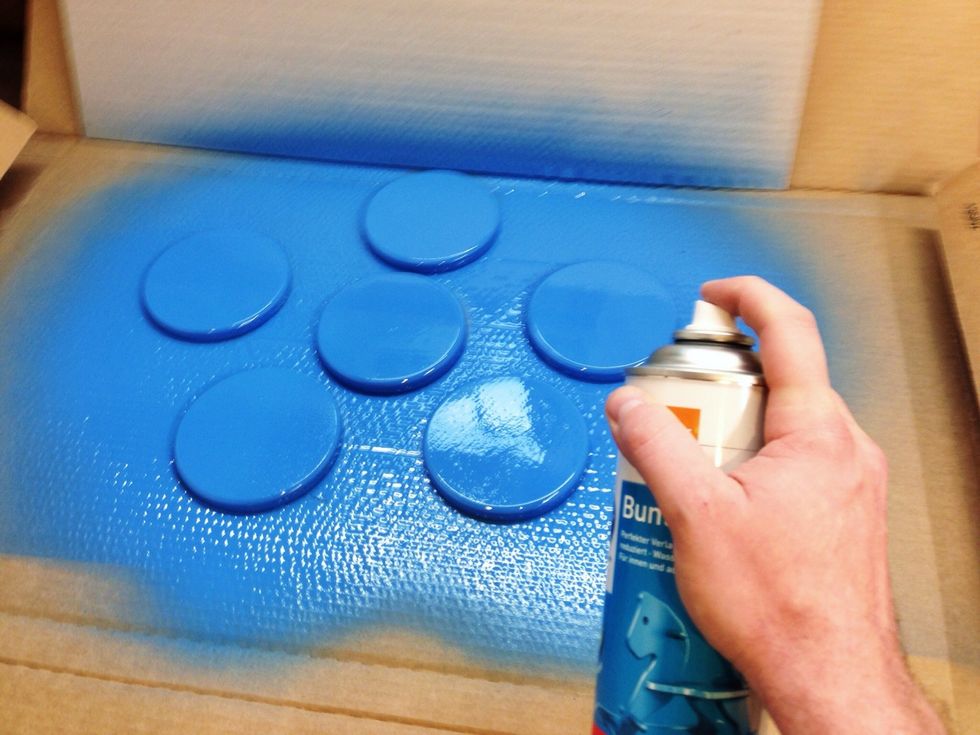
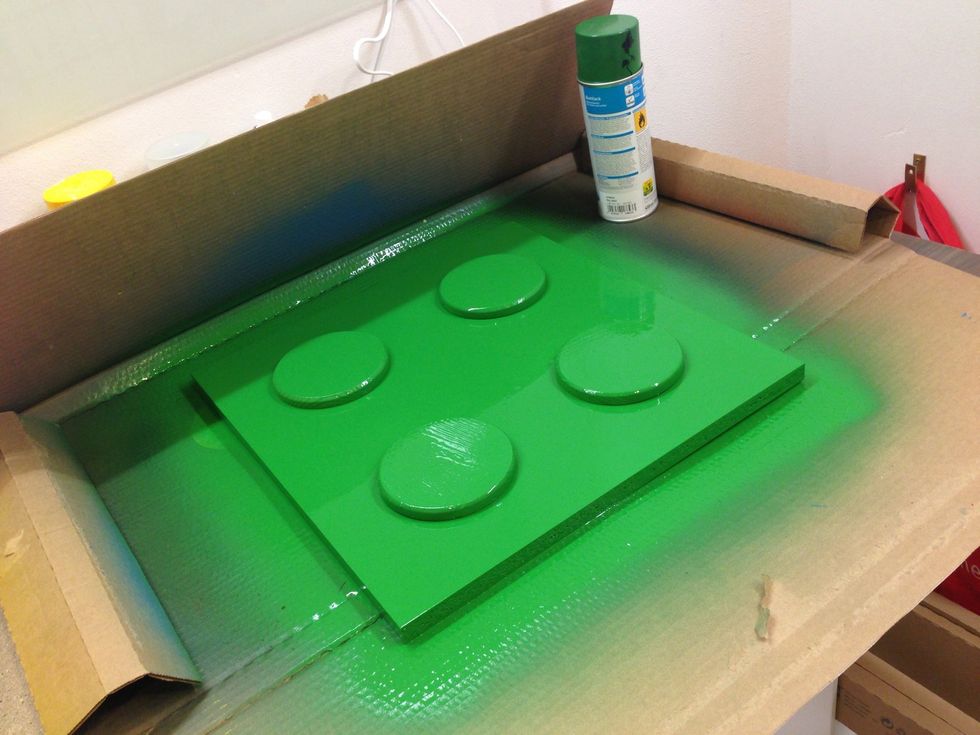
Spraypaint the coasters once before you add them to the doors.
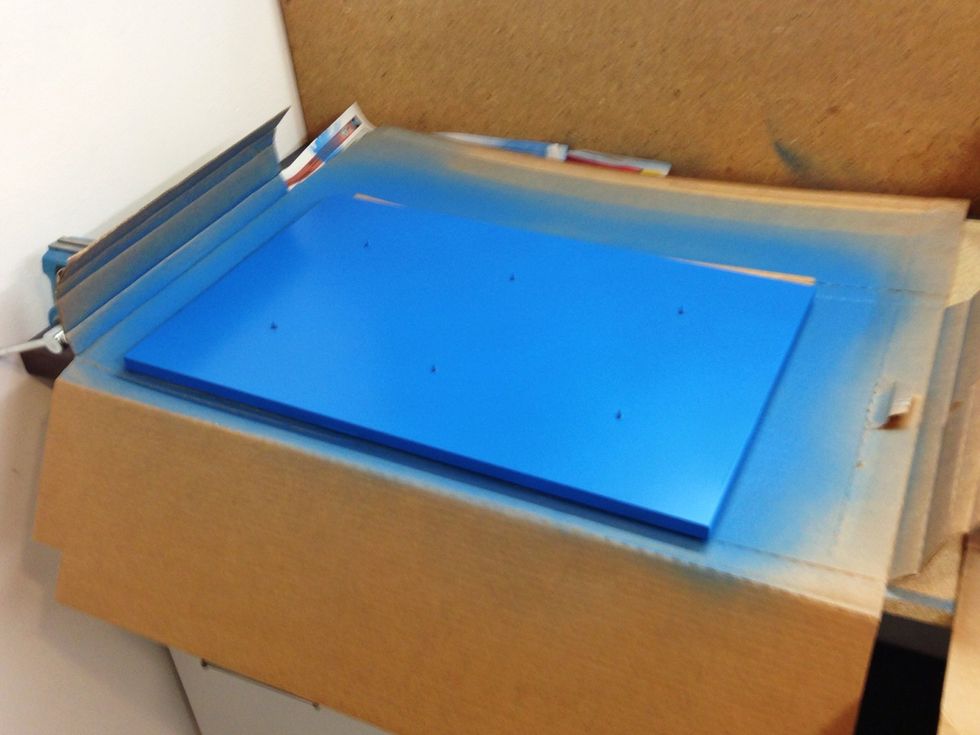
Spraypaint the door as well.
Wait until the paint has dried.!
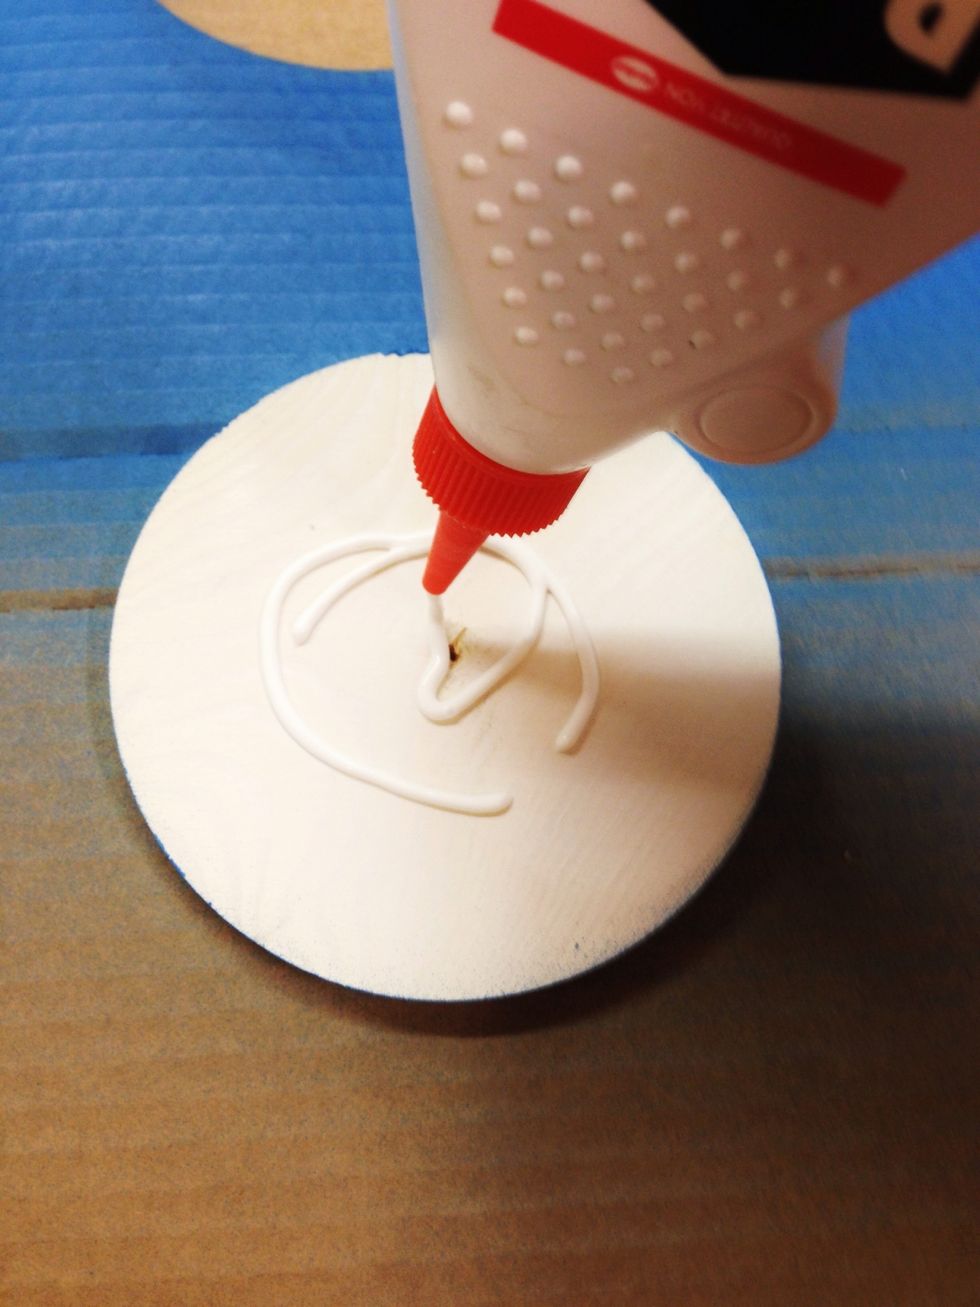
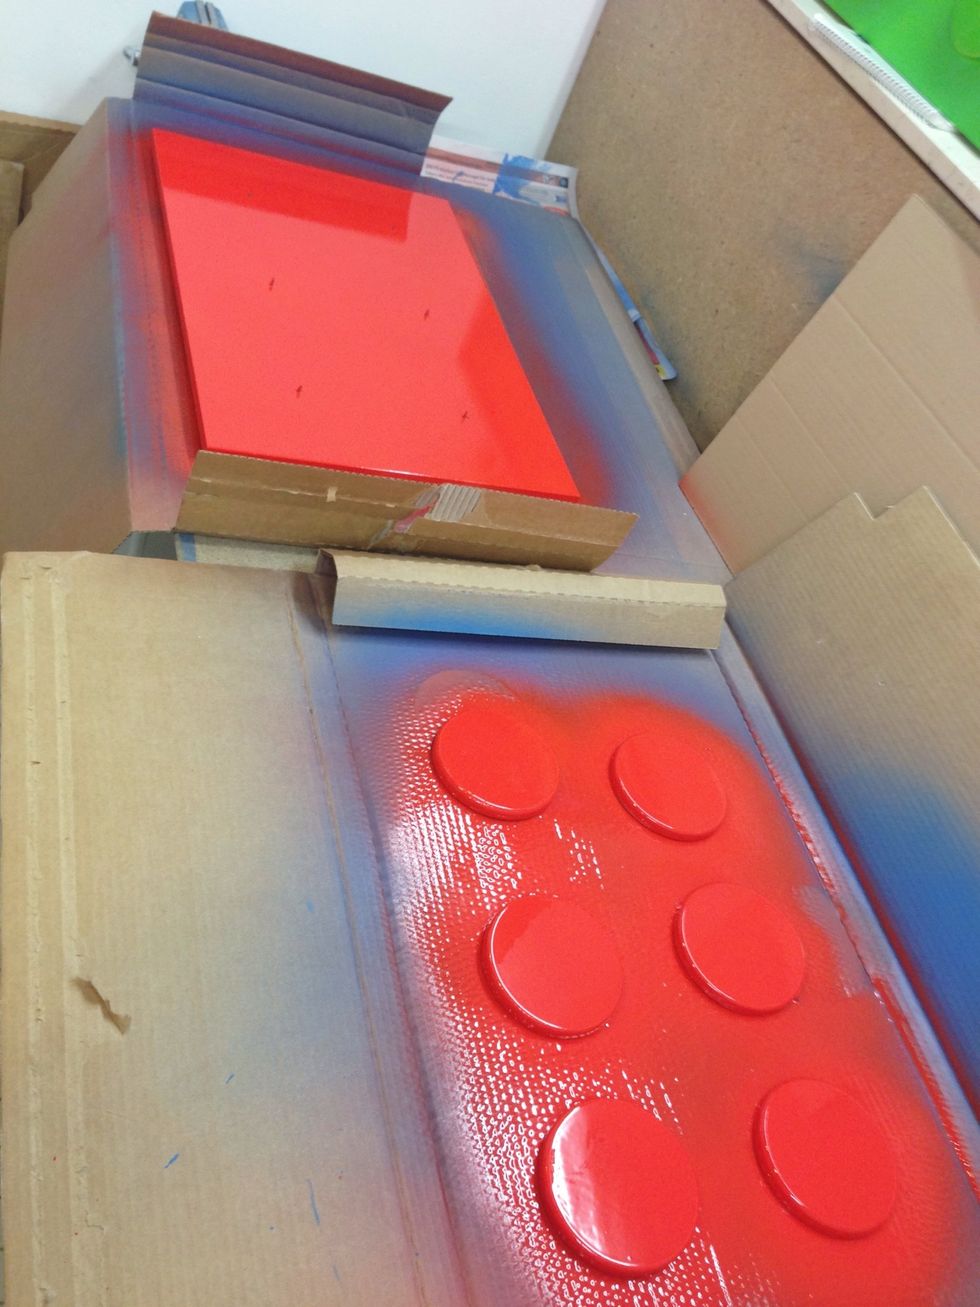
Put a little wood glue on the back of the coasters
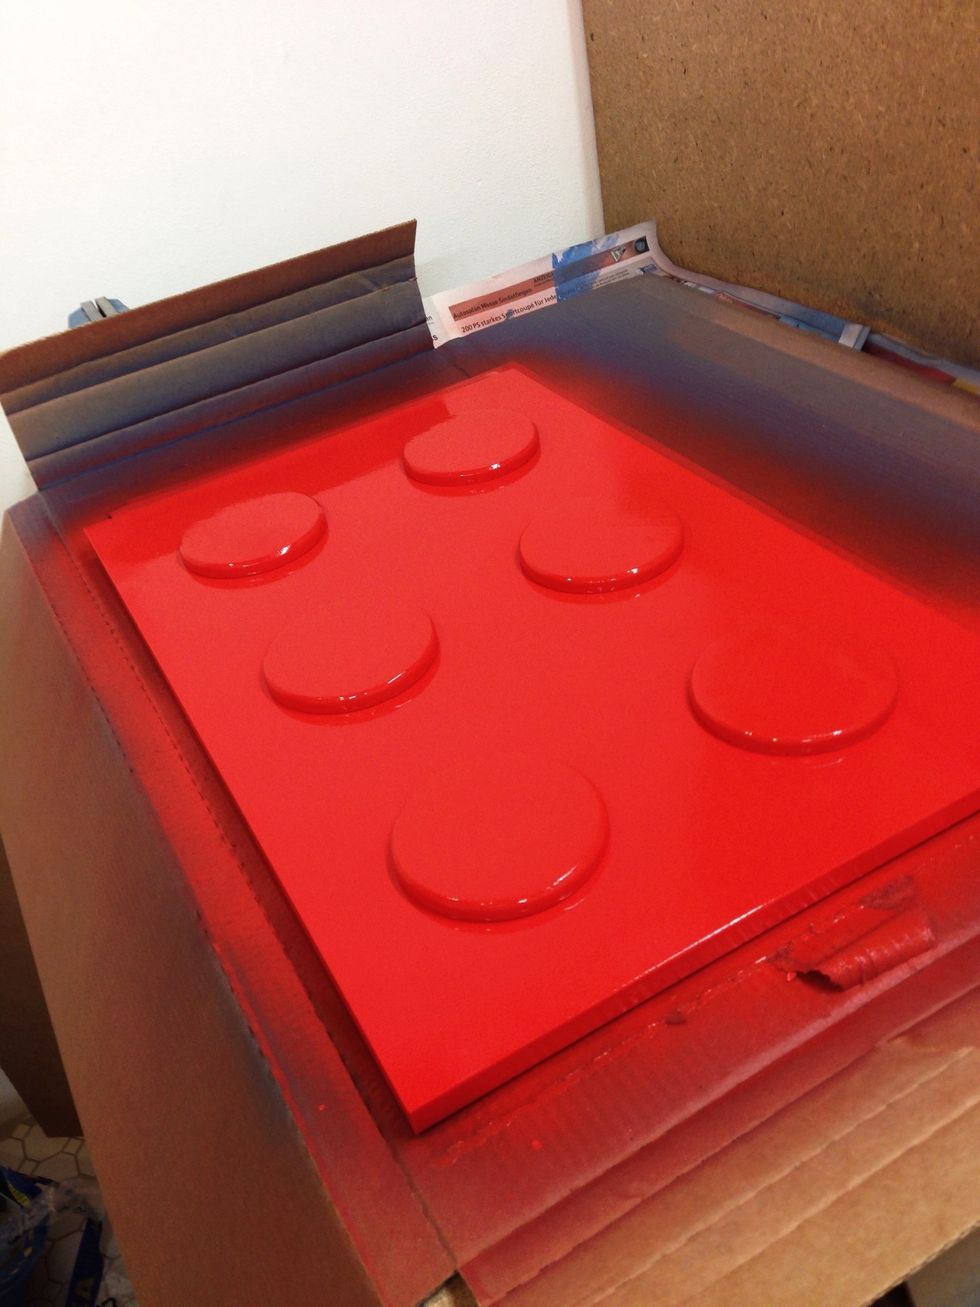
Paint it once again and the door is almost finished!
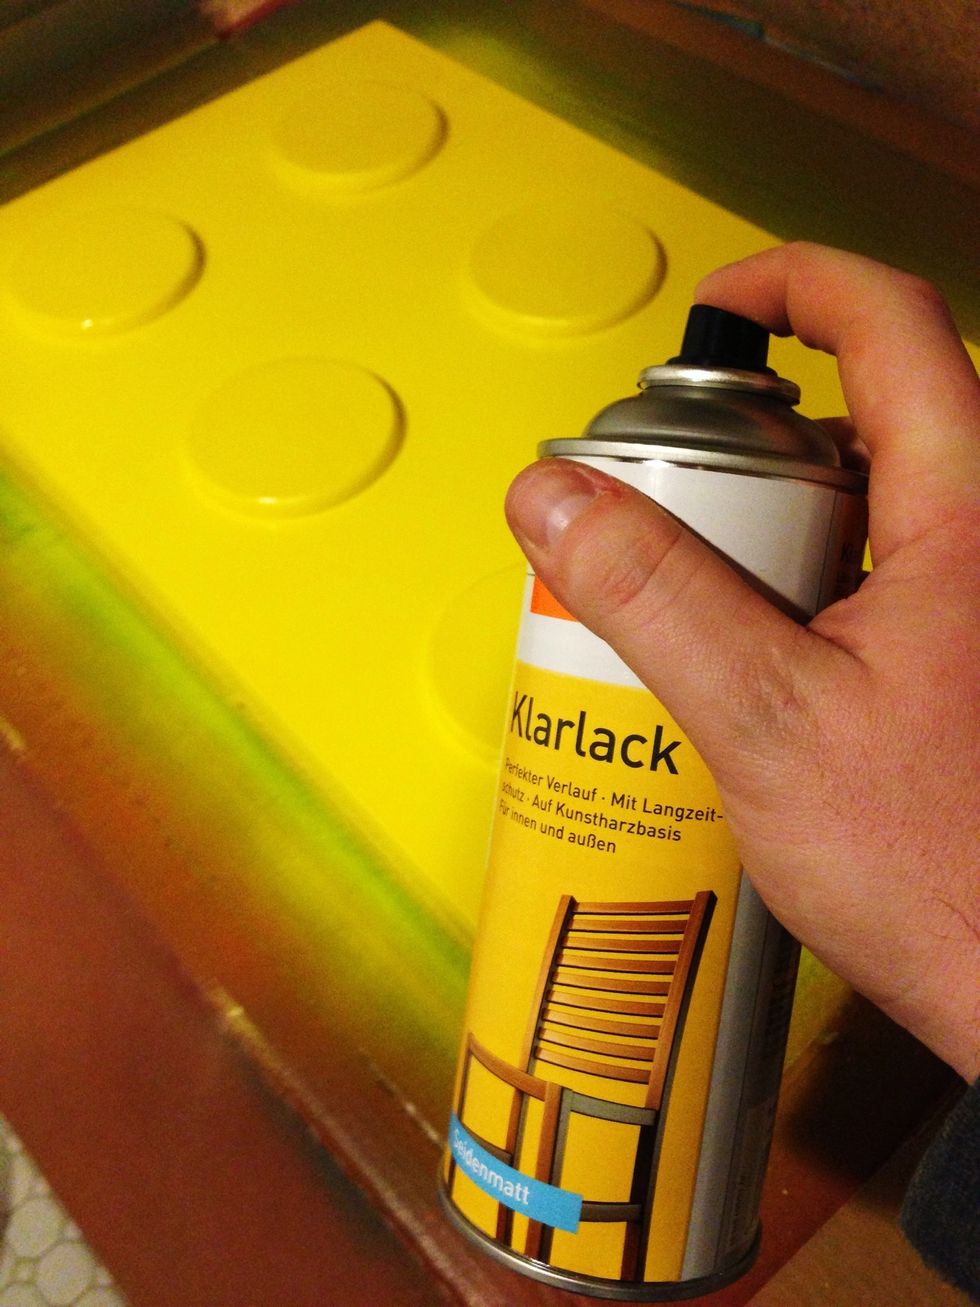
Spray it with clear varnish as soon as the color has dried. It will improve the lifetime of the color and give it a glossy finish.
More colors, more fun!
Whenever you have some finished doors mount them. But before you do that: Prepare to be amazed!
Here are all my doors attached - except for the last one!
But it is not done yet. I'm sure you noticed the largest door is still missing. I prepared something special for that one.
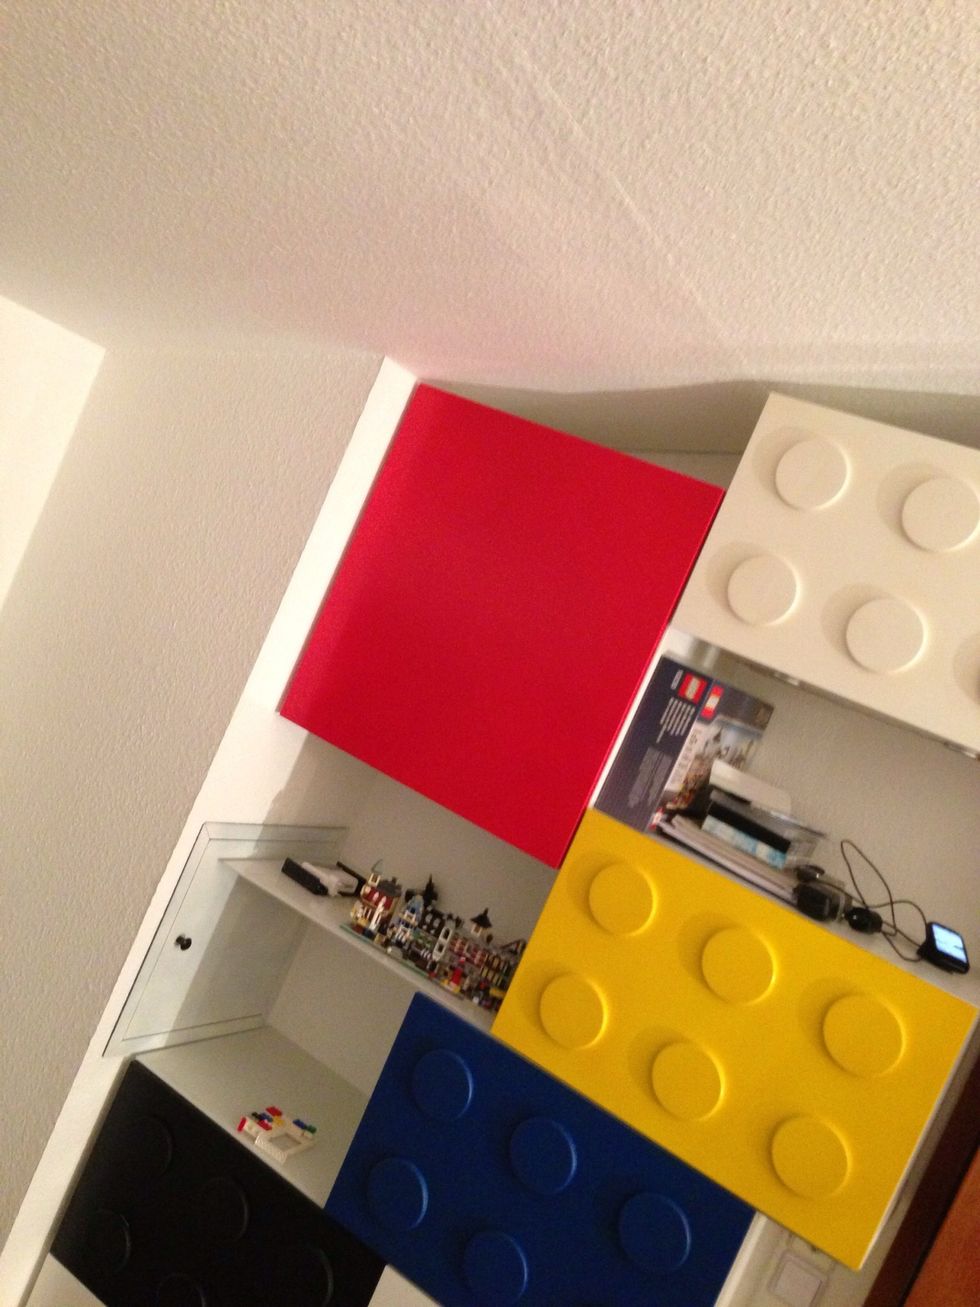
The square door would look awkward as a LEGO brick since there is no 3x3 plate, so I had something else in mind.
I had a LEGO logo printed on adhesive foil and attached it to the door.

The doors look really awesome!
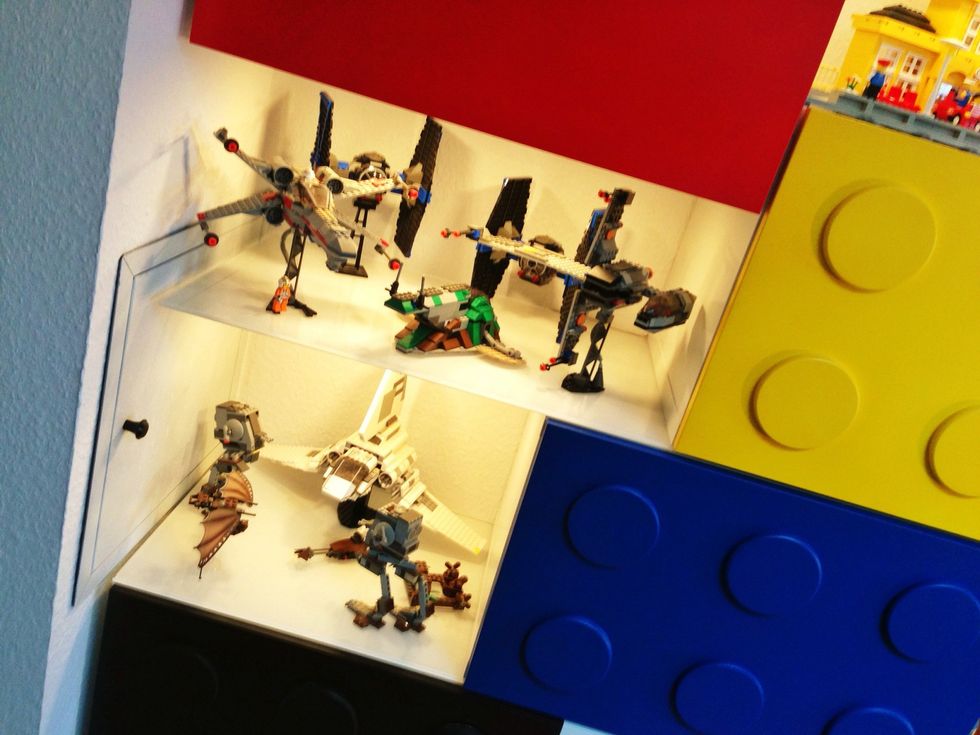
You can use the display areas as a white box as well.
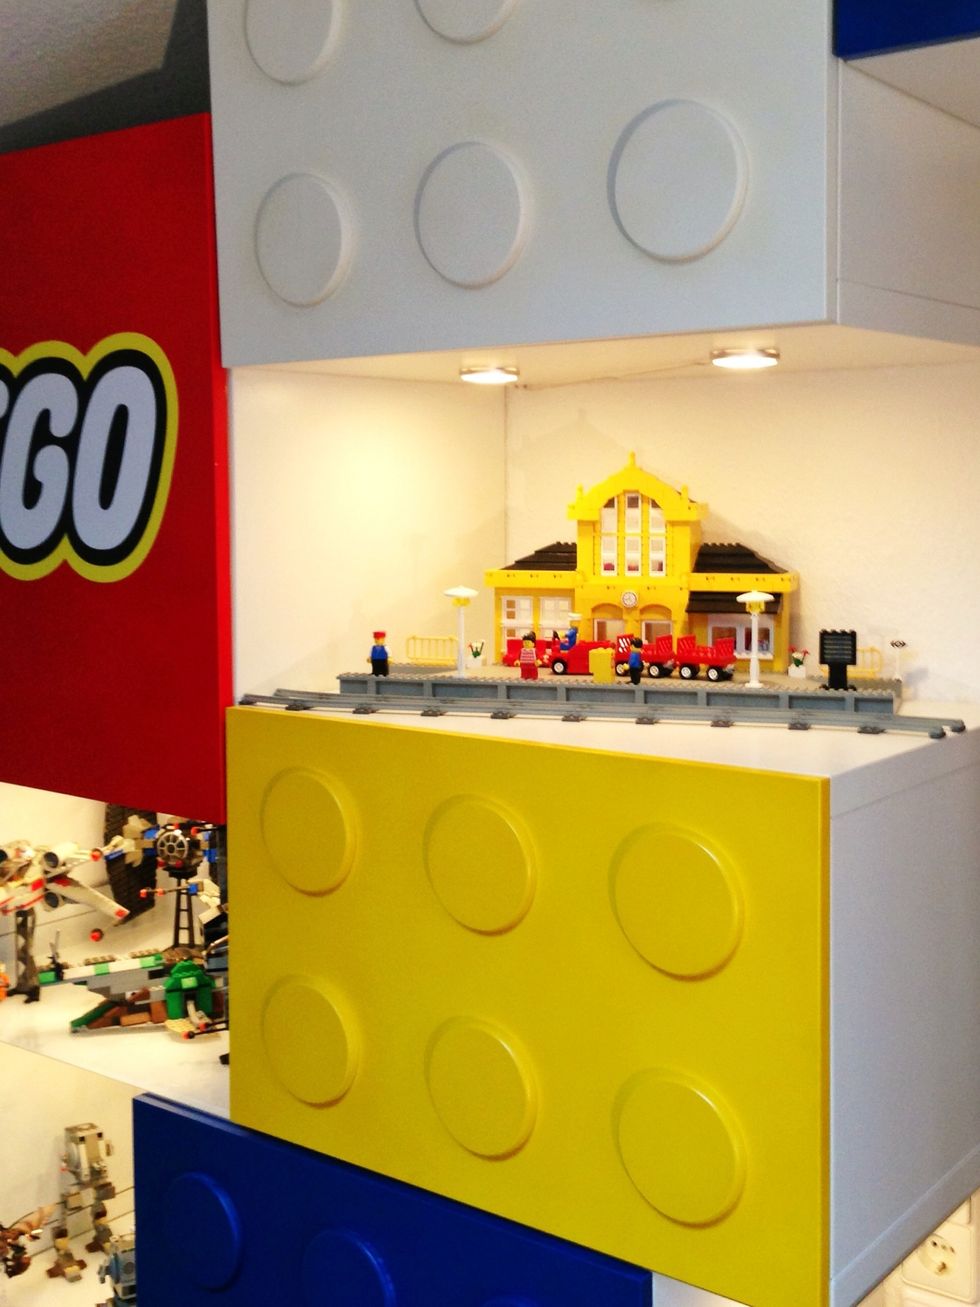
That train station is still missing a train

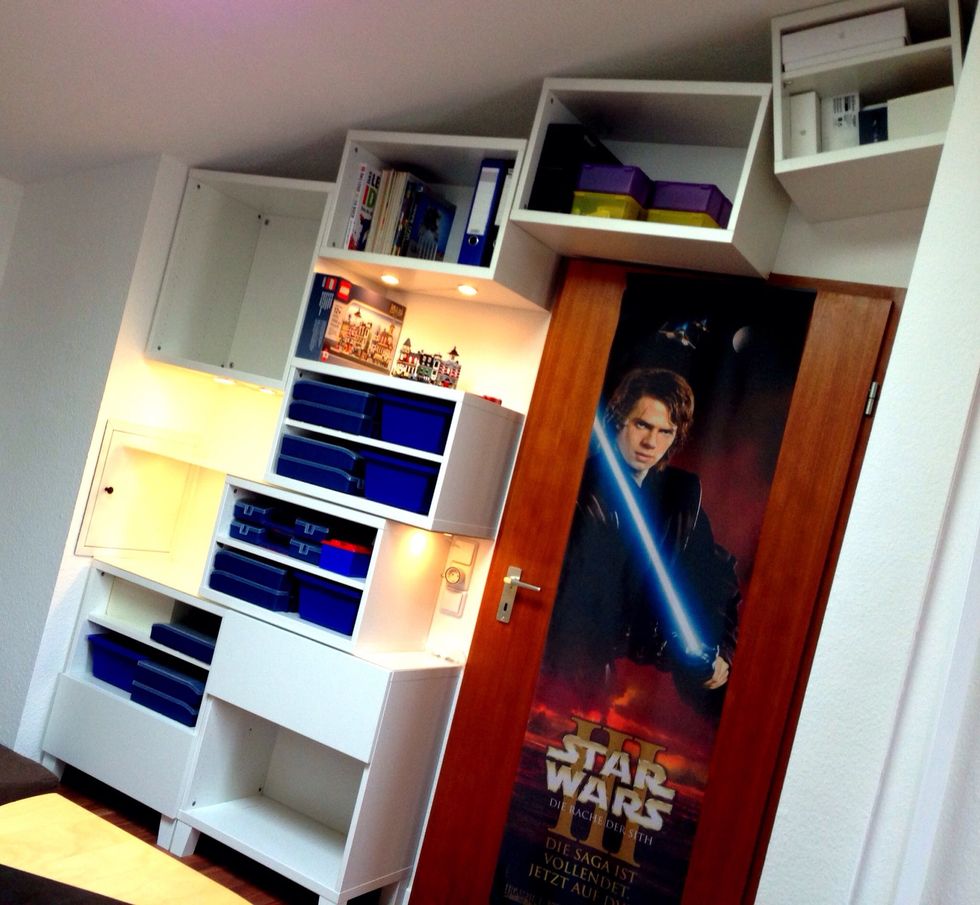
The mini modulars next to the switches. The lower switch turns on the lights in the display areas.
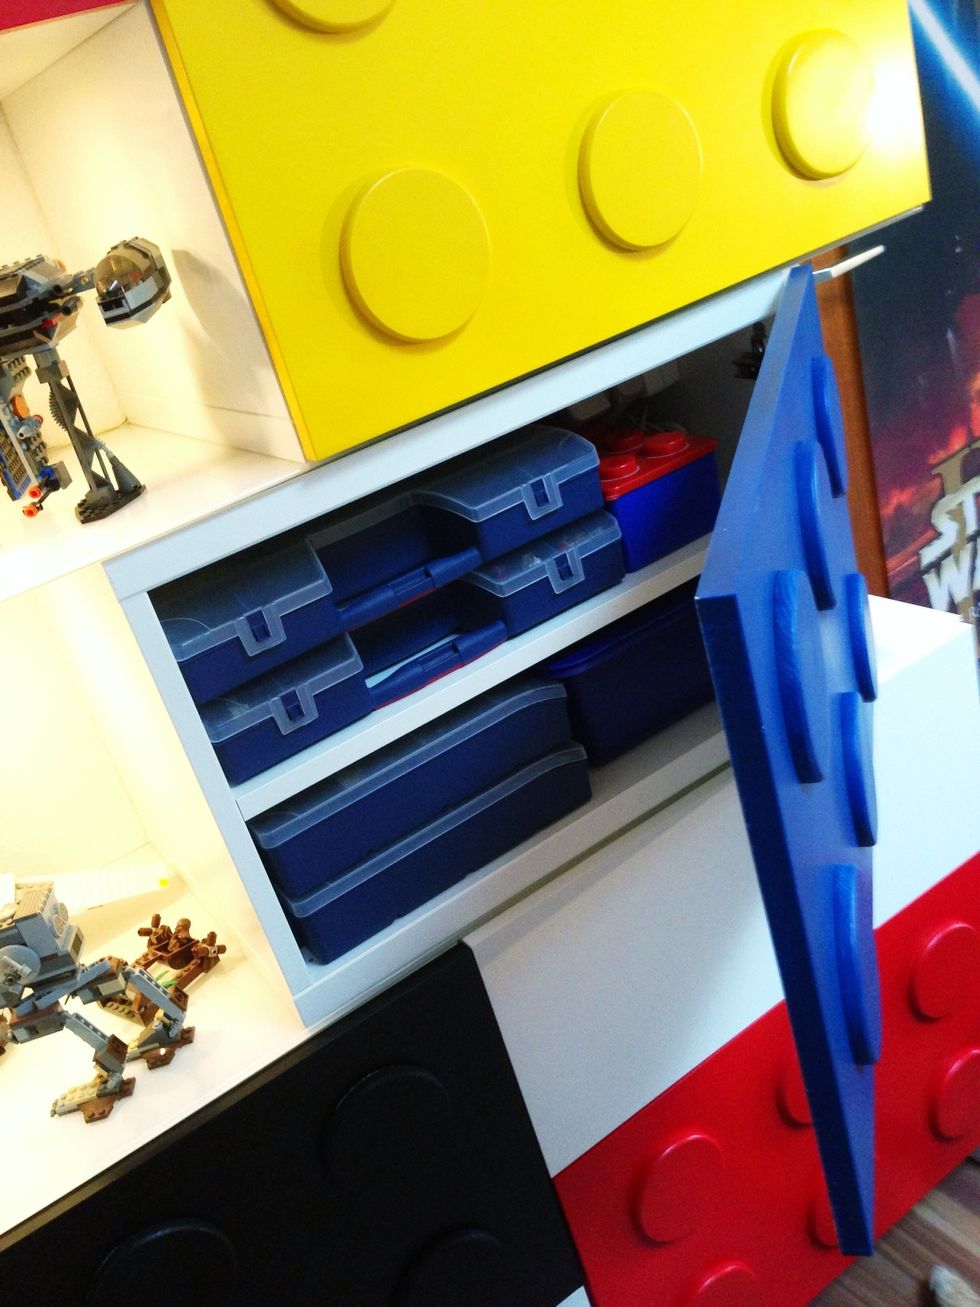
A lot room for more LEGO!
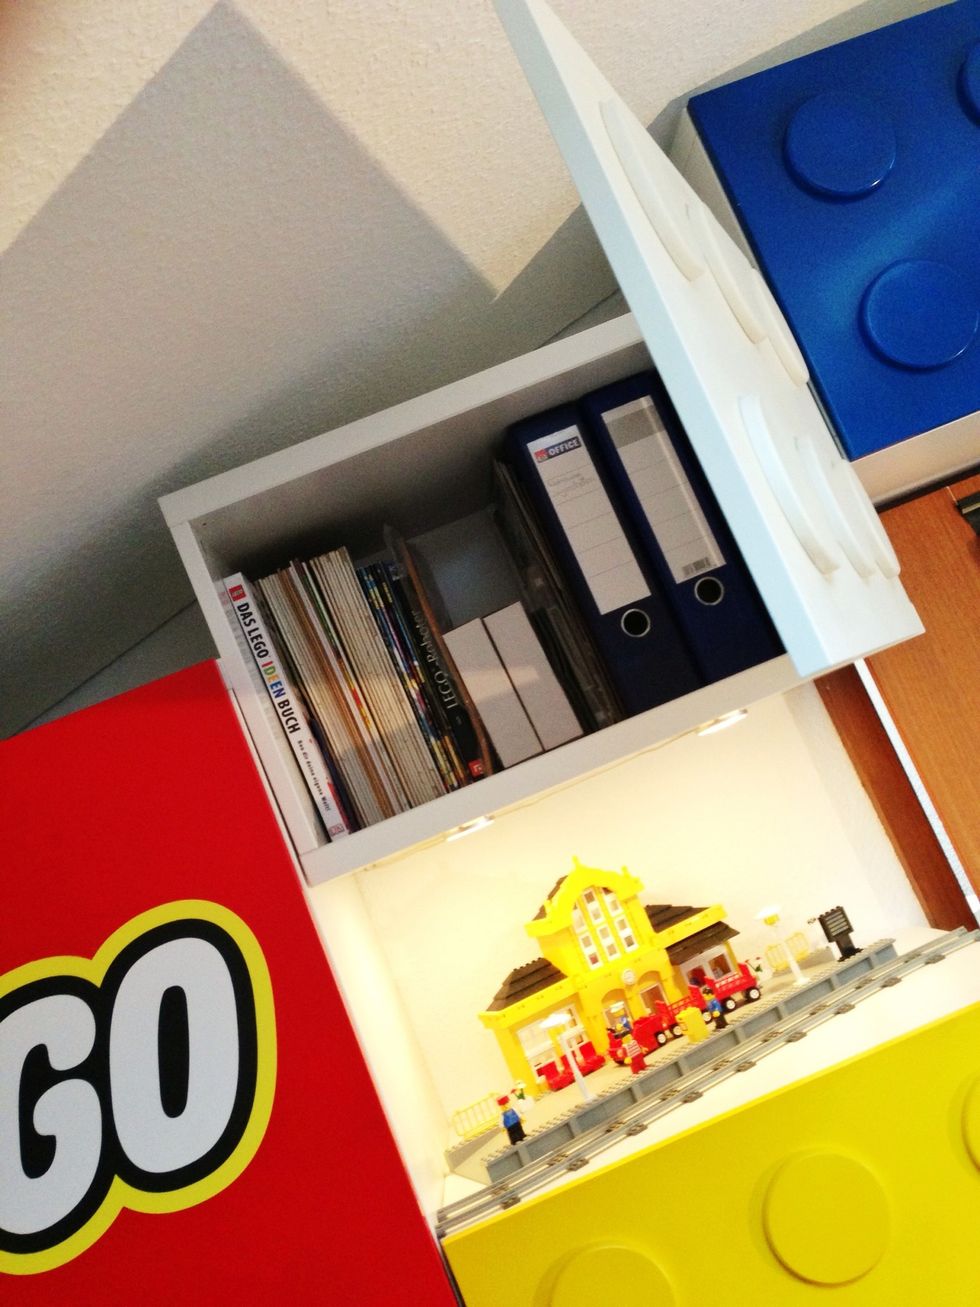
...or books & instructions.

The downside: Costs
The BESTA shelves & doors varied from 25€ (small+door) to 60€ (large+door&drawer) per shelf. Altogether ~300€
In case you already have the shelves and doors and simply want to give them a nice new look, this will be a lot cheaper of course!
The wooden coasters came 90cents per coaster. I ordered 60 because my initial planning was a little different.
The spray paint was 8€ per bottle at the local hardware store, same applies to the clear varnish. I used 7 bottles in different colours plus 2x white and 3x clear varnish.
The LEGO-Logo set me back 40€ at a local printing store.
The DIODER lights were 20€ each, I used two packs. The remote controlled power outlet set me back 25€.
Summed up: ~550€ plus many hours of making & coloring the doors ... Looking at it I must say: Worth every penny.
Have creating it for yourself. If you need more inspiration, check out my other guides in the home category: https://snapguide.com/search?topic=home&q=martin+storbeck