The Conversation (0)
Sign Up
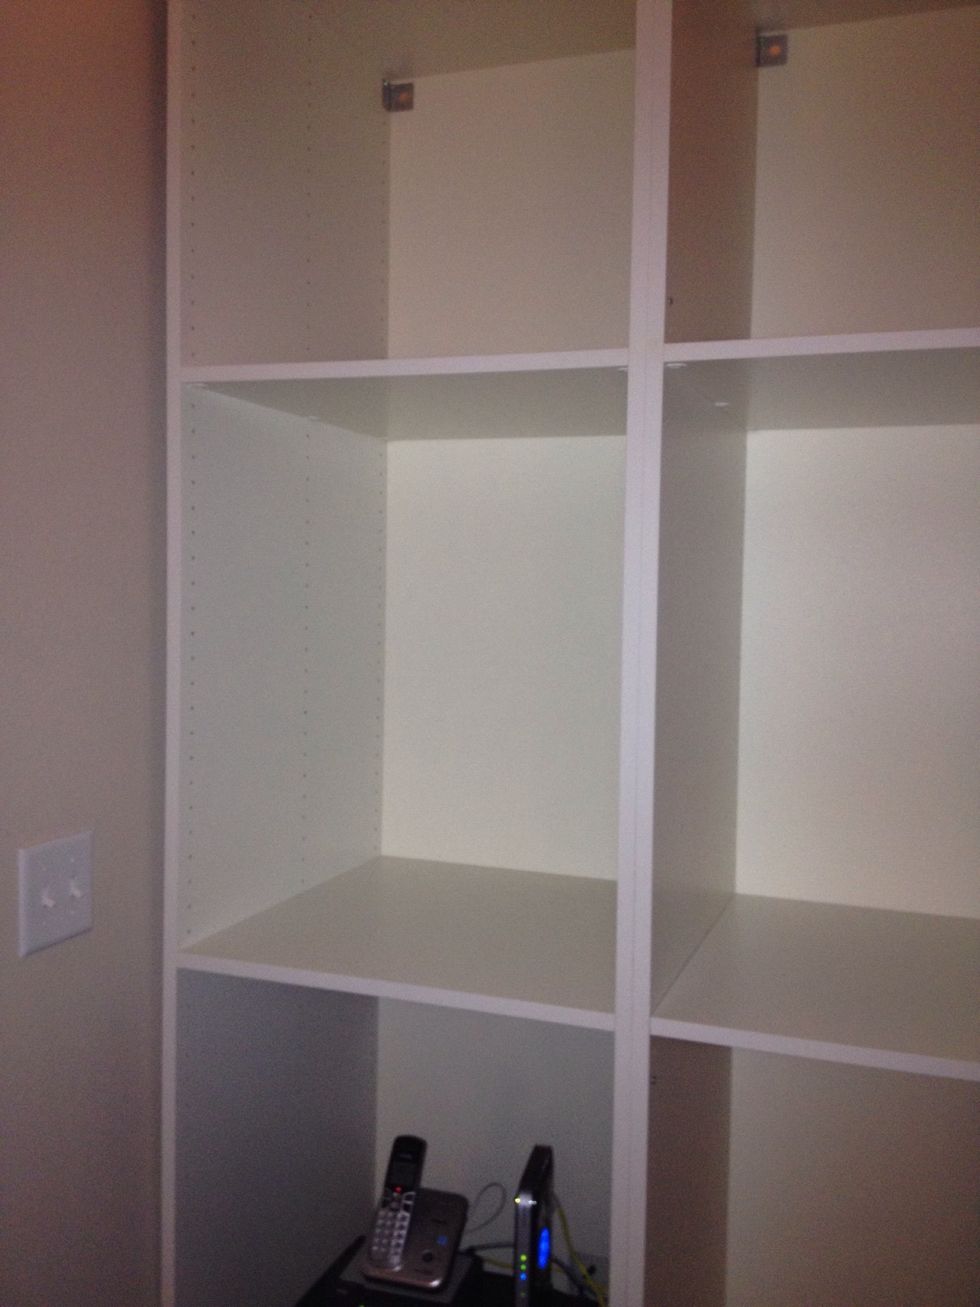
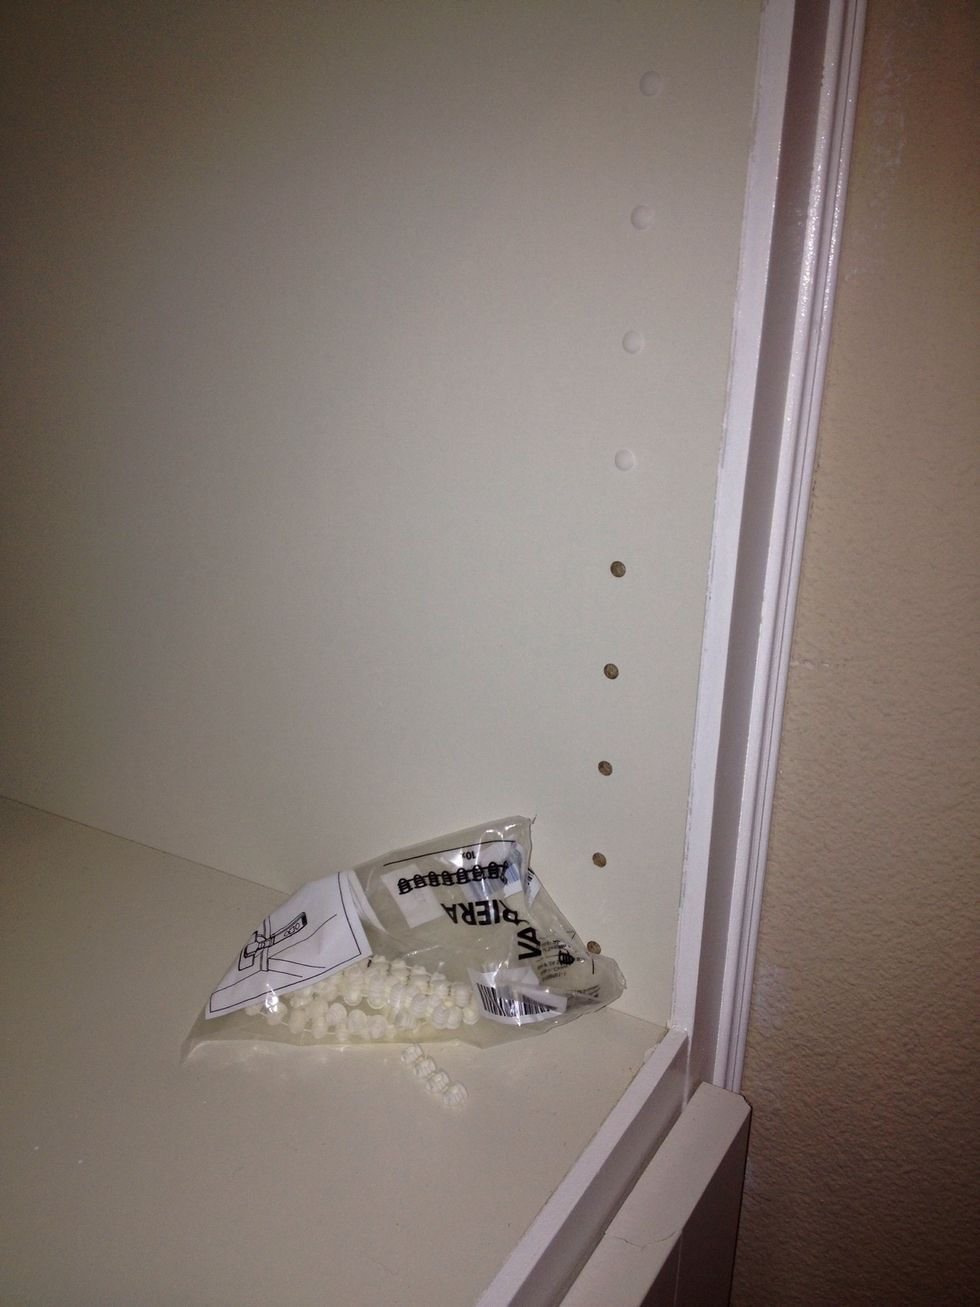
Build pantry frames, with risers. Note: The risers from ikea have wood clips for a kick plate. They sit flimsily and oddly so I suggest using hot glue to keep in place while you move to final spot.
Risers for cabinets
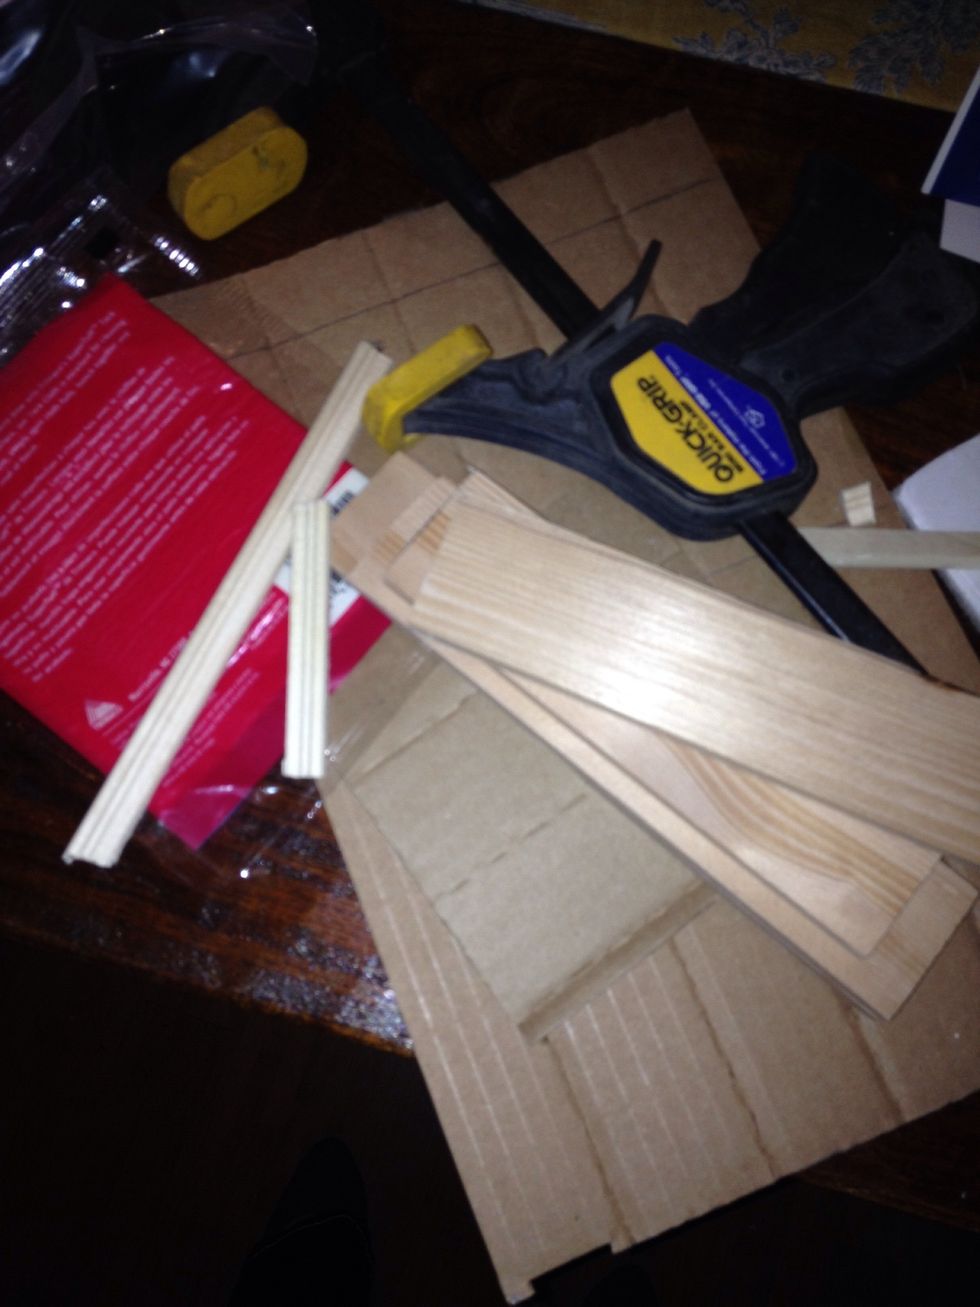
Shim/trim wood and skinny trim that will go next to the walls

Nail shim/trim wood to give the appearance of a thicker shelf and side and to correct for imperfections with size of space to fill.
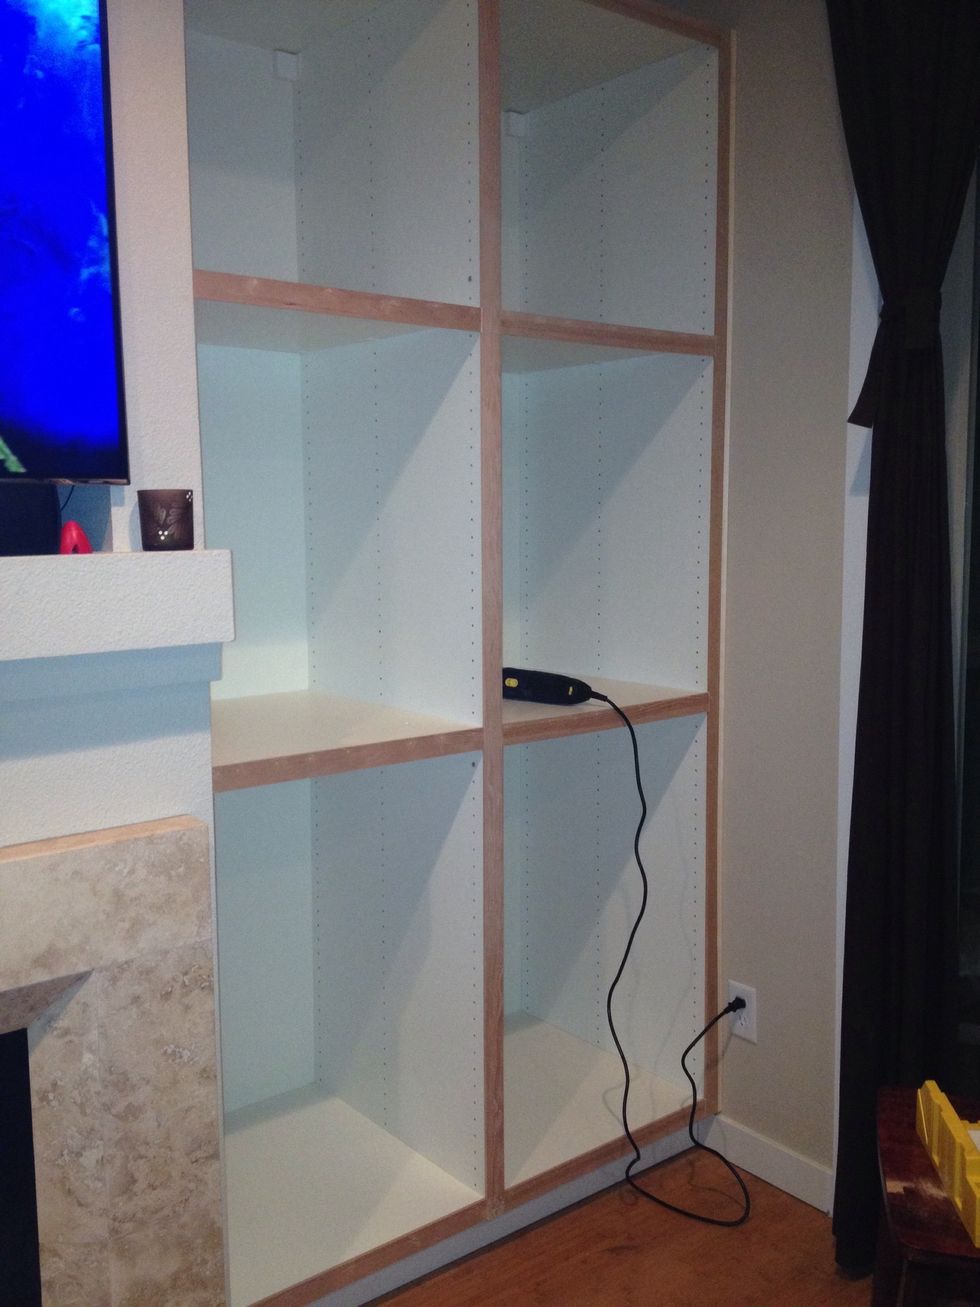
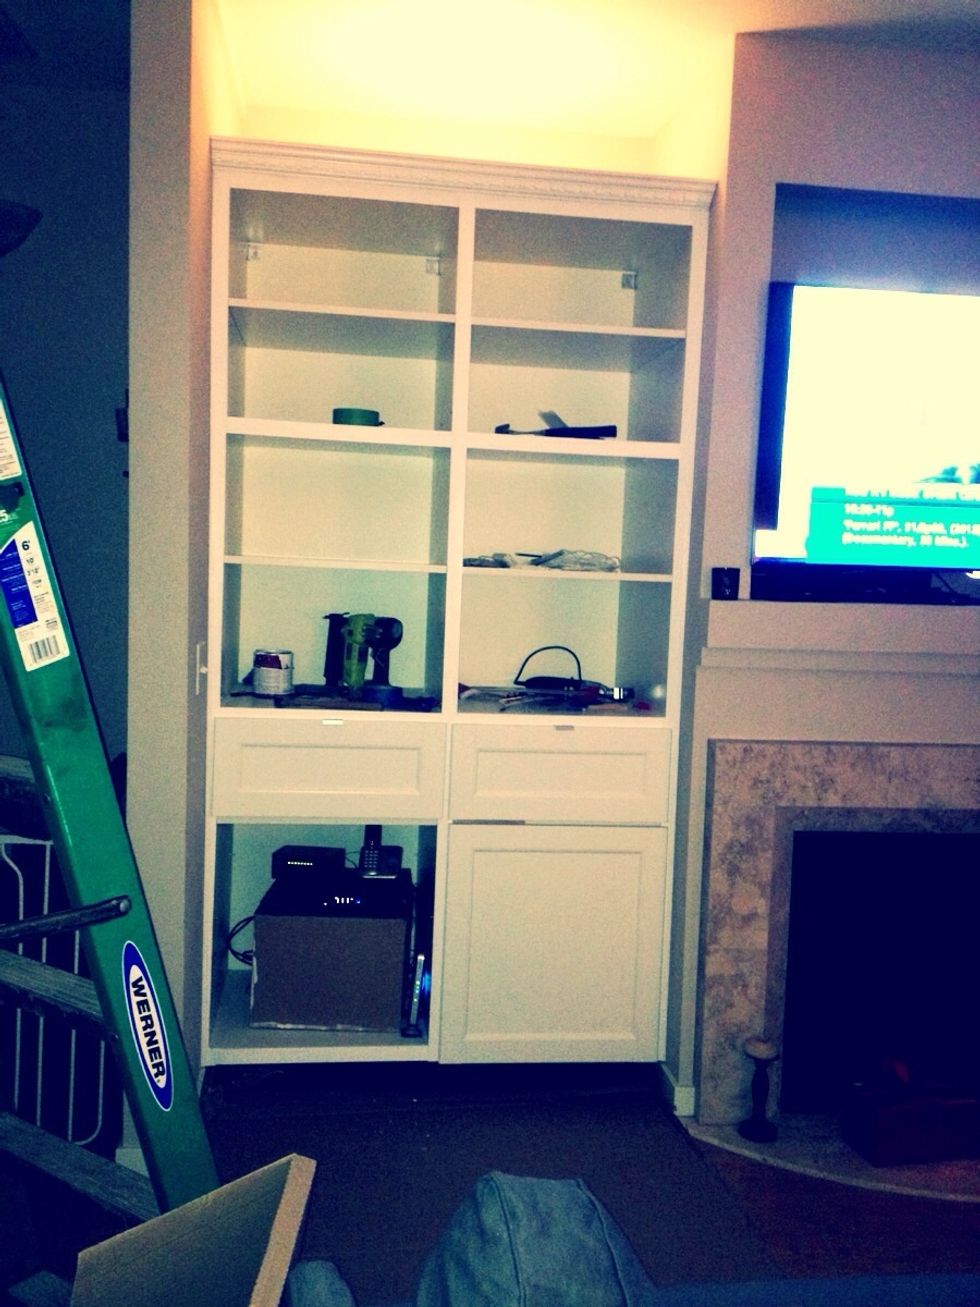
All front trim mounted

We were doing 2 sides so on the other side, we decided it was easier to prime and paint prior to the mounting. You just spackle, sand and touch up after nailing in. Prime and paint crown molding.
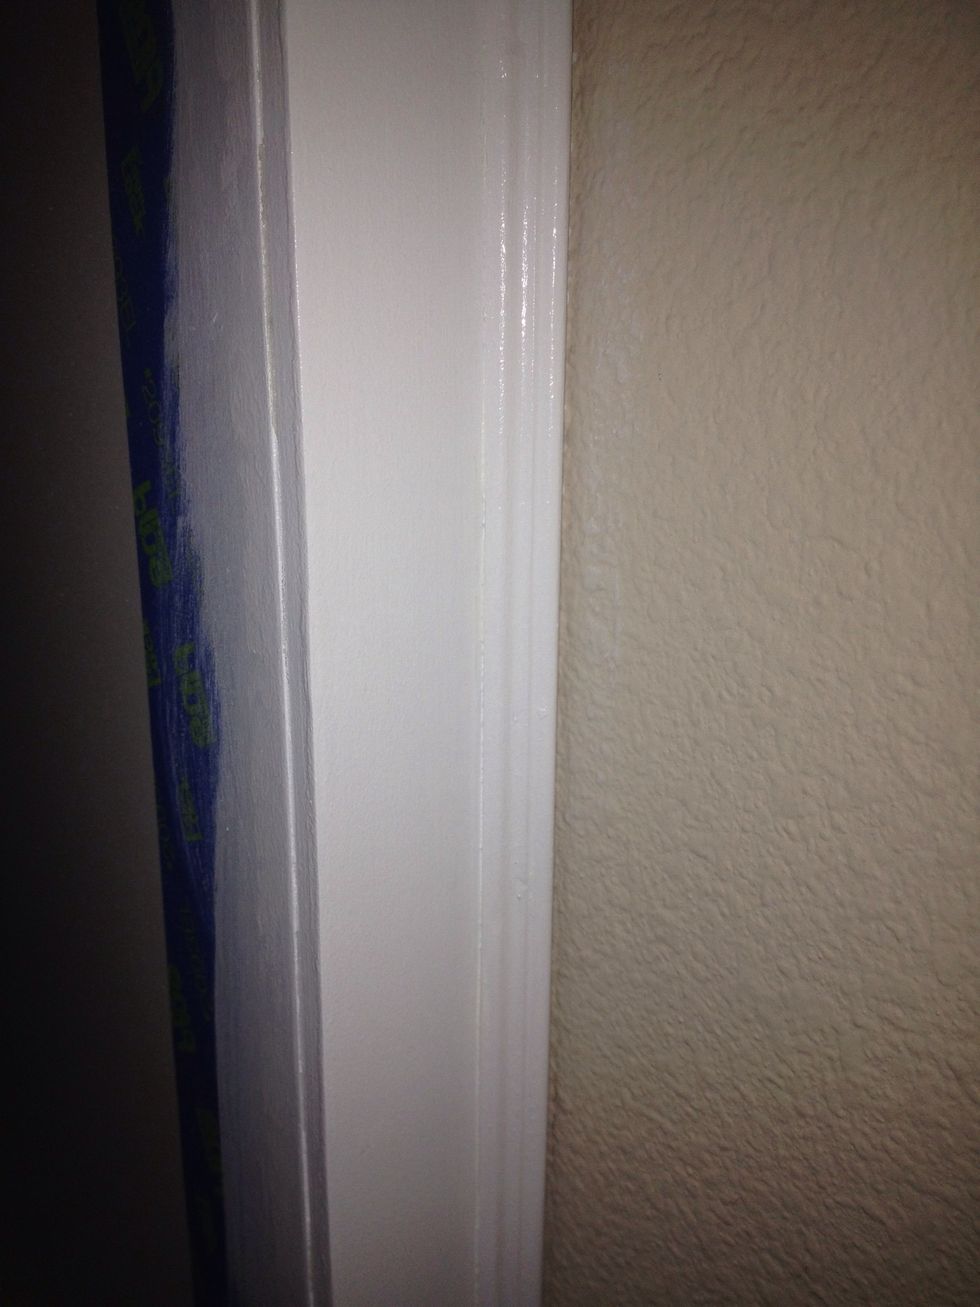
Mount skinny decorative molding to trim/shim, next to wall

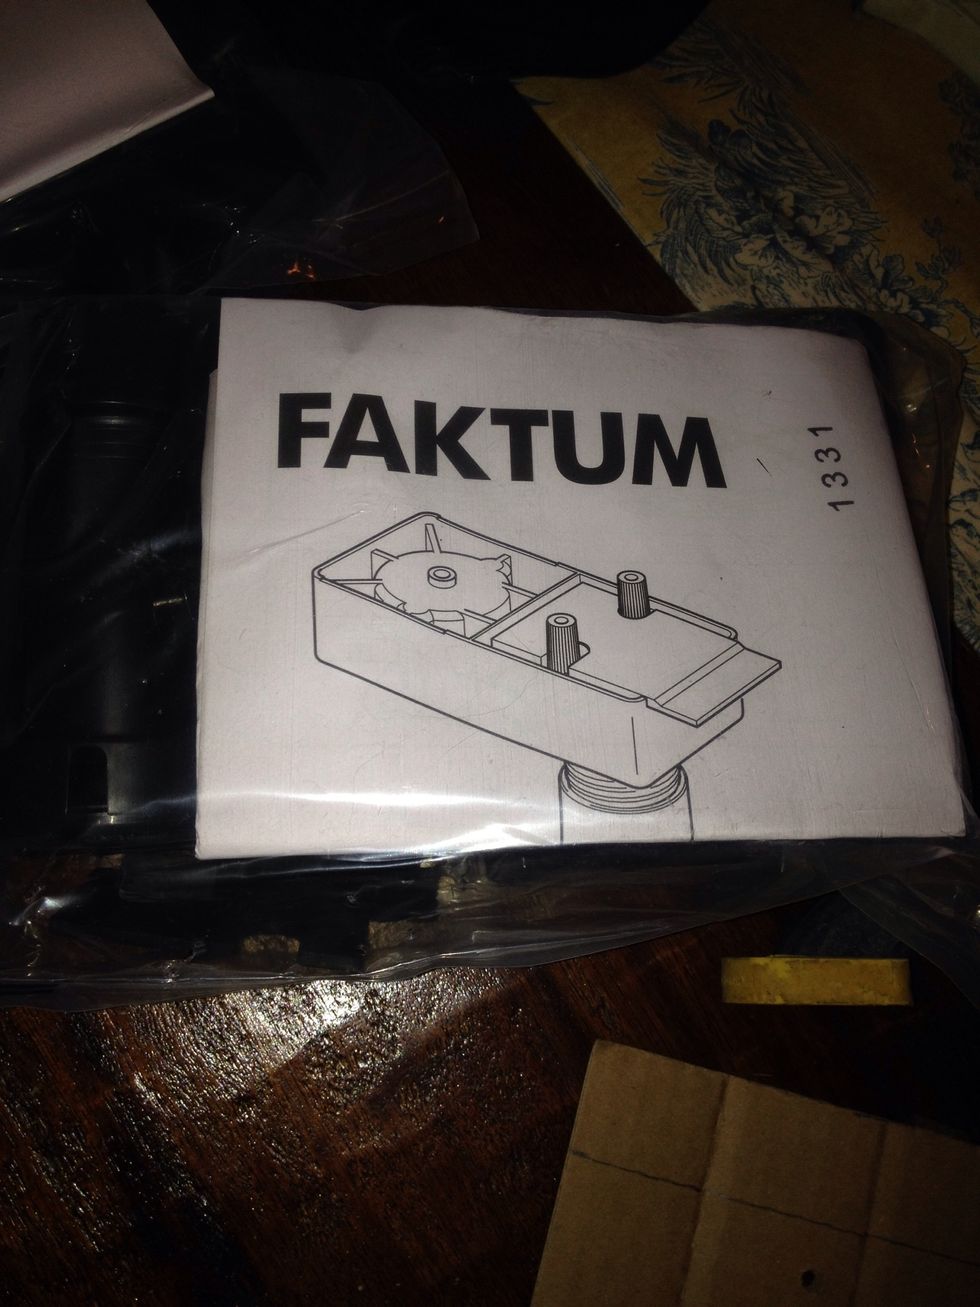
Mount kick plate to bottom, using clips that come with risers

Mount crown molding and the shell is now built. Now onto cabinets and drawers...
We saved a ton by not using the ikea kitchen doors and drawer front and went with ikea Besta style. Used the kitchen drawer insert however because of depth. For up light, we placed LED lights on top.
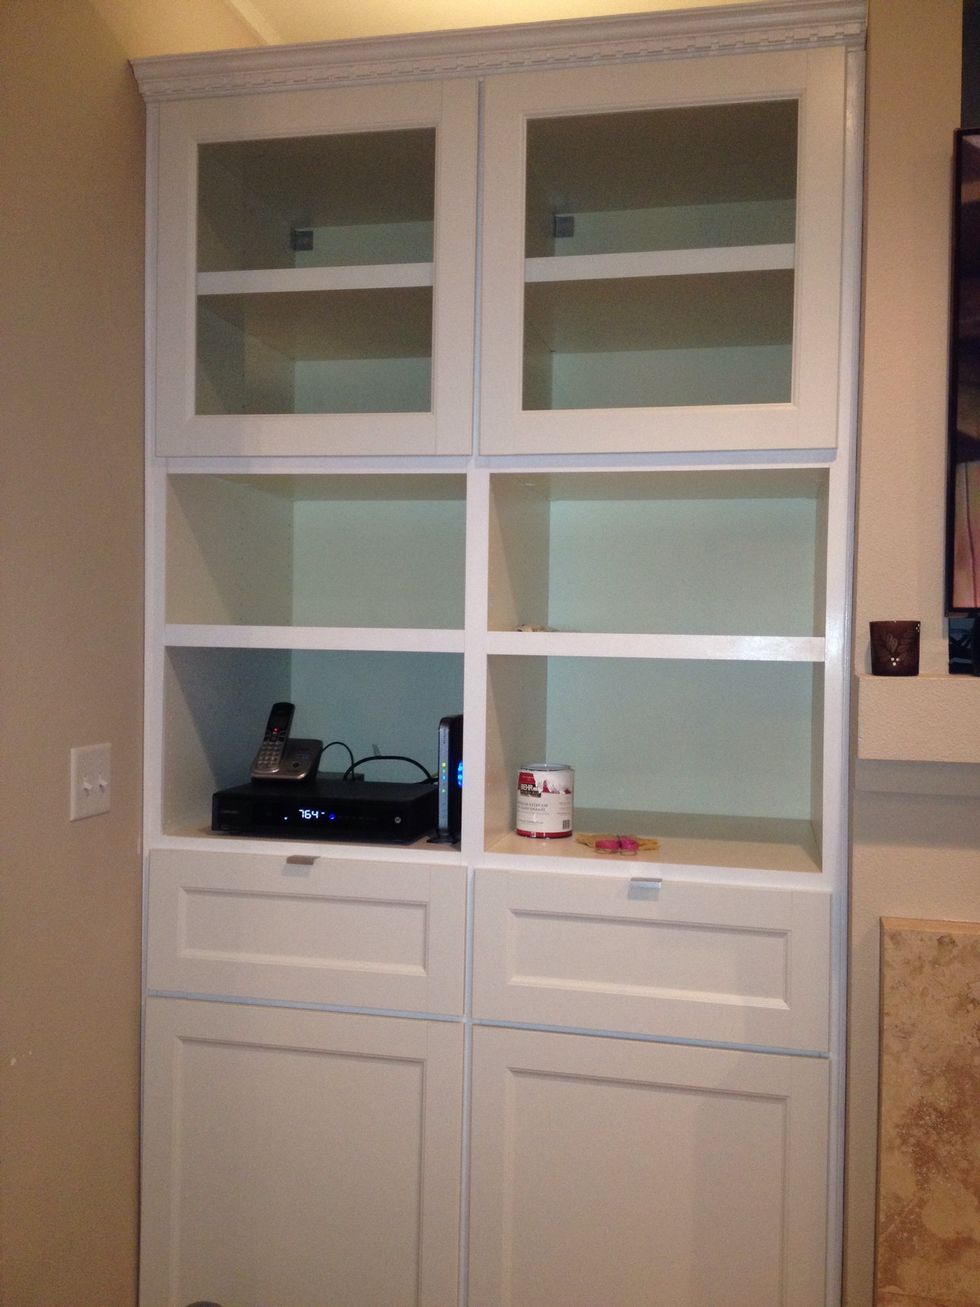
Hang all other doors and drawers and touch up with paint. We learned we should have matched trim wood to ikea cabinet white paint but oh well!
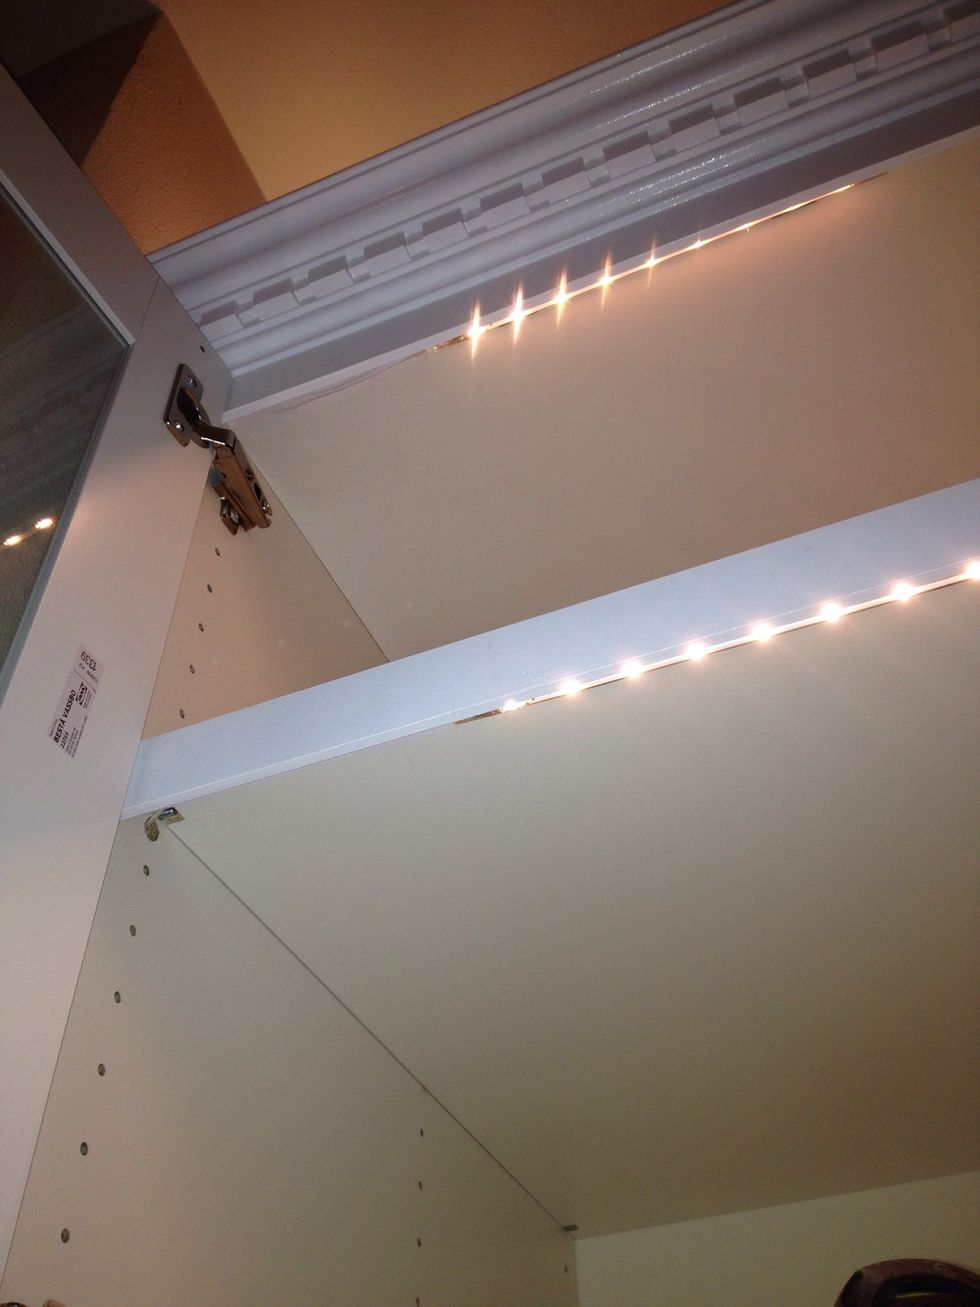
Mount inside LED lights and fish wires to the top through small drilled holes

Now we have up lights on the top and in cabinet lights! We plugged them into a timer that sits on the top of the cabinet. The timer plugs into an extension cord, fished up the back of the cabinet.
Plug holes with white plugs. Sold at Ikea.
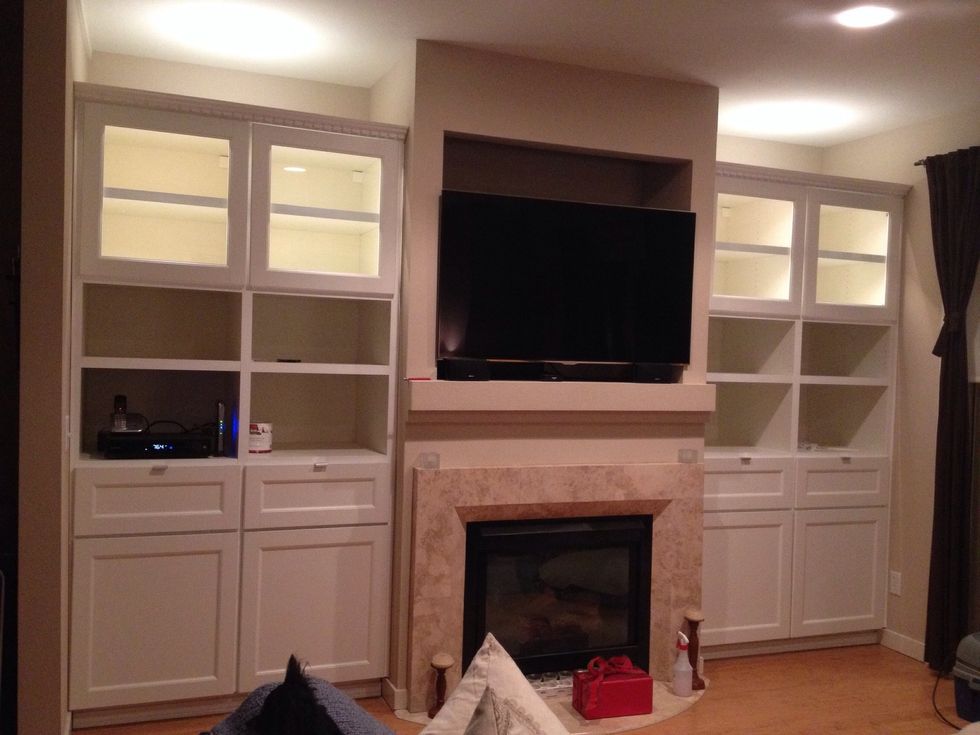
Now time to fill and decorate!