The Conversation (0)
Sign Up
These shelves are so easy to build, and are a quarter of the cost of other garage shelving units. I was able to build two of these shelves in the garage for right around $100 total.
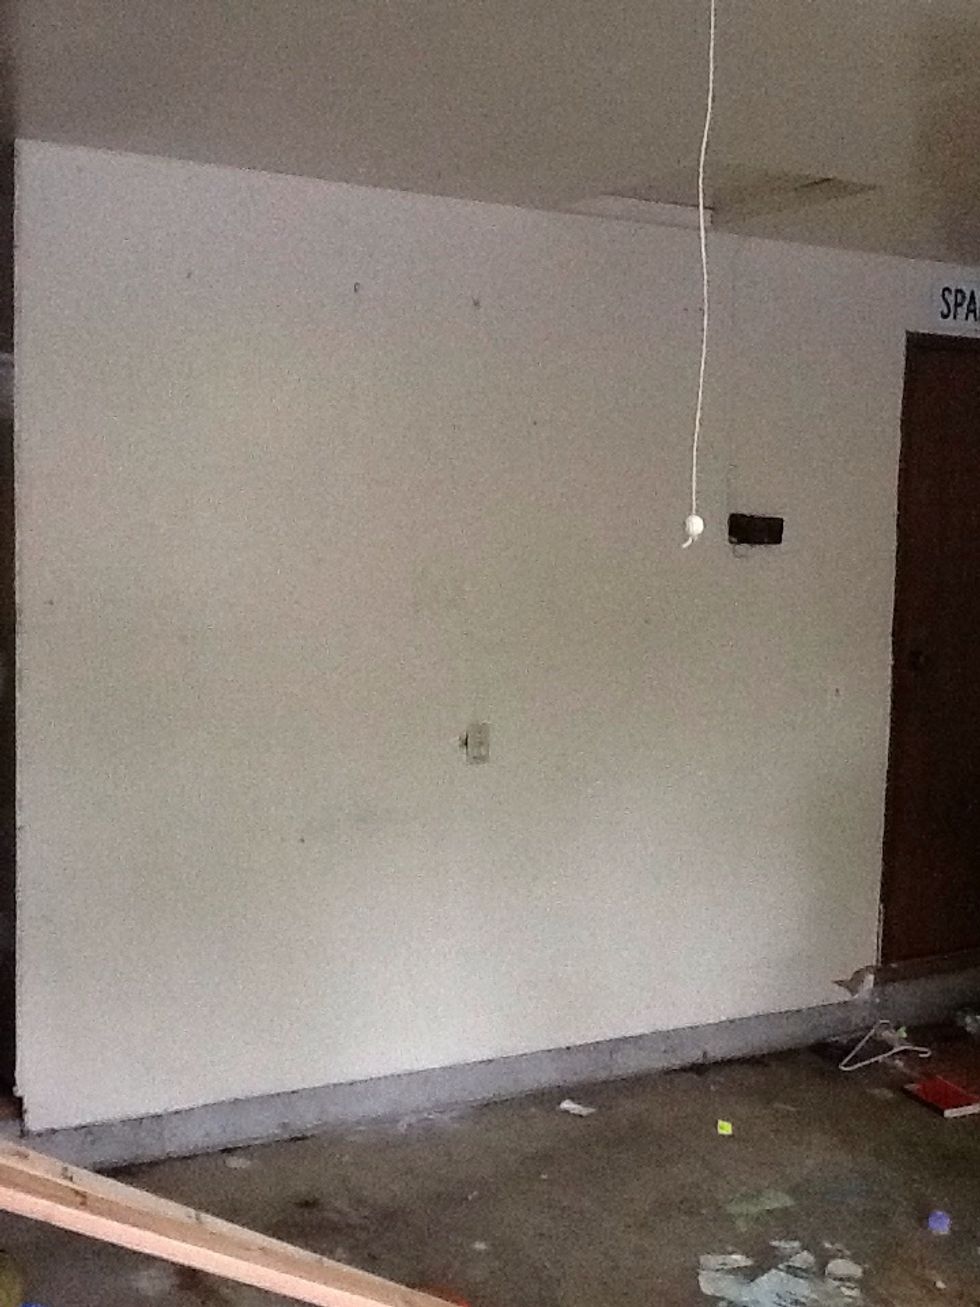
Clear and measure a wall in your garage, making sure there is adequate room for the shelving unit.
Tip: Home Depot will make a cut for you for free. Have them cut both of the 4x8 plywood sheets in half, creating 4 2'x8' plywood sheets. These will be the shelving.
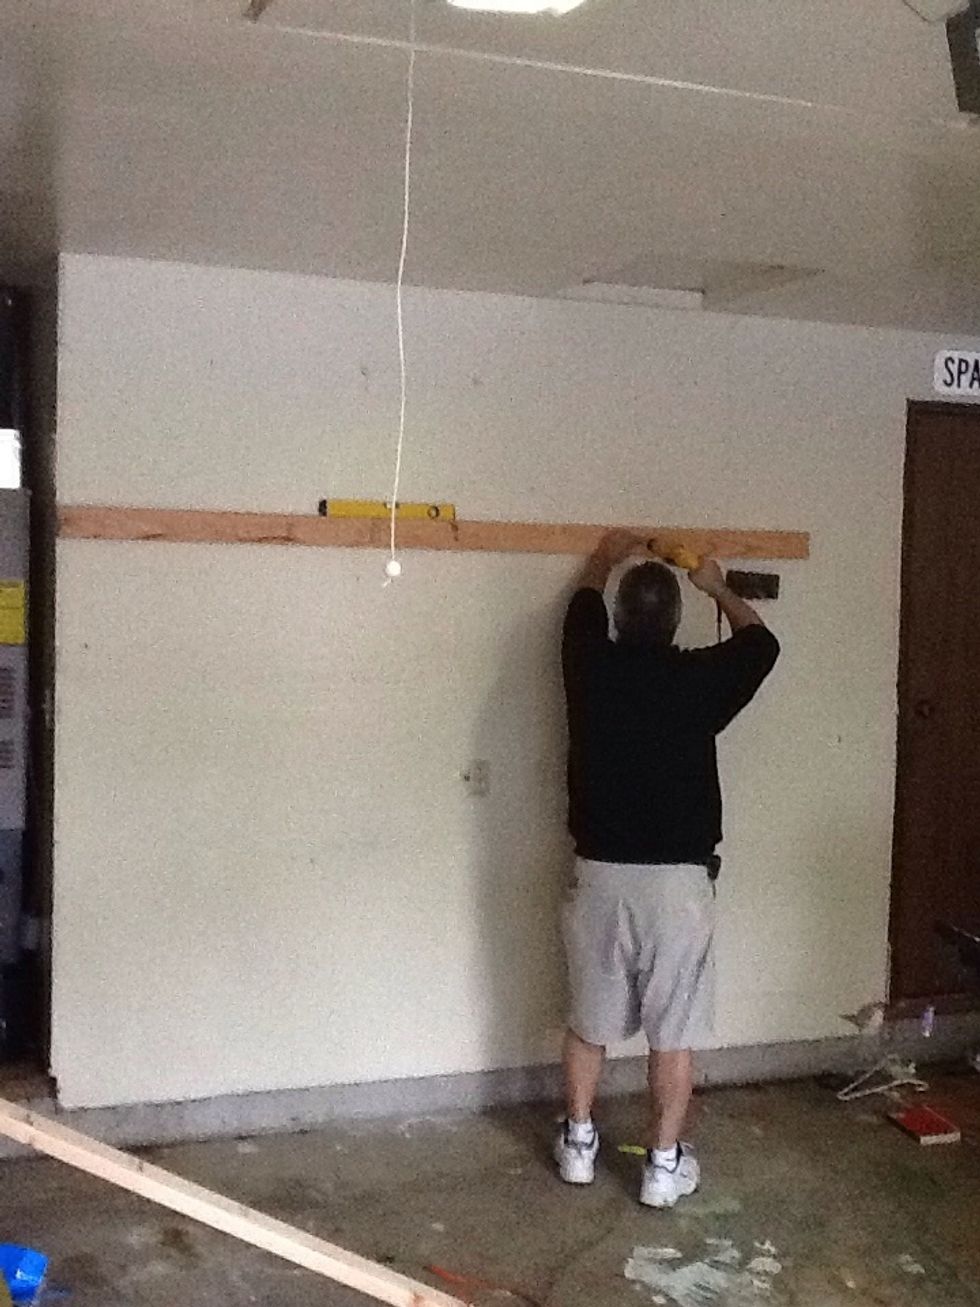
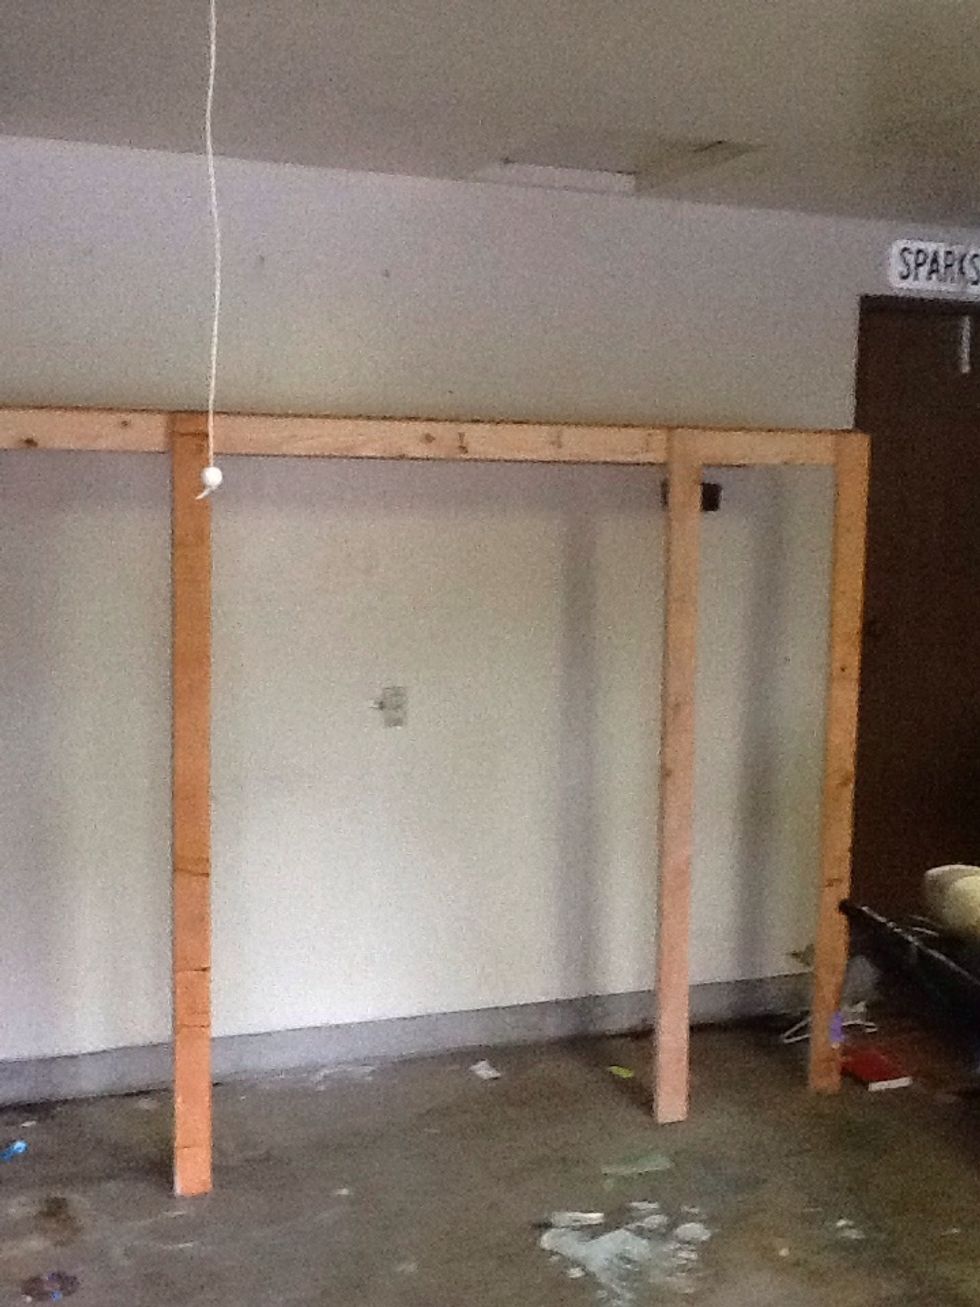
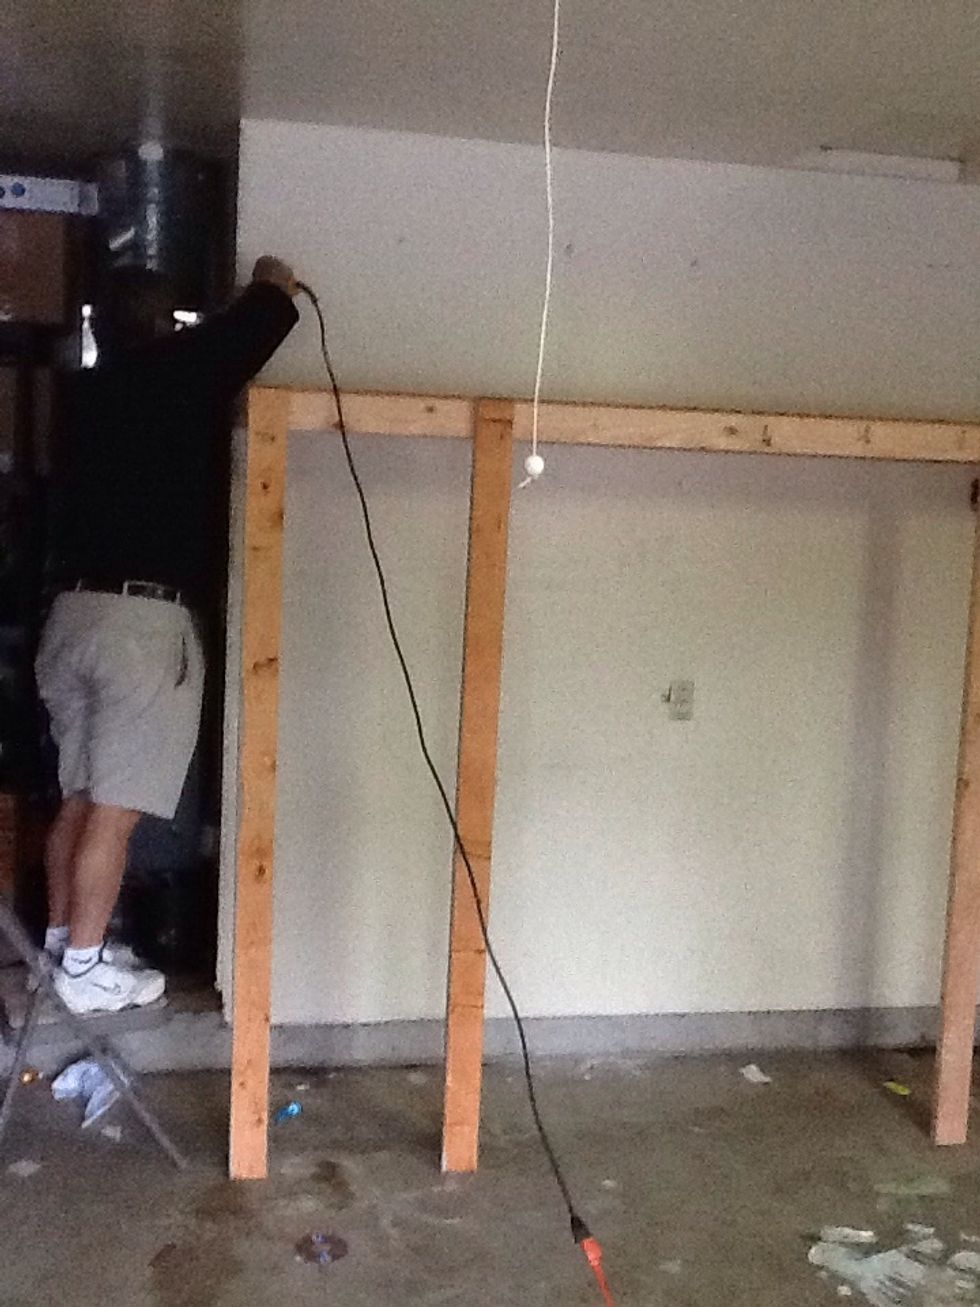
Screw one of the 2x4x8 studs into the wall a the height you want the top shelf to sit. We wanted our to sit at 6'6" just above the garage door opener.
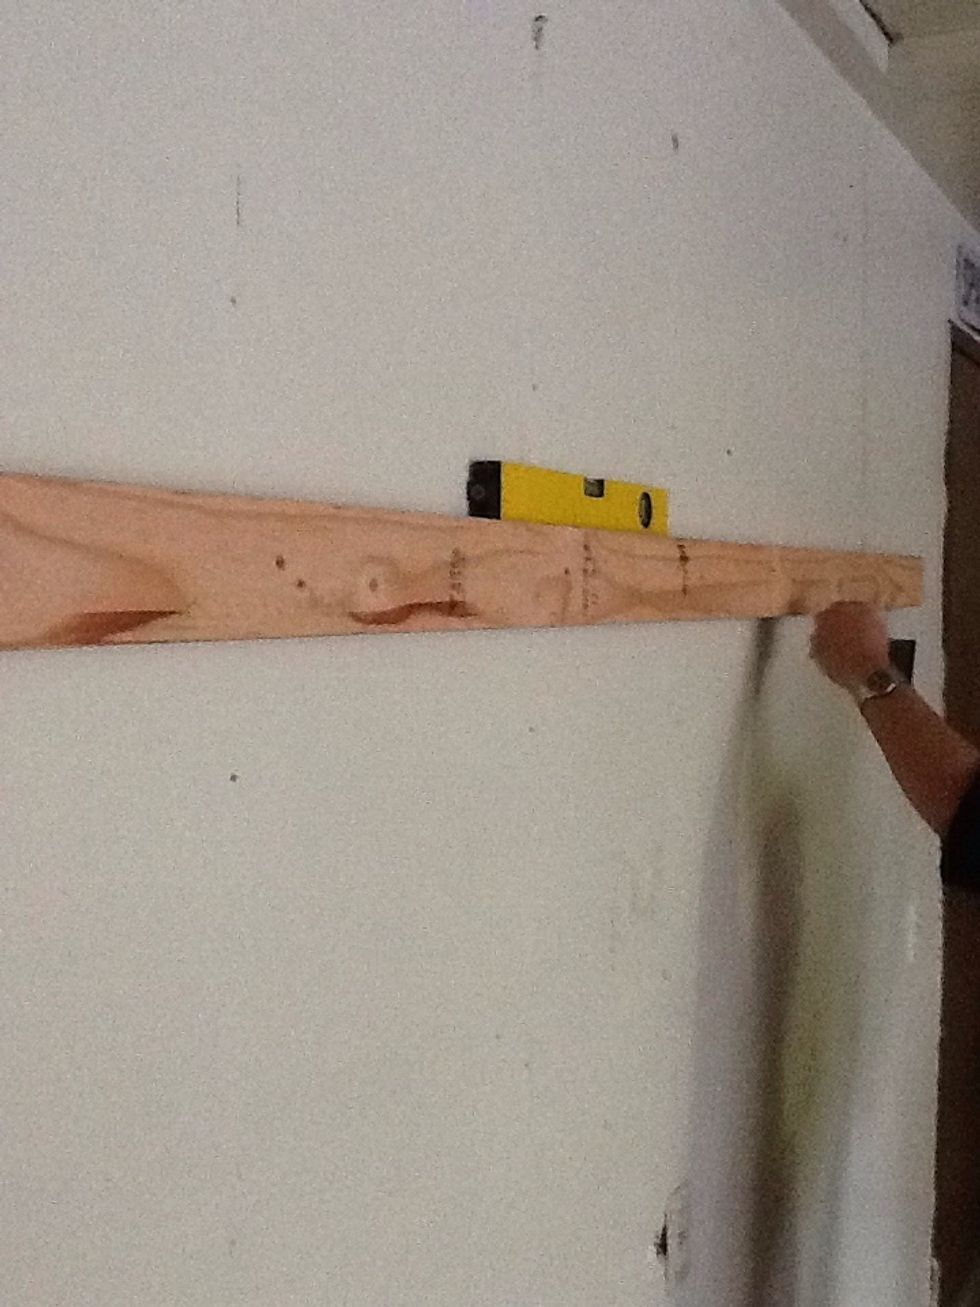
Use a level and a stud finder to make sure your shelves are straight and sturdy.
You will need to determine the basic shape of your shelving unit. We designed ours to fit a freezer in an open 4' center section with two 2' shelving units on each side.
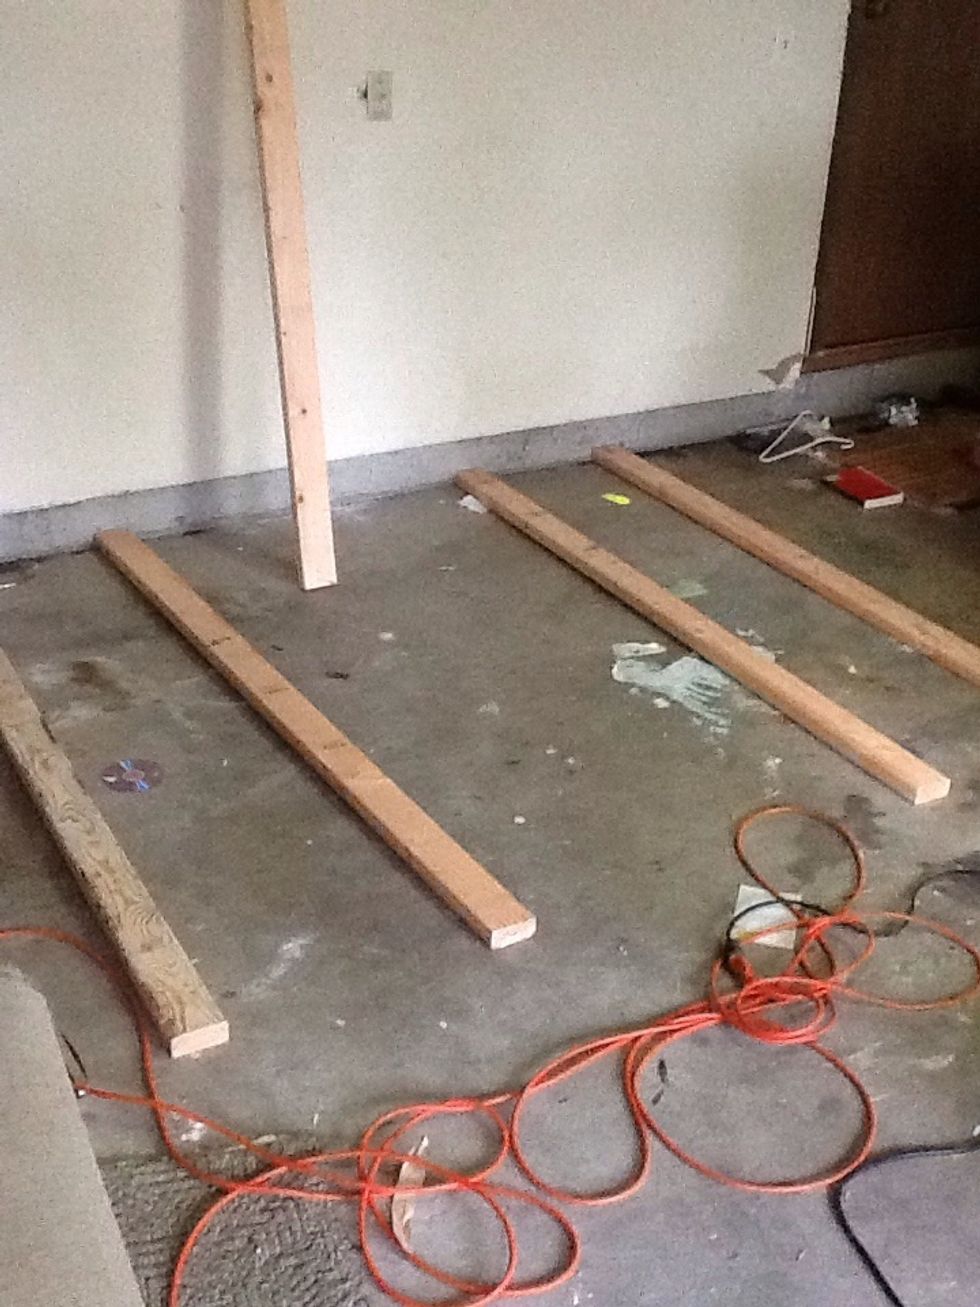
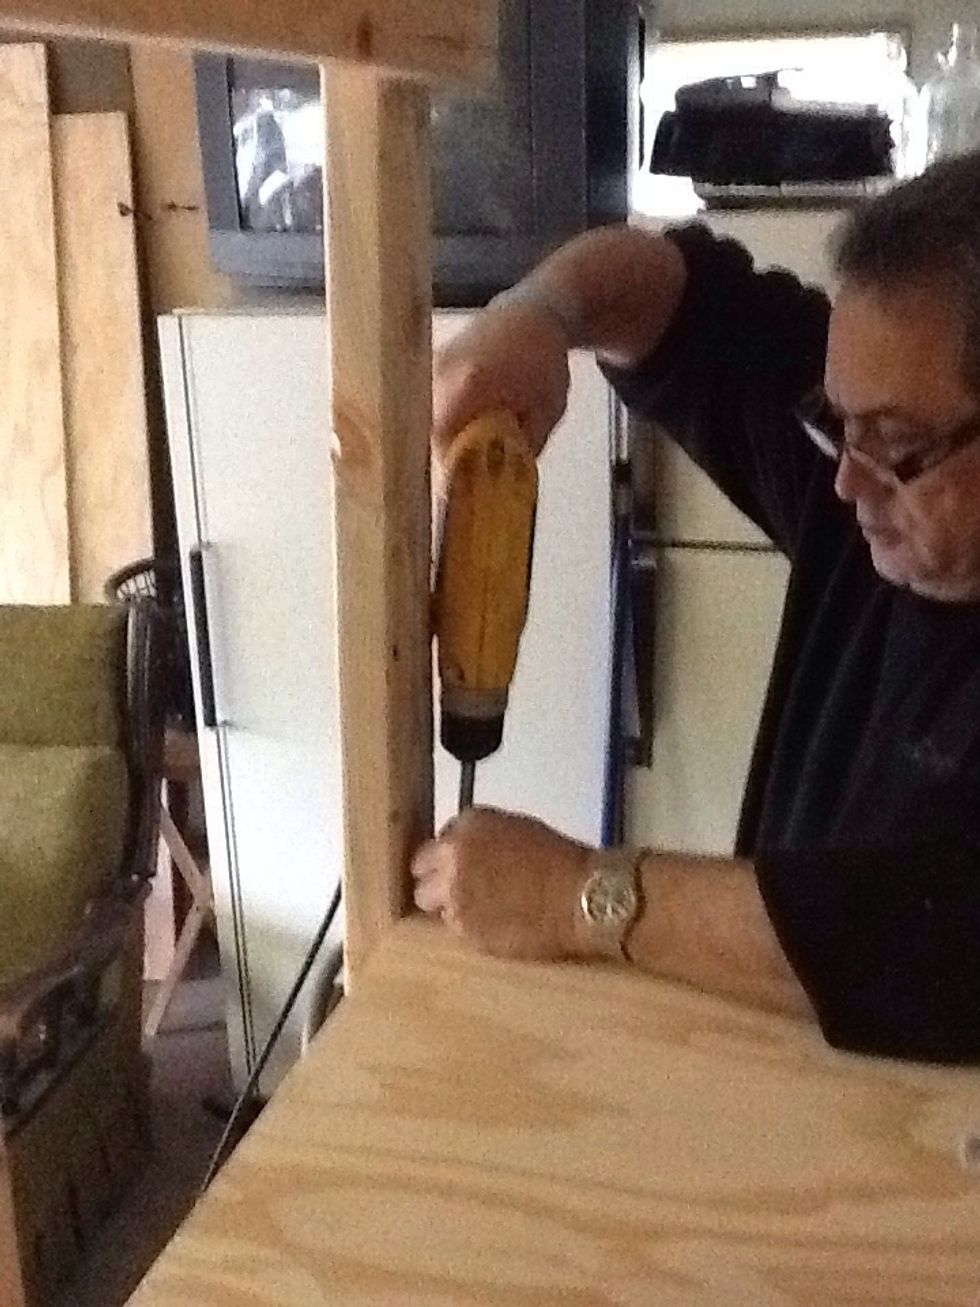
Create the 'frame' of the shelving unit on the floor in front of the stud you just drilled into the wall. These will be the exposed legs of the top shelf.

Screw another 2x4 stud into the top of the legs. Making sure the edges are flush to each corner.
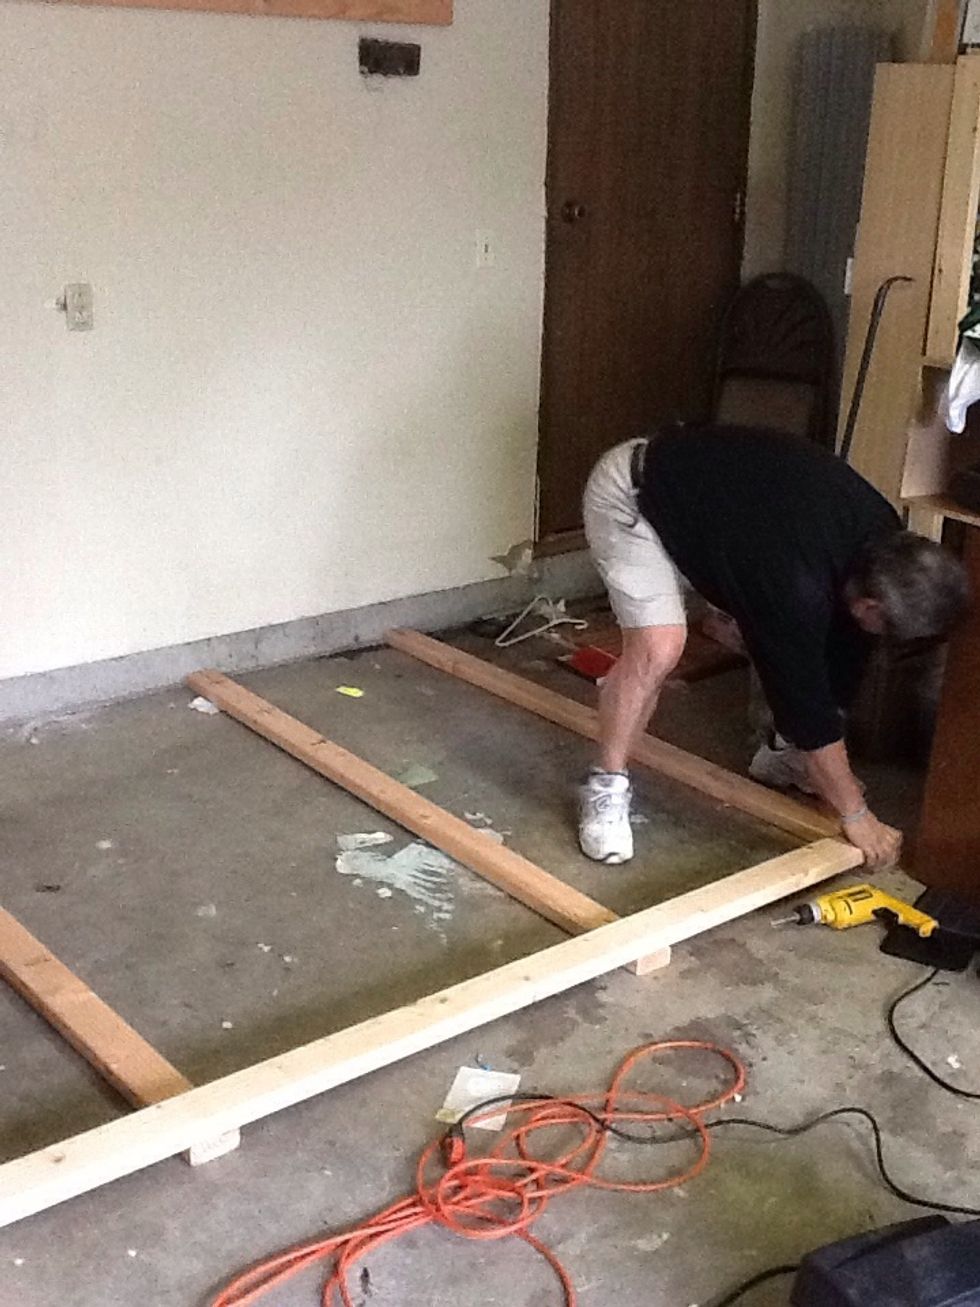
Tip: The legs tend to move while framing this section. Use a square to make sure the edges are even, and measure both the top and the bottom of the legs to improve accuracy.
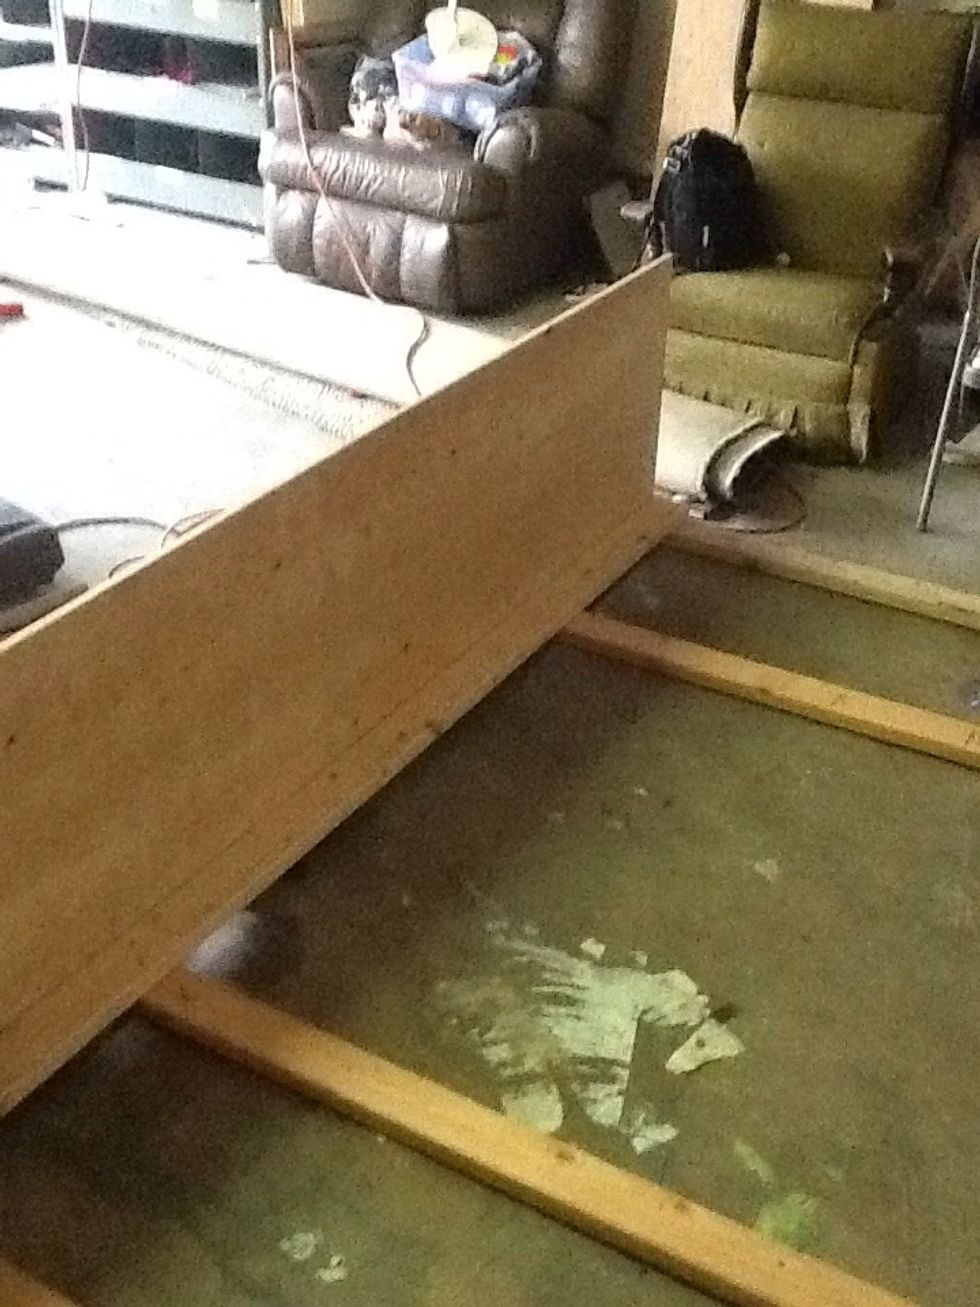
Screw one of the 2x8 plywood shelves into the top of the stud you just attached to the frame.
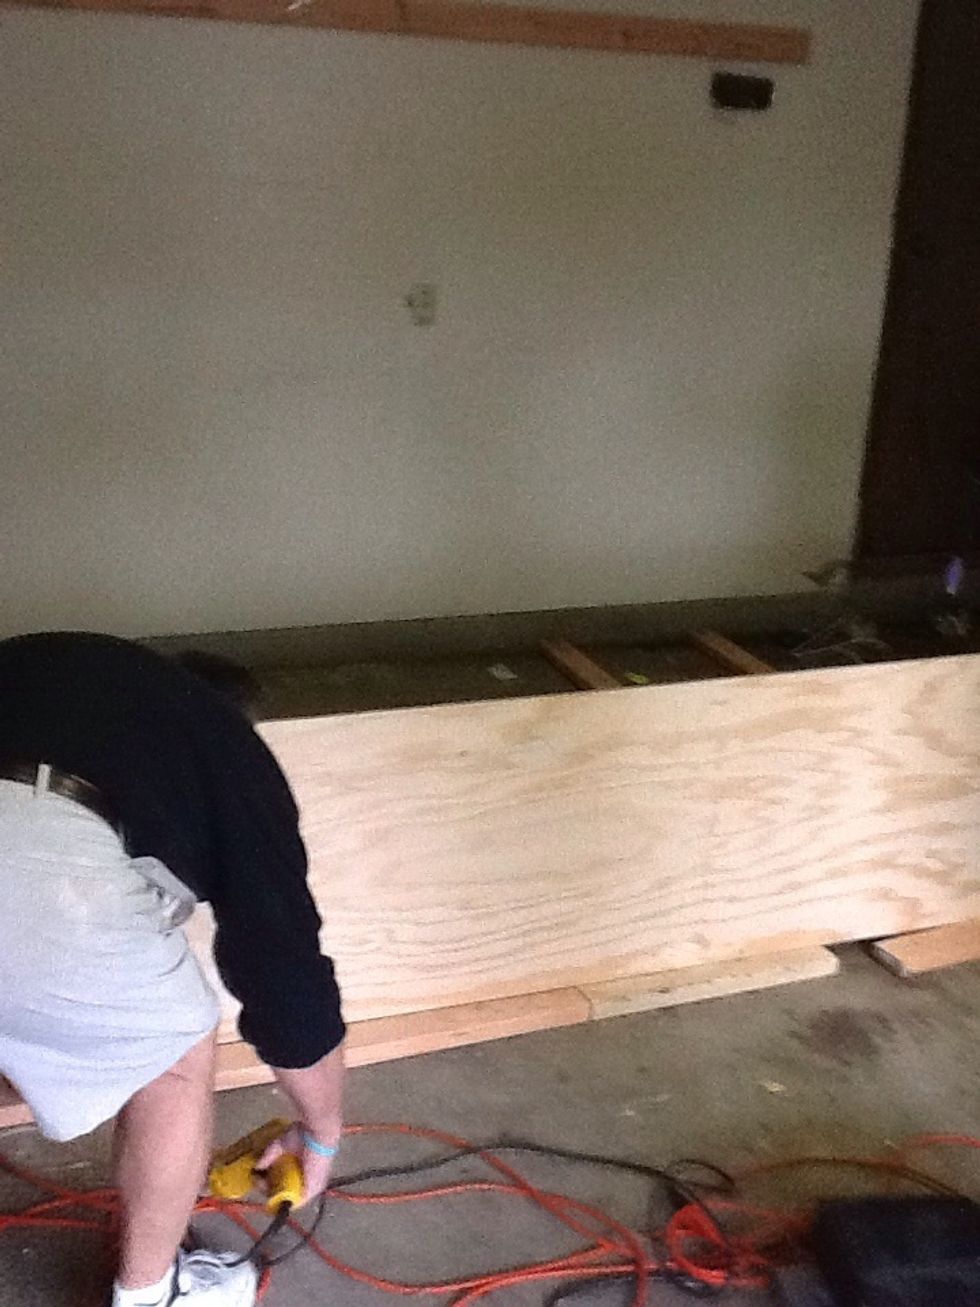
Tip: You can use 2x4 scraps or another stud to rest the top shelve on while screwing it into the frame. This sits the exact same height off the floor that you will need to rest.
Lift the frame up and rest the top shelf on the stud you placed on the wall in the first steps. It should sit well, you can adjust the legs to make sure you have a flush fit.
Screw the top shelf into the original stud you placed on the wall. Making sure its flush to both ends.
You need to determine the height of each shelf. We wanted to store paper towels and other goods, so we based our shelves on the height of paper towel rolls.
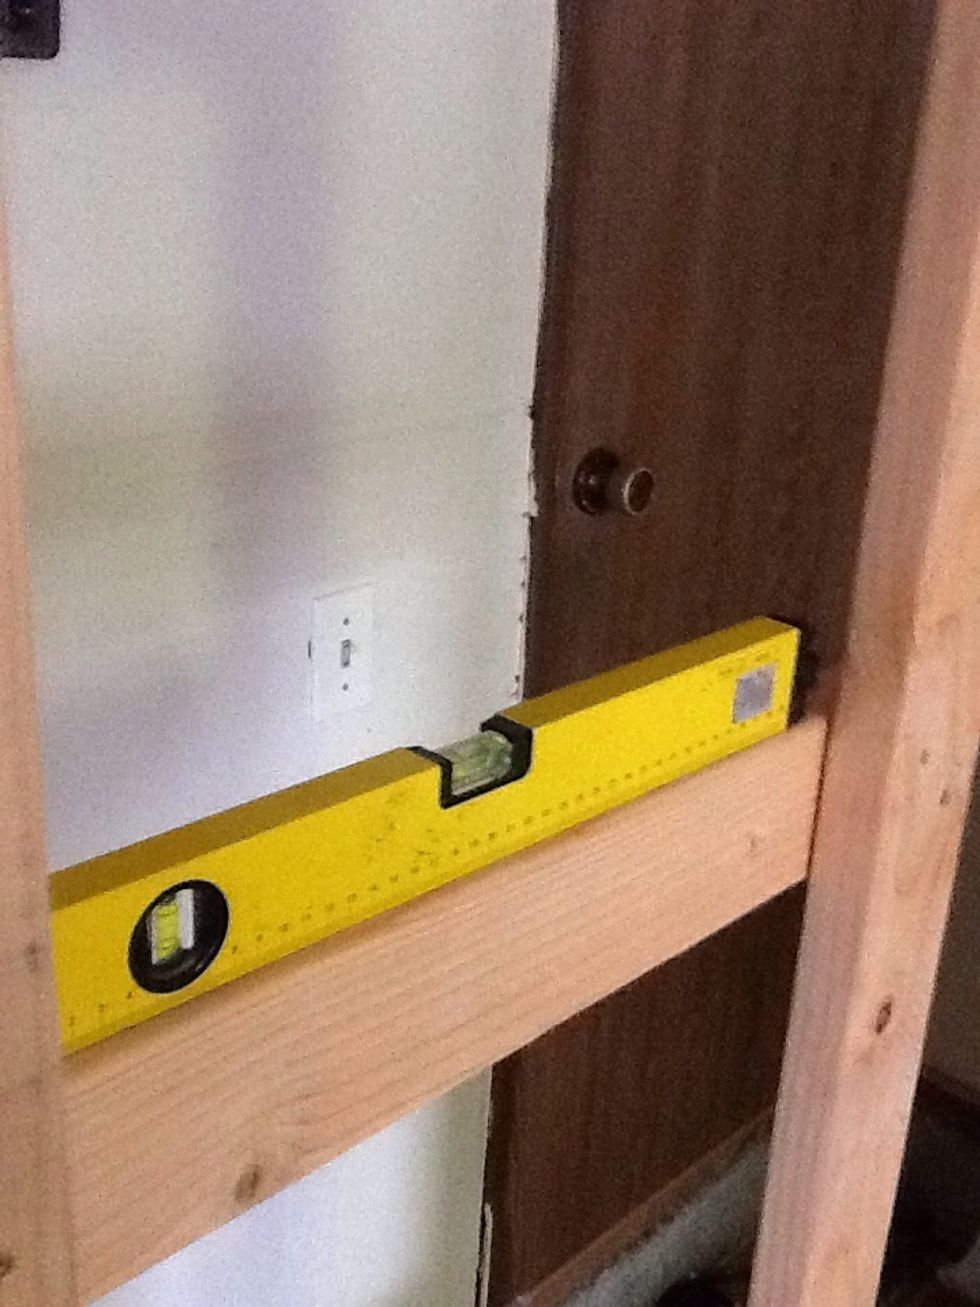
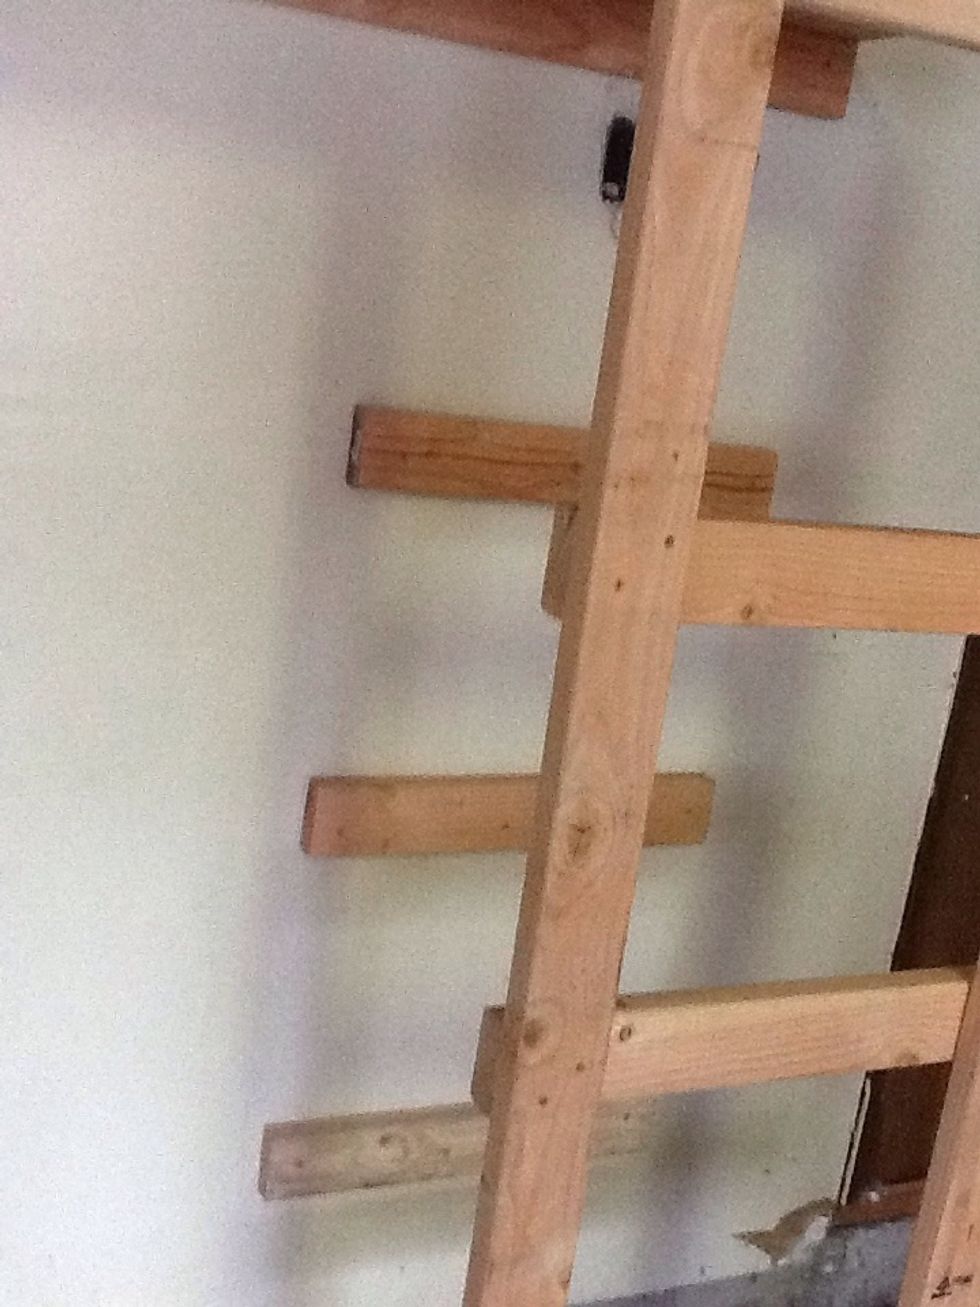
Determine the height of the shelves, cutting a 2ft piece off of a stud, screw the shelf brace into the legs at the correct height. Use a level to make sure it is straight.
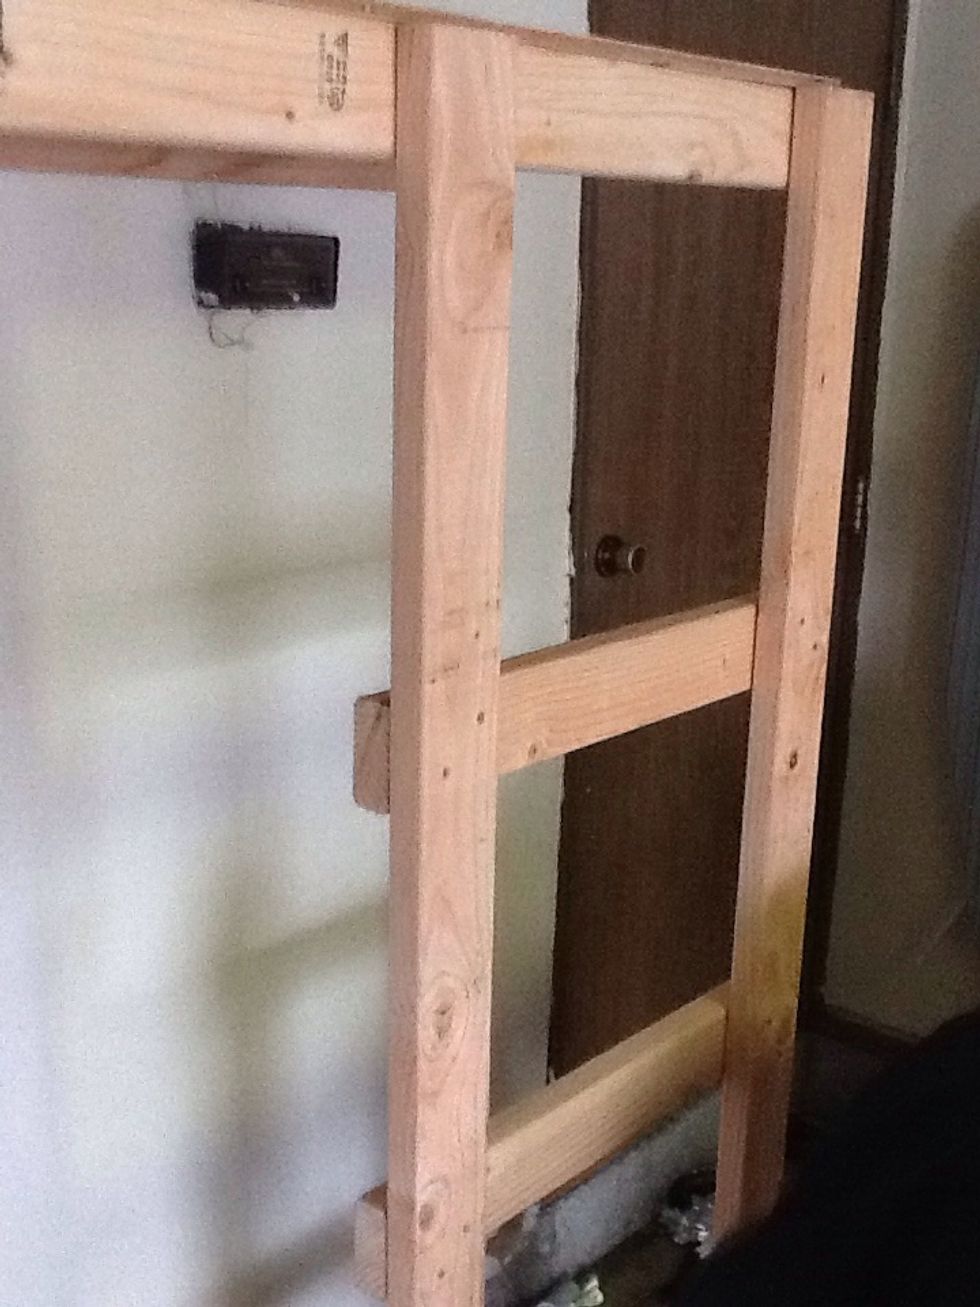
Continue to attach shelf braces in the appropriate spots to create the shelf heights you wish to have.
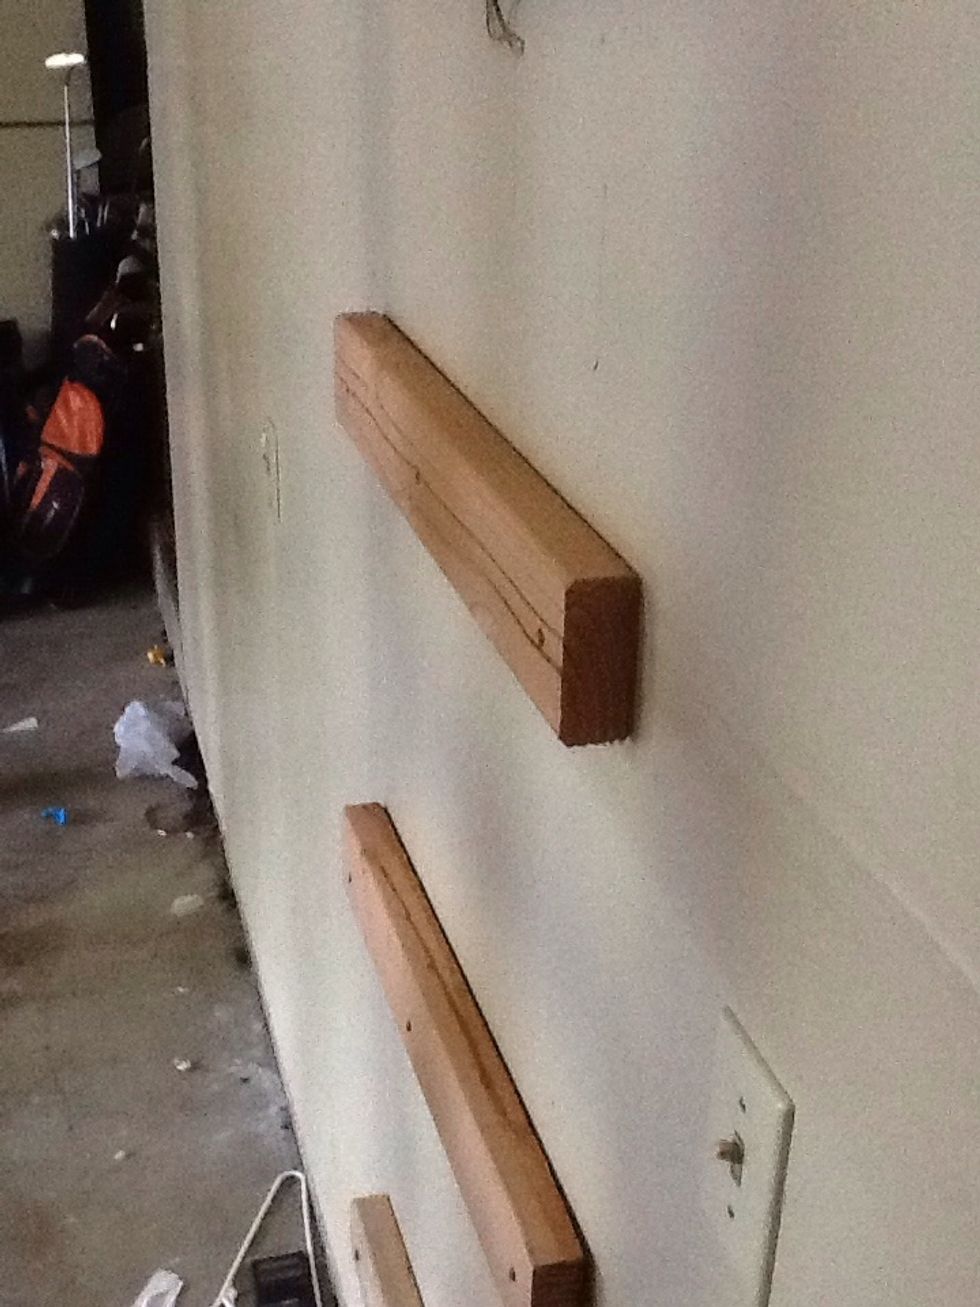
Attach similar braces to the wall at the same height. Again use a level to make sure your braces are at the accurate height and straight.
Tip: You can place a longer level from the front braces to the ones on the wall to ensure they are the same height.
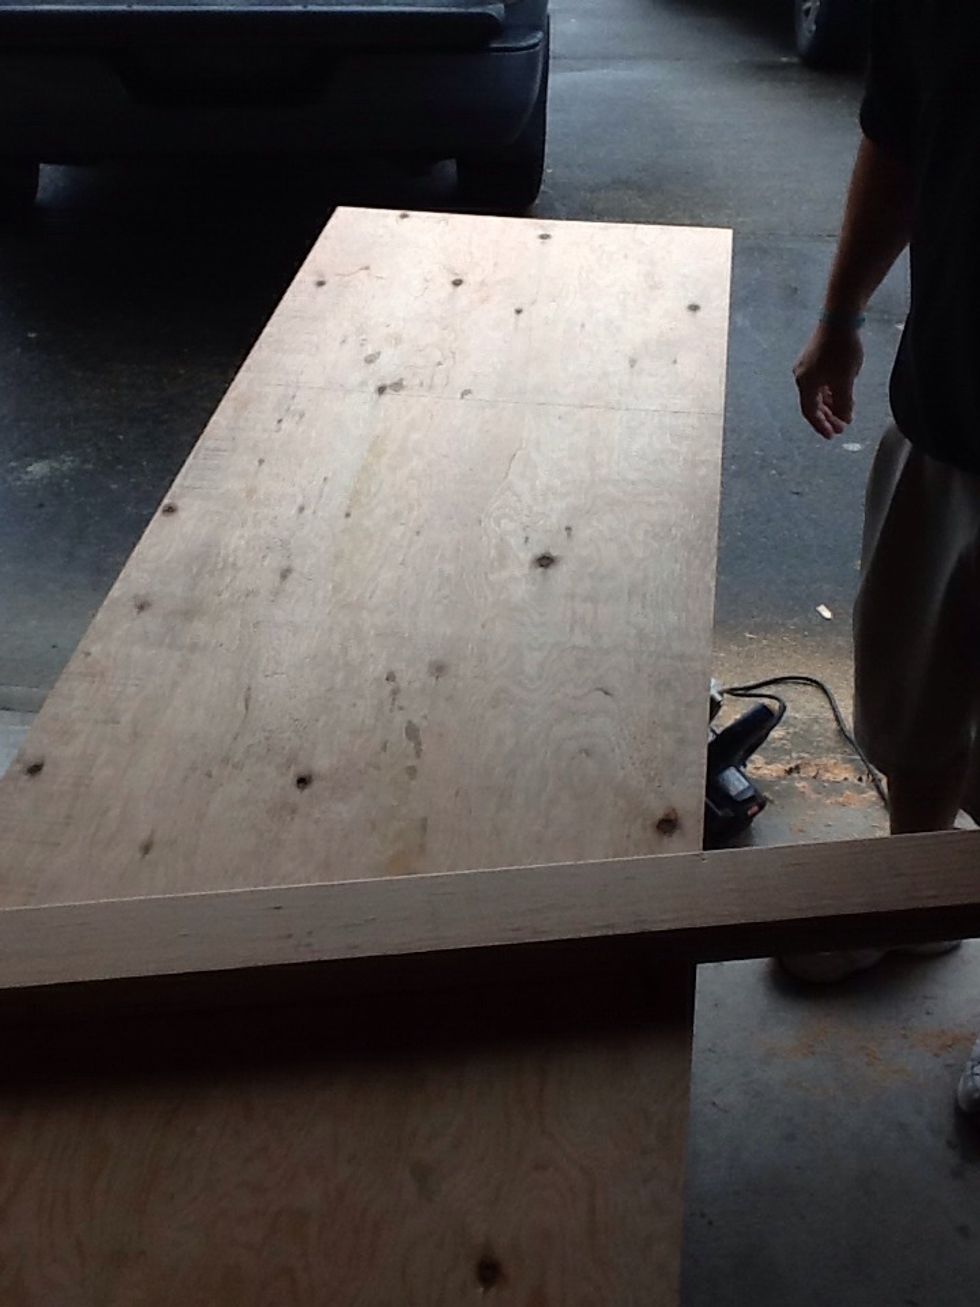
Cut the remaining plywood sheets to fit the shelves you created. The width will already be right. All you need to measure is the length. Ours was 2ft we were able to create 4 shelves from this piece.
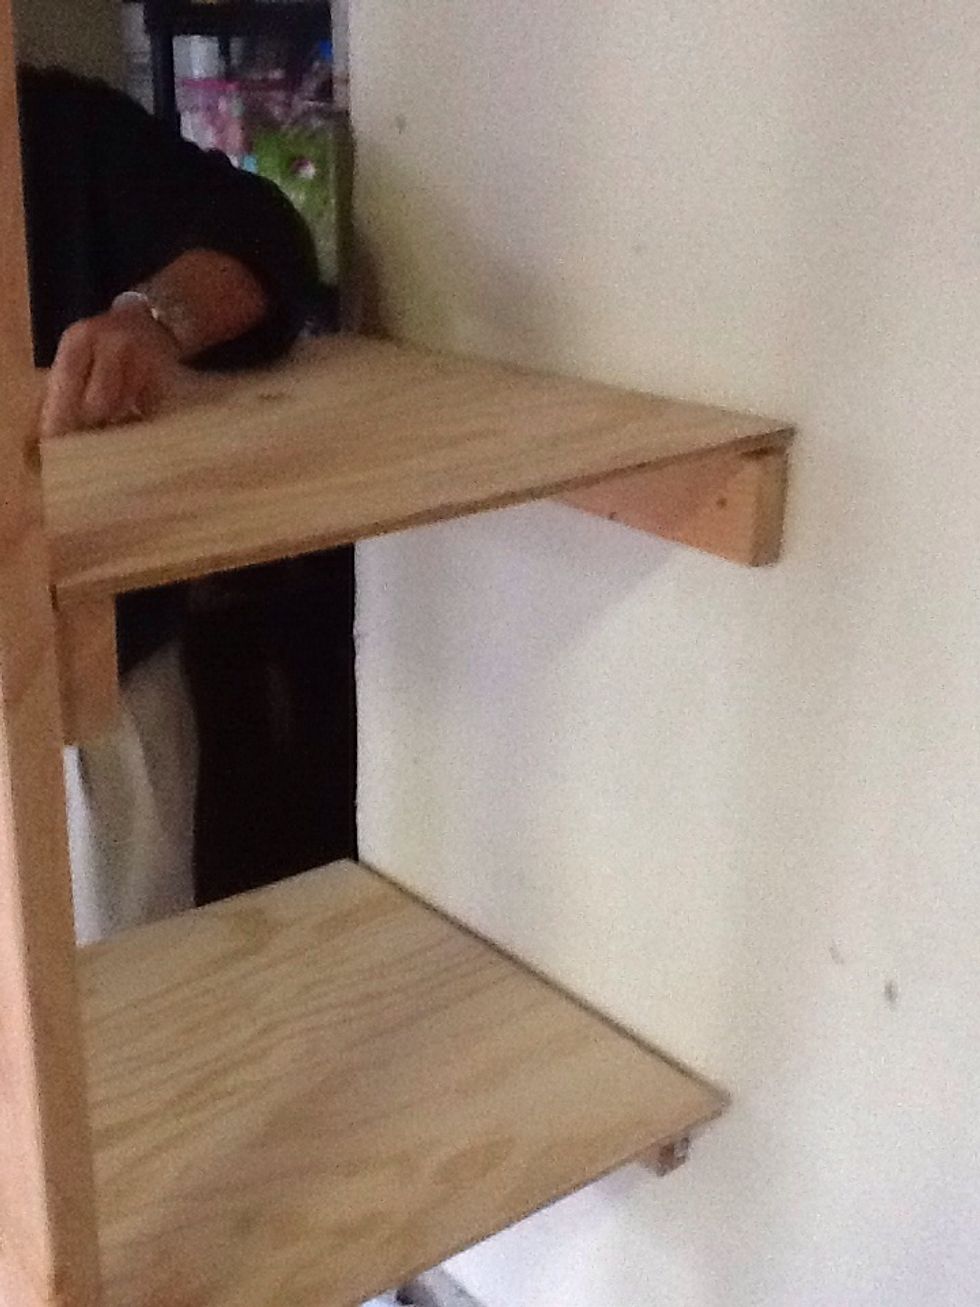
Place the cut shelves onto the braces.
Screw shelves into brackets along corners.
You can create as many shelves as you like. Its just a matter of wood. We created ours to use the 4x8 plywood sheets we had.

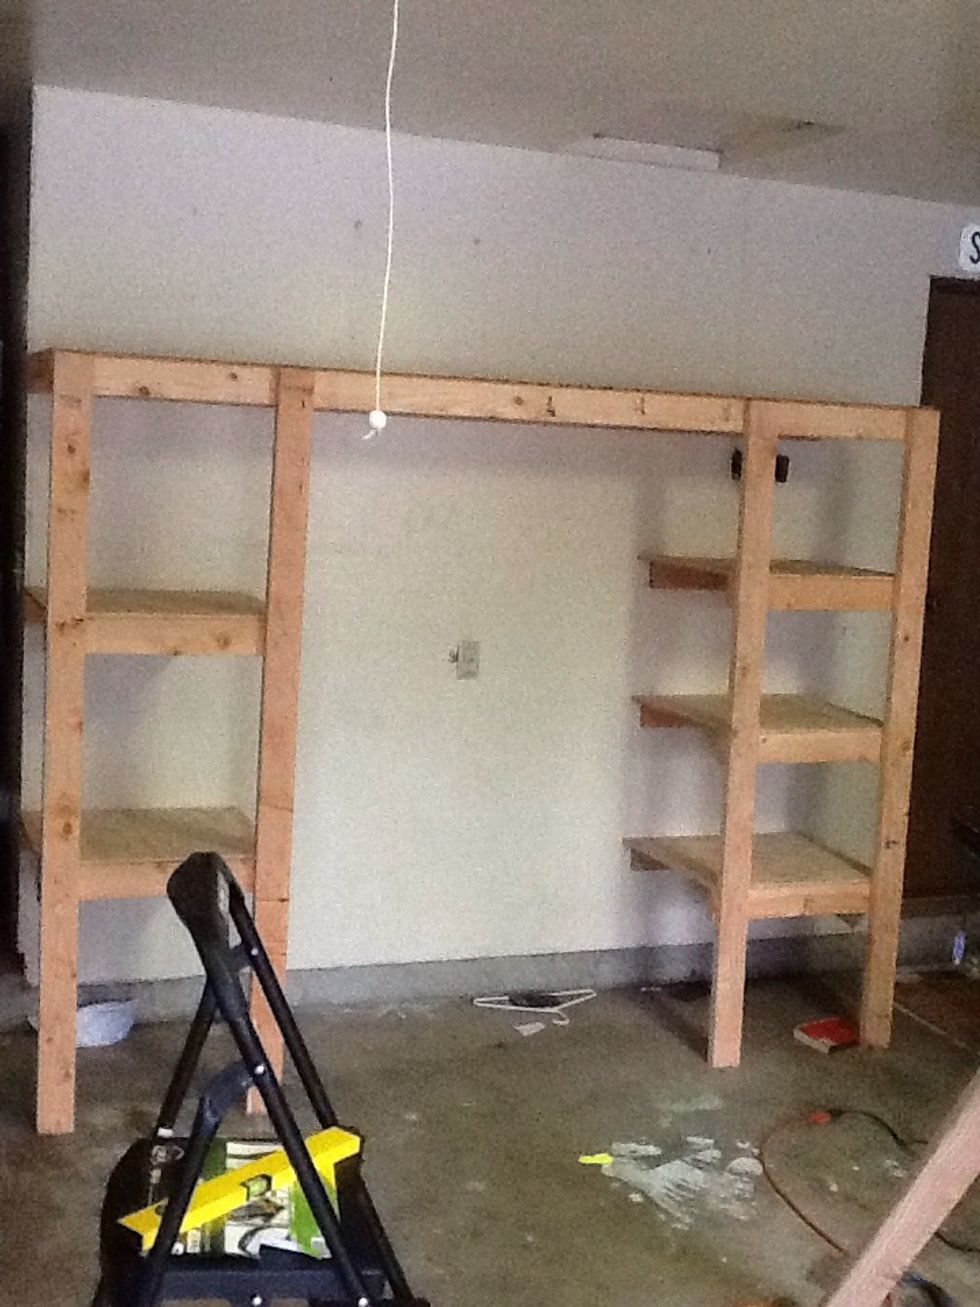
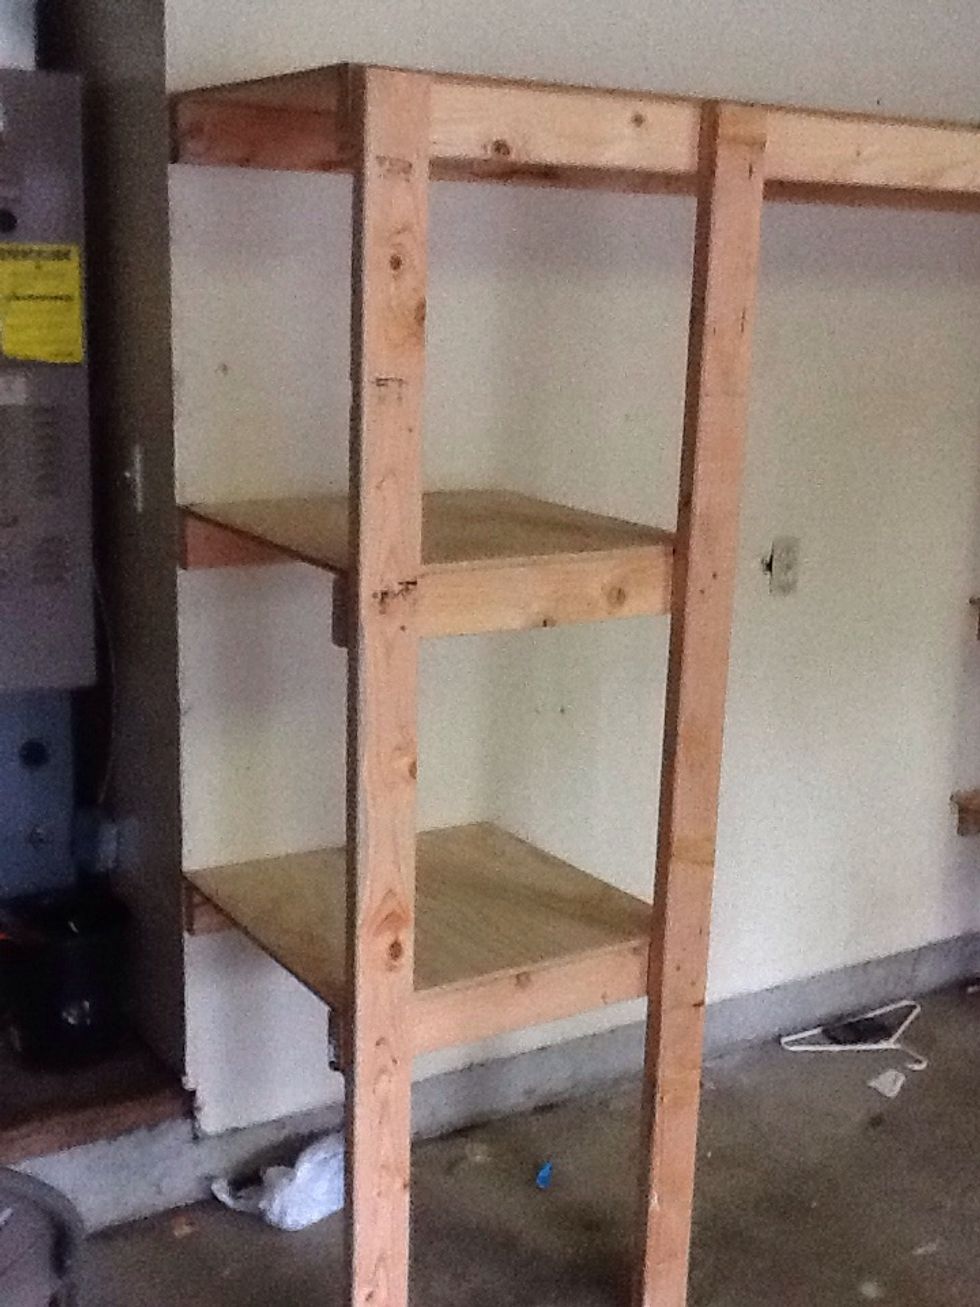
Here is our finished product. We built two of these in the same day, which is why we were able to create 3 shelves on the right hand side.
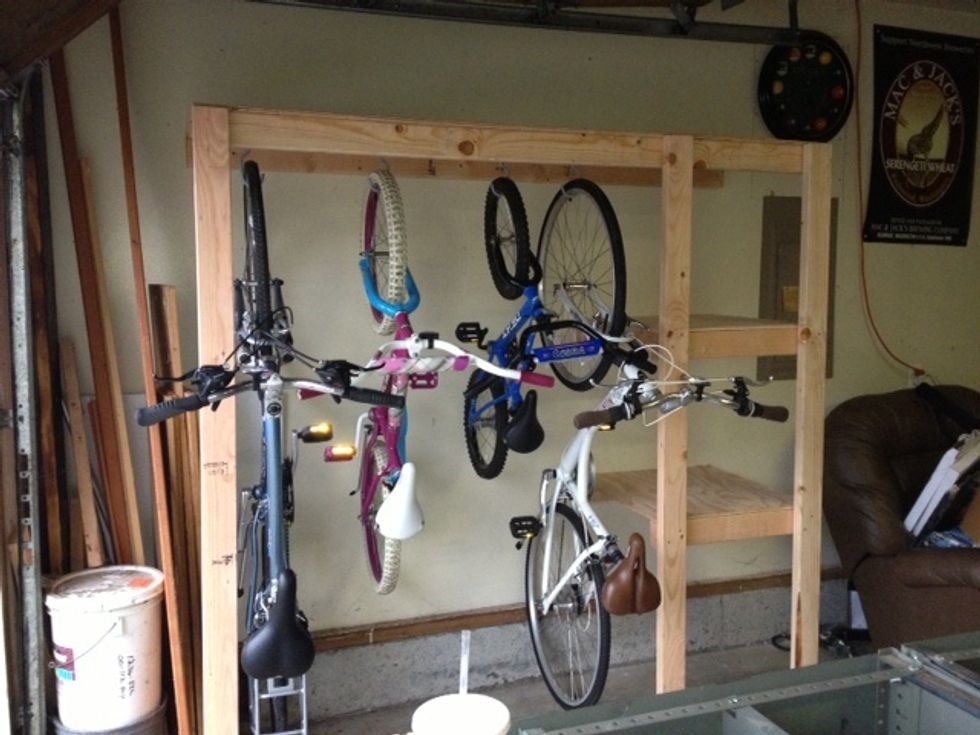
You can also place bike hooks in the opening that you left as well. This is the other shelf we built the same day.
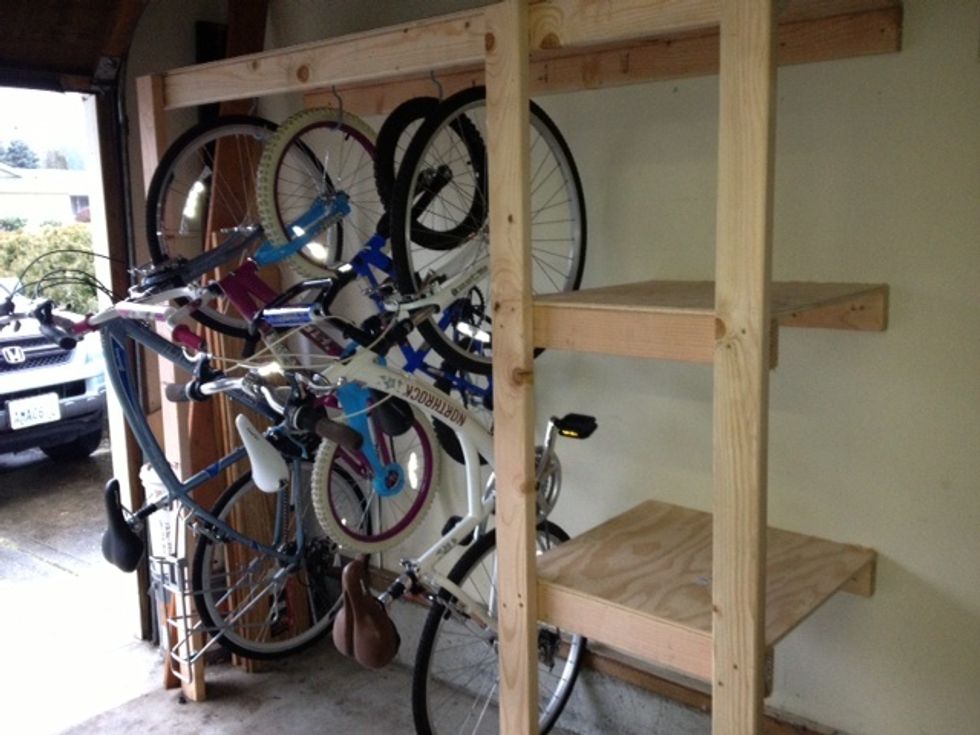
For a total of $119 at Home Depot we were able to build 2 custom shelves perfect for the garage and the bikes. Just to put this in perspective. A garage shelf at Costco that is half the size is $129.