The Conversation (0)
Sign Up
First the stove
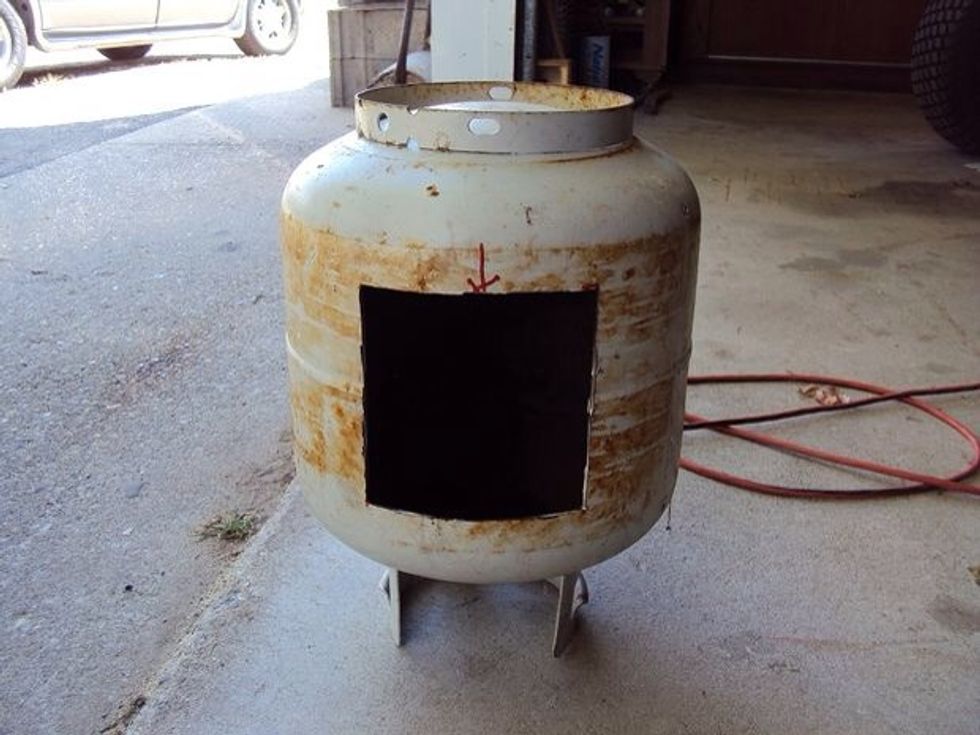
I wanted to do this DIY and on the cheap and after seeing a few stoves made from propane tanks I checked the garage and we had a 20lb tank collecting dust.
The tank had been used but was empty so I Took off the fitting with a little elbow grease and let it air out for an hour. I then filled it up with water and let it sit for 20 min.
Then it got tossed in the fire pit and burned for an hour to remove any traces of propane and the nasty additive that I believe is poisonous.
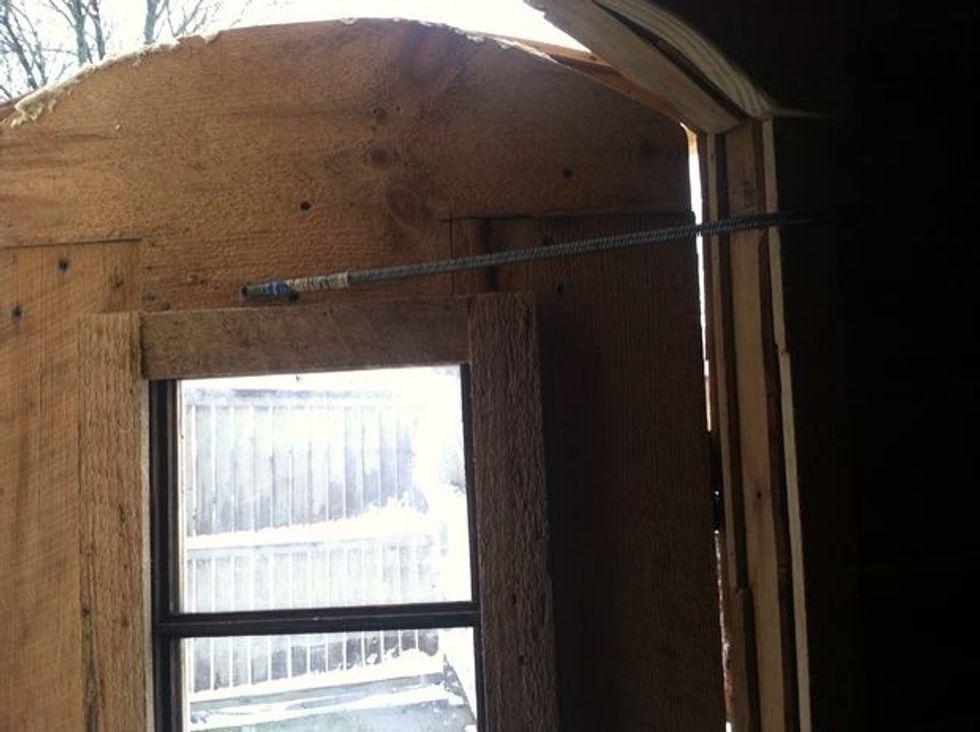
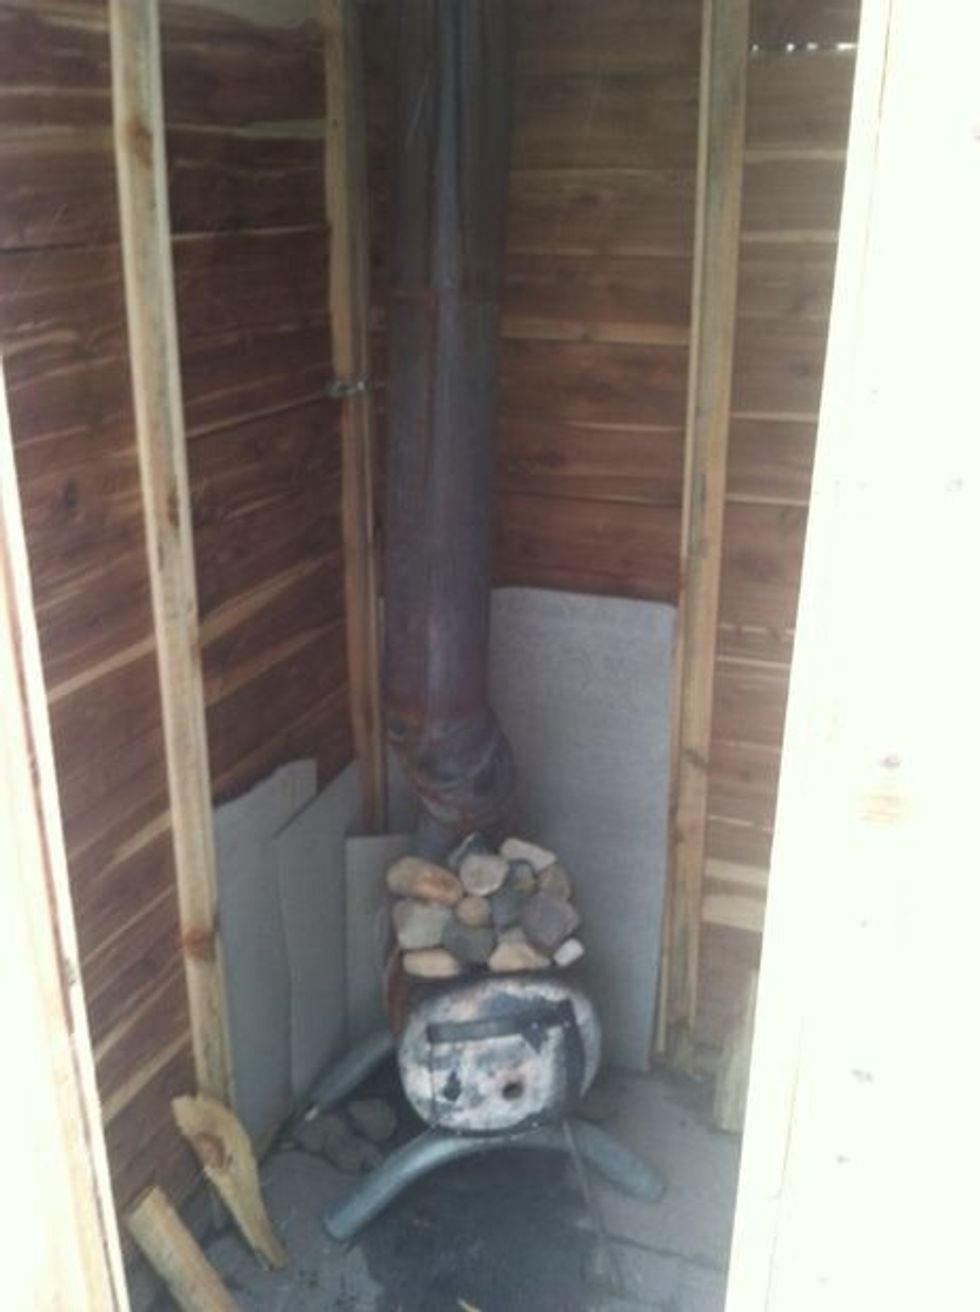
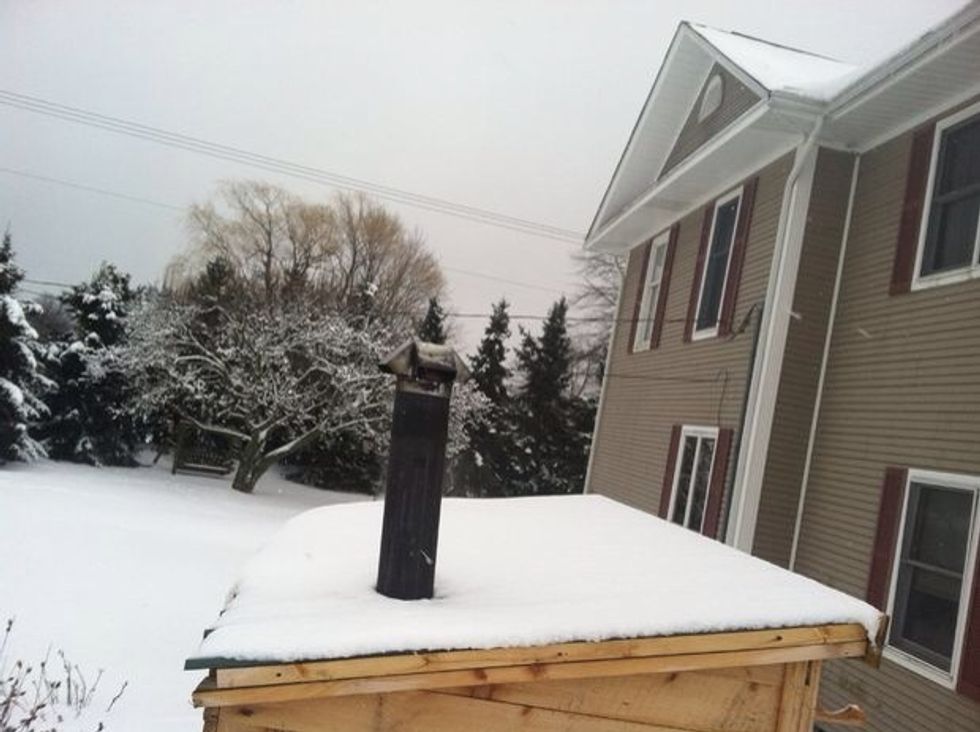
I wanted to keep the building small and fit 3-5 people so to save space I made the choice/mistake to have the tank sit upward. I purchased 8ft of 6" single wall stove pipe.
Which i cut a hole smaller than the pipe in the tank using an angle grinder. Lots of sparks and loud but pretty fast work.
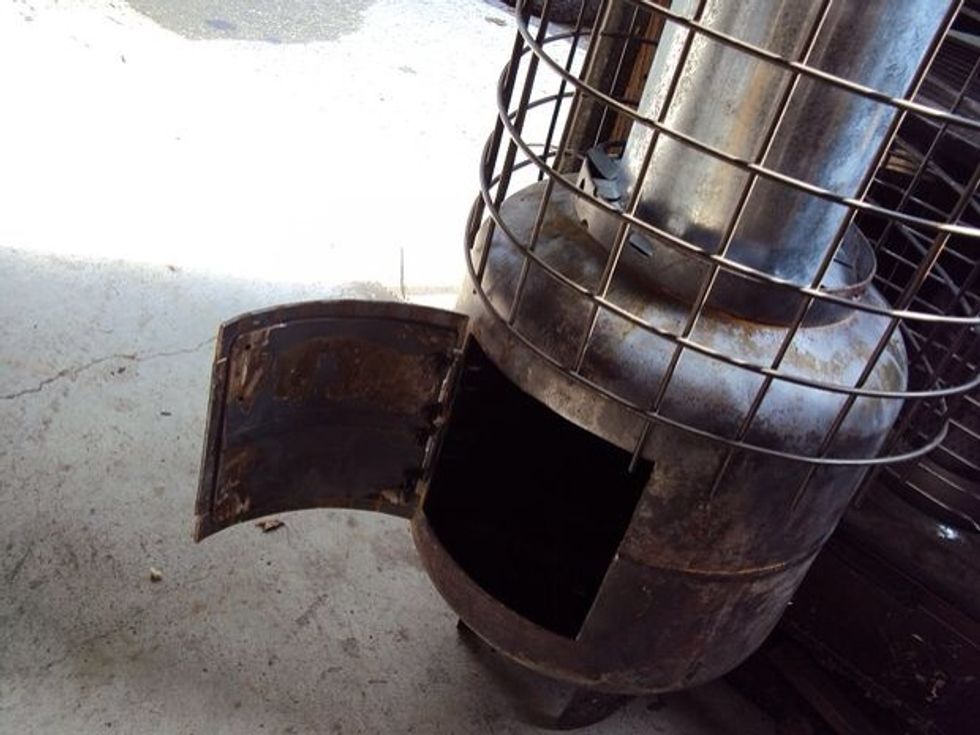
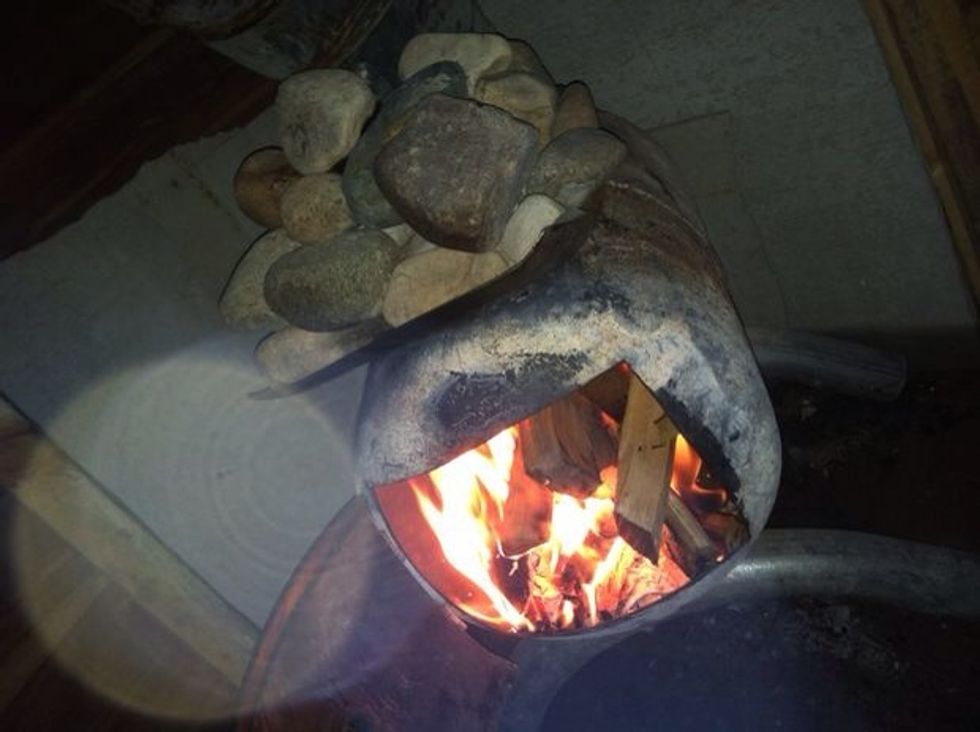
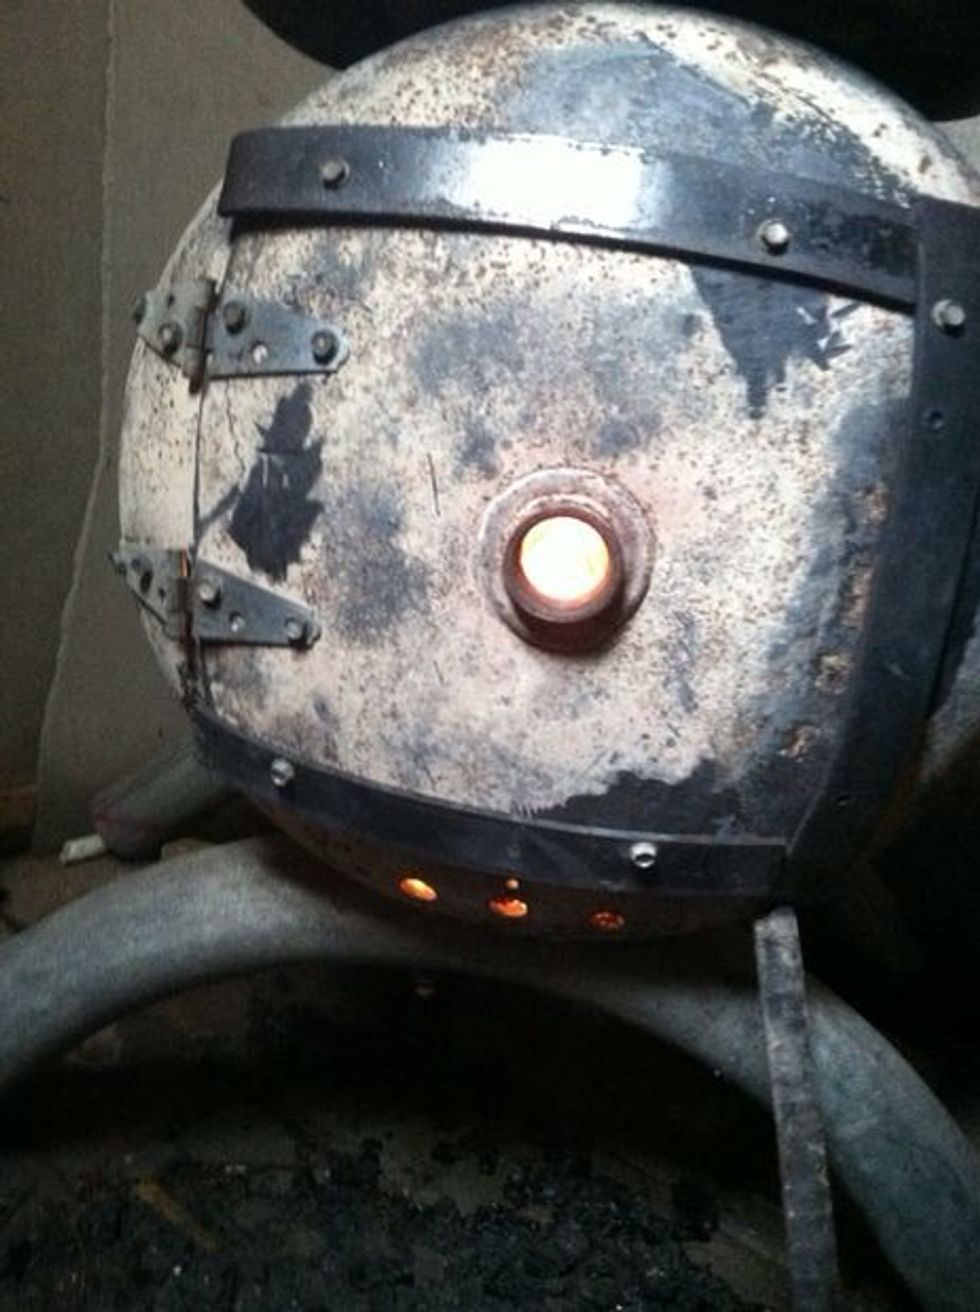
I made a door in the front and used steel banding and sheet metal screws to attach the strapping and door hinges. Since the tank was vertical not horizontal i had to keep the fire in the fire box.
So i used a piece of plate steel and some bolts so i could adjust the air gap to the optimize draw but still keep the fire in the box.
Note: in the picture u will see a piece of air duct on the tank this is galvanized and a big NO for a chimney end up with zinc poisoning but it is 6" and worked for a demo fit.
Step 1 was complete I had a fire box that seemed to be working pretty good and i was able to do it weld free.
I knew the project was going to cost a few hundred bucks but was going to be frugal and resourceful as I could without sacrificing to much time to save a buck.
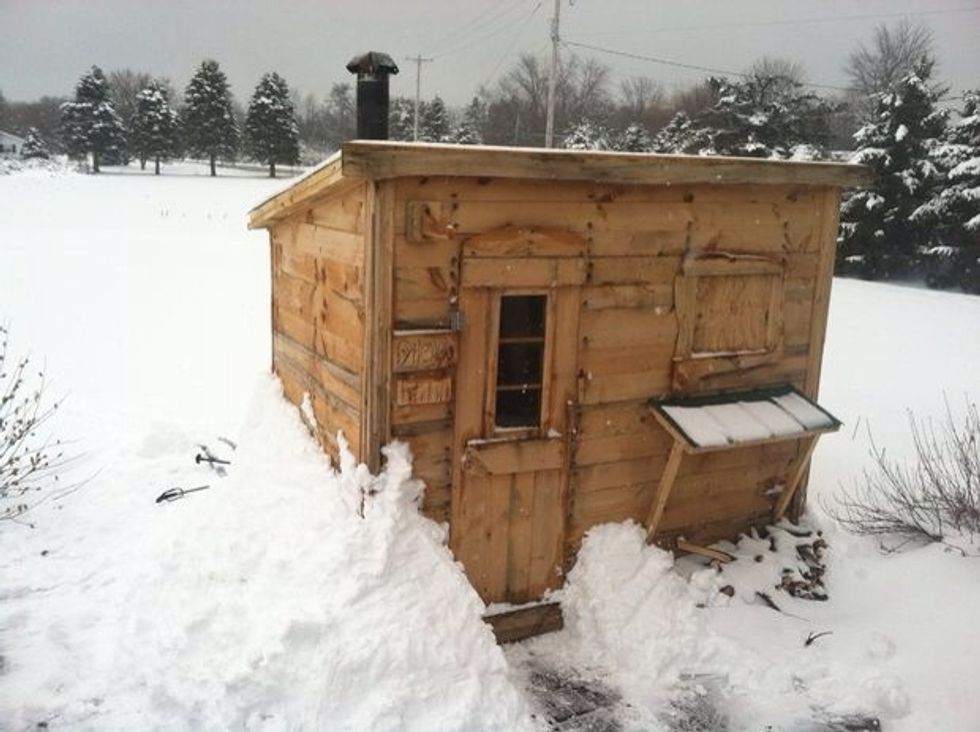
So I looked at what floor plans i could find on the web and for dimensional lumber reason I decided on 4'x8' and settled on a shed roof that would be 7ft on the high end and 6ft 4 on the short end.
I really wanted to have this be a legit sauna and cedar was the wood of choice. But no way jose would I be buying that much cedar at a big box store thats the opposite of a frugal build!
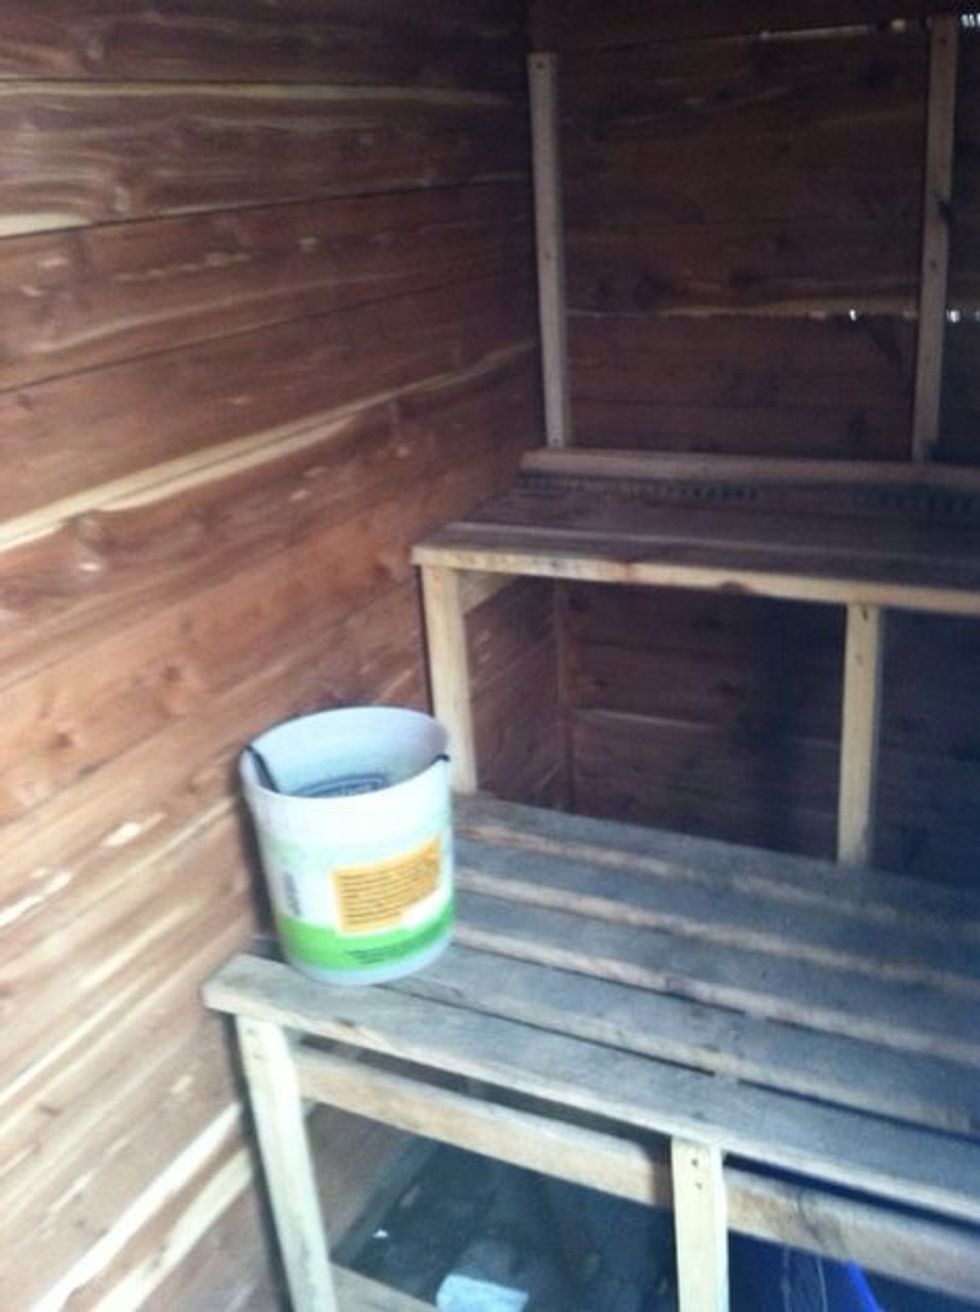
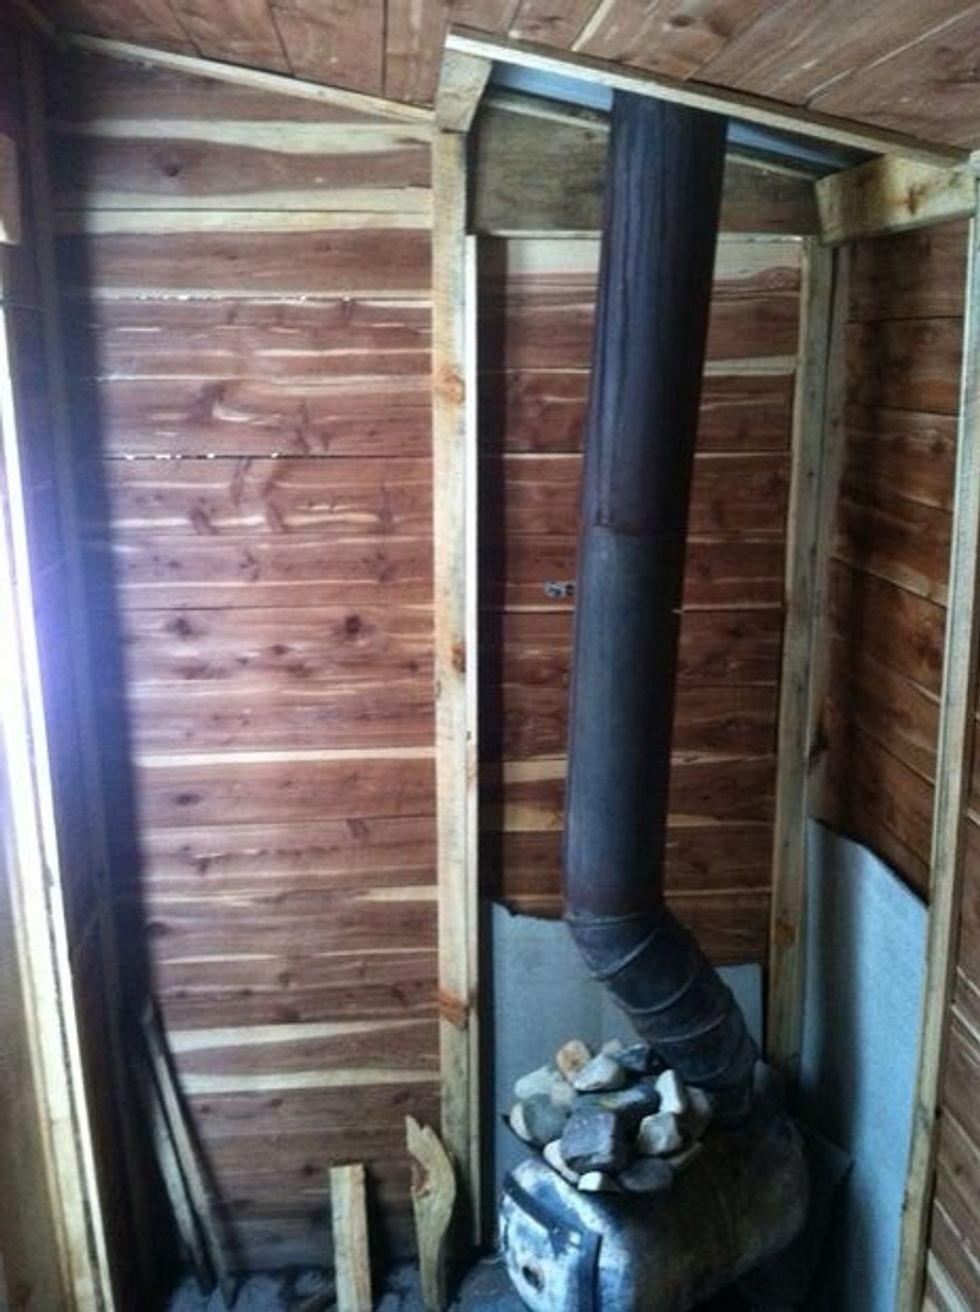
So the plan was formed. I would build a frame using dimensional lumber and line it with ~3/8' cedar boards and then the exterior would be .75-1.25" white pine.
To save $ I cut 2x4's in half and the frame was built one wall at a time. The pine boards were 9-15" wide and 8-11 ft long and varied from .75-1.25 thick.
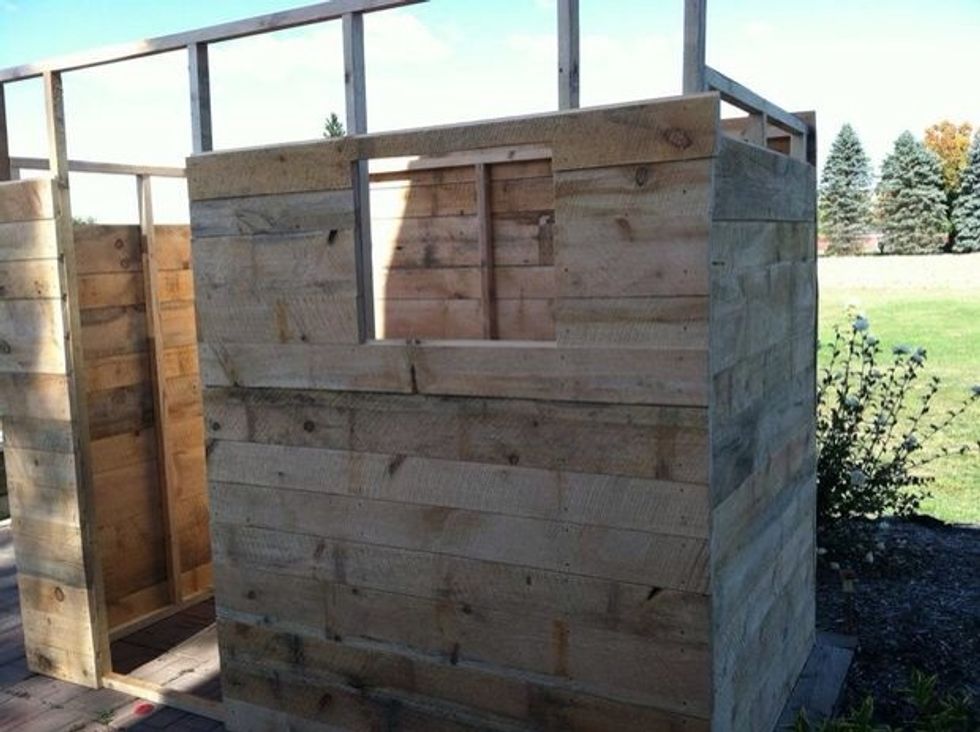
With lots of time, we end up almost done.
I continued to nail up pine boards until the exterior was up to the roof level, which is at an angle so the boards near the top had to be cut at an angle to follow the roof pitch.
My dad gave me a hand and we framed out the roof and purchased some steel roofing in a lovely forest green.
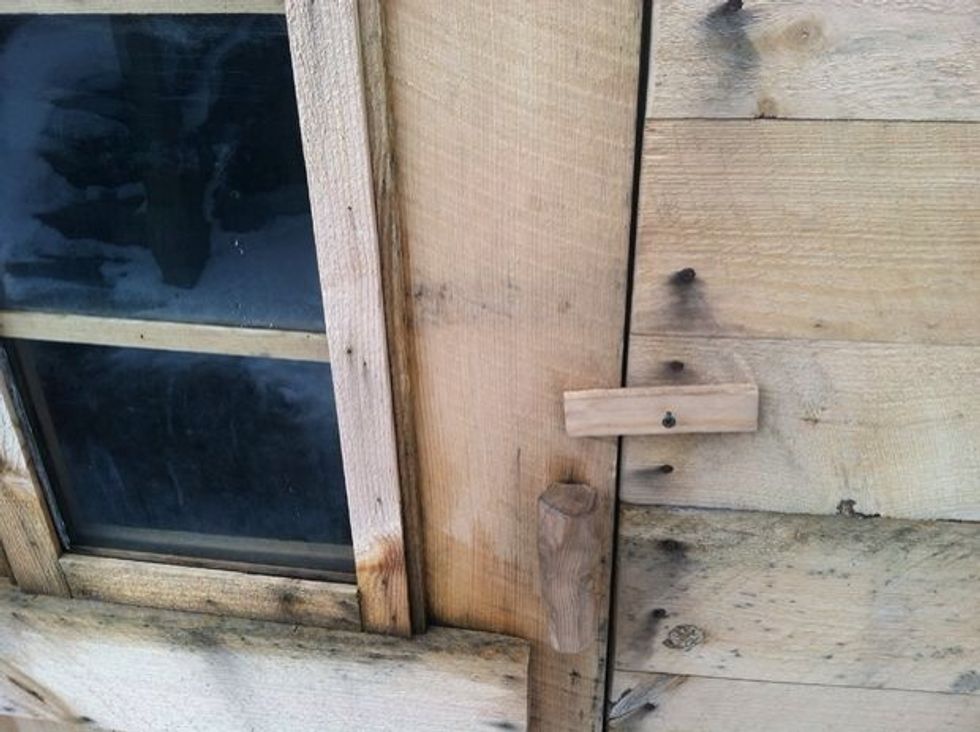
The door was made from left over pine boards that already had the ship lap cut in them and a ~100 year old window I found in the attic that imagine was from when my parents house was built.
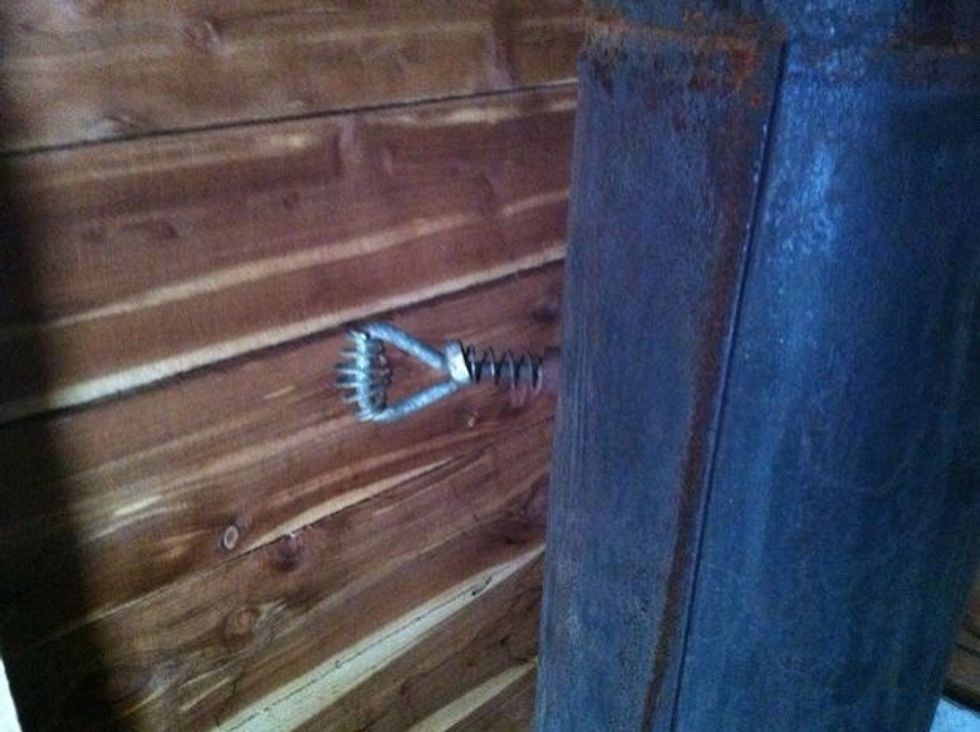
I attached a spring to the door and wall to keep it closed and that heat in!
The window was made from a plate of glass that I had laying around.
I decided to redo the stove
Well it was looking like a sauna and technically did work but It would take 2-3 hours to reach temps of 150 degrees. And never really was hot enough for my liking.
The stove had great draft but i think a large portion of heat was lost out of the top of the stove pipe based on the vertical design. So I searched craigslist and found a larger 30lb tank for $10.
This time i wasn't messing around I wanted to keep more heat in the building and opted for the horizontal design which appears more commonly done with the propane tank wood stoves.
It was a good move, and basically repeated the same process and built some legs and a larger door than before and cut up the old stove to use as a baffle for the new one.
Now the sauna heats up rather quickly in about 45-1hr its ready to use.
So it's been 4 months now
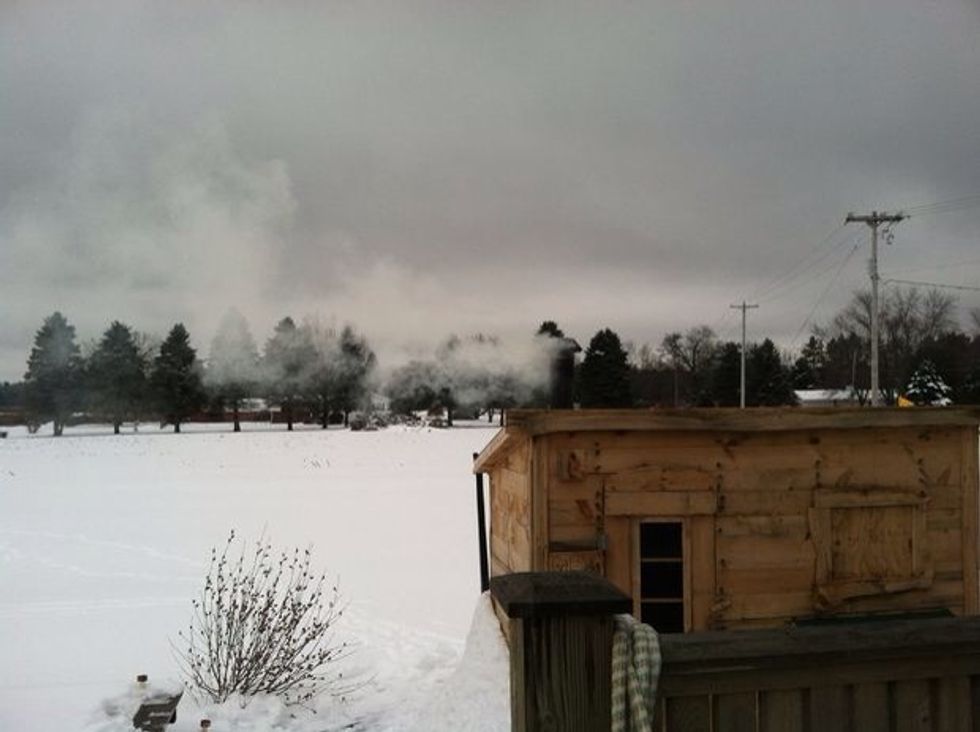

Sauna has been up and running for 4 months now and gets used about twice a week. It burns about half a wheelbarrow of wood each fire so that has been my biggest challenge is finding dry fire wood.
Having the right wood is key so much easier to get the hot box up to temp if you have a dry supply. This summer I will stock pile up but so far burning pallets and scraps from the sawmill.
The wind also plays a big role in the draft and a slight breeze seems to be best for the quickest hottest fires.
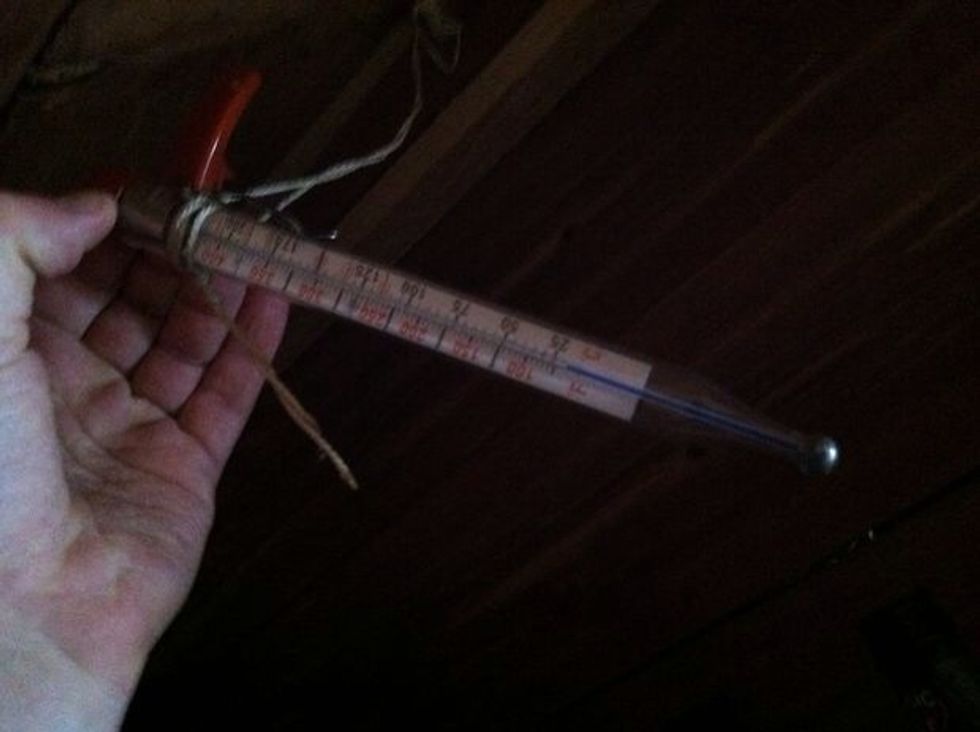
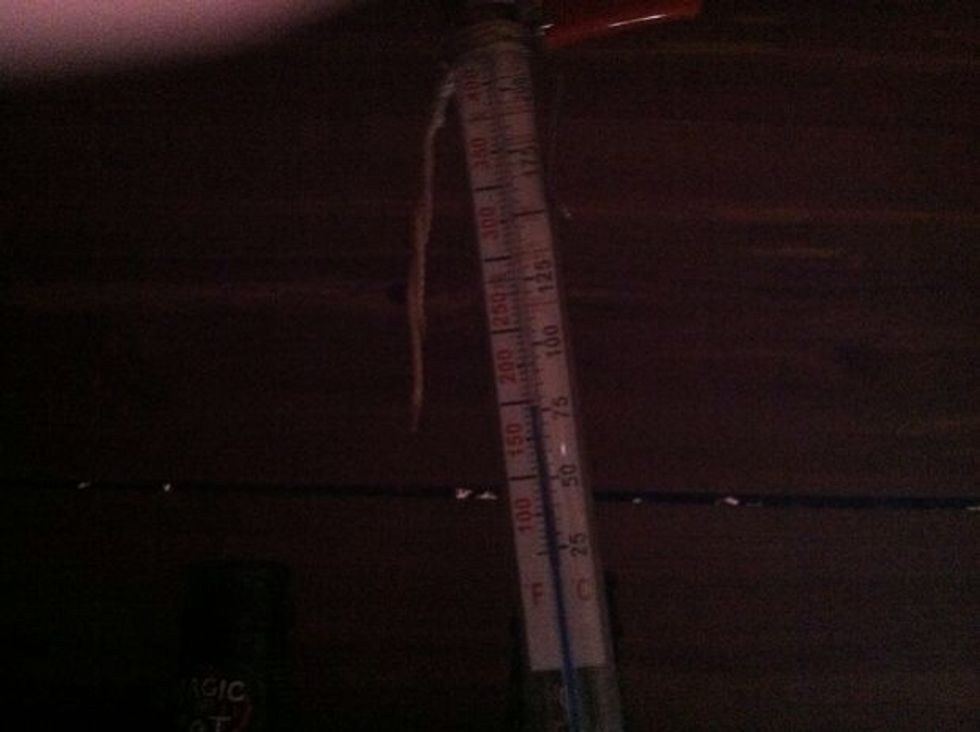
I had a whole bunch of oak and pine strips and on a 18 degree day had the sauna at 201 degrees which is as hot as i go, usually 175 is my zone.
I use a kitchen thermometer to gauge temp and that hangs 6" off the ceiling on the high side of the sauna hit 175 today.