The Conversation (0)
Sign Up
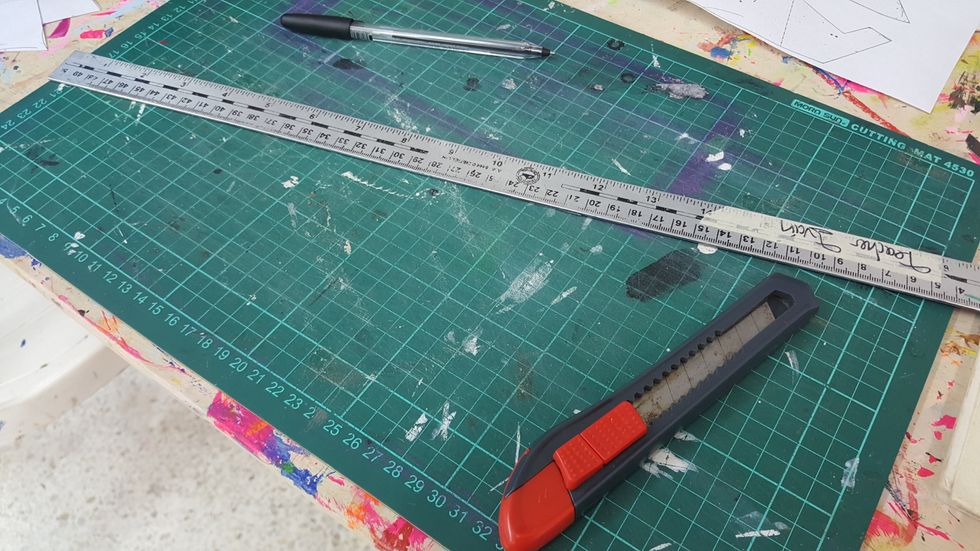
Keep your area claen and have all the materials ready.

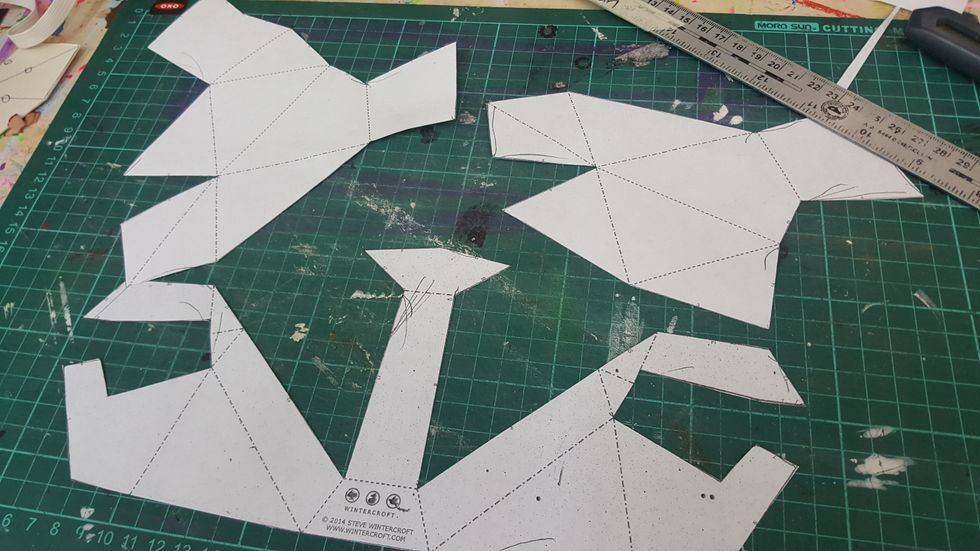
Cut very precise the 3 molds of your fox mask. You MUST be very precise and accurate when cutting, if not, your final result will be a disaster.
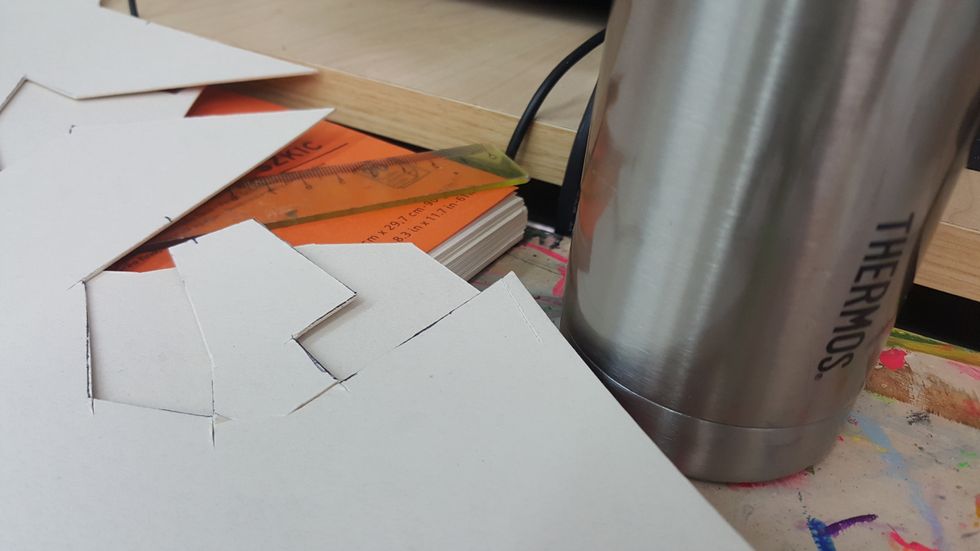
Once the molds are cut, transfer them on your cardboard and proceed VERY CAREFUL to cut.

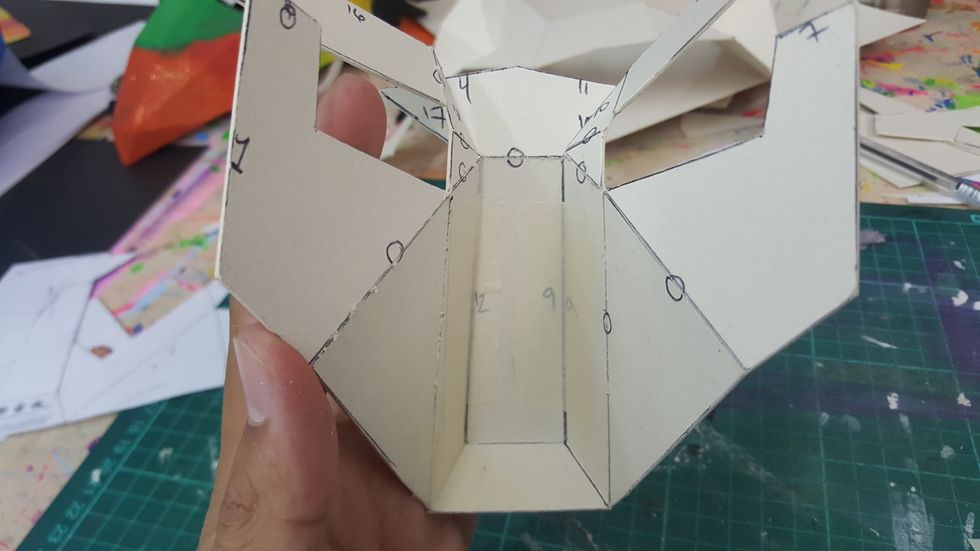
Next, put the numbers on the sides so you can identify which size you are going to join.

The molds have 2 types of dotted lines, one has points between lines and the other just small lines.

Identify them when you are doing the transfer. I put a circle on it to differentiate it from the other.
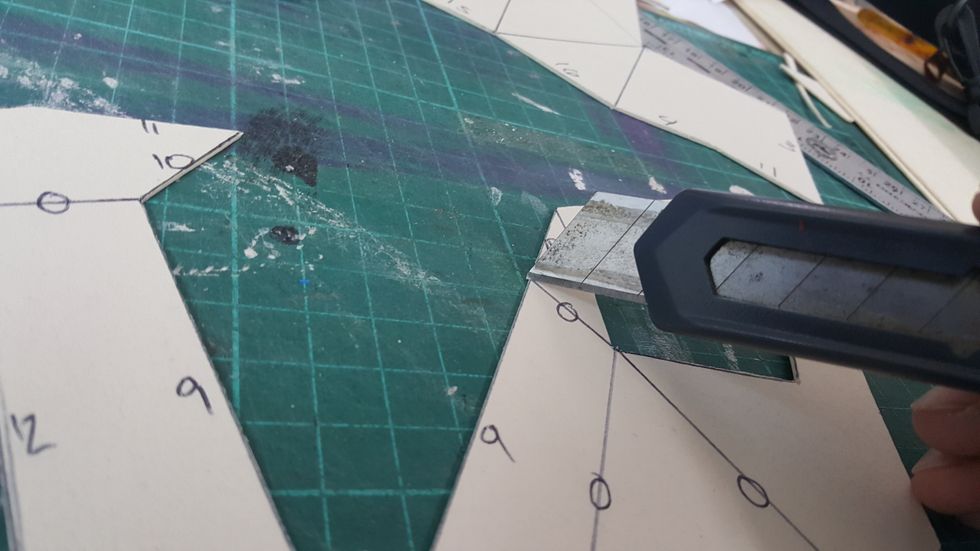
Very gently, make a TINY incision so you can bend the cardboard later. The lines that DO NOT have the circle trace them BACKWARDS so you can bend it on the opposite side.
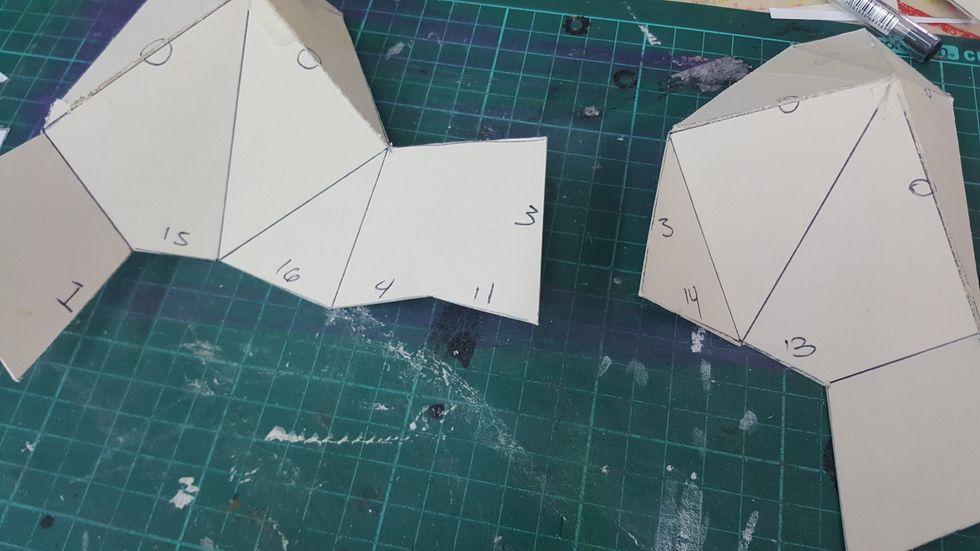
Match the pairs.
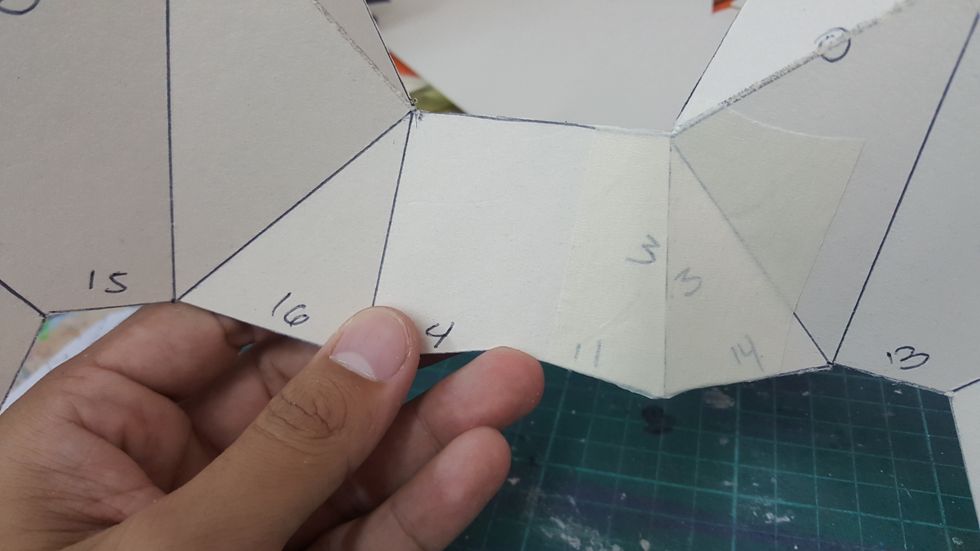
Apply masking tape to unite them.
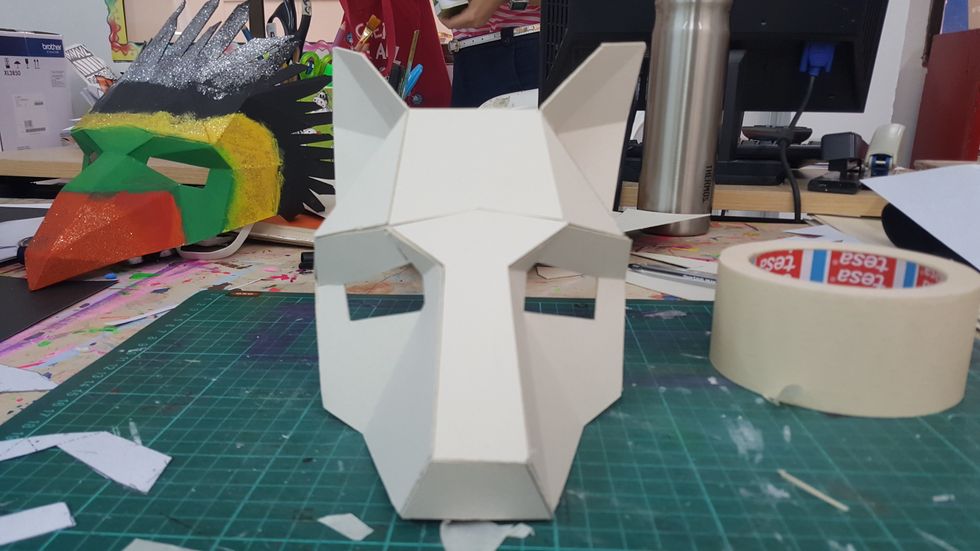
Start your assembling process.
Inner and outer bend.

Unification of the two sides.
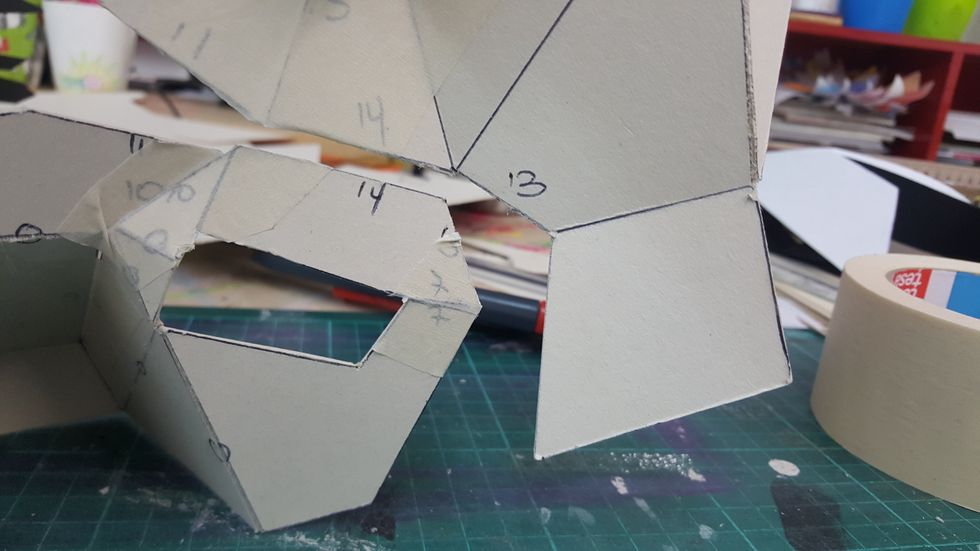
Inner assembly with masking tape.
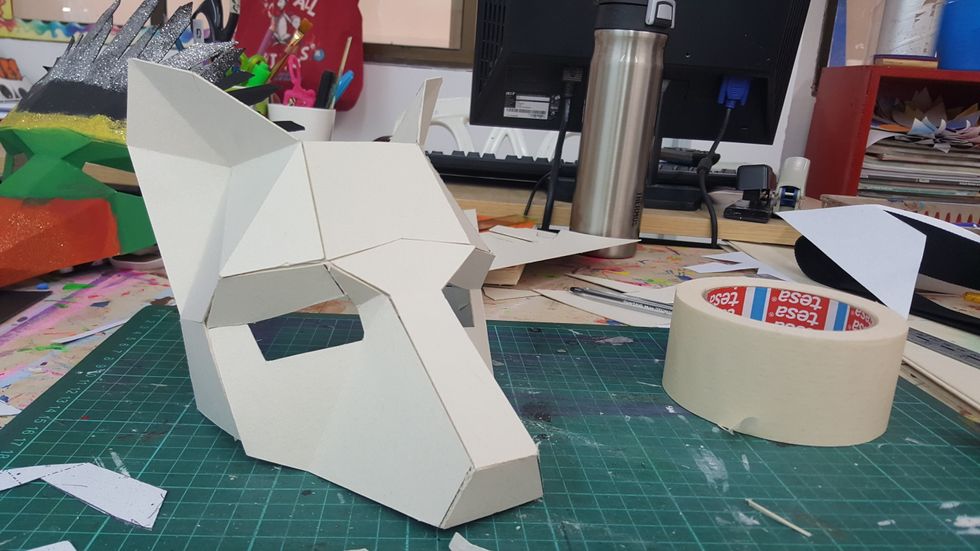
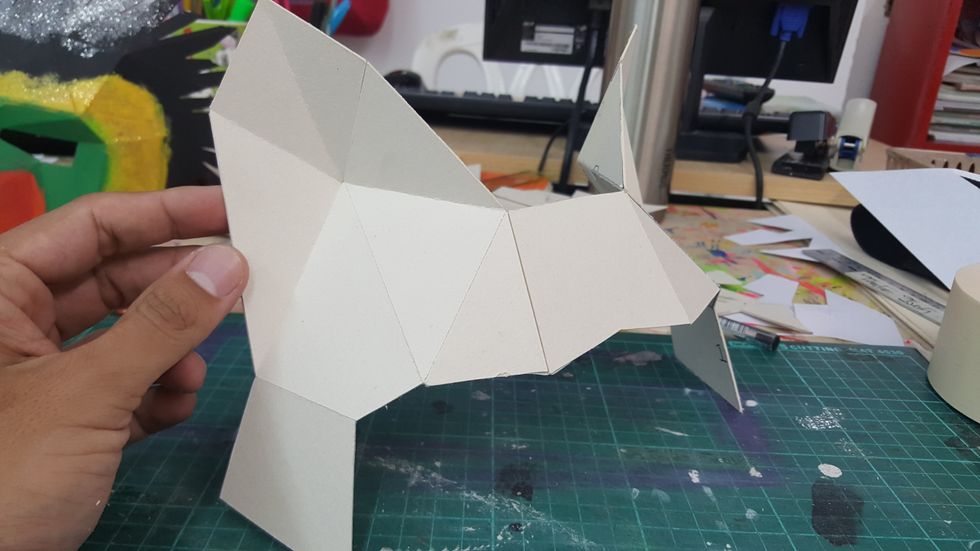
Once finished, very gently with a sand paper of 180 sand the mas on the sides to eliminate imperfections. Painted white and put your name on the inside. ;)