The Conversation (0)
Sign Up
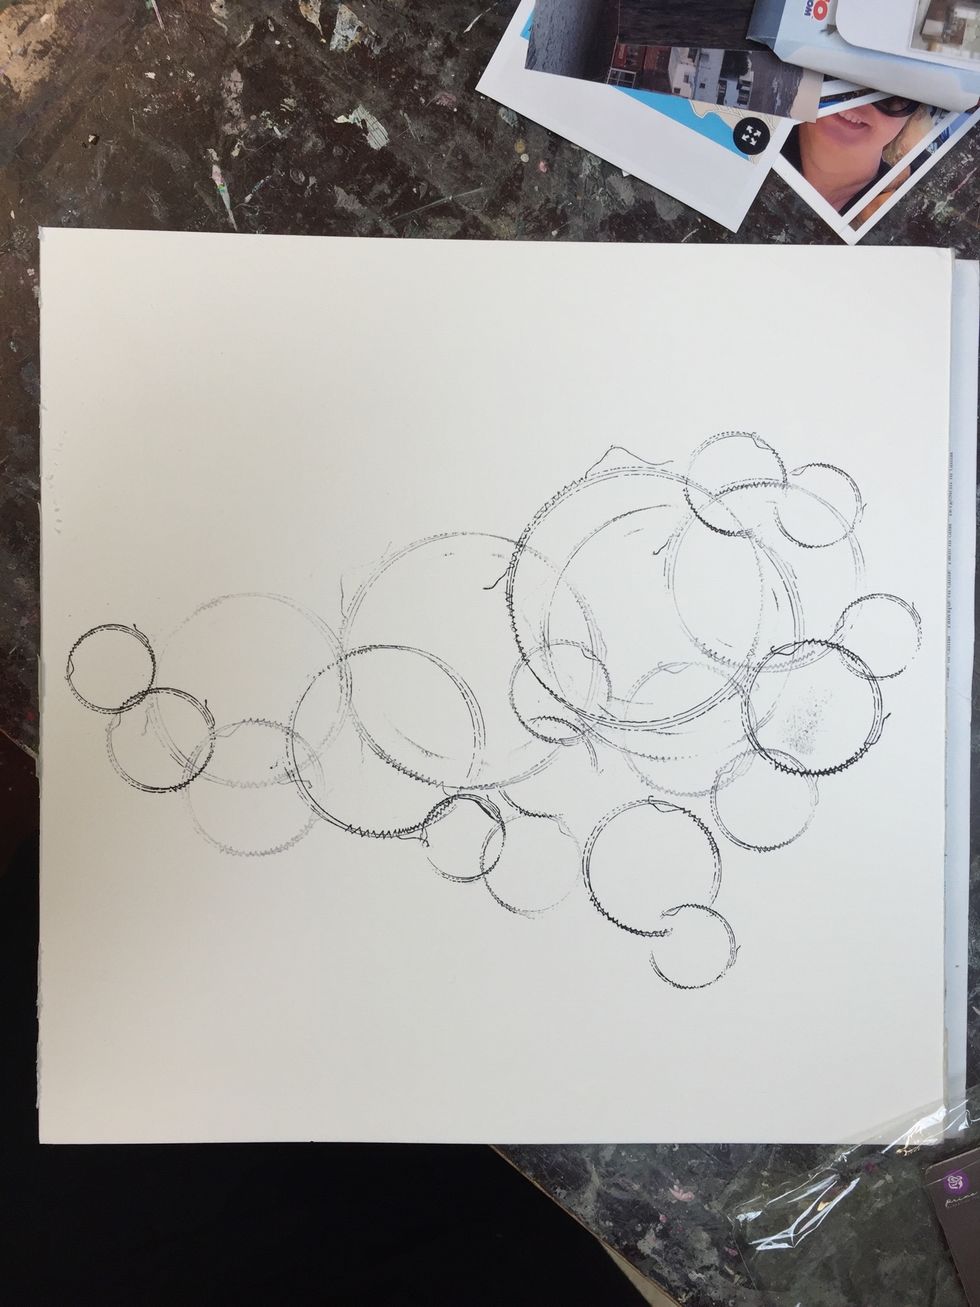
Begin by stamping your background. Remover to use archival ink because it will get wet! At the end the address to my blog will be there and you can link to see the sketch I followed!
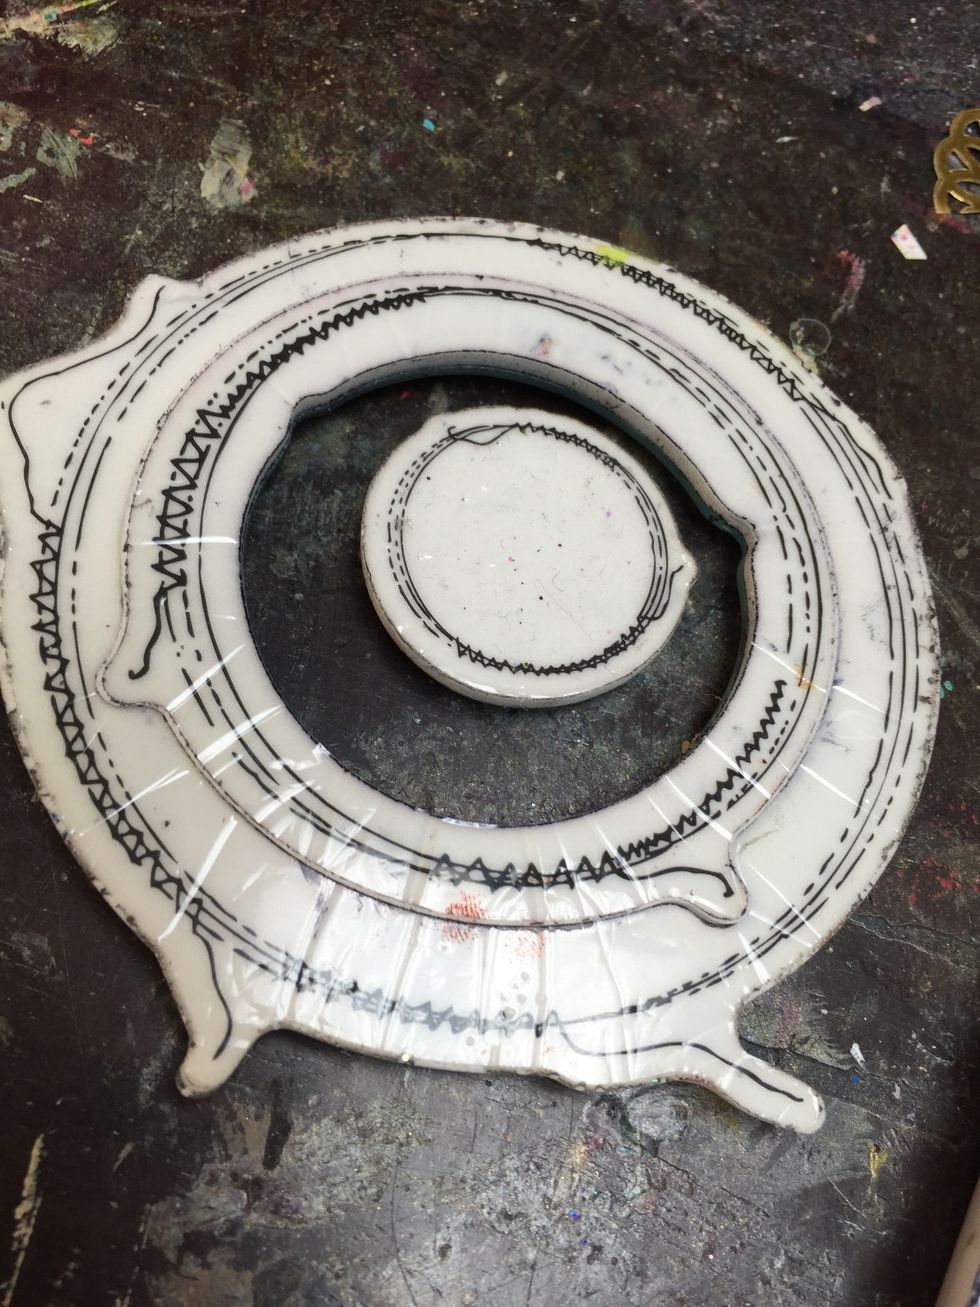
These are old but you can use any stamp you like!
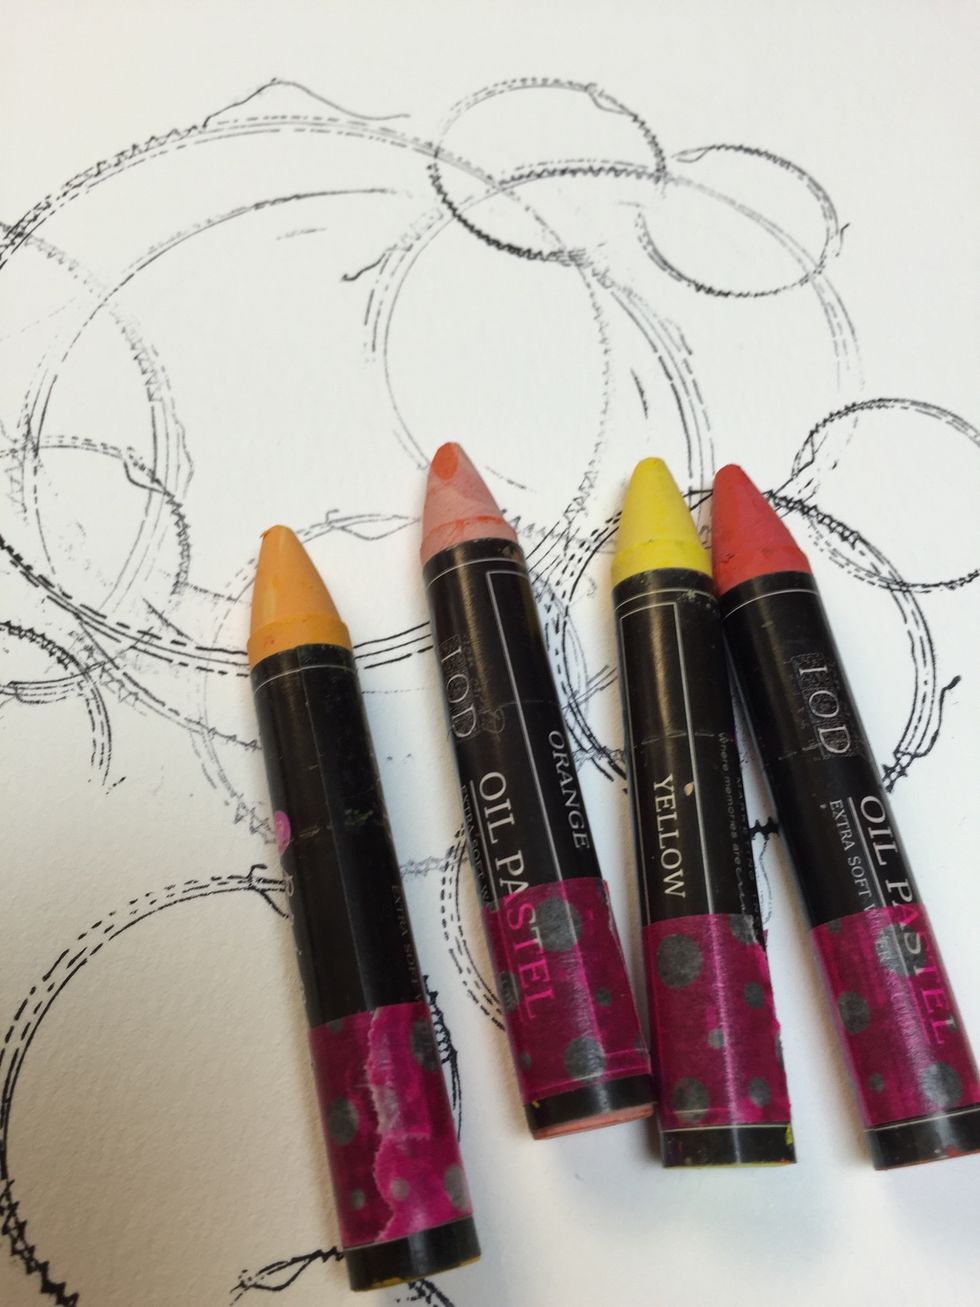
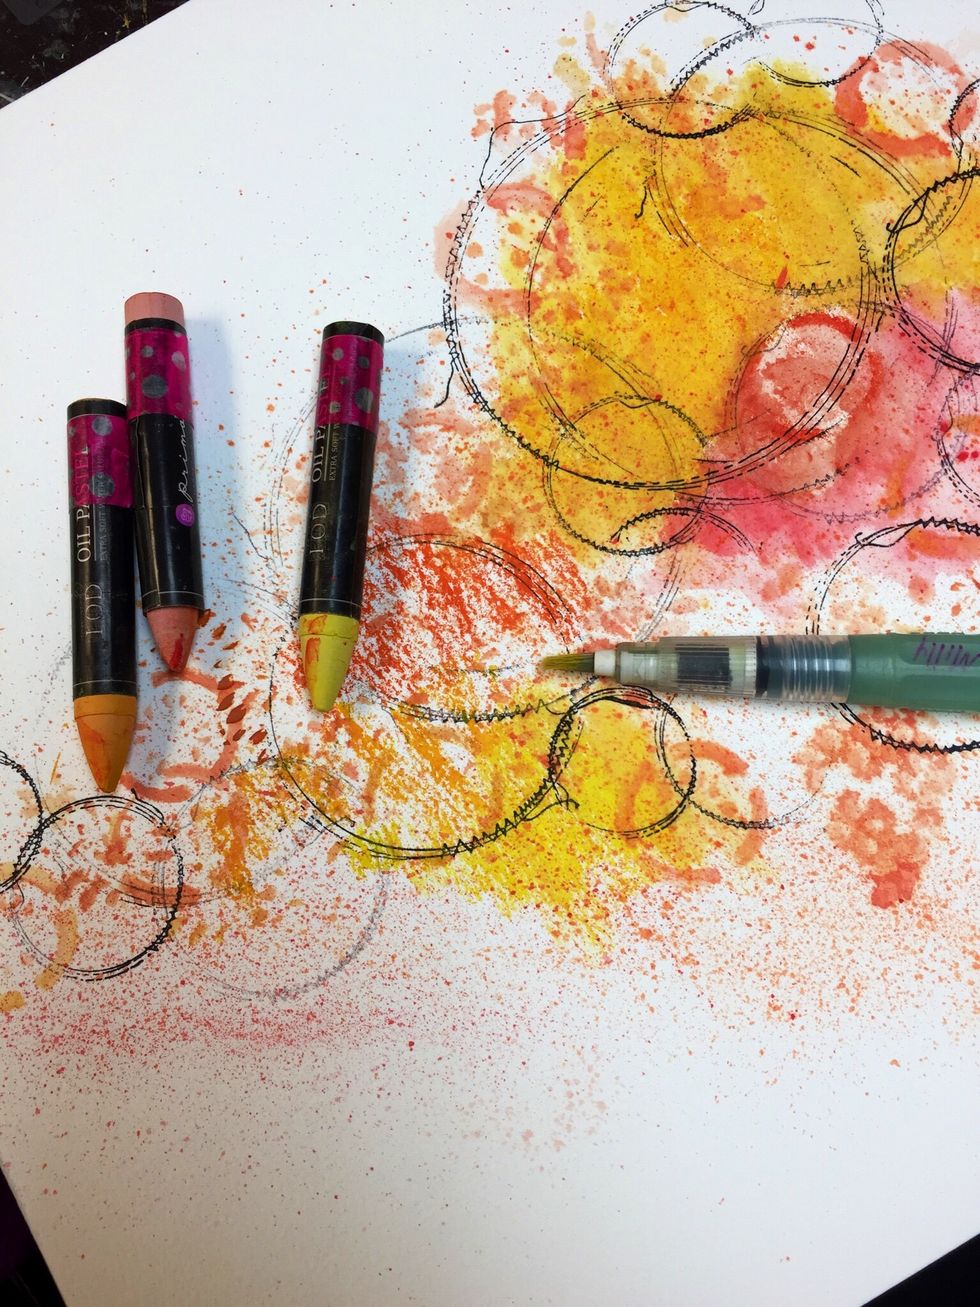
I'm going for the sunset so this is my chosen palette
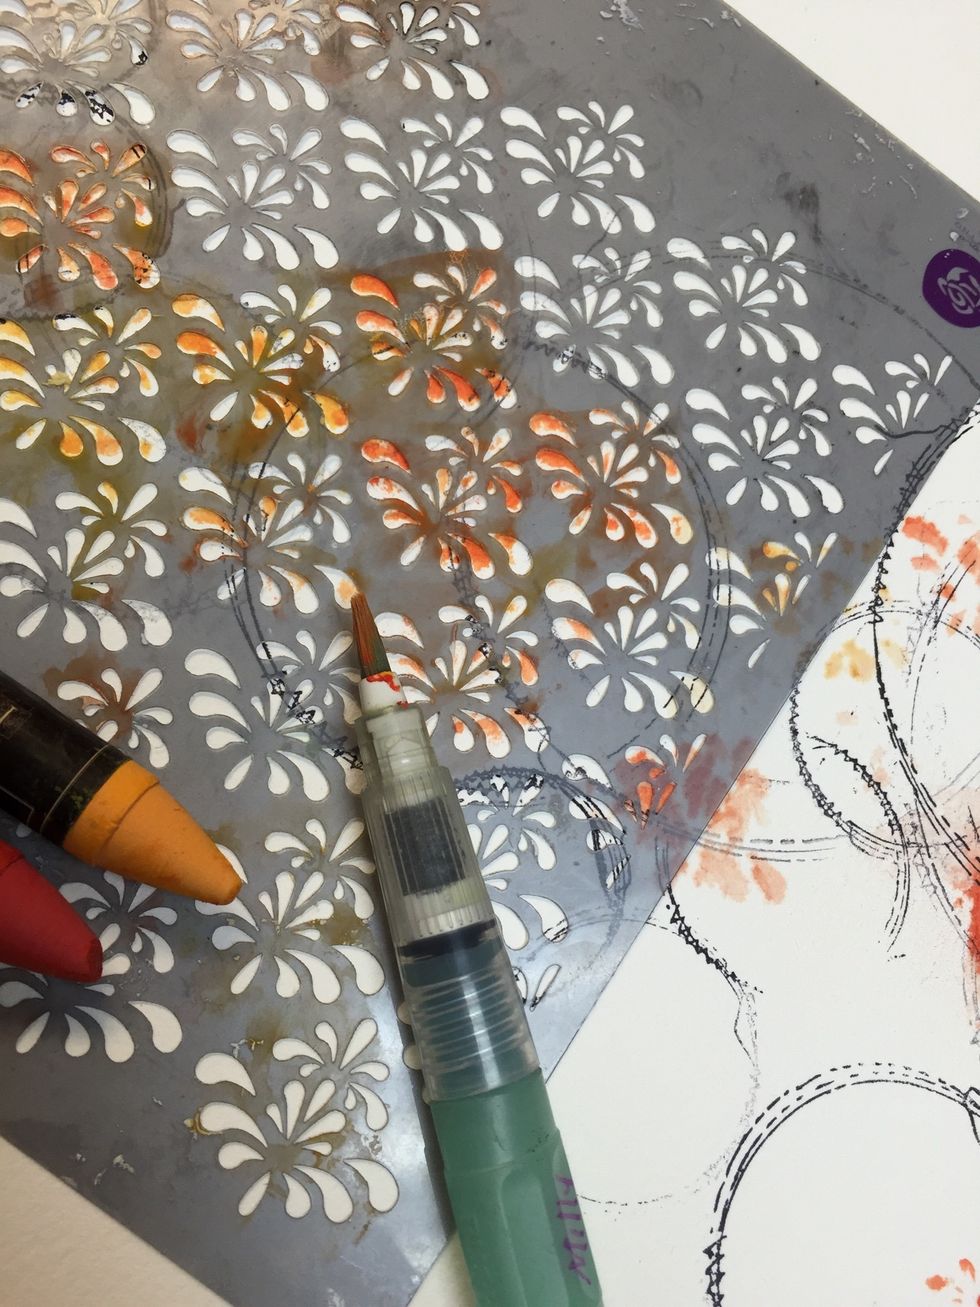
You can scribble over your stencils with your crayons and use your brush to dilute
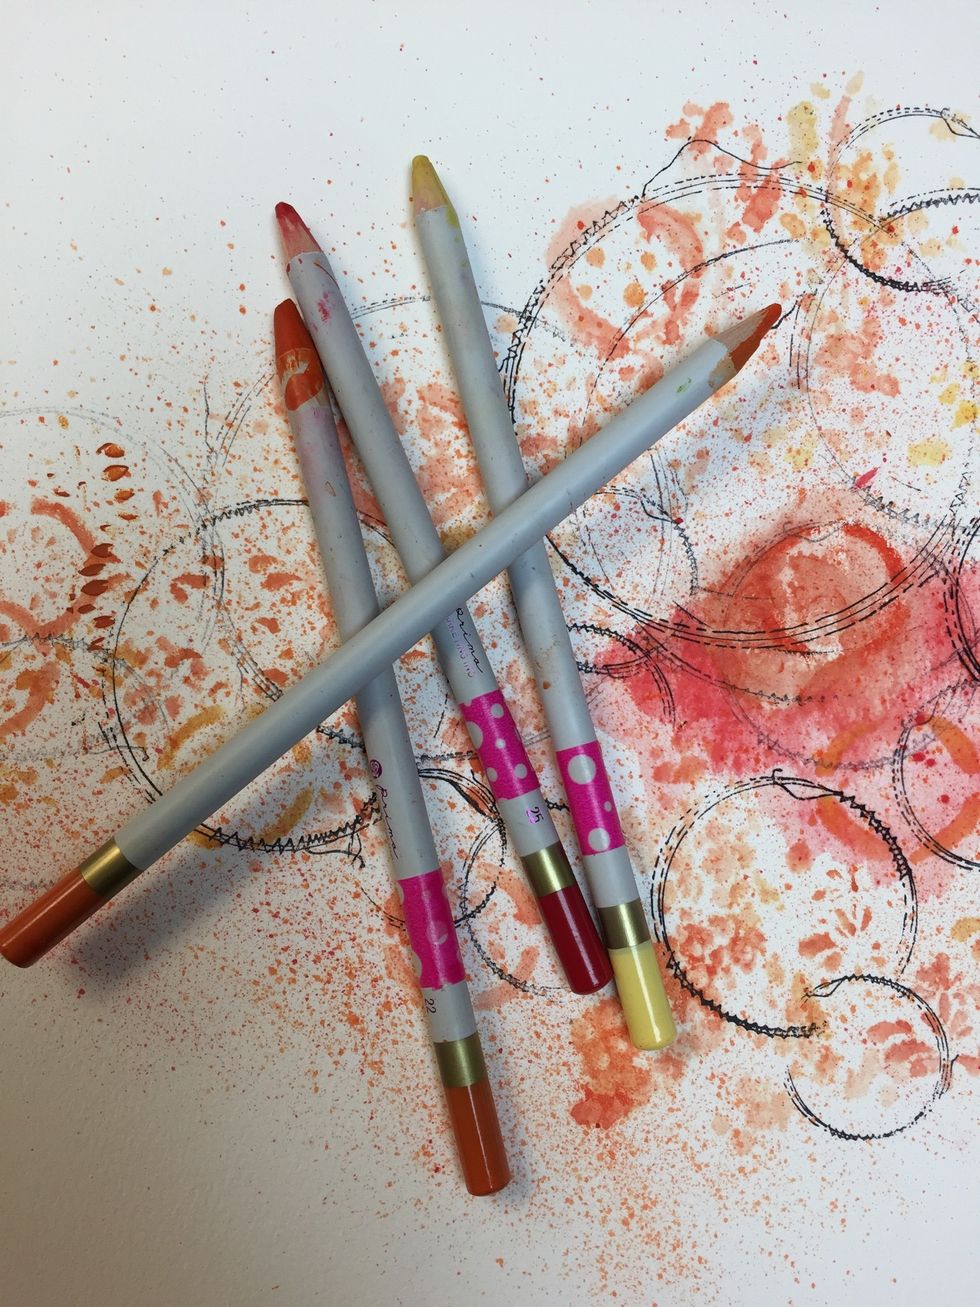
I added more colors with my pencils
I went to work my background to fill up the areas I was highlighting. All you do is work your crayon directly on your watercolor paper then blend with your watercolor brush!
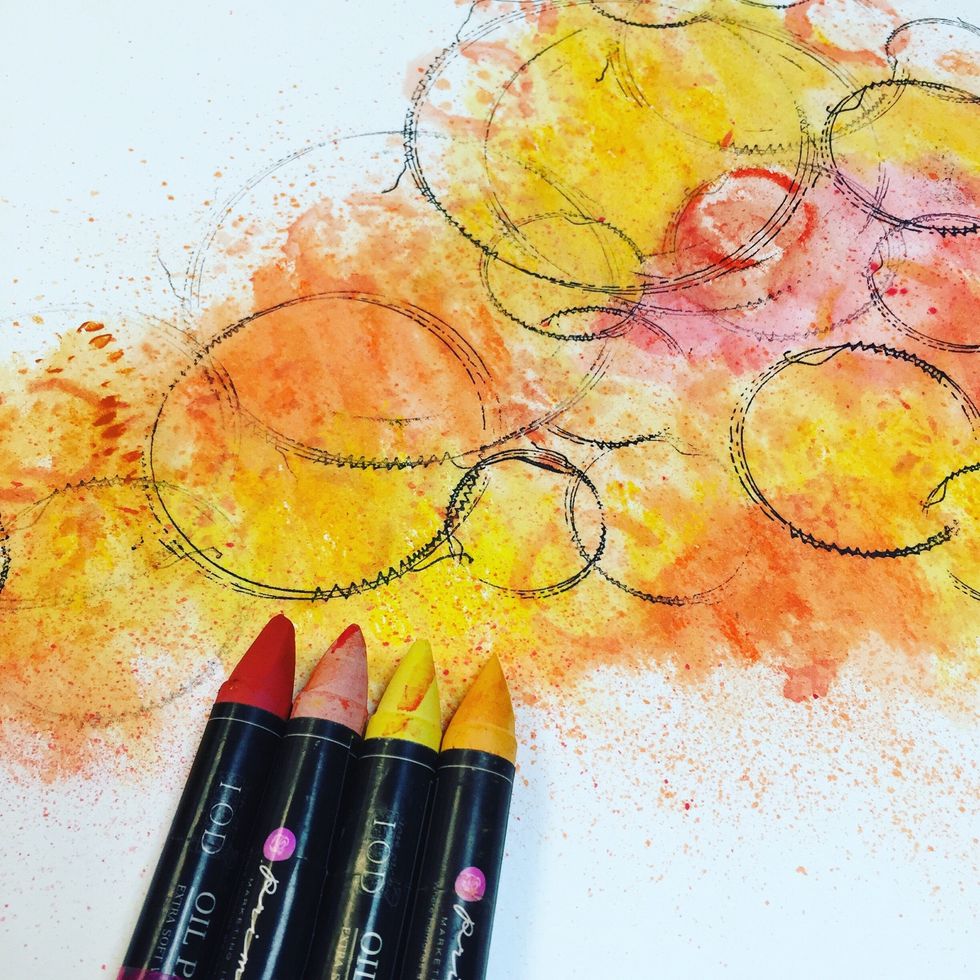
This is how it looks!
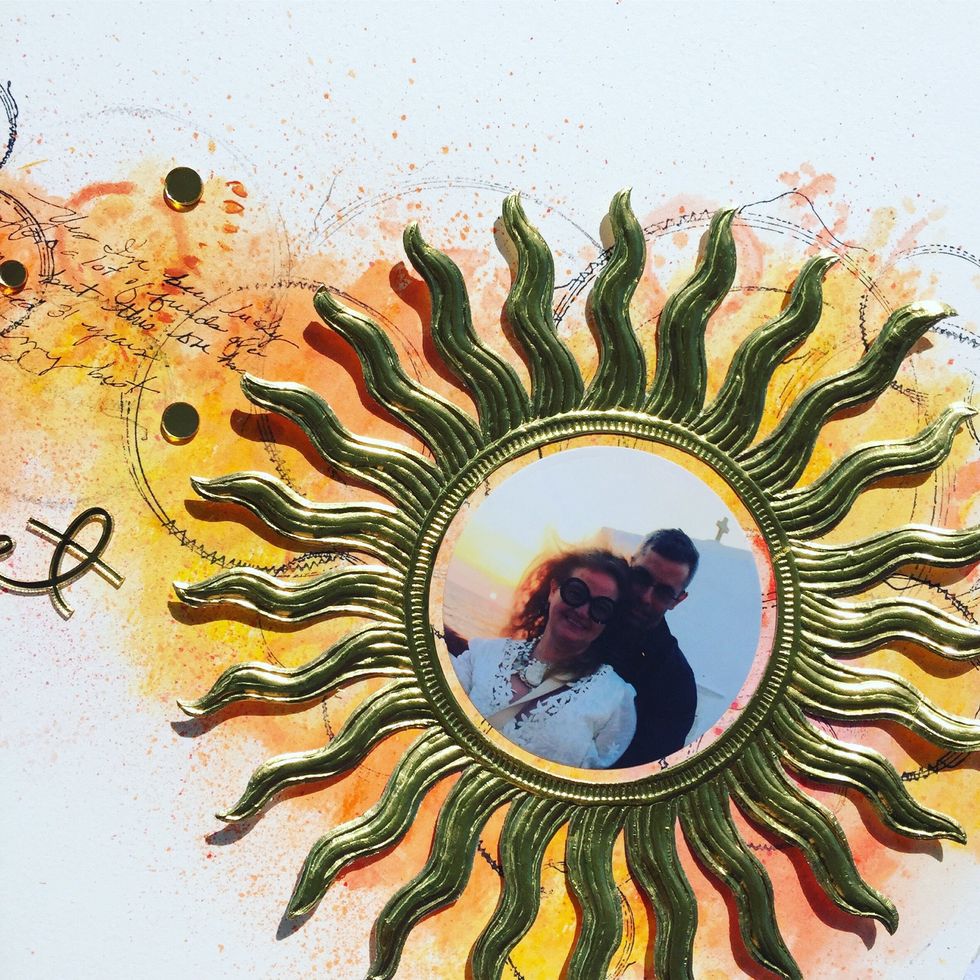
Use an xacto knife to take the Suns face out and then center your photo inside. To see the complete project visit my blog www.milagroscrivera.blogspot.com