The Conversation (0)
Sign Up

These are the types of shoe rack I have chosen to use. The two tier costs just £3.99 at The Range, while the three tier costs £6.99. To build the rack requires 3 tiers.
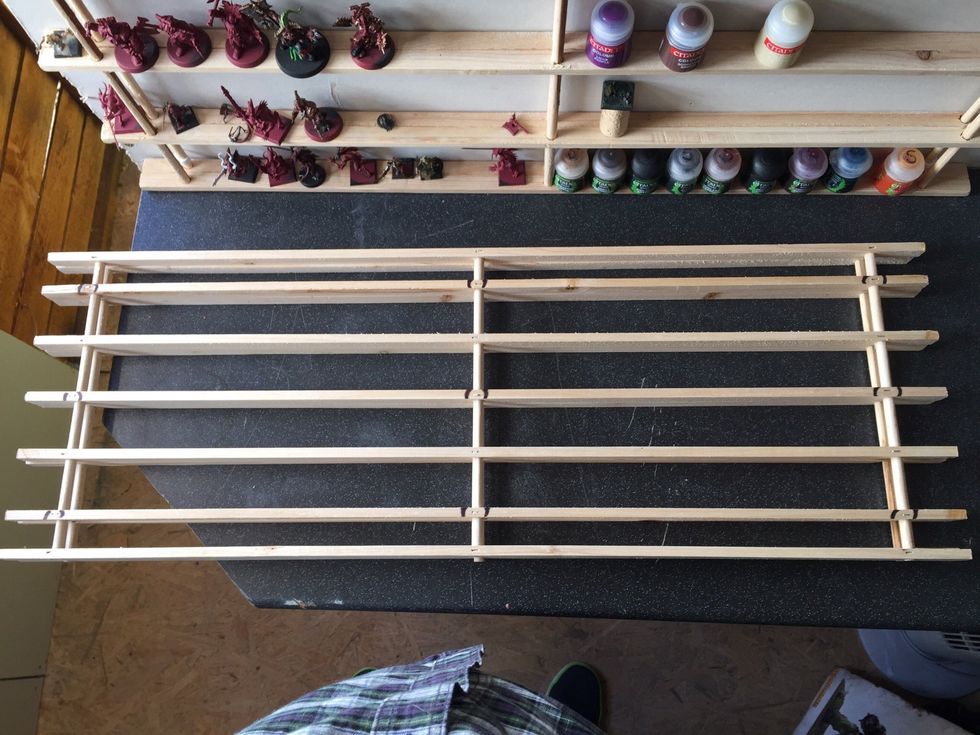
After unpacking mark each staple on the slats that need removing. 2nd, 4th and 6th slat. Each slat has three staples along its length.
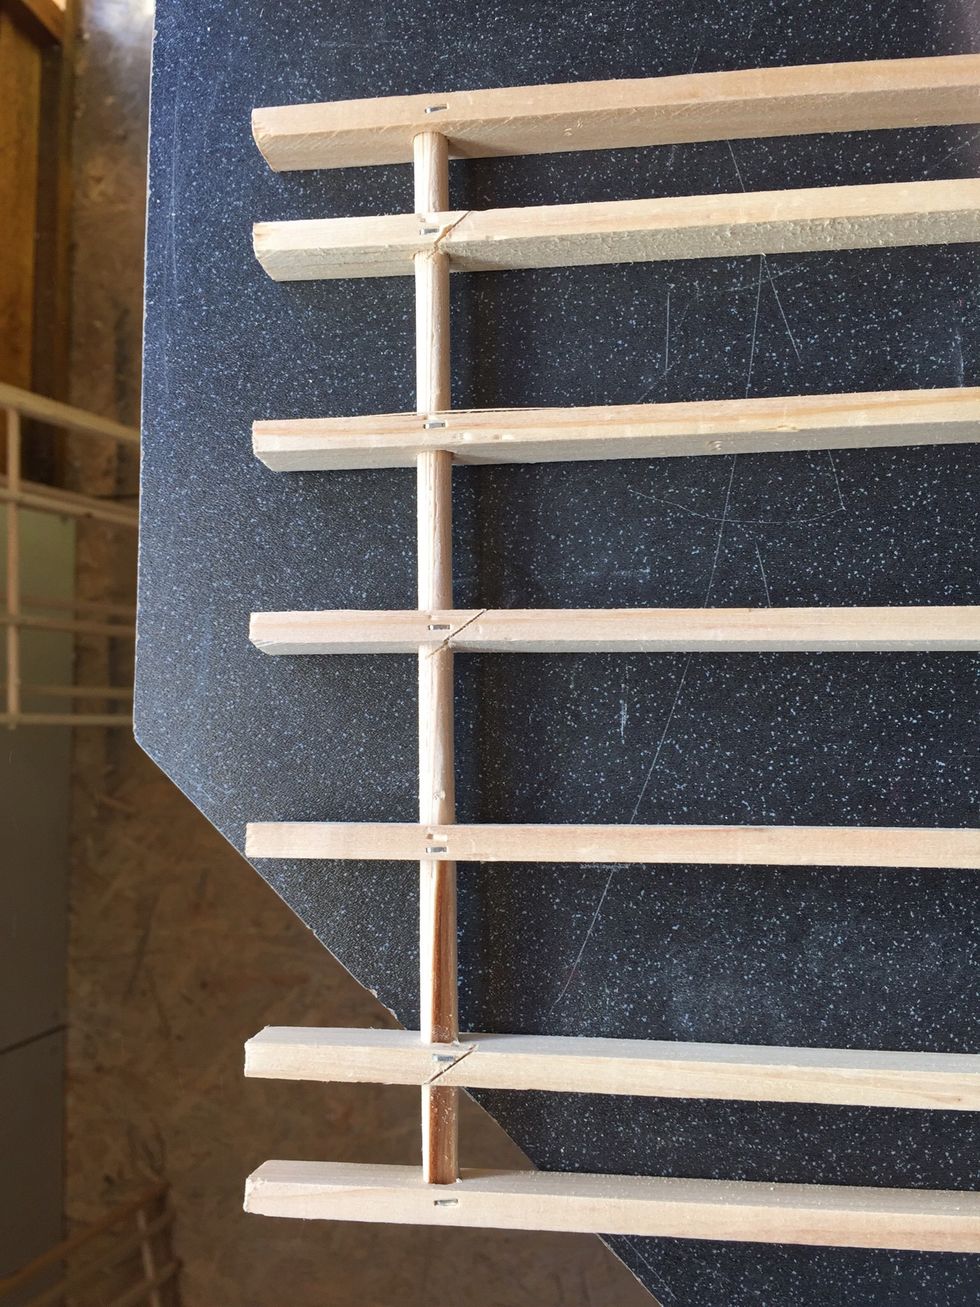
Now cut diagonally with the hacksaw on the inside of the staples one each end of the slats.
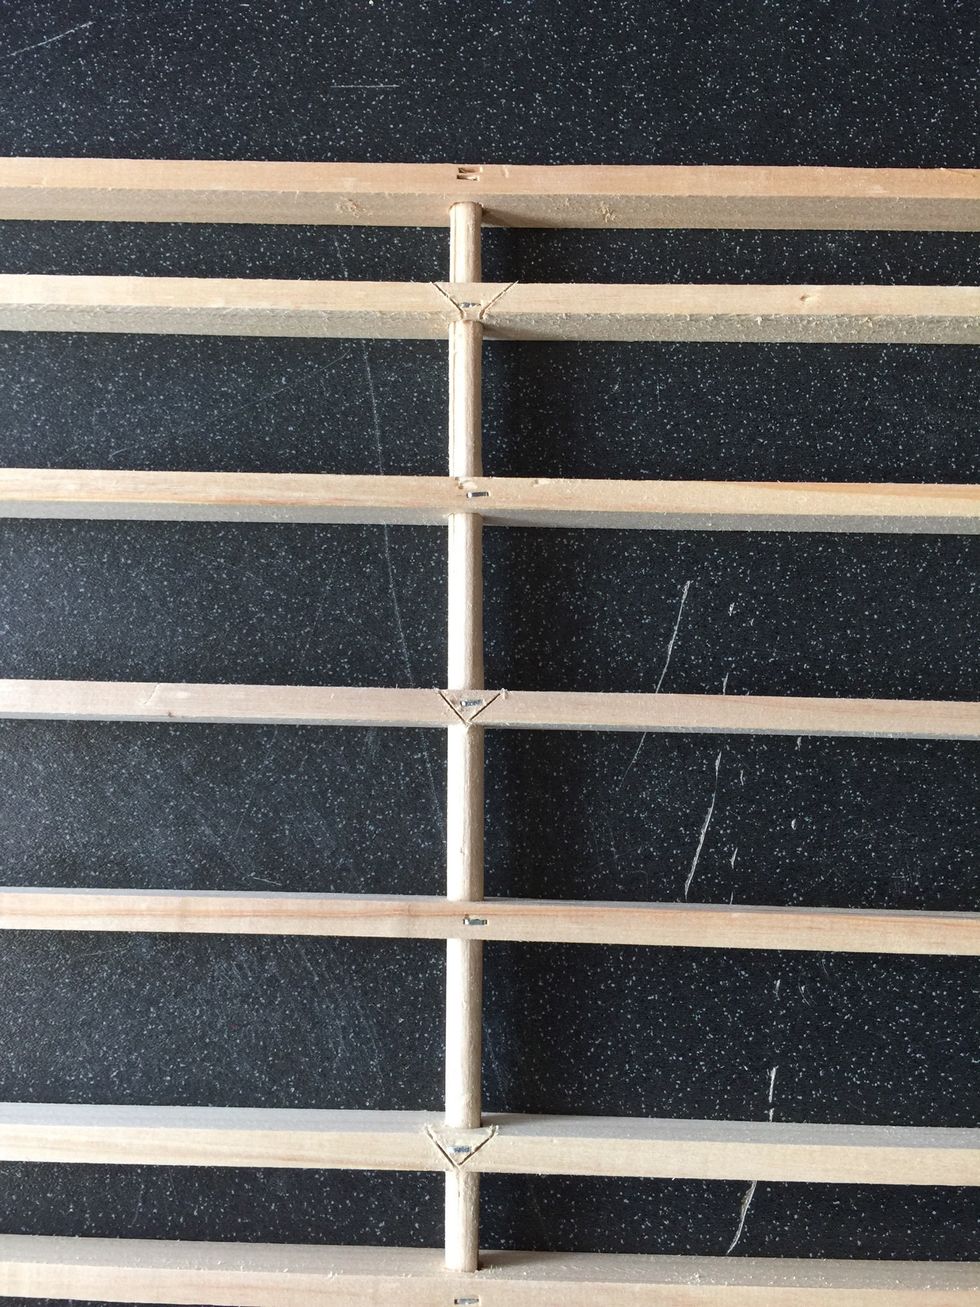
Then cut a "V" shape either side of the middle staples as show in the photo

With very little effort you should now be able to snap the slats out and remove them, leaving the staple in place. If you are having trouble, repeat the last step on the other side of each slat.
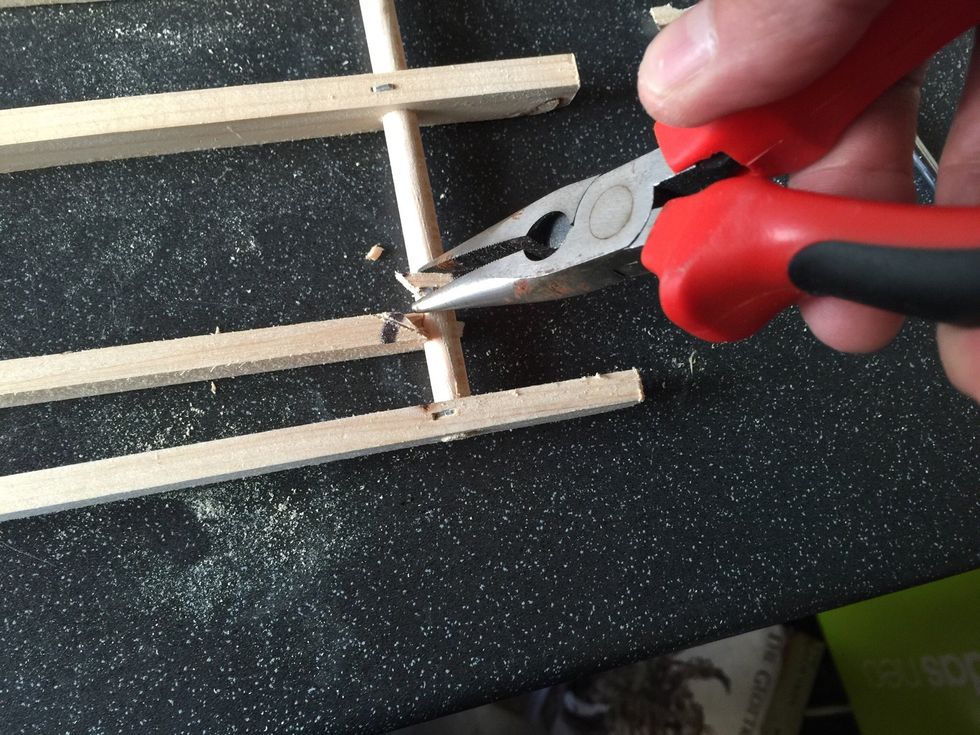
Remove the staples and any loose bits of wood with your pliers by pulling them up and away from the dowels.
Repeat the previous steps until you have removed the slats and staples from another two tiers.

Apply a thin bead of glue to the edge of each slat in the first tier.
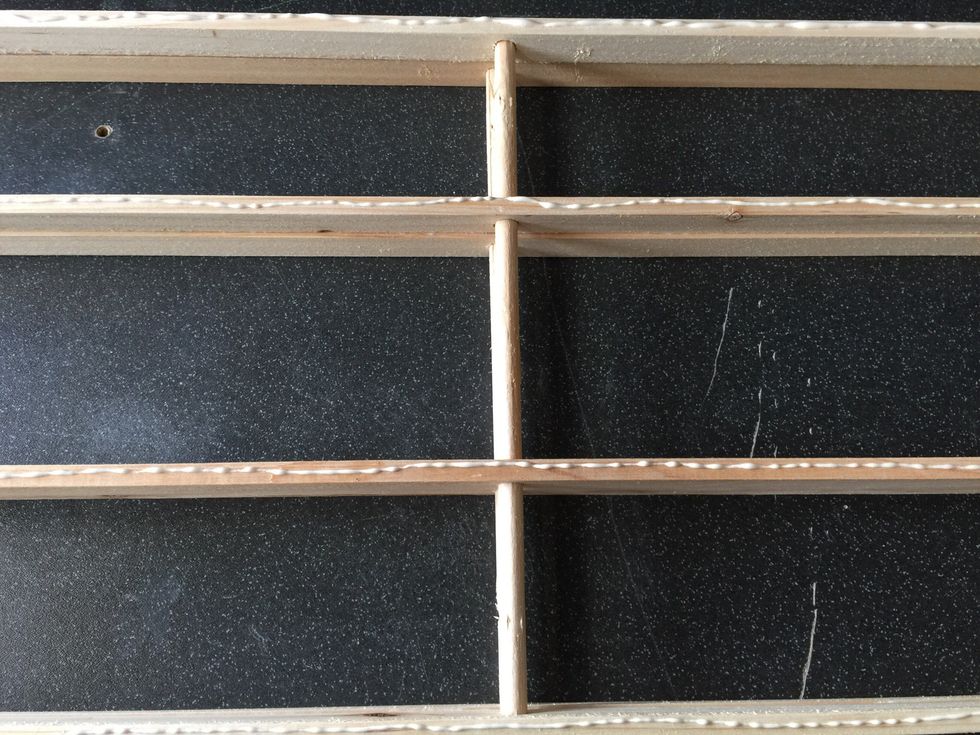
Place the second tier on top of the first. Line them up as best you can. Now apply another thin bead of glue along the slats if this tier then add the third tier.

I would have clamped the three tiers together while the glue sets, but I don't own clamps. Instead I tightly wrapped masking tape around them at four even intervals.
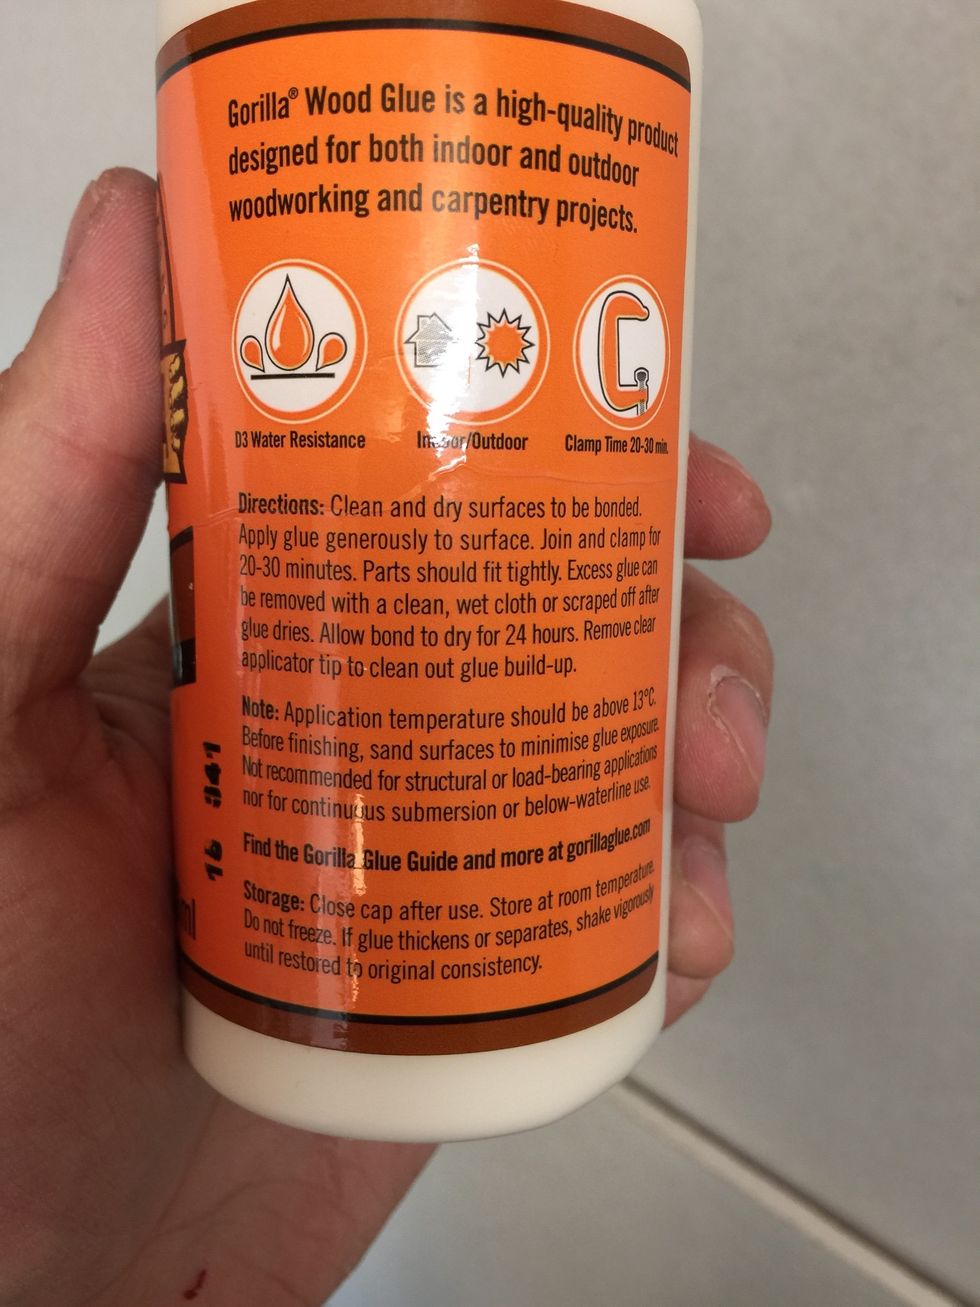
The instructions on my Gorilla Glue say to clamp for 20-30 minutes. Make sure to read the times for whatever glue you are using.

Once the clamping time is complete, remove the clamps/tape. Now allow the glue to set for around 24 hours before use.
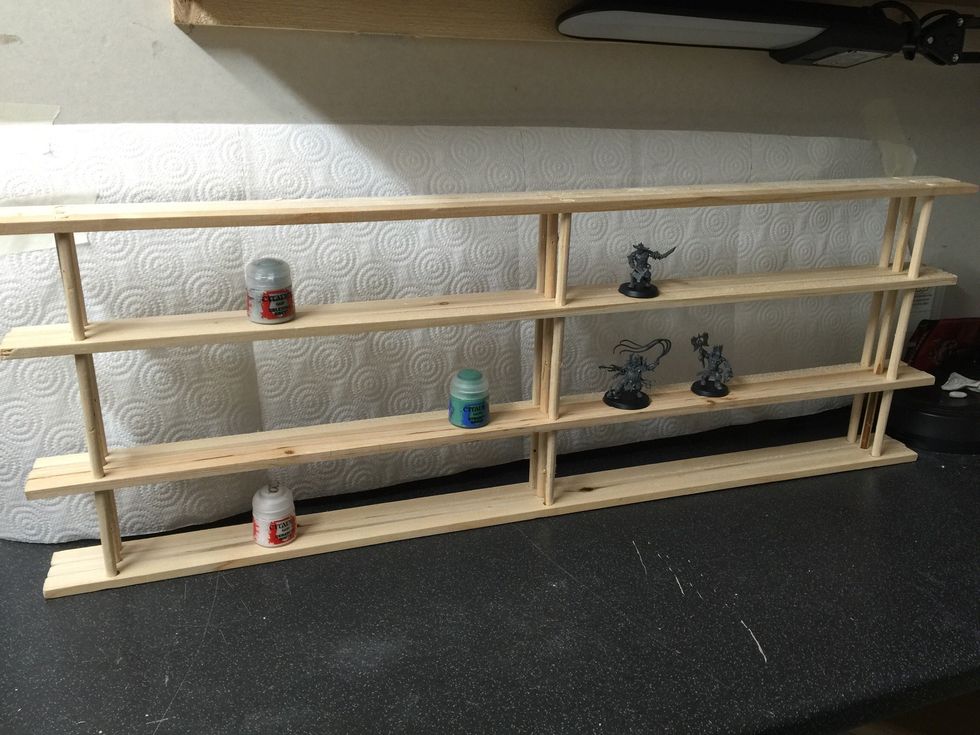
The finished rack is allows plenty of space in height and depth to stand most Warhammer miniatures and certainly enough for all Citadel paint pots.
The total cost here for me was £7.98 plus the cost of the glue and tape used, probably pennies, so overall less than £10. Time taken for this project was less than 30 minutes plus drying time.
I hope you have found this guide useful and that it might have inspired you to build your own. Please visit my blog for more ideas and to see this rack in use. http://inthepaintroom.blogspot.co.uk