The Conversation (0)
Sign Up
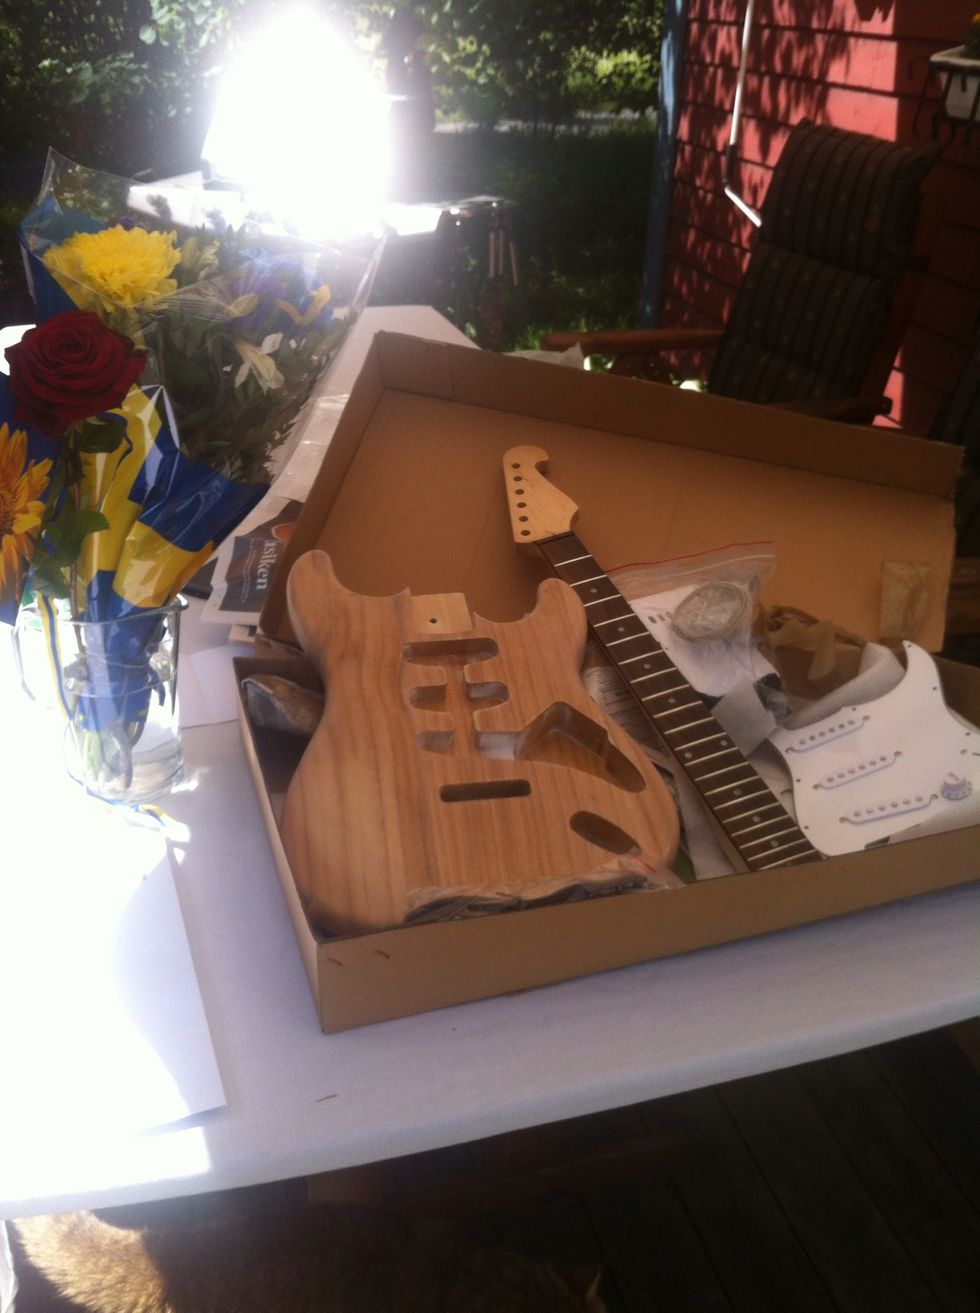
I got this lovely stratocoaster kit from my dad when I started my summer vacation as a summer project. I love you dad.
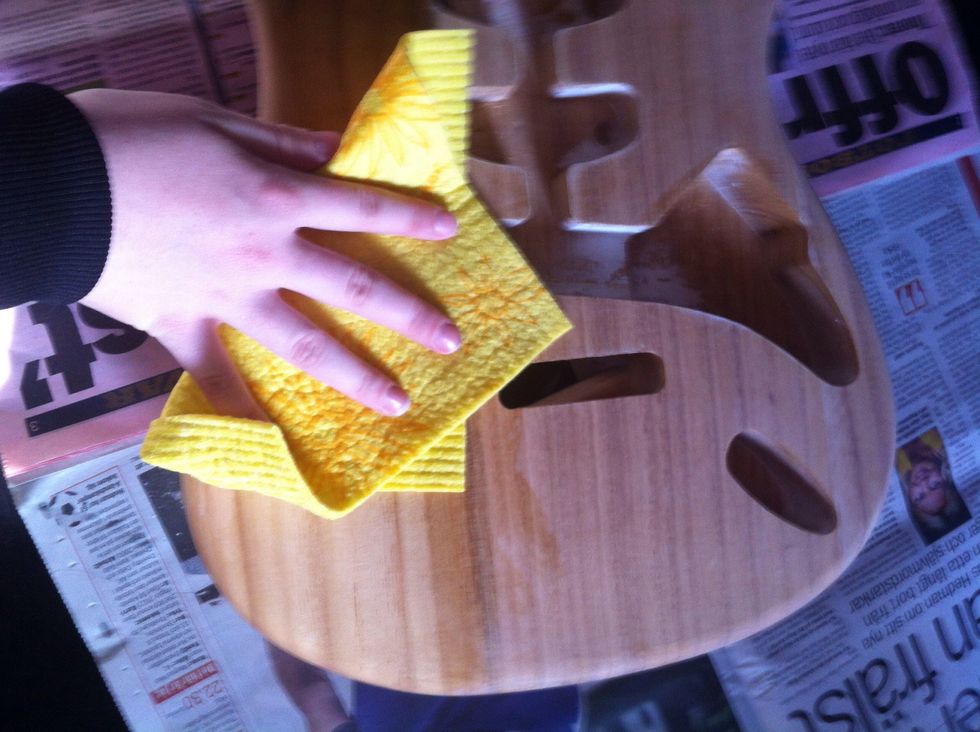
First thing you need to do is to wipe off the dust with a damp cloth. Ler it dry completely before painting.
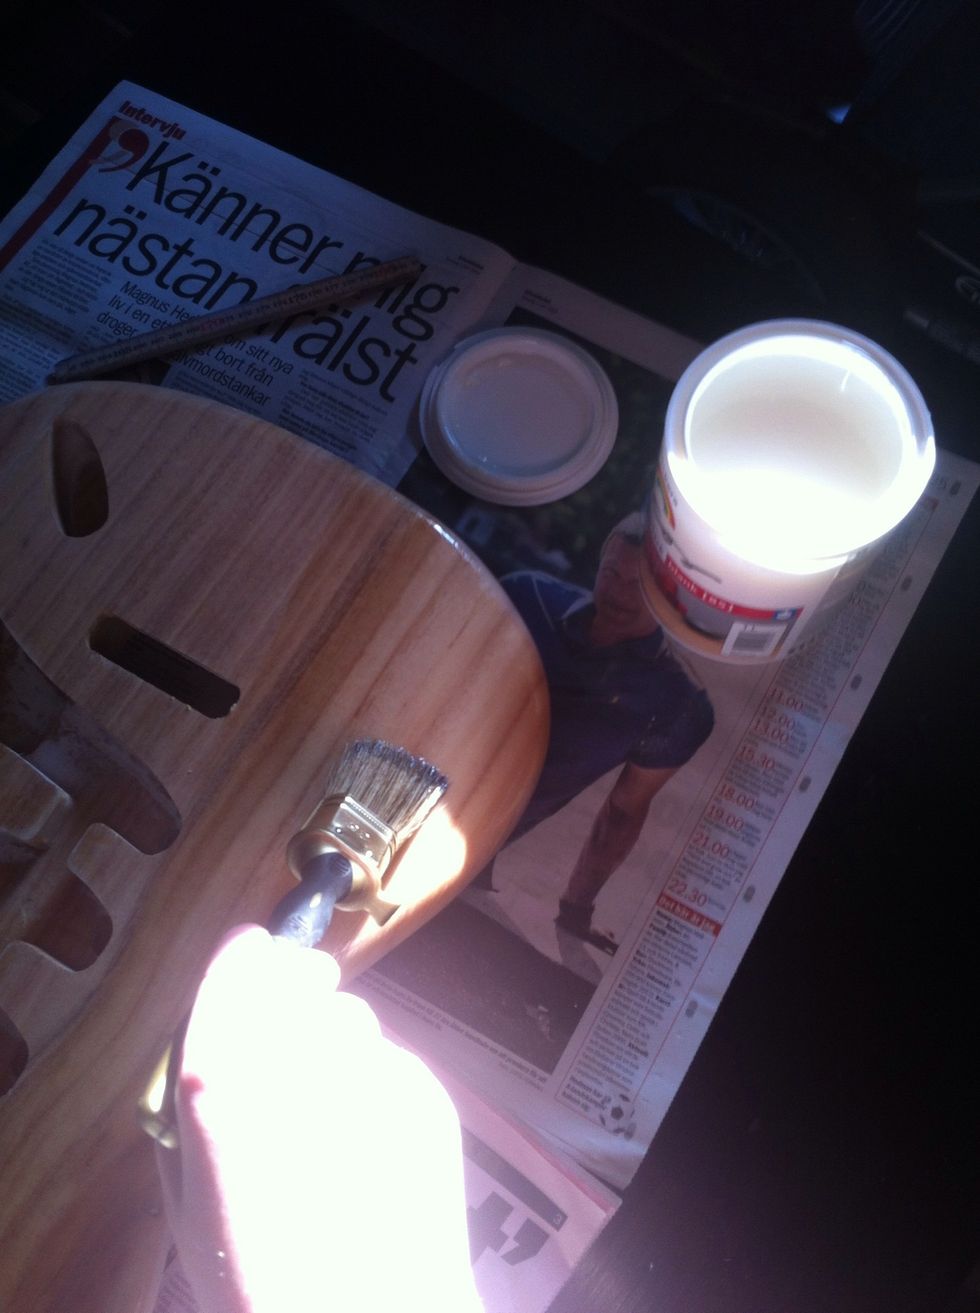
I decided to just clear varnish the body. But if you want another color that's up to you. Be sure to read the instructions. Let it dry.
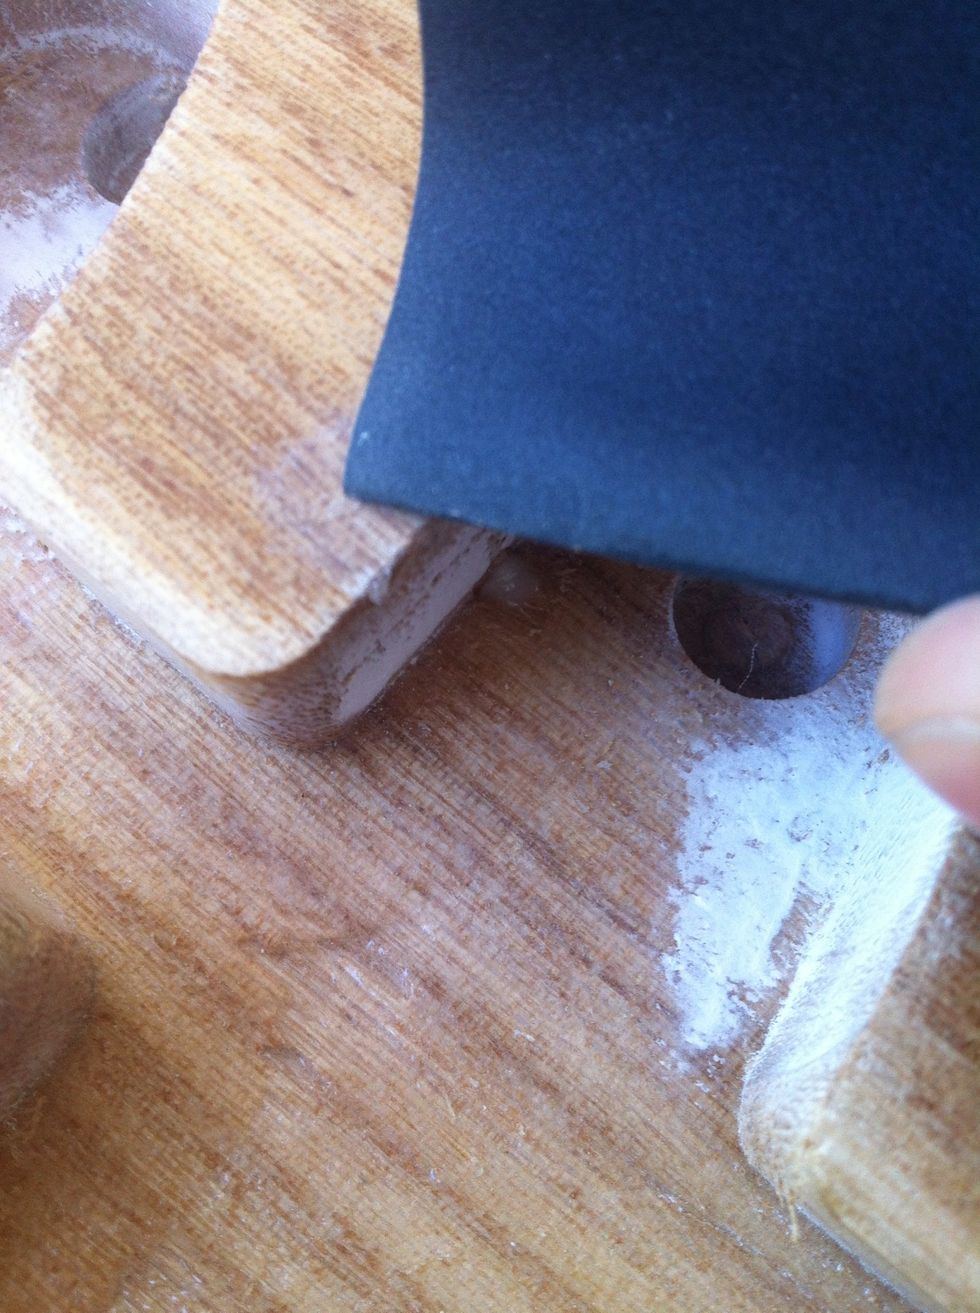
grind down the high spots with a fine sandpaper if needed.
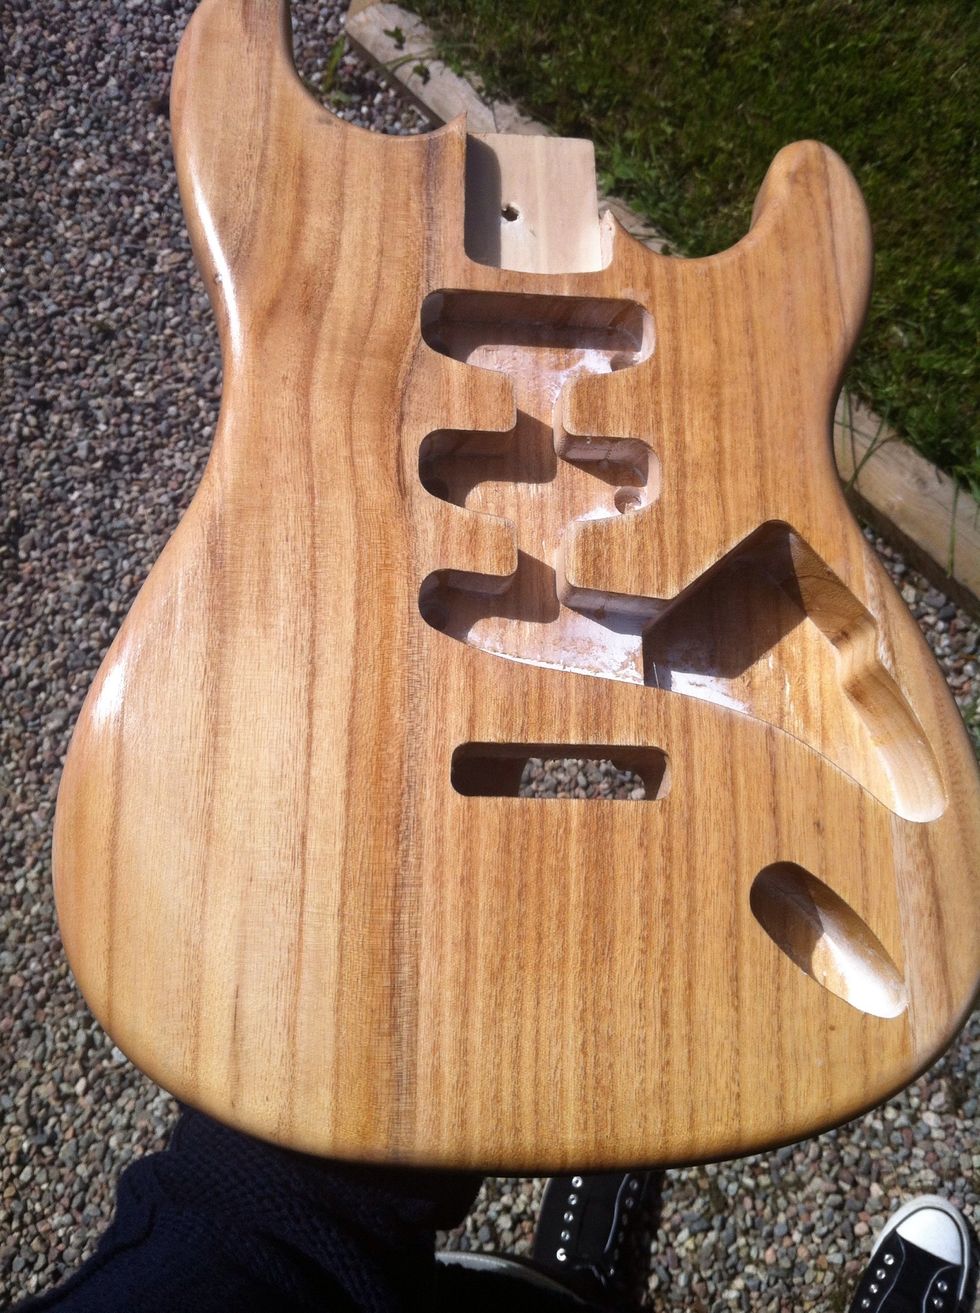
This is the first layer. I Did five.
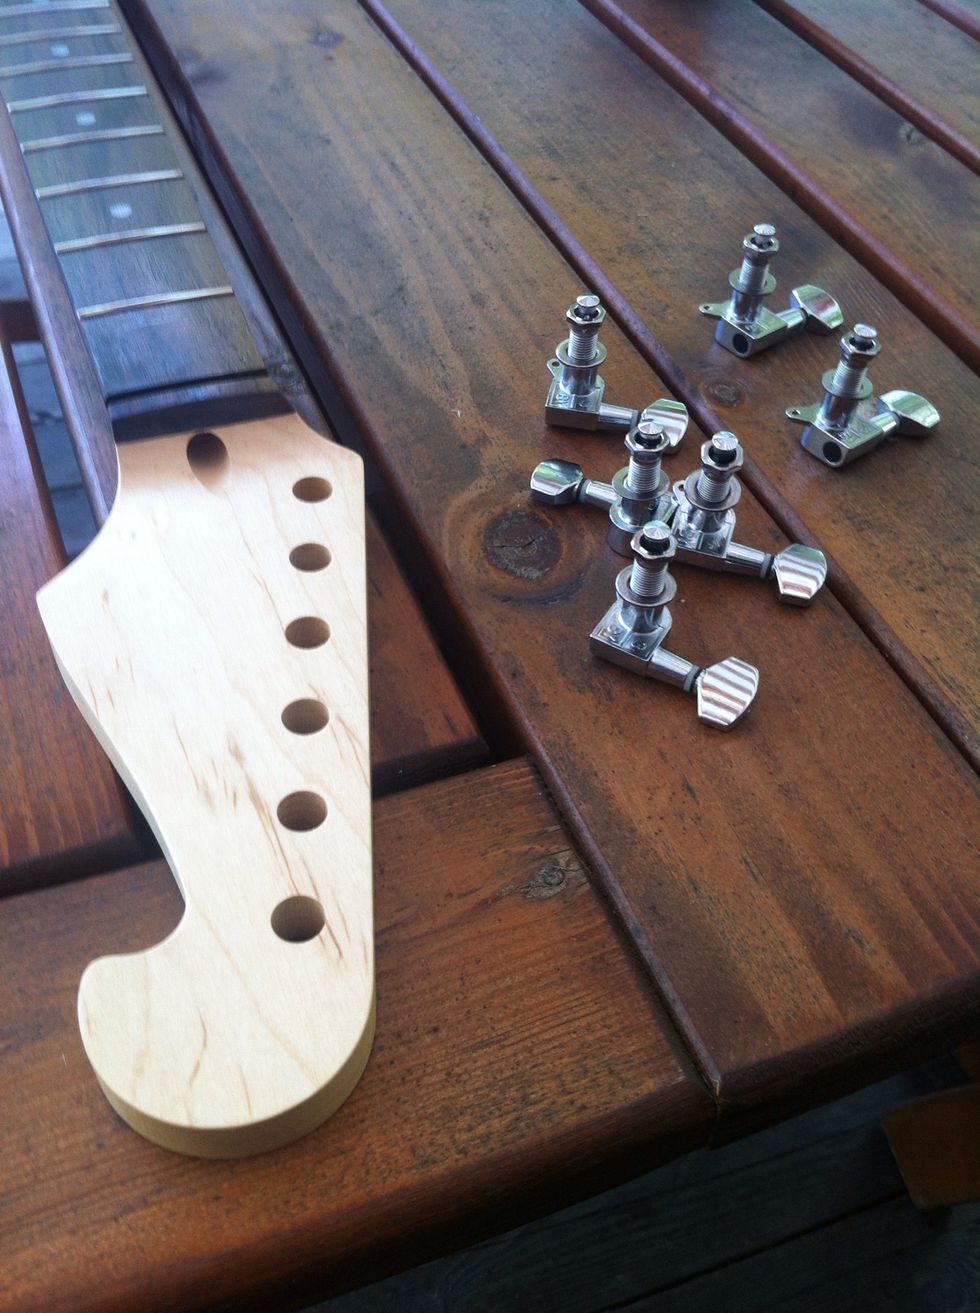
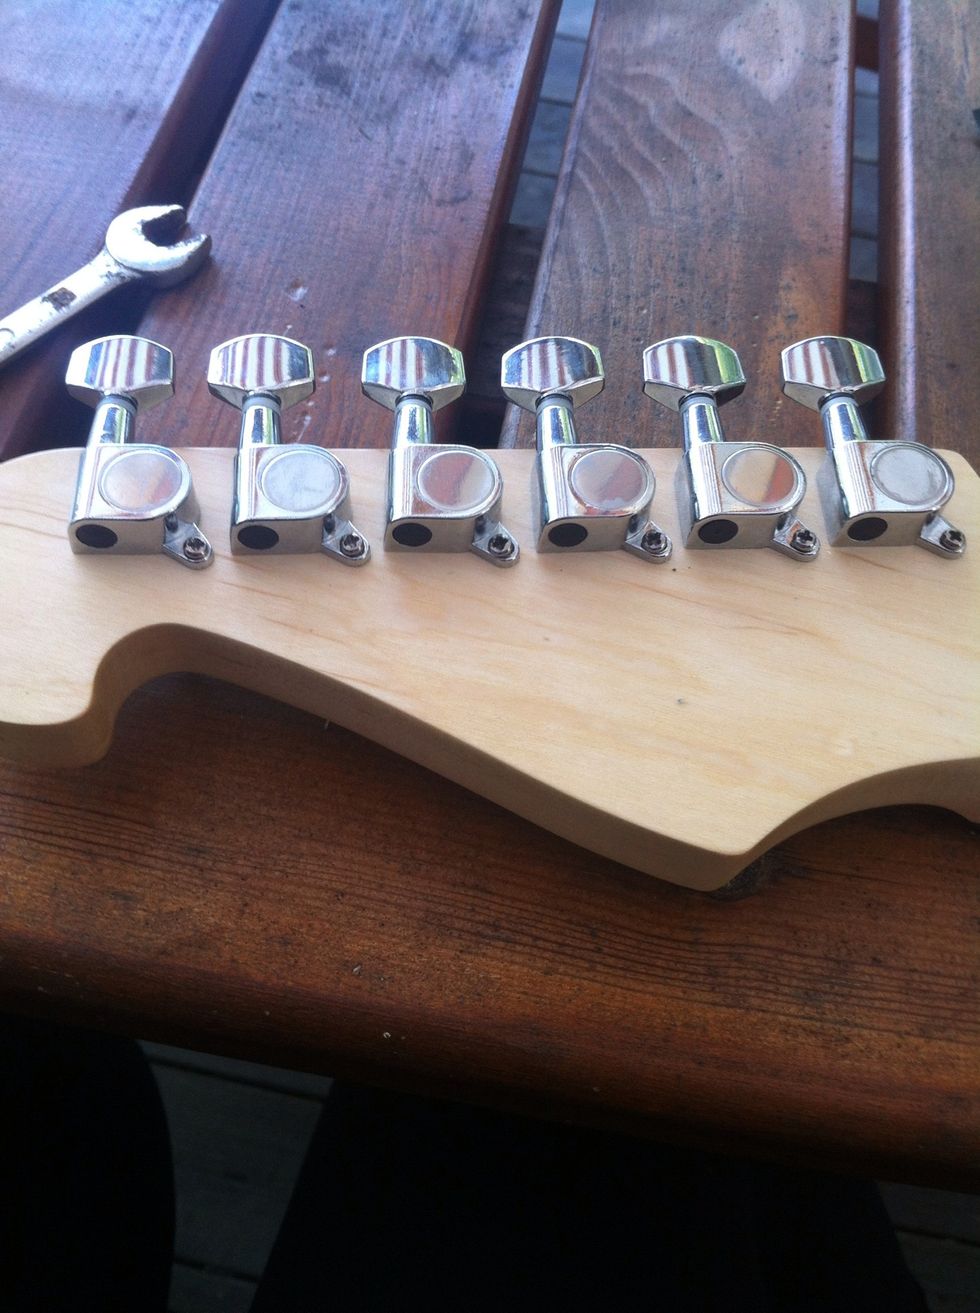
Now we're gonna put together the tuning keys.
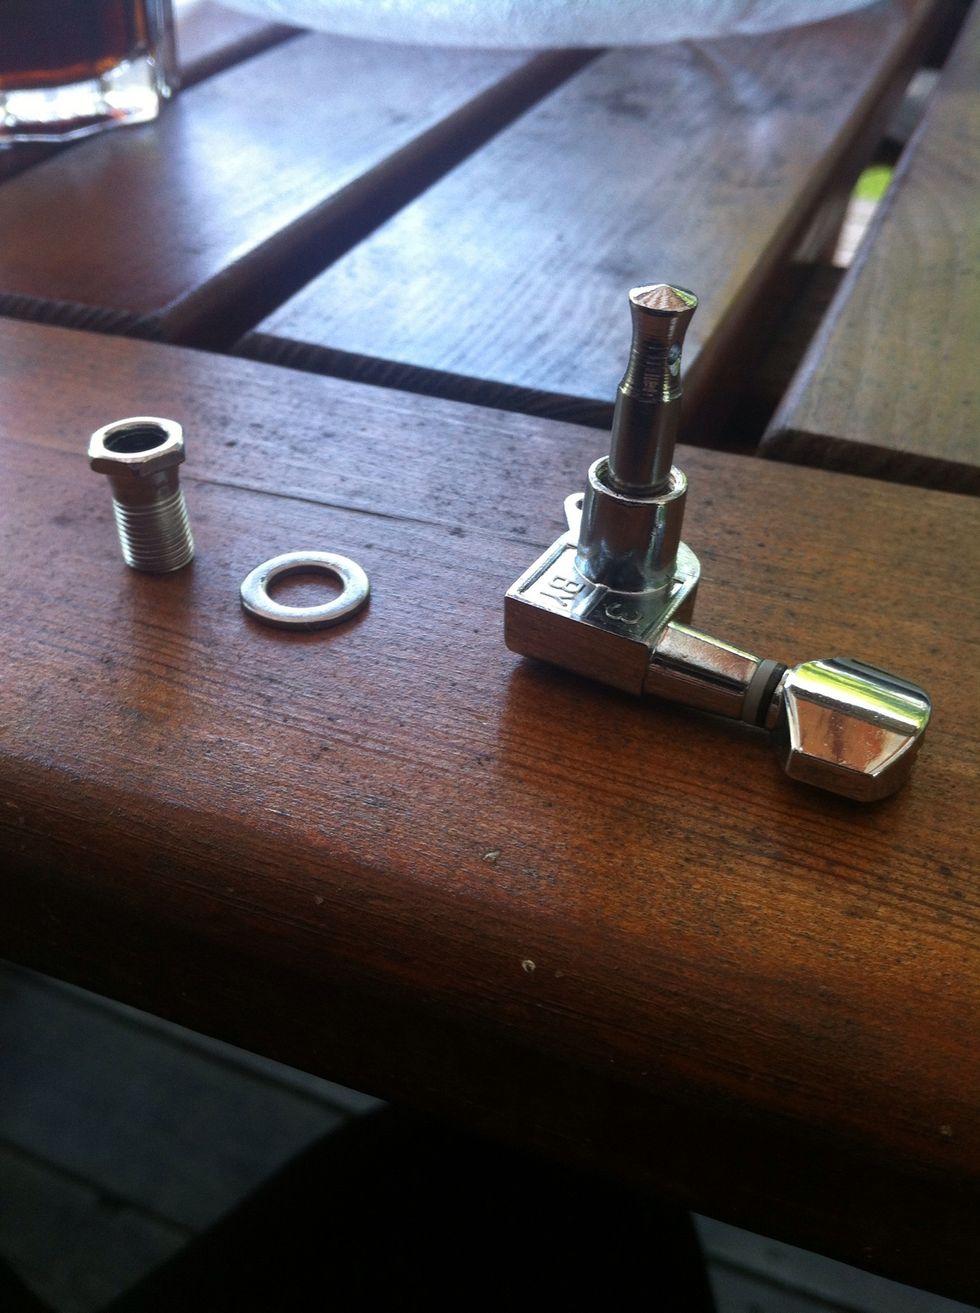
This is the things we Will need.
First the screw
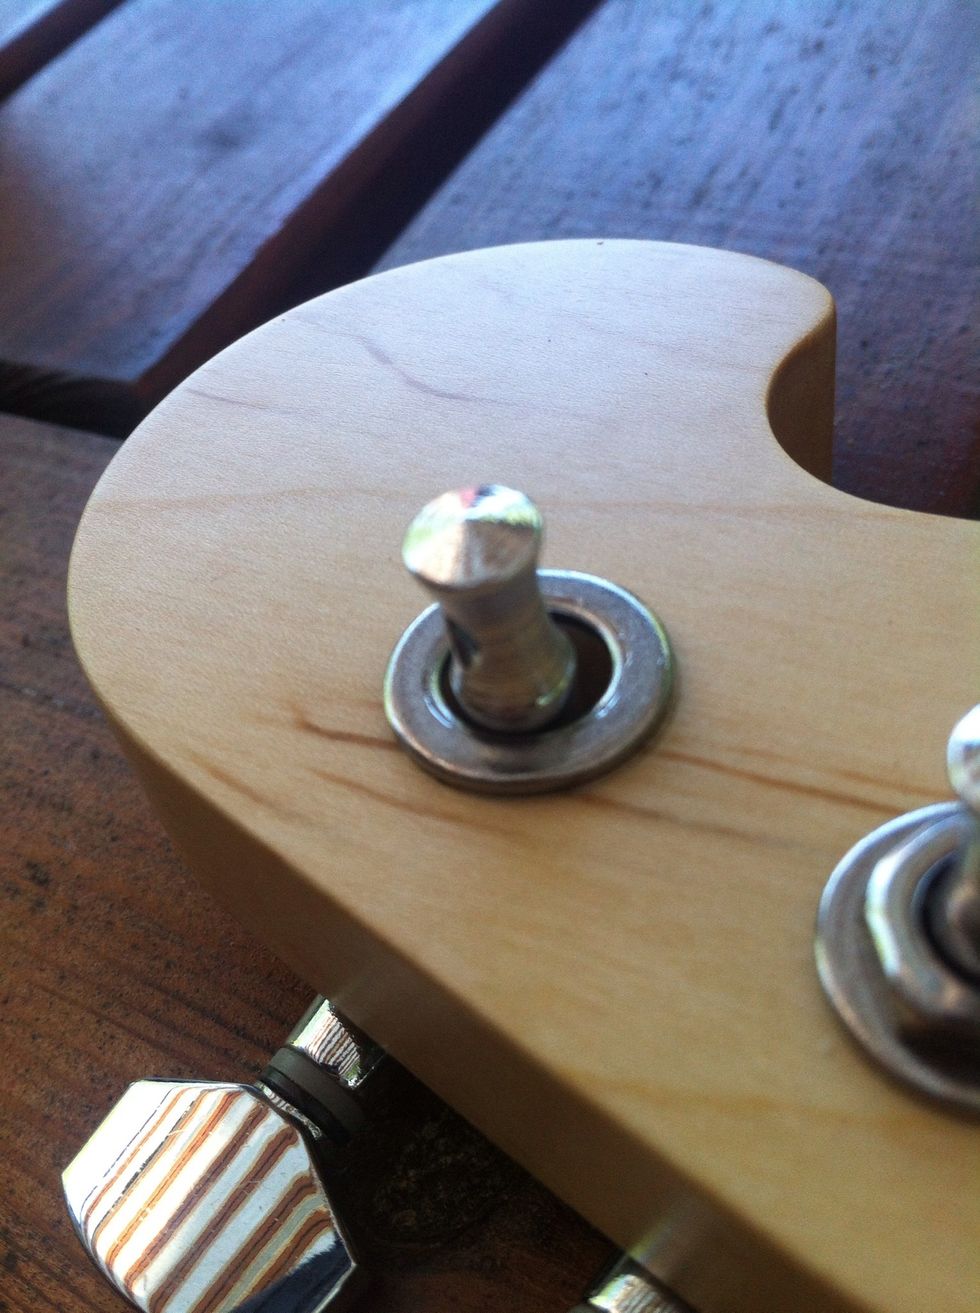
Then the ring
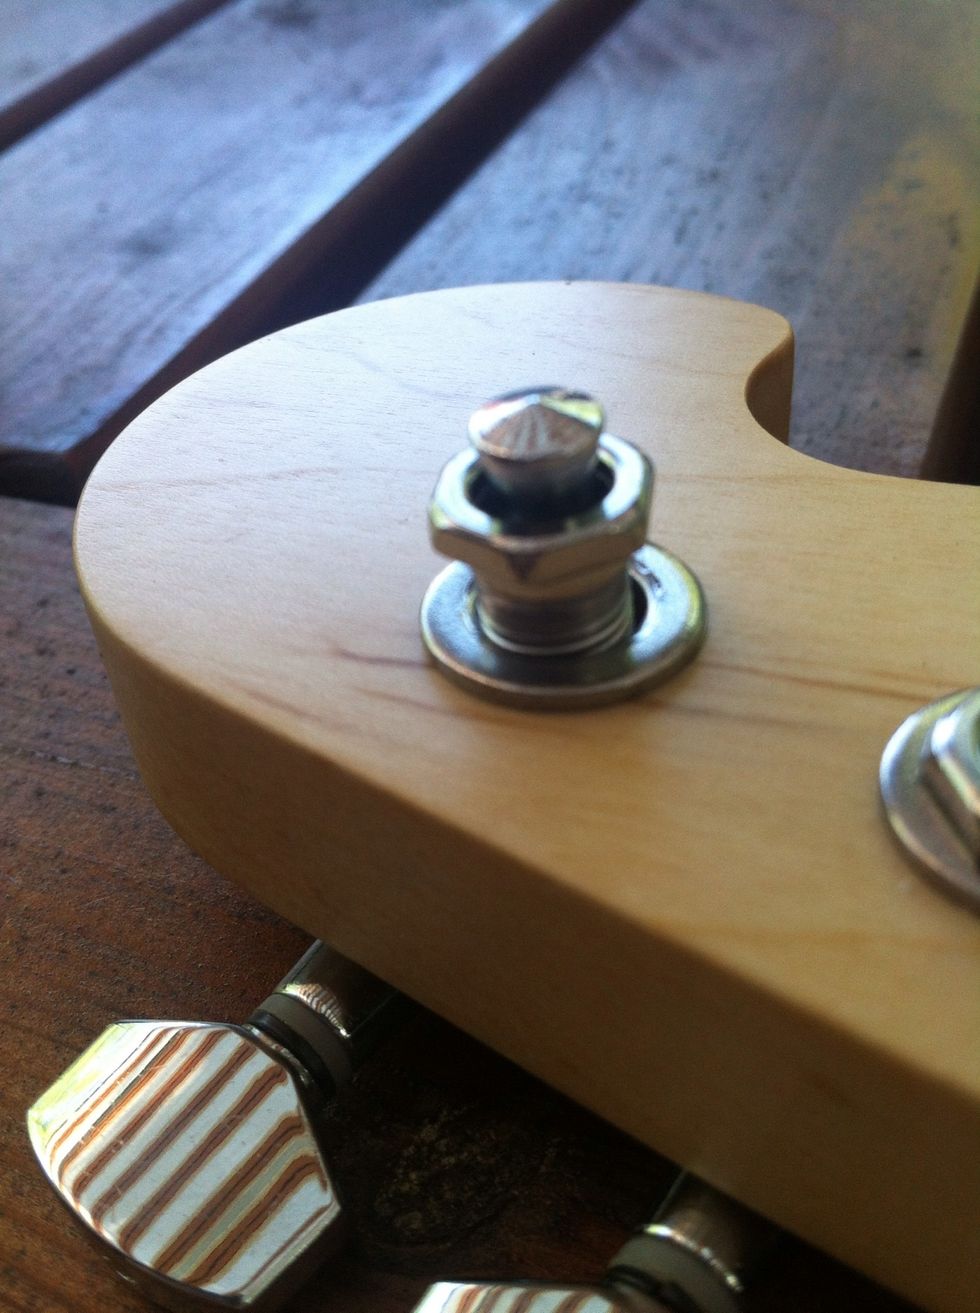
Then the bolt and tighten it.
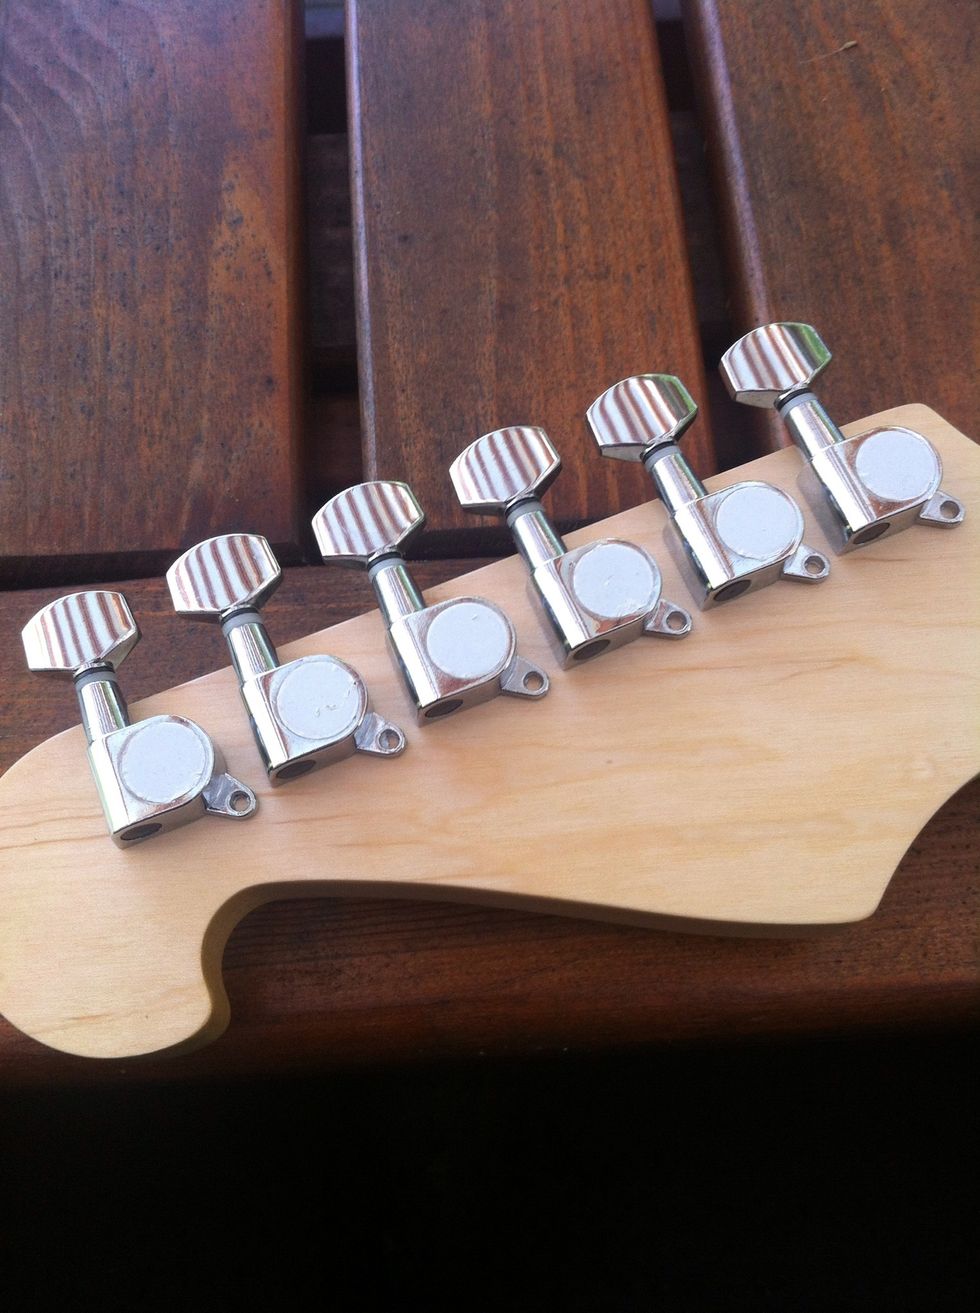
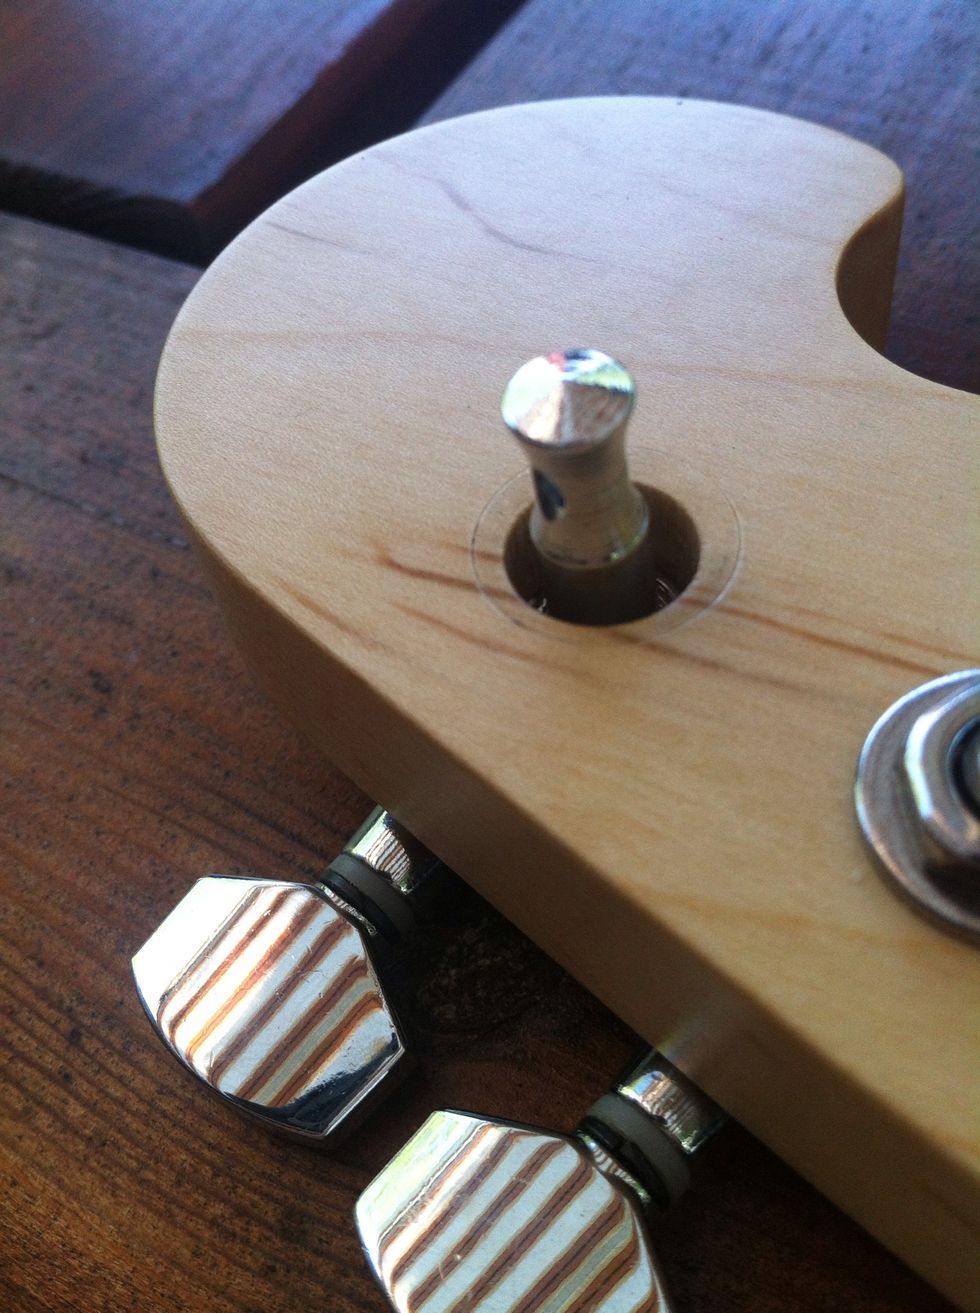
All the tuning keys. Now the small screws left.
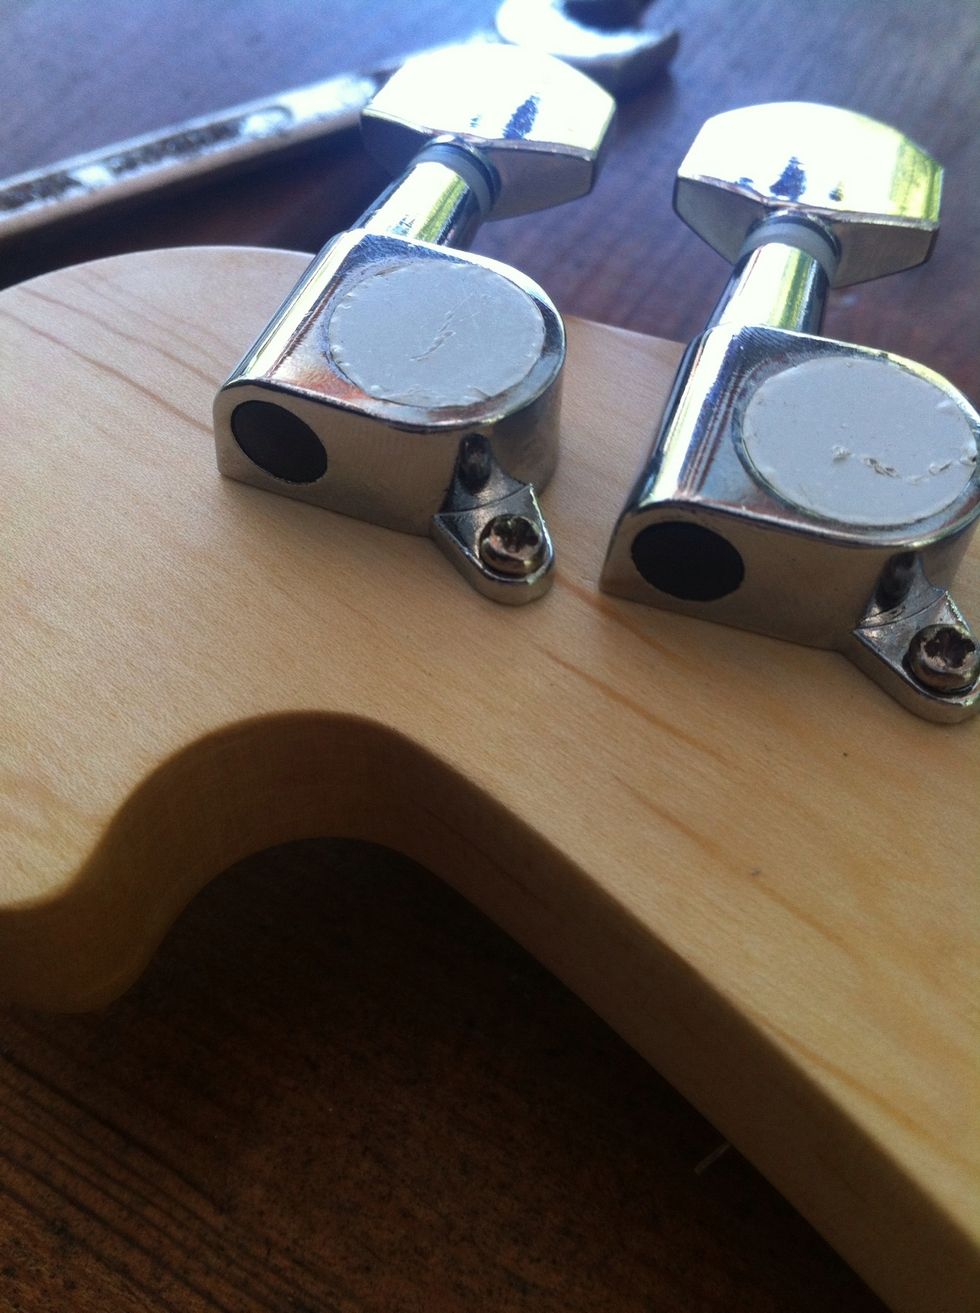
Like that

Peel off the paper if you want
Done
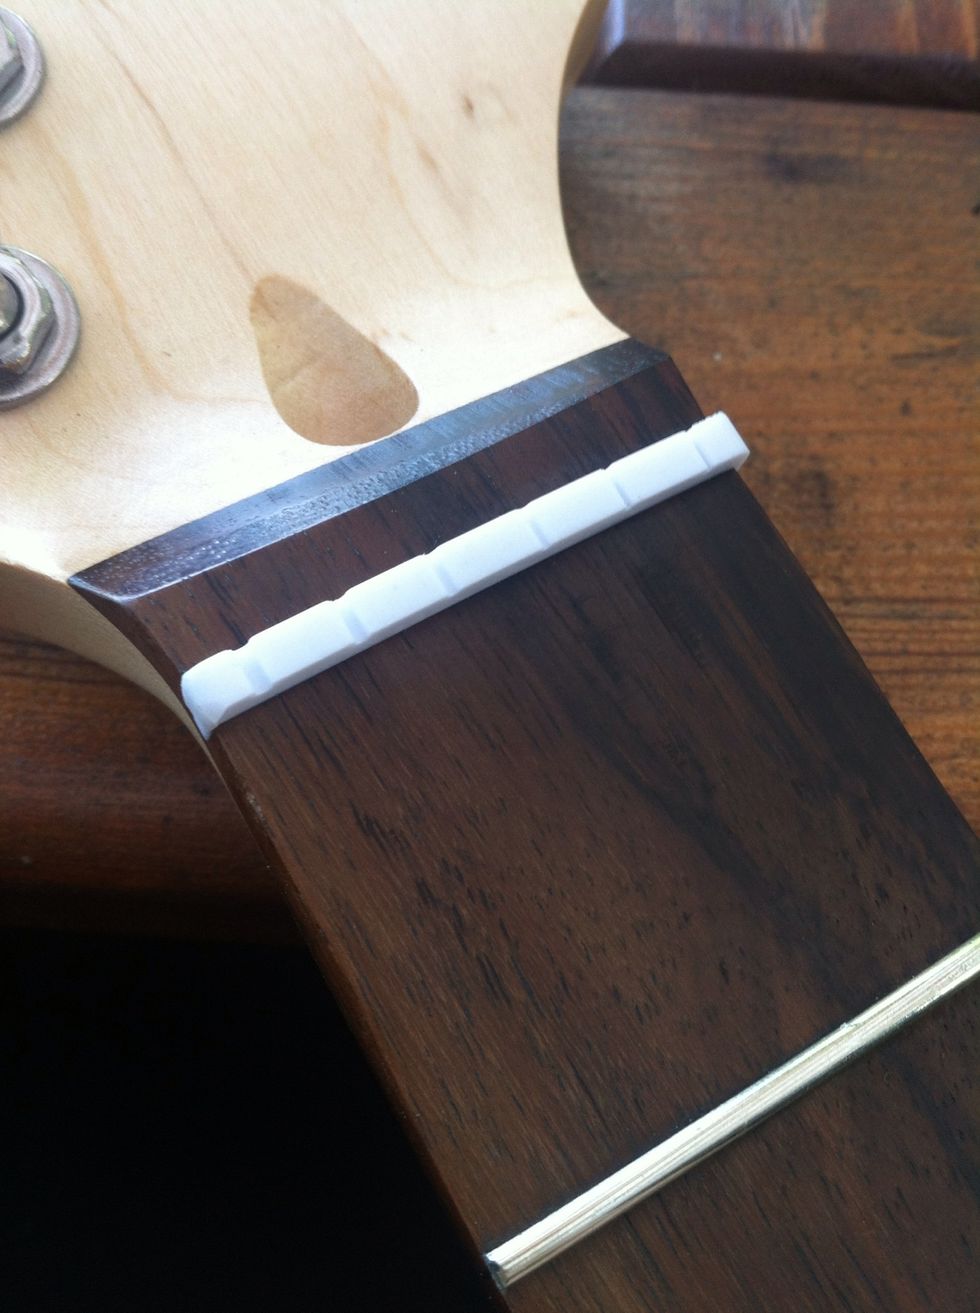
Place the nut in place
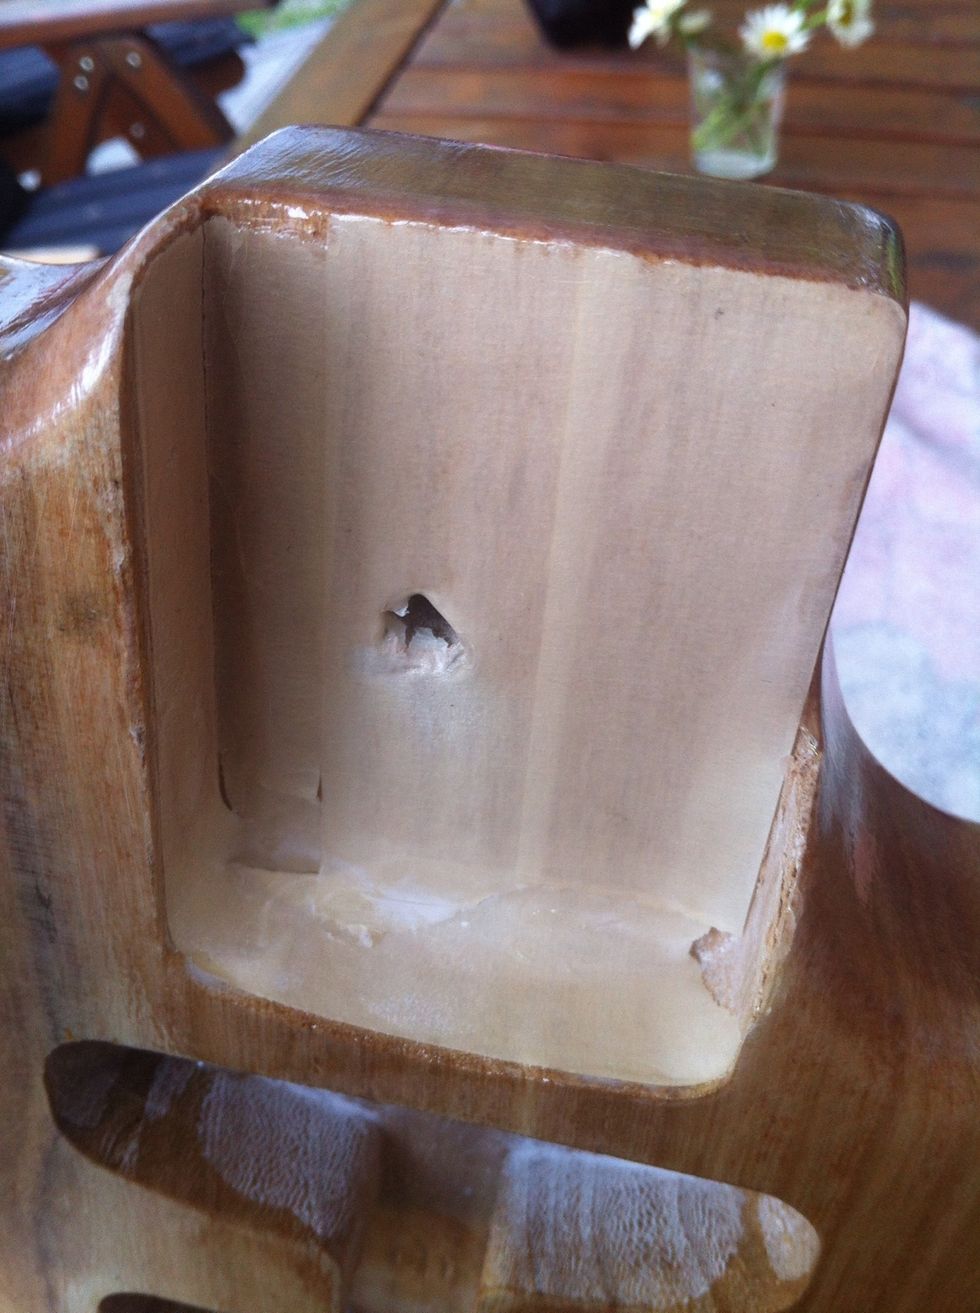
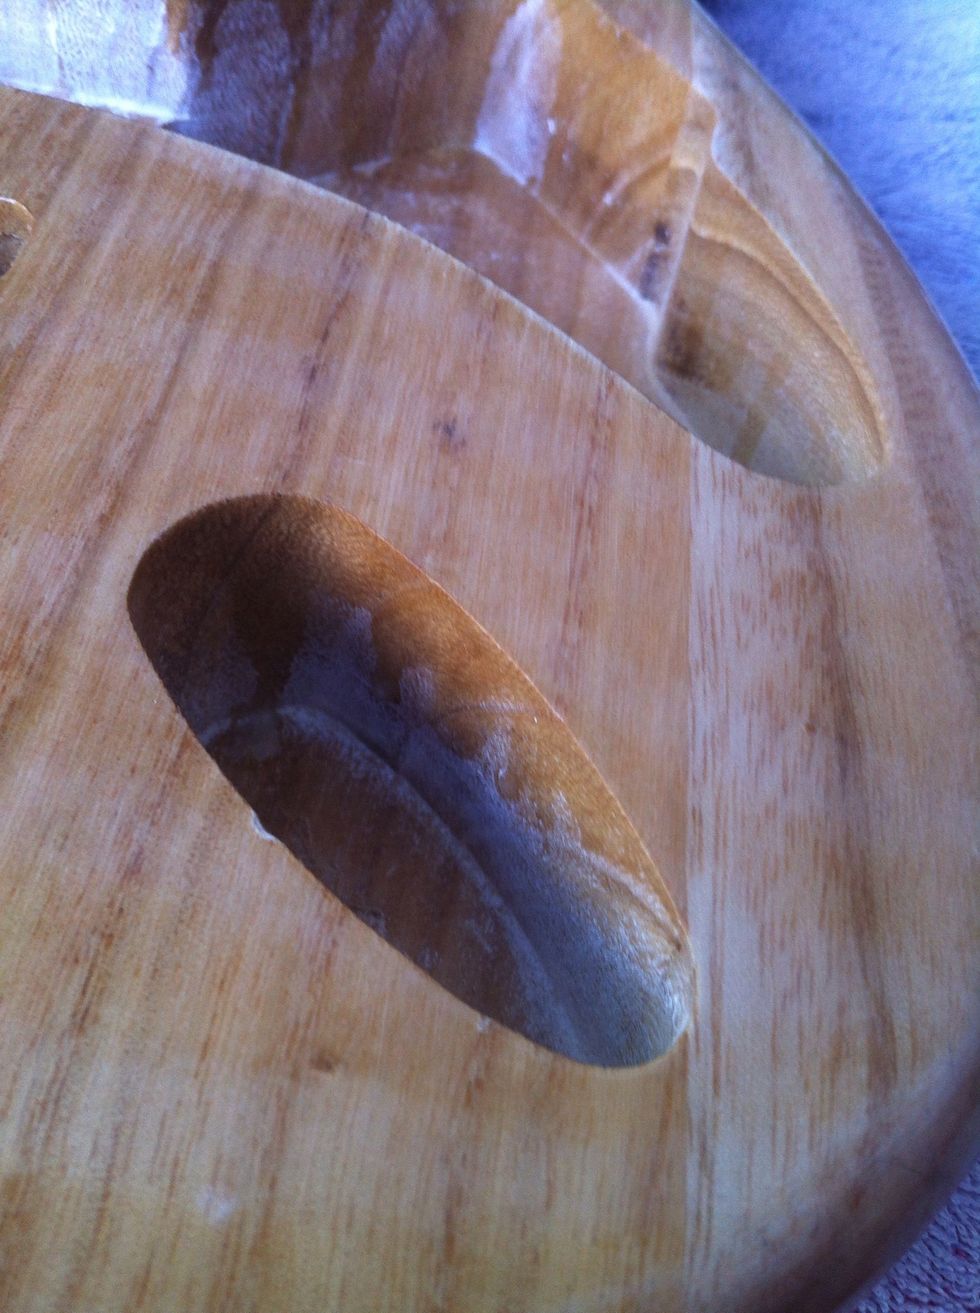
This is the part you will put your neck in. Don't remove the wax
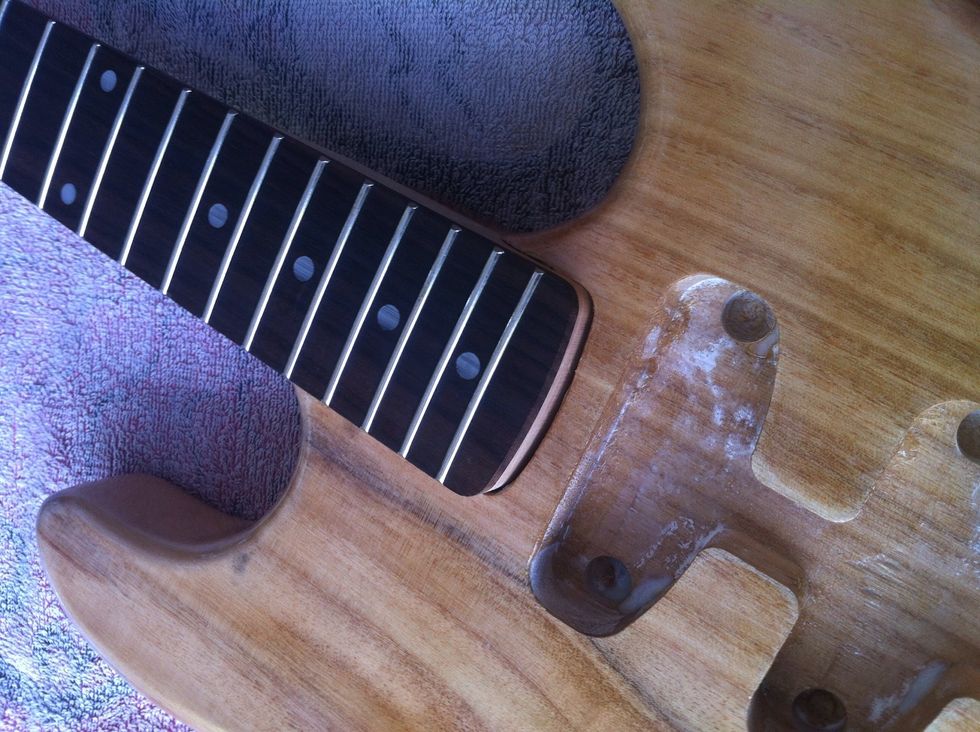
Put it in and make sure it's tight
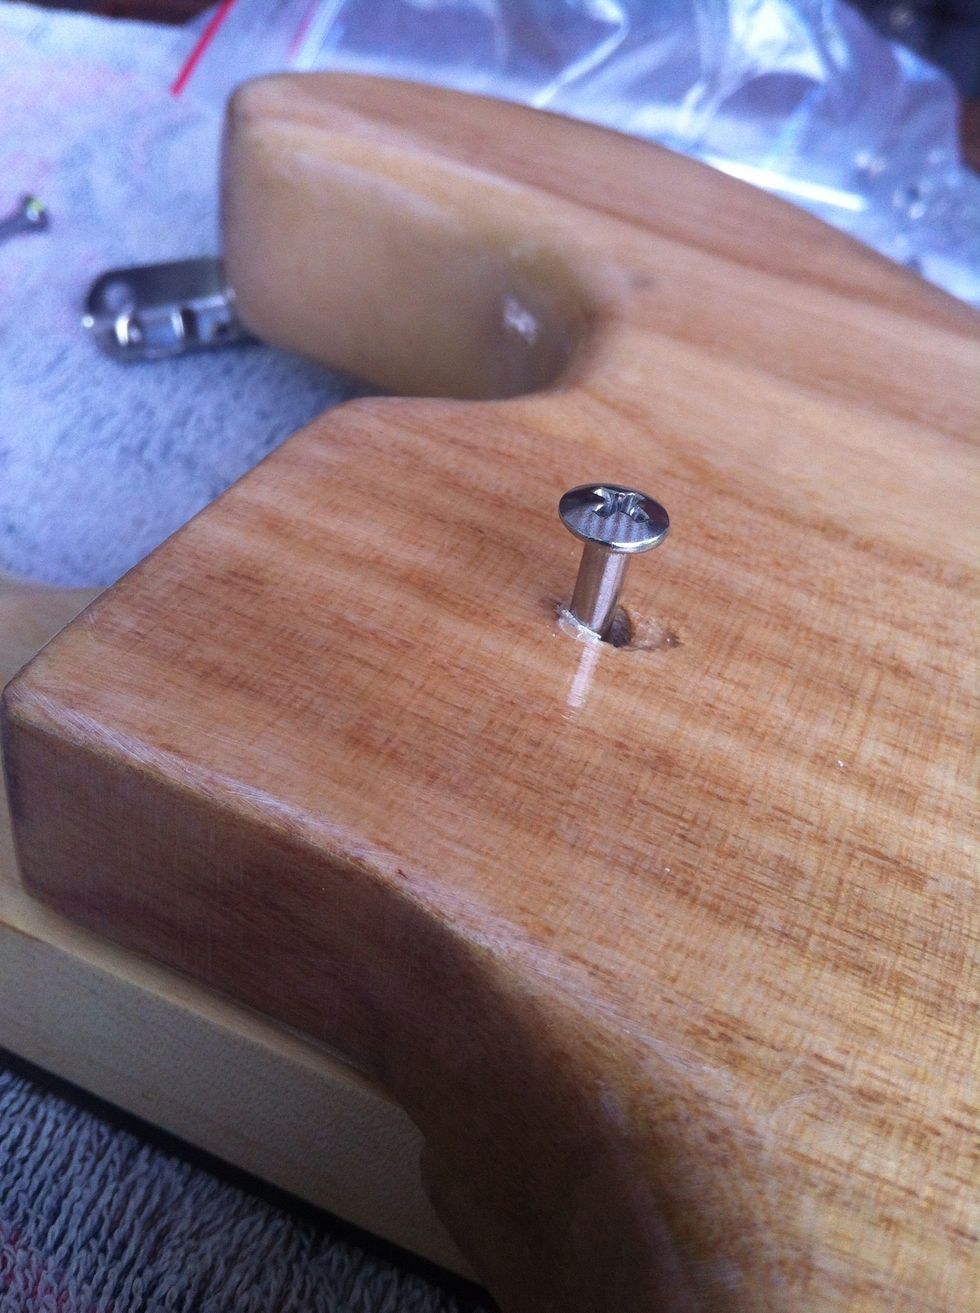
Take a long screw and drill in the hole. When you're done you have a plate you will drill over, I don't have any picture of that
Now it's time to start with the electricity. This part my dad helped me so I'm sorry for bad English and bad pictures.
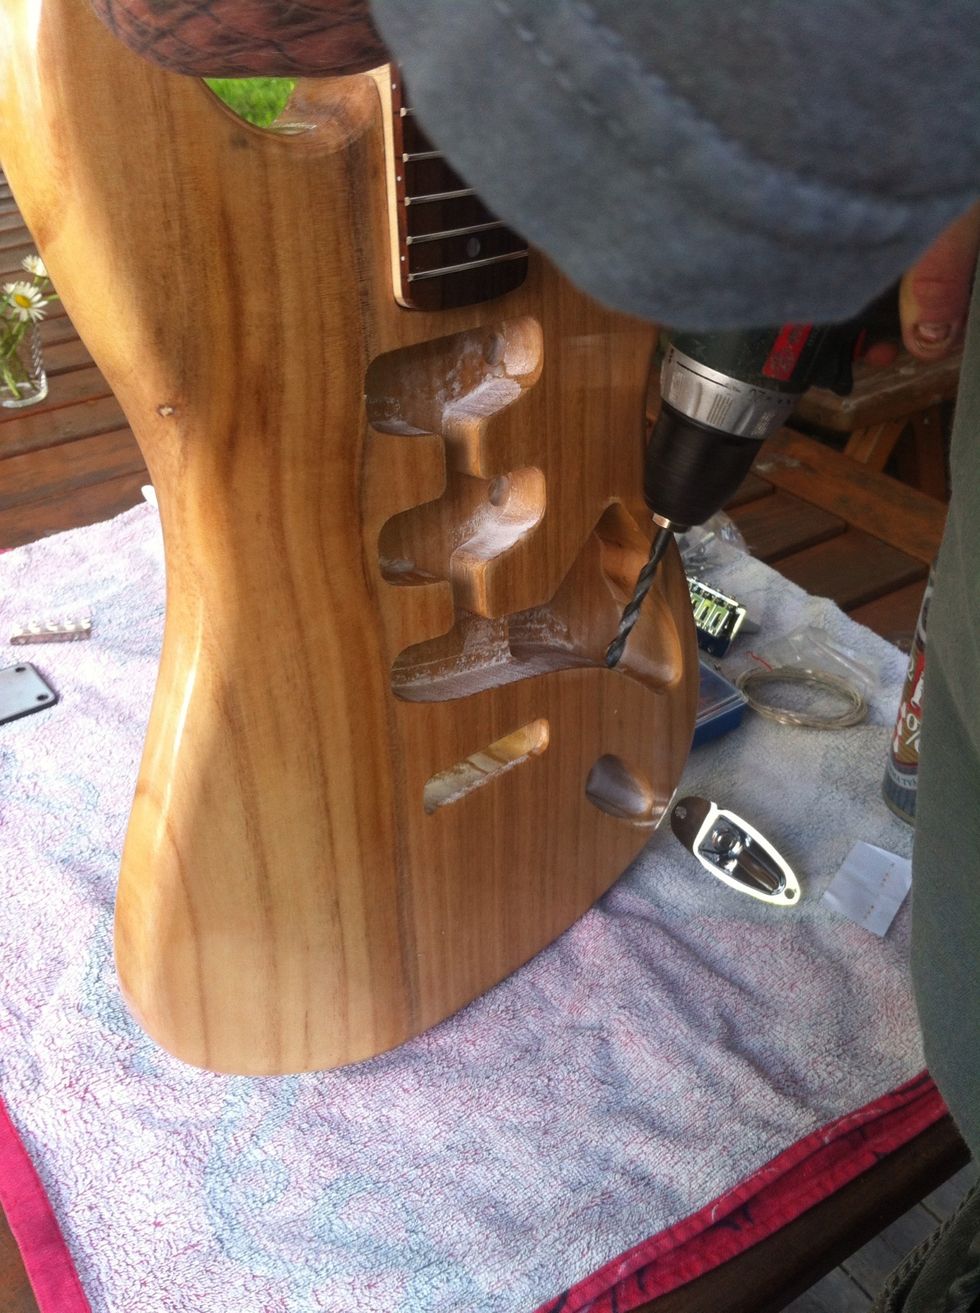
We drilled a hole trough there so the cables can come through
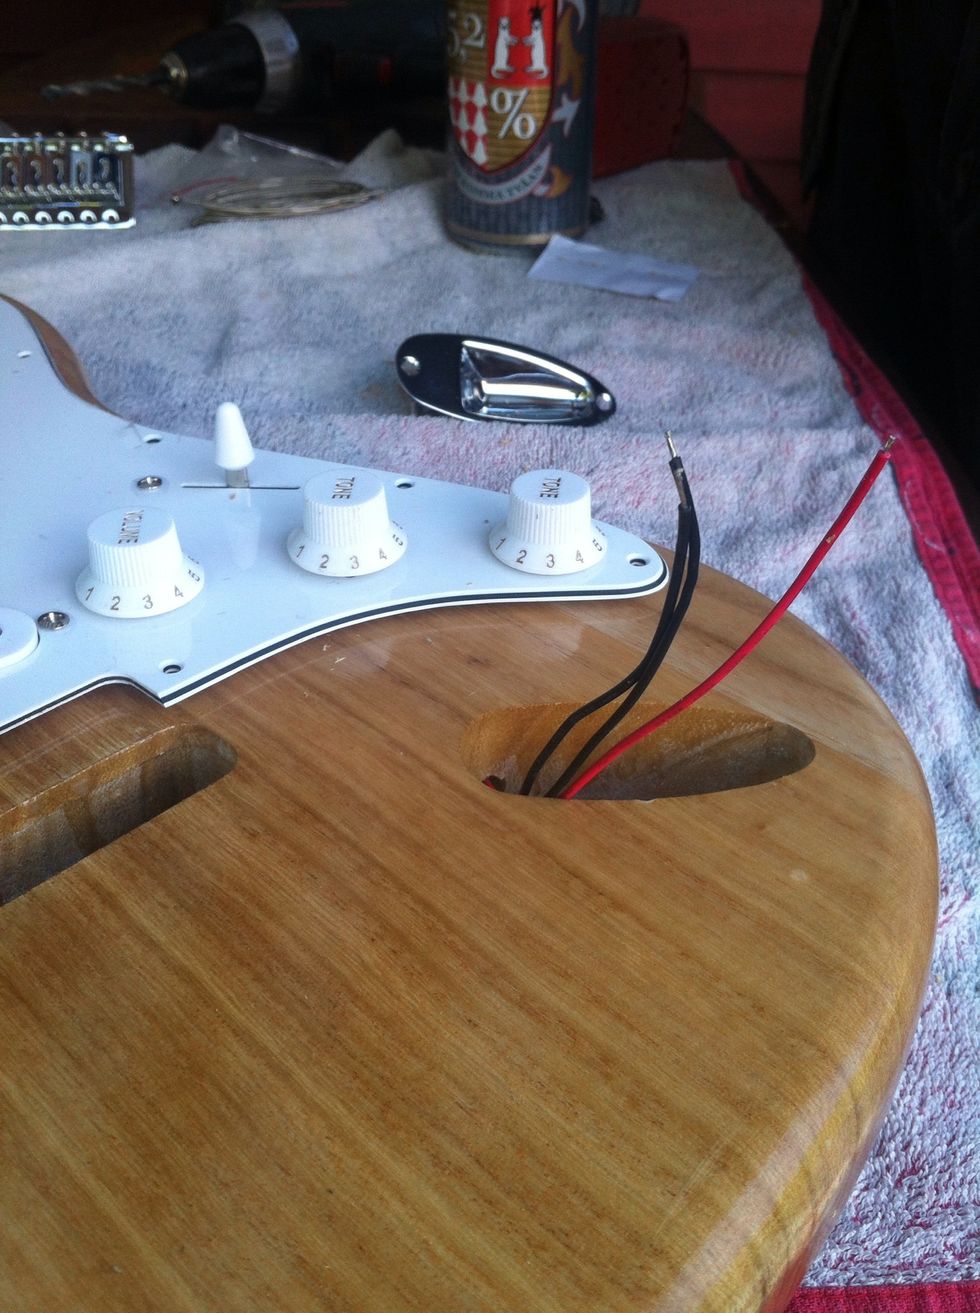
Like that. You want 2 black and 1 red
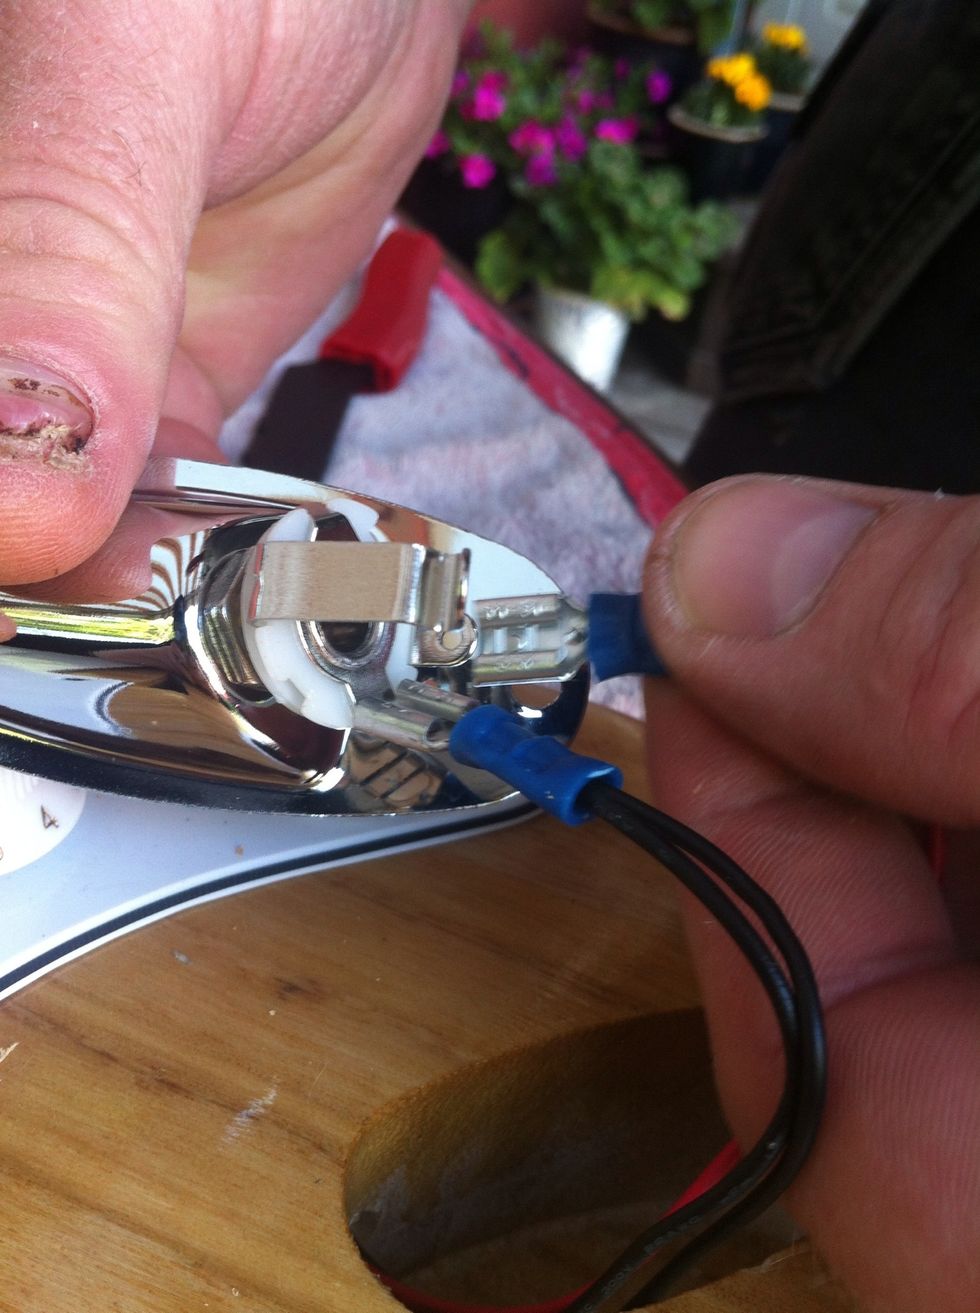
My dad choosed to use spade plugs instead of solder them.
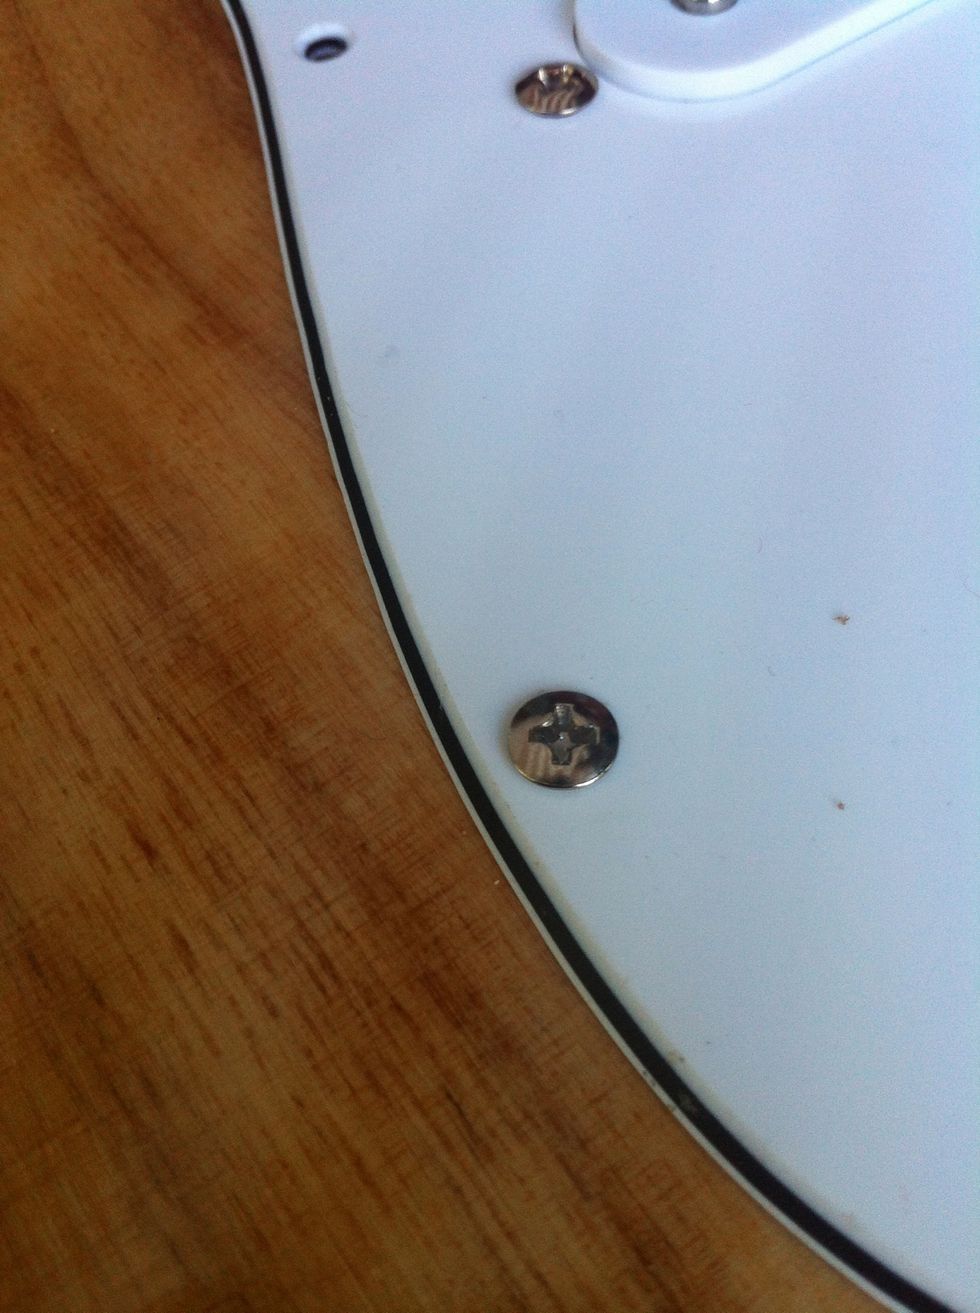
screw the pickguard (do you really say it like that? Haha)
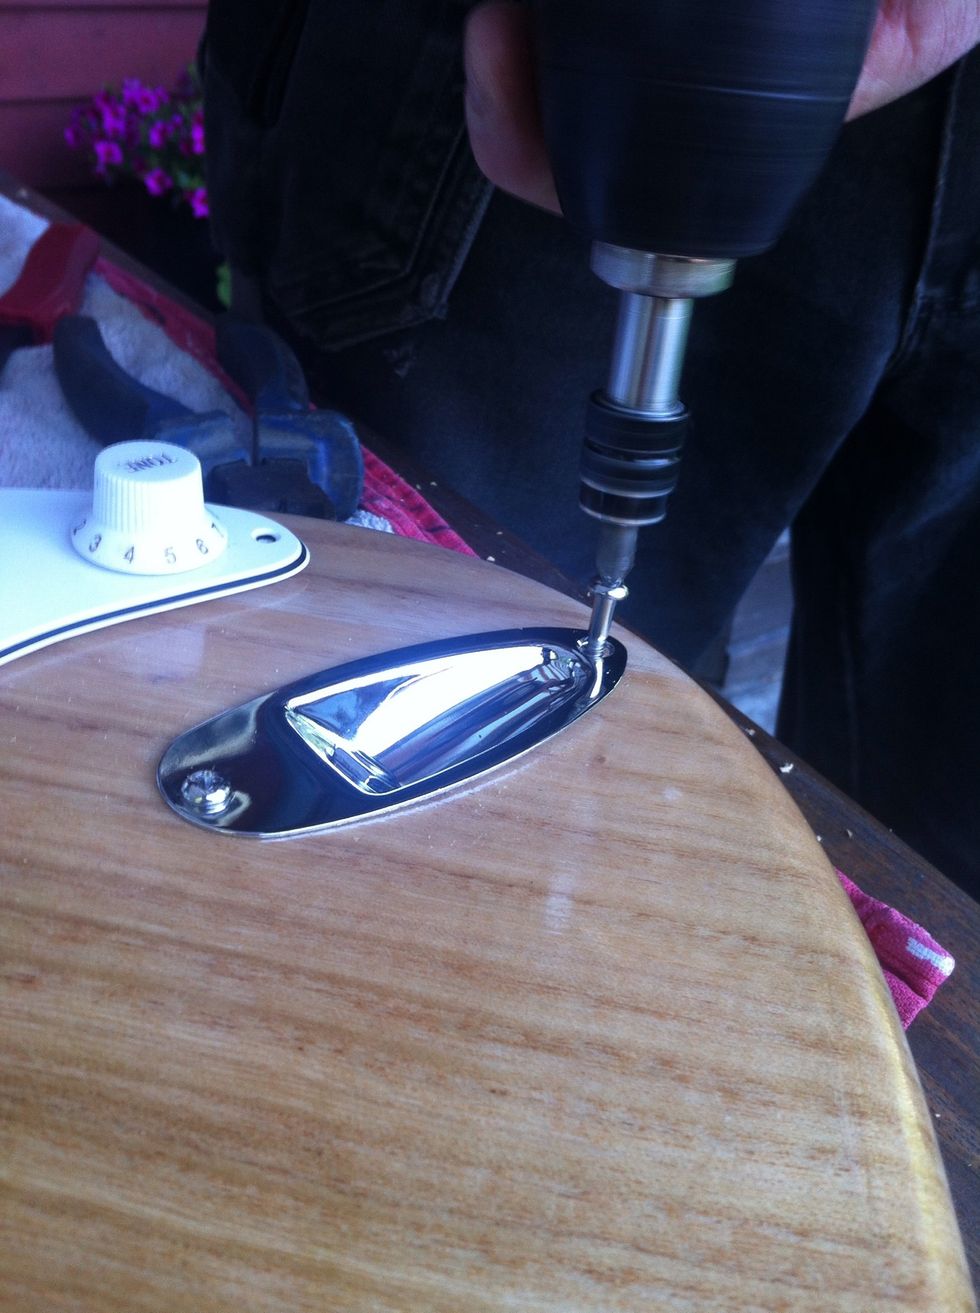
I forgot to take a picture when I layed the bridge in place. But thats not hard at all. Just lay it in the hole and screw where the Holes are.
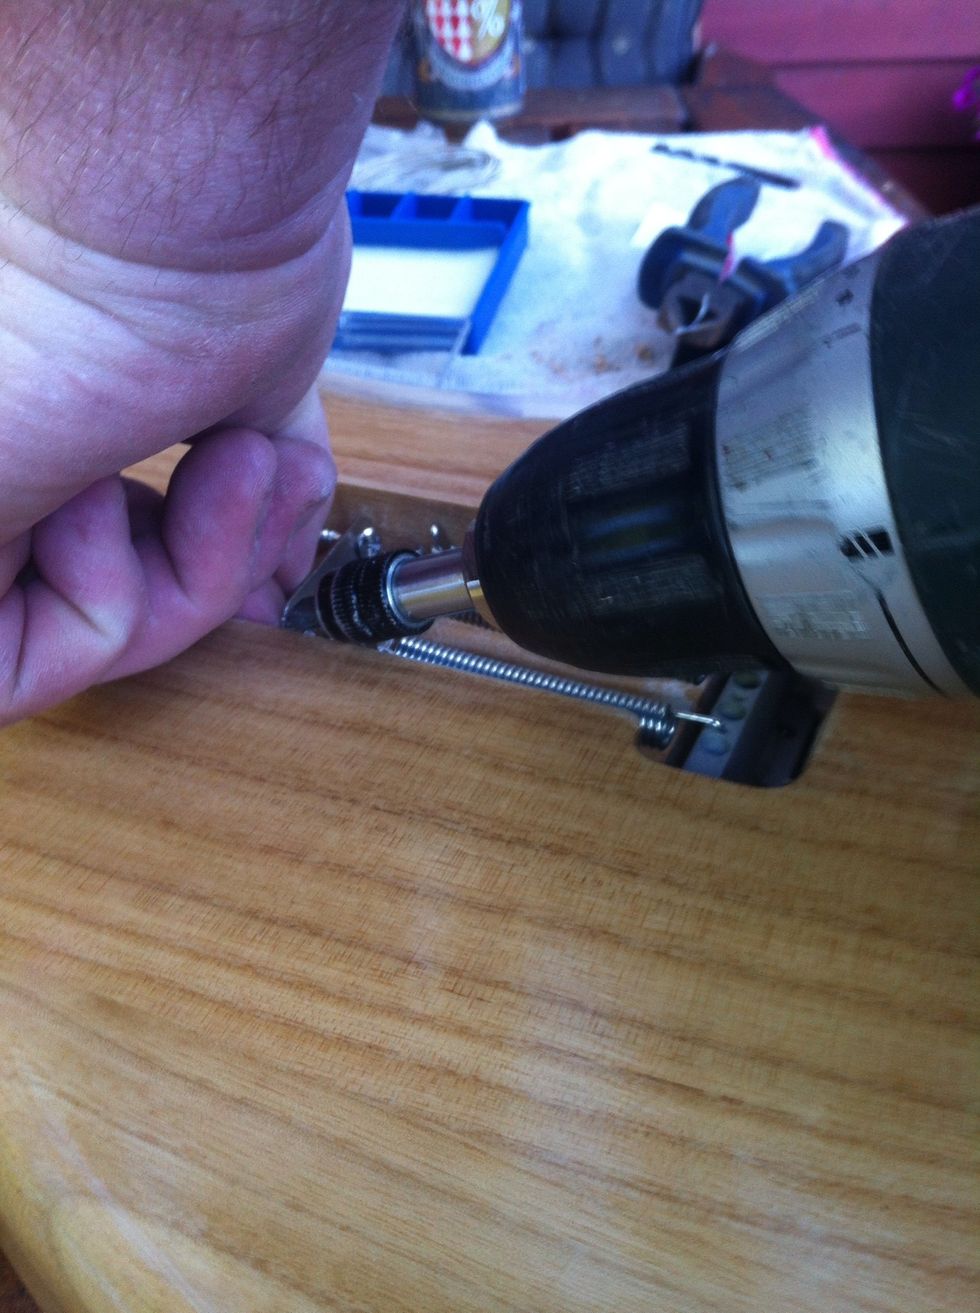
First you need to put the springs in right place of the bridge under the guitar
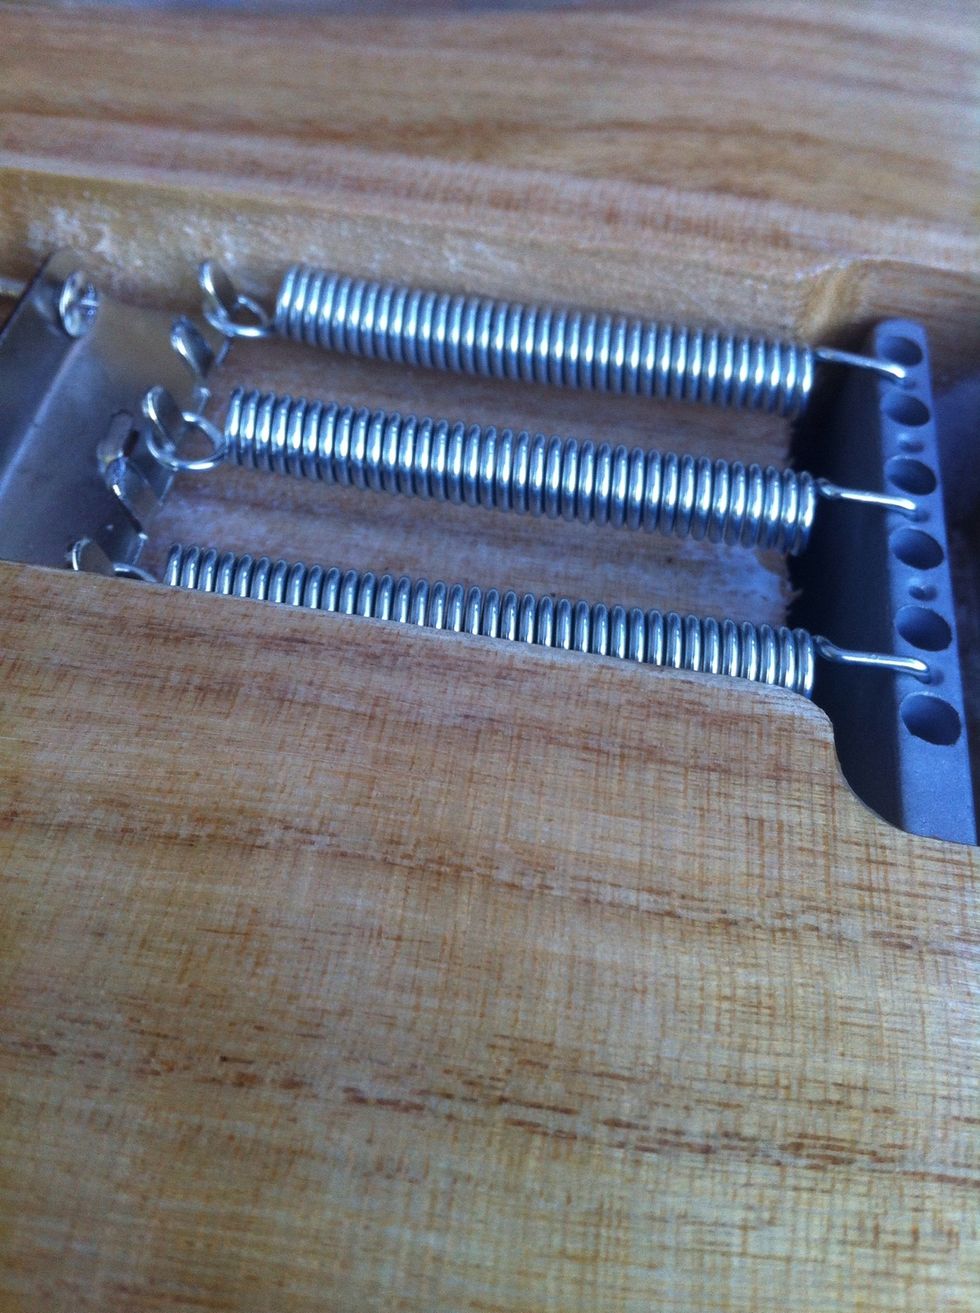
Here you can see how the springs is placed under the bridge
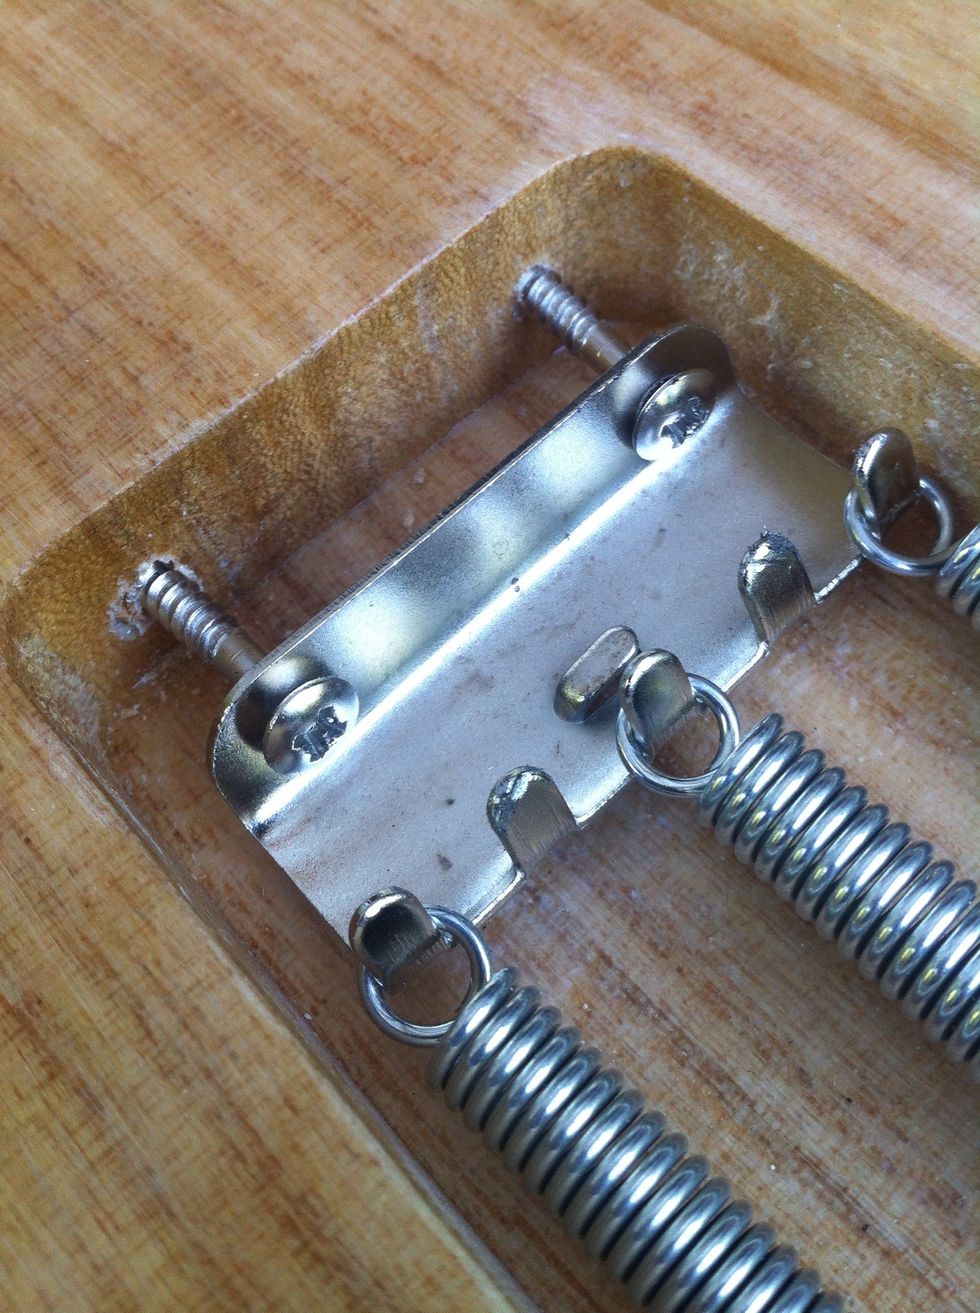
Drill this to the "Wall"
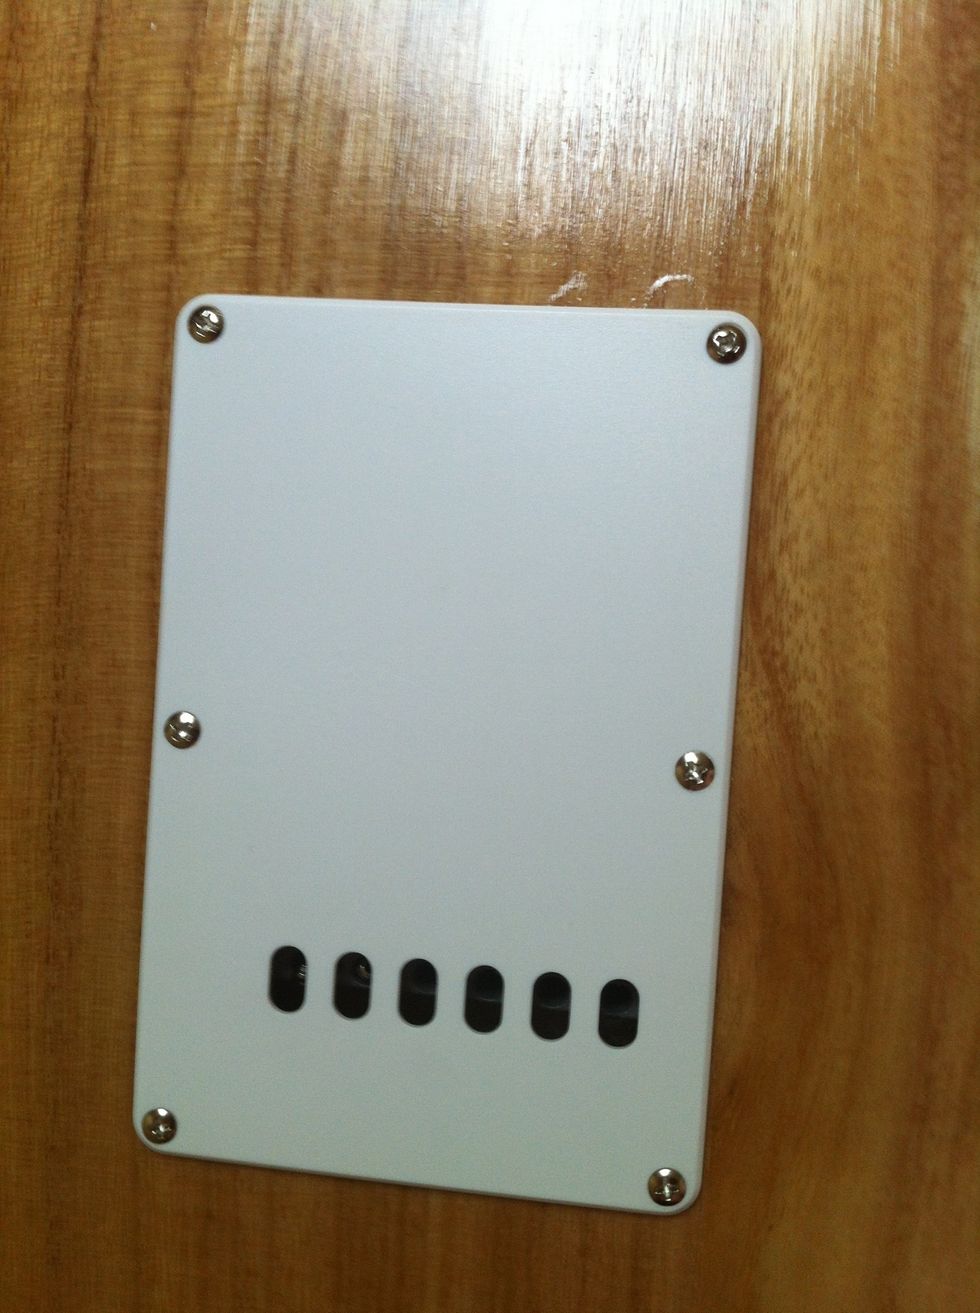
screw the plastic cover over the springs
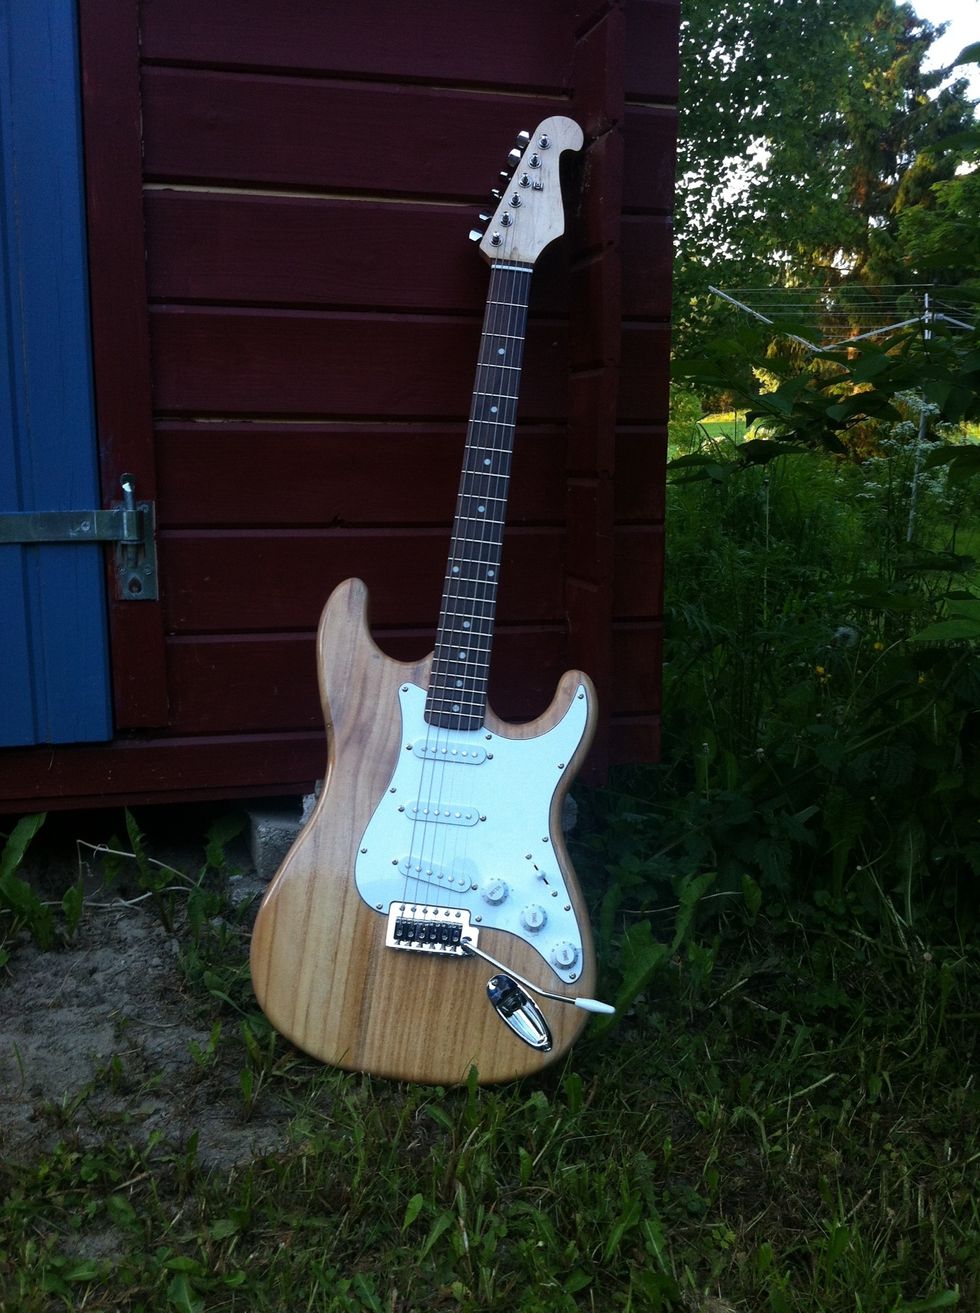
Ready to play :) sorry for My bad english and Thanks to My dad :)