The Conversation (0)
Sign Up
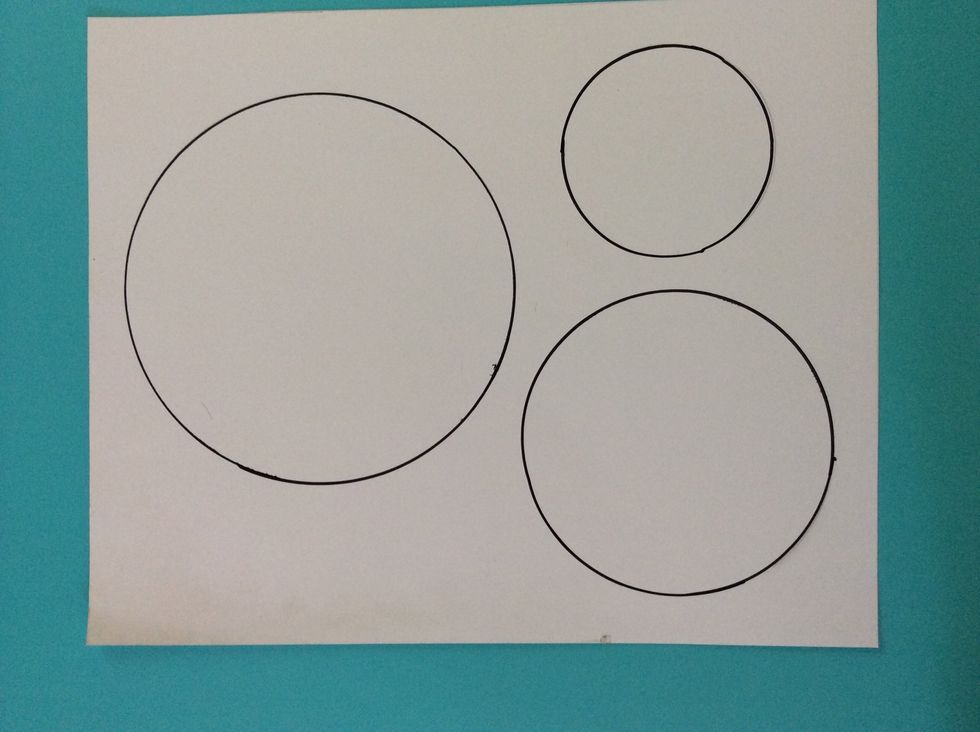
Trace or draw three different size circles onto poster board. Cut out the circles.
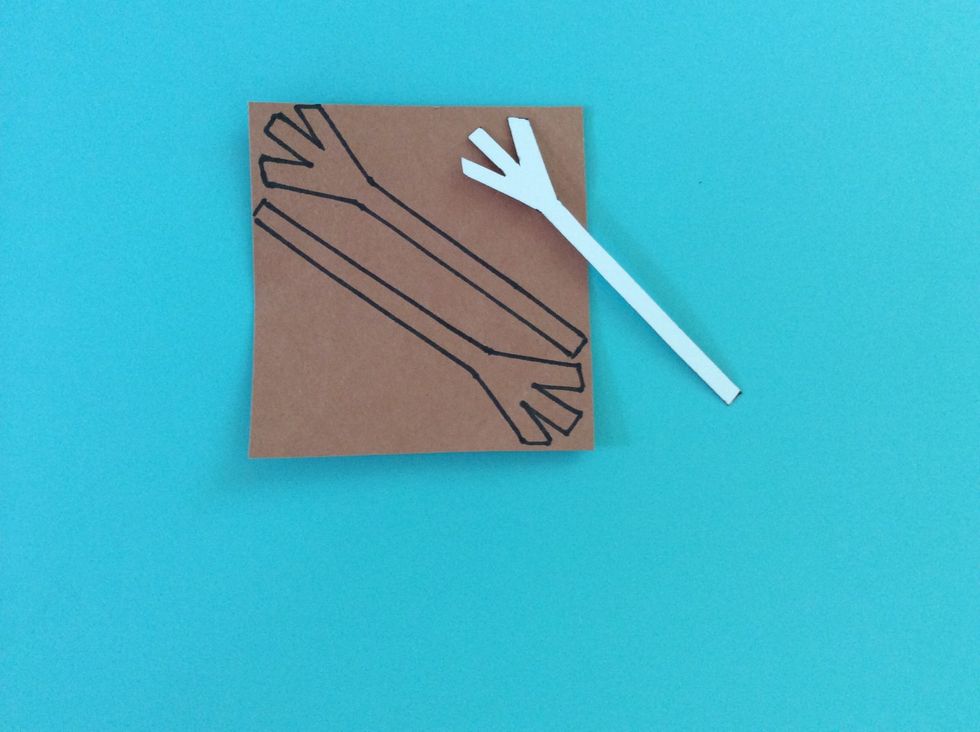
Draw a stick like arm on white poster board, and trace this two times on brown paper.

Draw a scarf shape on white poster board, and trace on patterned paper.

Draw small triangle for the snowman nose.
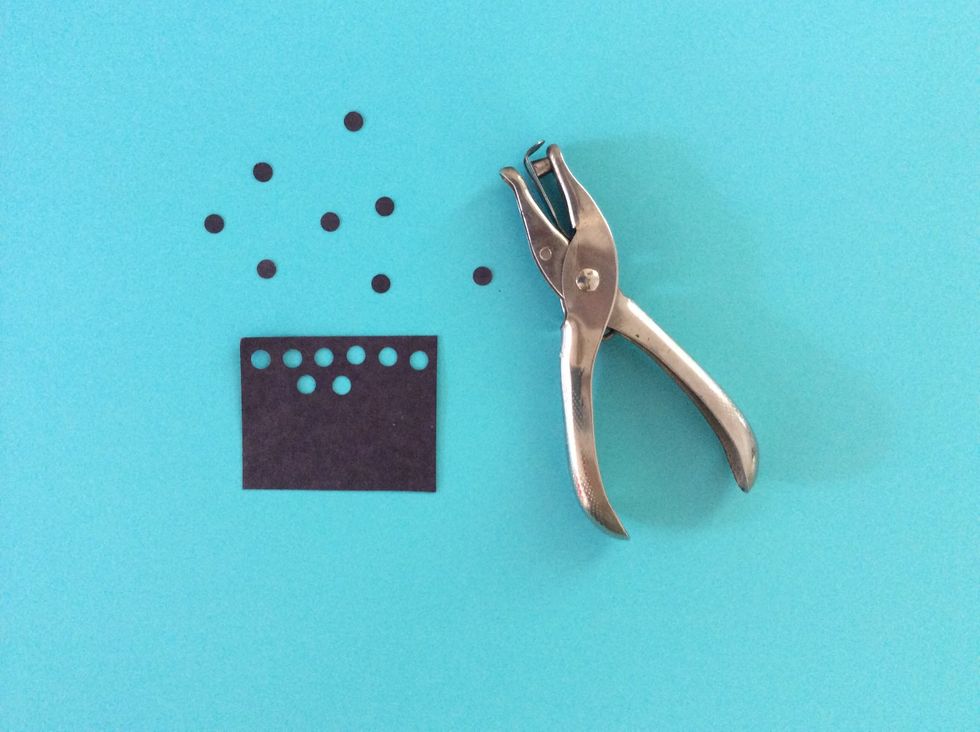
Using the Hole punch, make 8 circles using black paper.
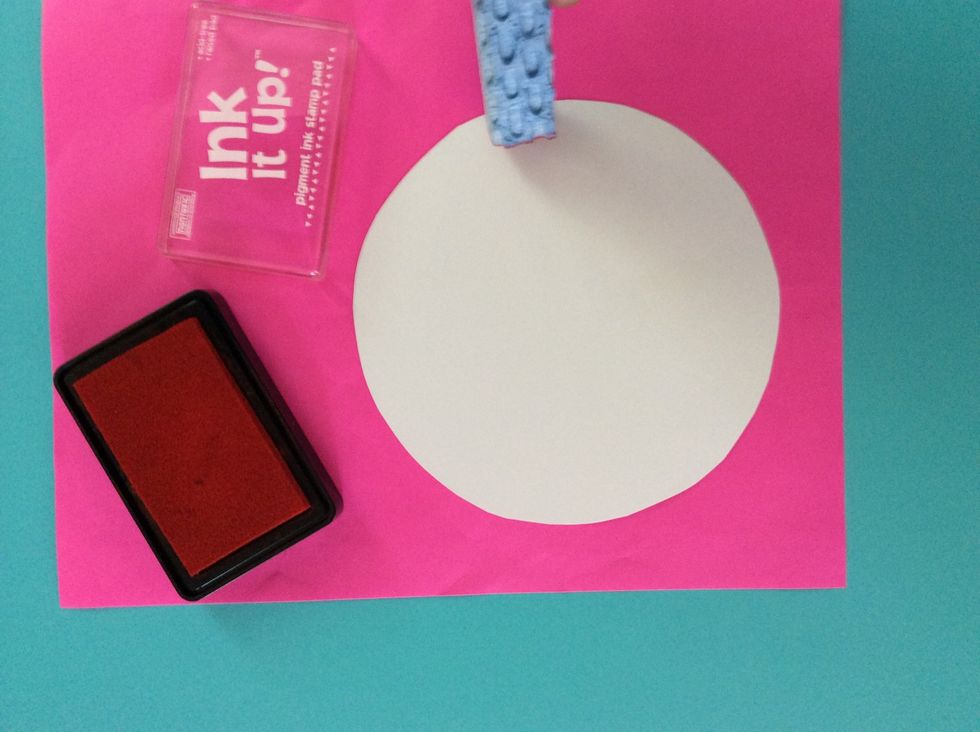
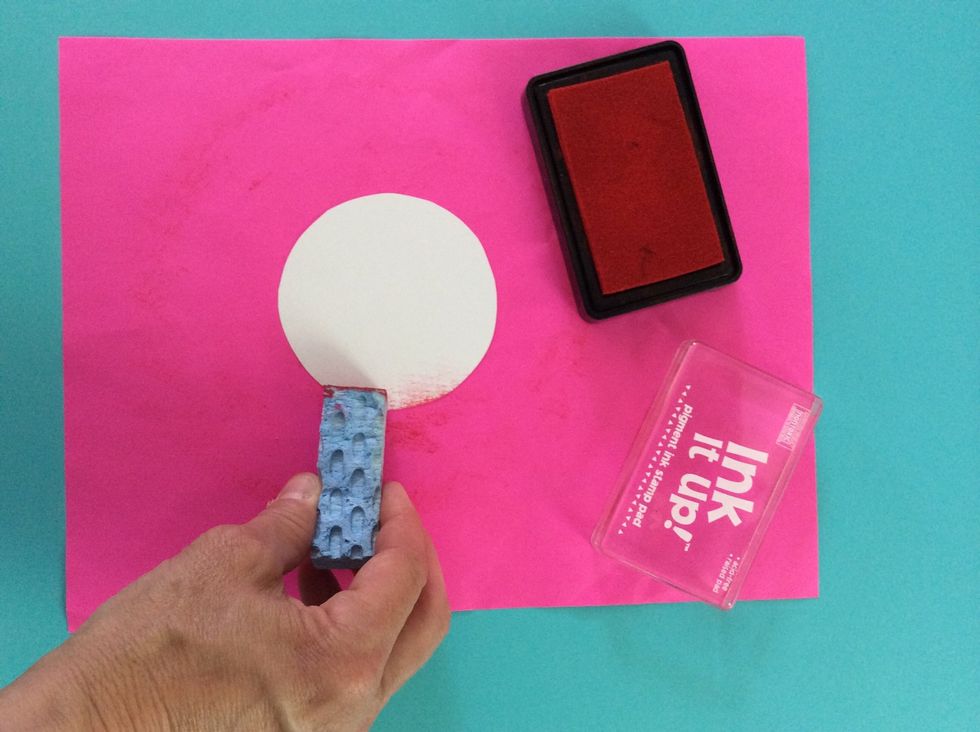
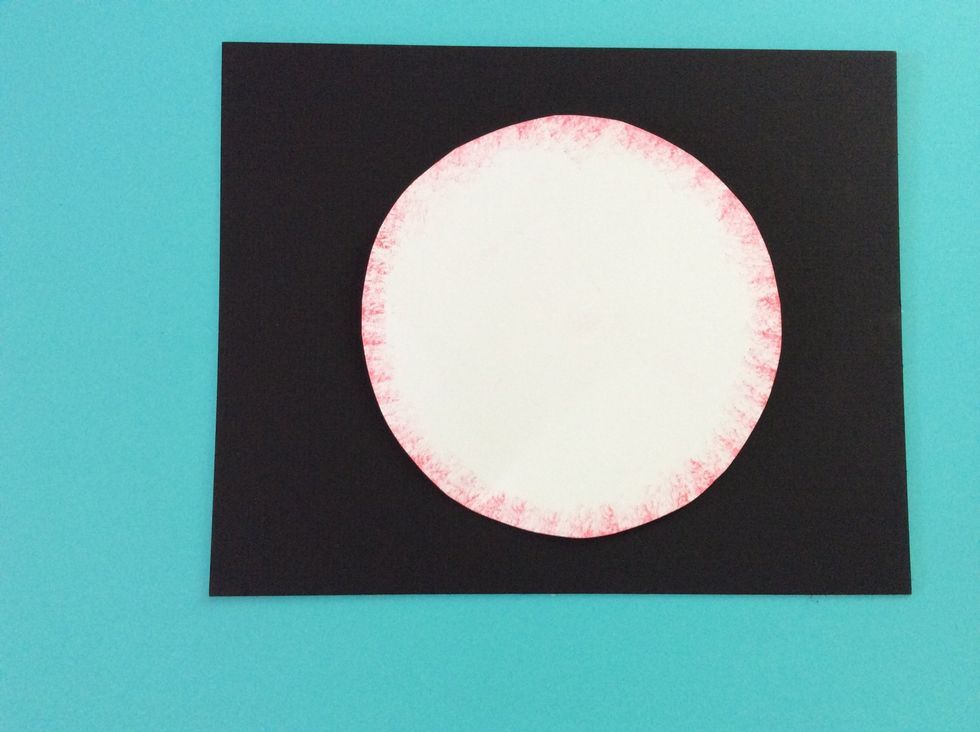
Press a sponge onto the rubber stamp pad, and stamp the edge of the large, white poster board circle.
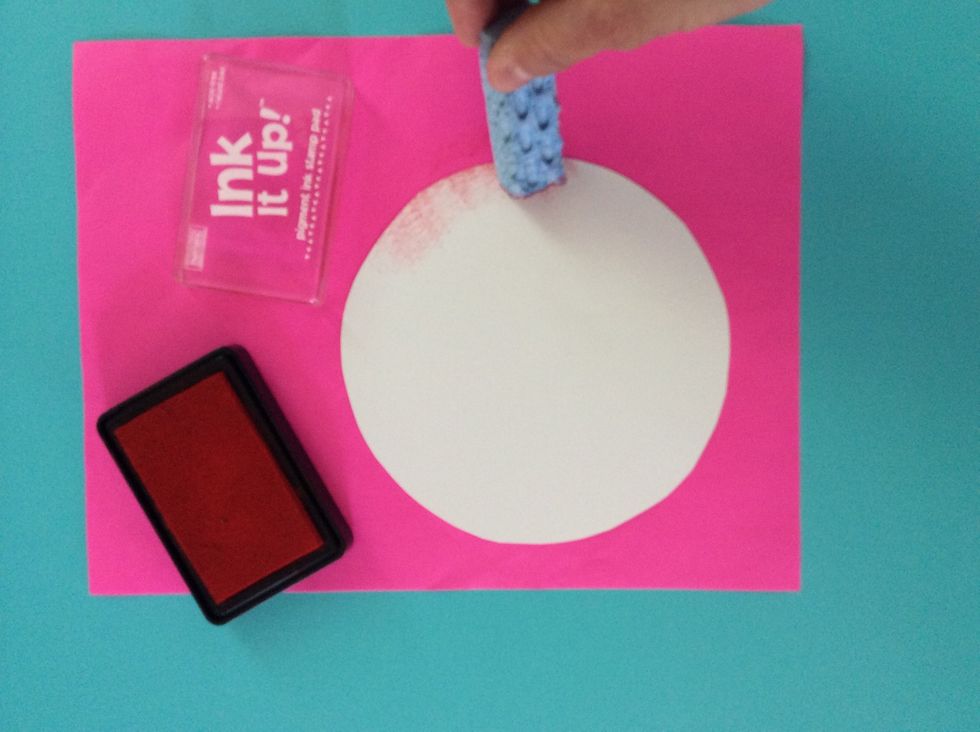
Stamp the edge of the circle.
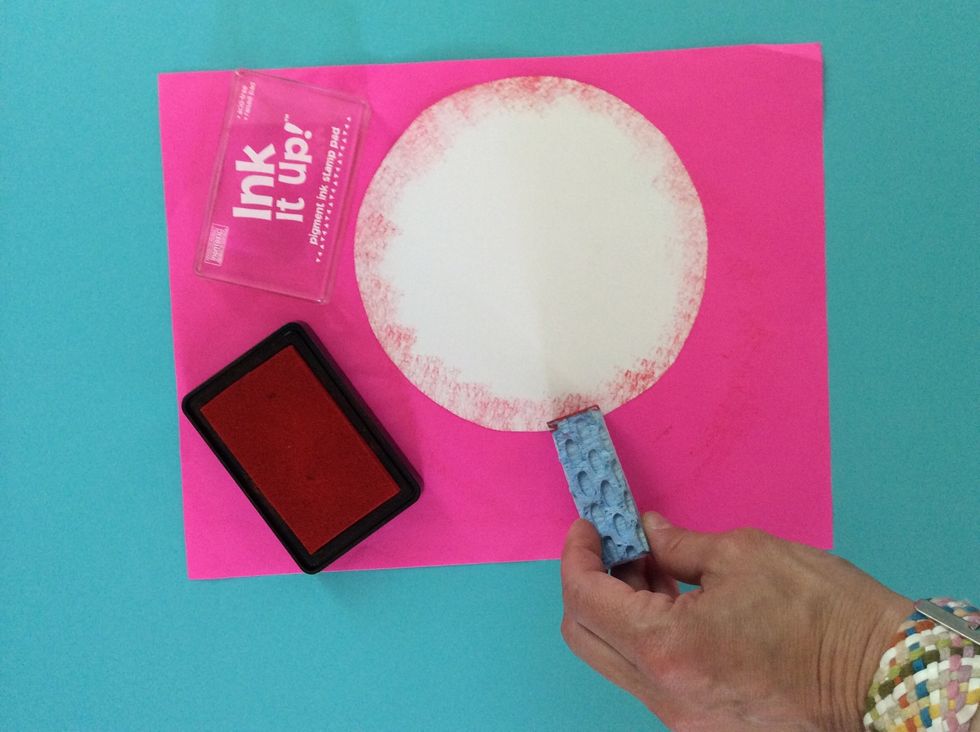
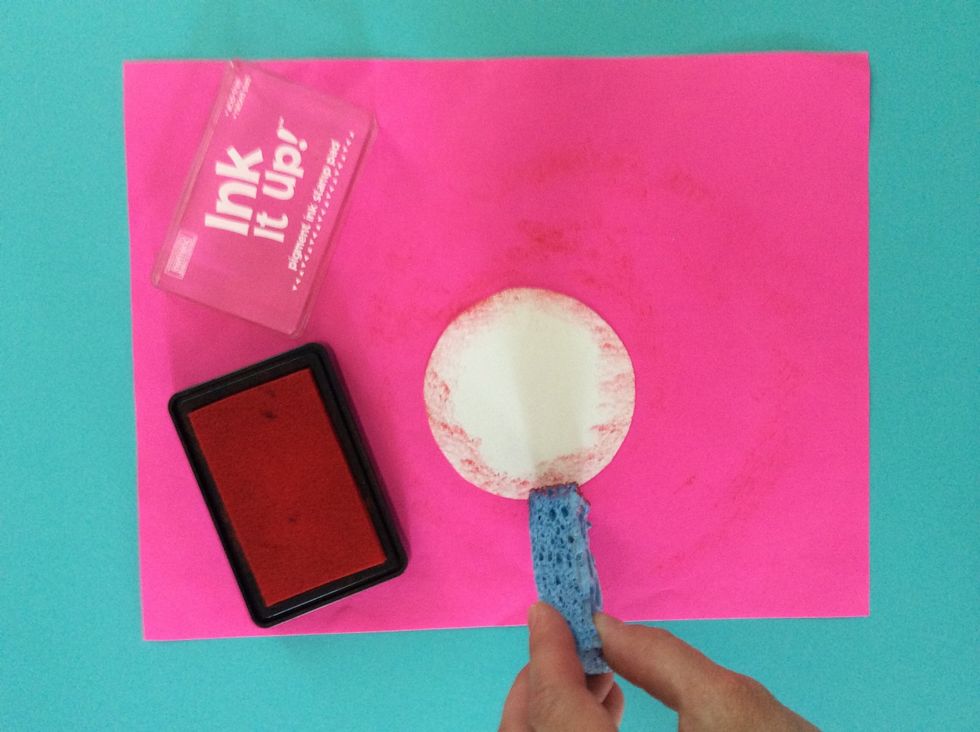
Stamp completely around edge of circle.
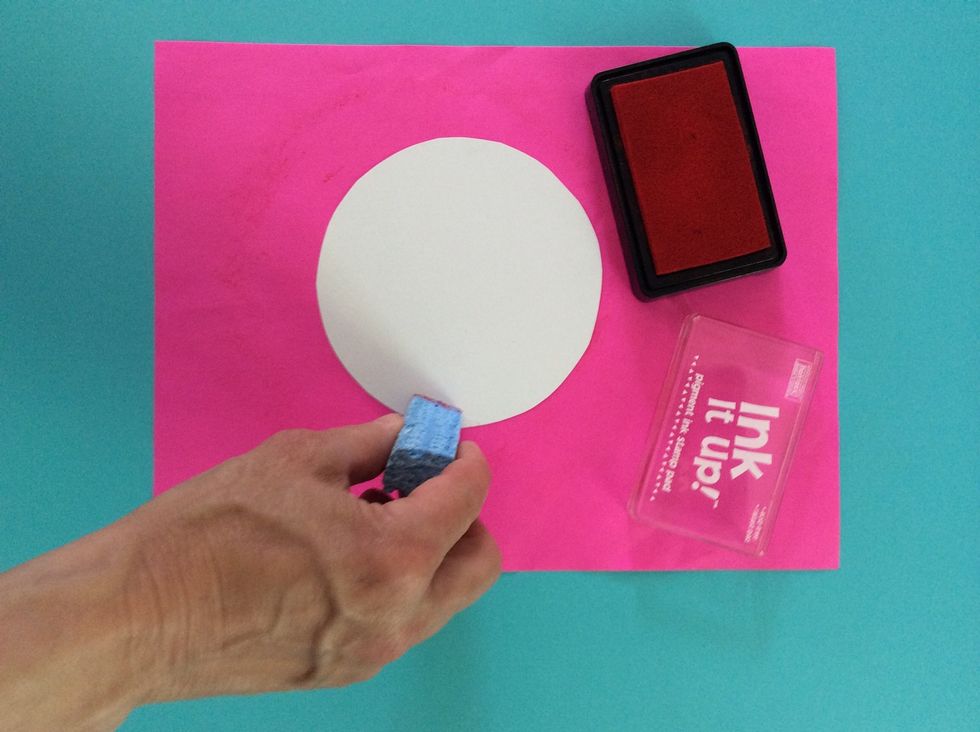
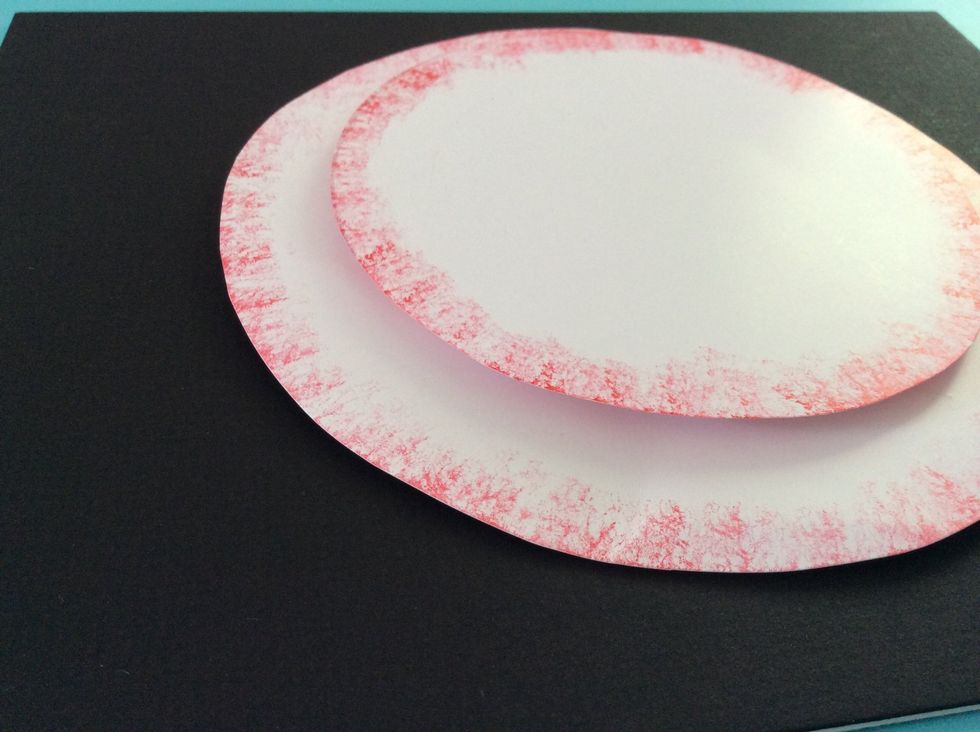
Stamp the next circle on the edge same as the first circle.
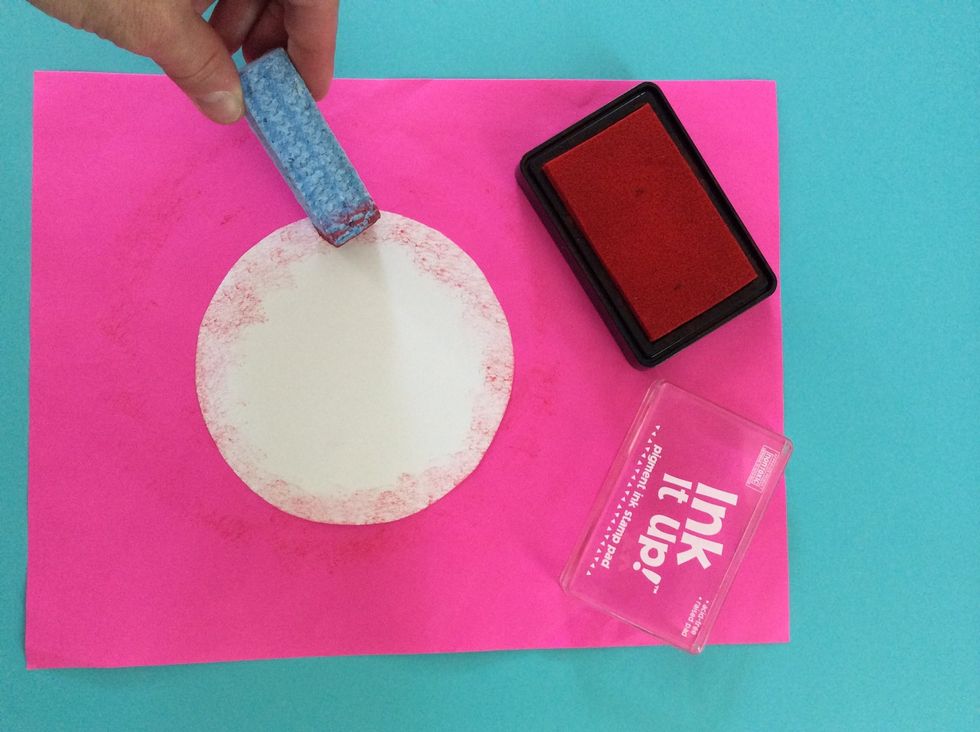
Stamp completely around edge of this circle also.
Stamp the smallest circle same as the first two.
Once the final circle is stamped, set all three aside to dry. Handling them before completely dry might add fingerprints or cause smudges. Drying the circles overnight is suggested.
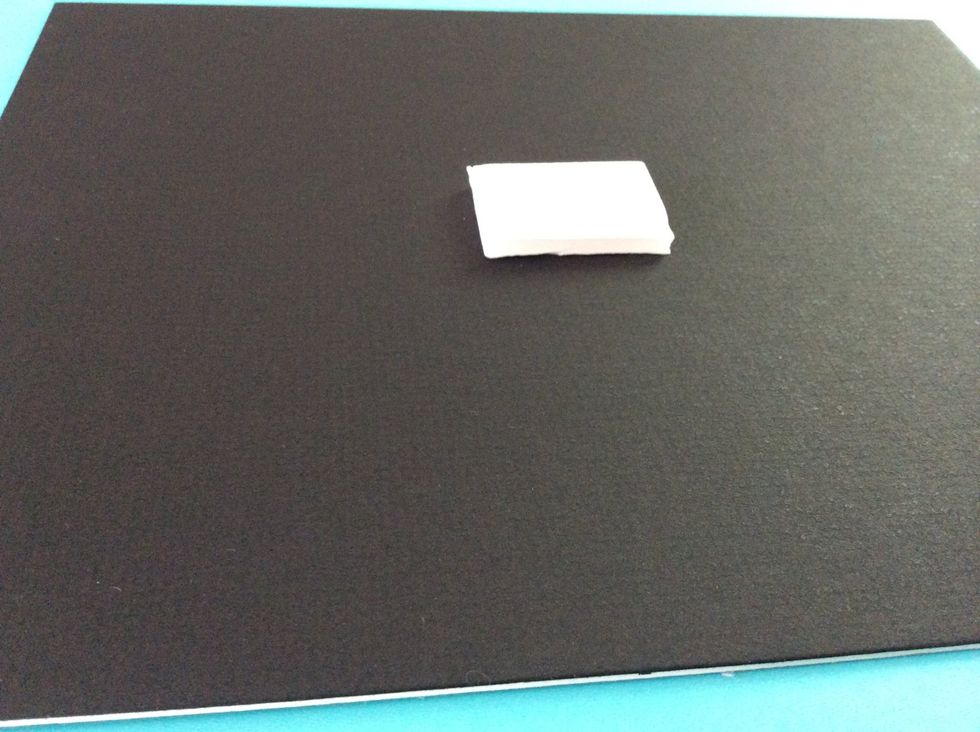
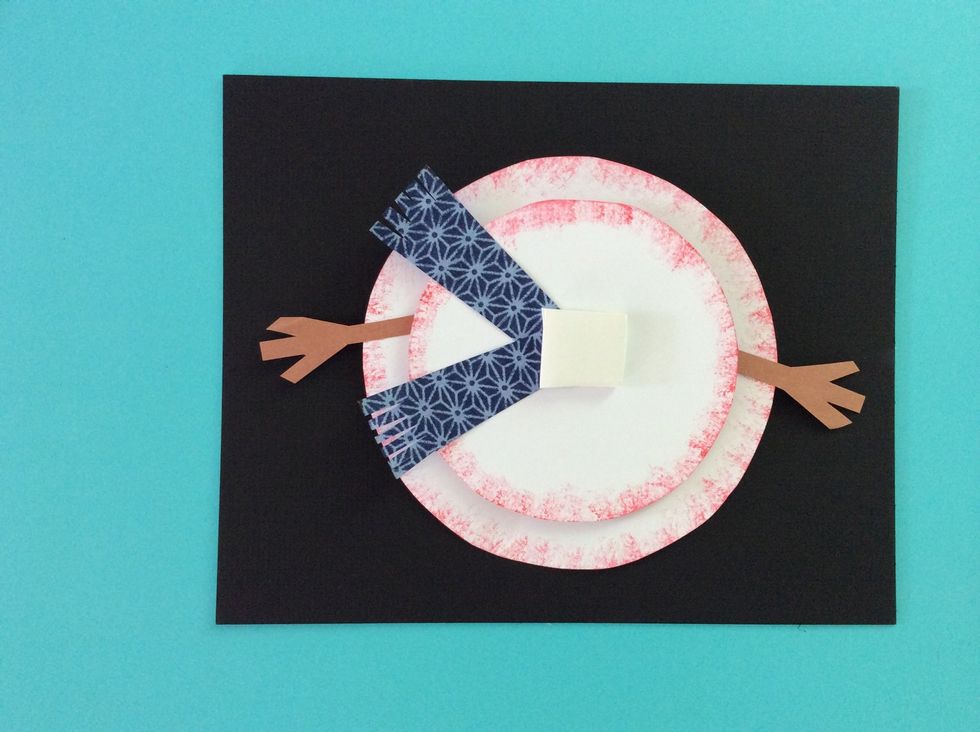
Cut a small piece of foam board, 1" x 1" approximately. Glue this to the center of the colored mat board.
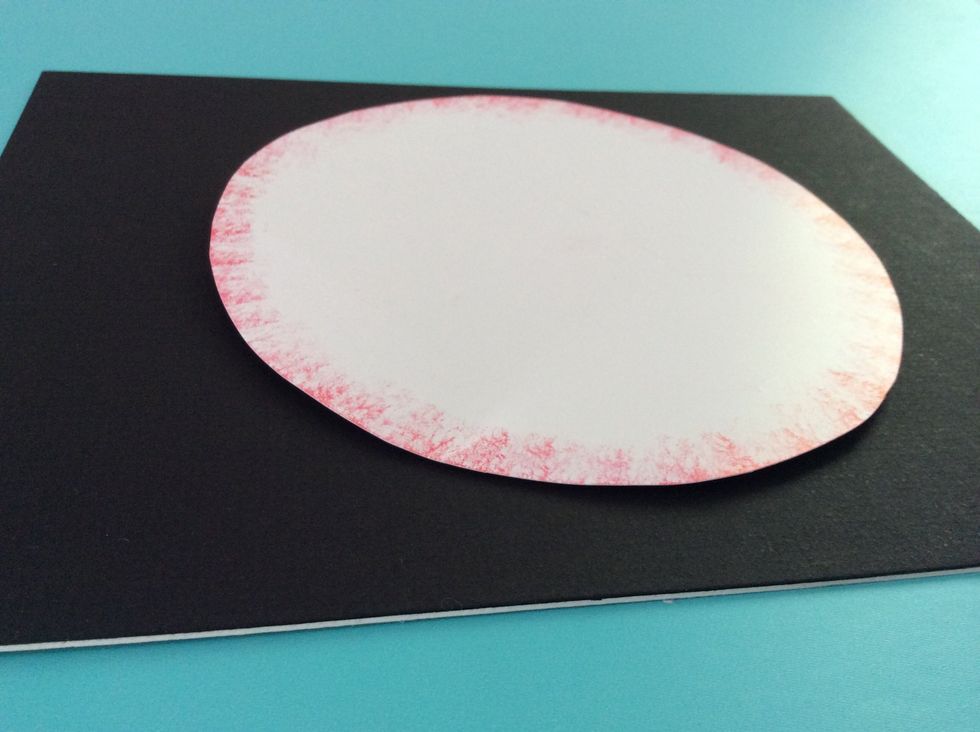
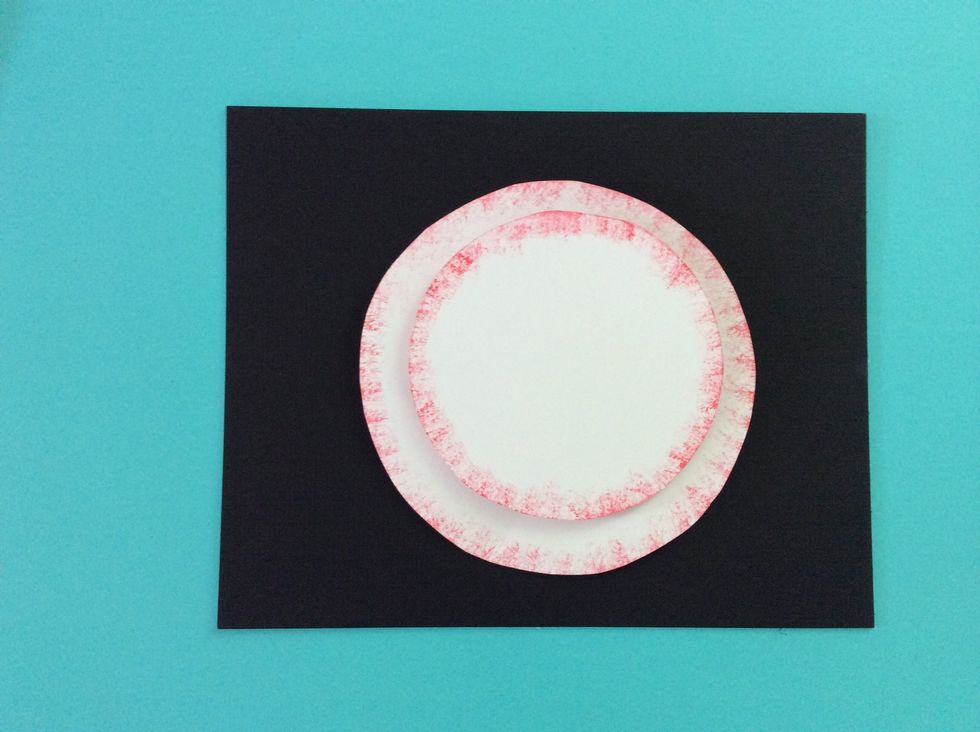
Glue the largest circle on top of the foam board. Make sure it is centered over the small foam square, or the snowman may bend off one side.
This is how it should look centered on top of the foam board.

Place another 1" x 1" piece of foam board in the center of the large white poster board circle.
Glue the next smallest posterboard that was stamped on top of this foam board. This side angle view shows how the snowman is starting to look 3-D.
View of the snowman from the top.
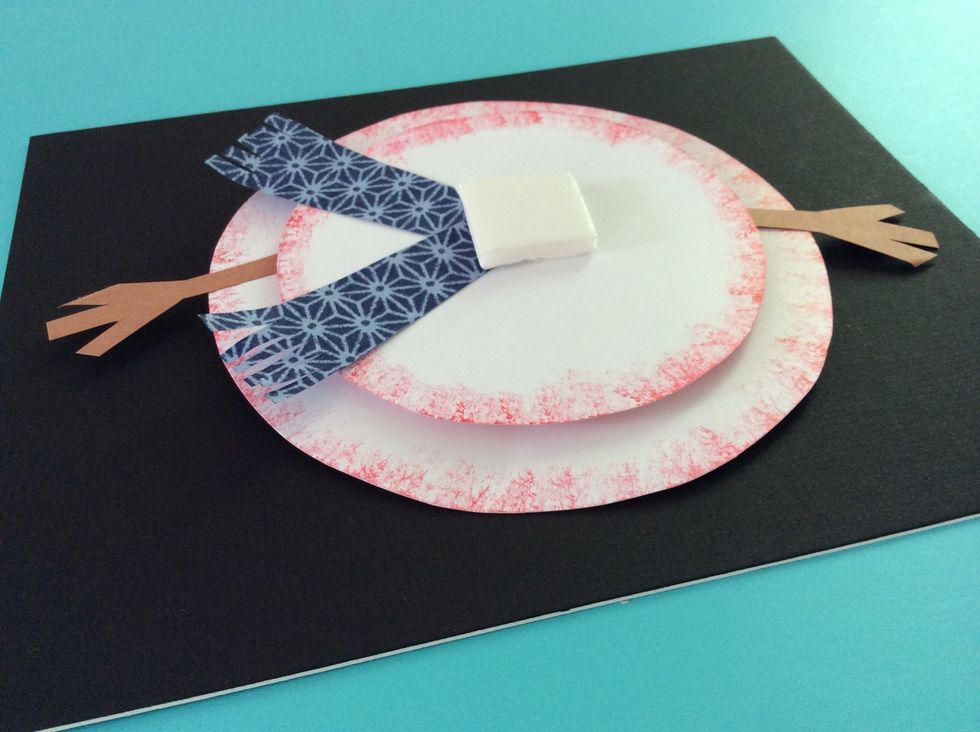
Glue the brown arms under the second circle, one on each side. Cut some triangular slits on the edge of the scarf and glue the scarf in a "v" on one side, and the foam on top of the second circle.
Birds eye view looking down at snowman.
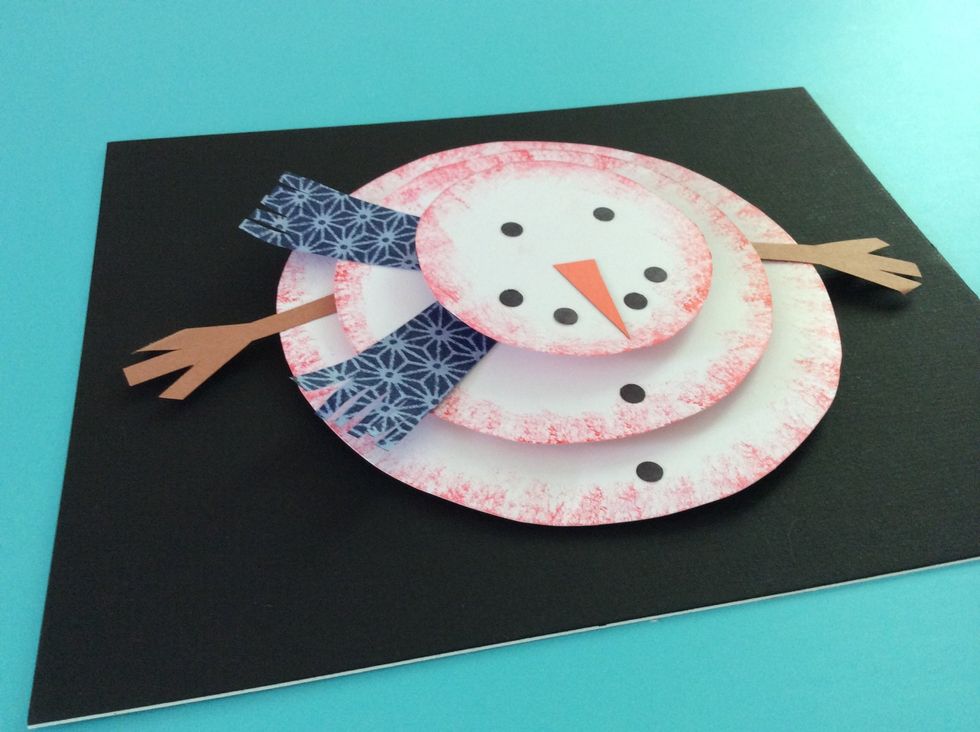
Glue orange nose and black dots to the top of the snowman.
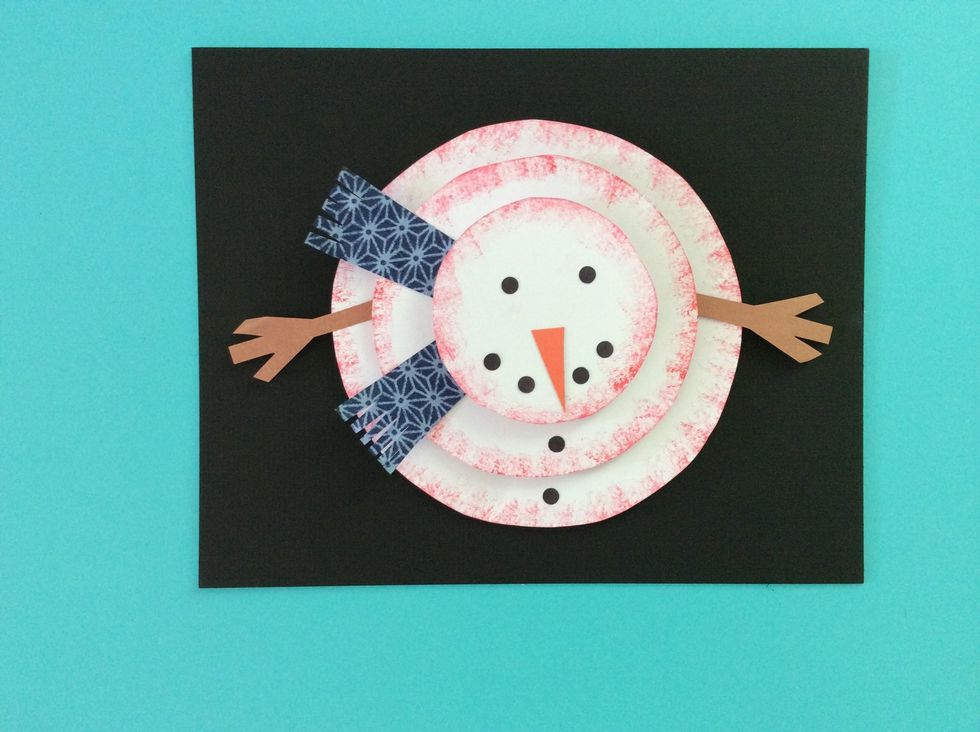
The snowman is now finished.