The Conversation (0)
Sign Up

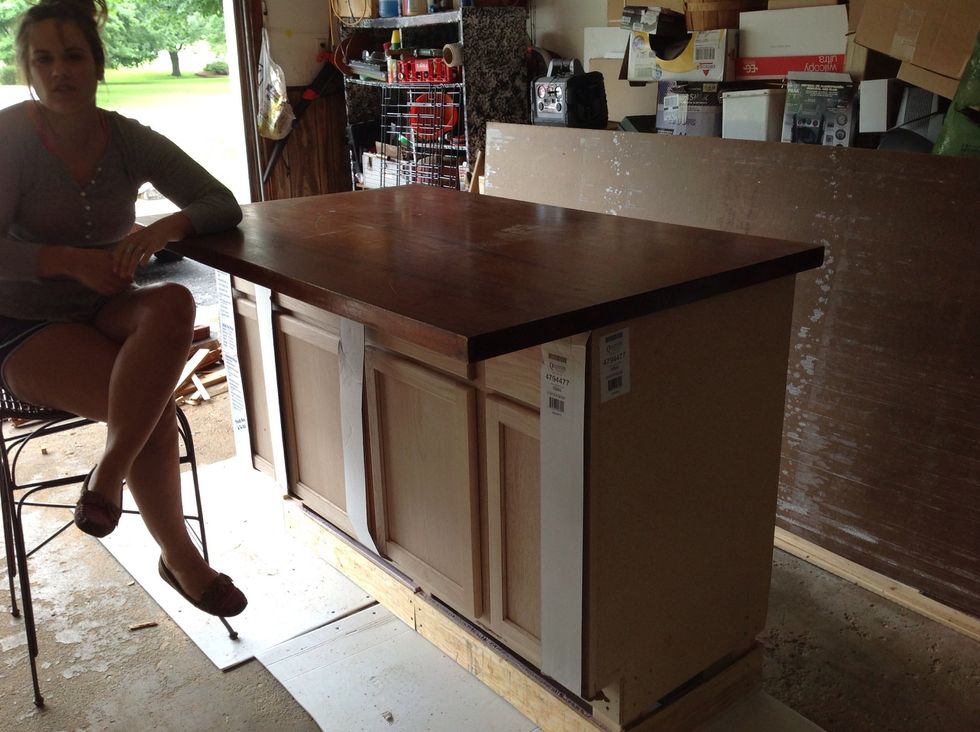
I used a standard 5' vanity for the base of my bar.

With the bar upside down, I cut 6 equal length 4x4 pieces so the height of the bar is a total of the standard 41". (This also includes my 1 5/8" thick bar top)

I secured the 4x4s with scrape wood as shown.
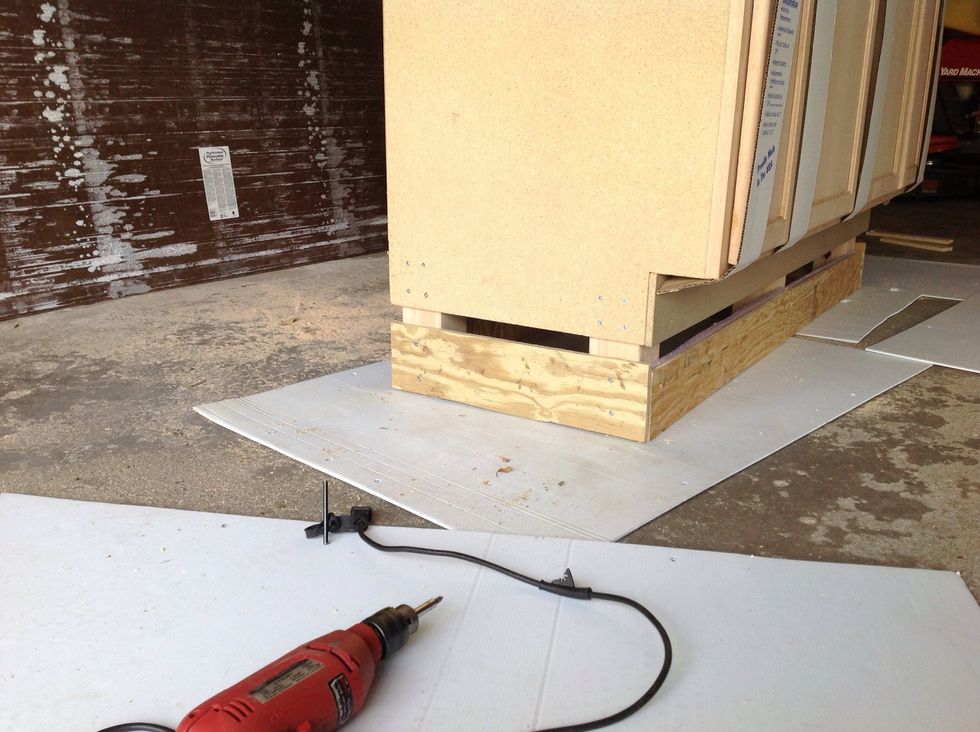
I surrounded the bottom with plywood, flush with the existing sides.
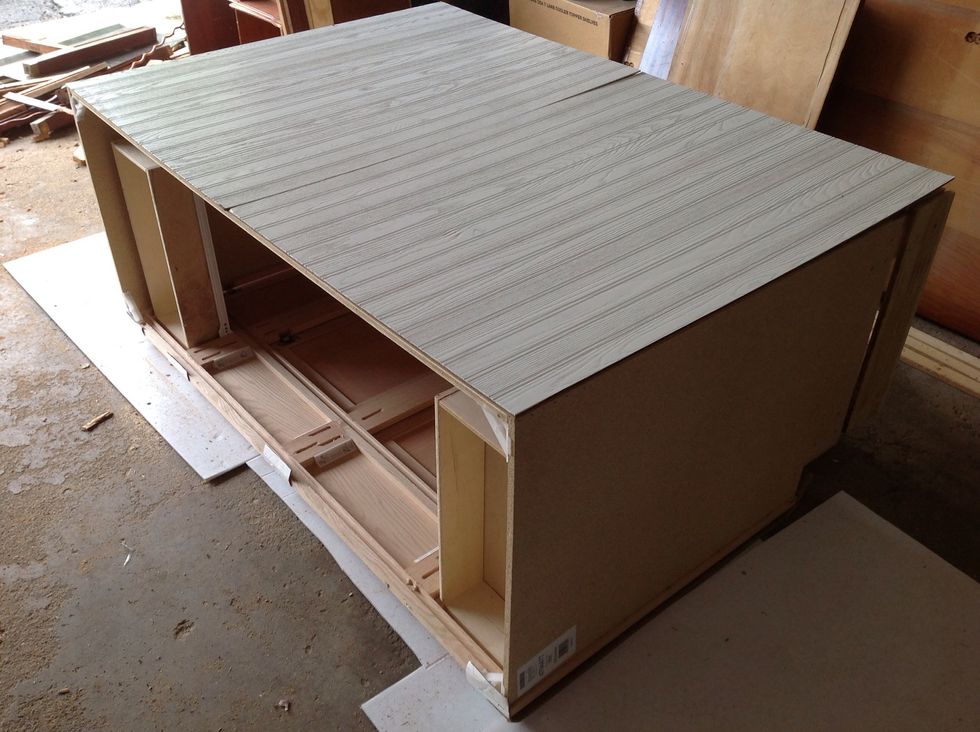
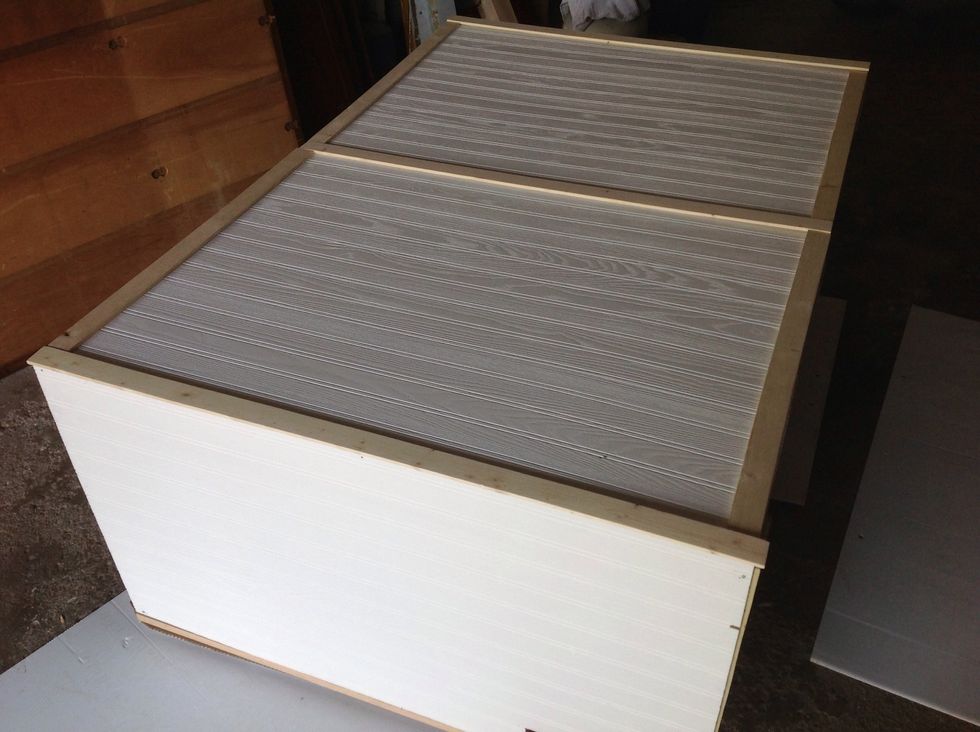
I used two 4x8 sheets of bead board to cover the back, the two sides and the bottom front. (Glued & nailed)

You can use a multiple of materials to cover your bar. Be creative.
I measured, cut and numbered each piece of trim.

Cut and number all the trim pieces for an easier application after painting them.

I prepared the inexpensive trim pieces by sanding & painting before applying them to the bar.
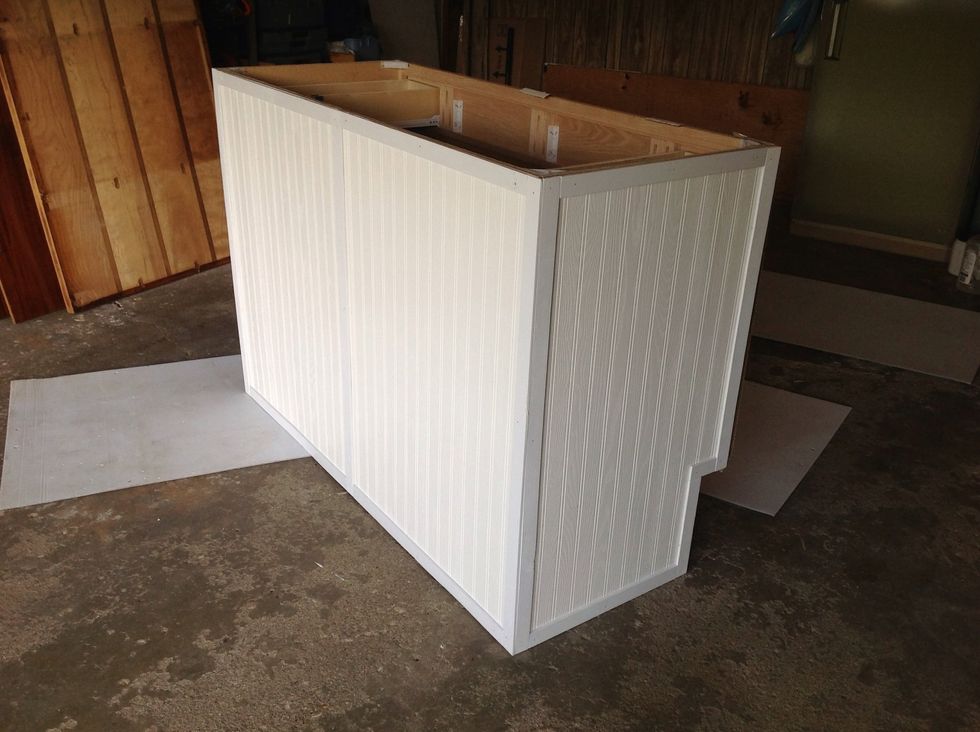
I applied the trim with glue and trim nails.
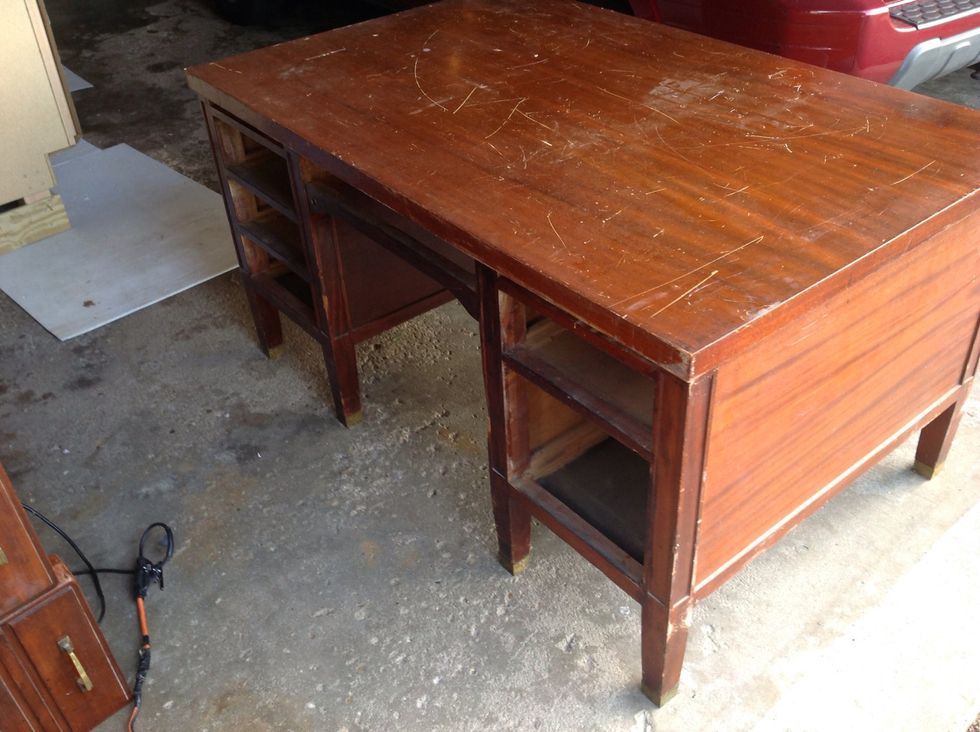
Earlier, I purchased an old desk from the Salvation Army to use for the bar top and the inside shelves.
I carefully dismantled the desk and am ready to sand down the top.
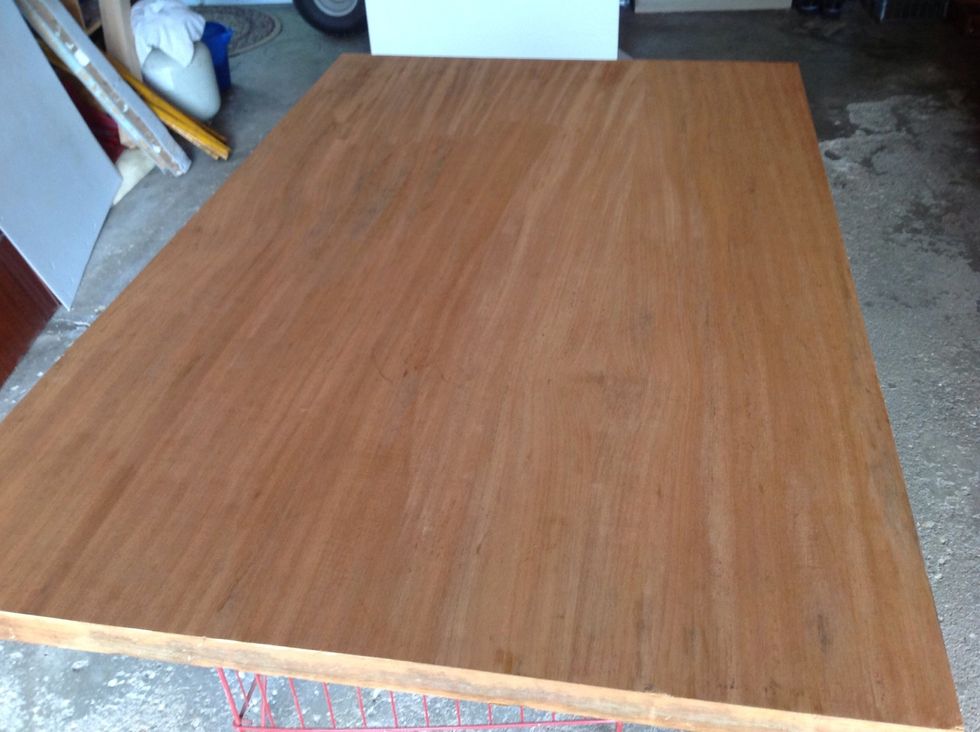
It took some elbow grease, but I got the top sanded and ready for some finishing.
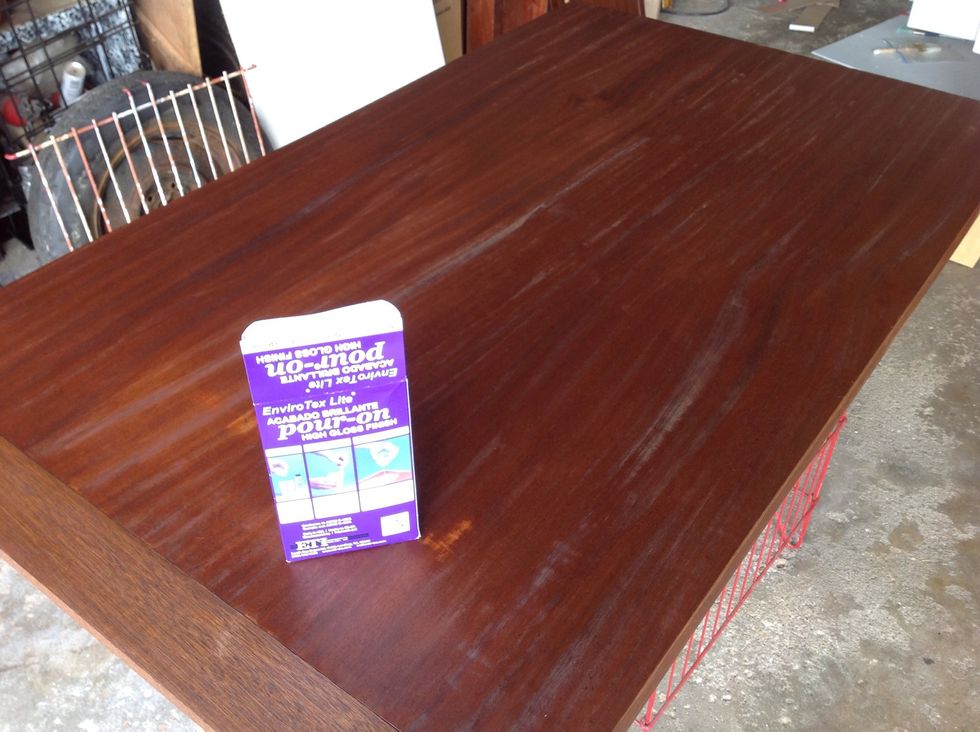
After staining, I applied the high gloss finish.
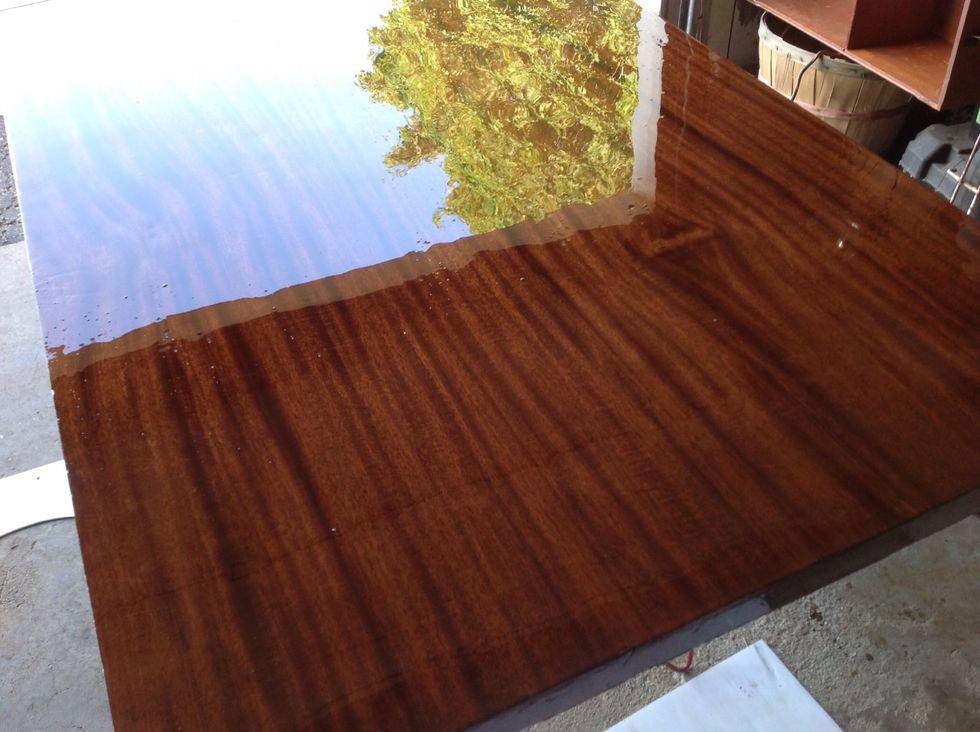
Let it dry for 72 hours.
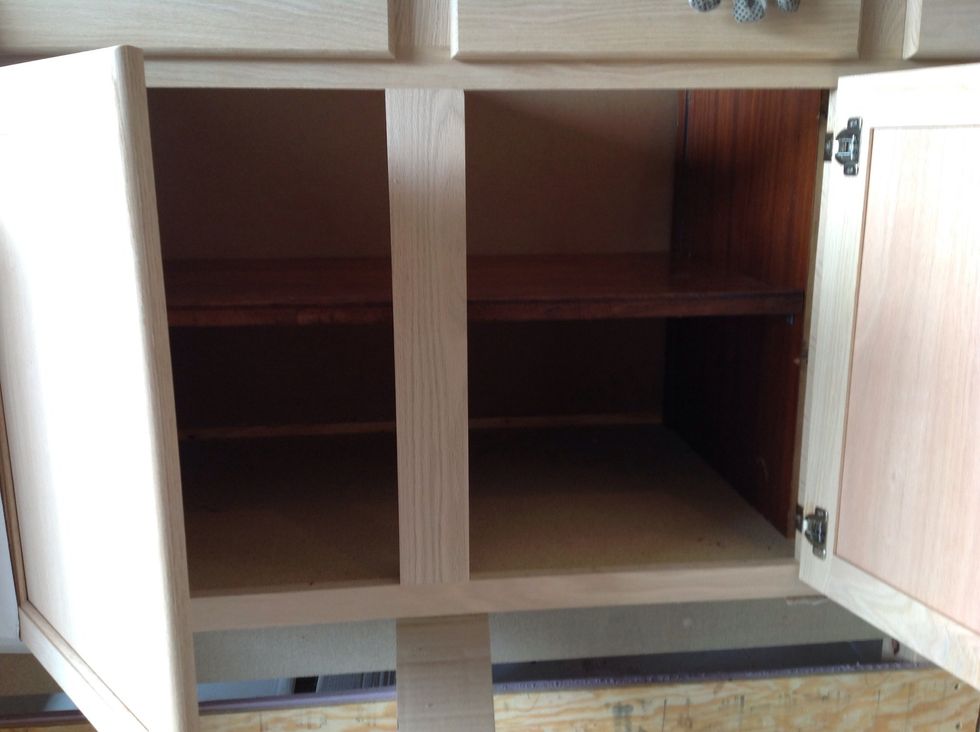
I used the sides of the desk for the shelves inside the bar.
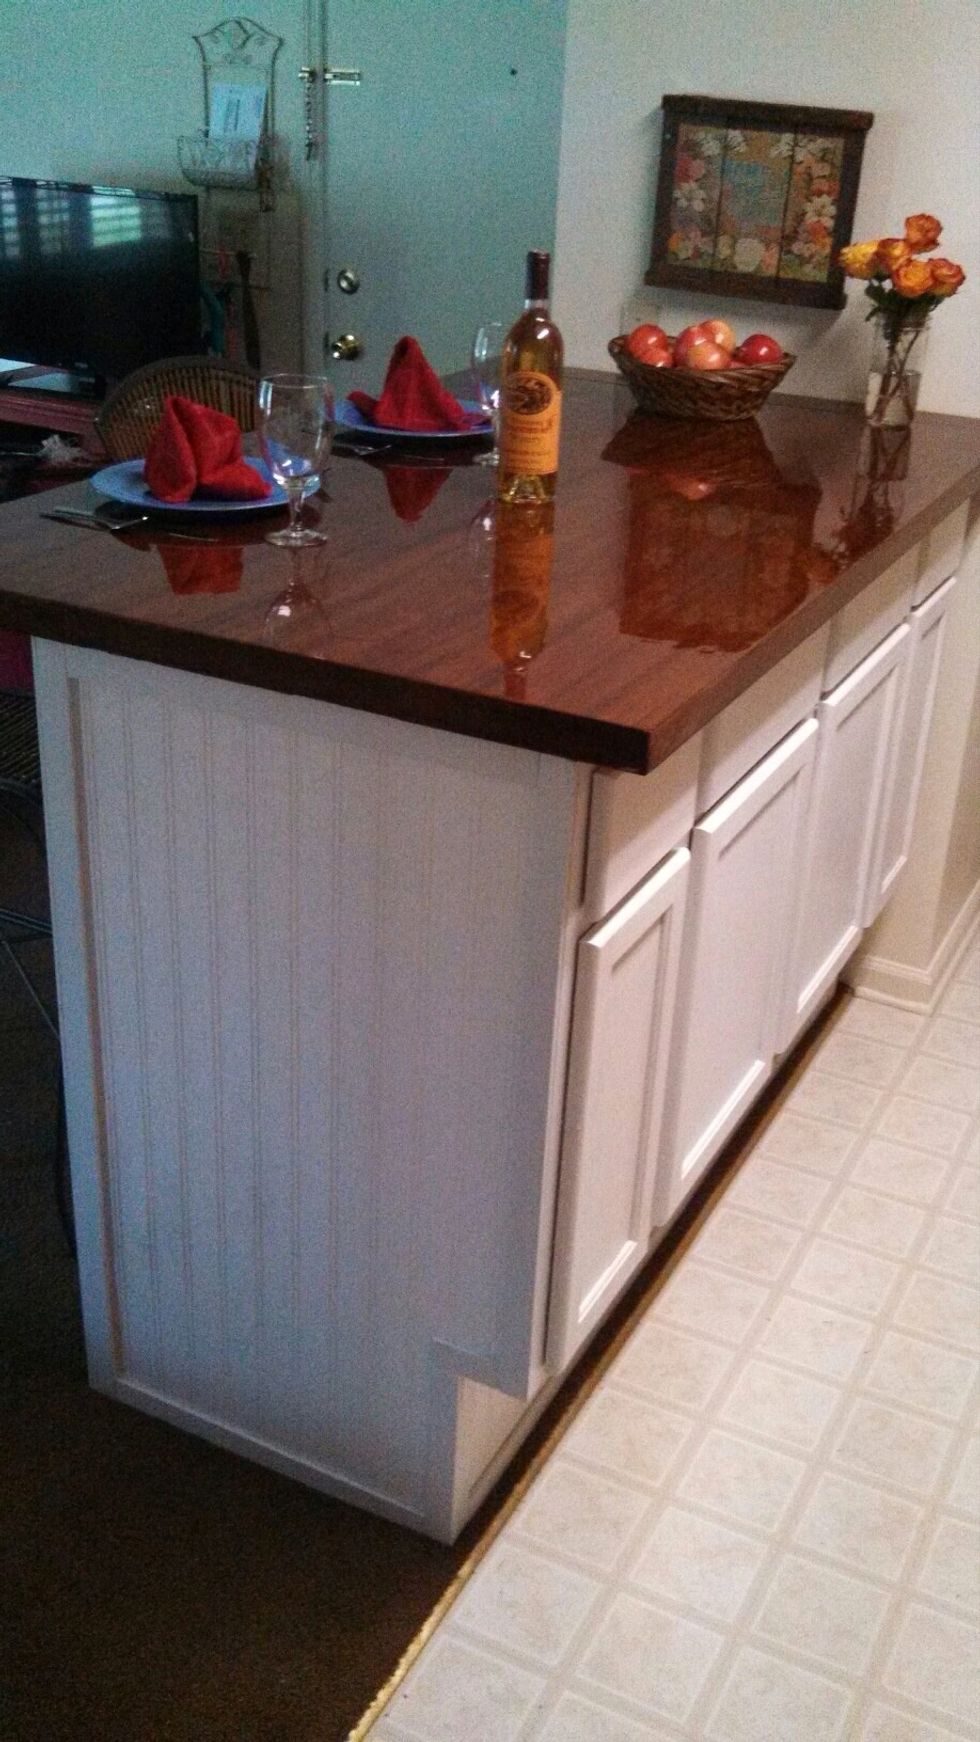
I painted the front of the bar, secured the top with heavy duty velcro and placed it in its new home.
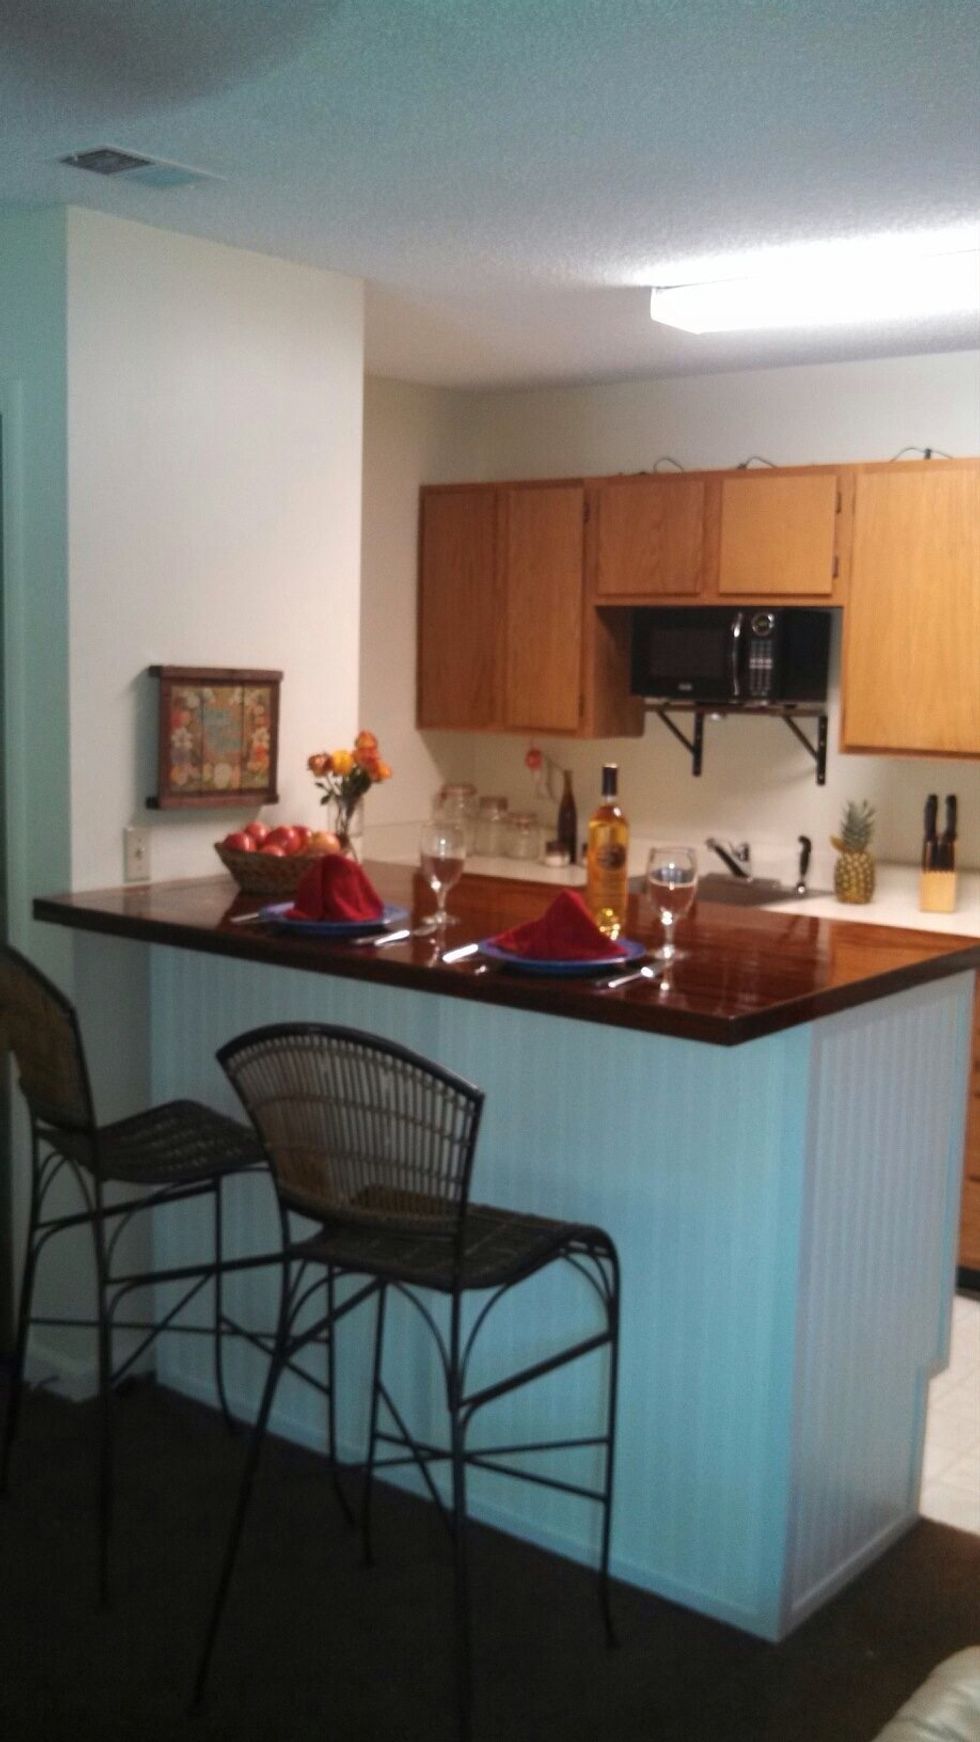
My daughter is now enjoying her new Kitchenette Bar in her new studio apartment.