The Conversation (0)
Sign Up

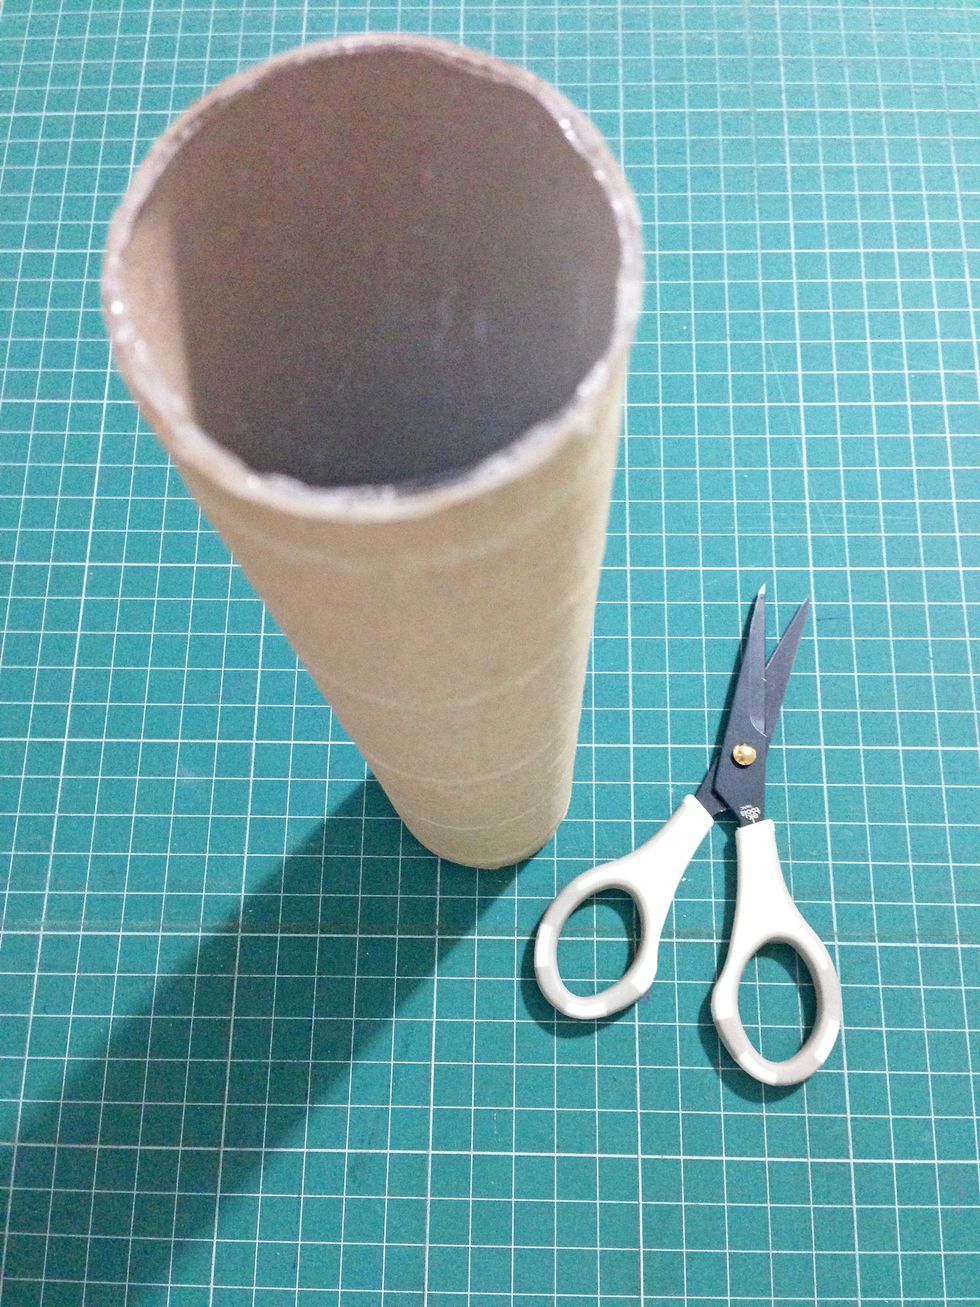
Gather all your supplies... List of supplies is shown at the bottom left hand corner of this guide...
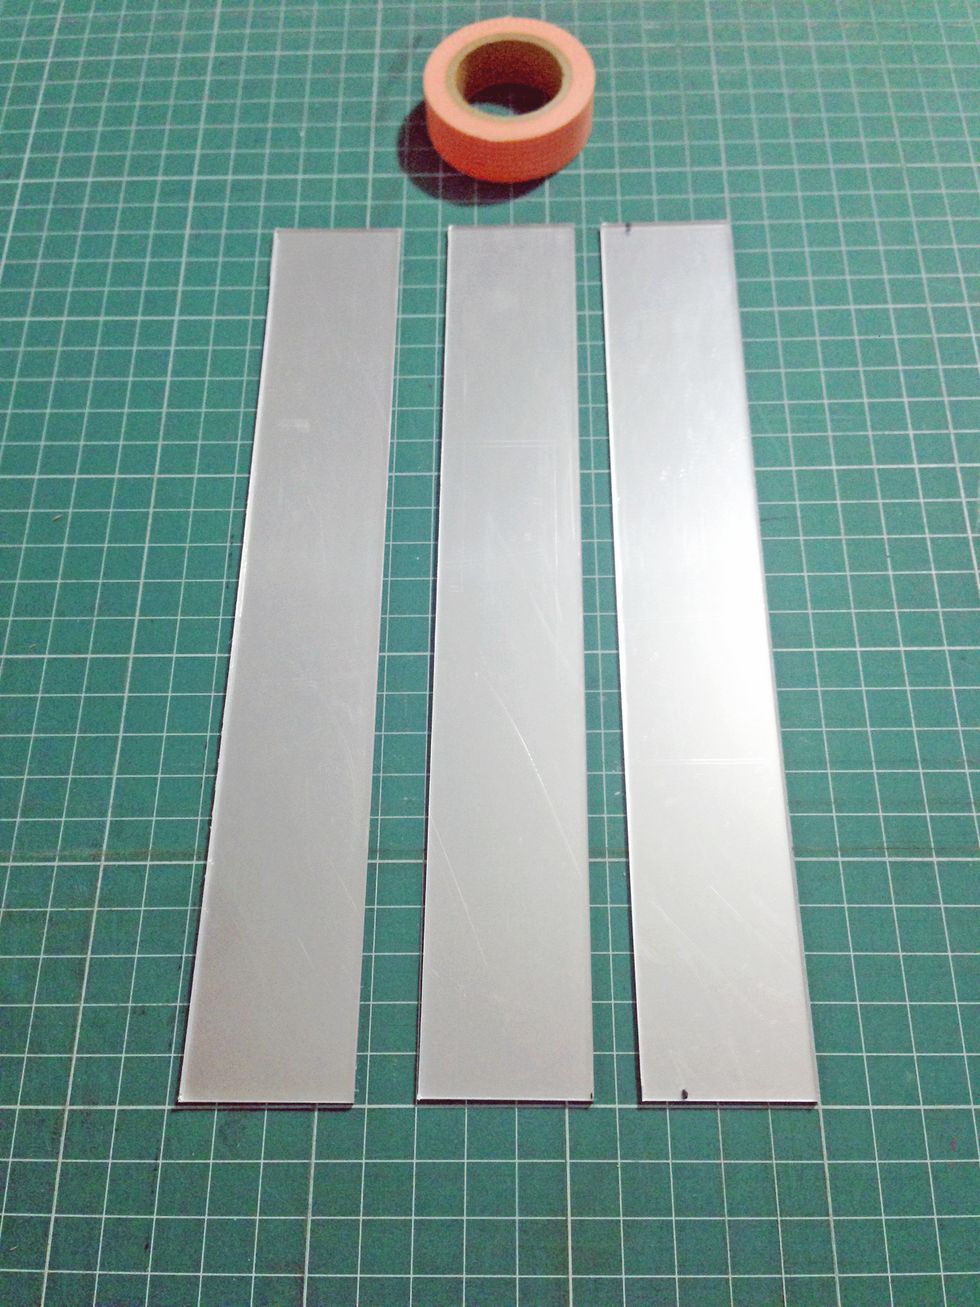
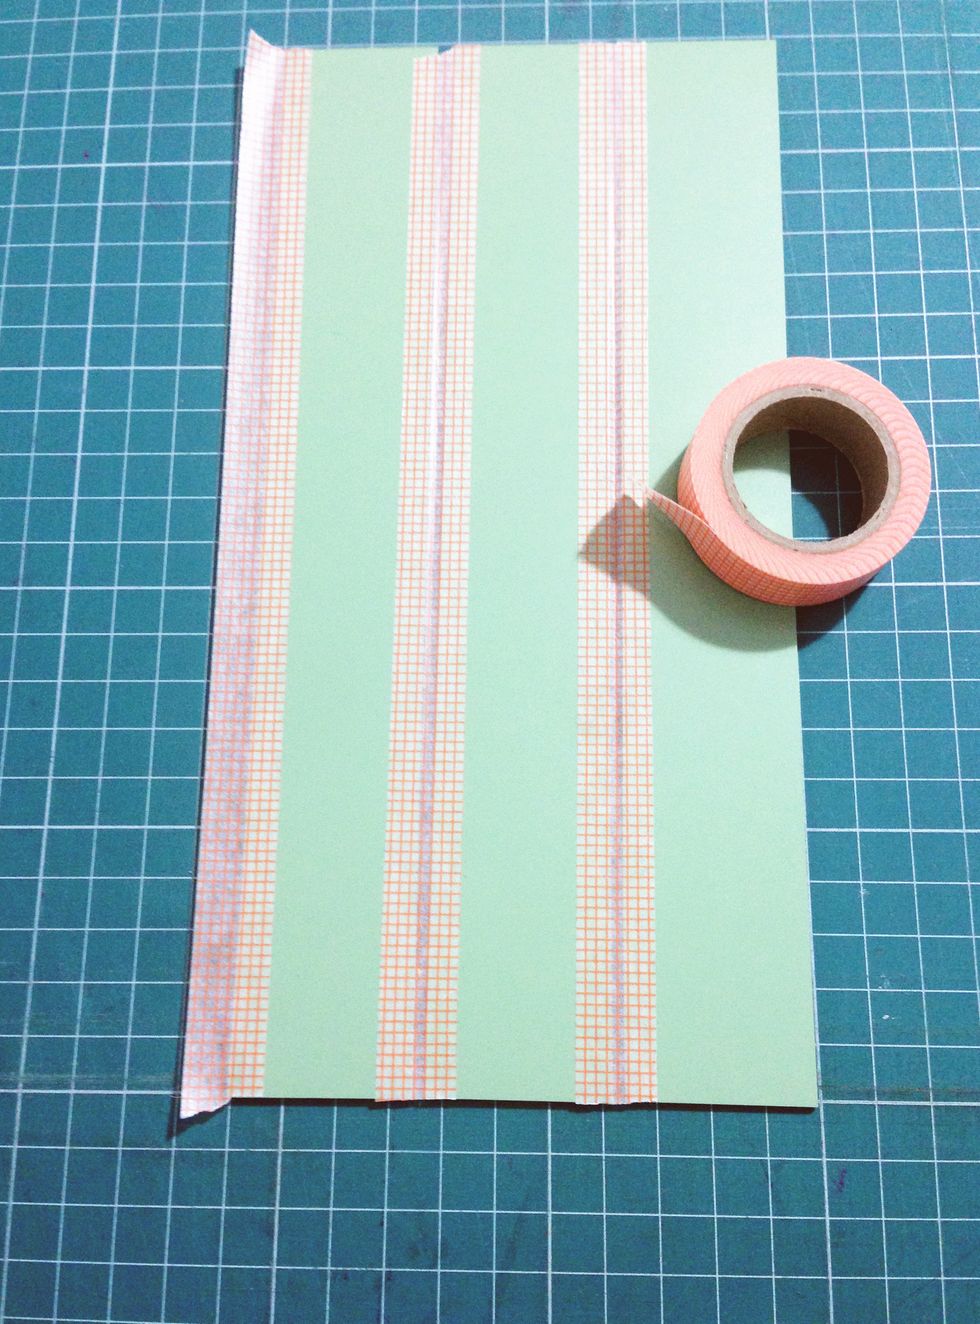
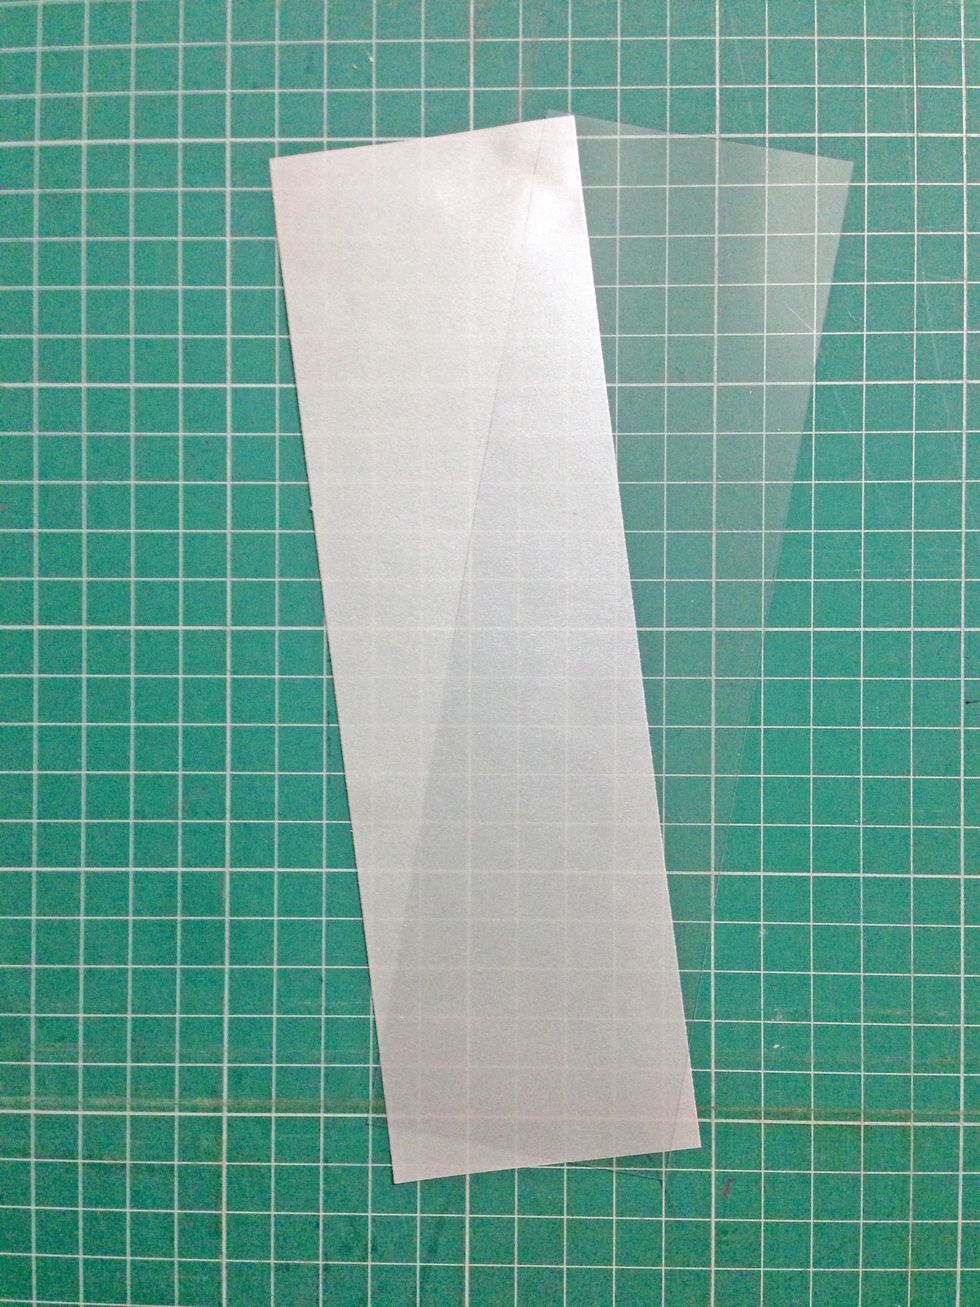
Use a plastic cutter, cut 3 strips of 1.5" by 9" acrylic mirrors... This is based on a kitchen roll with a diameter of 1.75" and 9" in height... Adjust accordingly when necessary...
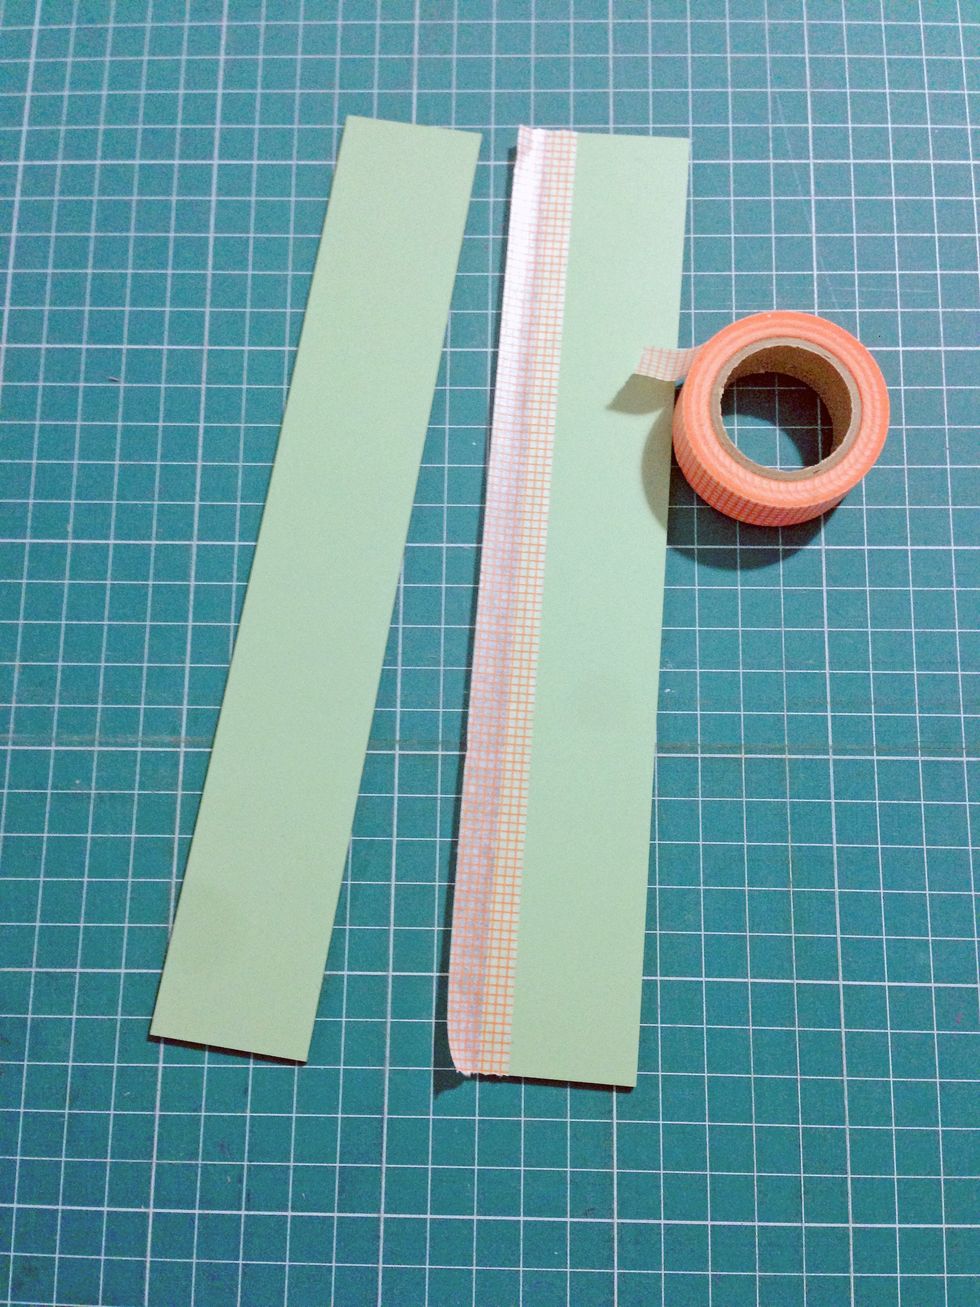
Using a masking tape (or washi tape), tape one side on the reverse side of the mirror...
Then tape down 2 pieces of the mirror together as shown... As the acrylic mirrors have some thickness, leave a tiny gap in between for easy maneuver later...
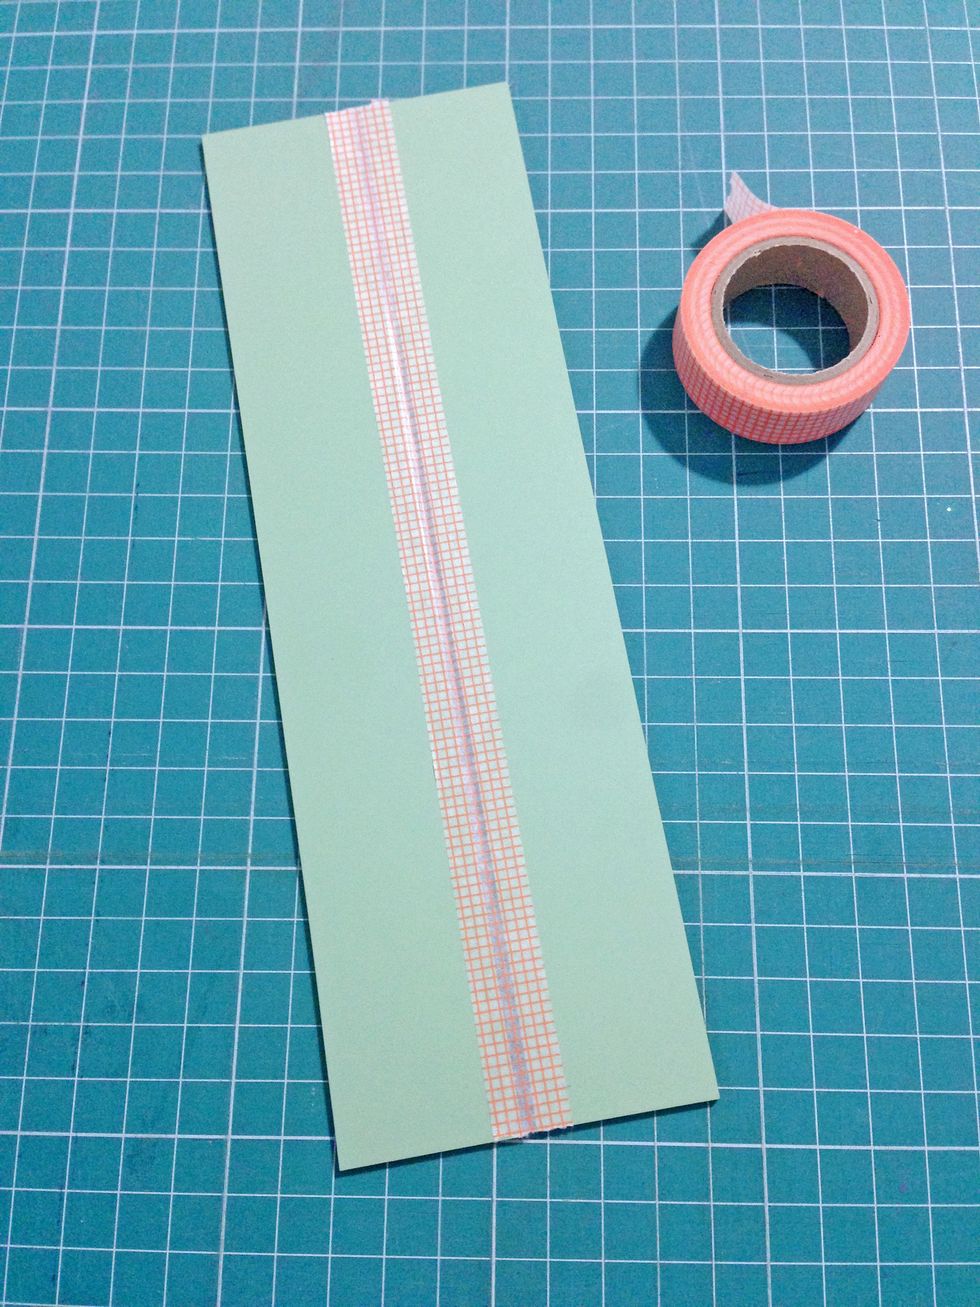
Tape down on the other side of the mirror as shown...
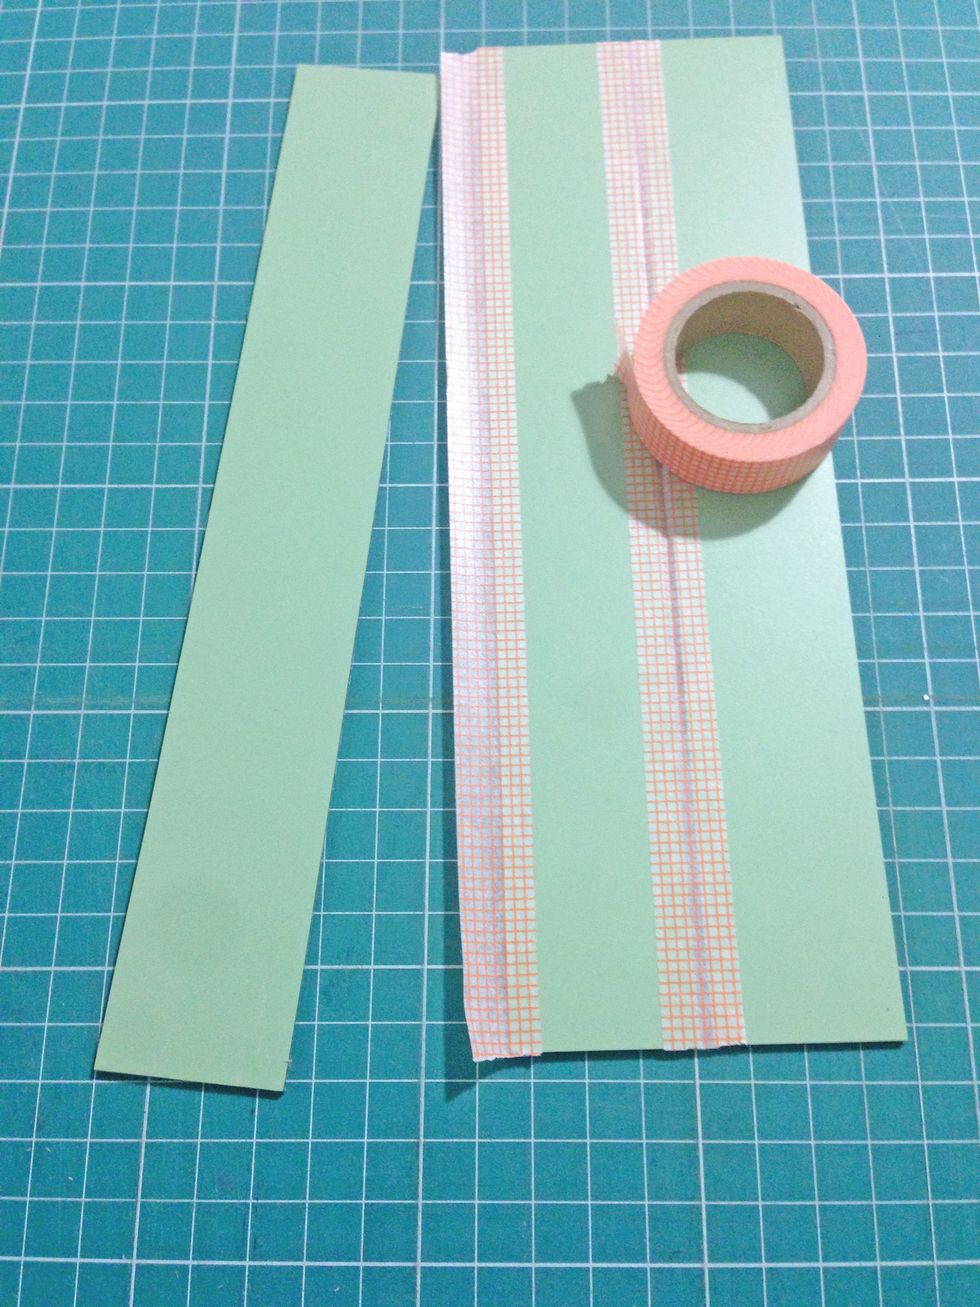
And tape down together with the last piece of mirror... Apply tape on the other end as shown...
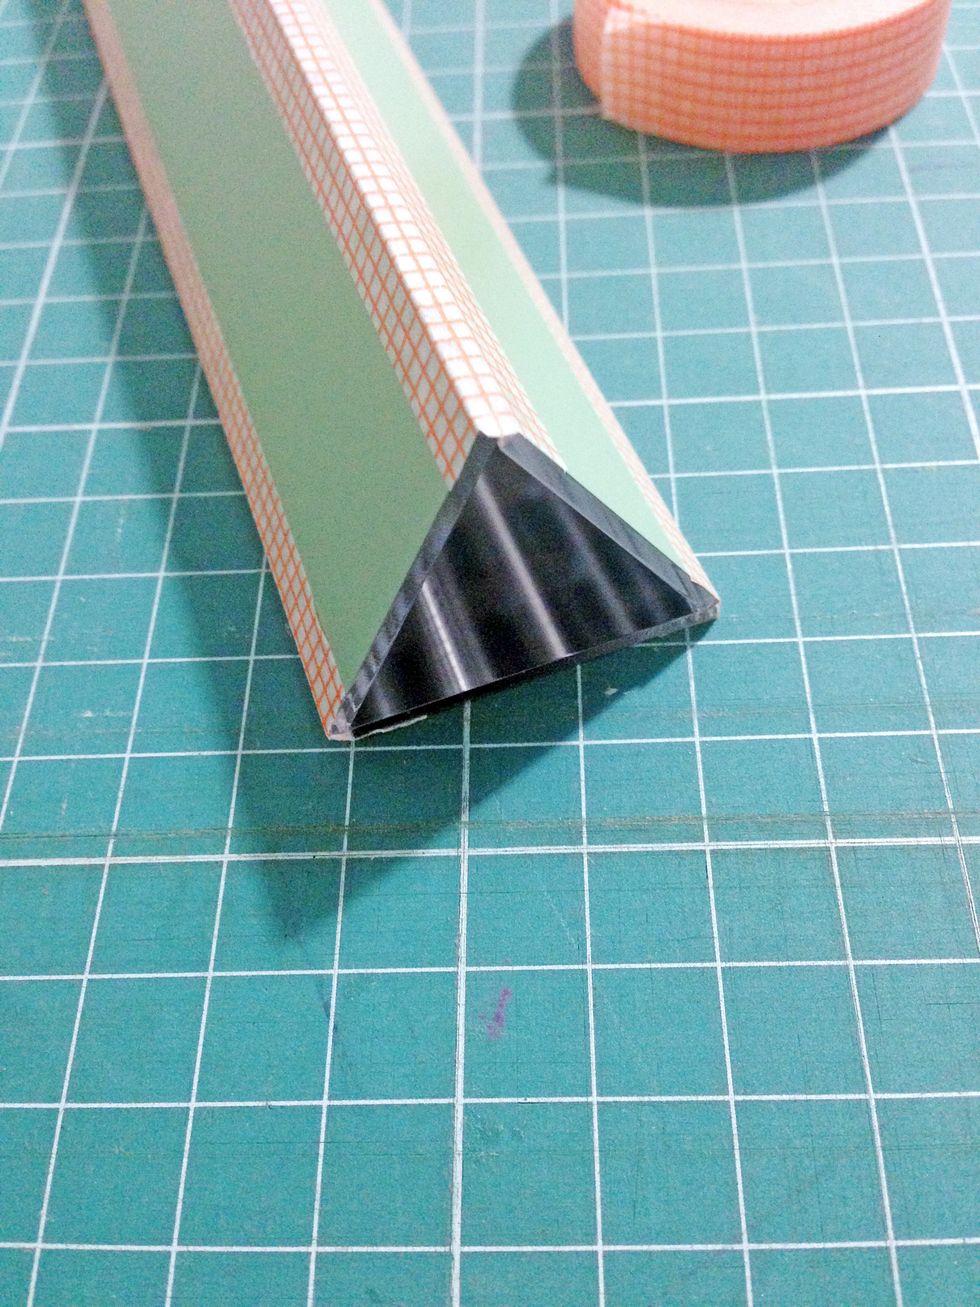
Tape towards the opposite mirror to form a triangle as shown... This will be the prism of the kaleidoscope..
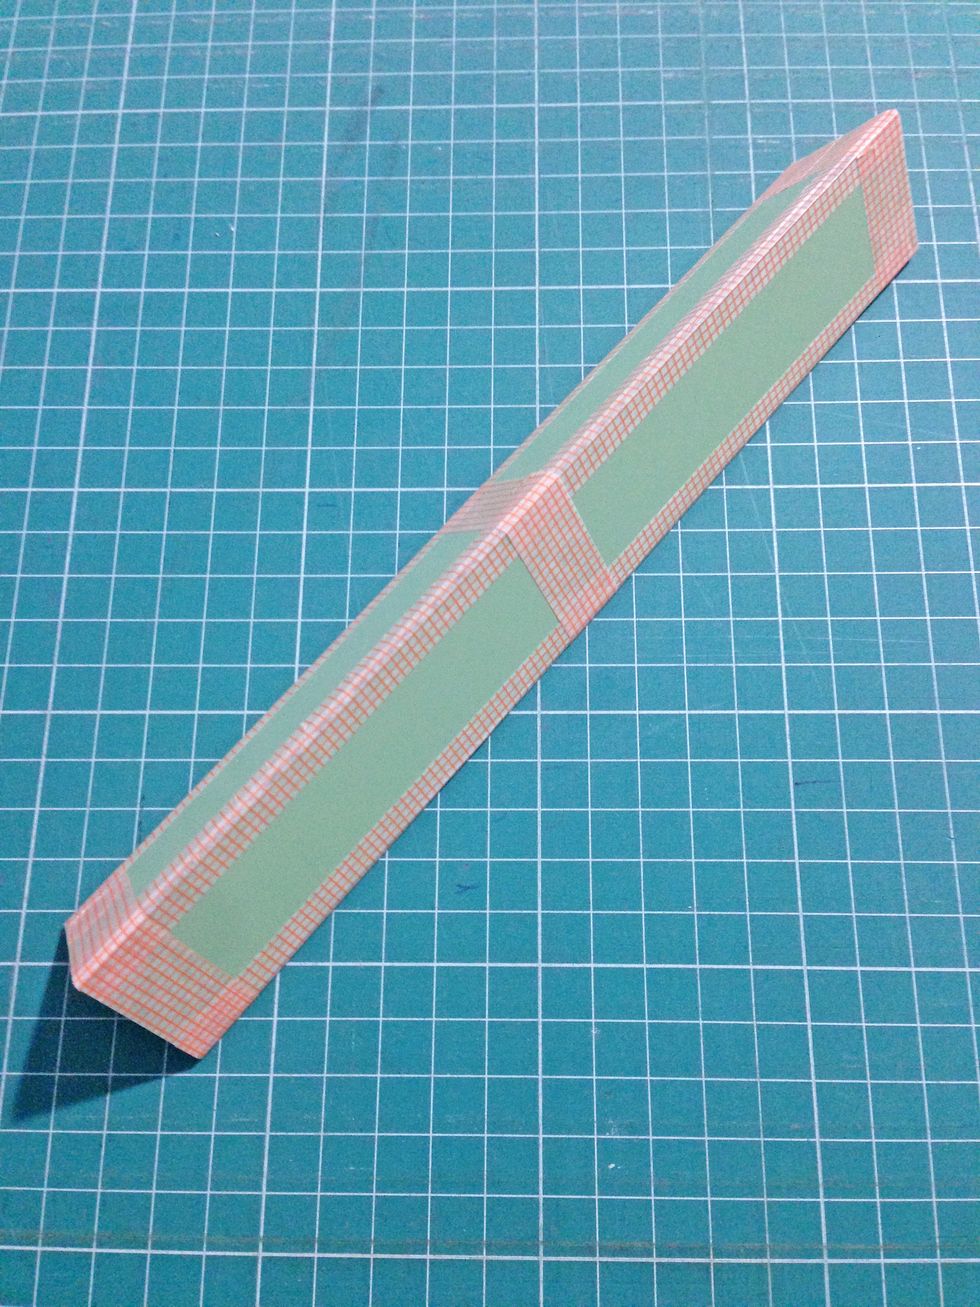
To reinforce the prism, tape around at the ends and center as shown...
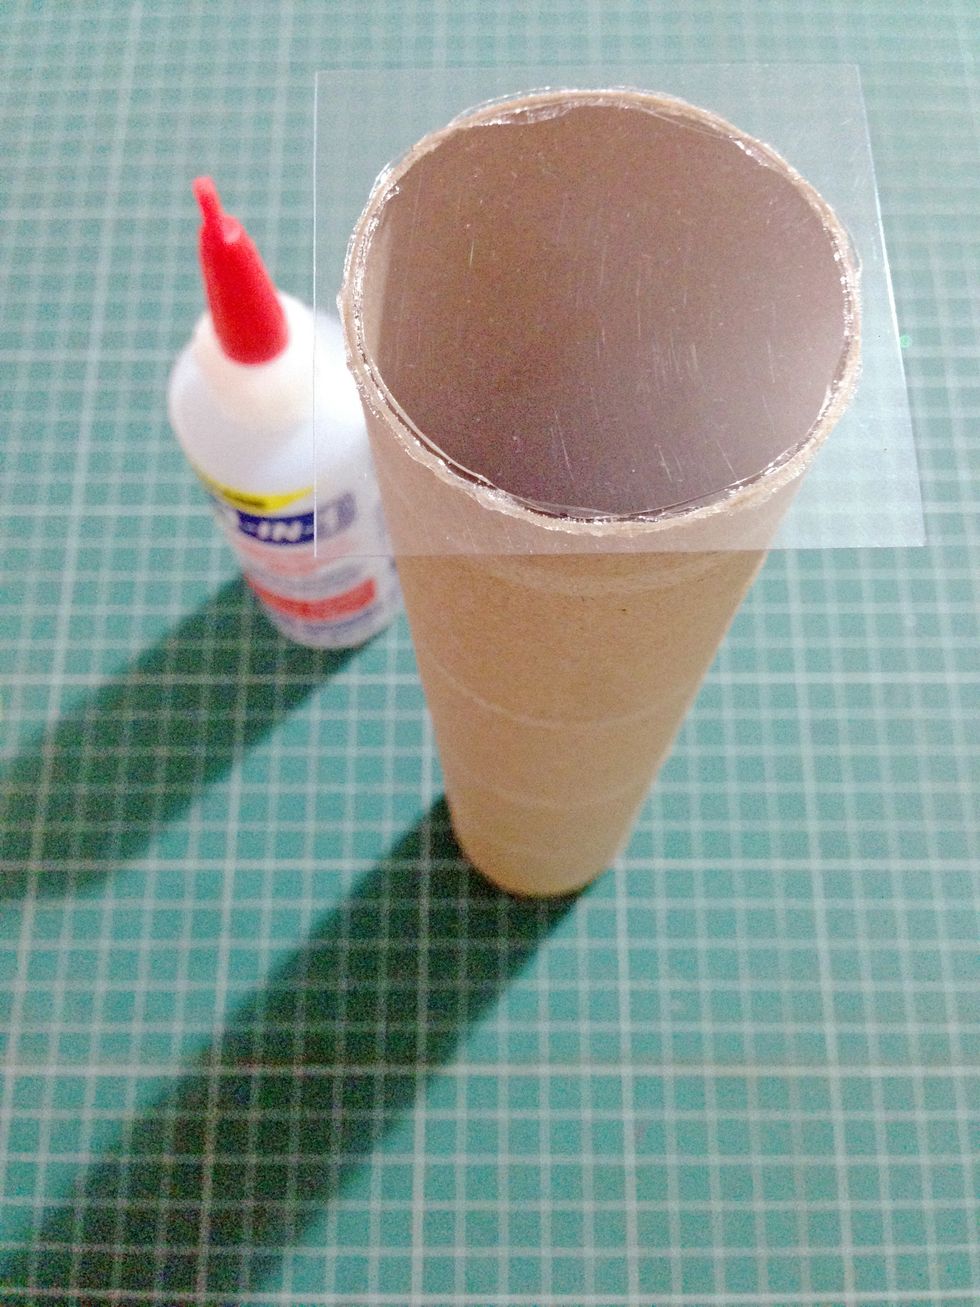
Cut out a small piece of acetate and glue on top of the kitchen roll... Make sure the acetate is free of dust prior in gluing...
When the glue is dried, trim the acetate away accordingly...
Trim strips of 2.25" by 3.25" of acetate sheet and tracing/vellum paper...
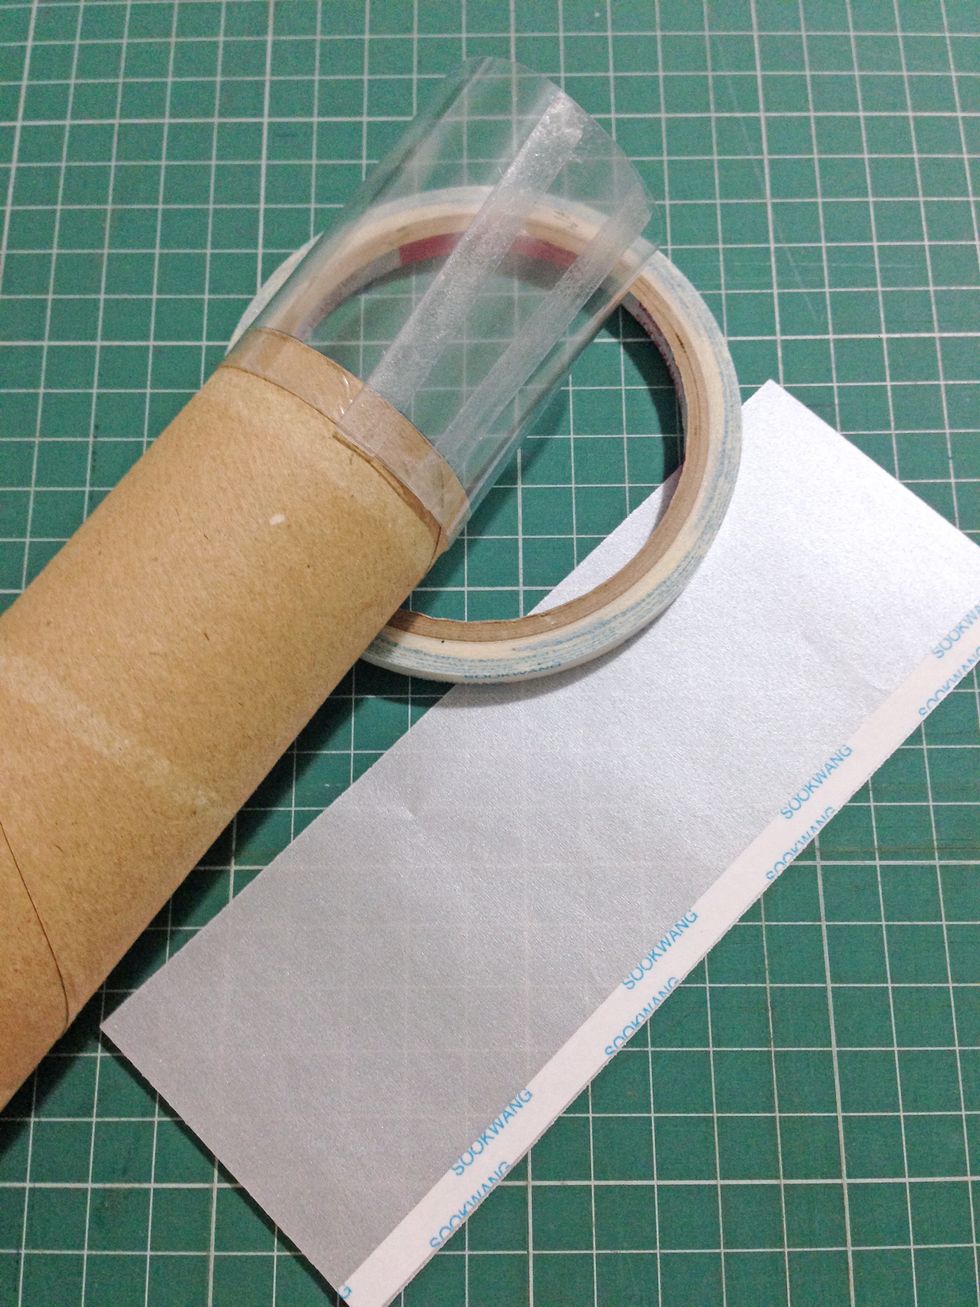
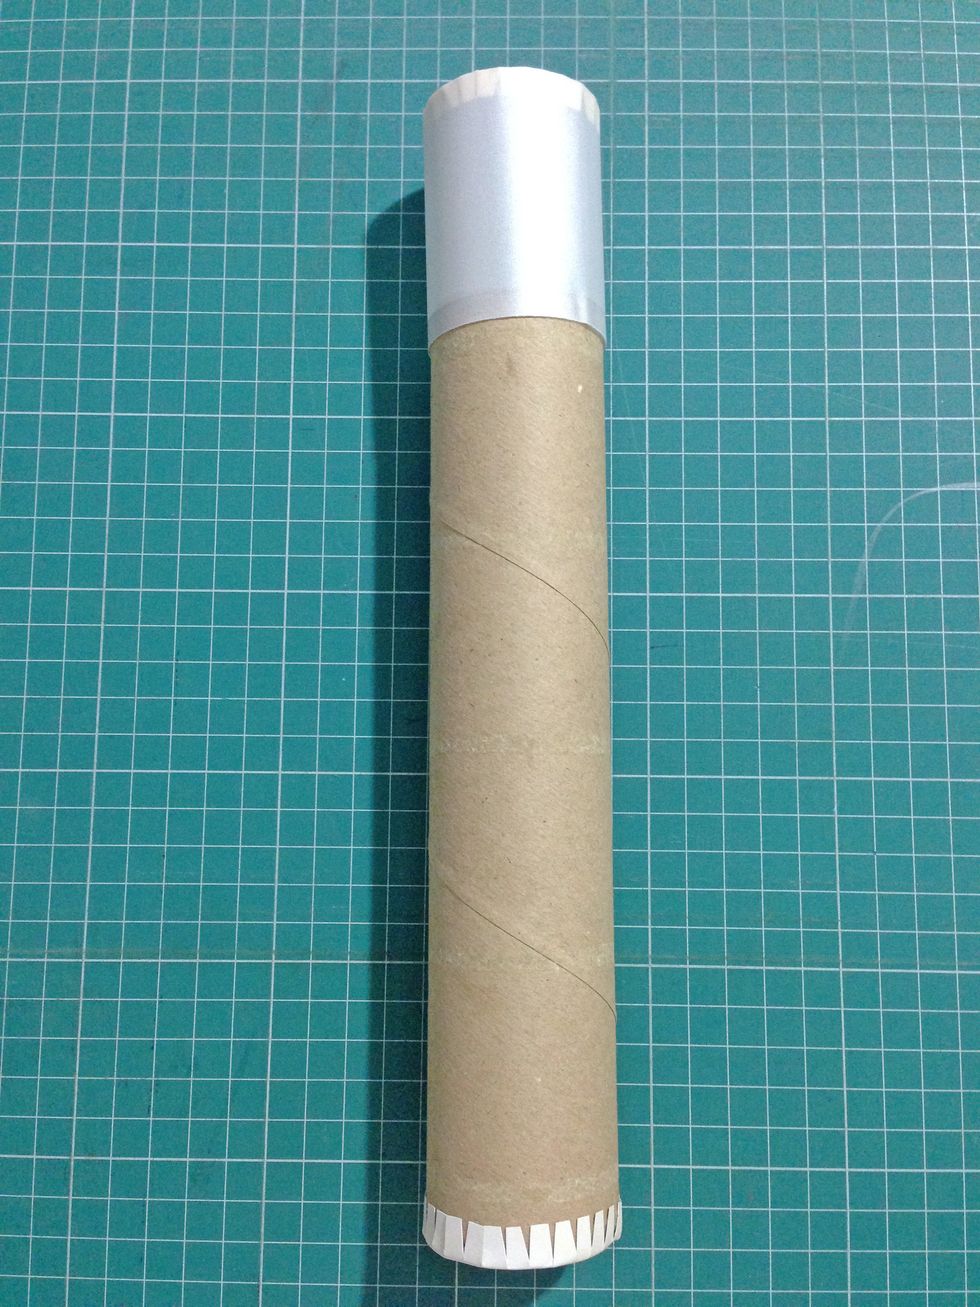
Apply scor (or double-sided) tape around one end of the kitchen roll and tape down (~0.25") the acetate sheet around the kitchen roll as shown...
Note: You should have at least 2" length of acetate from the end of the kitchen roll for optimal view of the kaleidoscope...
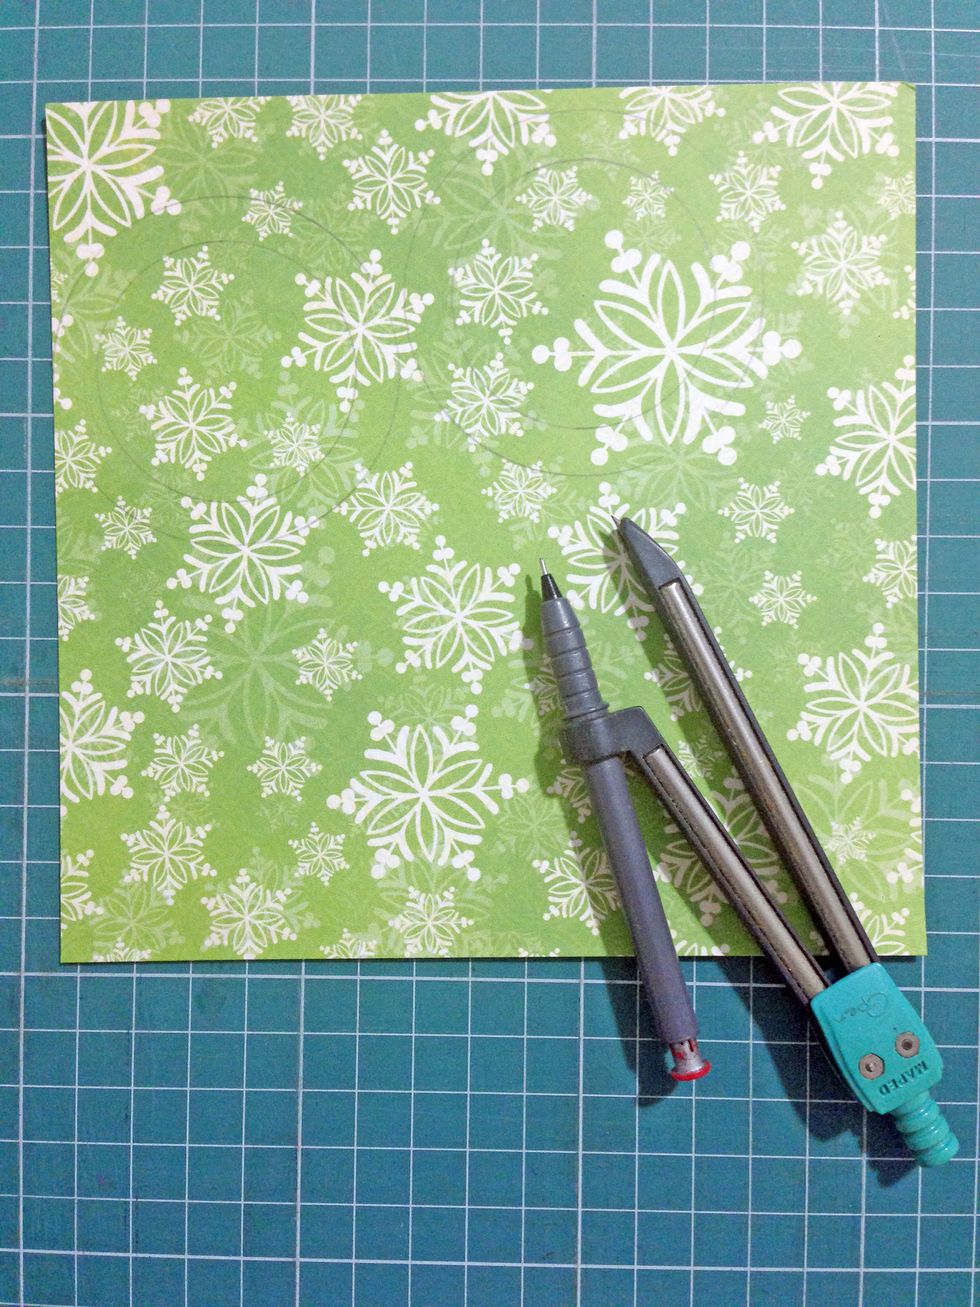
Use a compass, draw out 2 circles of 1.75" in diameter with a bigger circle over it as shown... These act as bleeds for tabbing... Alternatively, you can trace them out using the kitchen roll...
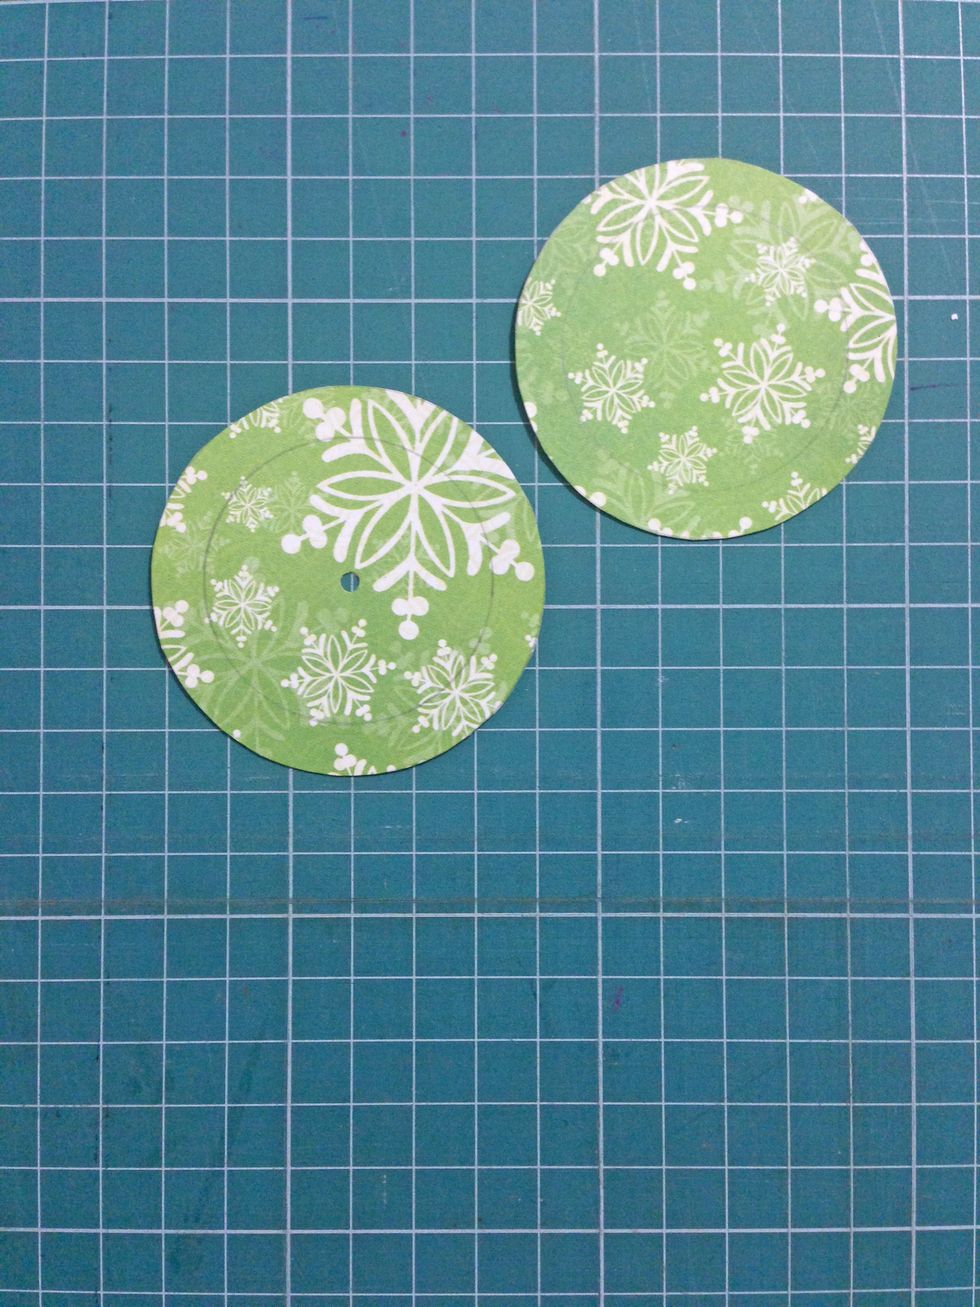
Trim them out and punch a small hole at the center on one of the circles as shown...
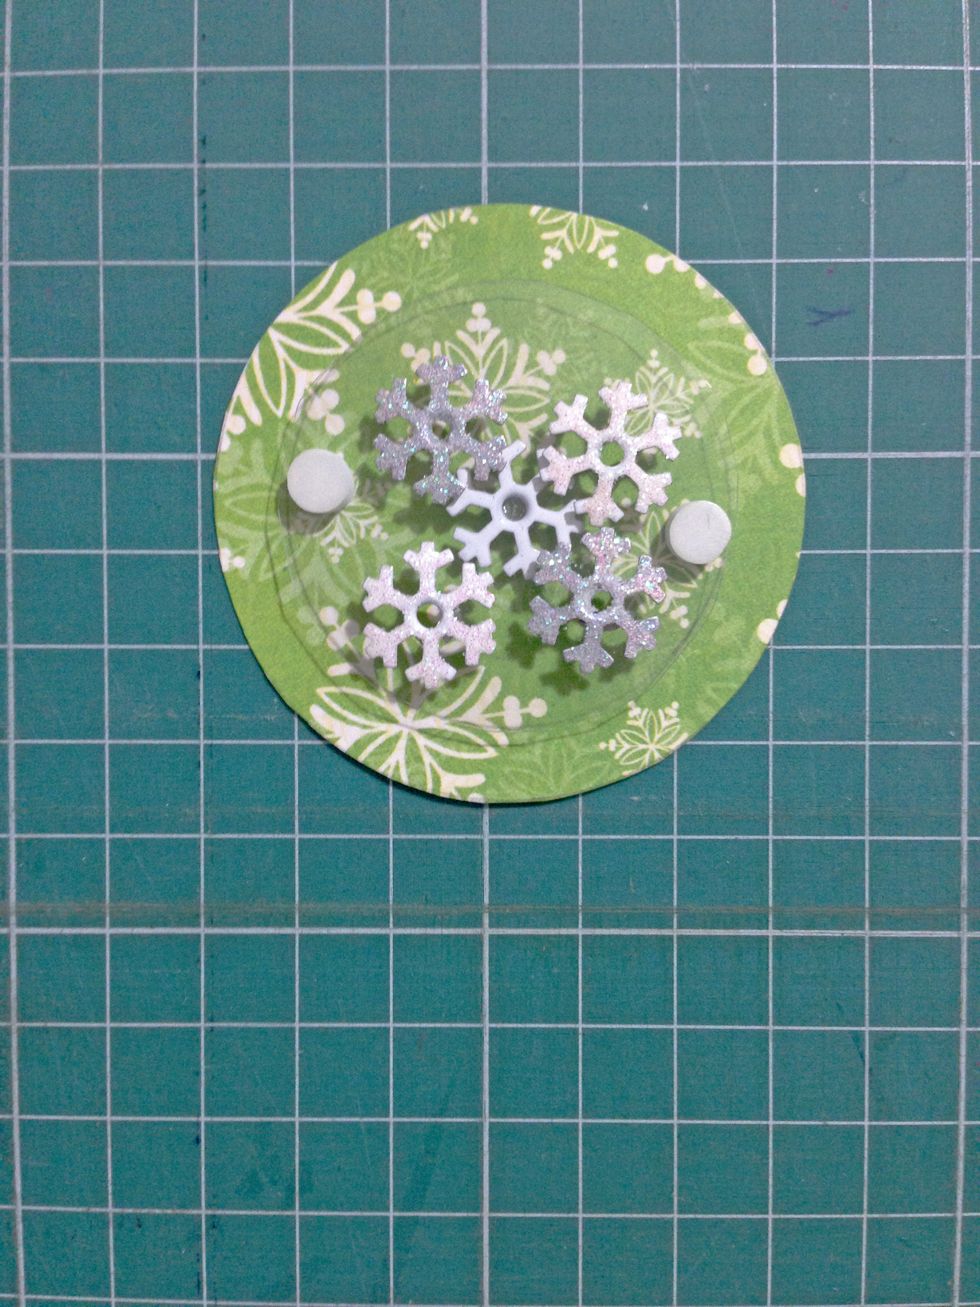
Glue the snowflake brads (or gems) in between one of the circle (without the hole) and acetate sheet...
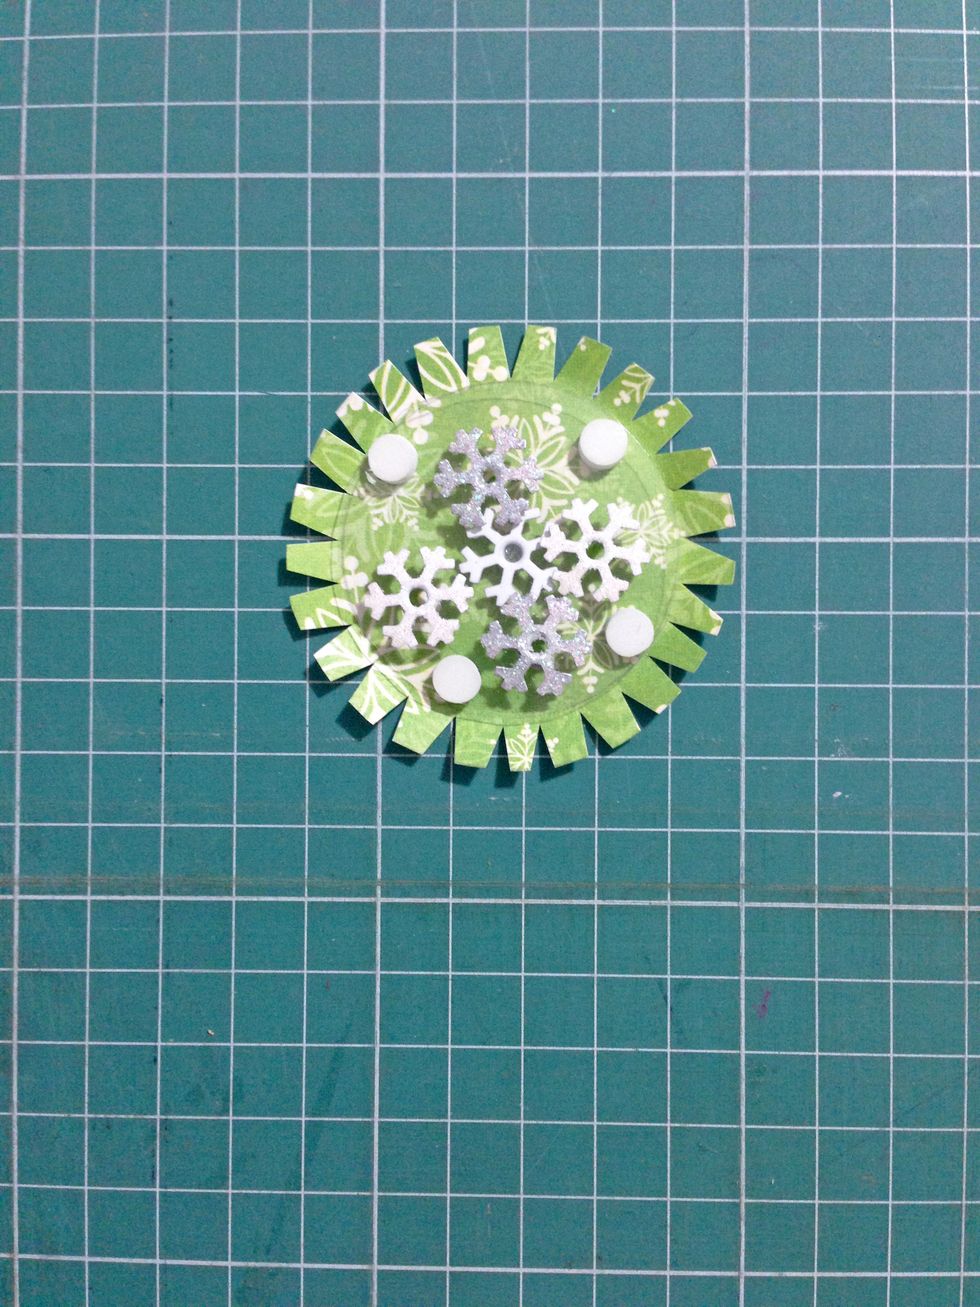
Tab the bleed of the circle as shown...
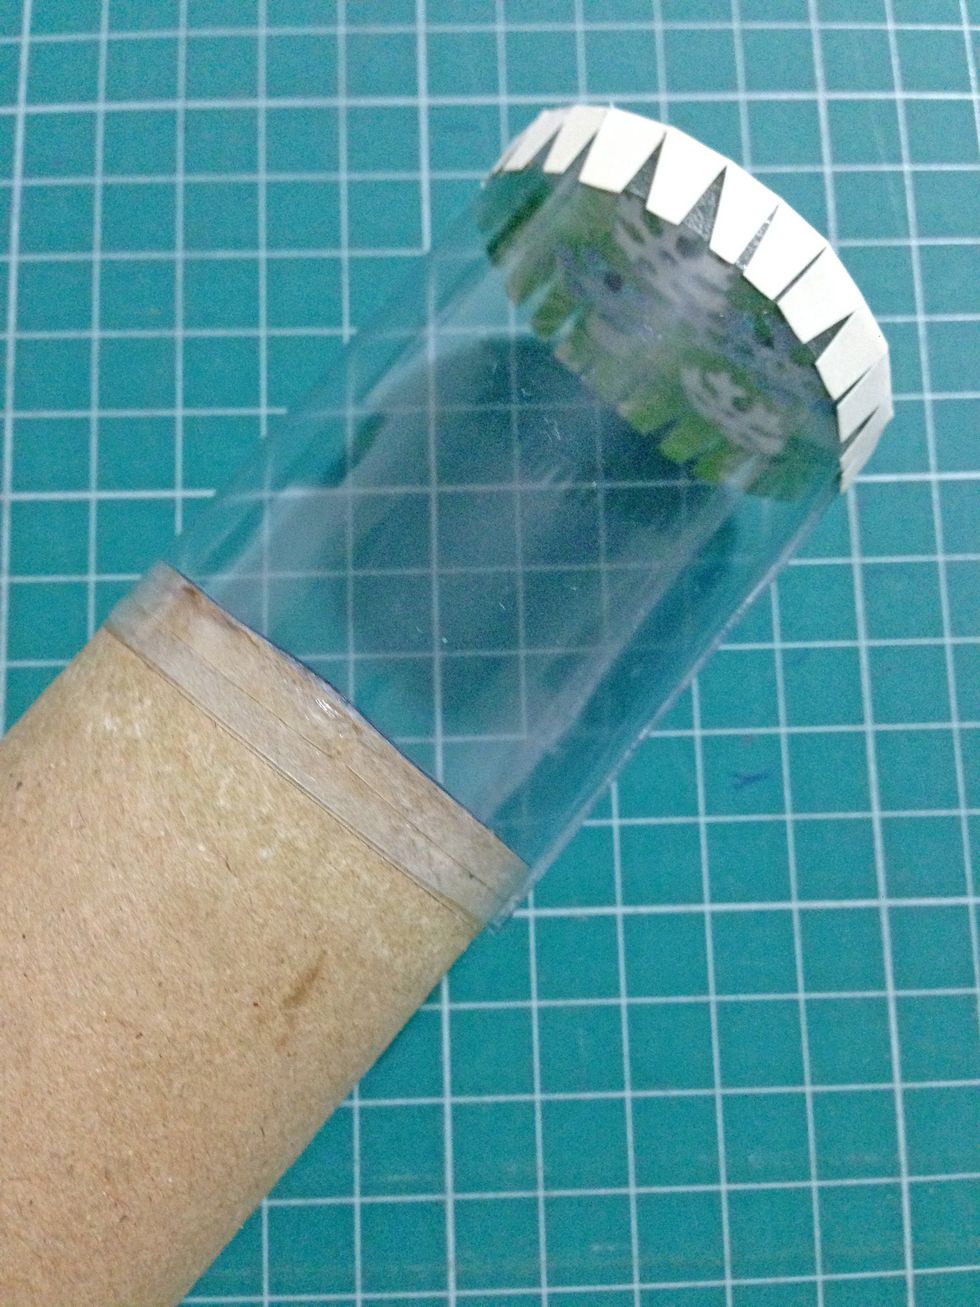
Position the circle with the snowflake brads (or gems) onto the acetate with the tabs adhereing down as shown... Cover the acetate tube with vellum/tracing paper (which you prepared in Step 11)...
Optional: The purpose of covering the acetate with vellum/tracing paper is to conceal the brads/gems within the kaleidoscope...You may leave it as it is if you would like them to be shown...
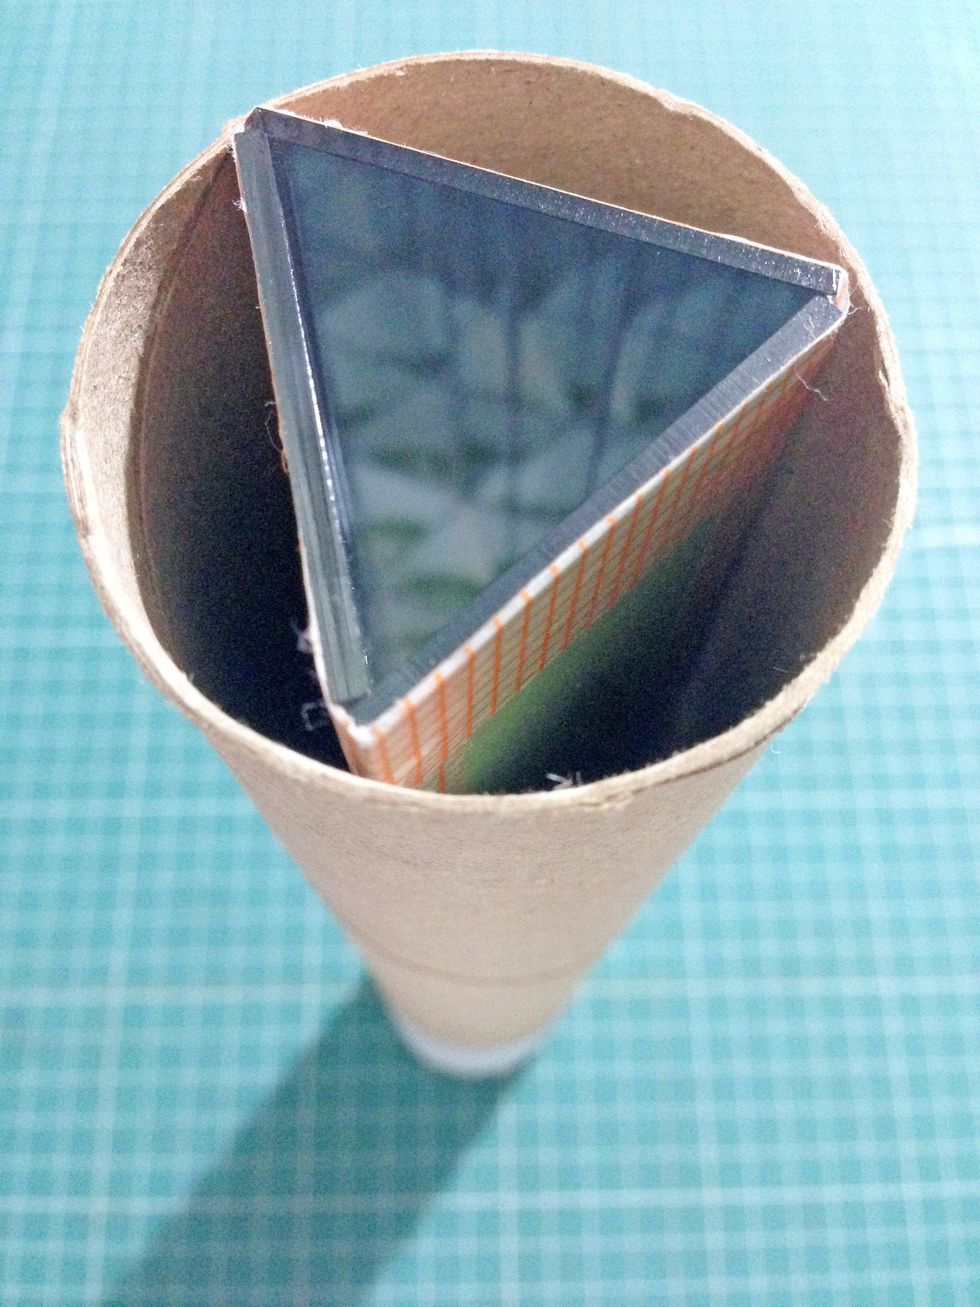
Insert the prism from the other end of the kitchen roll as shown... At this point, you would be able to see the patterns created within the kaleidoscope...

Finally, tab around the last circle (with hole in the center) and adhere down to the kitchen... This will be the peeping hole of the kaleidoscope...
And you are all done!!! Feel free to decorate and embellish your newly built kaleidoscope!!!
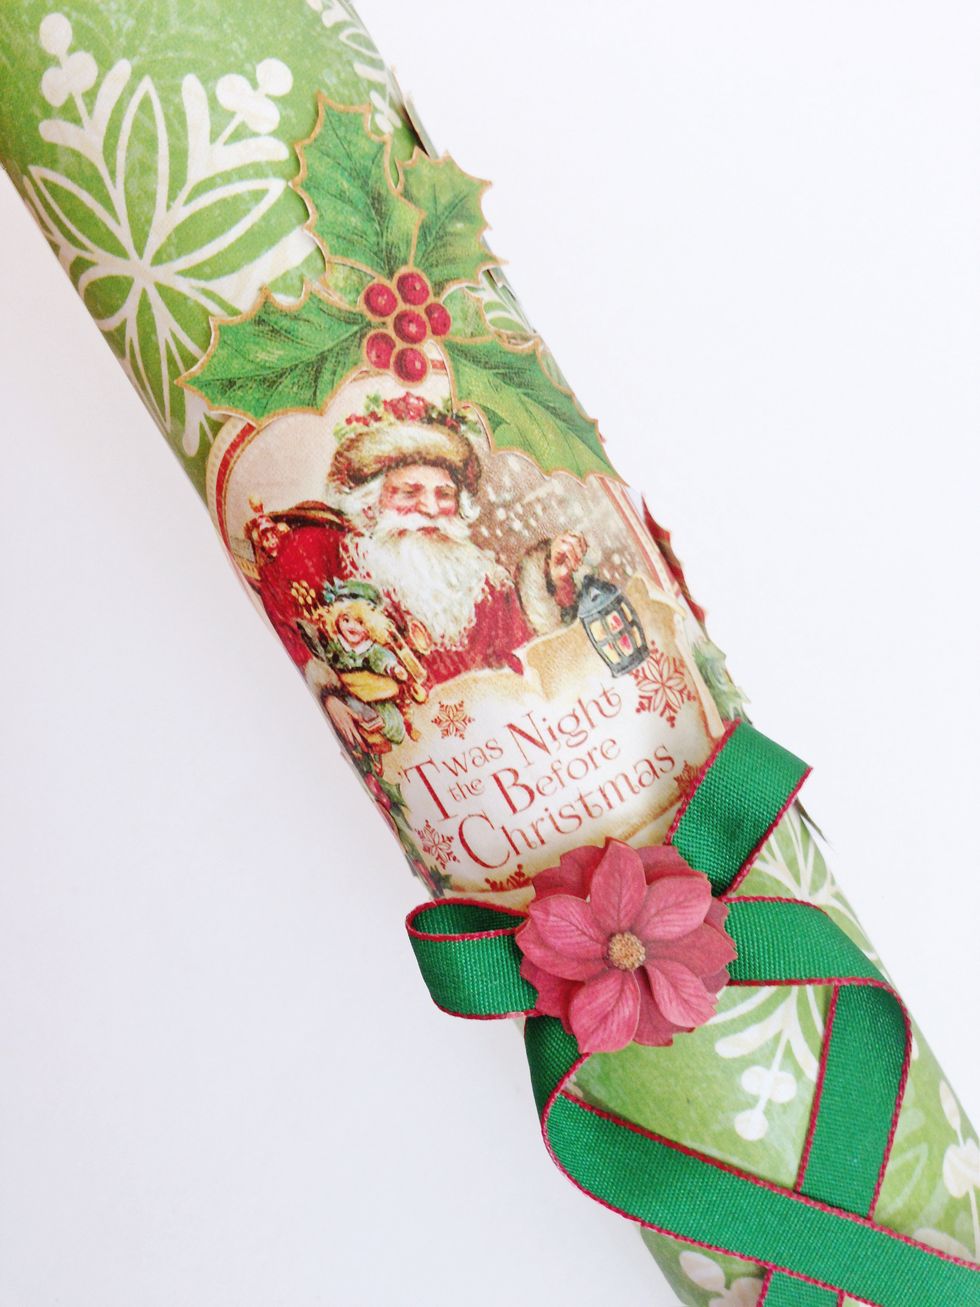
This is what I've done on the front of the kaleidoscope...
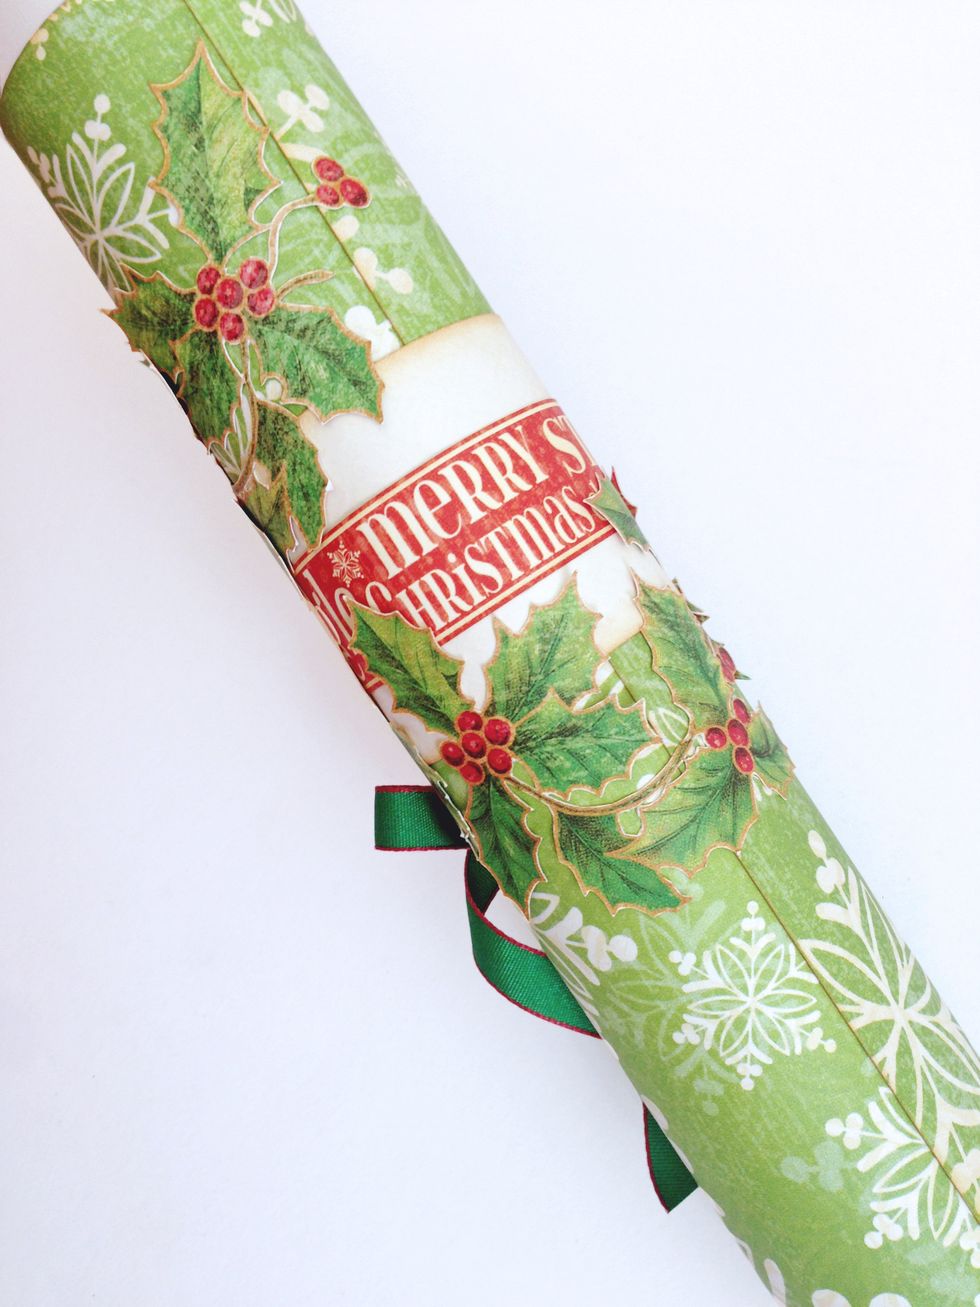
At the back...
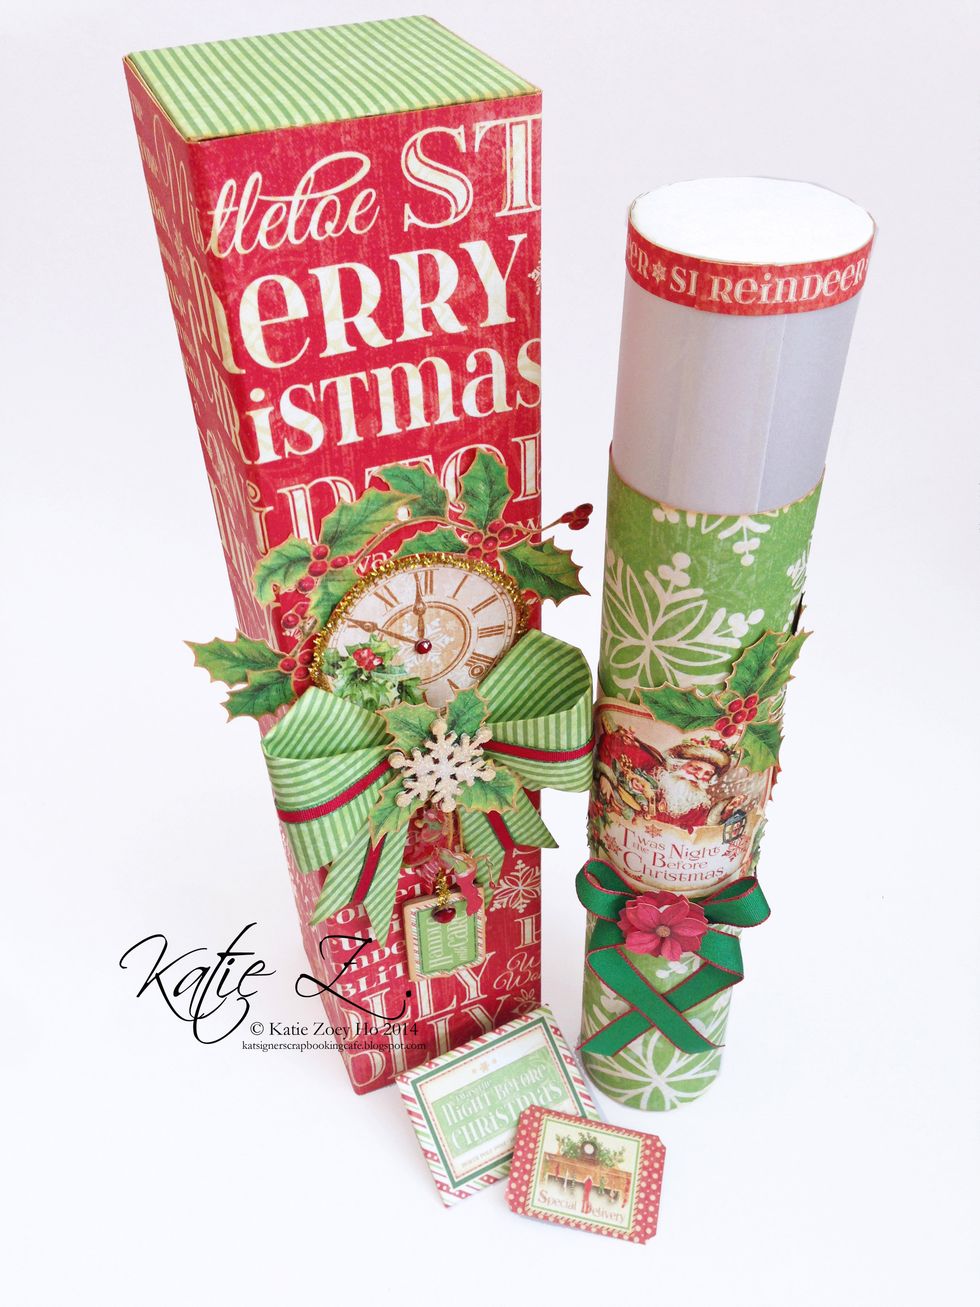
I've also done up a box to house the kaleidoscope, ready to be gifted for this Christmas... Hope this has been an inspiration!!! Have fun!!!