The Conversation (0)
Sign Up
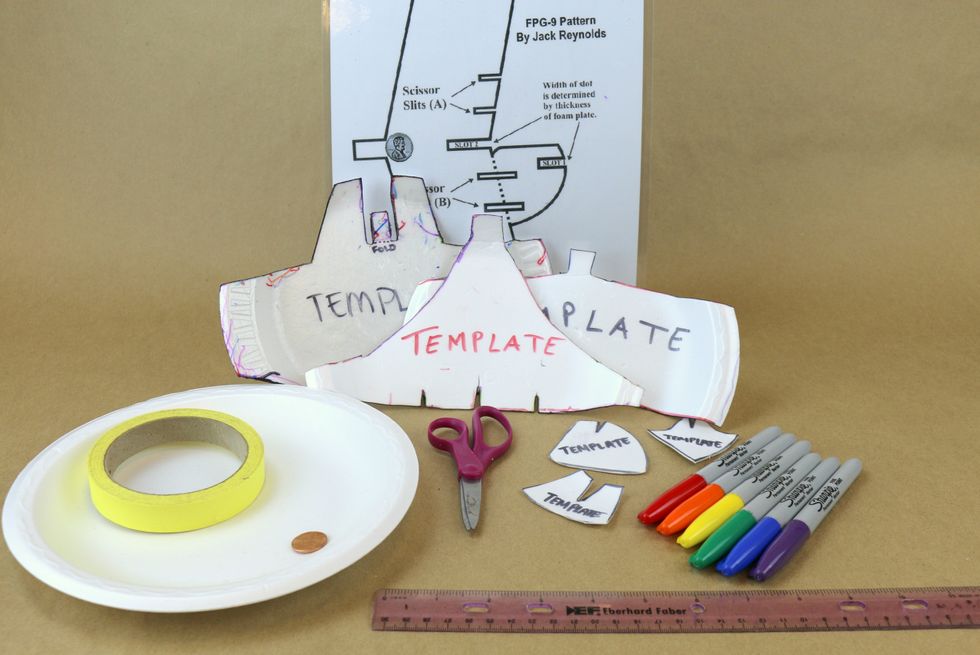
This is a fantastic flyer! Here are all the supplies you'll need.
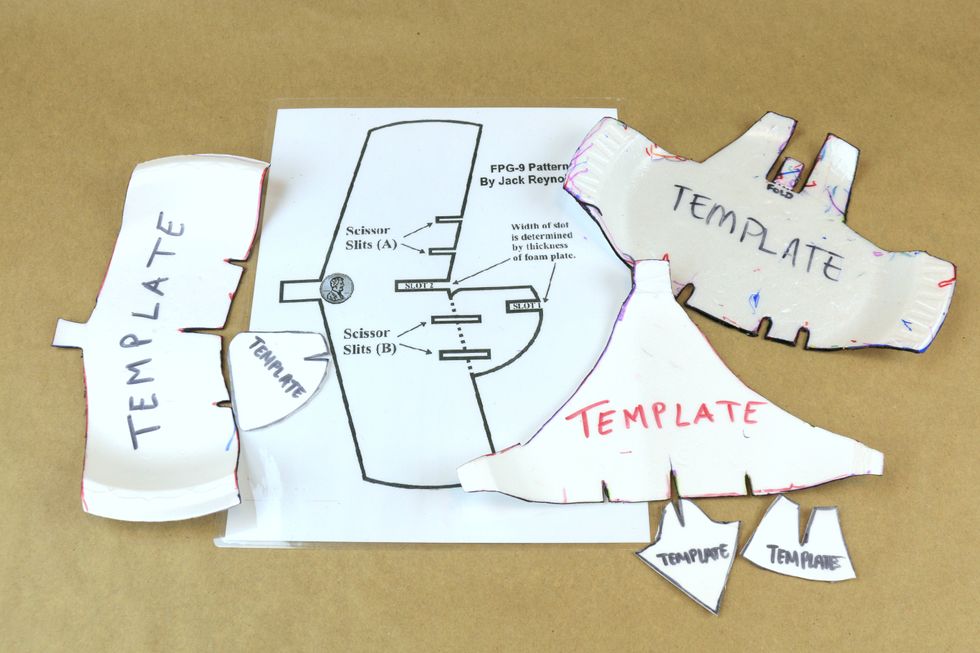
We will be using the template made by Jack Reynolds for the National Model Aviation Museum. You can download it here: http://www.mansfieldct.org/Schools/MMS/staff/hand/FPG-9pattern.pdf

After creating or choosing your templates, you will need a foam plate, (masking) tape, scissors and a marker to build your flyer.
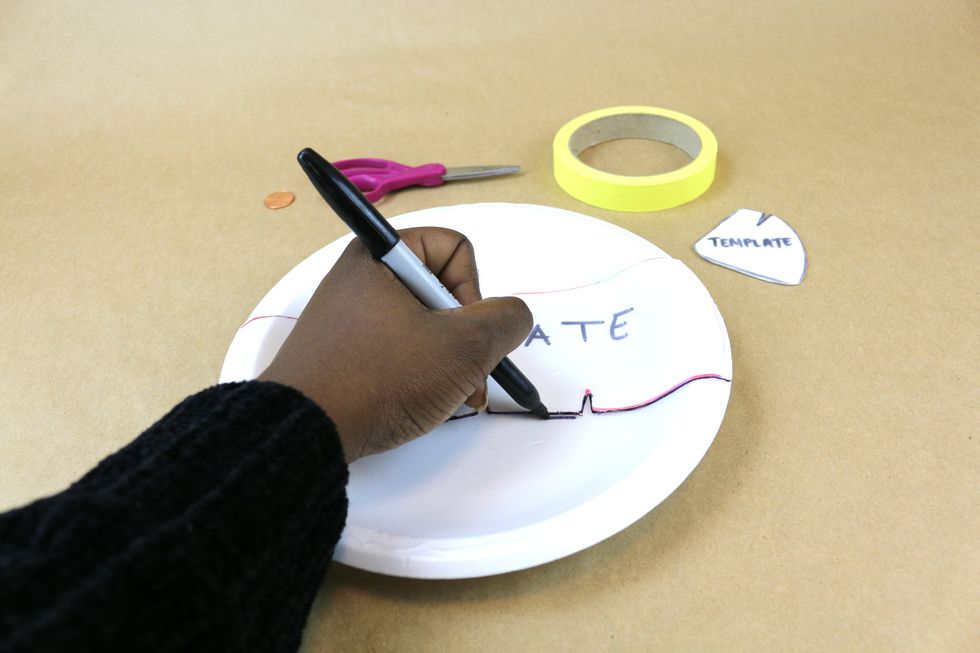
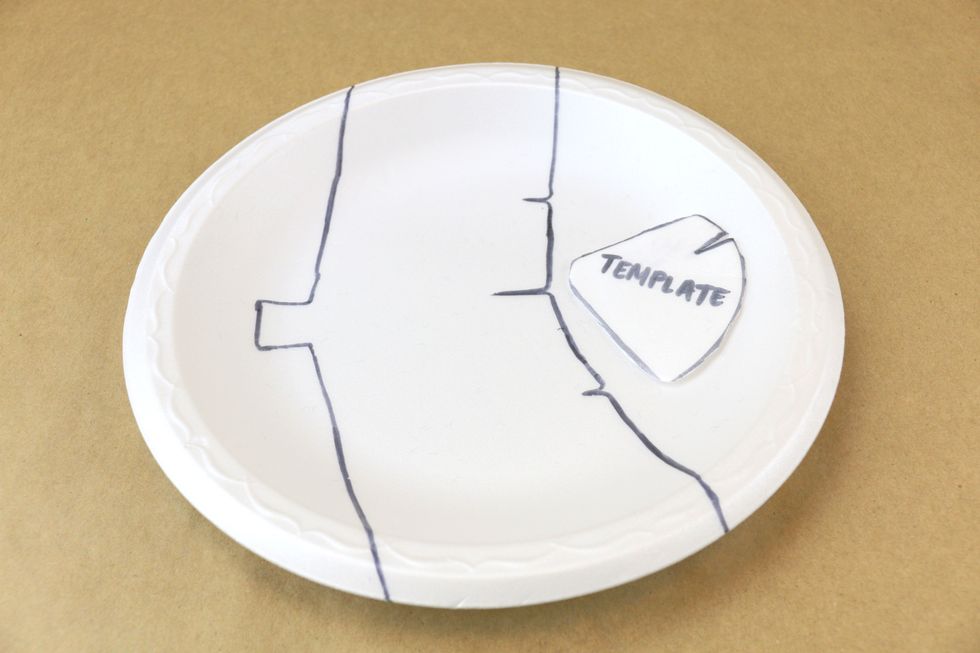
Begin by outlining your glider template body using a marker.
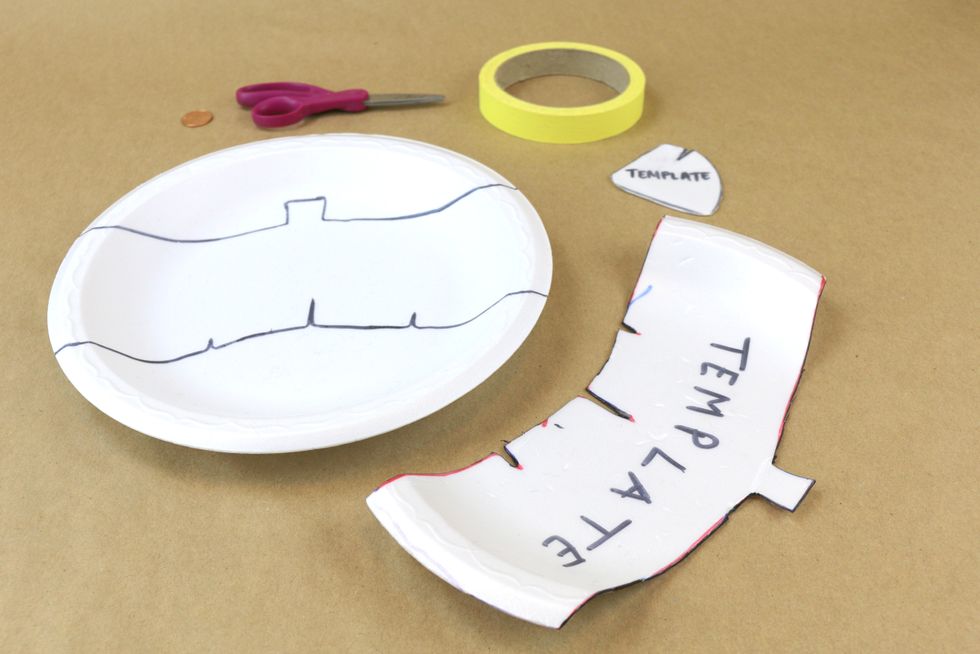
When done outline the body, you should have a plate that looks similar to this.
If there is space left on your foam plate, use it to outline the vertical stabilizer (this will be the tail of your flyer).
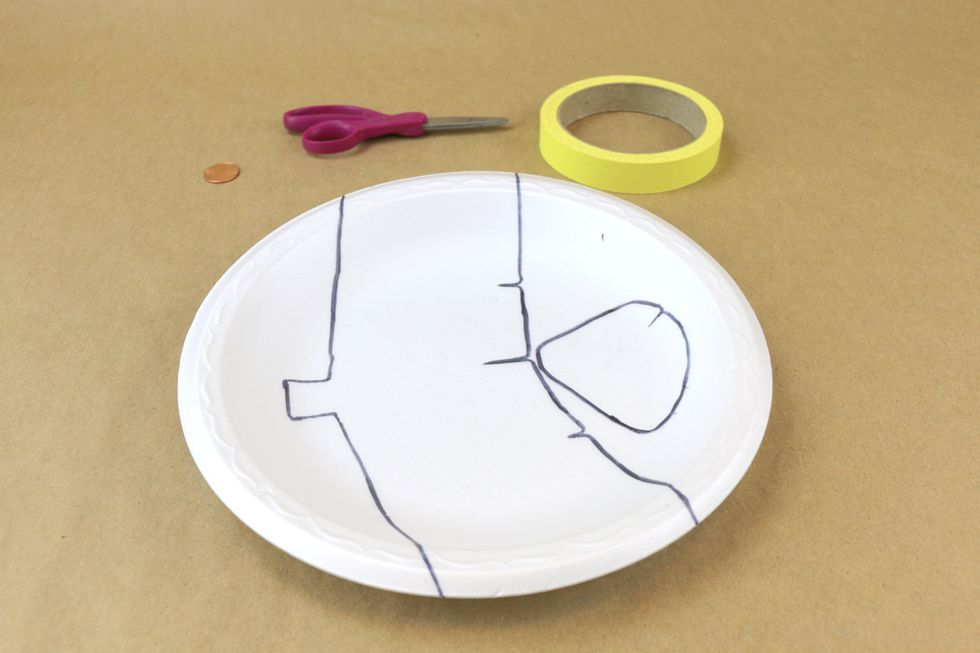
When outlining is complete, your plate should look similar to this.
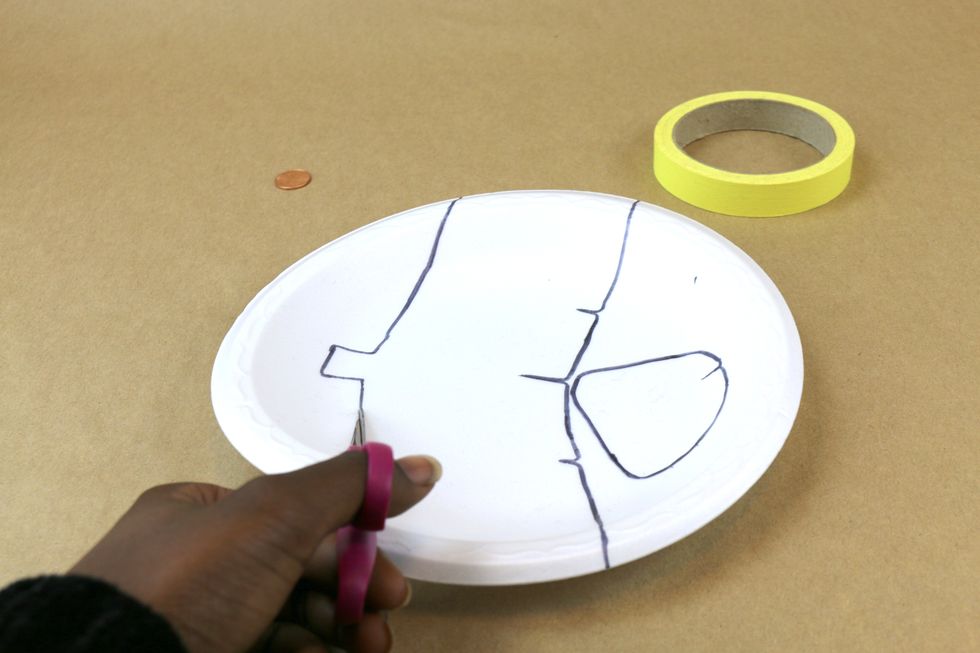
Carefully cut along the lines you just outlined. Do this for both the glider body and the wing.

It is important that you don't forget to cut out the slits on both the body and wing. This will allow you to attach your vertical stabilizer and promote aerodynamics.

After cutting, you should have both your body and wing with small slits cut into them.
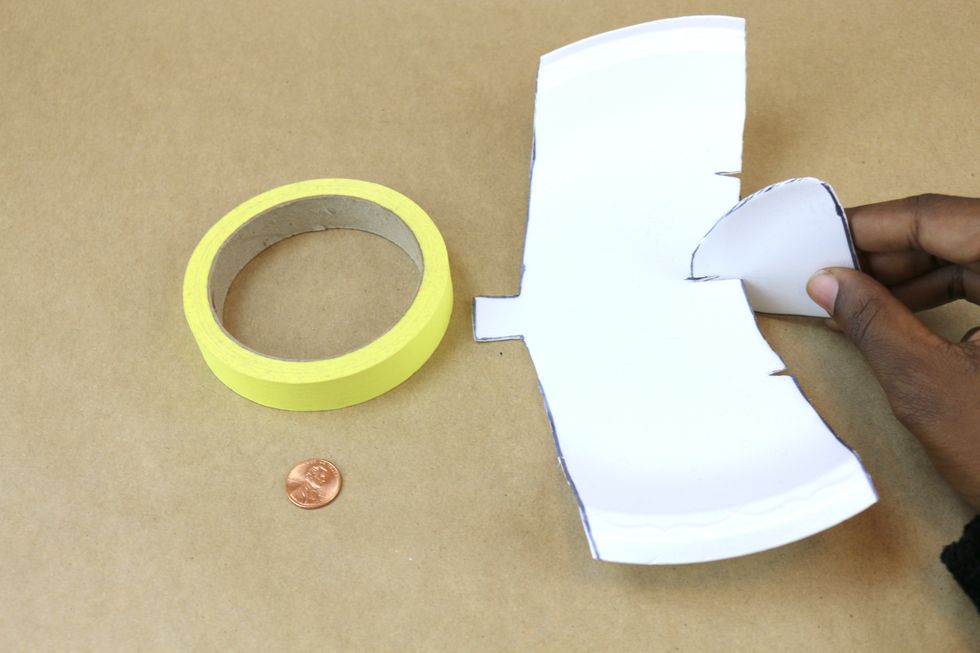
The tail for your glider will be attached to the center-most slit cut into the body.
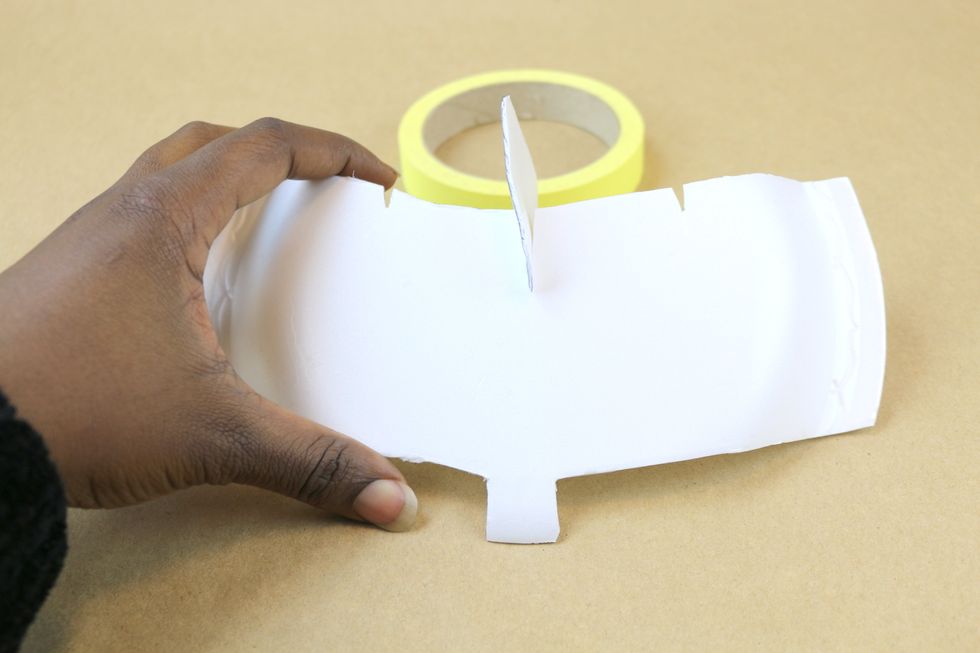
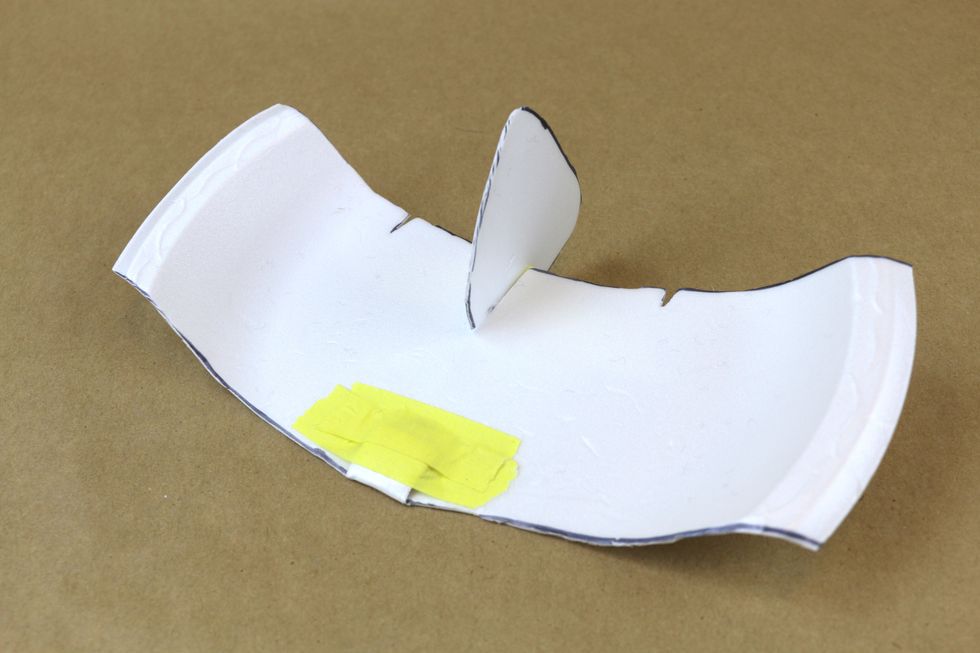
Next, turn your foam glider upside down.
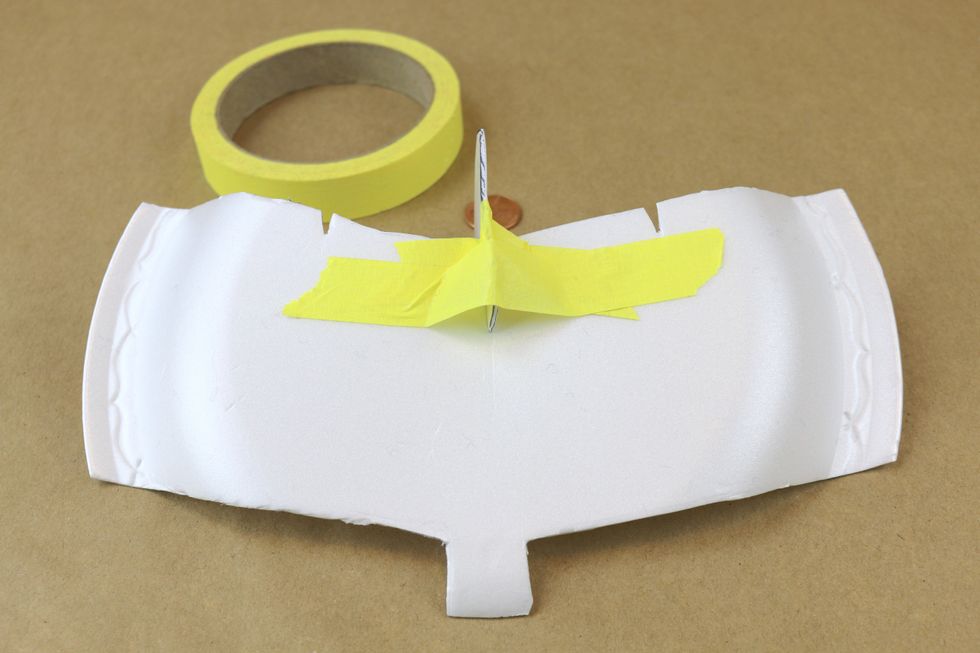
We made a small change to the instructions - we tape the extruding piece of the tail to the bottom of the glider as without the tape it often falls out after lots of flying.

Once again, turn the glider right-side up.
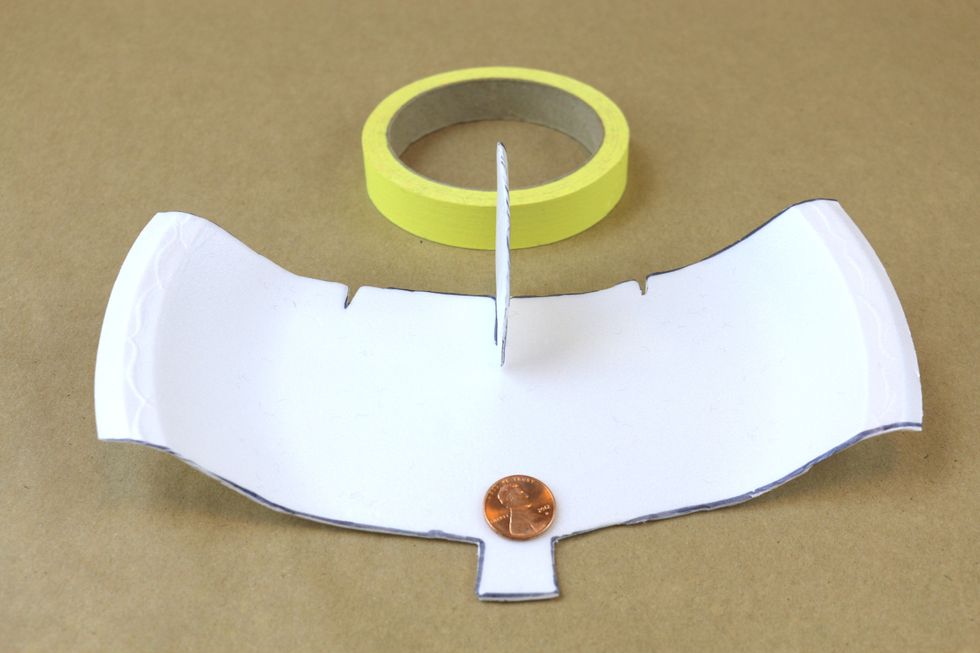
Place your penny (you can also use a small washer) on top of the glider just before the flap at the front of the body.
Fold the flap over the penny.
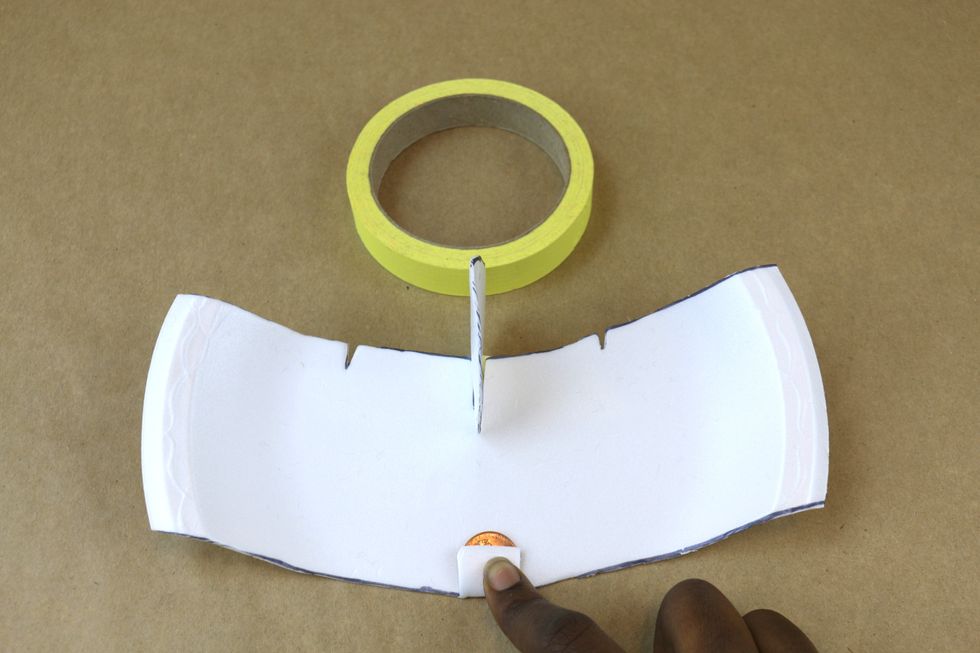
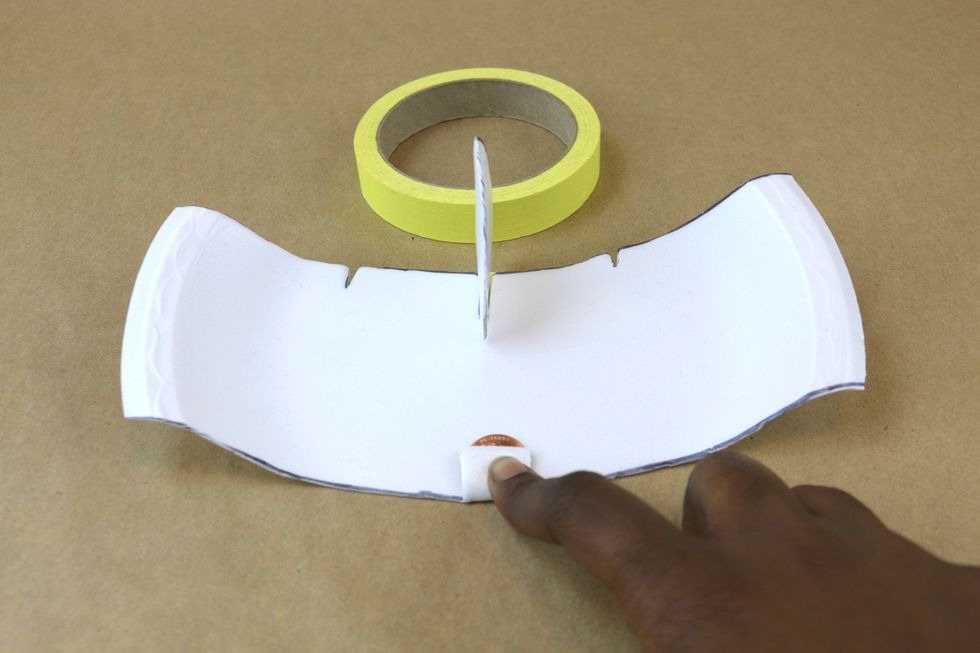
Place another piece of masking tape over this area. The penny will, like the tail, stabilize your glider during flight with the addition of weight.
Your foam plate glider is now complete! The last step is to make it your own with design decorations.
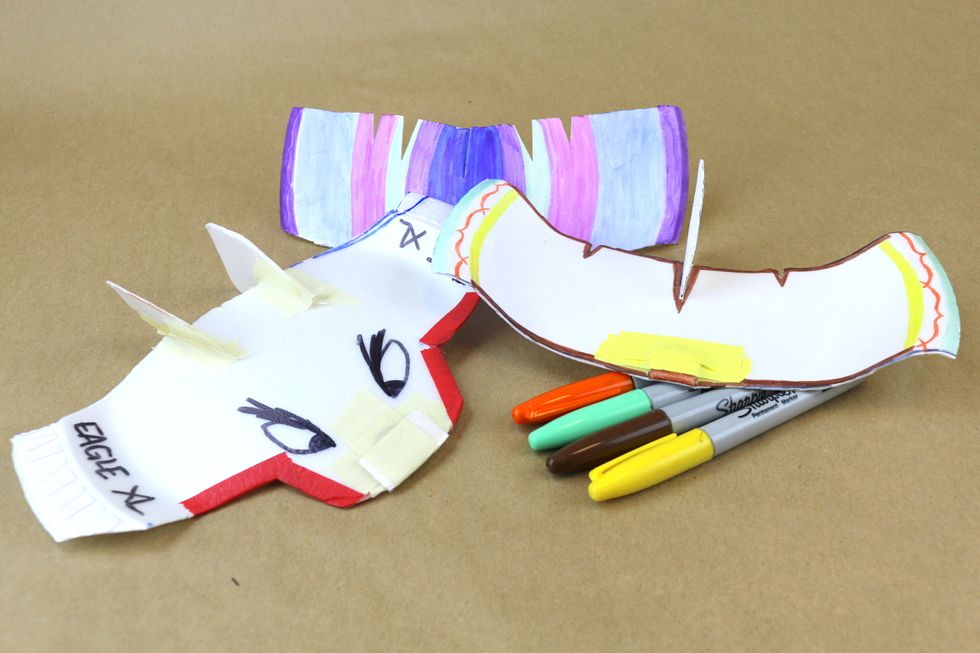
We use permanent markers - but washable ones will work as well. Now, it's time to take flight!