The Conversation (0)
Sign Up
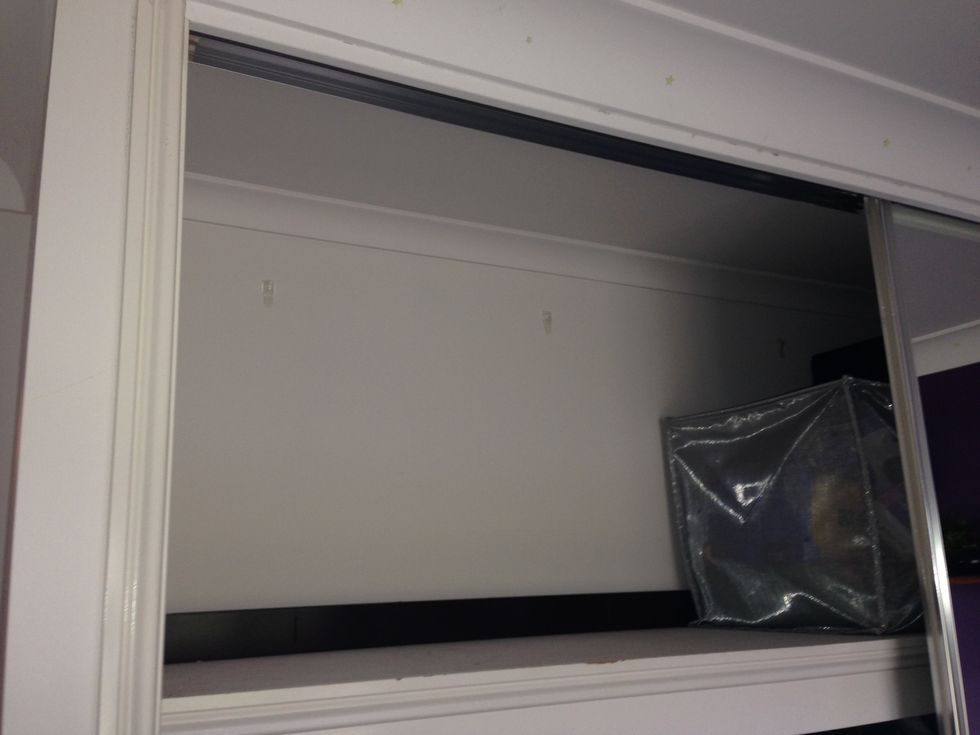
Turn this empty cupboard space into a practical out of reach toy storage area.

Find some cheap baskets that are the same size. These are $6 each from a furniture shop. We will be using 12 for this project.
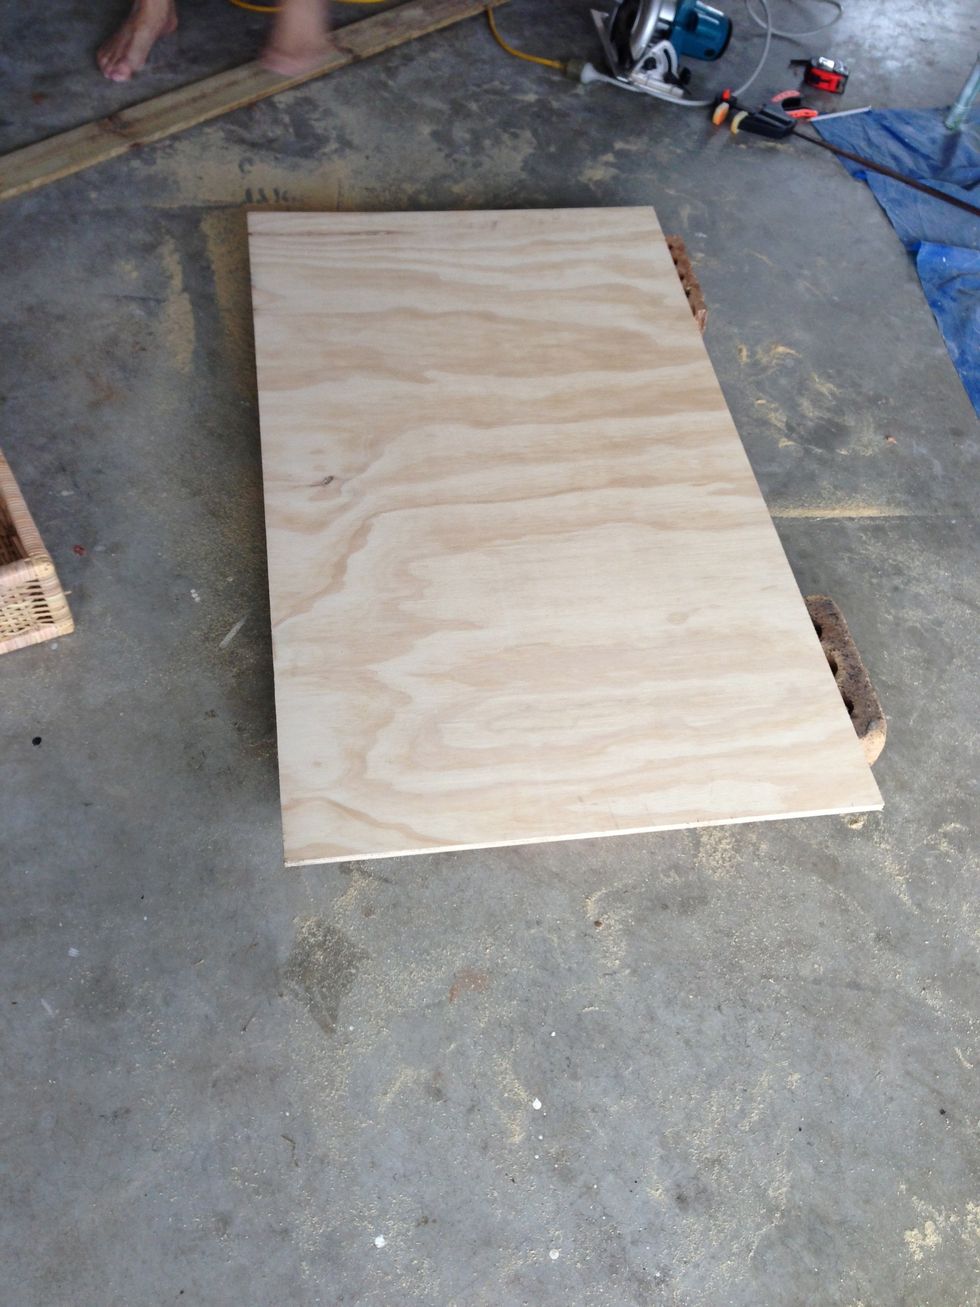
Work out the depth required, max height for your cupboard space (remember you have to get it back in there assembled) and length required to fit the number of baskets.
Our baskets are 35cm deep, 32cm wide and 16cm high. So the strips of wood are 142cm long, allowing enough room for support pieces and easy sliding of the baskets. Each shelf has an 18cm clearance.

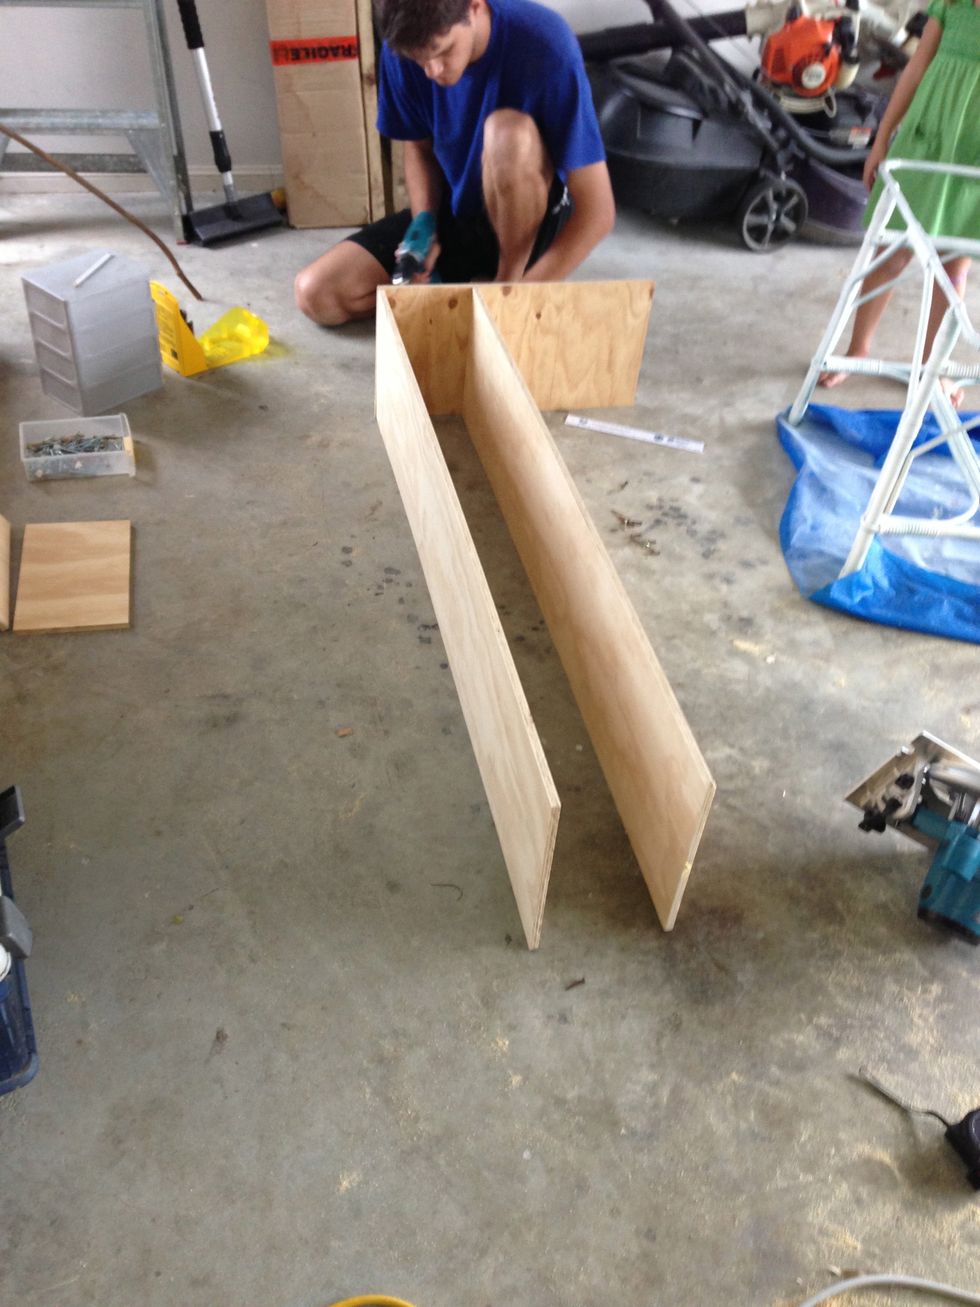
Measure where the support pieces need to go. Measure twice, drill once! Offsetting the verticals as we have done, makes fastening with screws a lot easier.

Paint shelves if desired. We used 2 coats of white interior house paint. Screw into the wardrobe for stability.
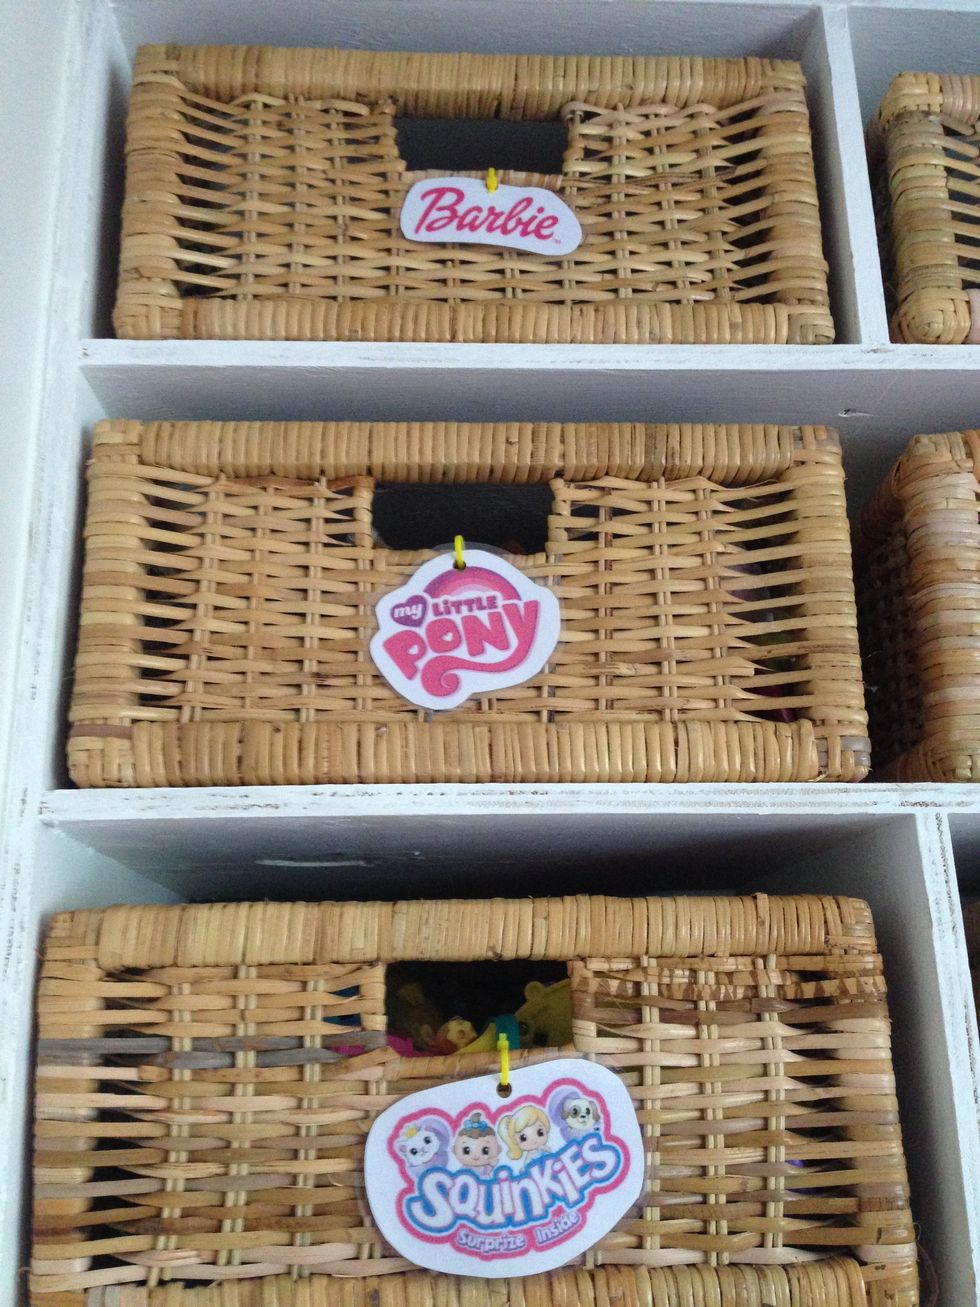
A quick google found all the logos we were after. We resized, printed then laminated each one. Then attached to each basket with a zip tie.

The finished product.