The Conversation (0)
Sign Up
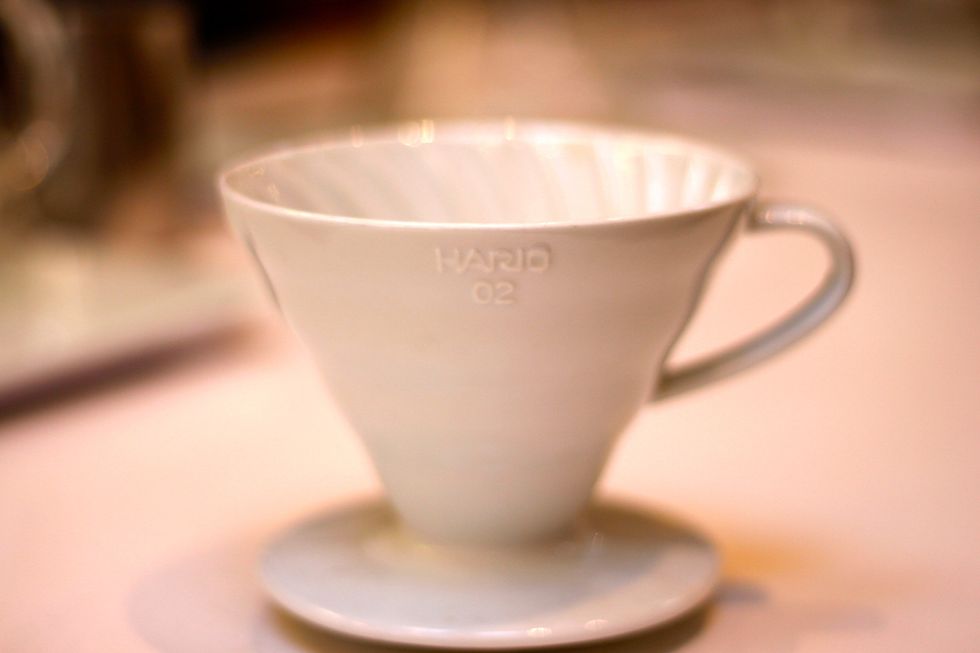
Here we have a Hario V60 brewer. We selected this model for several reasons.
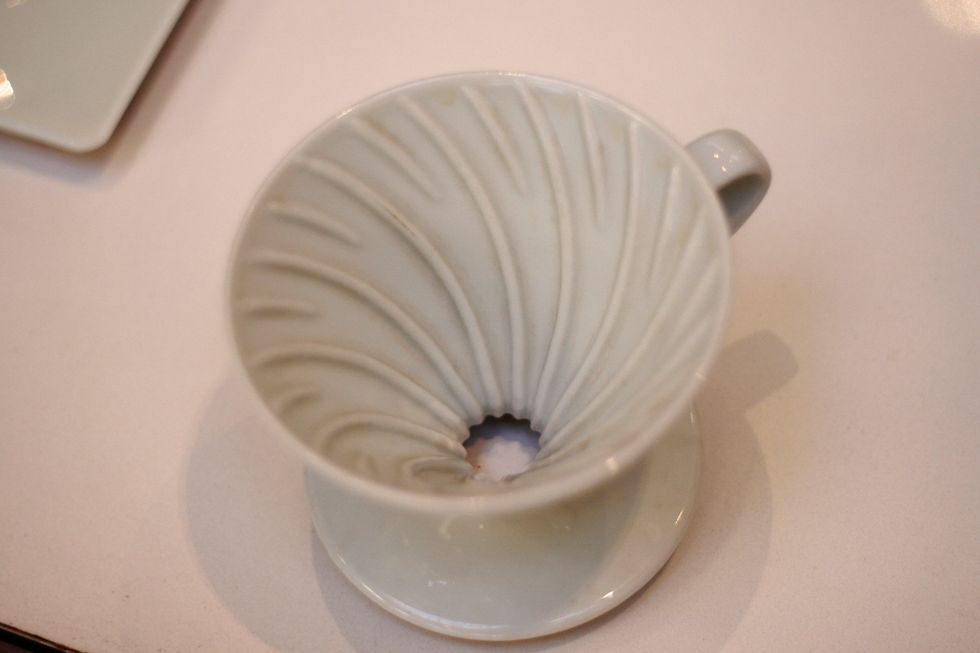
There are also grooves along the sides to free up the water's flow rate. Again, we want to control the brew by grind size and the speed at which you pour water.
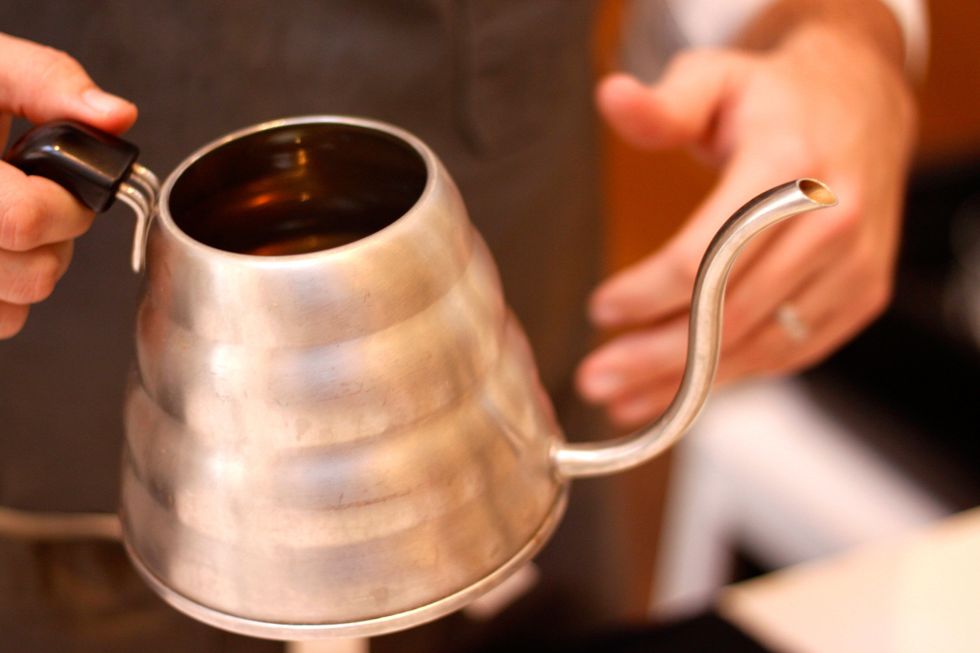
This swan necked kettle is perfect for pour over coffee. It allows you to control the pace of water flow nicely. Heat up water to 202 degrees for light roasts. Darker roasts will be closer to 195.
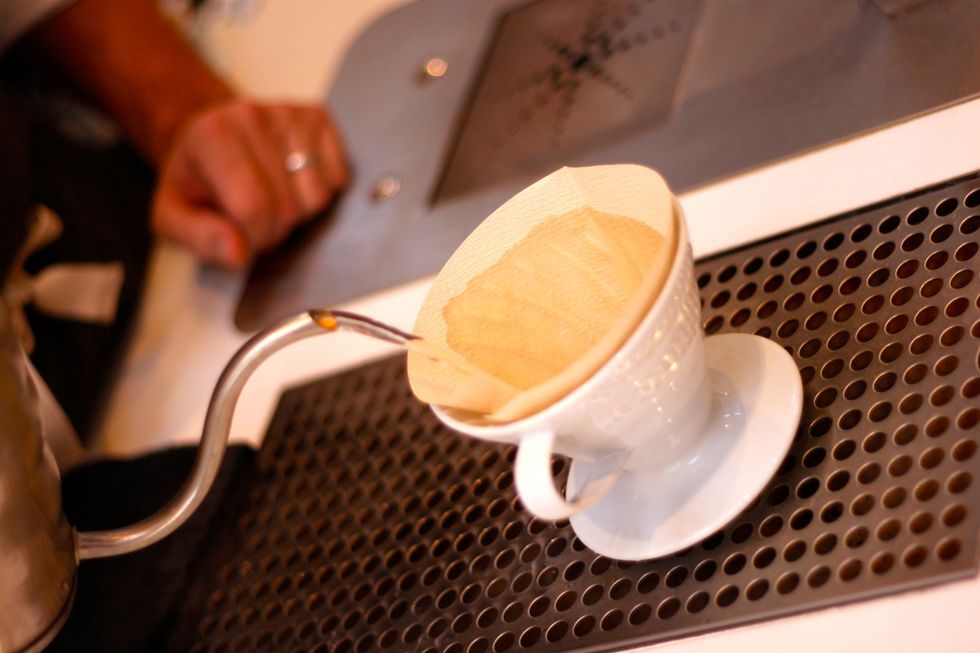
Put your paper filter inside the brewer. Wet it with the hot water. This rinses away any paper taste and heats up the brewer, since correct temperature is really important in a good brew.
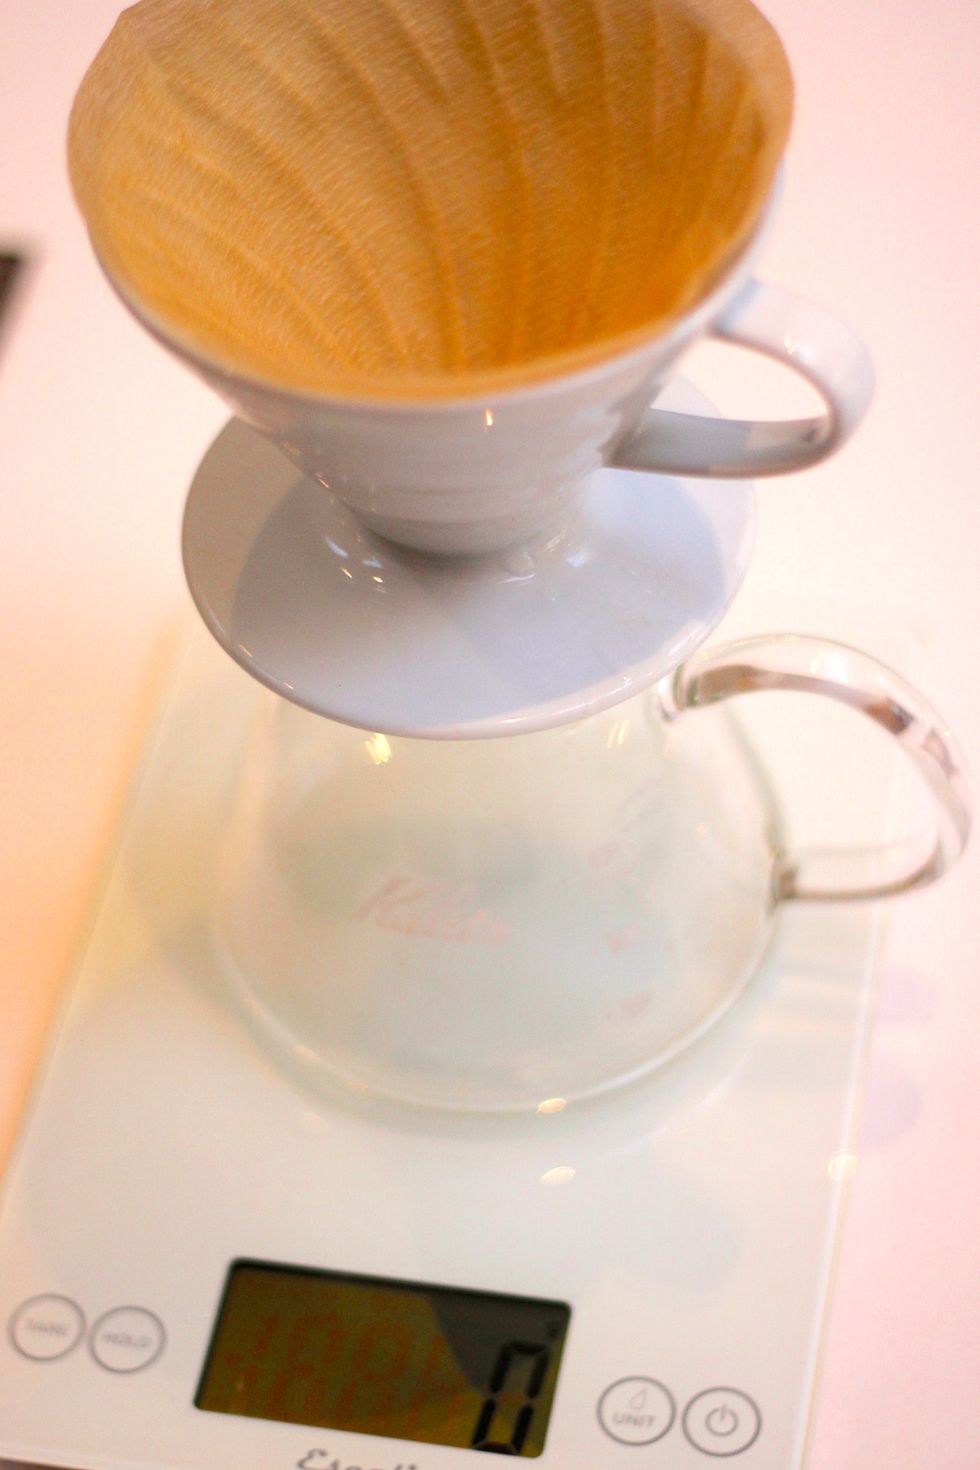
Now that it's prepped, Place the brewer on top of a kettle on a tared scale.
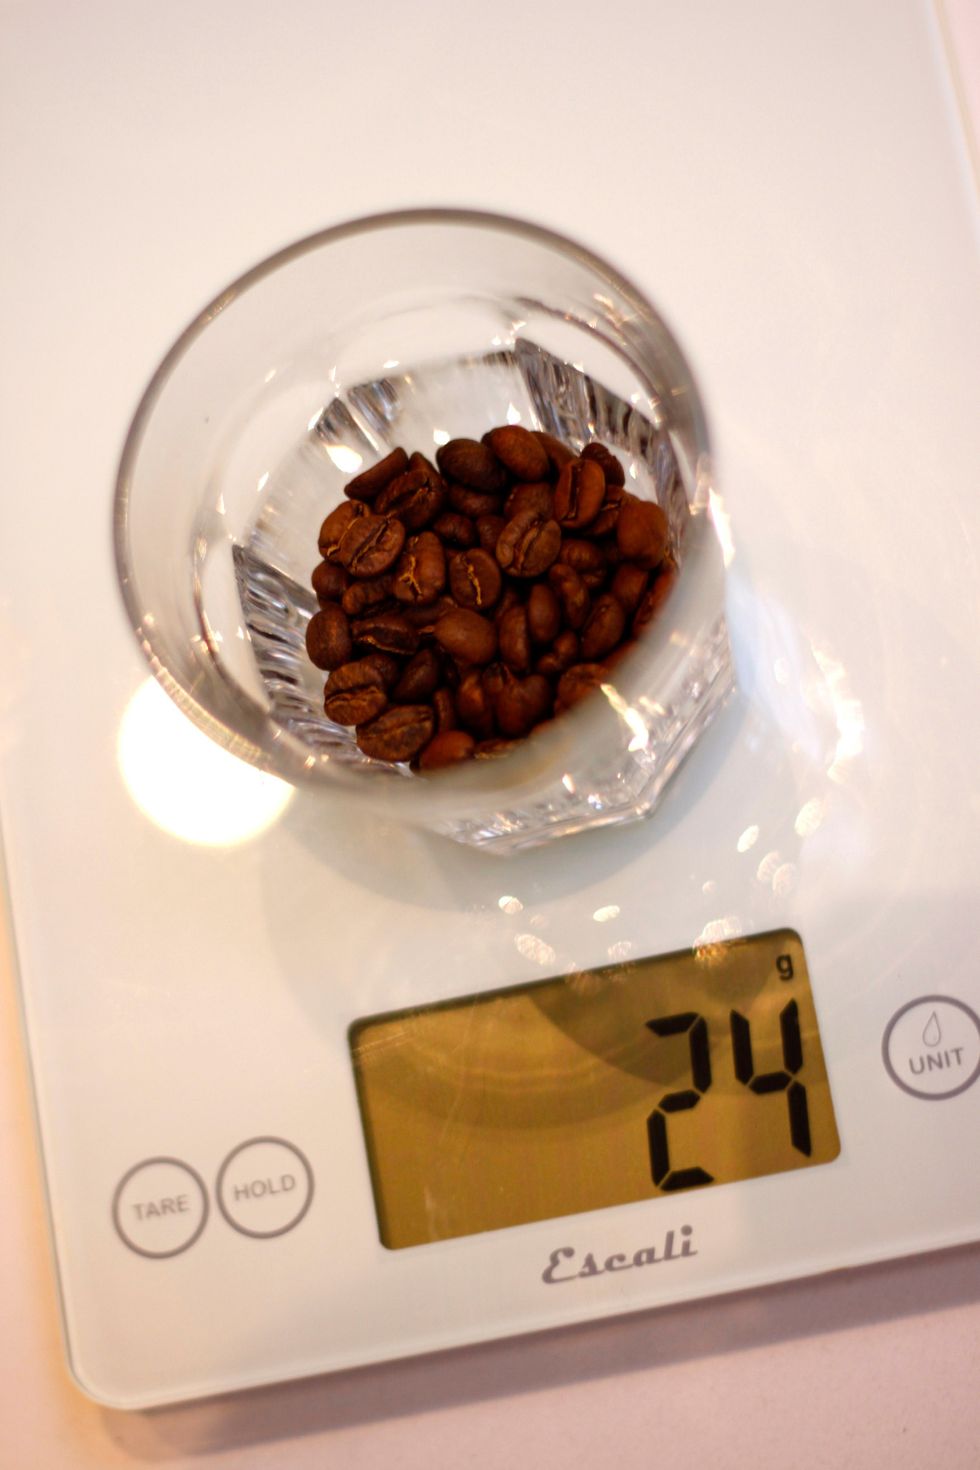
Weigh out 24 grams of good beans. We used a light roast to let the quality of the beans shine through.
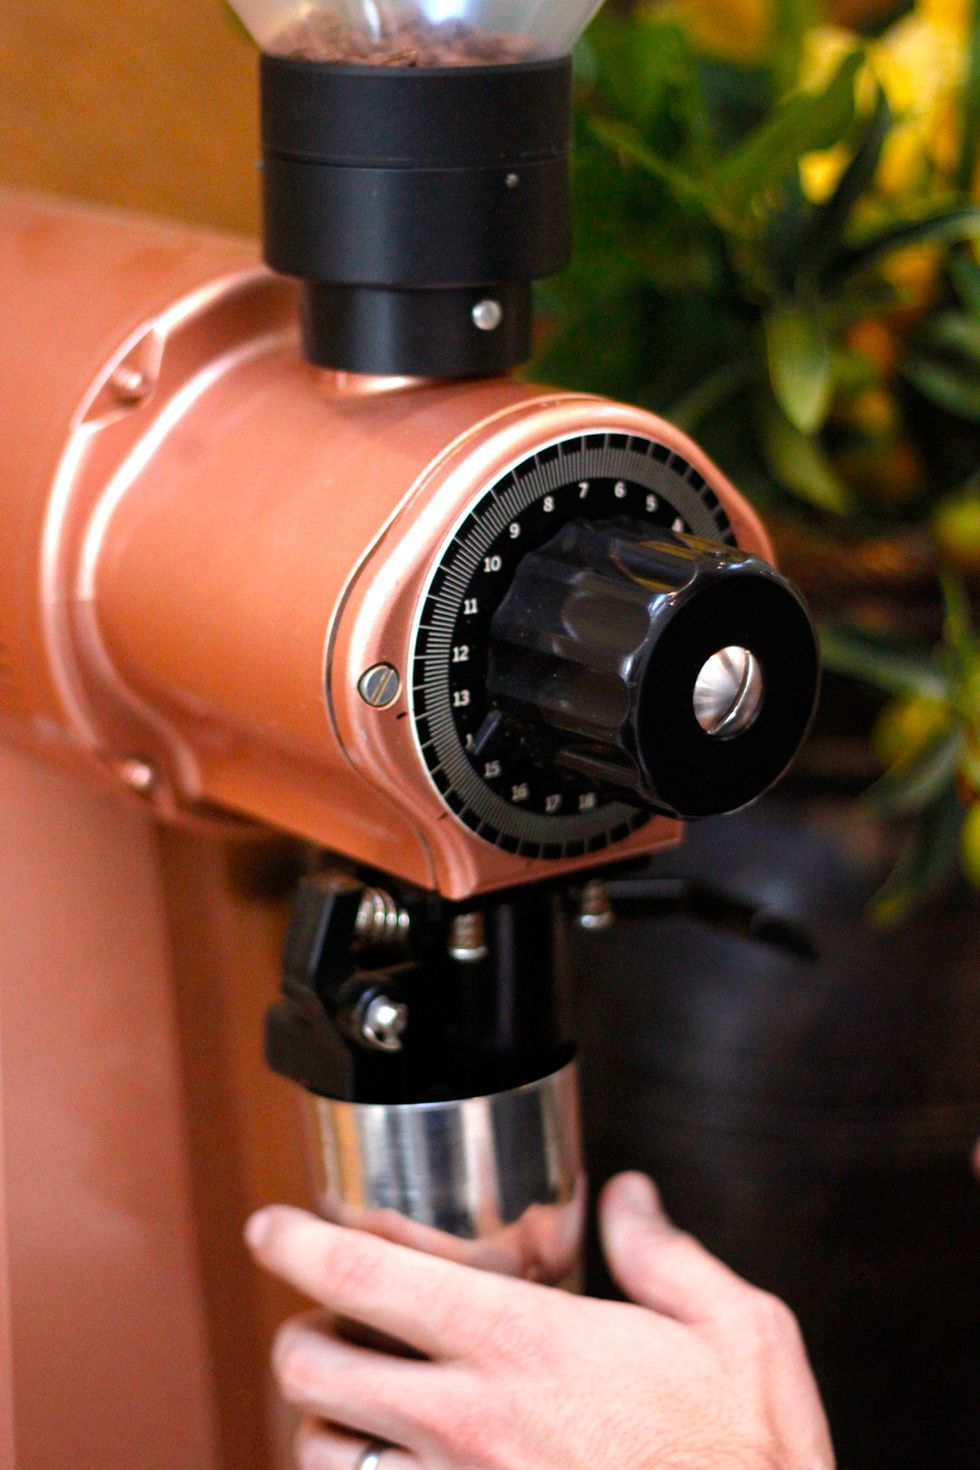
Grind on a medium-fine grind.

This is what it should look like. You will need to test if the grind you choose is too coarse or fine once you brew. If it brews too slowly, try a coarser grind. If too quickly, use a finer grind.
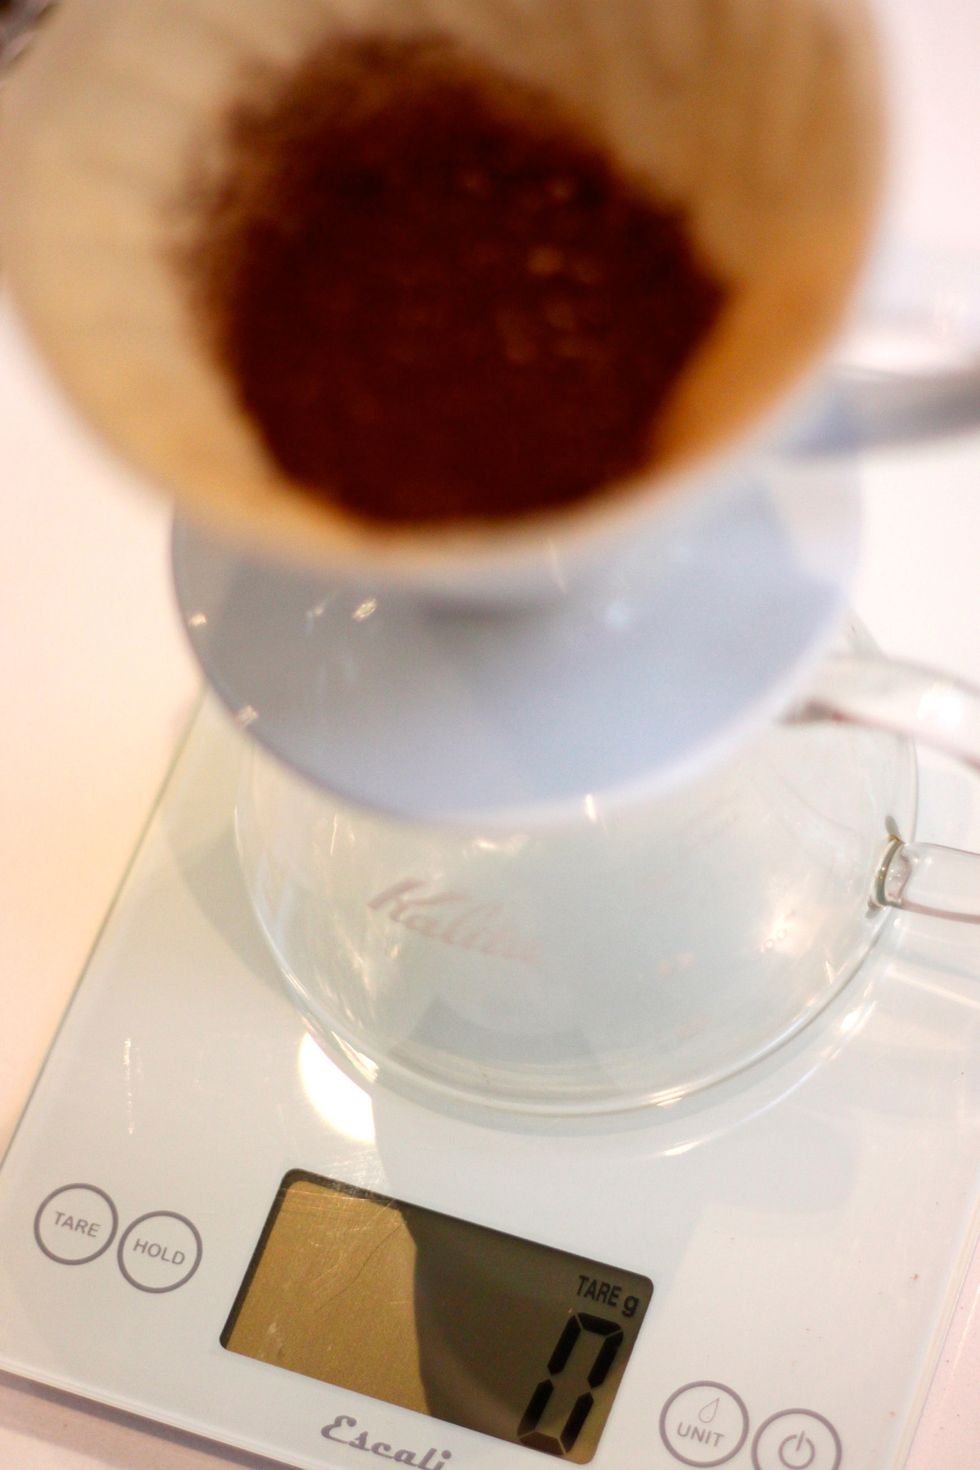
Tare everything out.
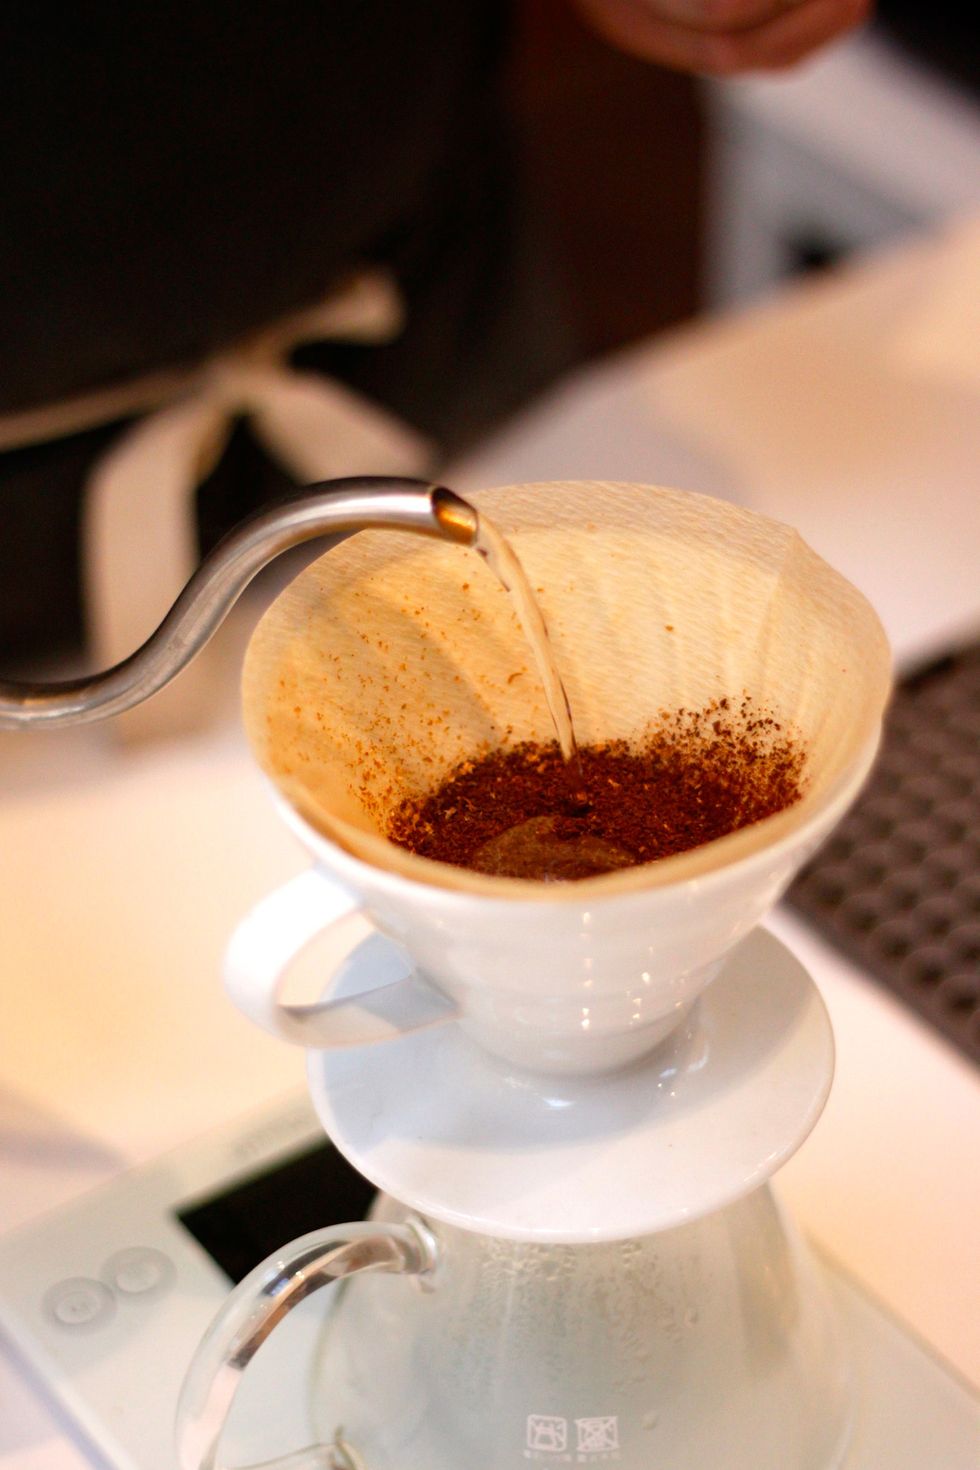
Making sure the beans form an even layer, pour your bloom. This is 60 grams of water.
It goes just about this high.
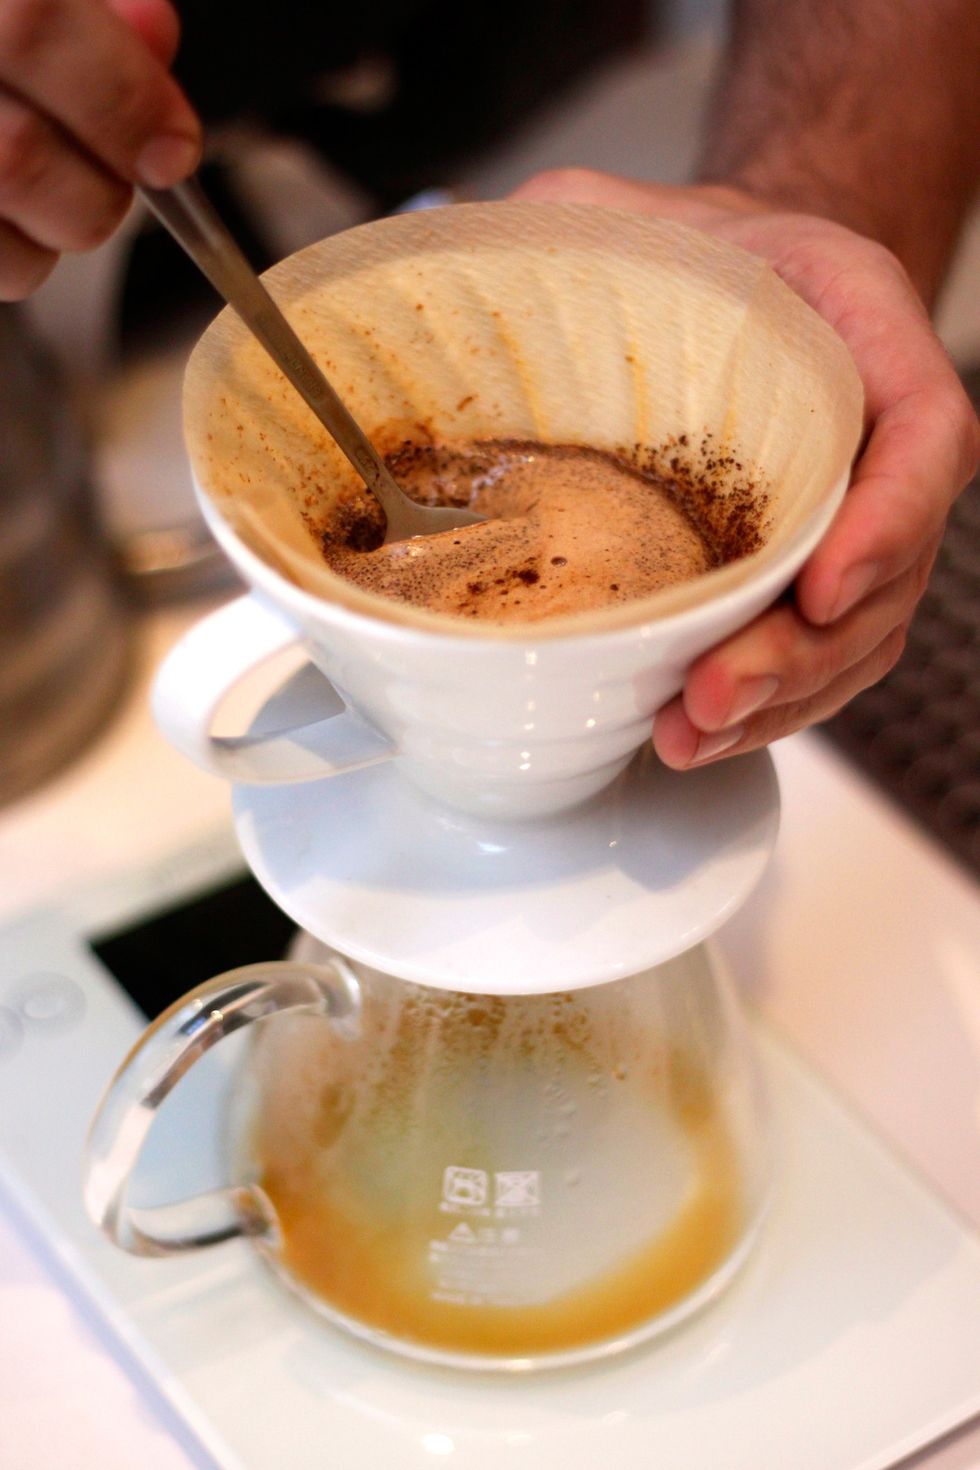
Then immediately take a spoon and stir everything up. Get down deep. You want to make sure everything is wet for an even brew.
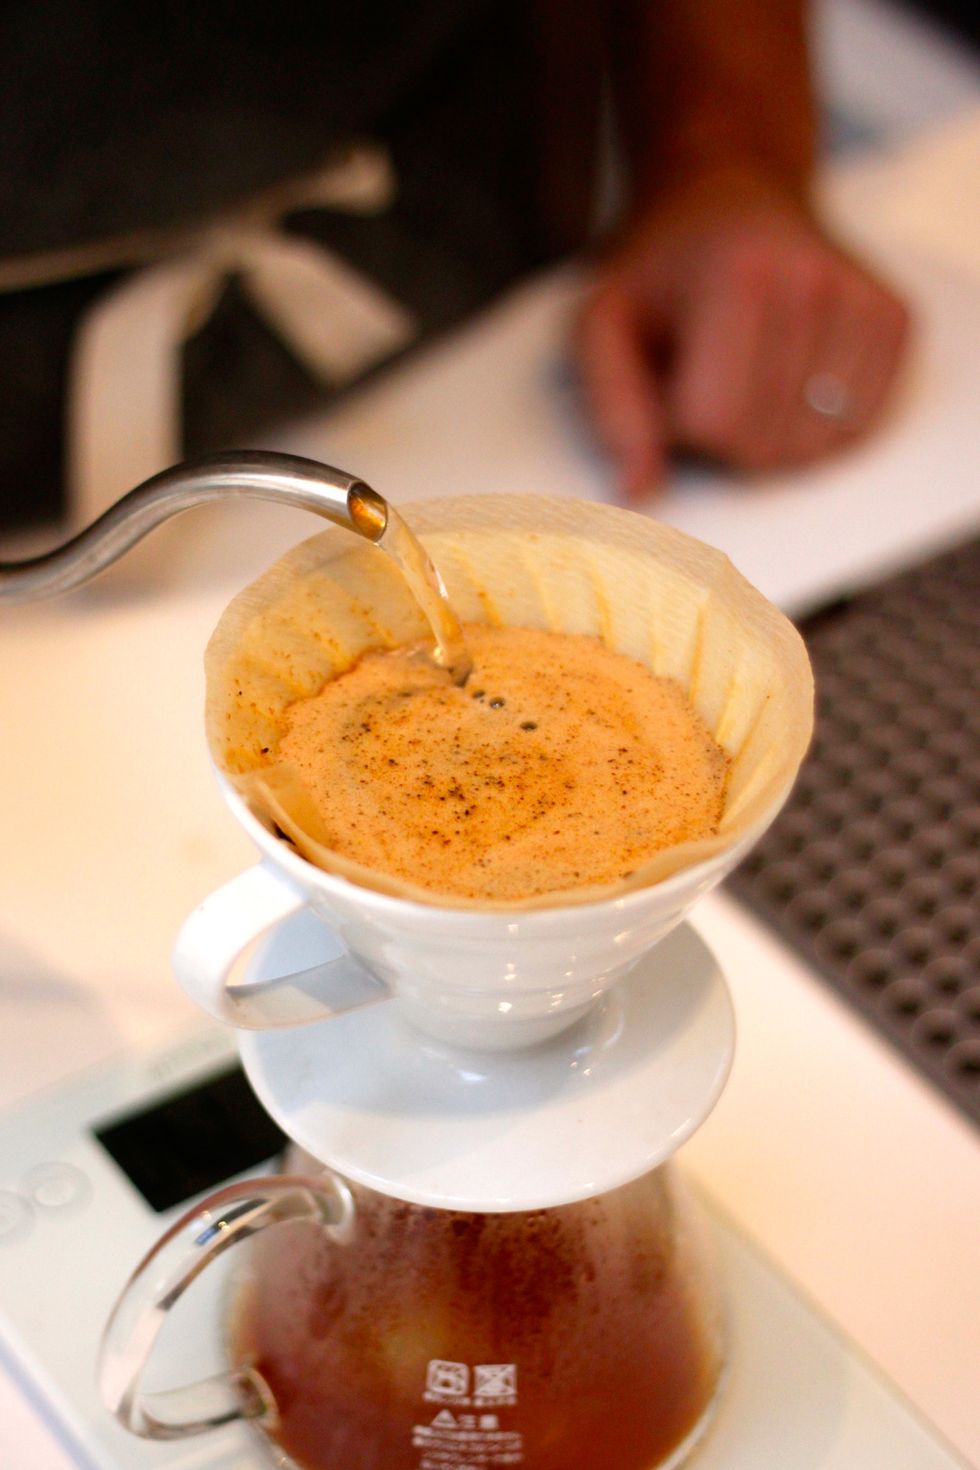
Once the water drains a little bit, but before you can see the grounds, pour in your next pour. Now the total volume should be at 200 grams (including your 60 g bloom).
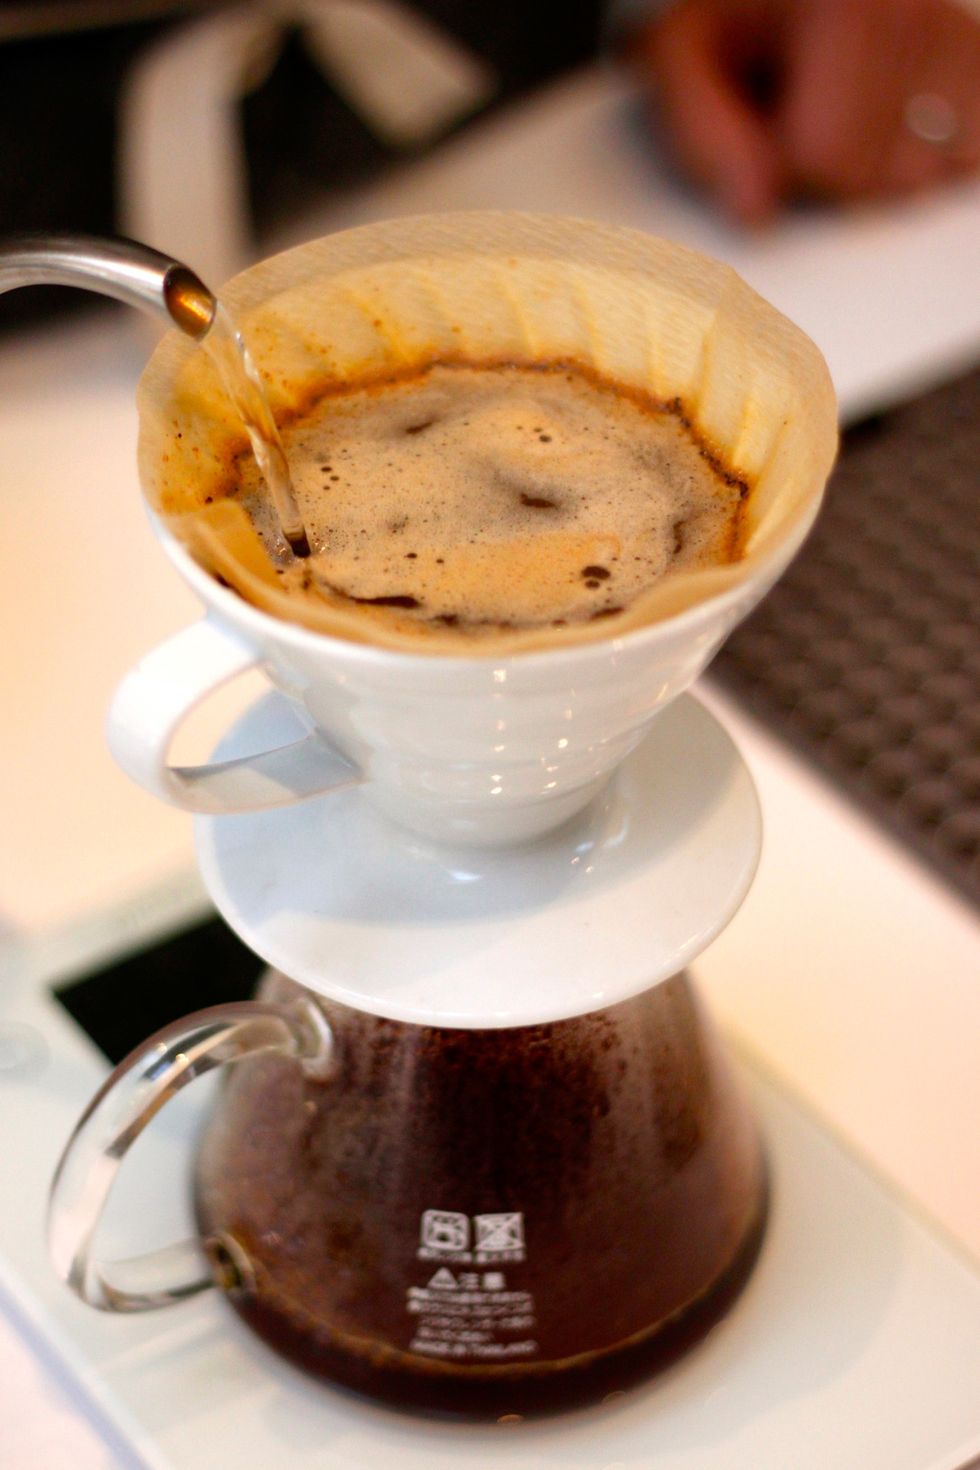
To pour, start in the center and move your way in circles out to almost the edge but not on the edge.
Pouring down the edge of the cone will push water down the sides of the cone instead of through the grinds. You also want to avoid pouring only in the center of the cone for the same reason.
It's all about water and bean interaction.
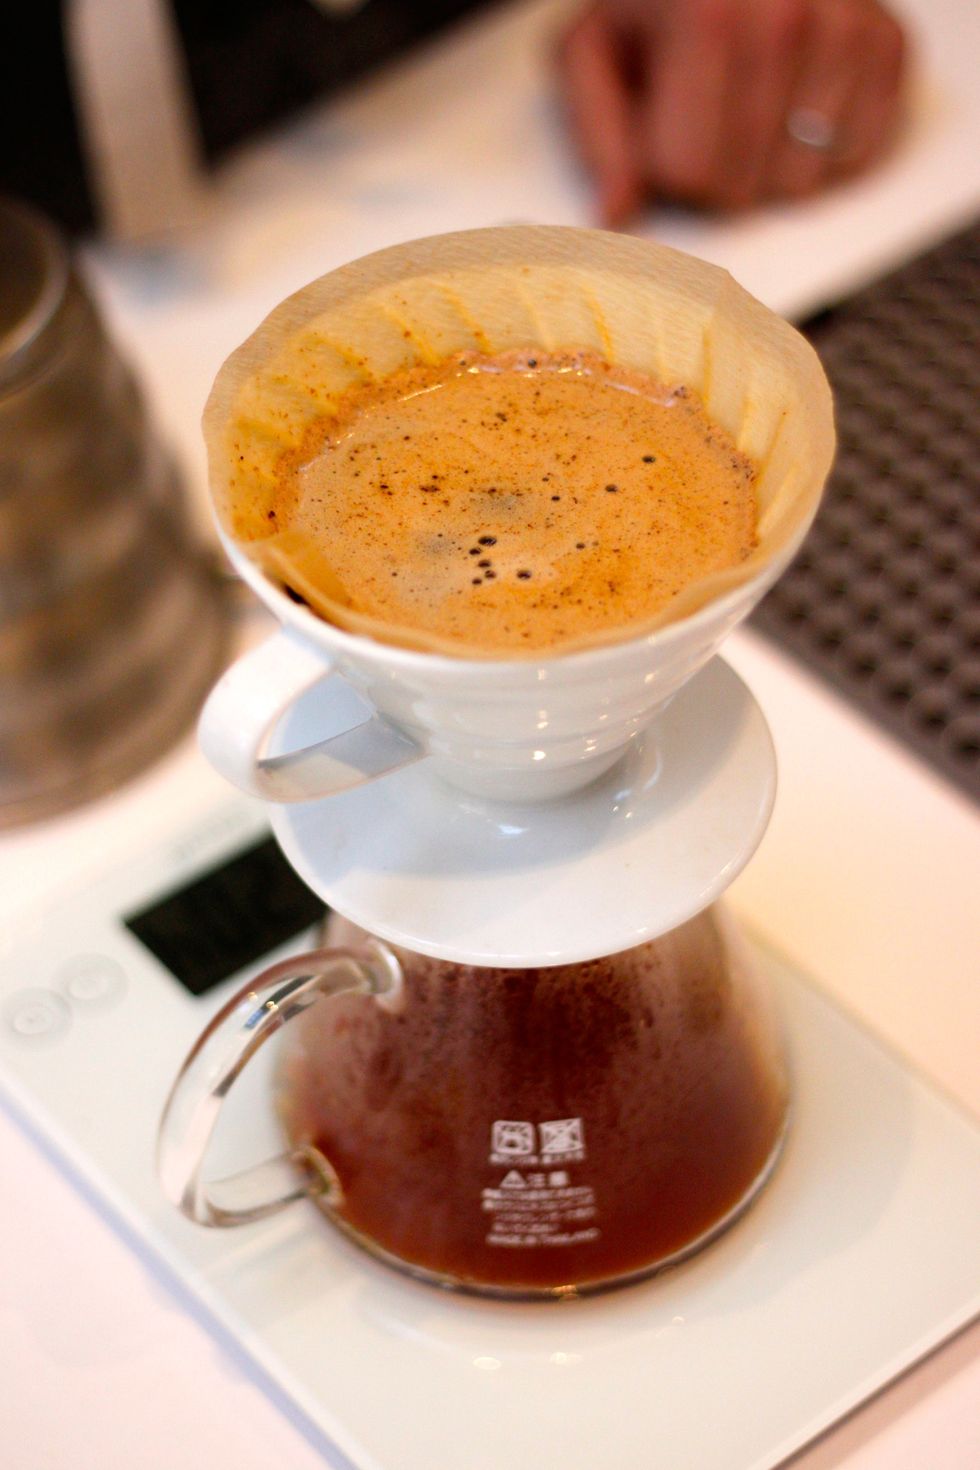
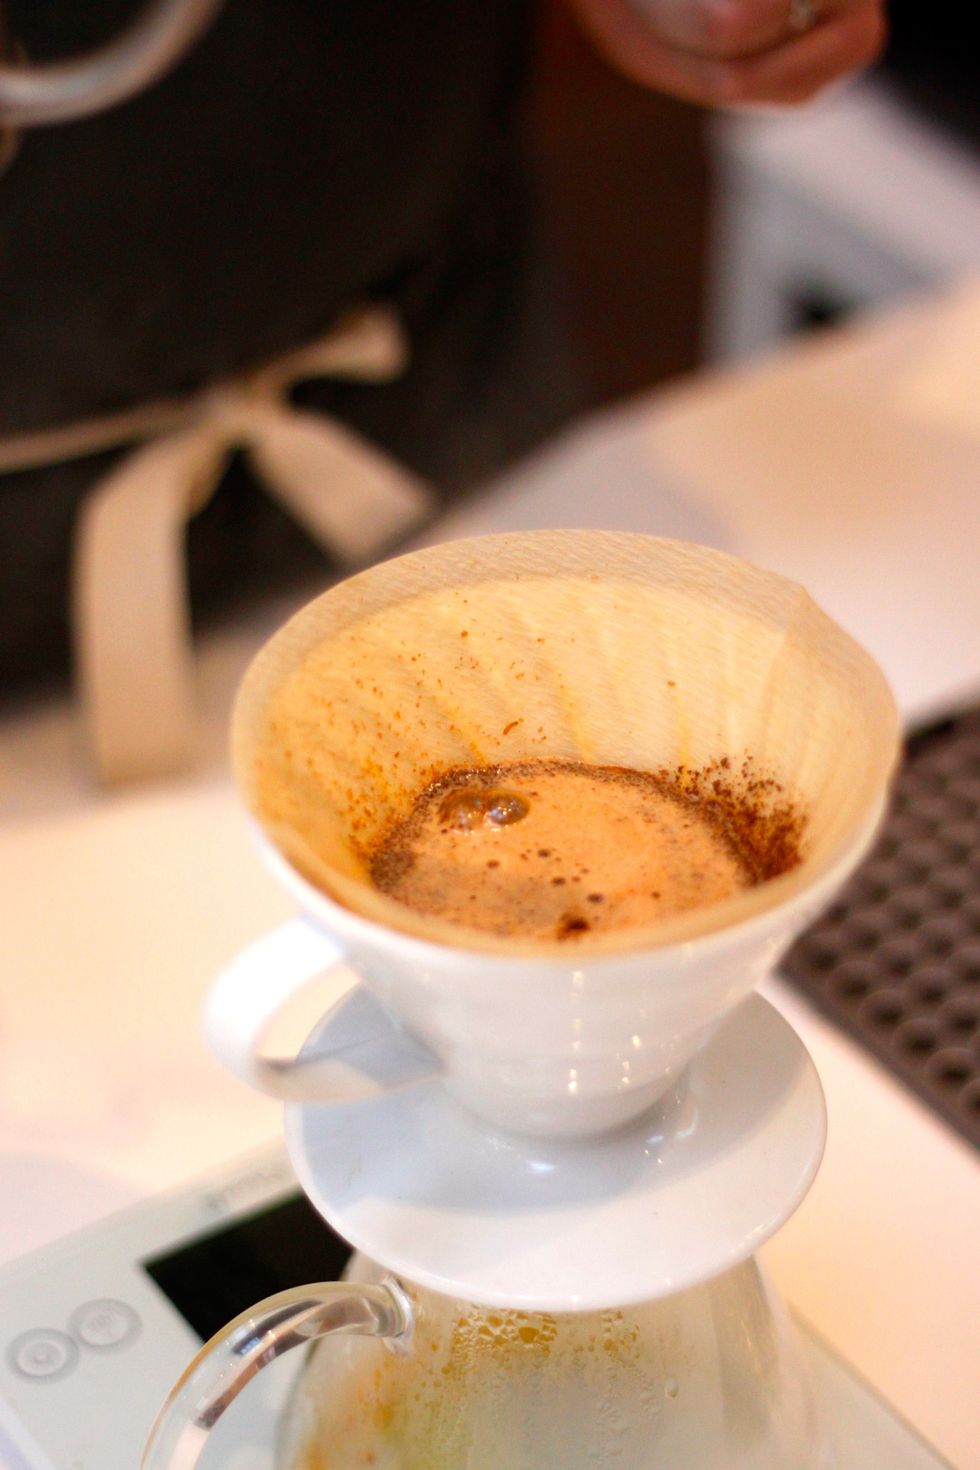
Pour evenly to evenly extract flavor and apply pressure evenly. The foam on top will be an even red color.
Let the second pour start to drain. Before you can see the beans again, pour in more water so the total weight is 300 grams. Make sure to continue the circular pouring, avoiding the very edge.
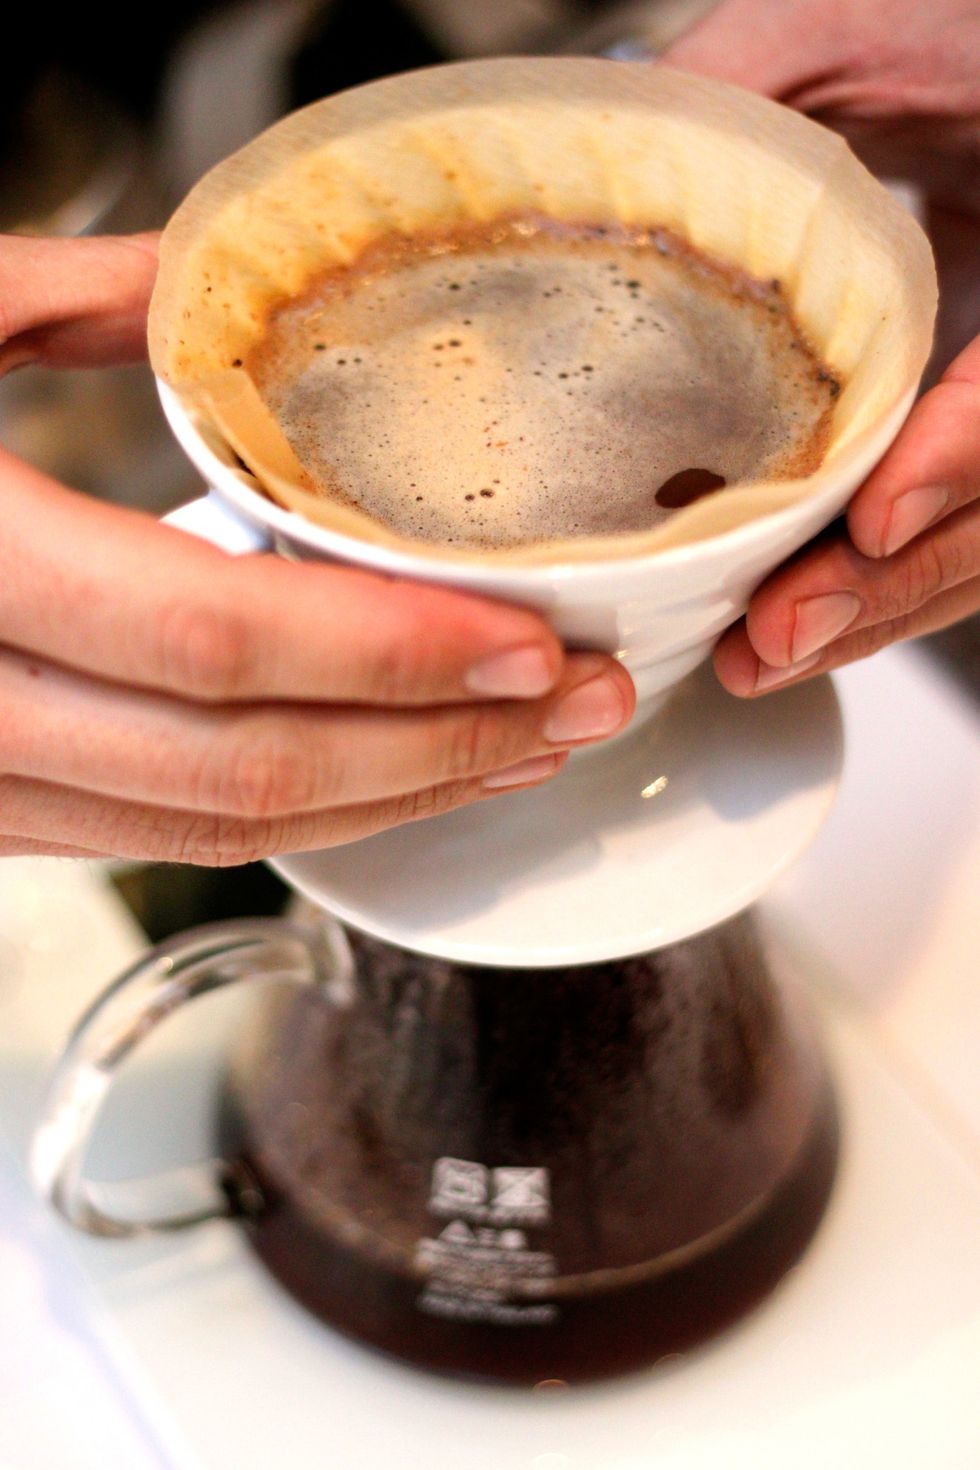
When that drains, but before you can see the beans, pour in the 3rd and last pour. The total weight will be at 380 g. now. Take the cone and tap it several times so the beans settle in an even layer.
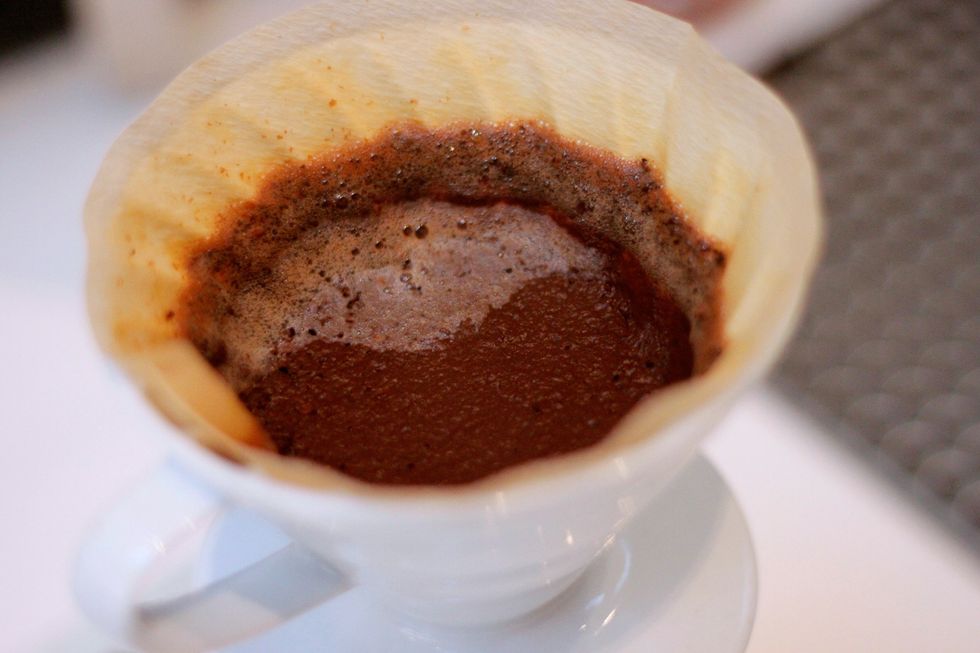

Here's an example of how it should NOT LOOK. This is an example of an uneven pour with too much pressure. Those uneven bubbles are not good for even distribution of water over the beans. Don't do this
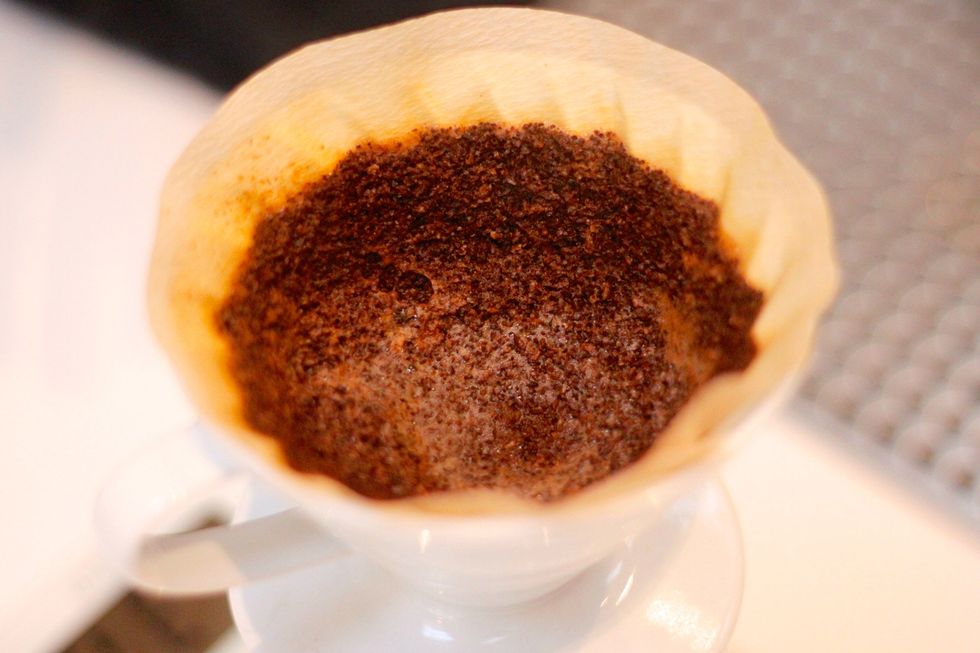
An uneven pour will result in a ton of beans sticking to the sides of the filter. That's a whole lot of wasted flavor!
This method and recipe should brew you a cup of delicious, perfectly extracted coffee. We hope you enjoy!