The Conversation (0)
Sign Up
This was a double brew day, so the photos include ingredients for both my Hefeweizen and IPA from Hell.
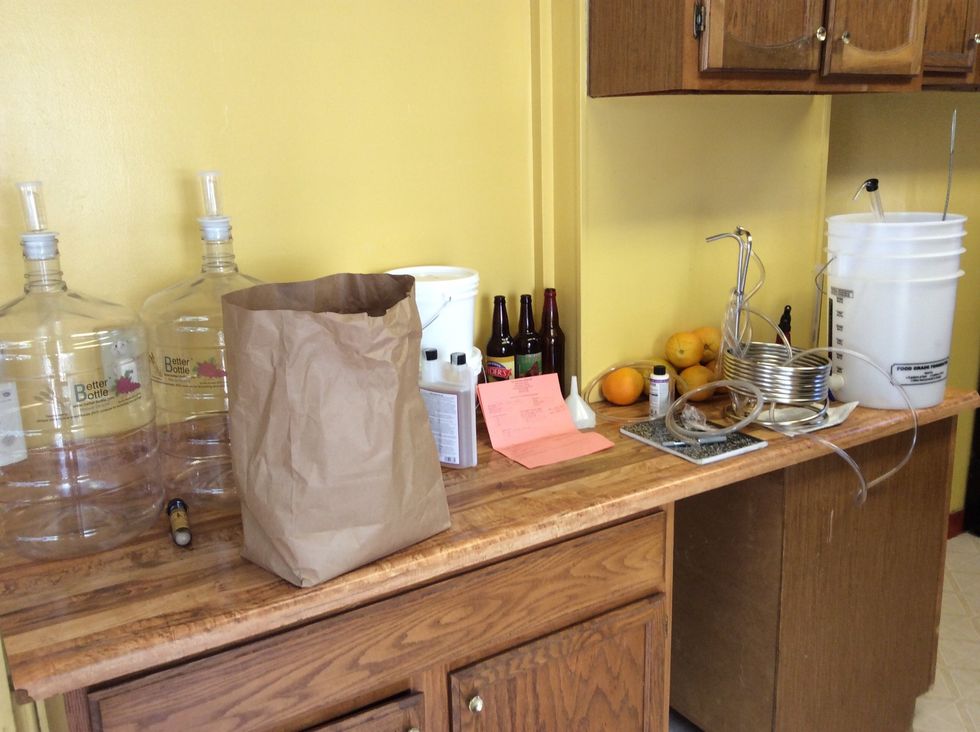
All the supplies from left to right.
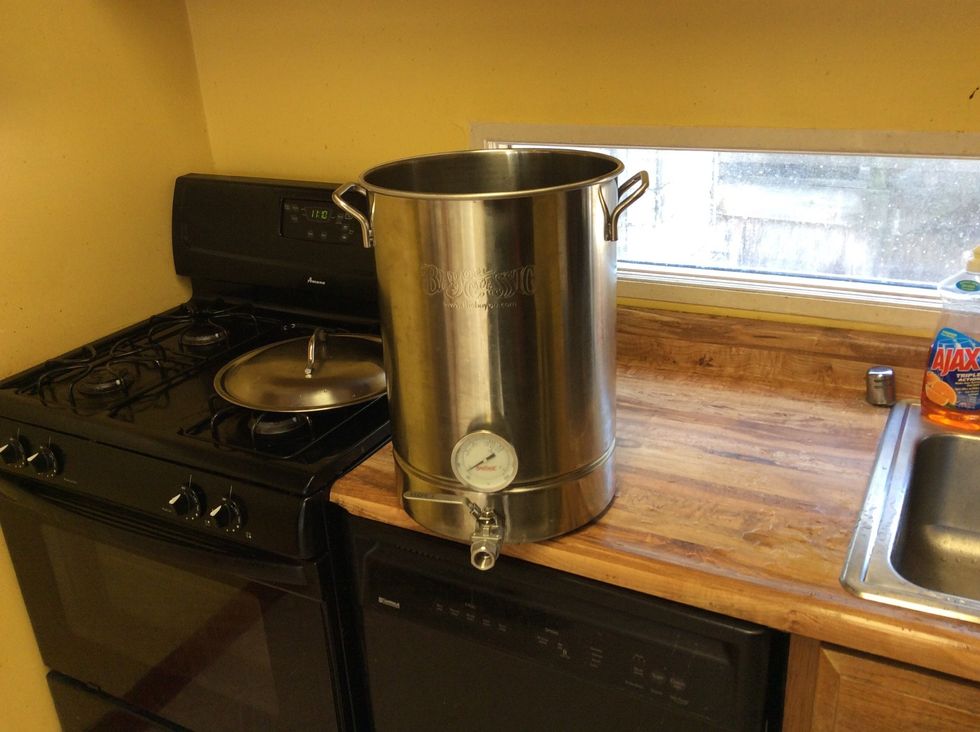
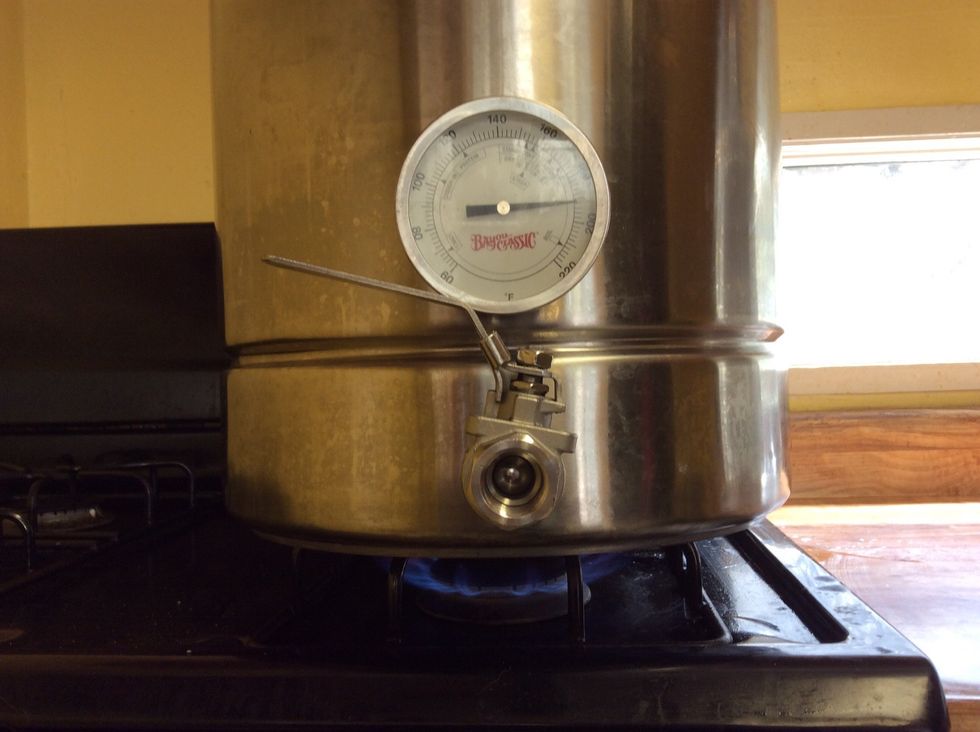
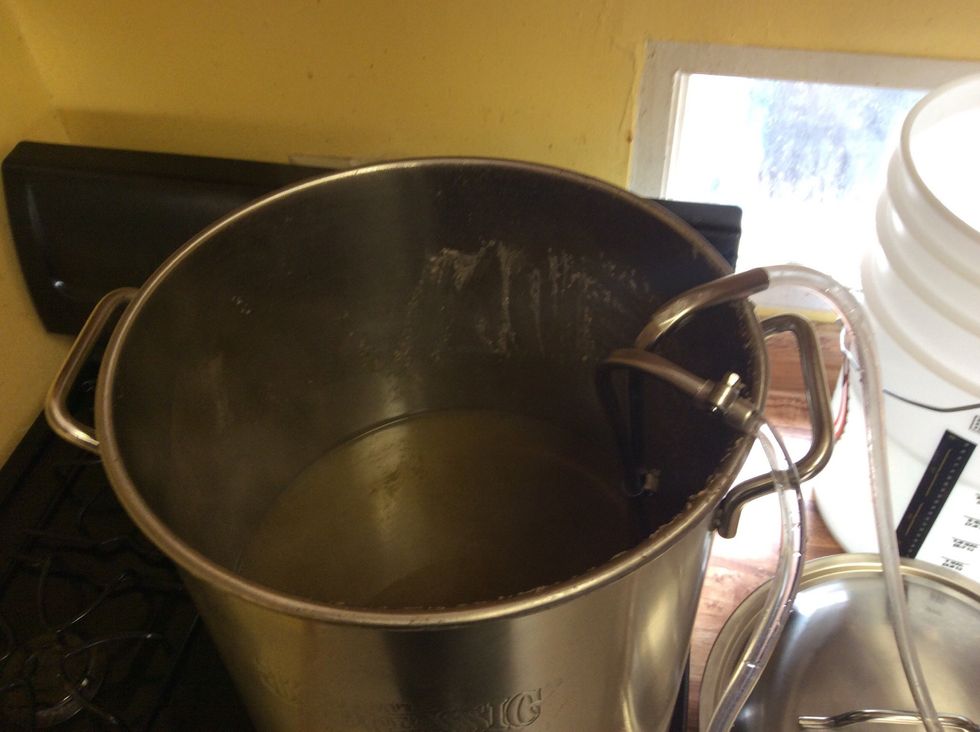
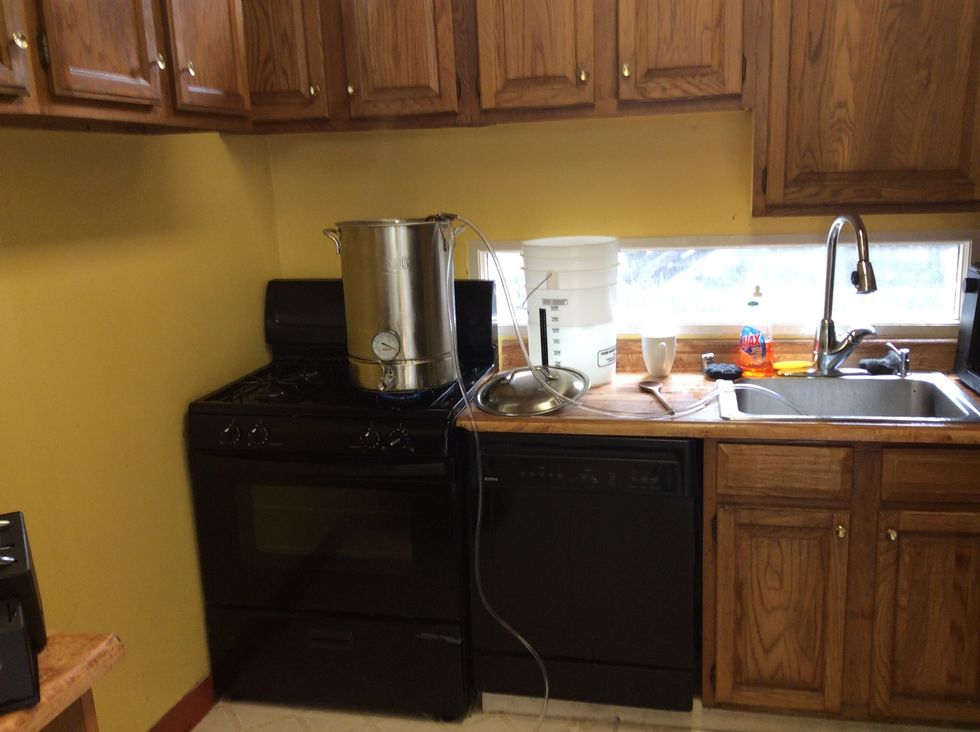
My 7 gallon boil kettle. The thermometer makes hitting the right temperatures easy. Most beginner beer kits include a floating thermometer too, so if you have a big enough pot you're fine.

First step is cleaning. Sanitation is the most important thing with beer brewing. Fill up your kettle.
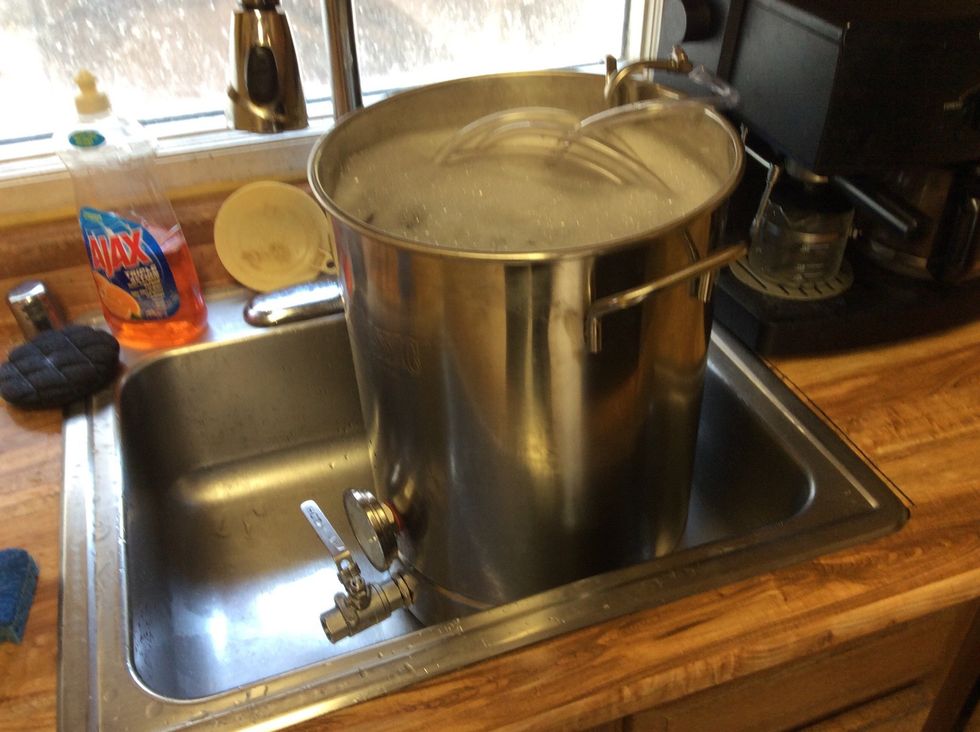
There's some Oxyclean Versatile Free I used here that's shown later. Basically fill it up and soak all your smaller items for half an hour. Feel free to rinse them with regular tap water afterwords.
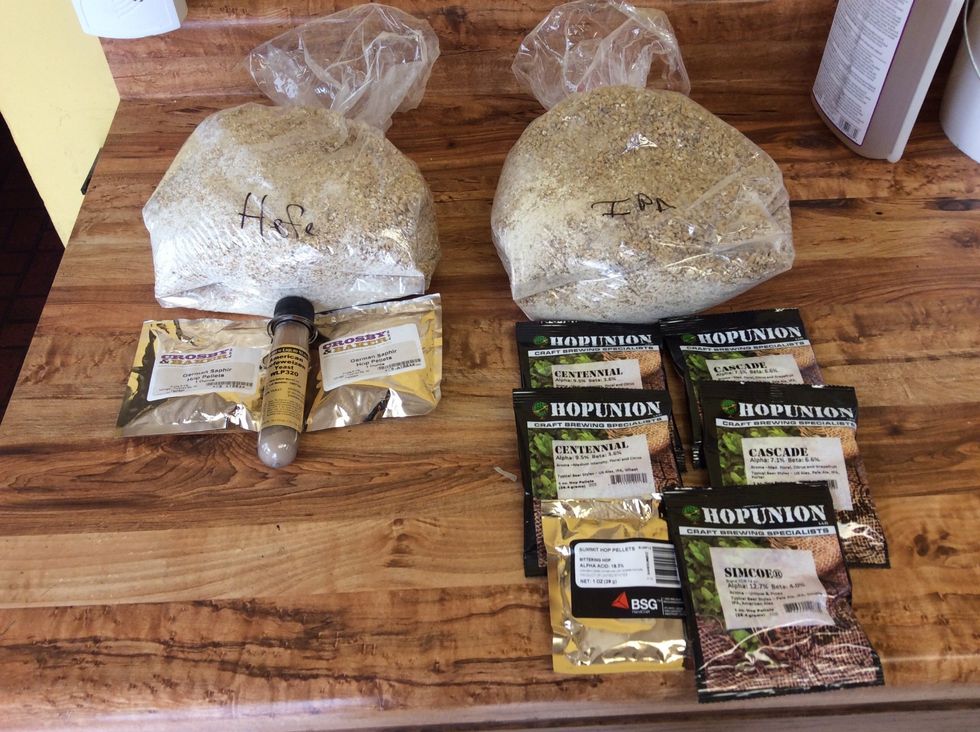
The ingredients. Hefe on the left, IPA on the right. That's a hoppy IPA.
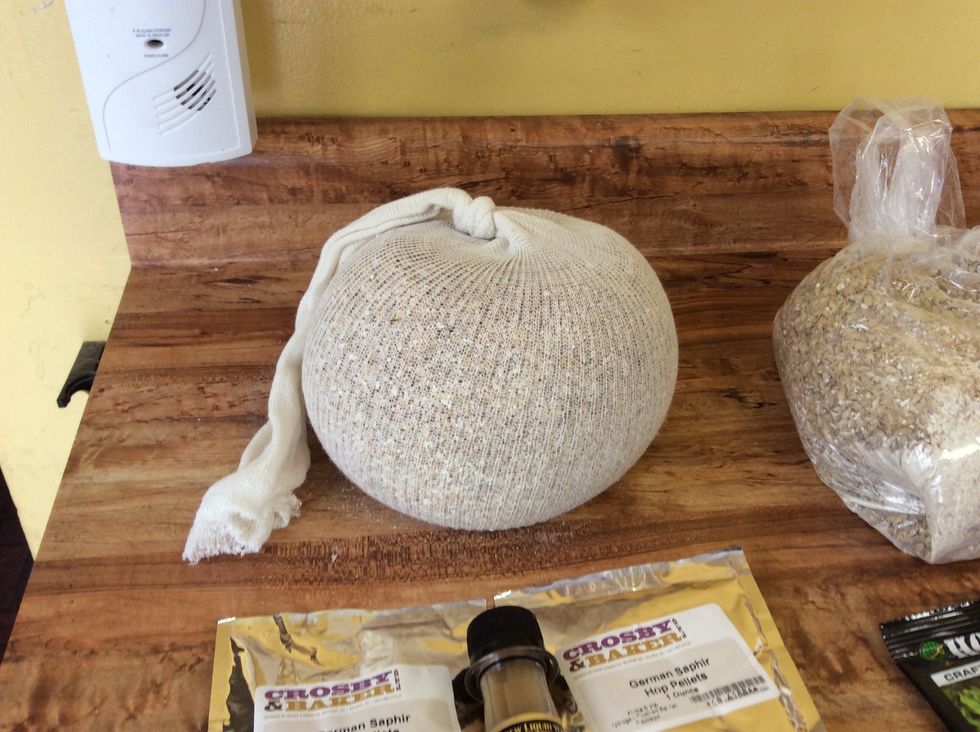
There's many methods to beer brewing. This is called BIAB, or brew in a bag. Rather than letting grains float free in the water, they're contained in a cheesecloth bag. Makes the process easier.
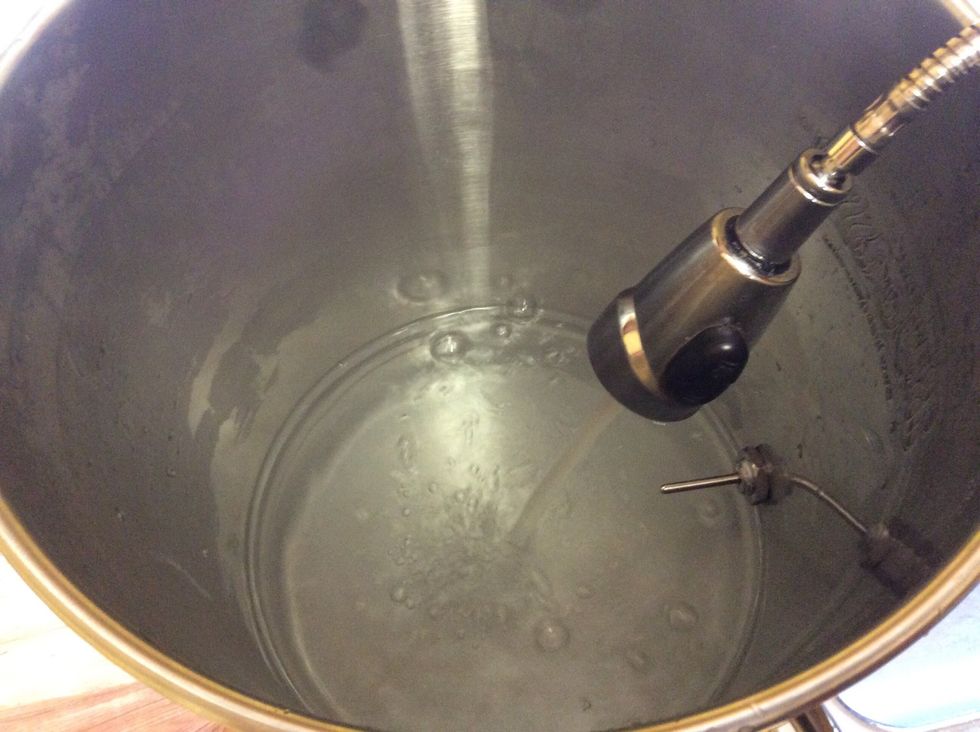
I forgot to take 2 pics of filling the kettle with water. Sue me. Anyway since I'm doing a 5 gallon batch I added 4.5 gallons here. A lot will boil off later and I'll replace the difference.
Now I heat my water to 155 degrees. Once it hits that temperature, turn the heat off.
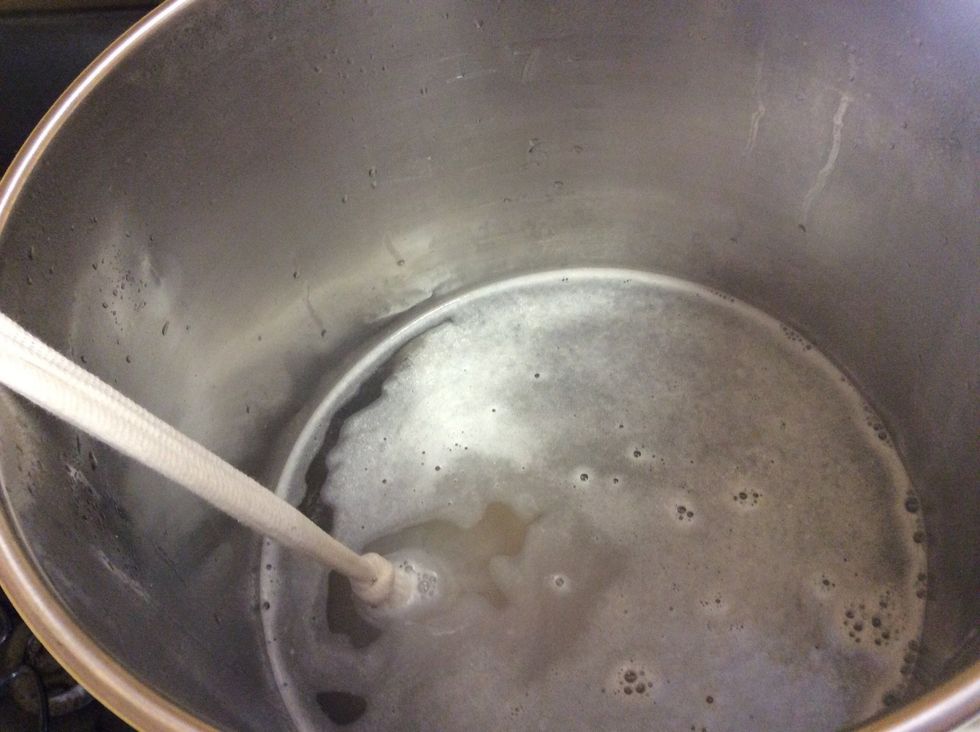
Once the water hits the target steeping temperature, add the bag of grains to the water. I recommend tying off the end (slightly off screen) so you don't have to fish for it later.
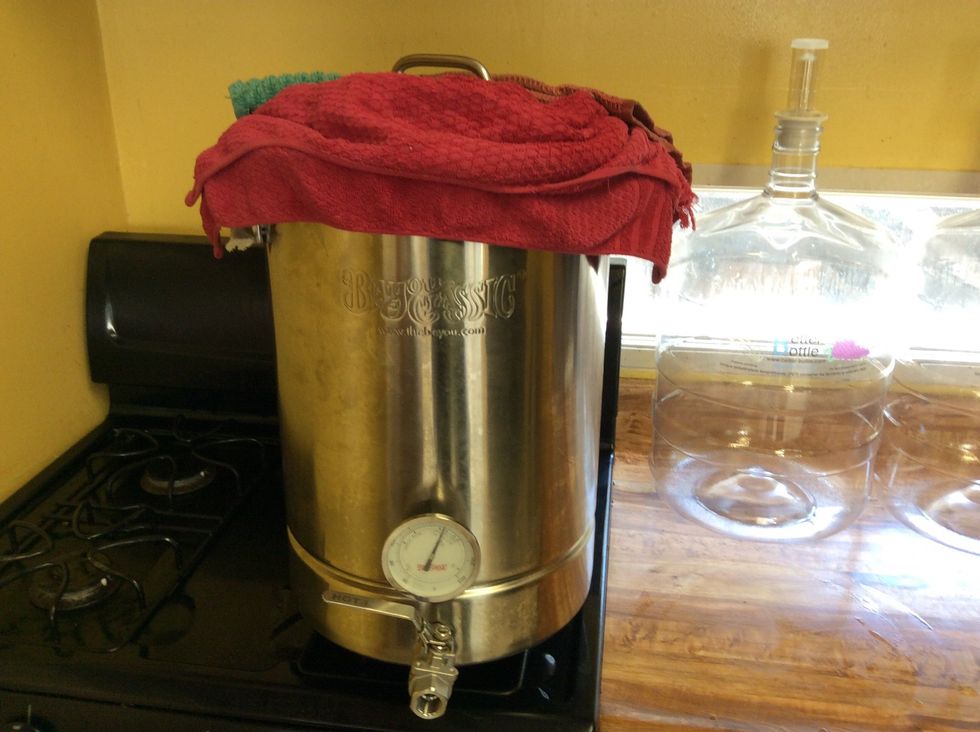
Your recipe will have a steeping time. Mine was 45 minutes. The towels are to help prevent heat loss. If the temperature gets more than s few degrees off the target temperature, a few burns get it up.
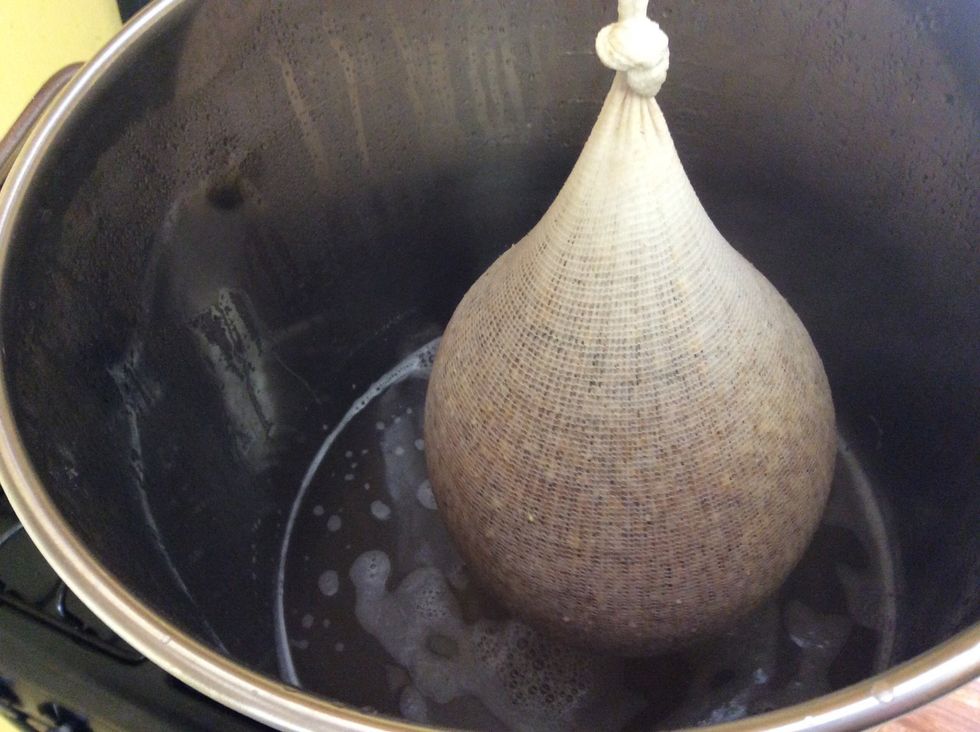
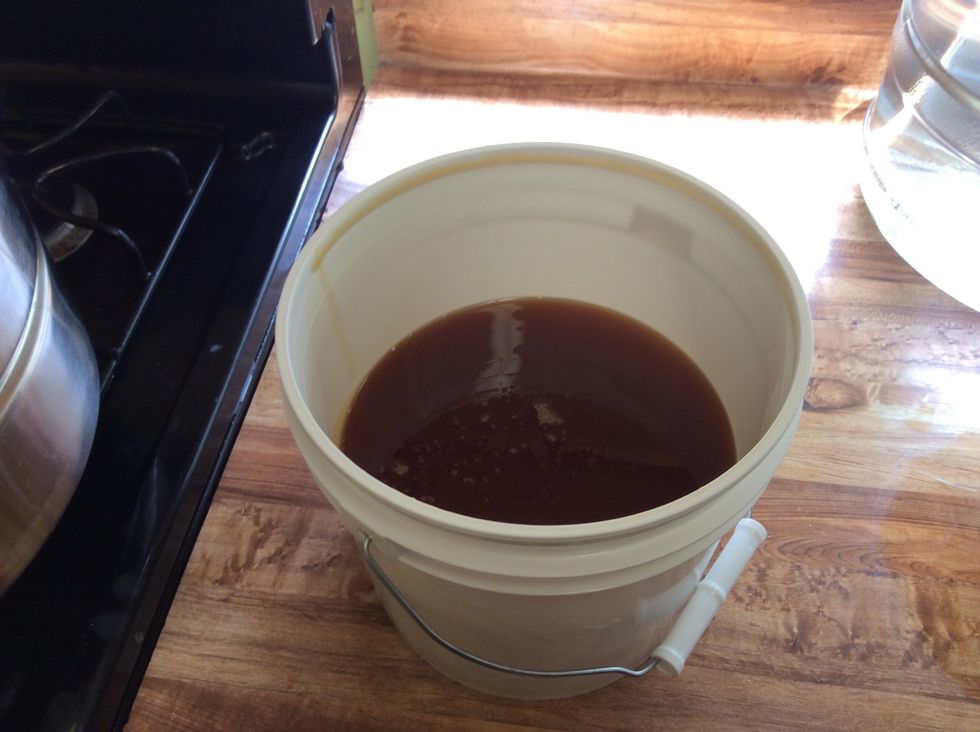
45 min later and 2 quick bursts of fire and we're ready. This is the wort now. Has all the sugars from the grain in the water. Dip the bag 10 times to get more out. Also known as sparging.
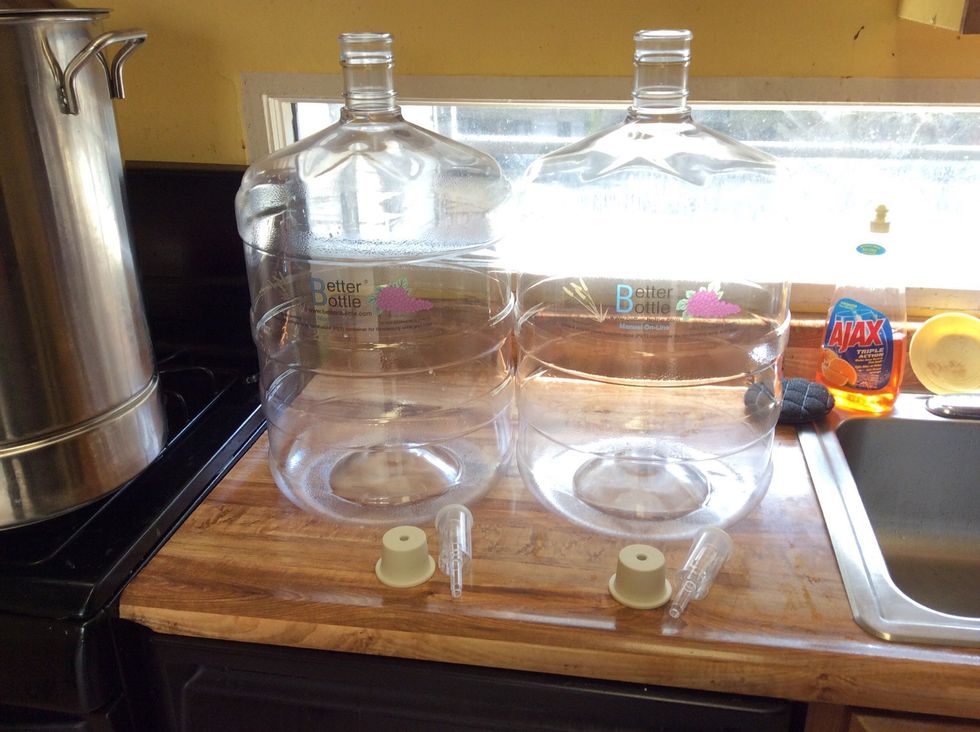
Carboys and airlocks. Most starter kits include fermenting buckets, glass carboys, or a combo. These are better. Glass breaks, as I found out during a previous brew. These are 3 piece airlocks.
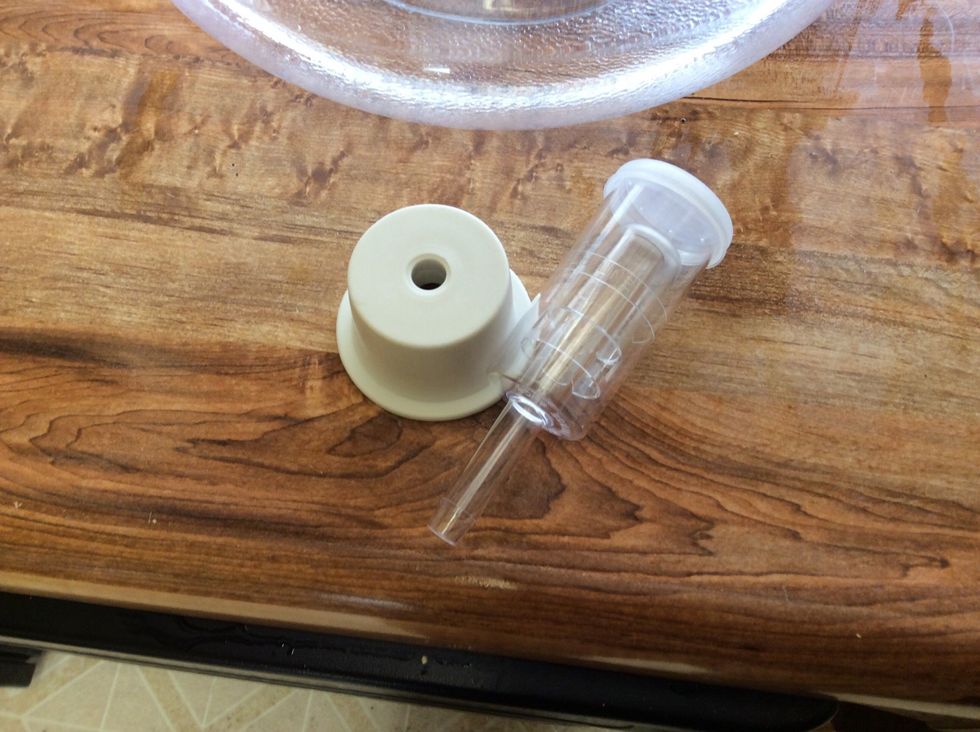
3 piece airlocks. I used the S shaped ones for a while. These are easier to clean. The bung is a size 10', which is the right size for the Better Bottle carboys. Lot better than bungs on glass carboys
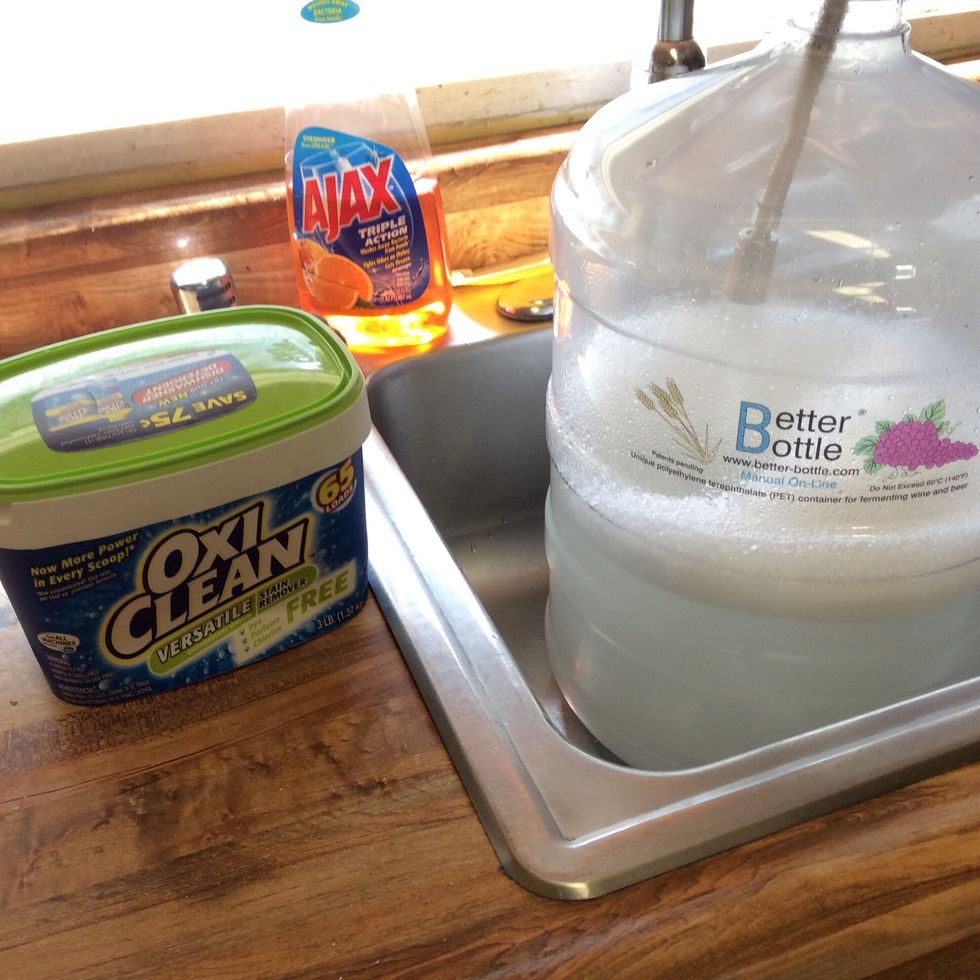
Here's the Oxyclean. FREE is vital. No dye, perfume, or chlorine. Follow the directions for amount per gallon. Cleans the carboys. Let them sit for 30 minutes then rinse out.
While the carboys clean, heat the wort to 180-200 degrees. Turn off the heat at this point.
This is malt extract, 6.5 lbs of it. Very very sticky. Its FutureBeerTM. Yeasties eat it to make the alcohol we drink. Works in relation to the grain to make enough sugar for beer.
Malt extract is condensed wort. A lot of grain was steeped to create thousands of gallons of wort and then reduced to make malt extract. Extract lets us make beer easier at home in small batches.
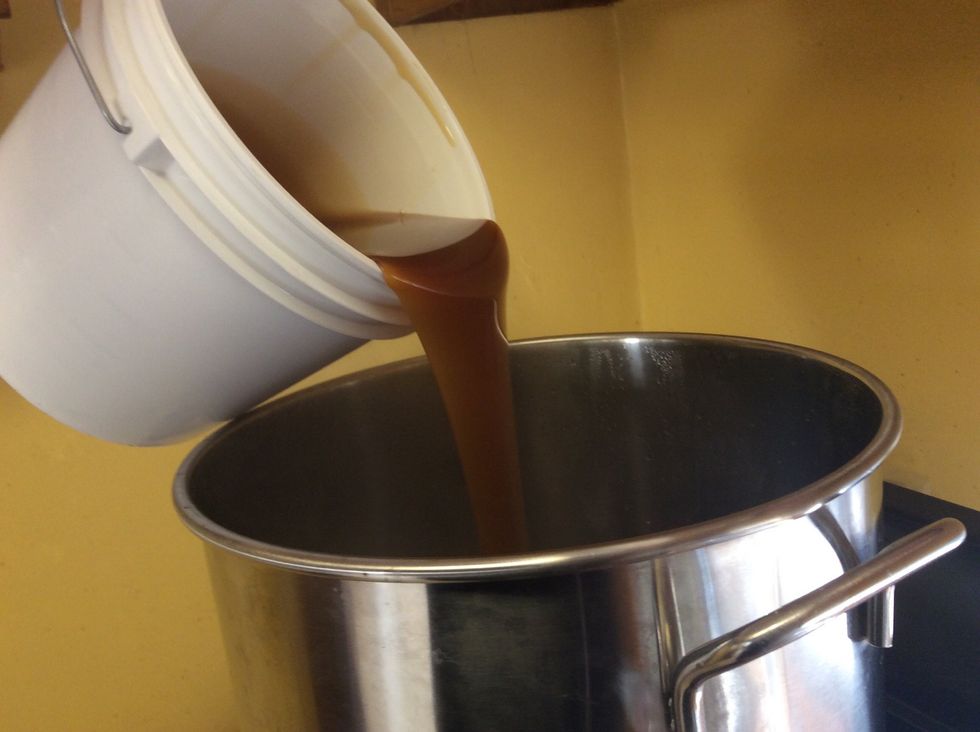
Add the extract to the wort. We turned off the heat so the extract doesn't burn as it hits the bottom of the kettle. I suggest warming up the bucket in hot water before this.
After you pour the malt extract in, there's a lot left on the sides of the bucket. Add a little warm water, seal it, then shake for a minute. Bucket's now clean, and just pour it into the wort.
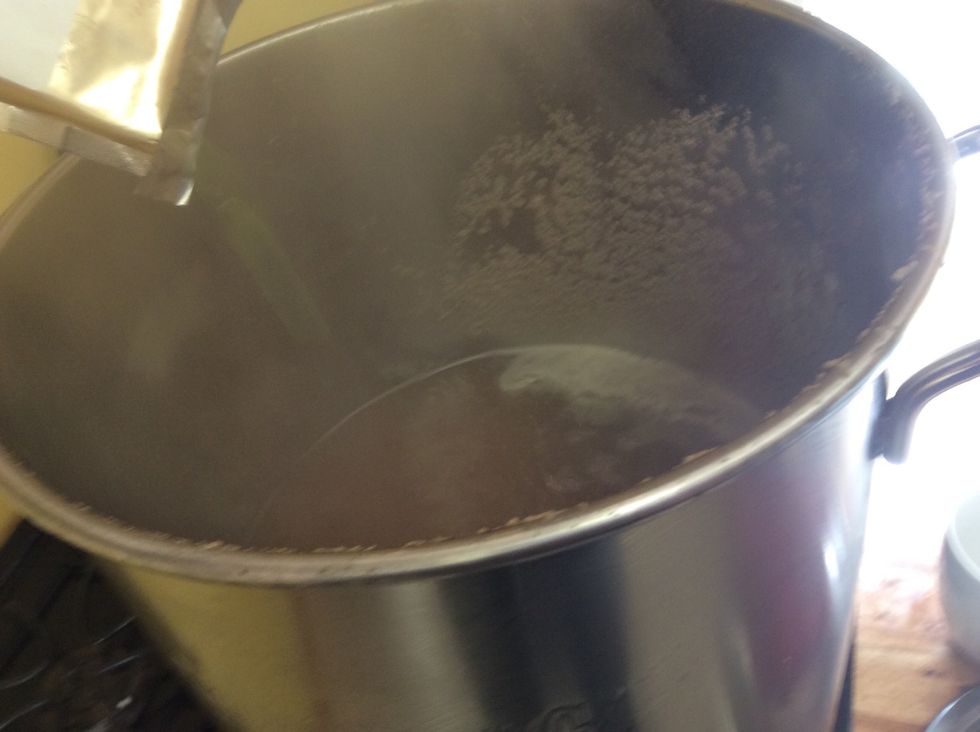
Once the malt is added, stir very well. Then crank the stove to 100% and bring the wort to a boil. Don't start counting your boil time until the wort is actively boiling.
This is important. Recipes have times for adding hops. The times at the beginning are for boil hops. They count down to the end. Finishing hops count from the end backwards.

The Hefe is forgiving. There's only two hops and they're the same. Add the first one when the boil starts.
Watch out for boil overs. It will happen. See the crap on the sides? Leave a gap in the kettle lid to let out air pressure, especially after adding the hops.
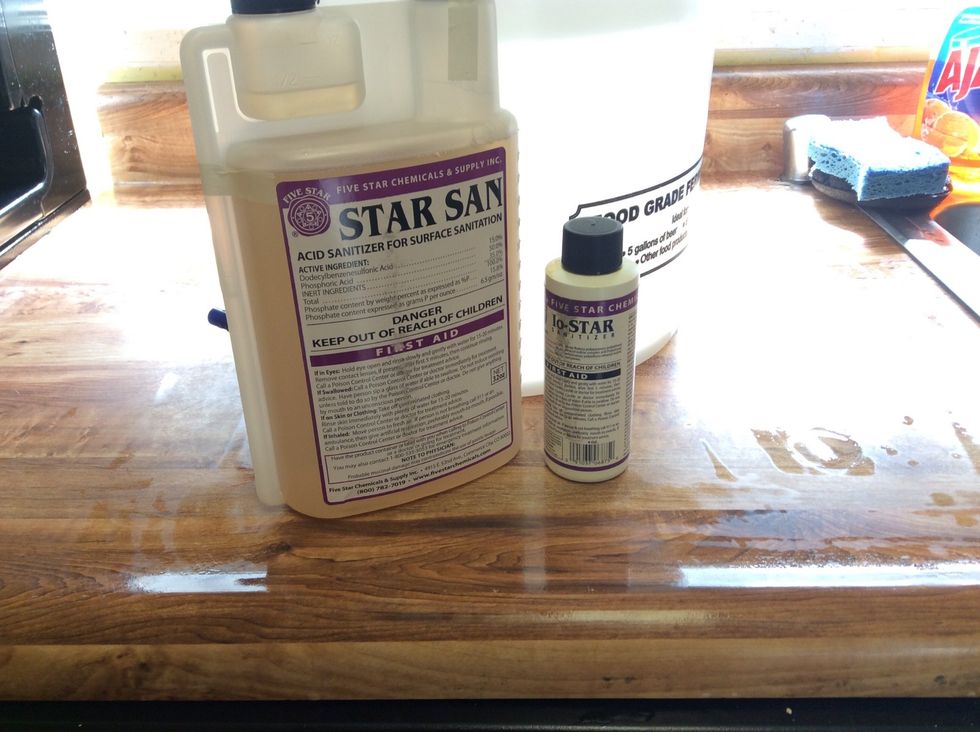
Let's talk about bacteria. In the photo is a bottle of Starsan and a bottle of iodine. Both work for killing bacteria. The IO-Star bottles come in most beginner kits. Iodine is AWESOME AND CHEAP.
But, iodine stains. It doesn't stain glass but it does plastic. Will absolutely have no effect on your beer though. Fill to the brim with water, add one cap per gallon, and let sit 30 min.
Starsan works within 30 seconds. You don't need to fill a lot of water, just have a spray bottle with the recommended concentration and spray whatever your sanitizing. AWESOME.
At this point, wort is a lovely sterile breeding ground for every wild yeast, microbe, and fungus that can get in. SANITIZE EVERYTHING. The next steps involve moving wort around, so limit exposure.
15 minutes before the end of the boil, I immersed my wort chiller. I cleaned it and the boil kills any nasty bugs. This is used to rapidly decrease the temperature of wort after the boil.
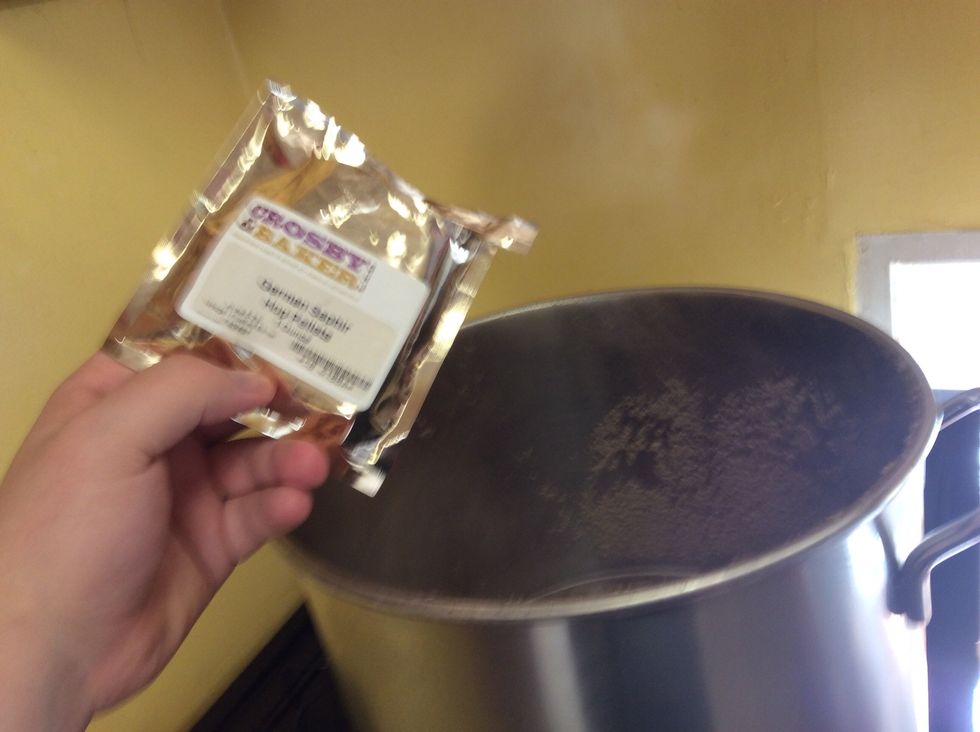
Reusing the same photo. At the end of boil, I added the second packet of hops.
Wort chiller setup. Notice the temperature of the kettle is over 200 deg fahrenheit. The input is attached to my garden hose and output is the sink. Took 15 min to reach 80 degrees.
Chiller output
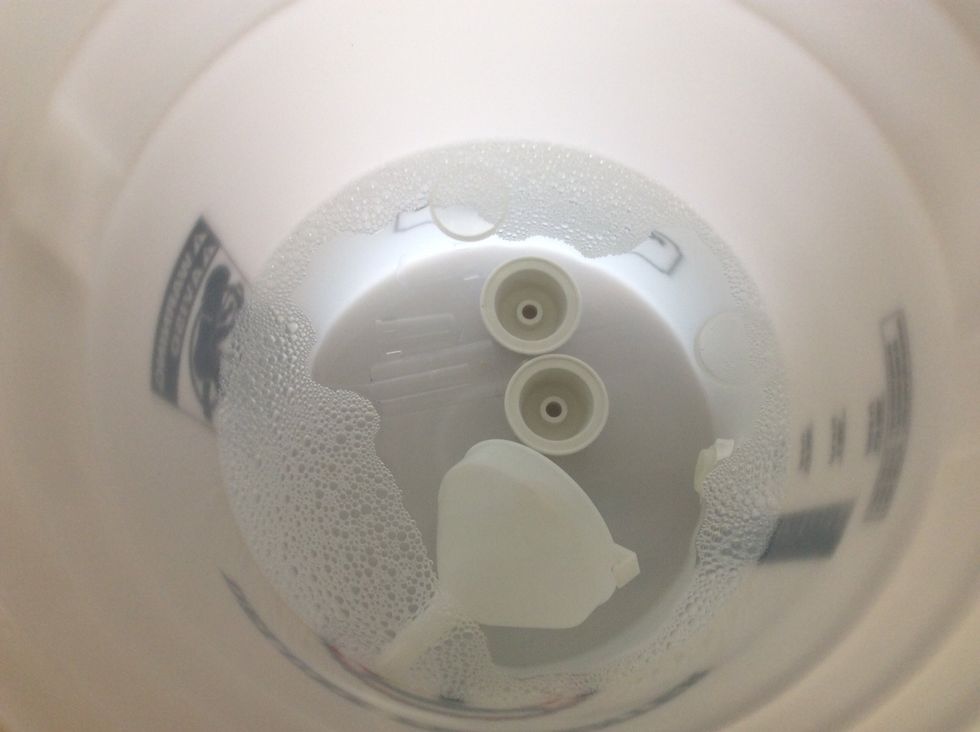
While the wort was chilling, I added some water and Starsan to my old fermenter bucket. In went the funnel, airlocks, and bungs.
I poured a little of the Starsan mix into my carboy. Shake it a lot and you get foam. DON'T FEAR THE FOAM. Make it touch every part of the bottle. Starsan breaks down into food for yeast.
Sadly I didn't take any more photos of the next few steps. I'll describe them though.
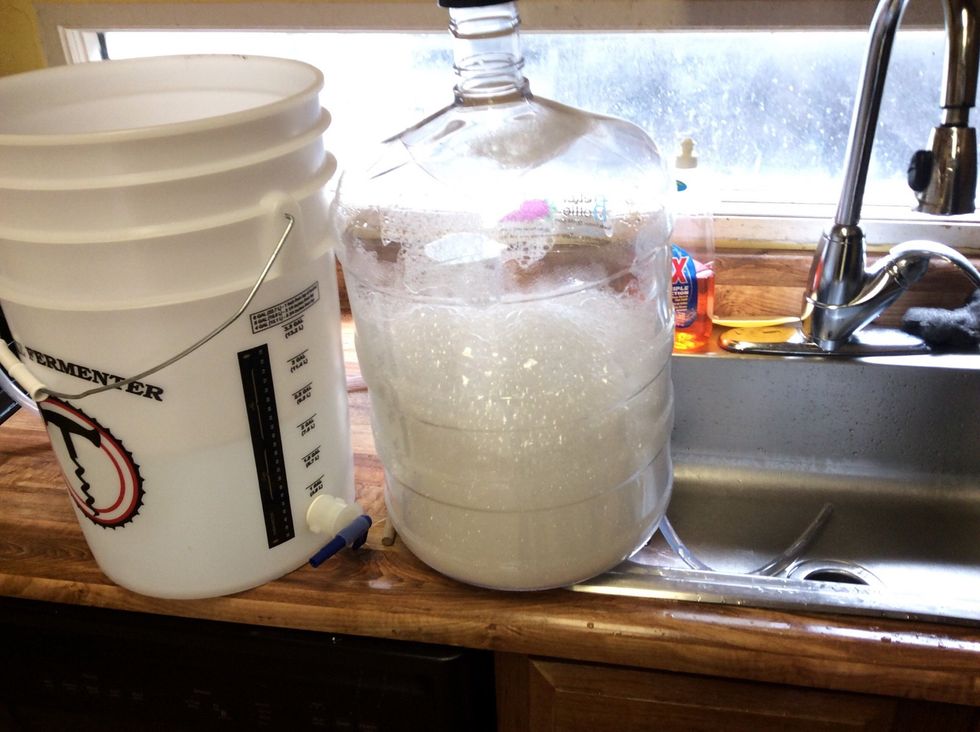
Once the wort dropped to 80 deg I transferred it to the carboy. I connected the vinyl hose to the funnel, then drained the kettle into the bottle.
Be careful not to drain the stuff at the bottom into the carboy. This is the trub. Has leftovers from the boil we don't want to keep.
Once the kettle drains, there's less than 5 gallons of wort because of evaporation. Top off the carboy with warm tap water to 5 gallons.
Now is the time to pitch the yeast. My yeast came liquid in a vial. Sometimes it's dried in a packet. Either way, dump it into the carboy now.
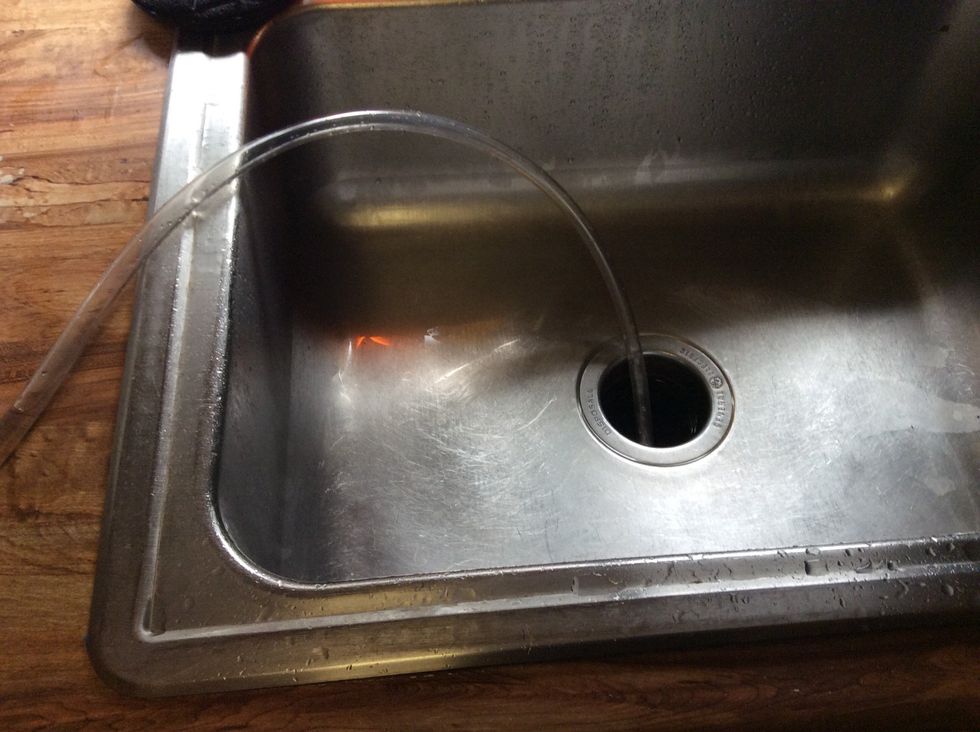
This part is important. Your beer will PROBABLY go nuclear in the first 12-24 hours. Yeast are so active they'll blow the top off the carboy. You NEED A BLOWOFF TUBE. Final pic for details.
Last step, plug in the bung. SANITIZED. If it left the clean sterile water at any point till now, dip it again. Attach a blowoff hose now.
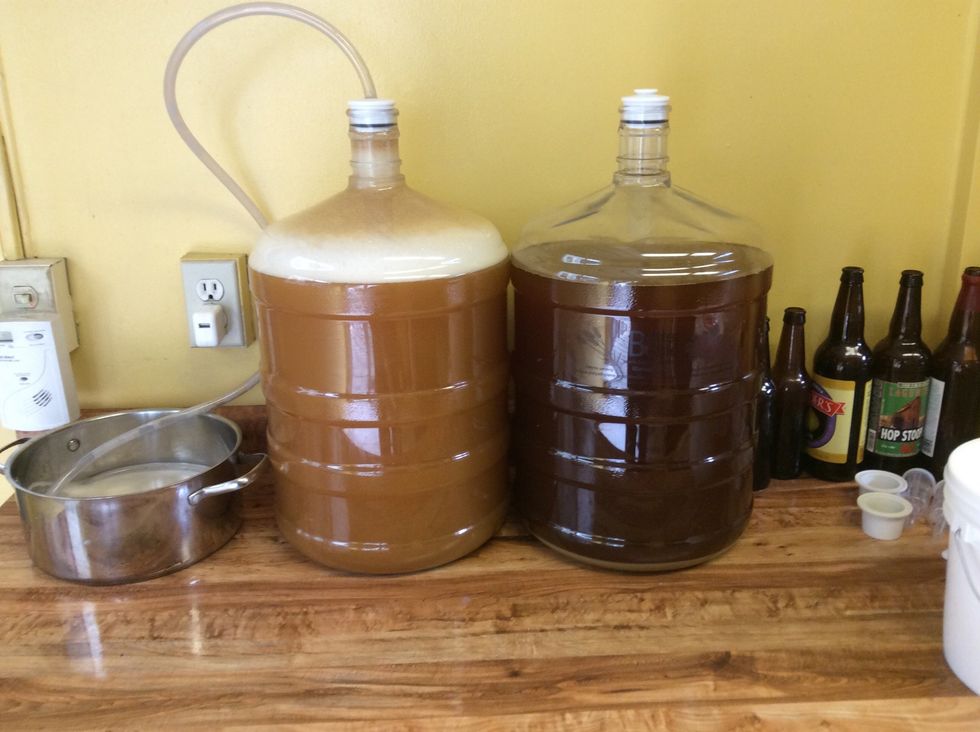
Hefe on the left. Notice the foam. That's krausen. The tube leads to a pot of sterile water. 1st 24 hours do this till the crazy yeast calm down. Then replace with the airlock.

The carboy on the right is the IPA. Did not add yeast yet. Had to wait because I only have 1 tube now.
Let the beer ferment for about 3-4 weeks before bottling. It's not necessary to use a secondary fermenter unless adding extra things after primary is completed. Bottling will come in another guide.