The Conversation (0)
Sign Up
There are many different patterns that can be made from adding or removing strings and arranging the colors on different orders. This is a basic guide for the technique only. Patterns can be found at:
Www.friendship-bracelets.net There are other sources but this is the best and most complete, as well as interactive, site I have ever had the pleasure to find. <3
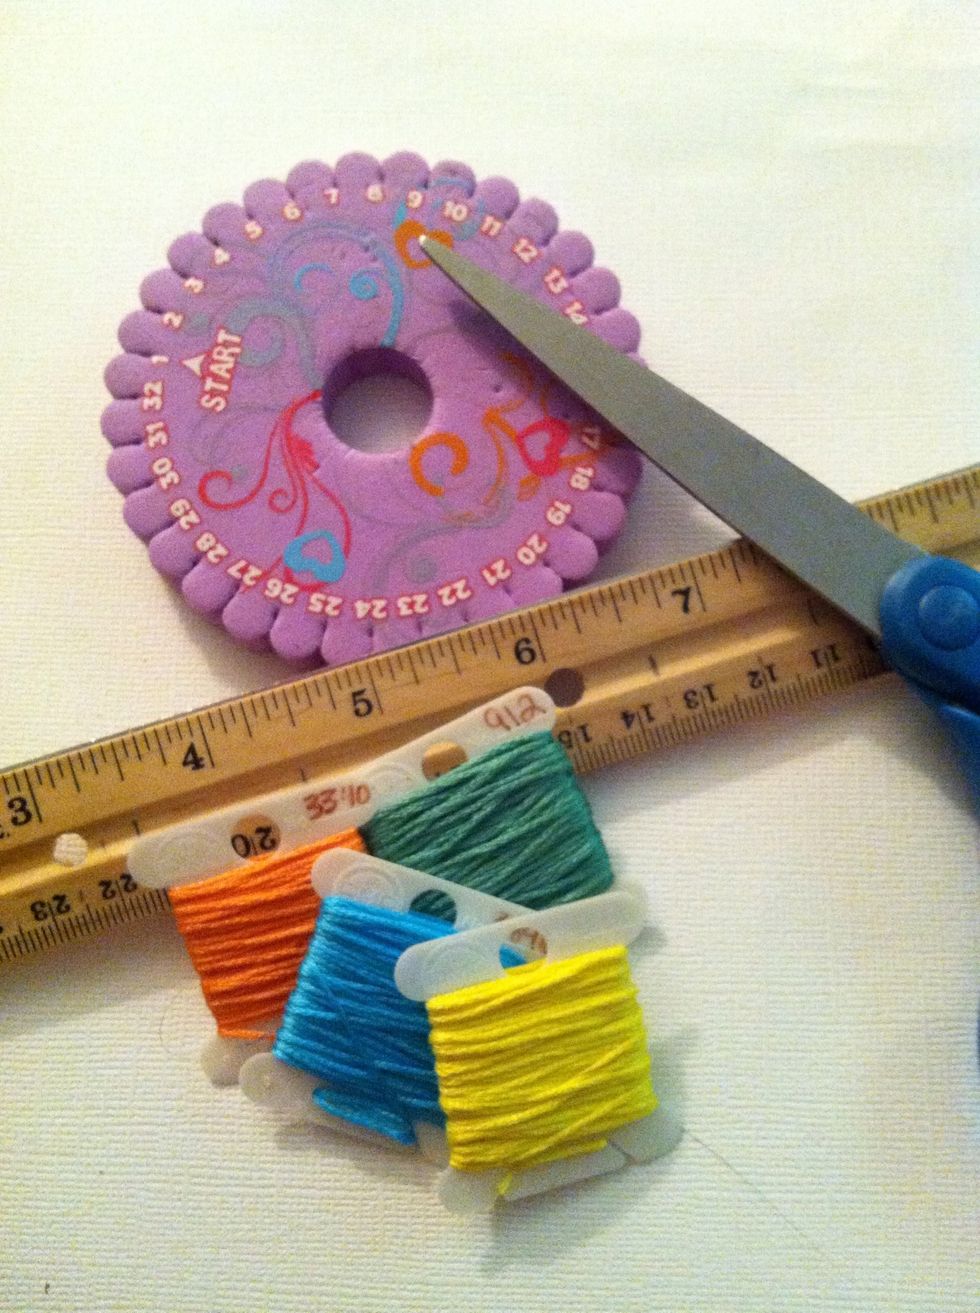
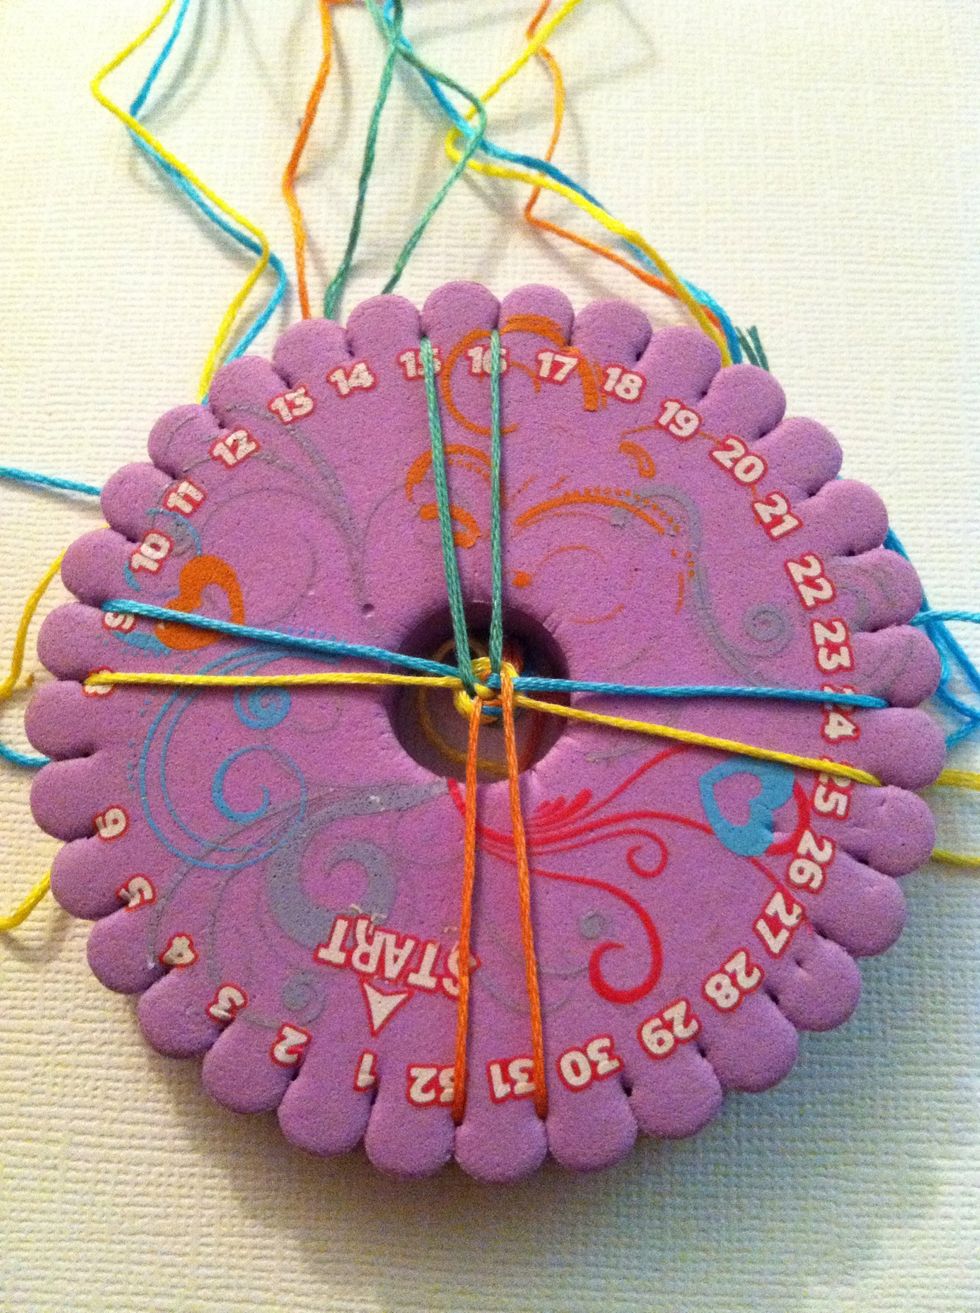
I am using embroidery floss for this example. The purple disk is a stiff foam loom, called a Kumihimo (koo-me-he-moe) wheel or disk. It can be purchased in craft stores or online.
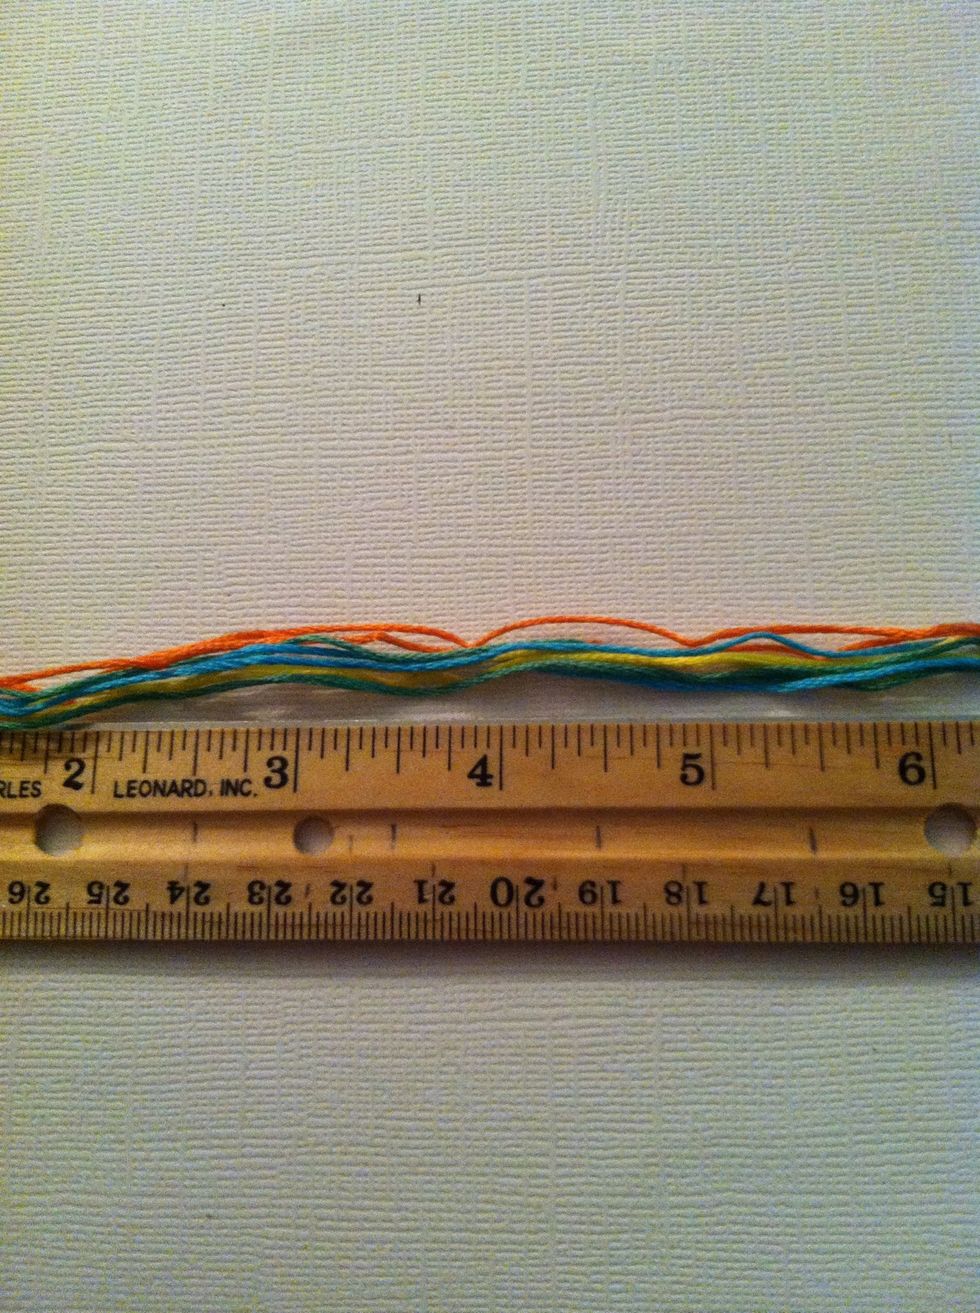
Measure and cut 8 strings at about 24 inches. For the ease of this guide I chose 4 bright colors, 2 string a each, and color blocked them. This will not create any particular pattern in the end.
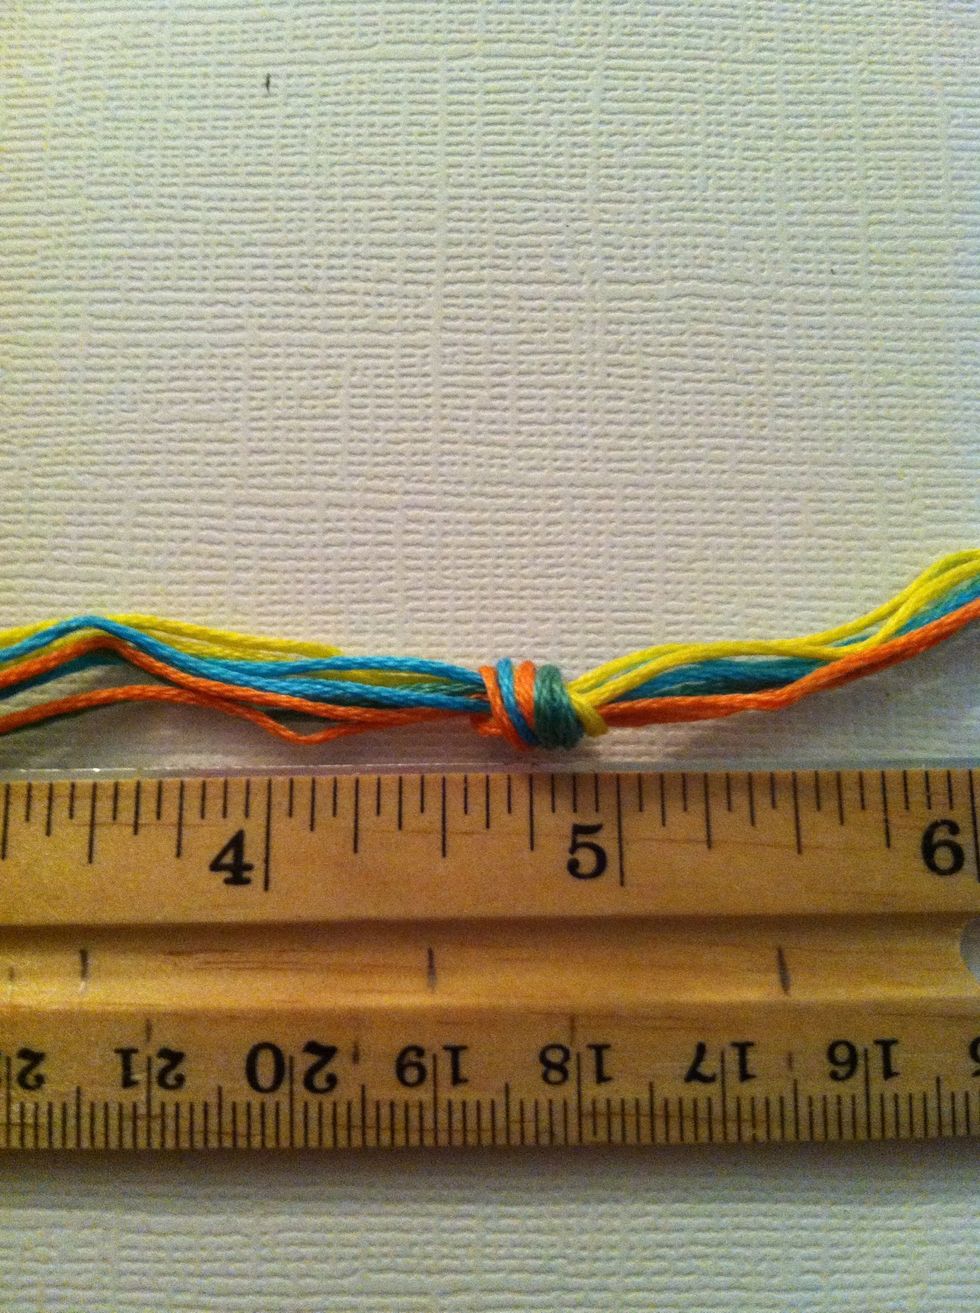
Make a loose overhand knot about 5 inches down. Refer to my guide on Knots if you aren't sure how to make an overhand knot. Tie it loosely.
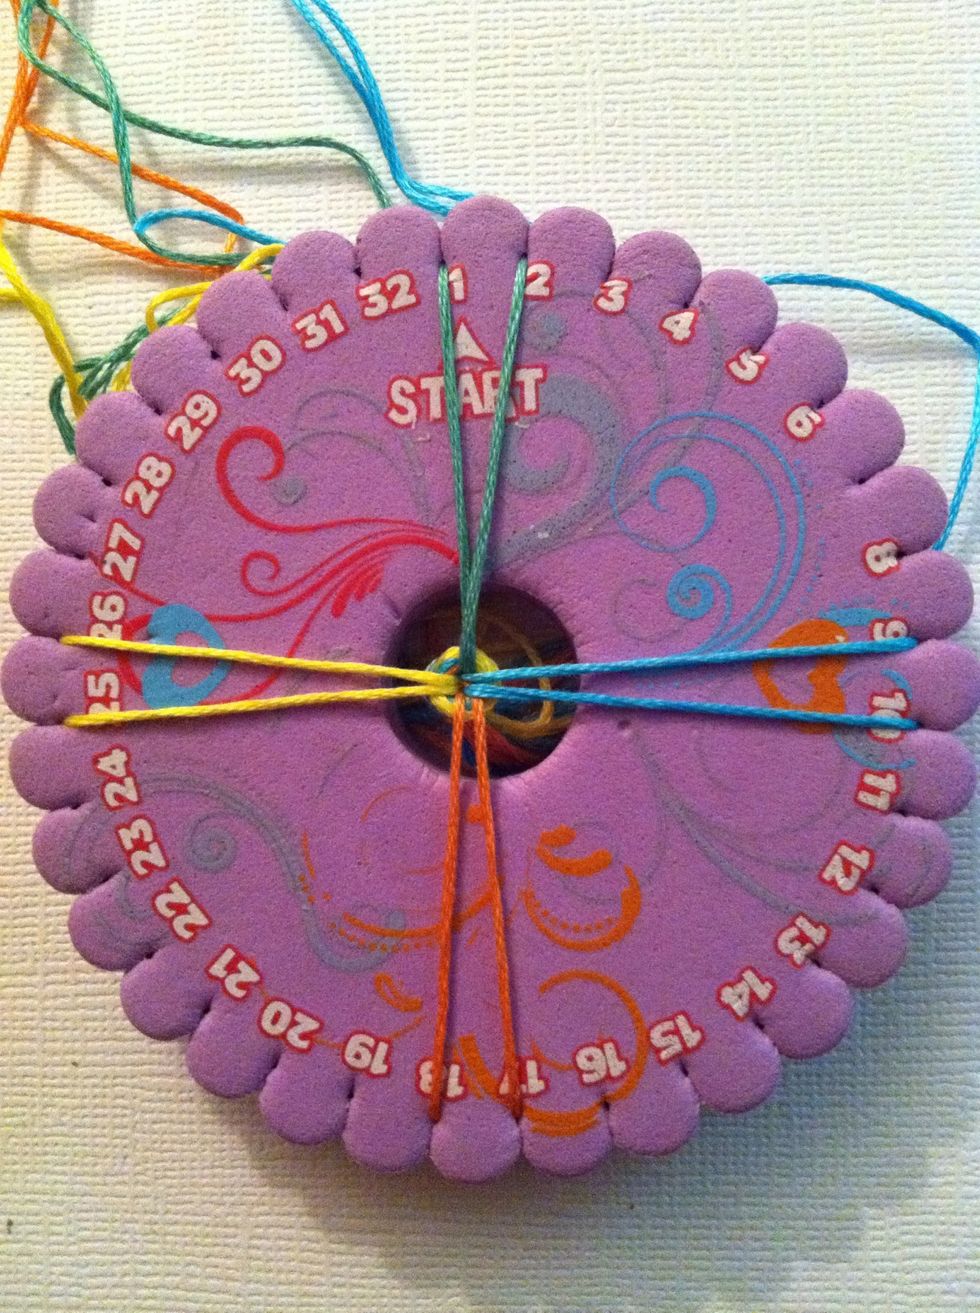
Set up you strings in sets of two, spread apart equally.
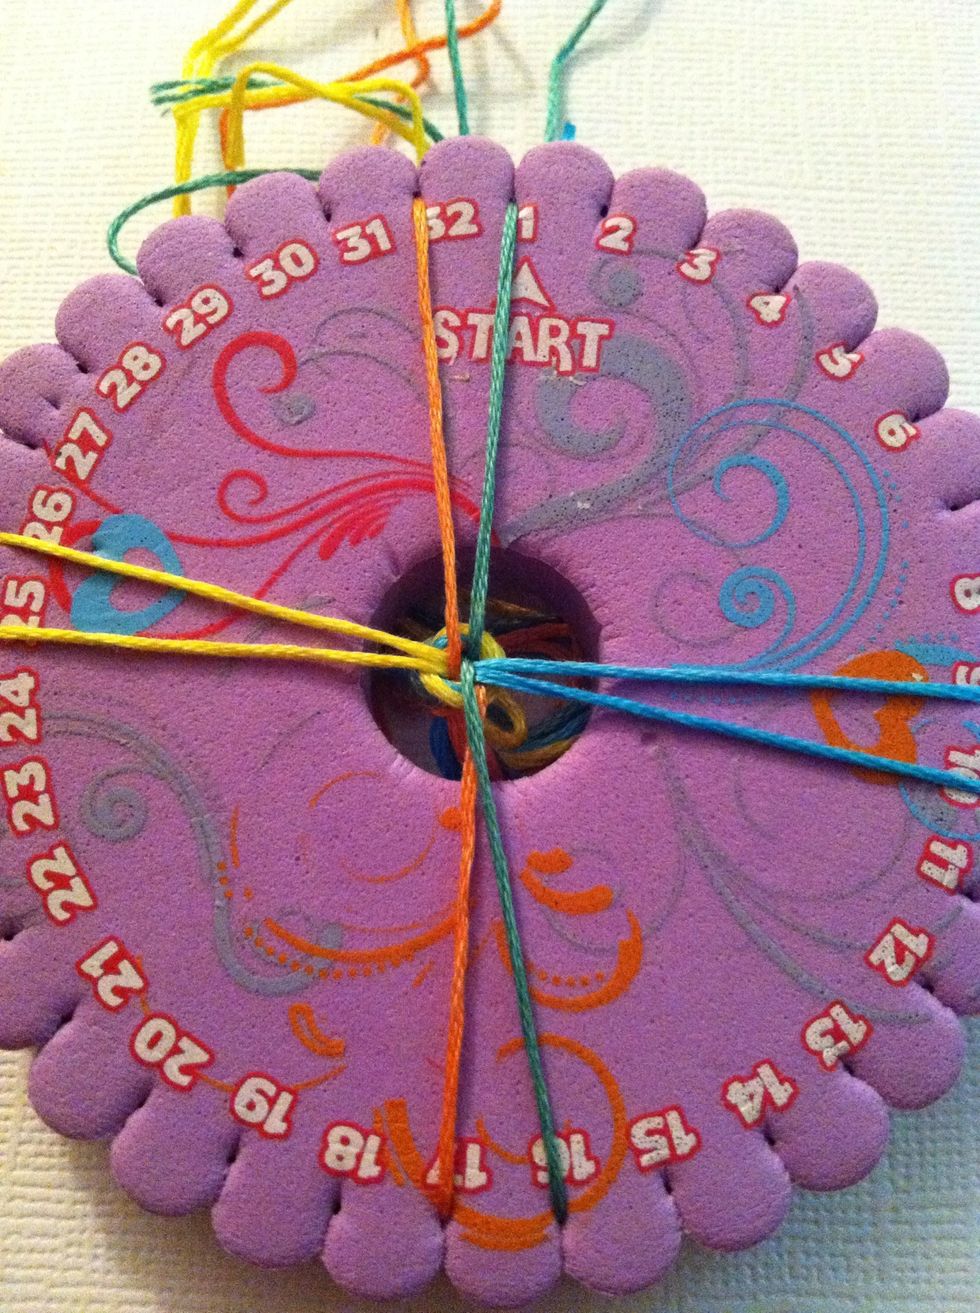
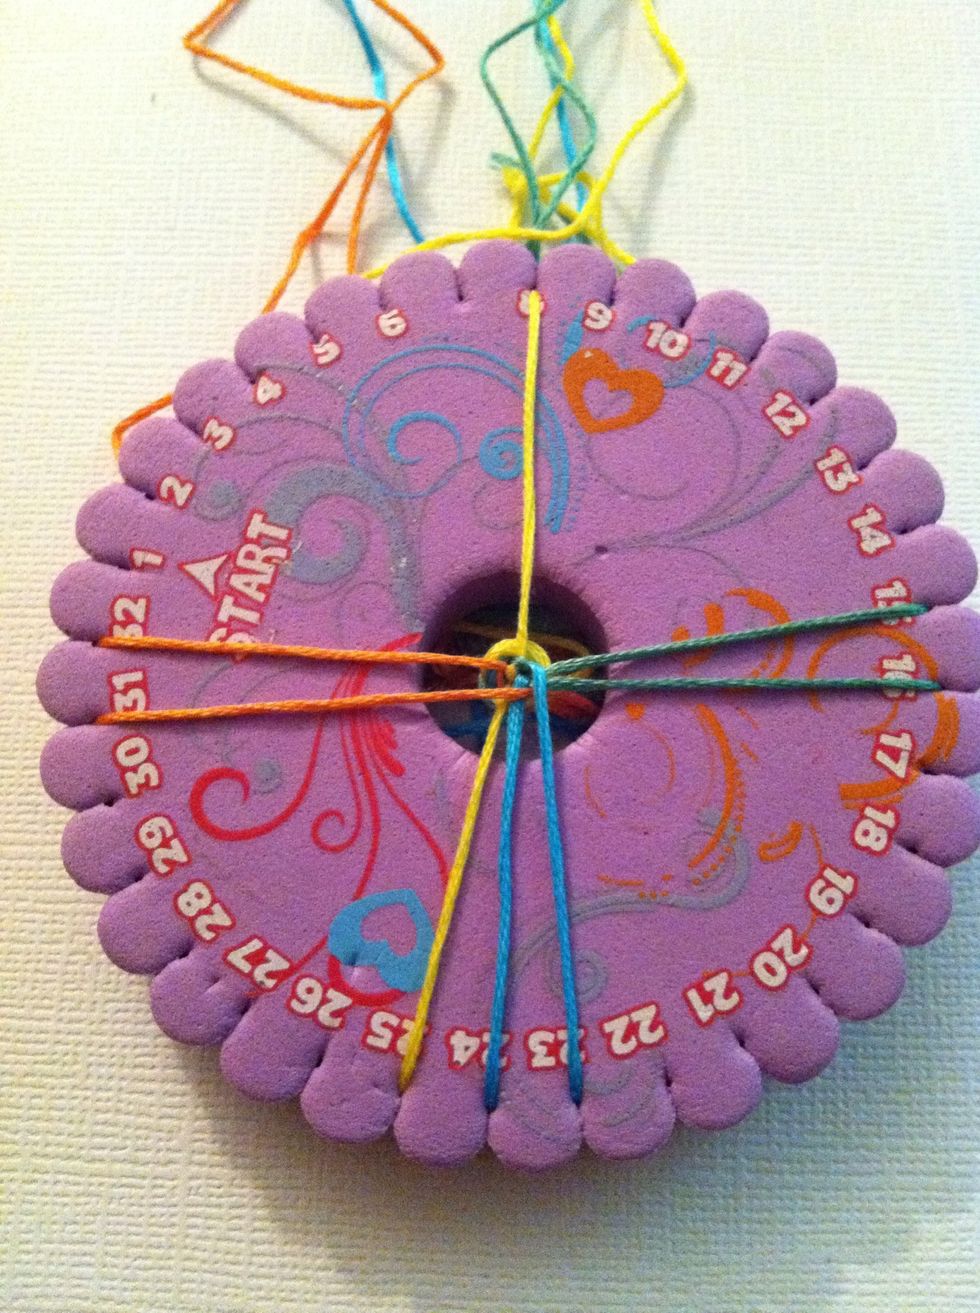
Begin by moving the top right string down, and the bottom left string up. In this case from slot 2 to slot 16 and 18 to slot 32.
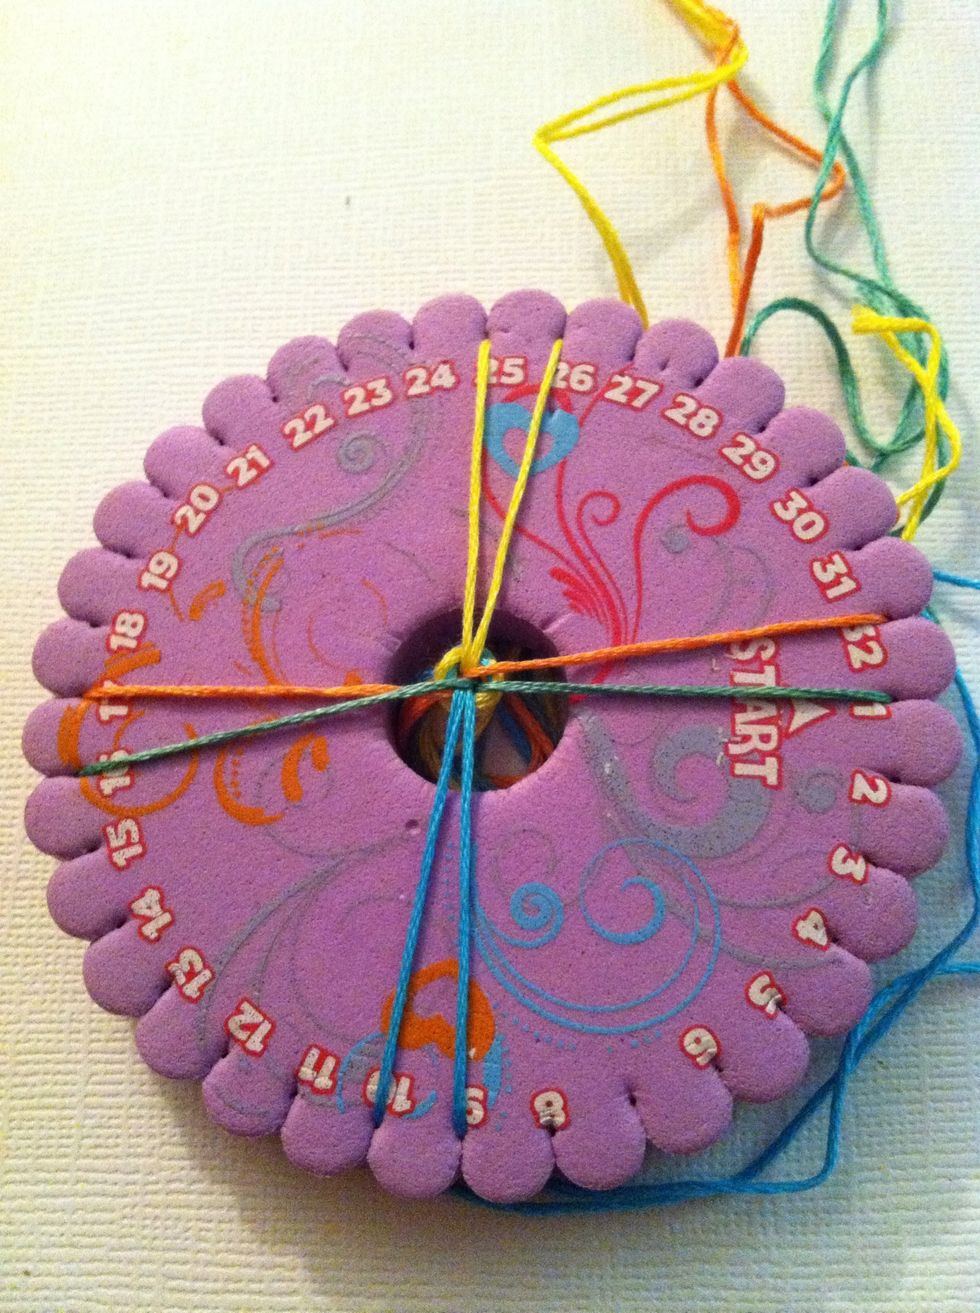
Turn to the right. You could also turn to the left, and most tutorials will say counterclockwise, but in truth as long as you always turn the same way it'll be fine.
Top right string down, bottom left string up. Keep a firm and steady tension, do not pull it hard you want it to stay centered.
Turn to the right.
Repeat.
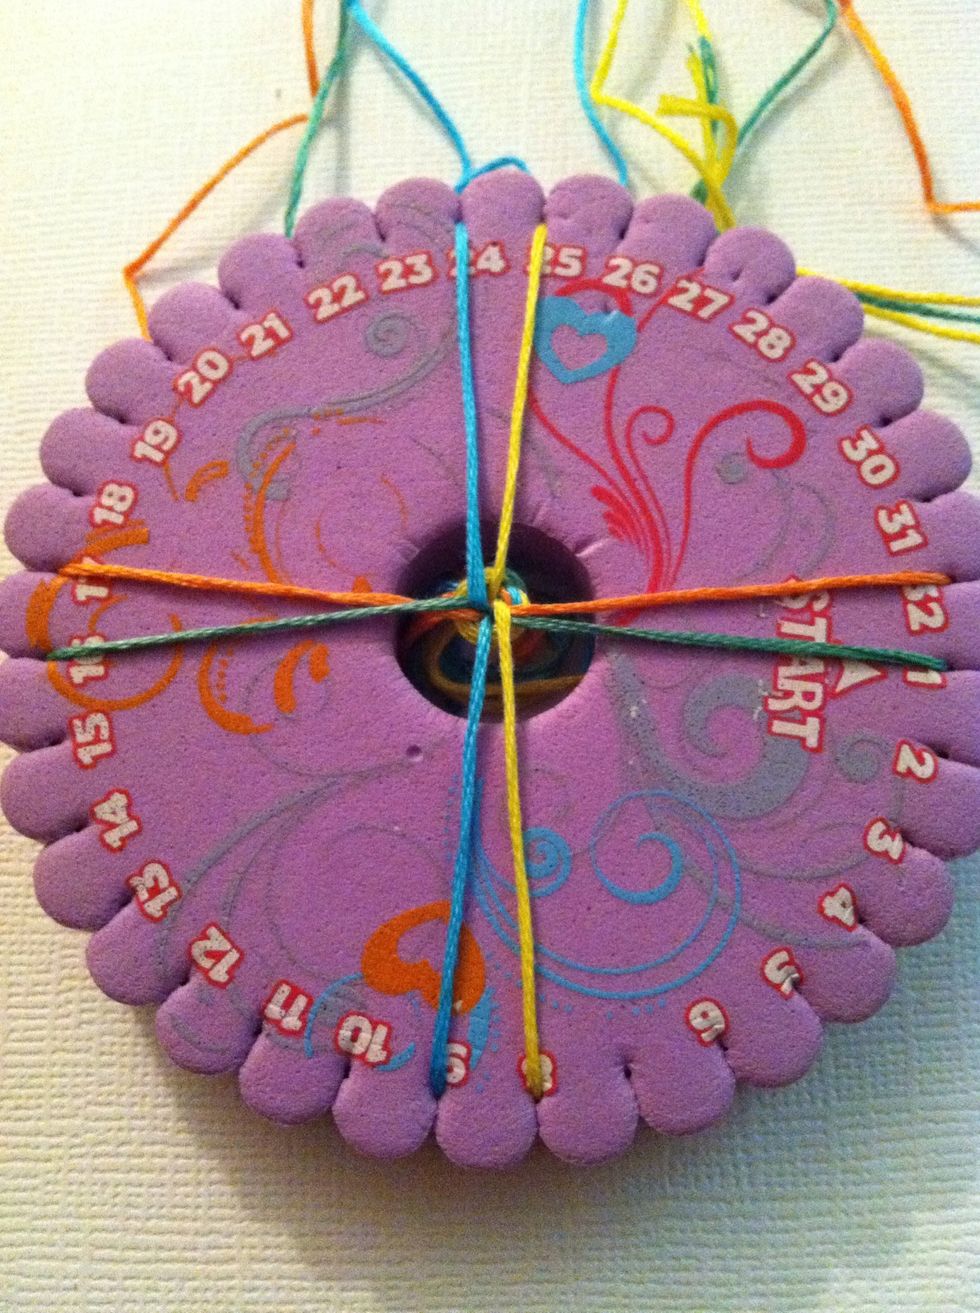
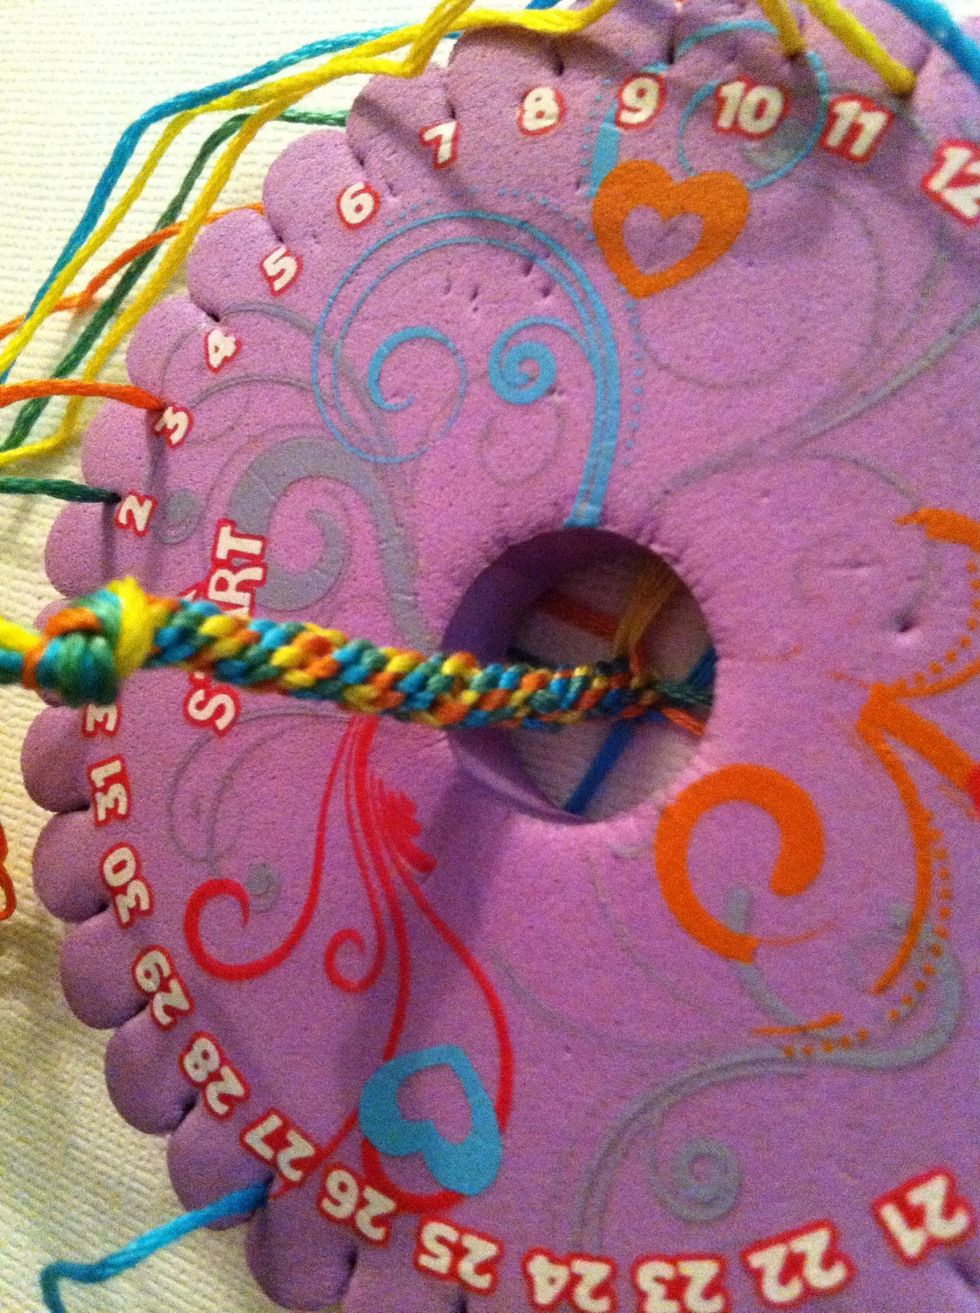
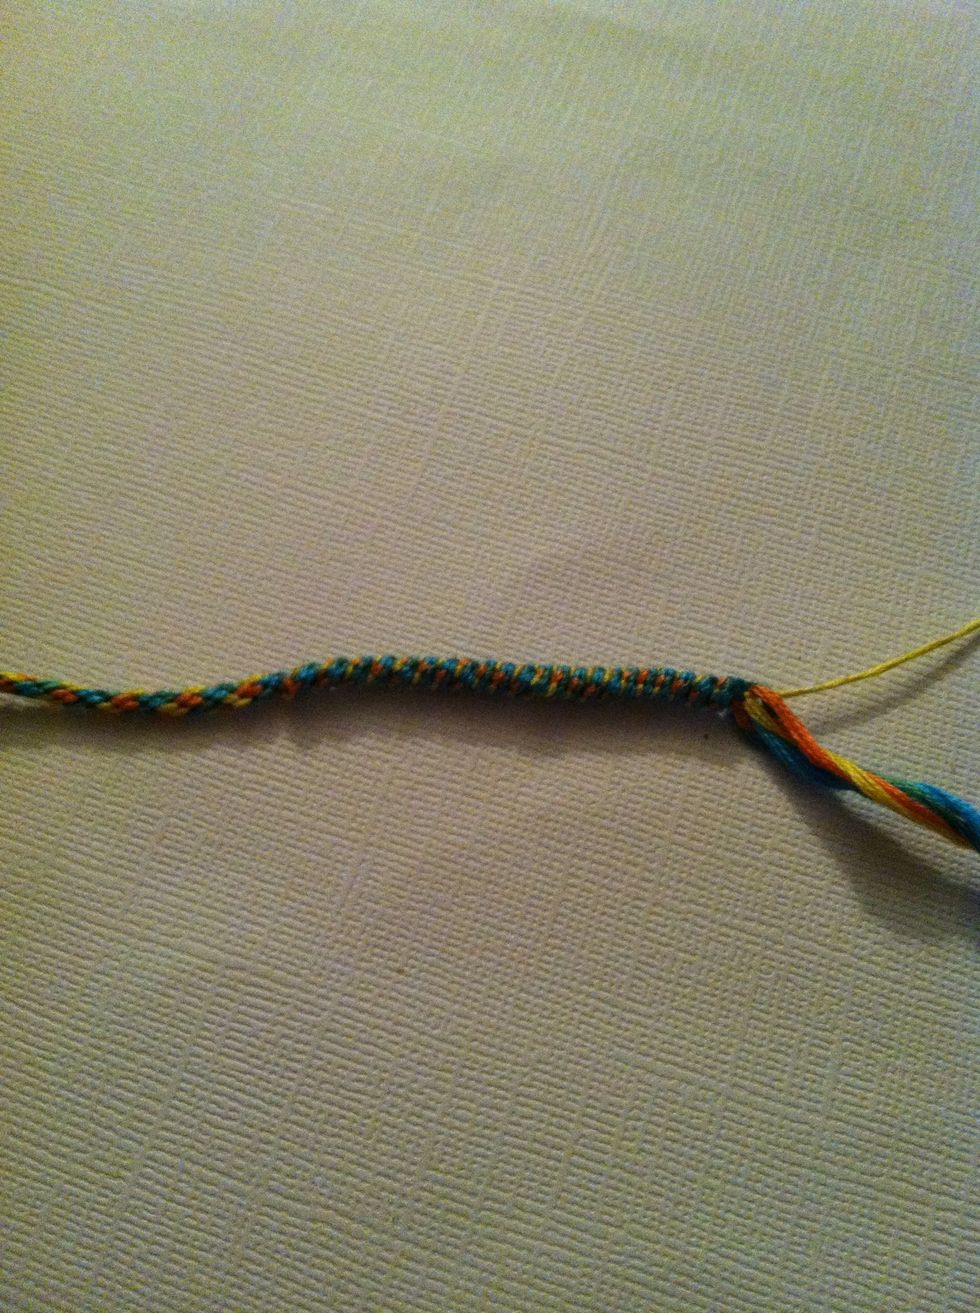
If you have to stop in the middle, bring you first string down, like the picture. This will help you remember where you left off.
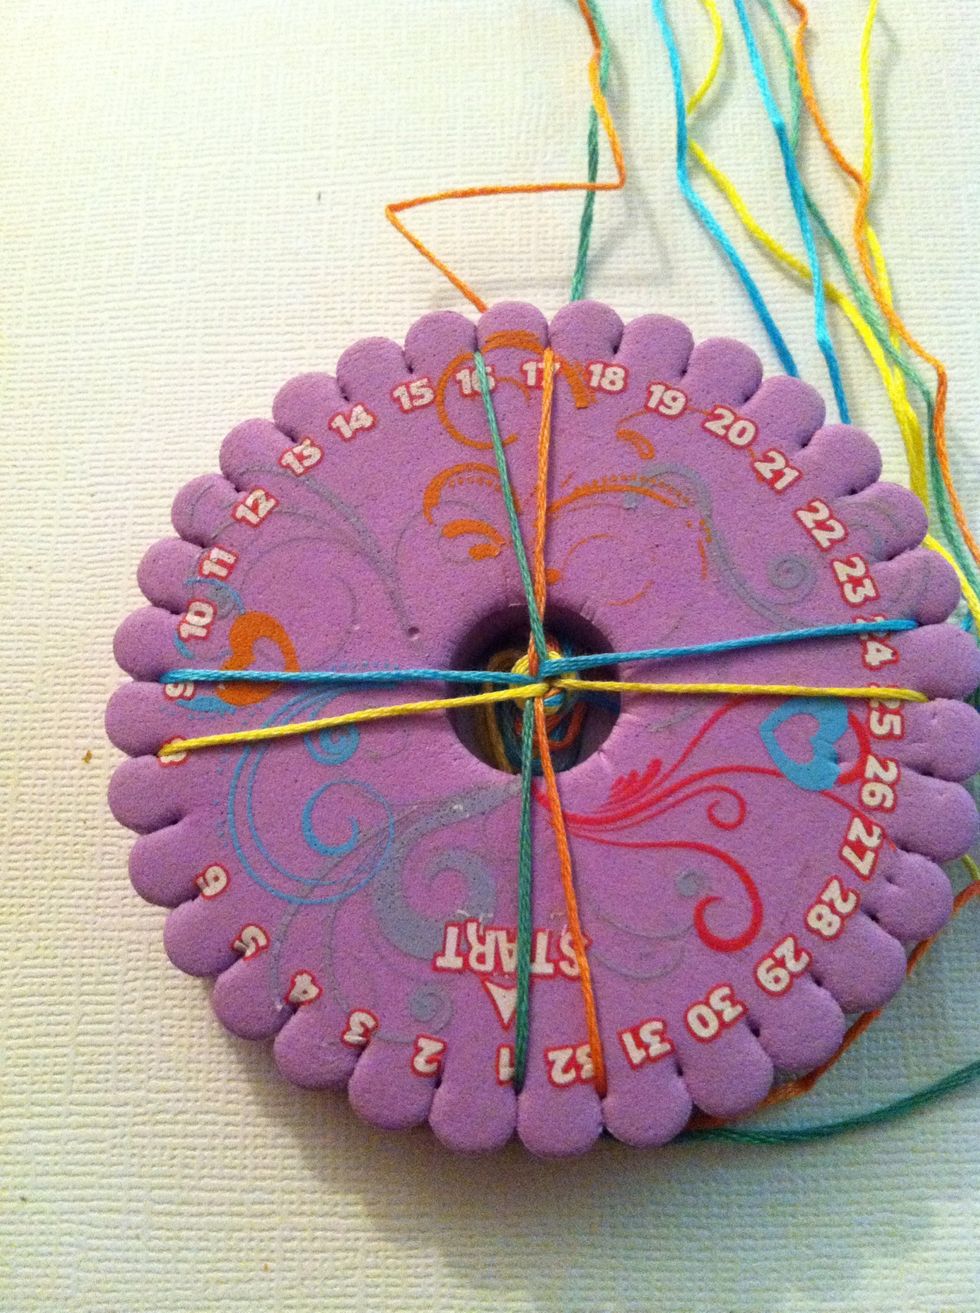
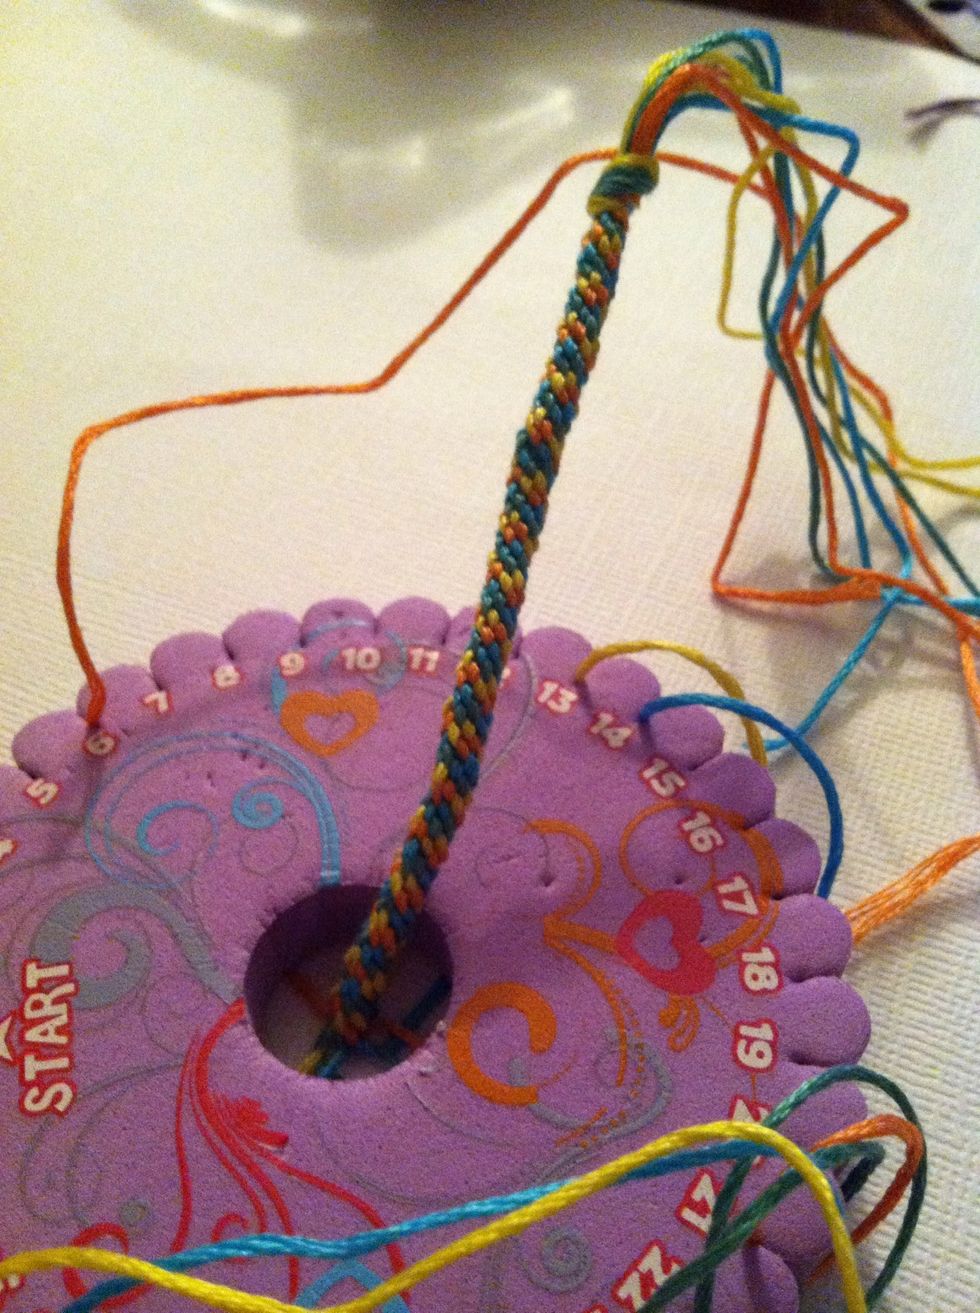
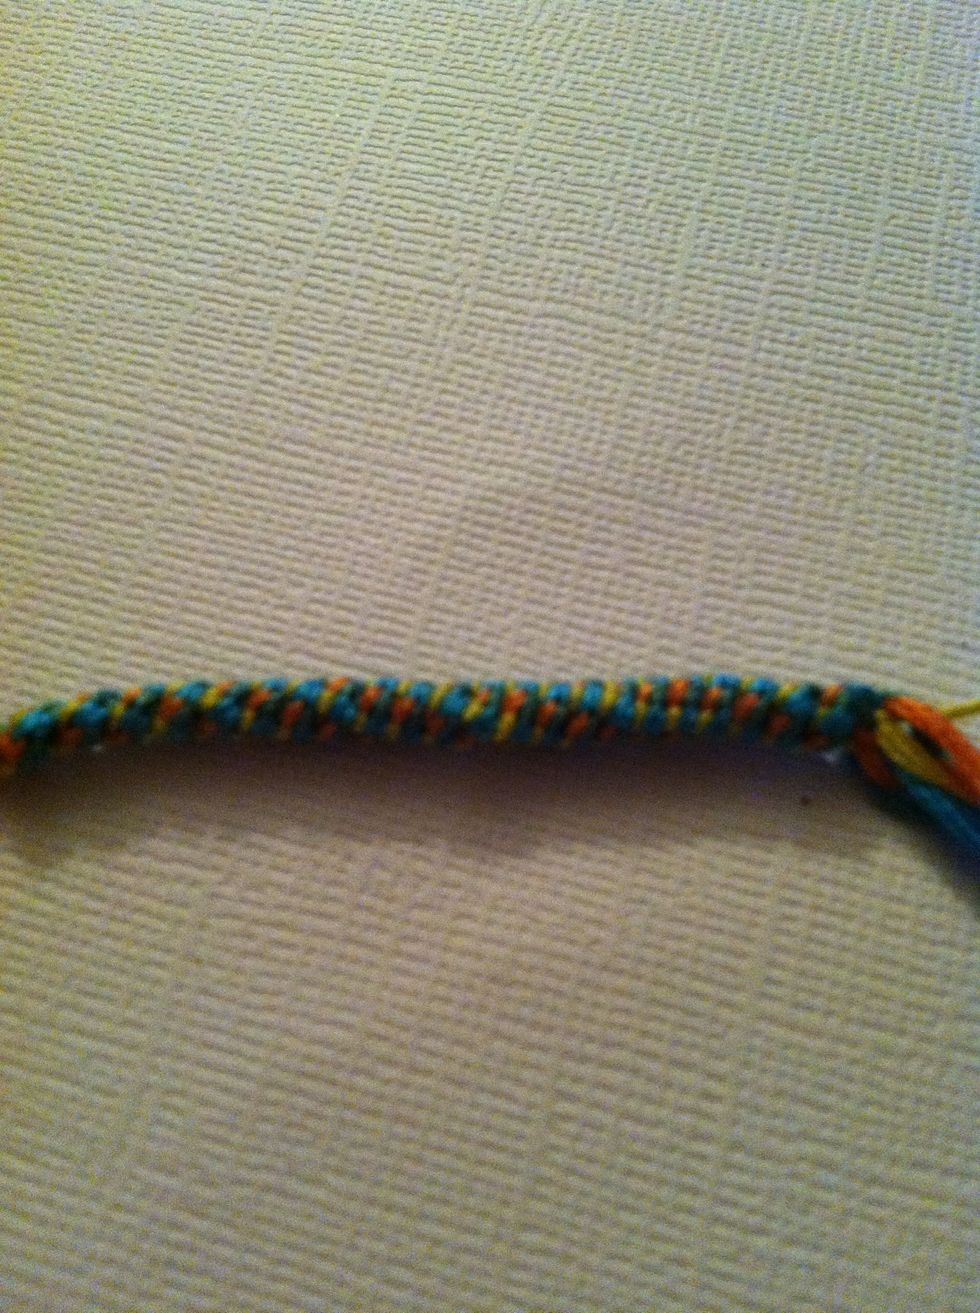
Continue with the same pattern until you have a length you like. We'll talk about lengths in a minute. Don't worry about pulling it out till you're done. It'll automatically come out as you braid.
Okay so let's say we're done (I know we haven't discussed length yet) there are two things you can do. Begin by taking it off the loom.
Tie another loose overhand knot at the end. It's not very long, and it's not very smooth.... So....
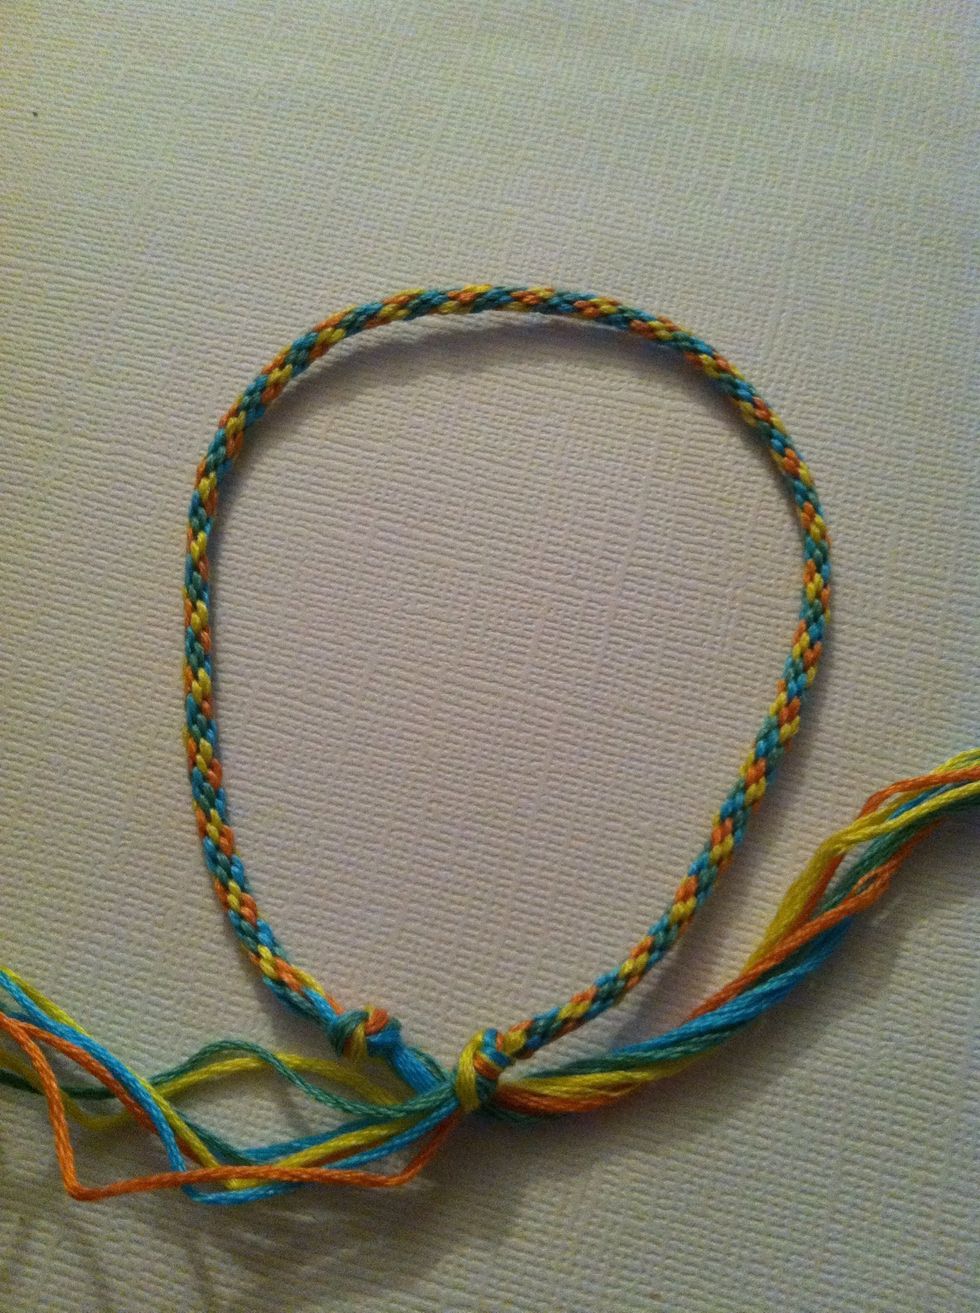
Holding one end (at the knot) run your fingers down the length of the braid, smoothing it out and stretching it a bit. It'll add about an inch to an inch and a half.
Now you could tighten your overhand knots, and fix your ends how ever you like. Ends are a whole different guide though lol. Anyway, bracelet done..... Oooooooor!
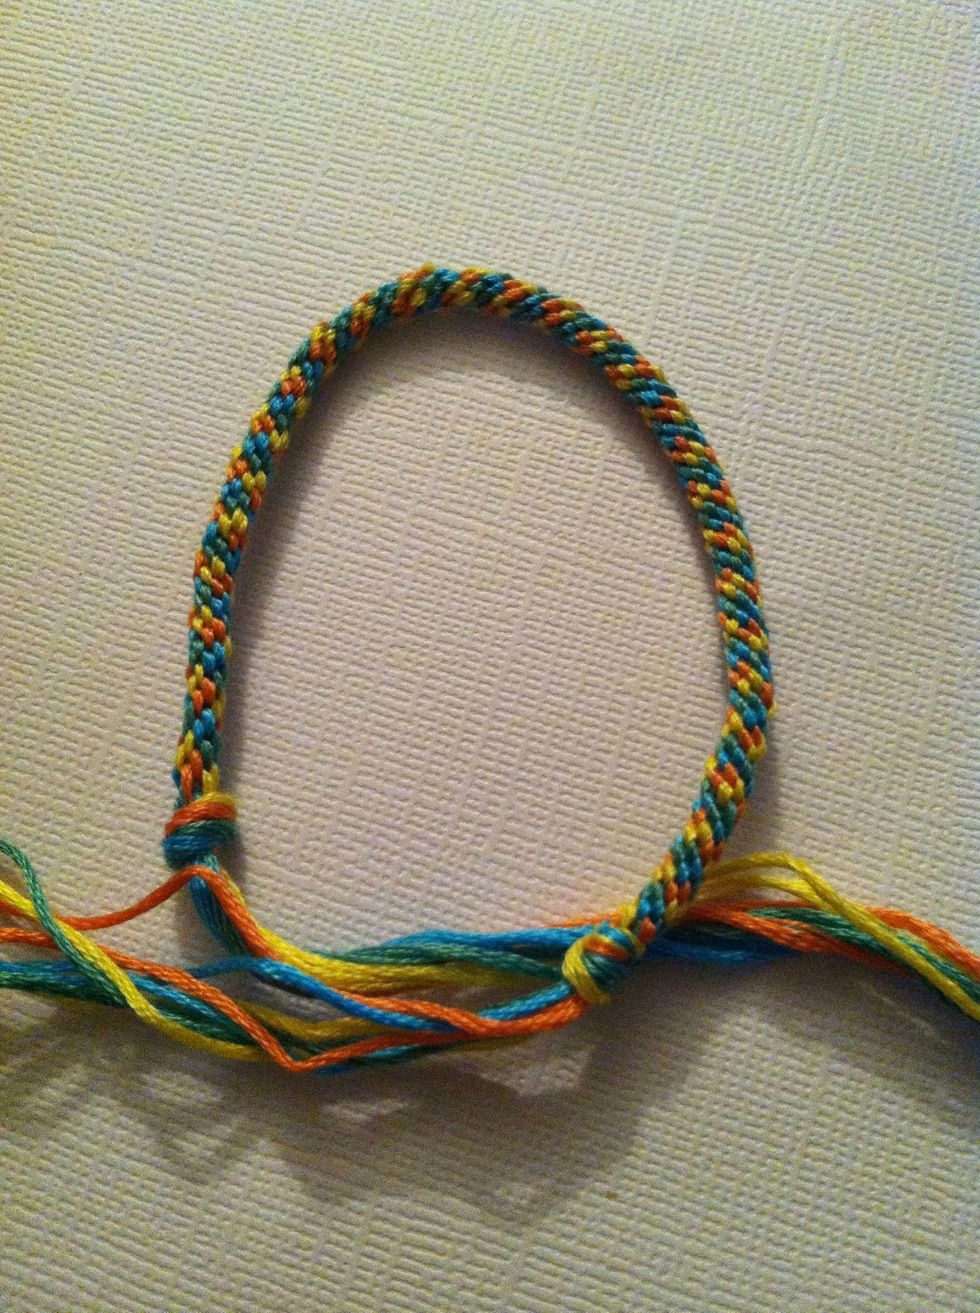
You could untie one of the knots, choose a string, and slowly pull it, scrunching the braid. As it scrunches push it up towards the knot, moving the scrunch up, and then scrunch more... Repeat.
Until you have this.
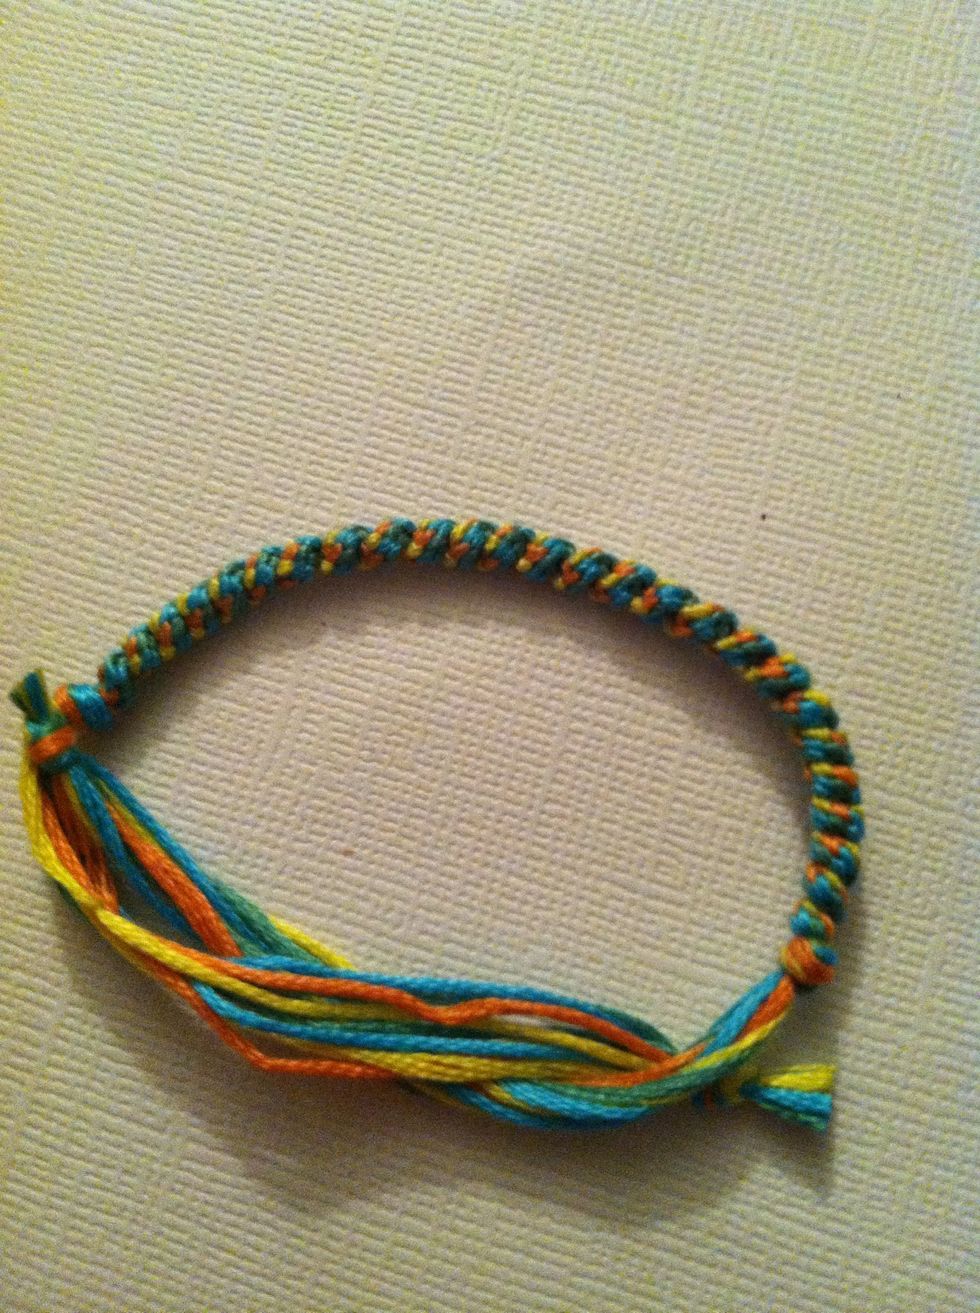
Tie an overhand knot again, tighten both ends. Fix your ends how you'd like. And you're done. So this was how I did mine, I like the pattern better.
So there is a standard round Kumihimo braid made using a Kumihimo wheel/disk. Now about lengths. As a standard I make (almost) every bracelet with 5inches of pattern and 3inch ties on either end.
How you make you bracelet is going to dictate how long you make it. Take a string and wrap it comfortably around your wrist, then measure it. Remember stretching it will add length.
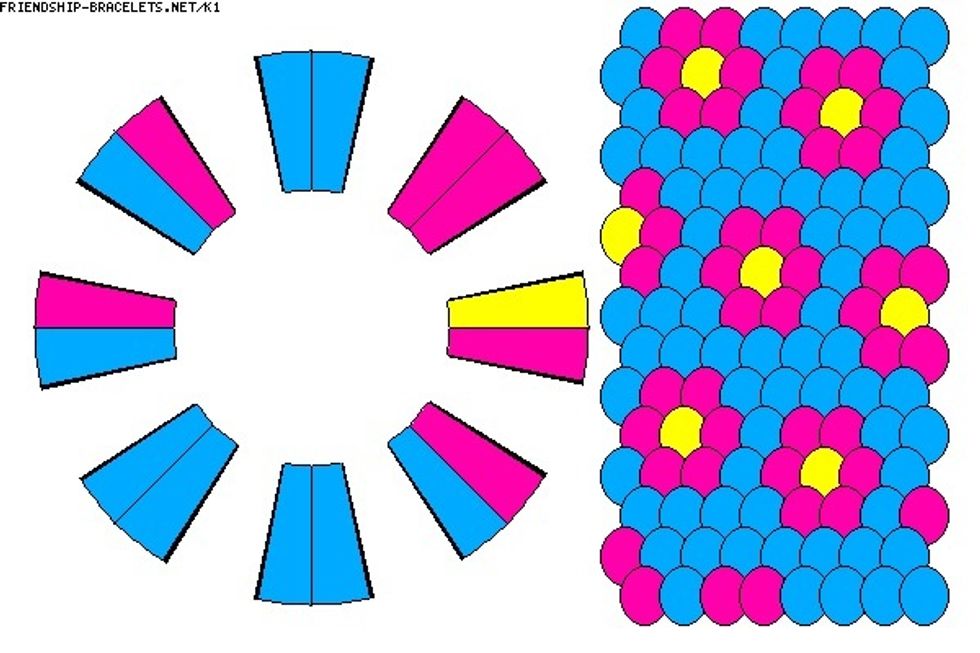
This is a pattern from friendship-bracelets.net. You put the strings in the order you see them in the picture, the dots to the right represent the pattern.
I hope you like this guide! Stay tuned for the rest if the series, Kumihimo Square Braid and Kumihimo Flat Braid. If you have any questions let me know!