The Conversation (0)
Sign Up
today I am going to teach you how to braid a simple and easy fishtail plait. don't be put off by the amount of steps - it's easier than it looks once you've got the hang of it.

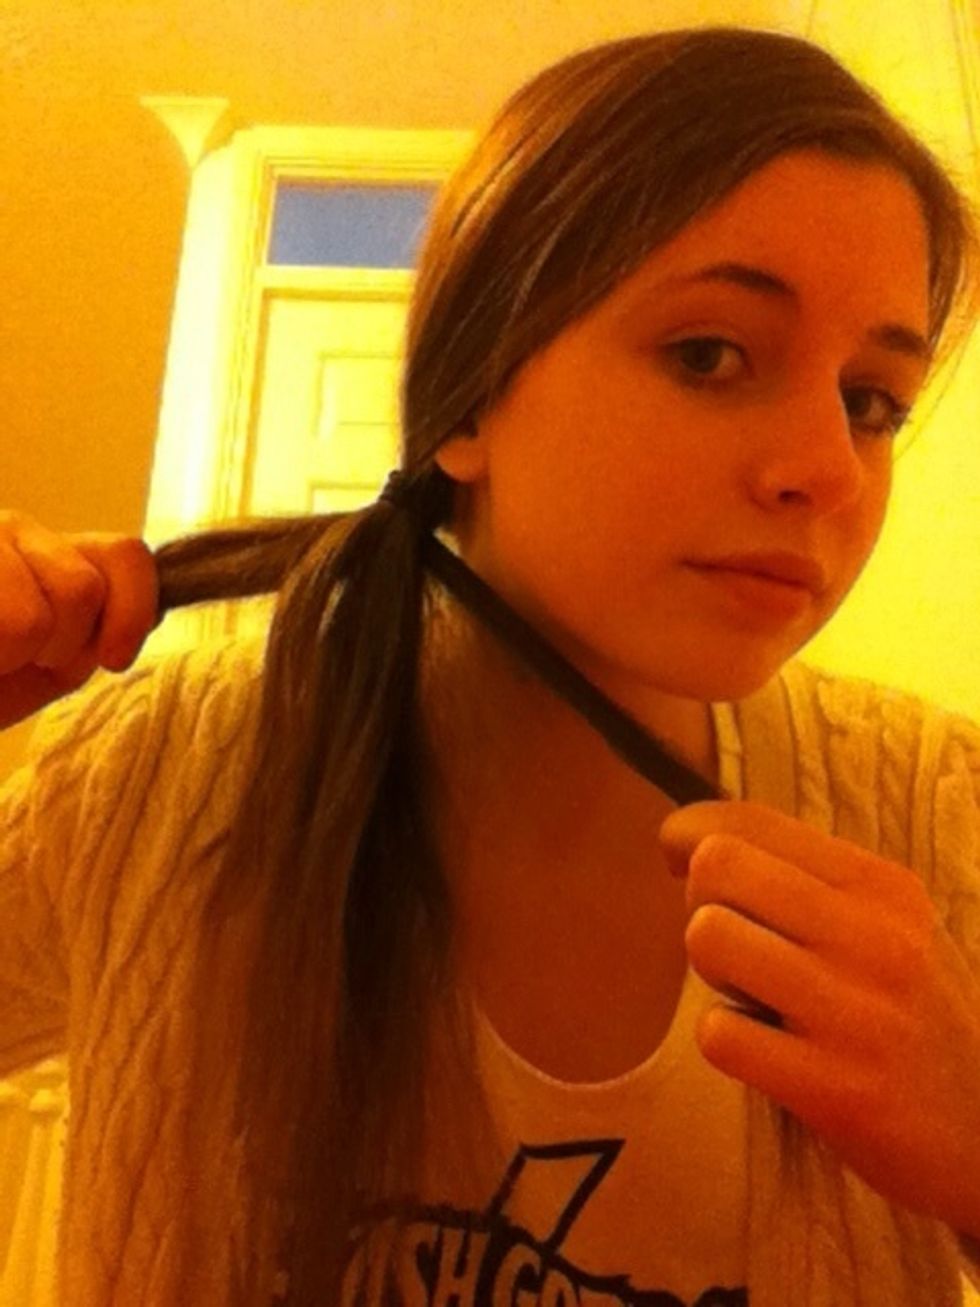
brush all your hair onto one side with your hair comb or brush, making sure you leave no strands out at your neck.
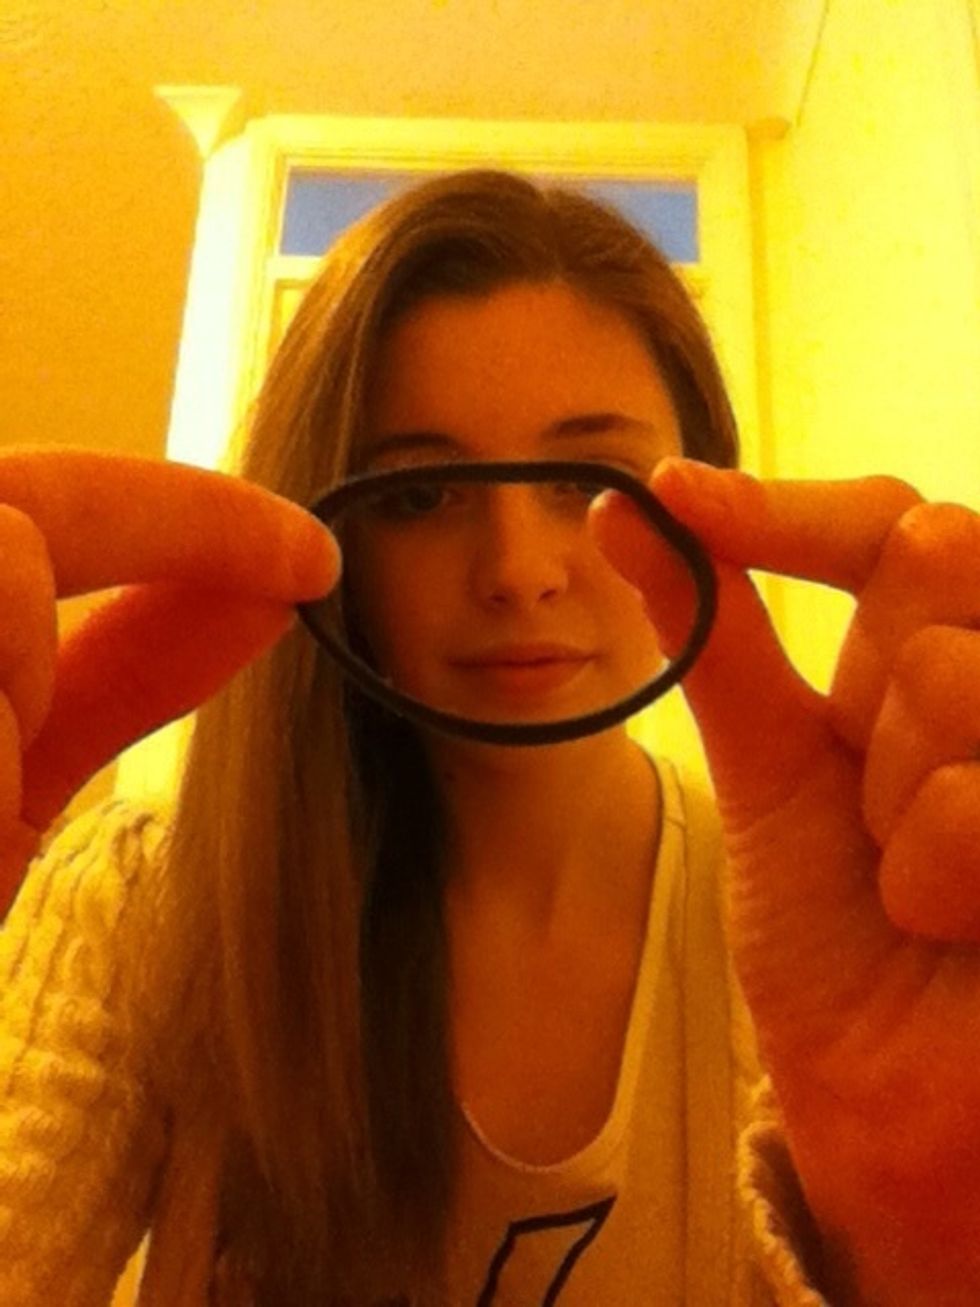
take your hair band and wrap it around the hair that you have gathered.

make sure not to wrap it too tightly - you will be taking this out later.

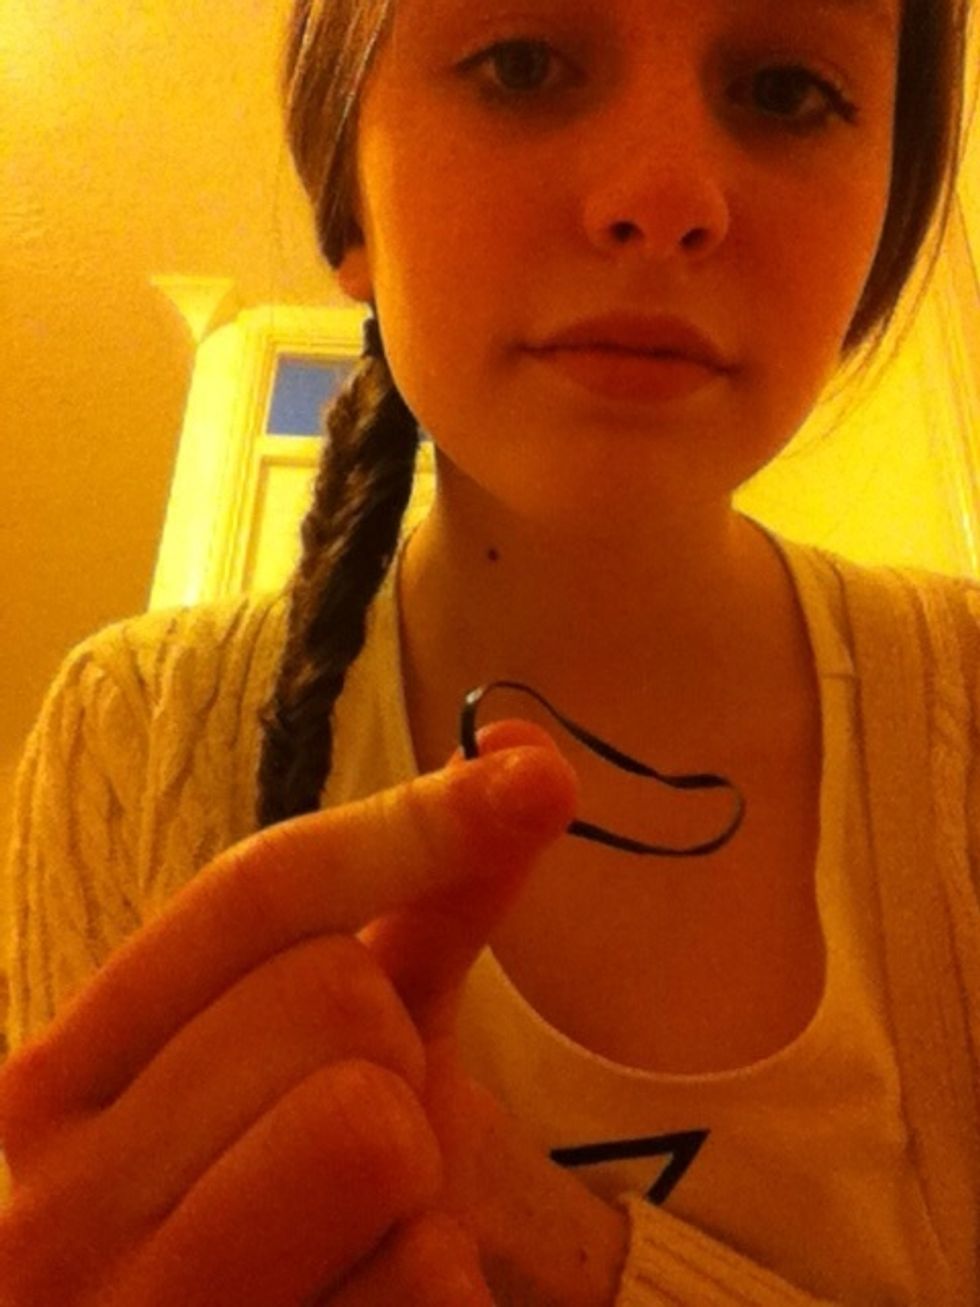
tadaa!
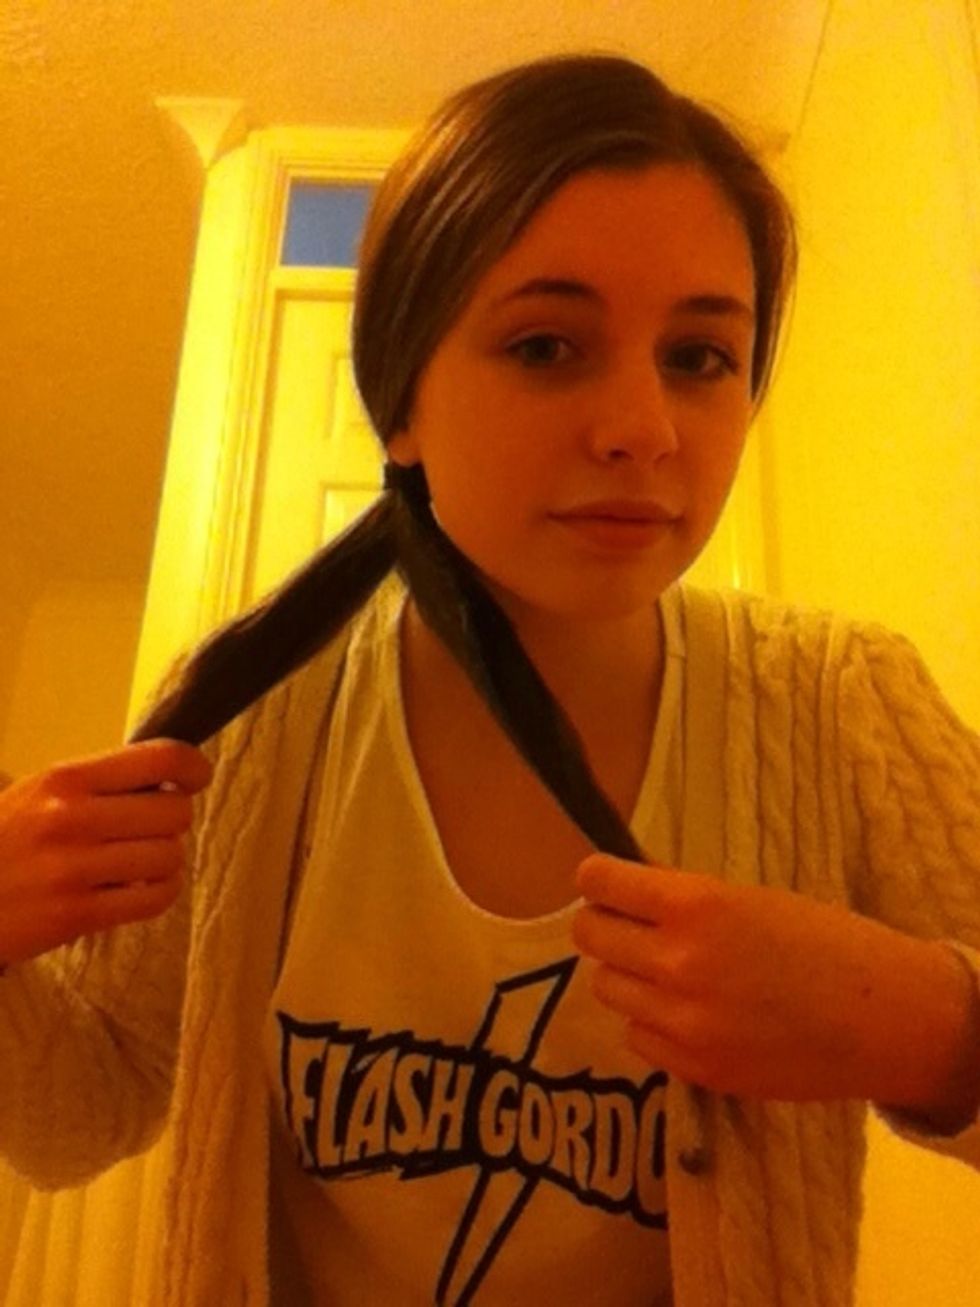
split your hair into two equal pieces. they must be equal otherwise your plait might end up lopsided.
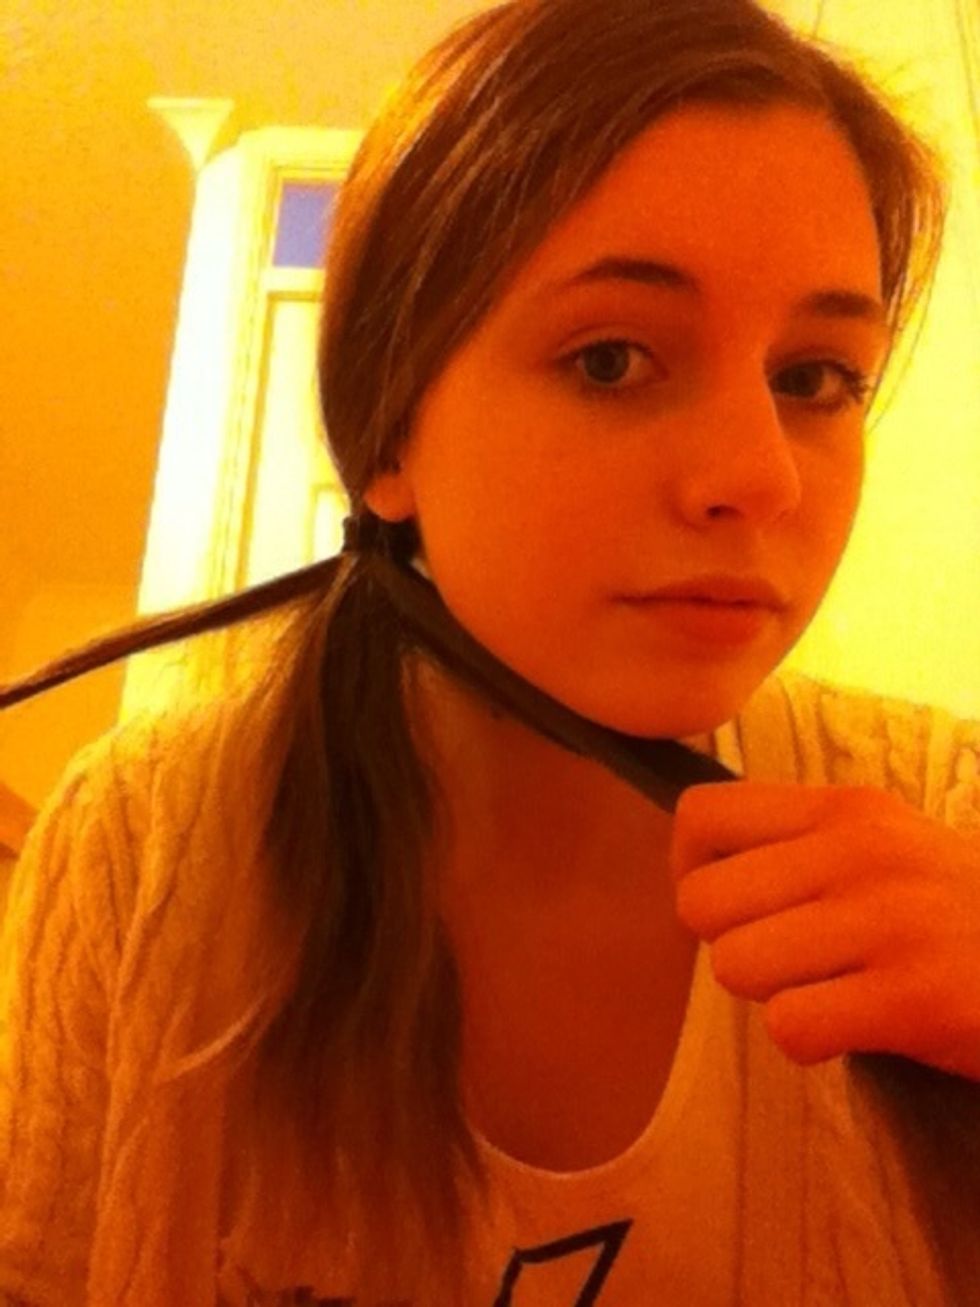
pick one side of your hair to begin with and pick up a strand of hair from the outside.
add it to the inside of your other side of hair. make sure you are adding to the inside otherwise your plait will go wrong.
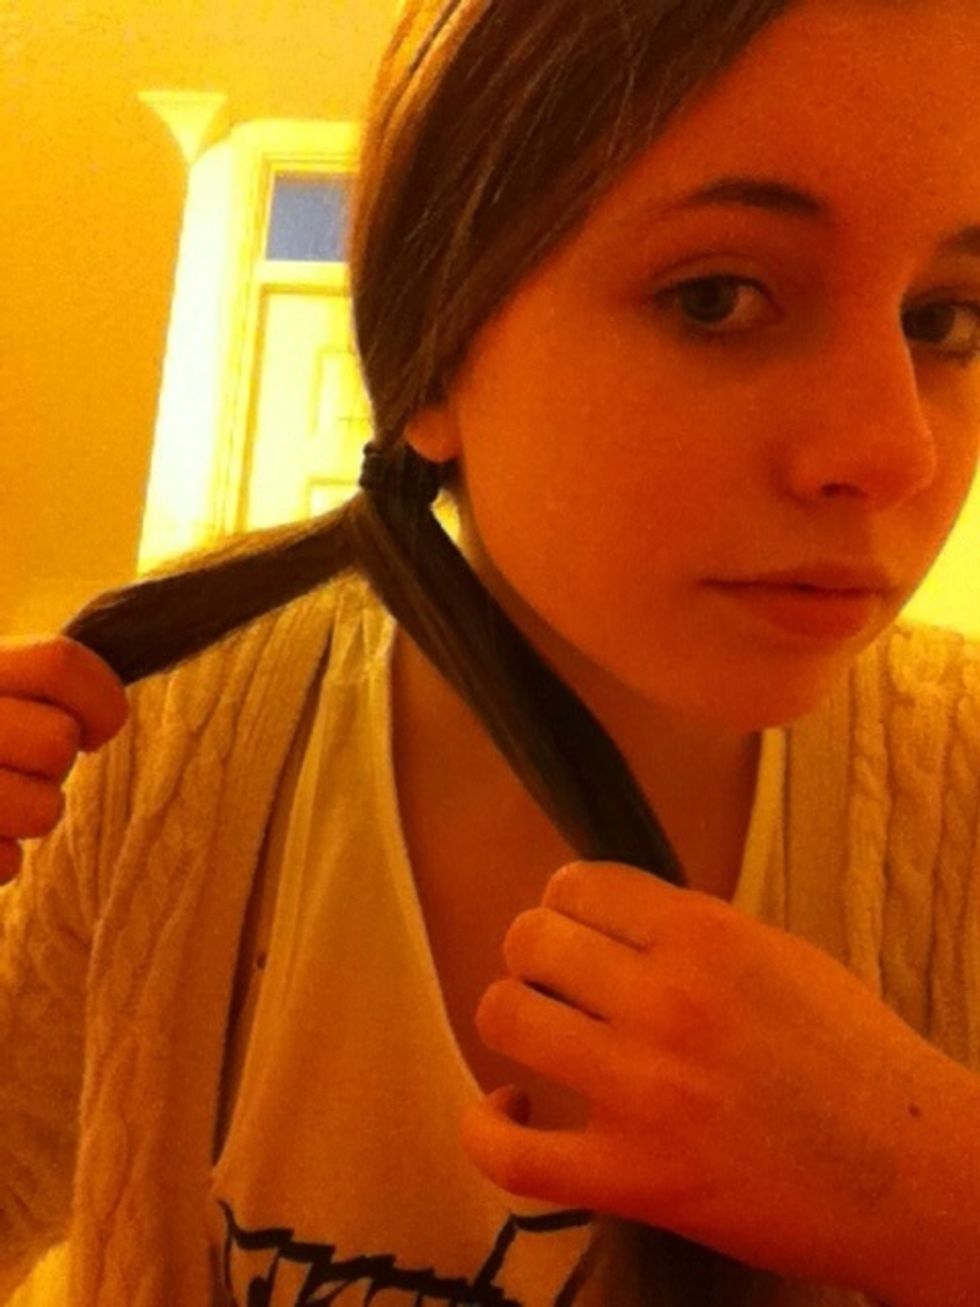
do the same on the other side - take the other side of your hair and pick up a strand of hair from the outside.

add it to the inside of your other side of hair.

follow those two steps repeatedly making sure you pull your hair tightly after each step. the pattern should begin to look like this.

keep going. if it goes wrong just ignore it: we can fix that at the end.
as you get nearer and nearer the bottom, begin to take smaller strands to keep the pattern going nicely.
when you get to the end, take your small elasticated hair band and gently tie it around the bottom...
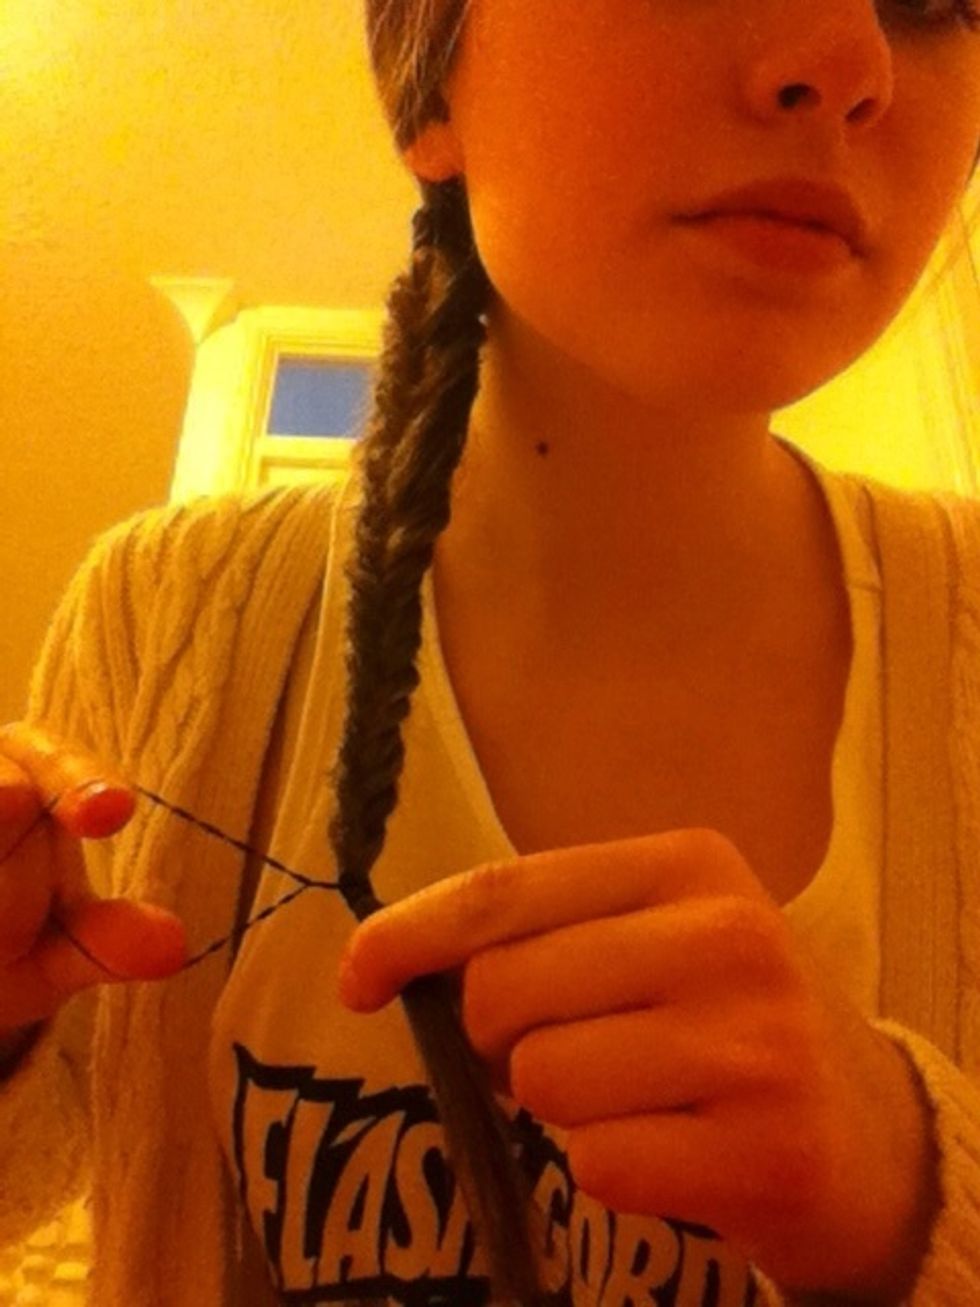
...like so.

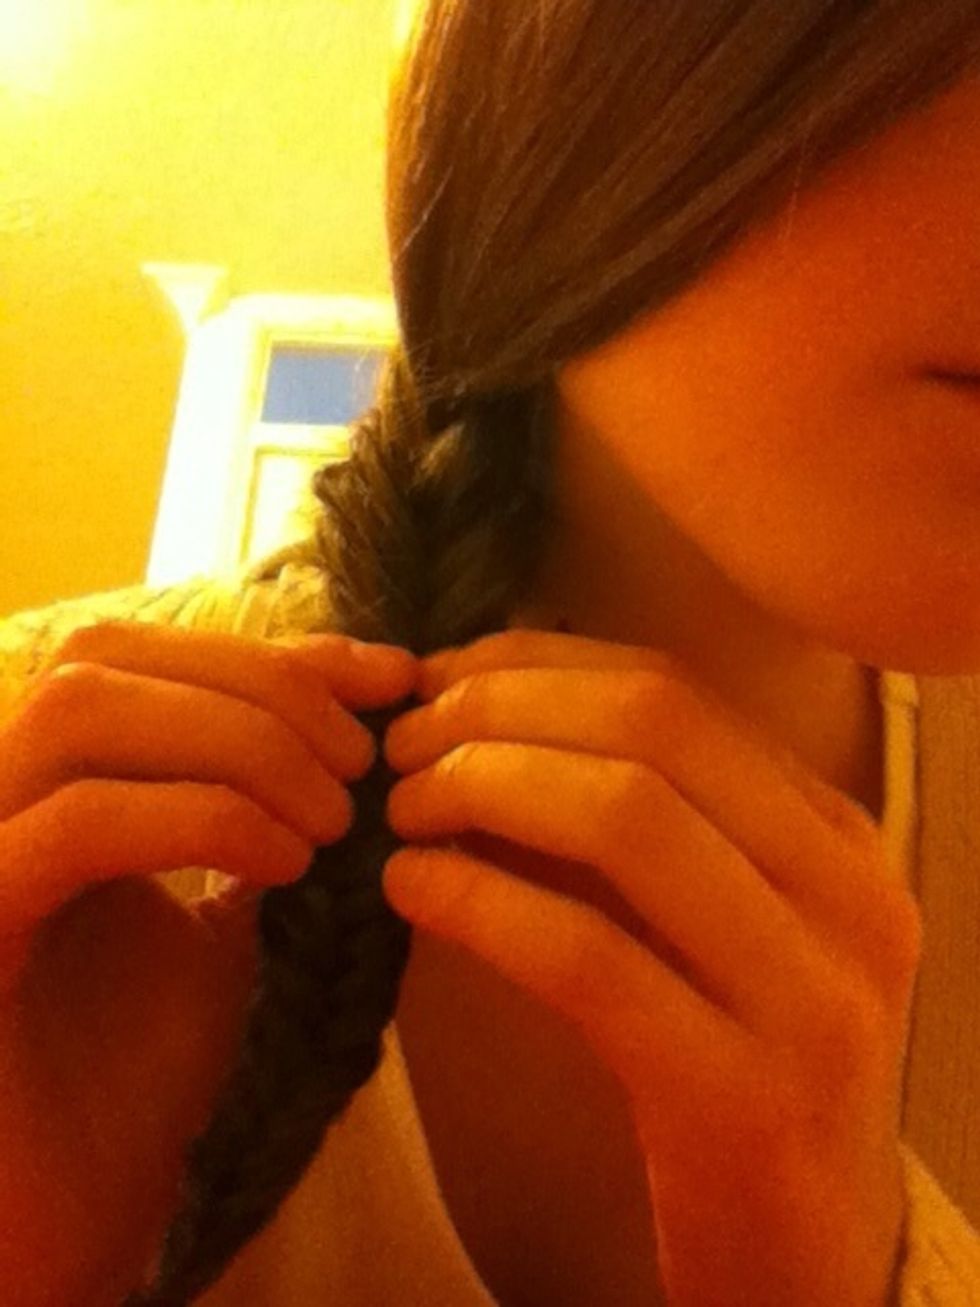
this is roughly how it should look. nearly done.

gently, very gently, take out the hair band you put in at the beginning.
loosen the plait from the top, all the way through to the bottom. if you want a neater looking plait then ignore this step. this can get rid of any mistakes you have made.
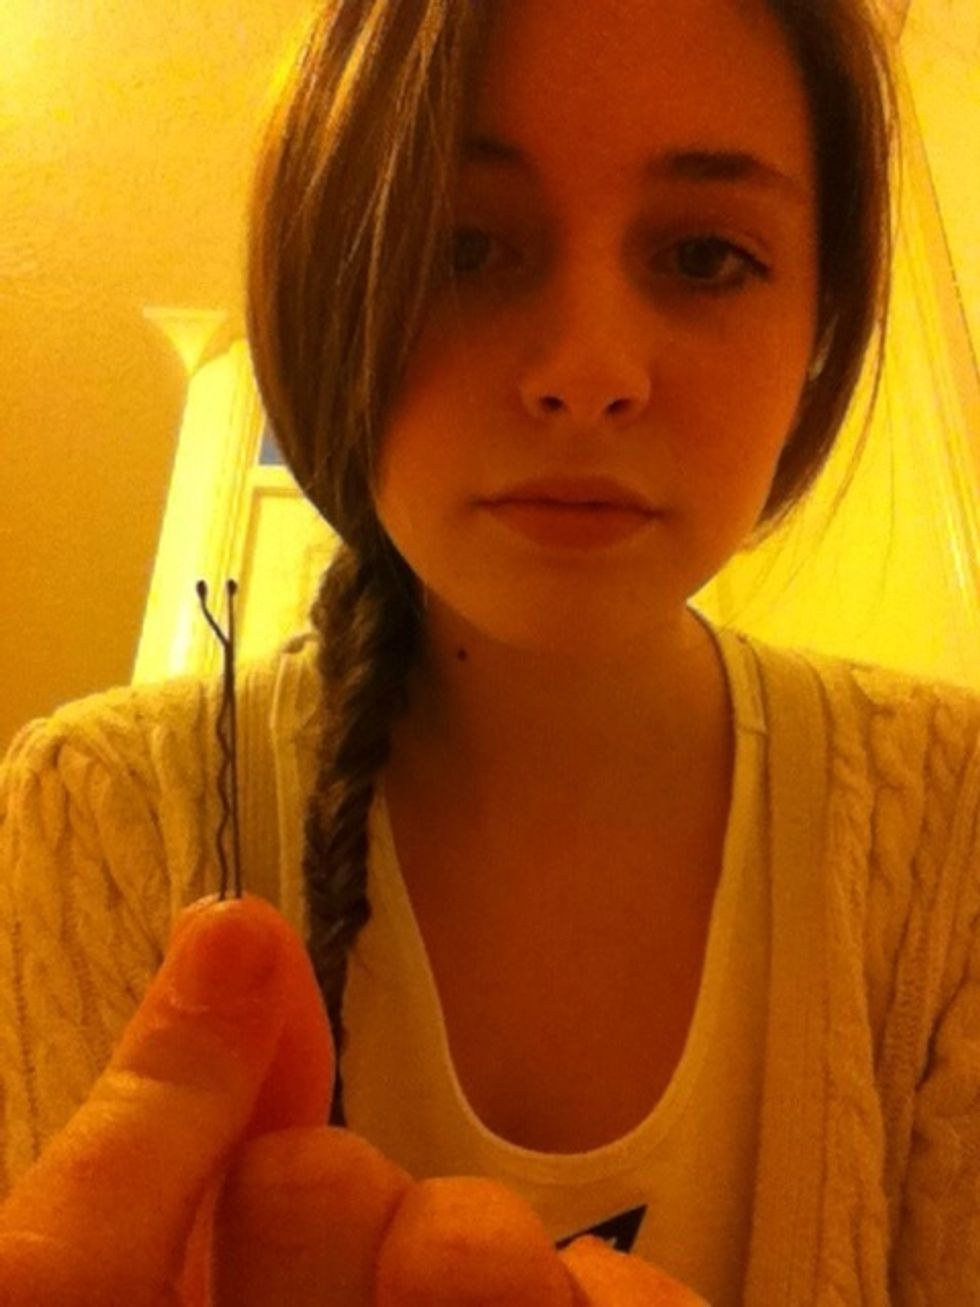
because my hair is shorter, I have to pin up a lot of my hair with bobby pins.

I add one to the front near the plait, one on the opposite side of my parting and one at the back of my head.

tadaa! all done! thank you for watching! hairspray your whole head, especially the plait so it doesn't move throughout the day.