The Conversation (0)
Sign Up
NOTE: Sizes of punches, number of punched pieces and widths of trim will depend on the sizes of your boxes. Use the techniques and designs shown here to create your own unique embellishments.

Wrap boxes with plain gift wrap.
Let's start by embellishing the large box.
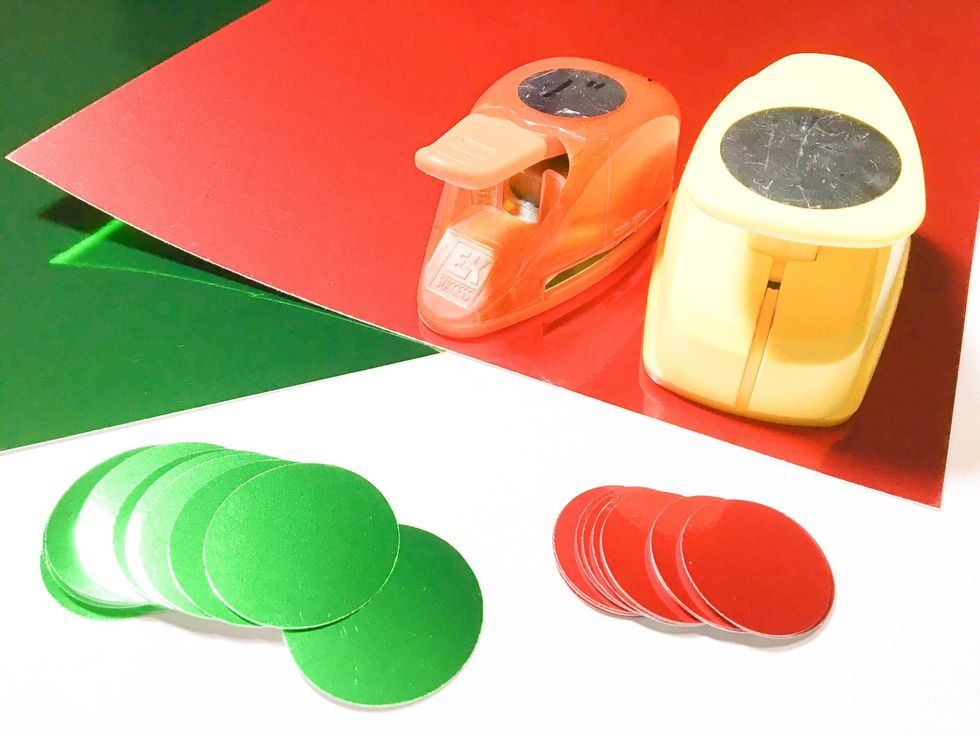
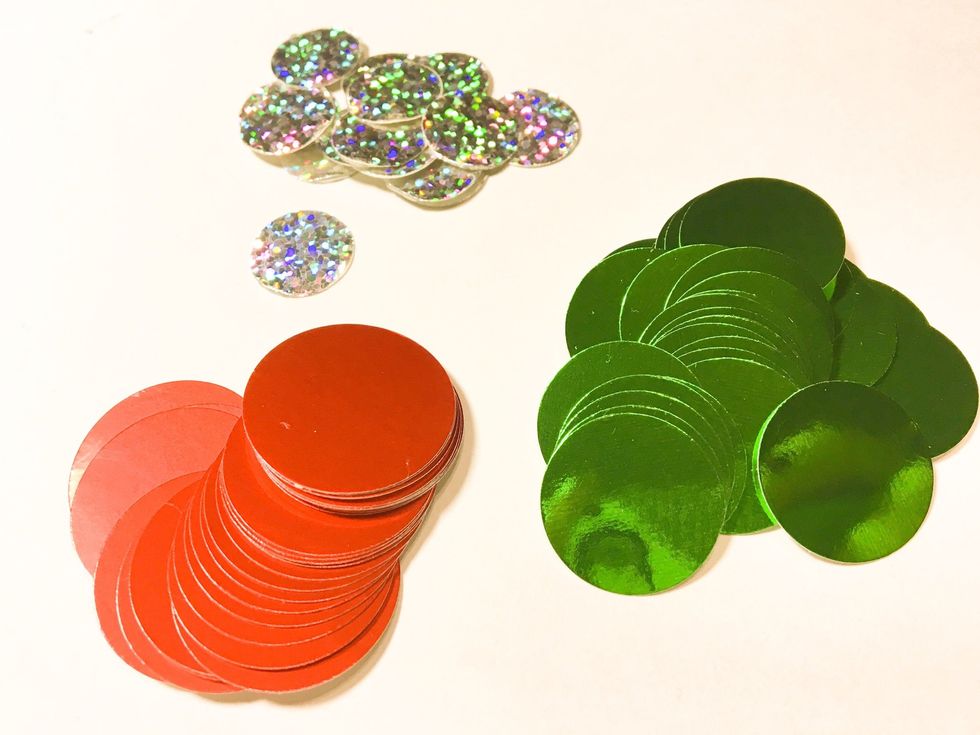
To embellish larger box: Punch 1 ½” circles from green Metallic Foil Board and 1” circles from red.
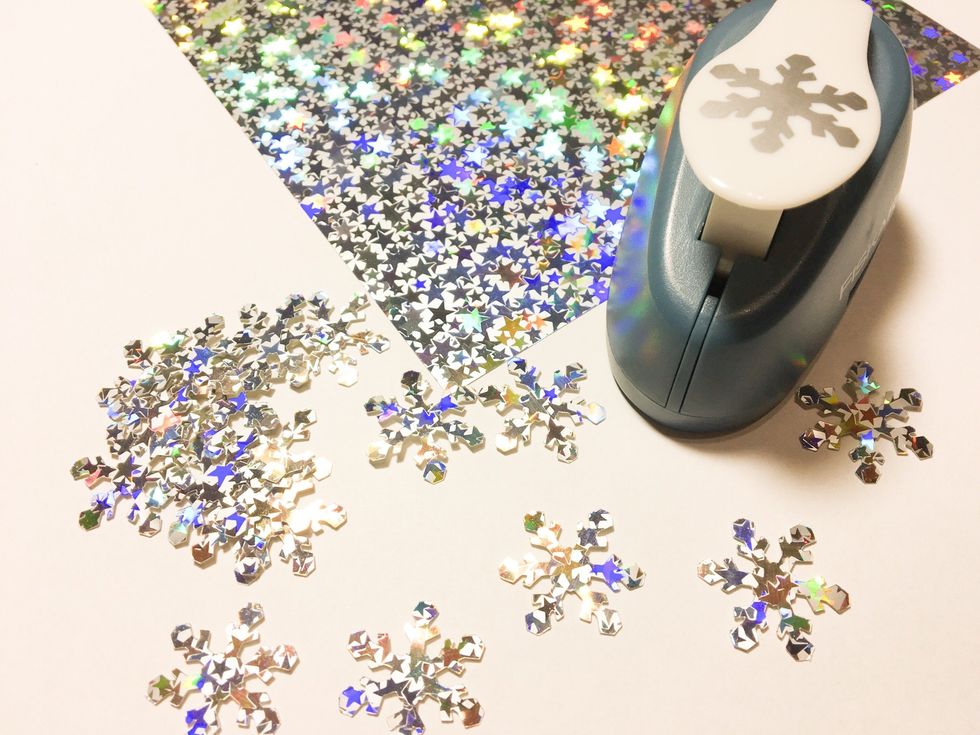
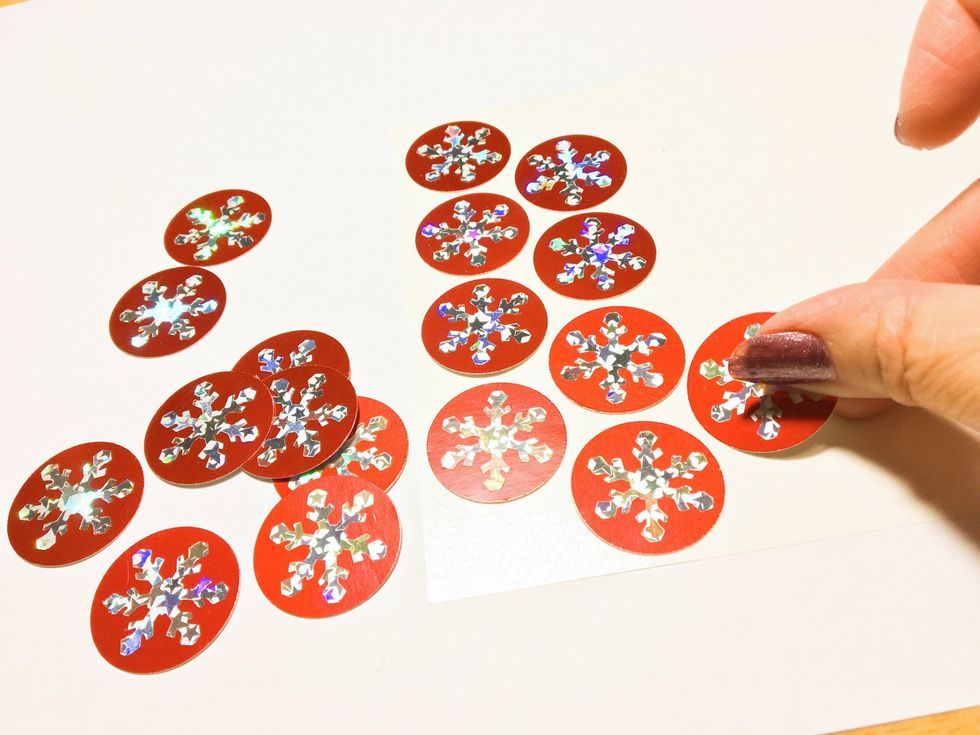
Punch snowflakes from Mini Silver Stars Funky Film. HINT: some punches work better punching from film side, some from backside, try both to see which works best for your punch.
Did you know that you can sharpen your punches? Fold a piece of aluminum foil in half and punch through it about 10-12 times. Then to make punching smoother, repeat using a piece of waxed paper.

Peel off backing and adhere Funky Film snowflakes to center of red circles.
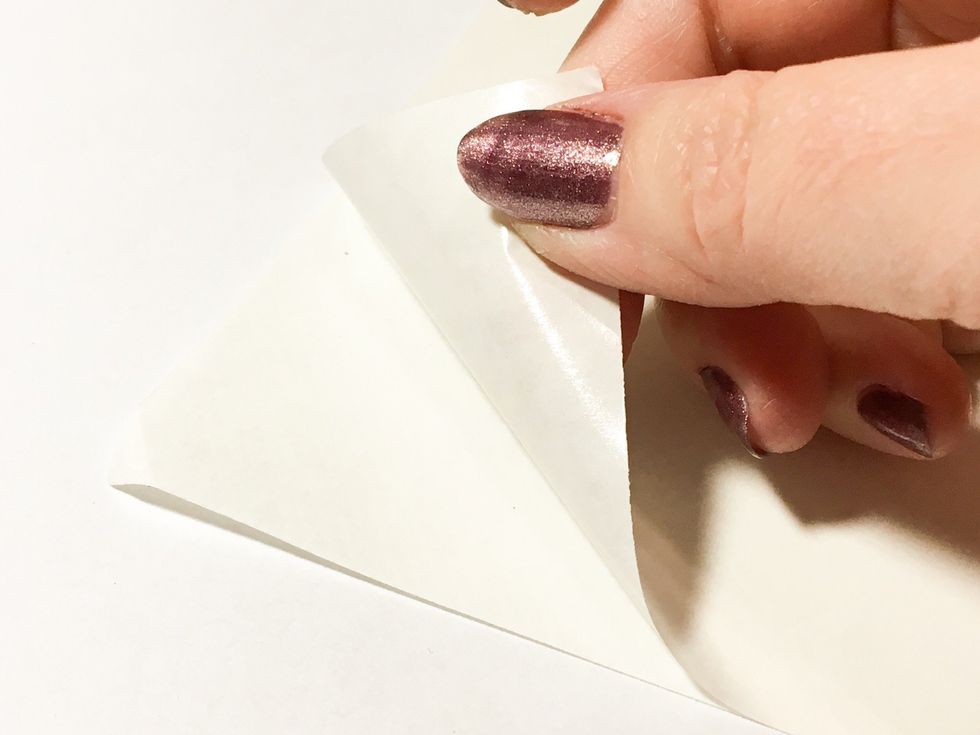
Peel back corner of Artist Tac to reveal adhesive, keep pulling to reveal about 2/3 of the sheet and fold back the cover.
Place red circles on exposed adhesive.
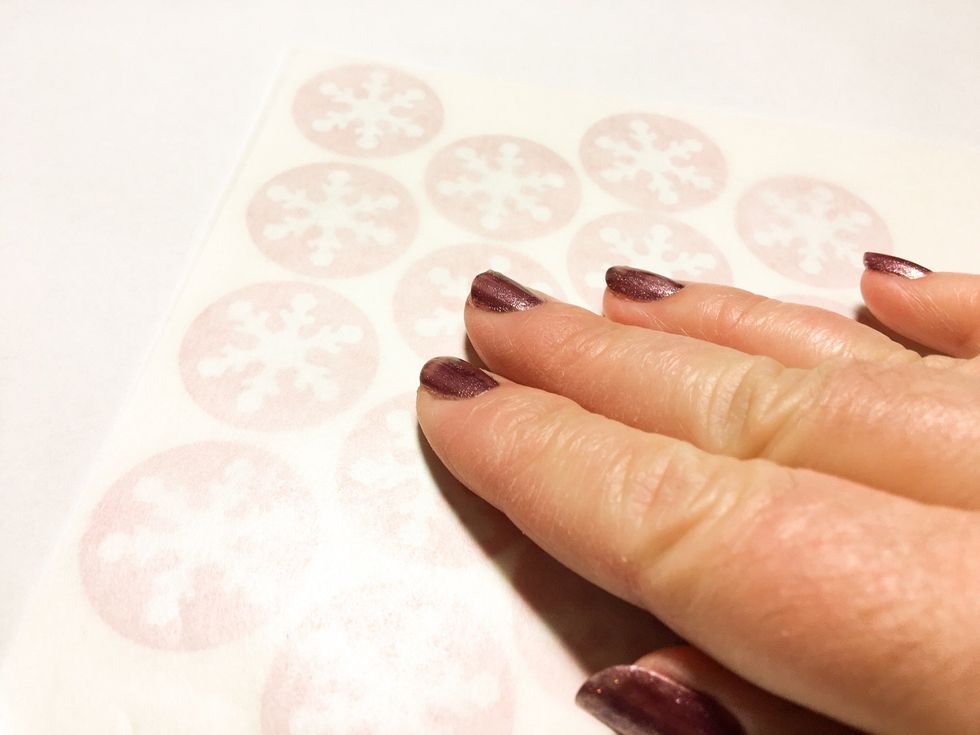
Fold cover back down and smooth with hand to transfer adhesive. Expose more adhesive as needed to place all red circles.
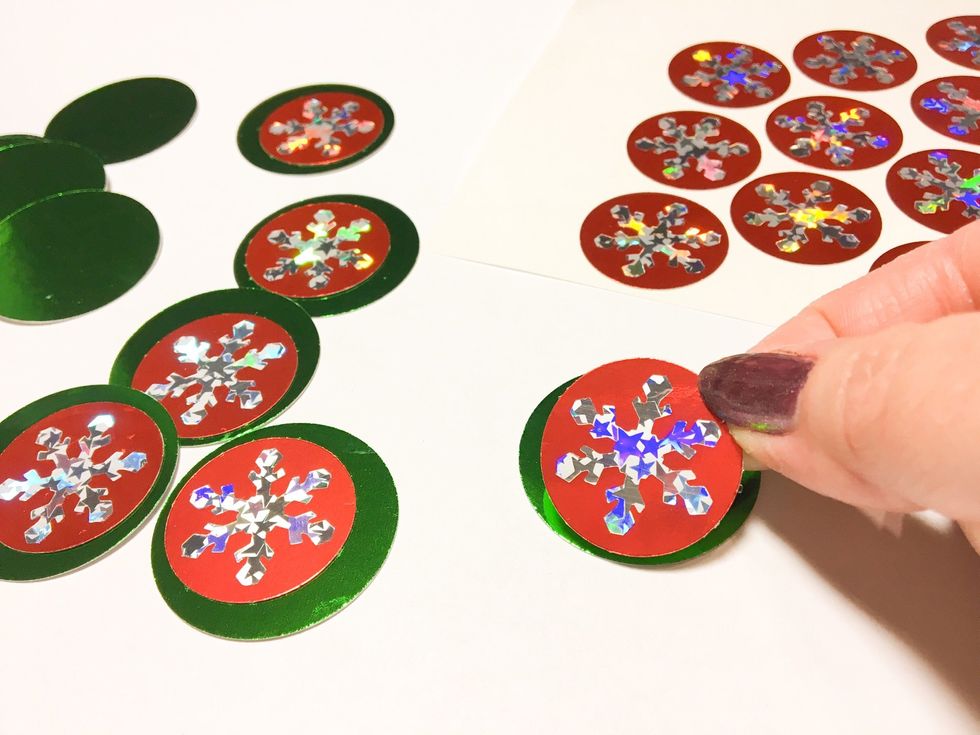
Adhere red circles to green circles; I adhered mine off center, but center yours if you wish.
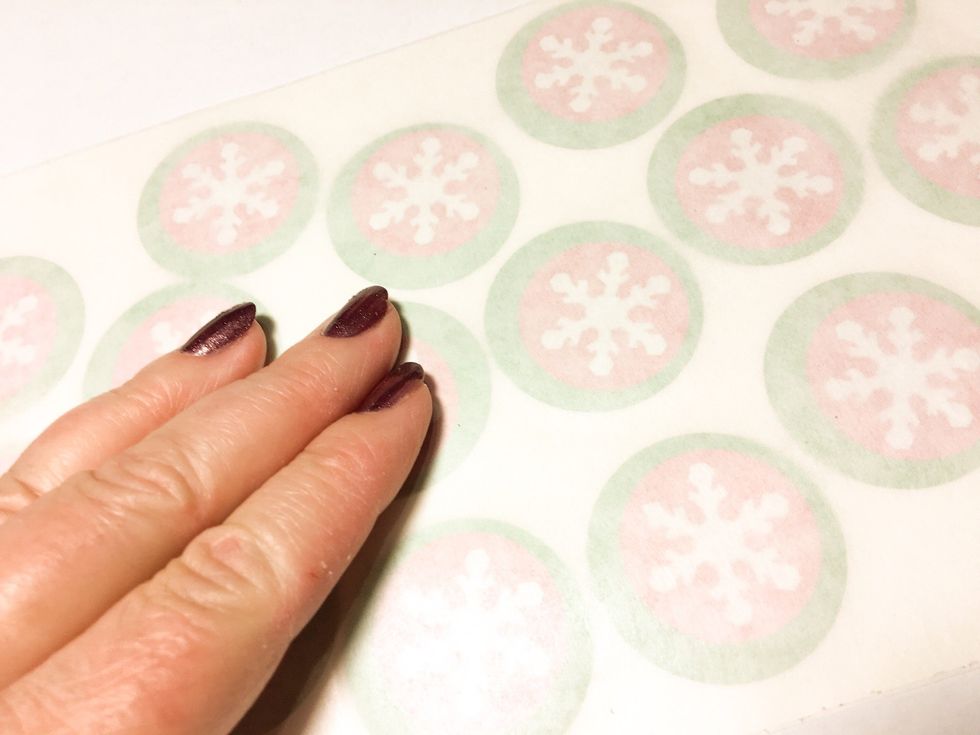
Place finished circles on Artist Tac Sheets as before to apply adhesive to the backs of the pieces.
I wanted the lid of the larger box to be able to be removed, so I wrapped the lid and base separately. The Metallic Foil Board "ribbon" I made next, hides the seam.
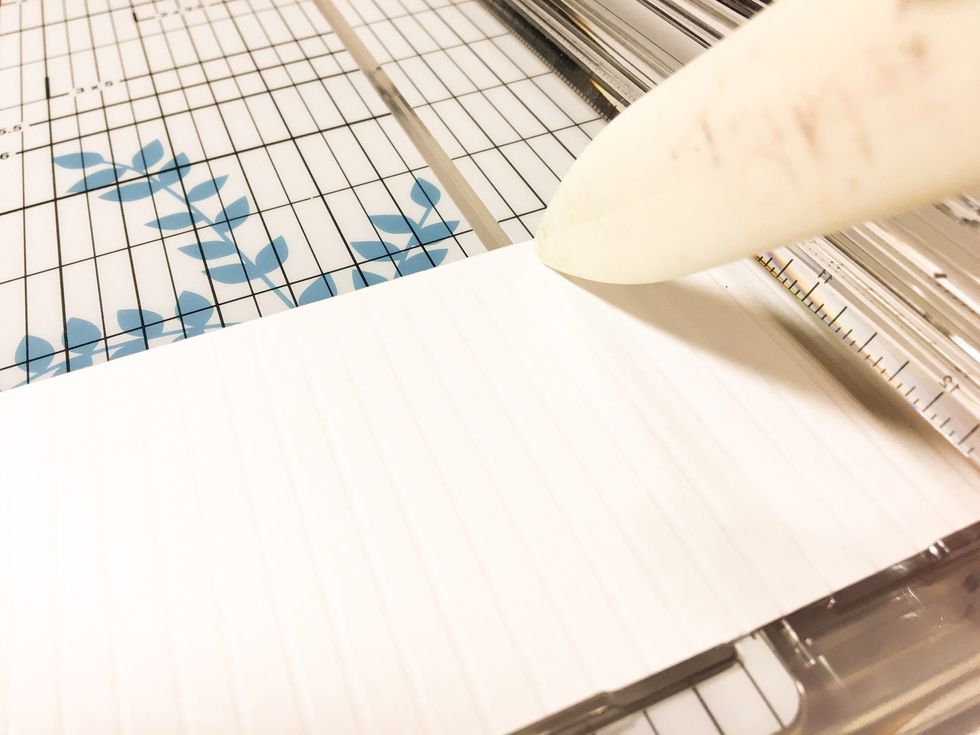
Cut a piece of red Metallic Foil Board large enough to cut strips to go around your box. Working on the back, vertically score every ¼”. Then cut into strips.
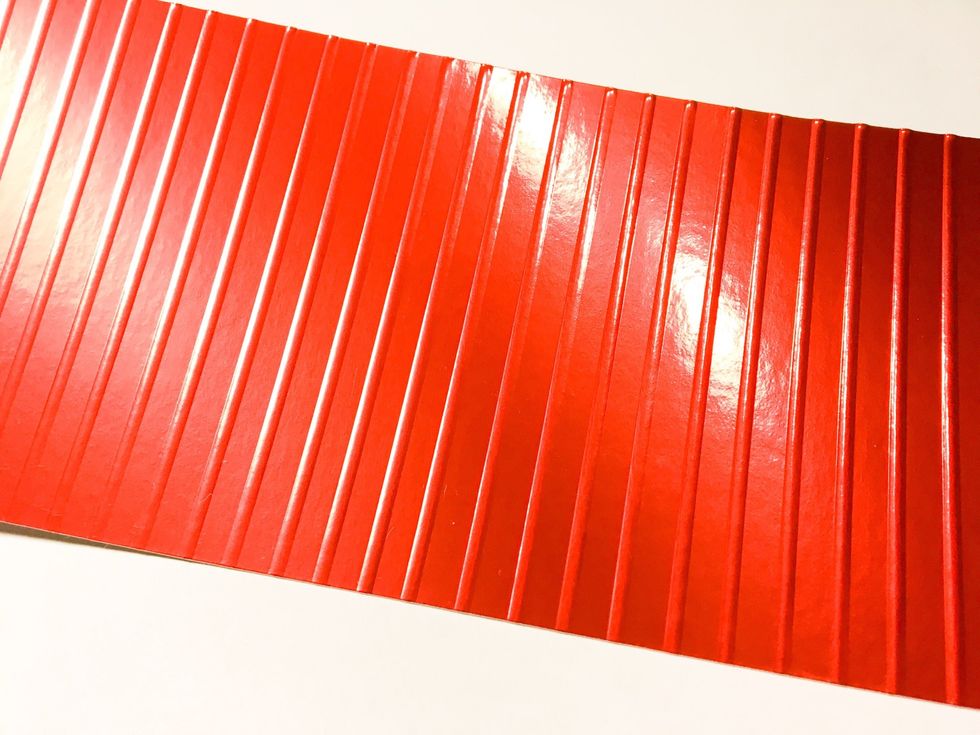
Scoring the board creates a pretty design and adds dimension to your "ribbon".
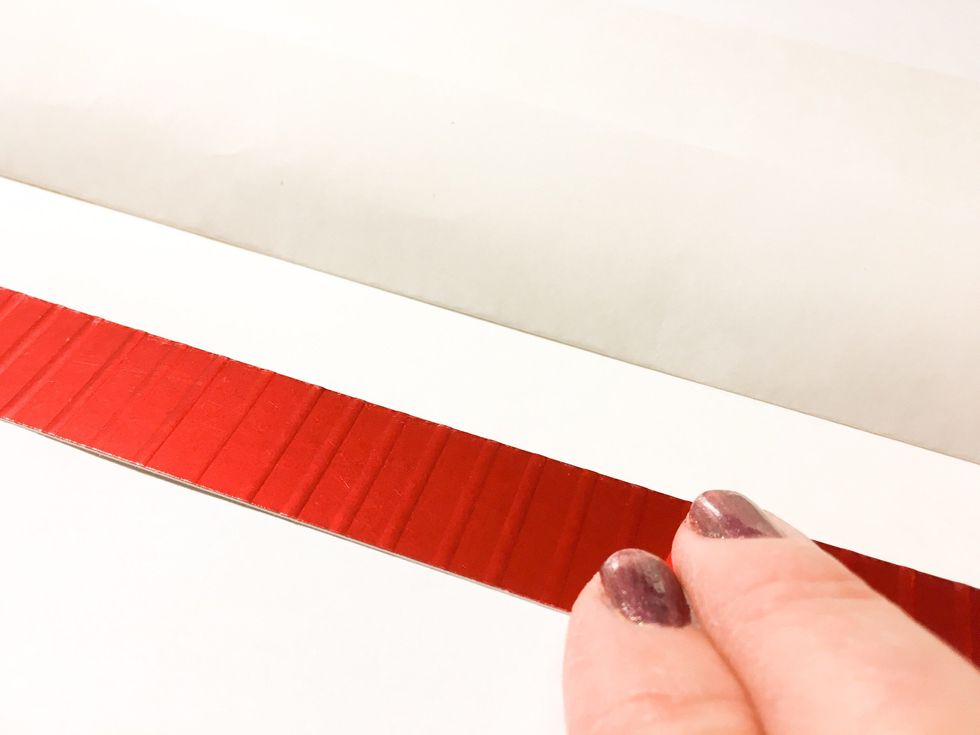
Working one at a time, use Artist Tac sheet to place adhesive on the upper 2/3 of the strips.
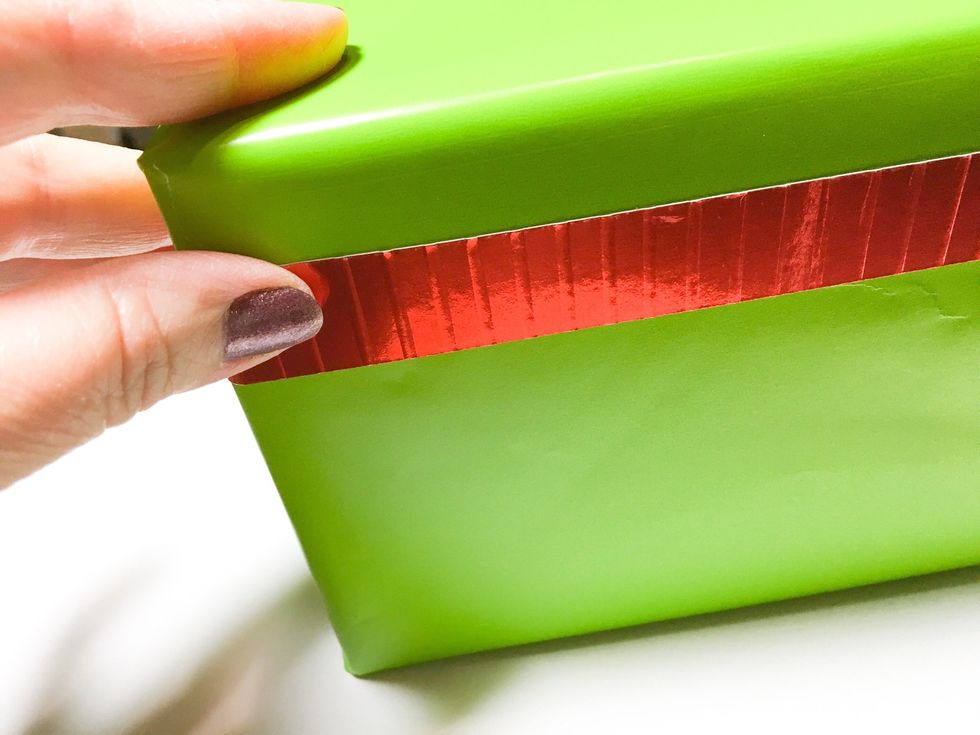
Adhere strips to lid, letting lower 1/3 overhang below edge of lid; overlap strips at sides.

Add your snowflake dots to the top and sides of the box.
Next, we'll work on the smaller box.
To embellish smaller box: Punch 1” circles from red Metallic Foil Board, 7/8” circles from green Metallic Foil Board and 5/8” circles from Silver Sequin Funky Film.

Assemble circle pieces as before and adhere finished dots to sides and top of box.

Make a strip of “ribbon” from red Metallic Foil Board long enough to wrap around your box, scoring as before; adhere to box using Artist Tac.
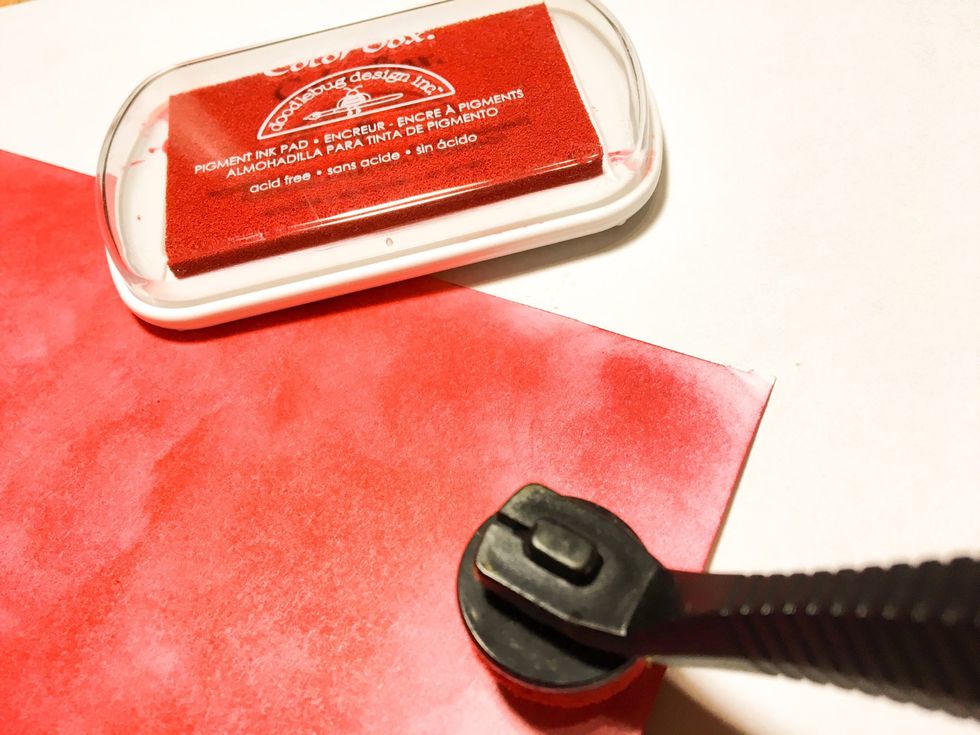
OPTIONAL: For bow, I inked the back of the red Metallic Foil Board so that the inside of the loops would not be white. Cut a piece large enough for 3 large loops plus small center loop.
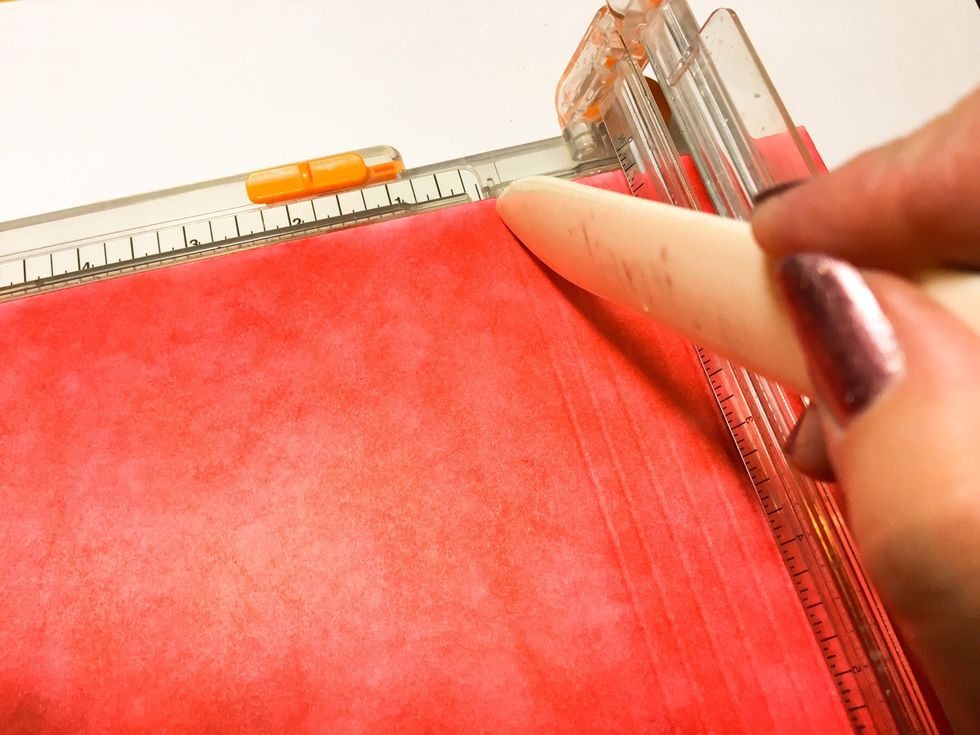
Working on the back, vertically score every ¼”. Then cut into strips for loops and center loop.

Form a figure 8 with each of the 3 longer strips, overlapping ends and staple at center to form bow loops.
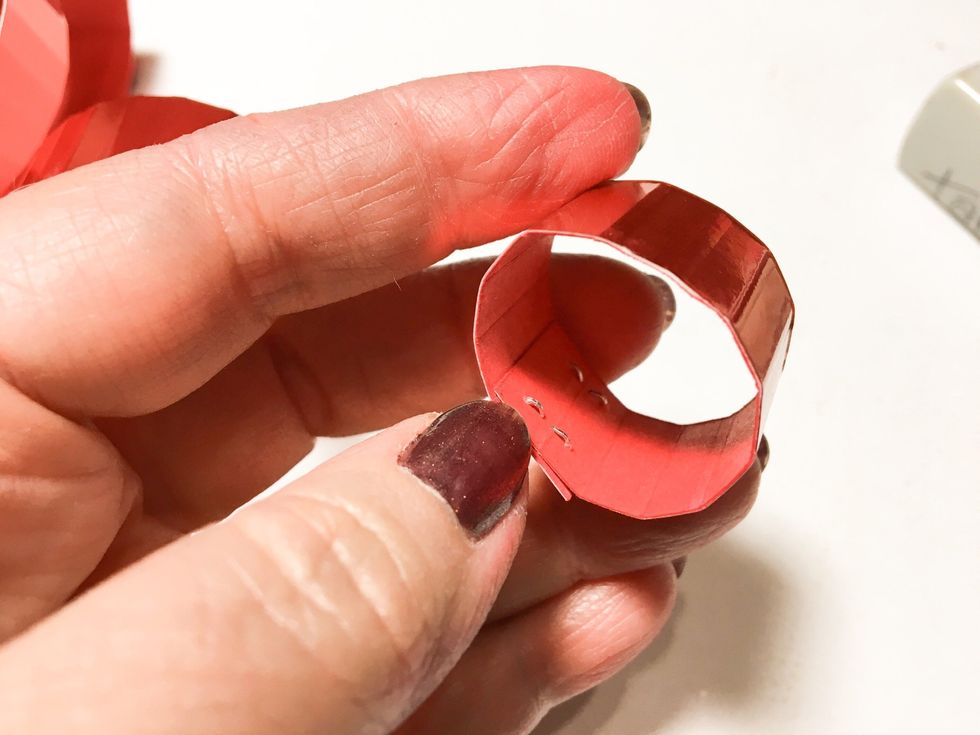
Form smaller strip in a circle, overlap ends and staple.

Bend loops at score lines to make more pliable and to add dimension.
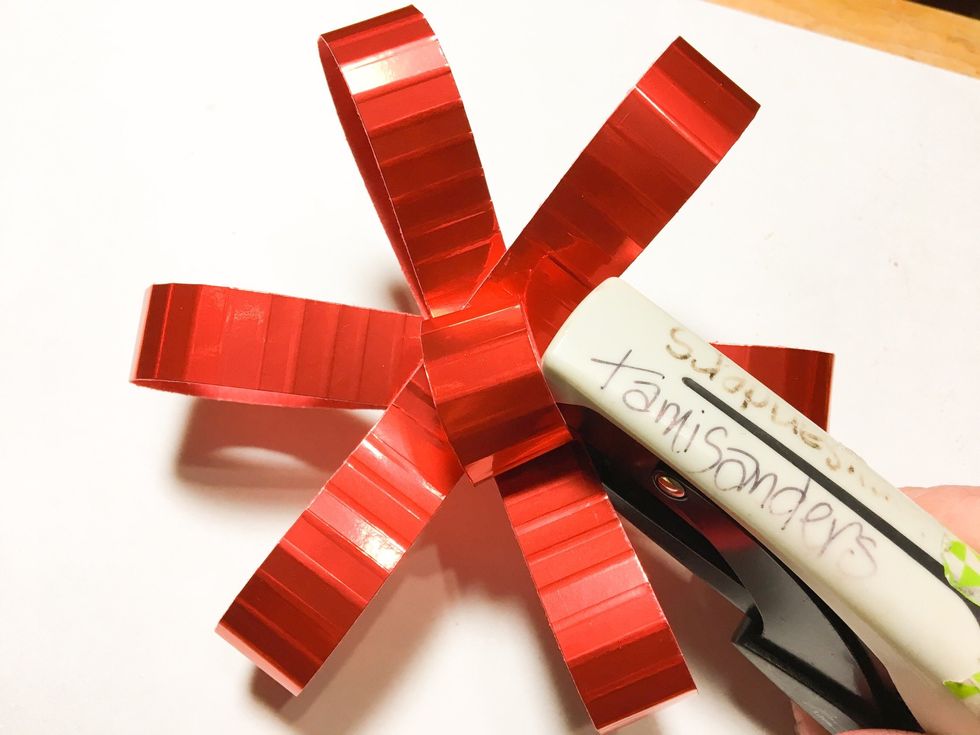
To assemble bow, form star with large loops, add small loop at center then staple through all pieces.

Adhere bow to box using 3-in-1 Glue.
Now for the finishing touch, a tag.
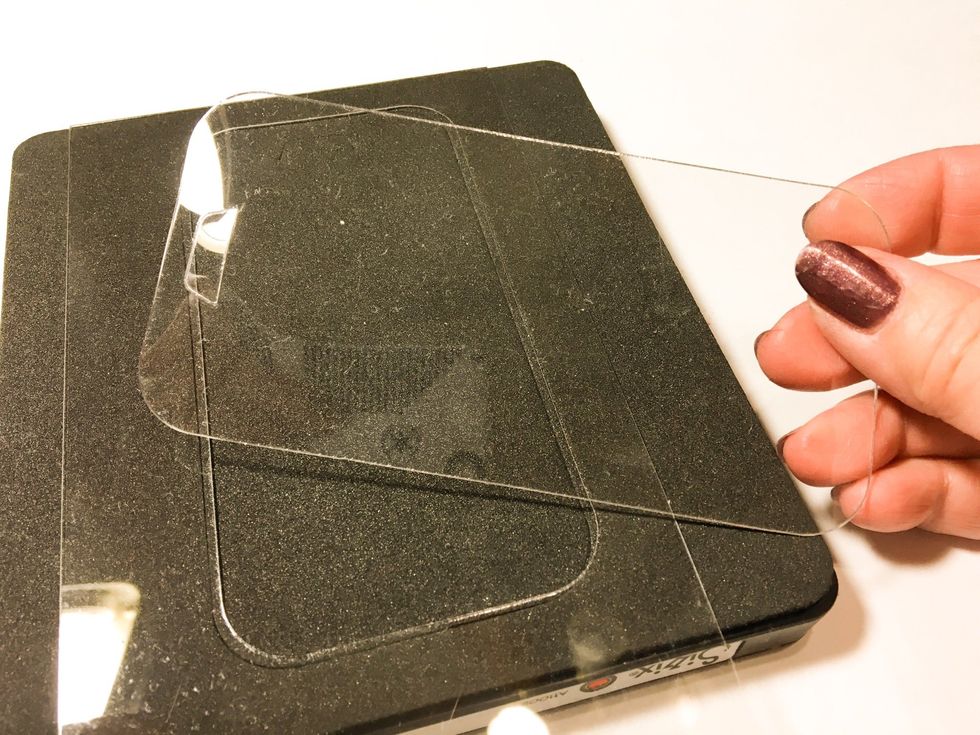
Diecut a piece of Clear Craft Plastic with Bookmark Die; remove blue protective films from front and back of plastic after diecutting.
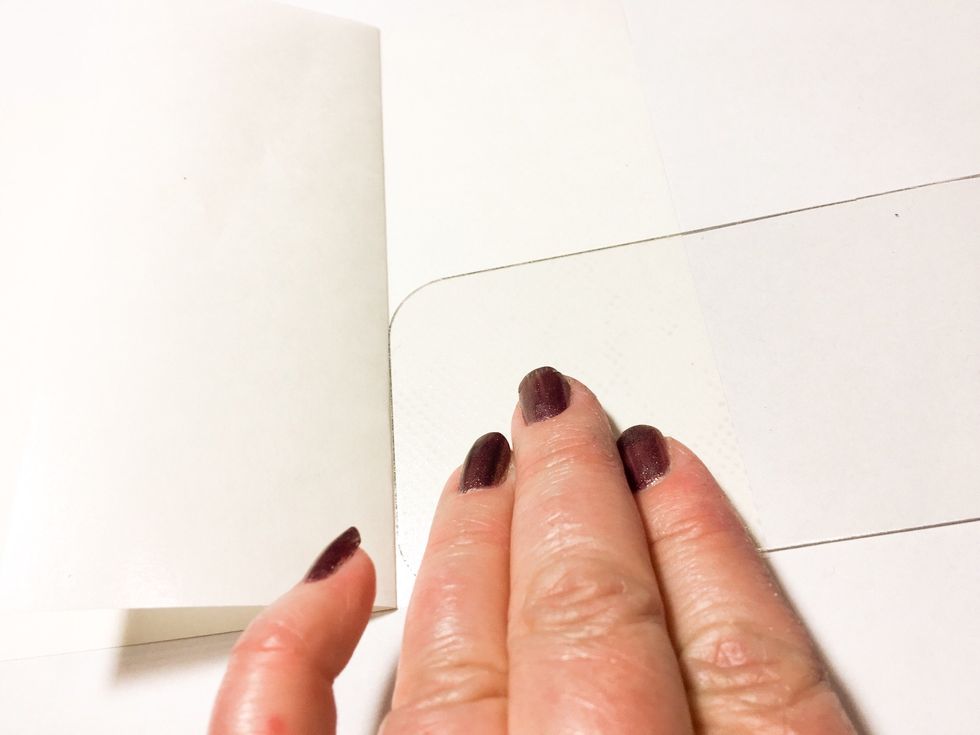
Apply adhesive to lower half of tag using Artist Tac sheet.
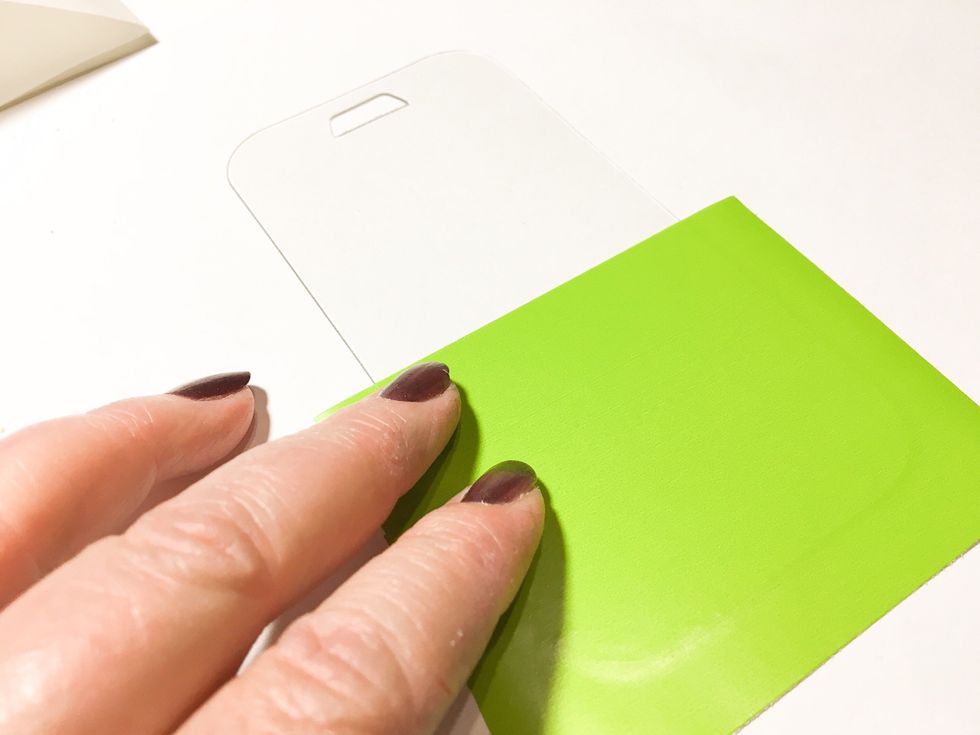
Cover the adhesive on the tag with a piece of gift wrap paper and trim to fit.
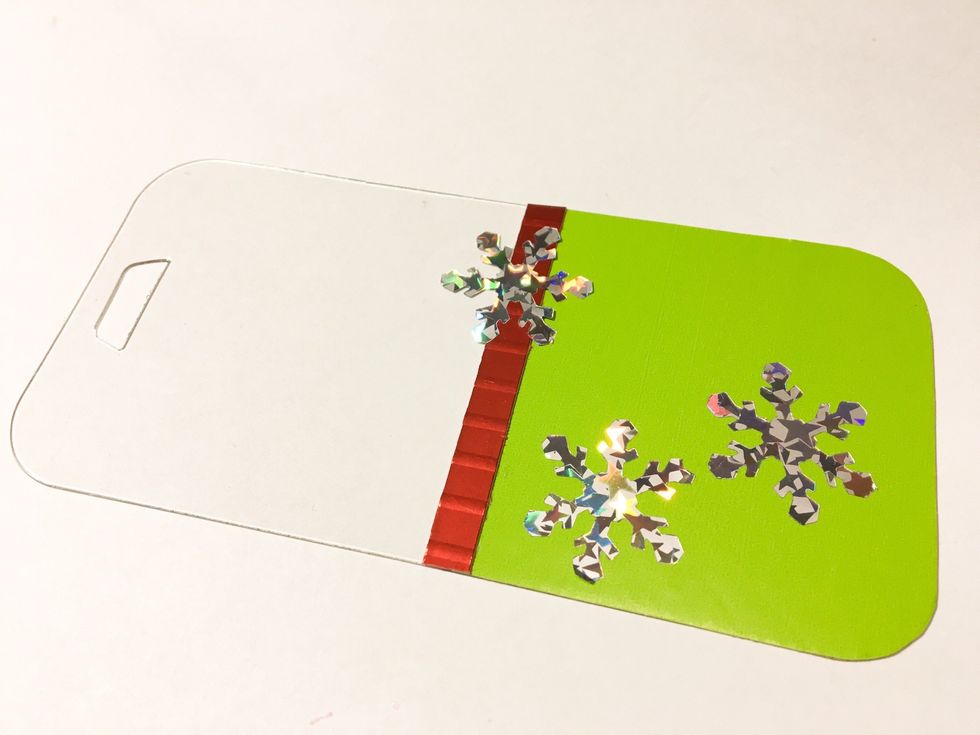
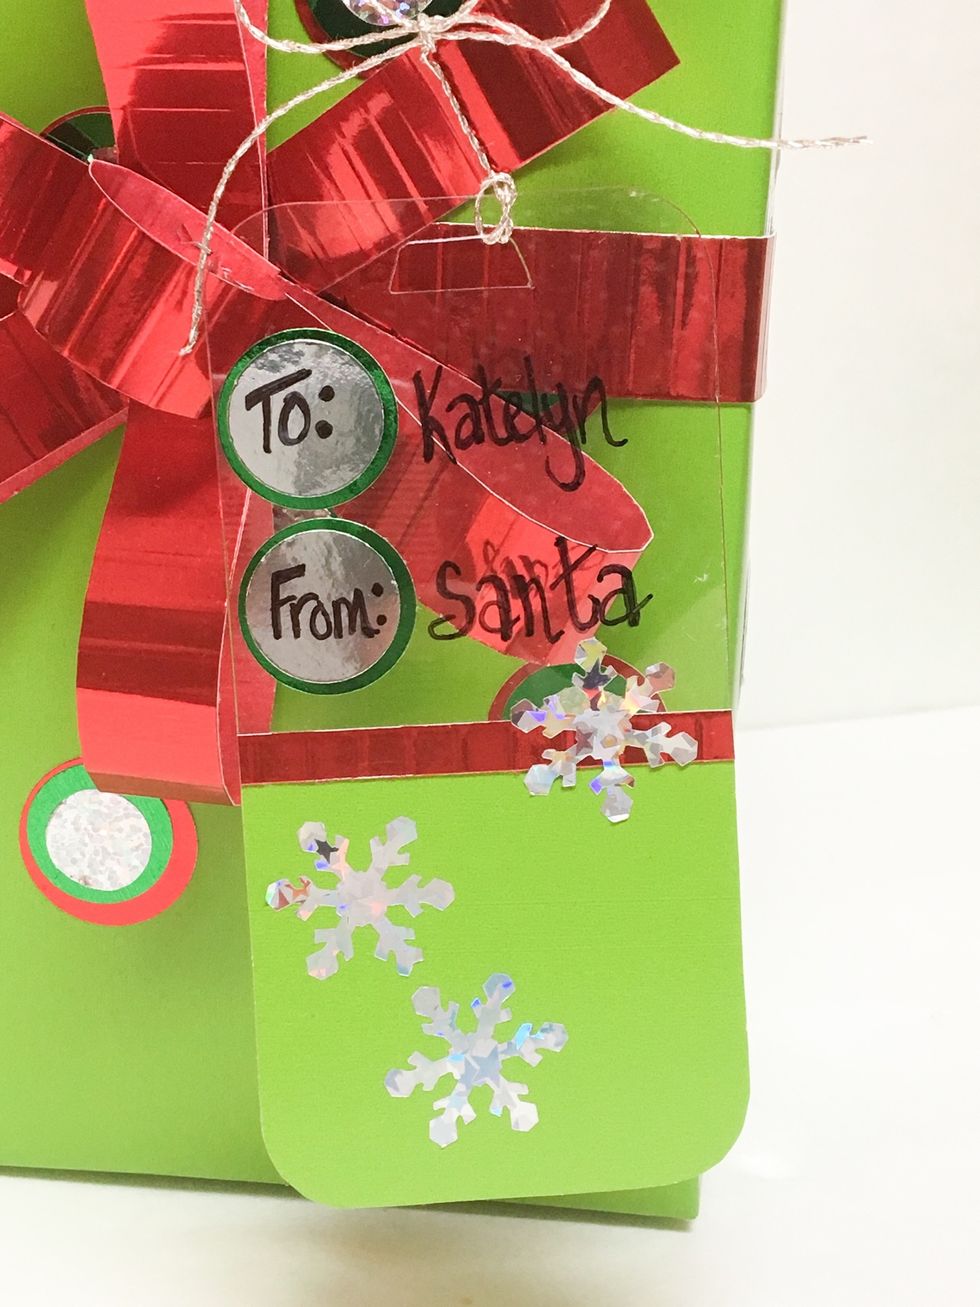
Cut a 1/4" strip of leftover scored red Metallic Foil Board and adhere to top of gift wrap. Punch 3 snowflakes from Mini Star Funky Film and adhere to tag.
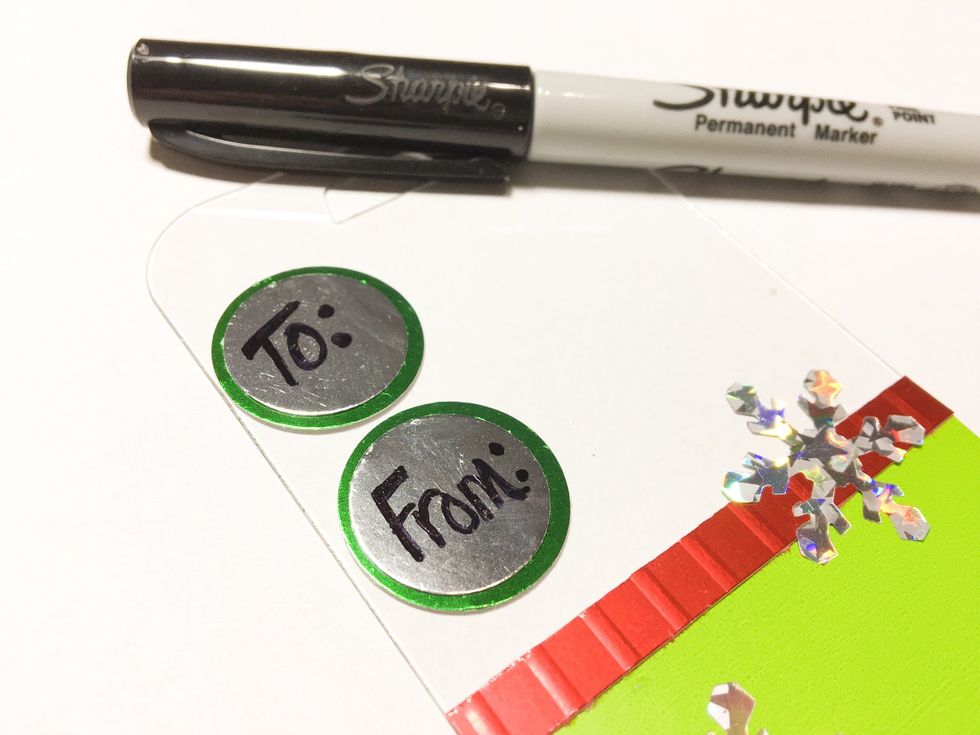
Punch 2 – 1” circles from green Metallic Foil Board and 2 – 7/8” circles from silver. Use Artist Tac to adhere pieces together as well as to tag. Write “To:” and “From:” on the circles.
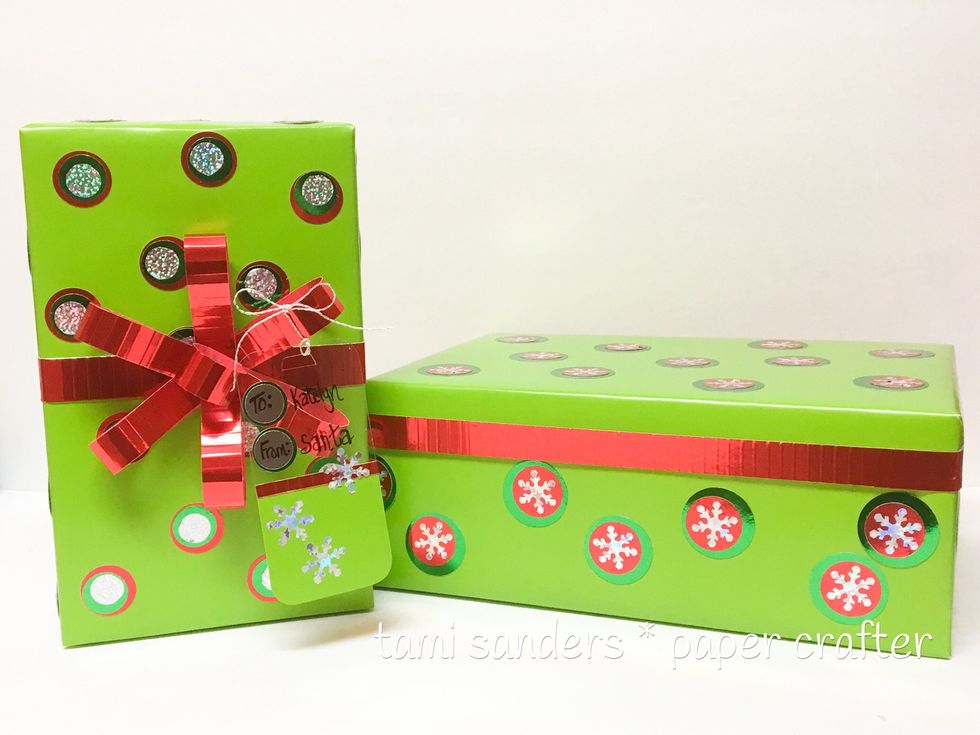
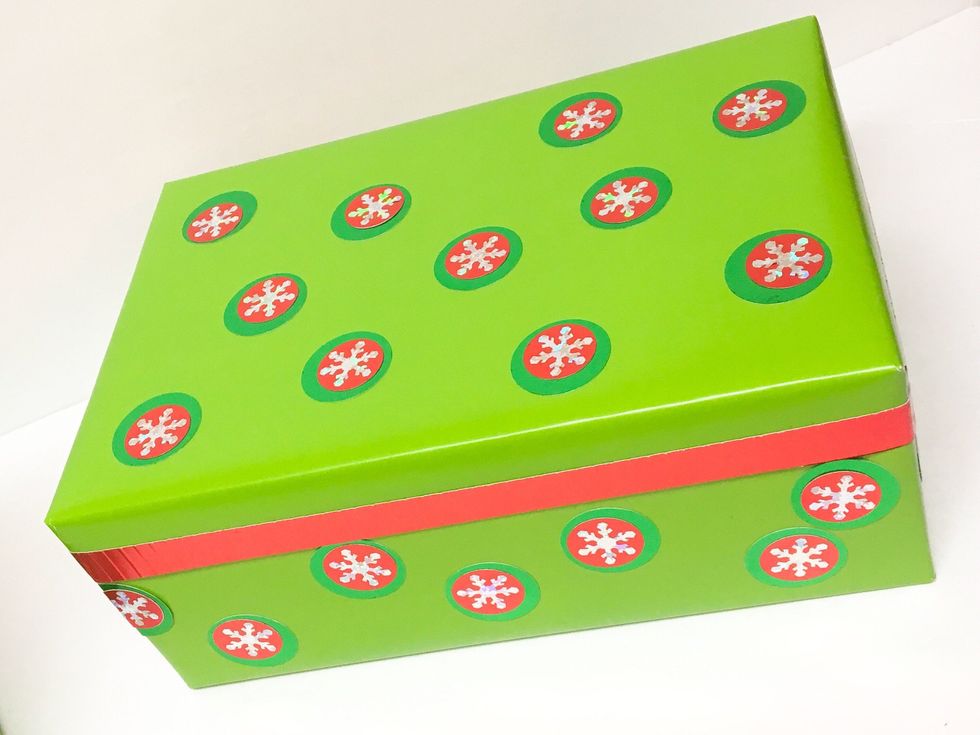
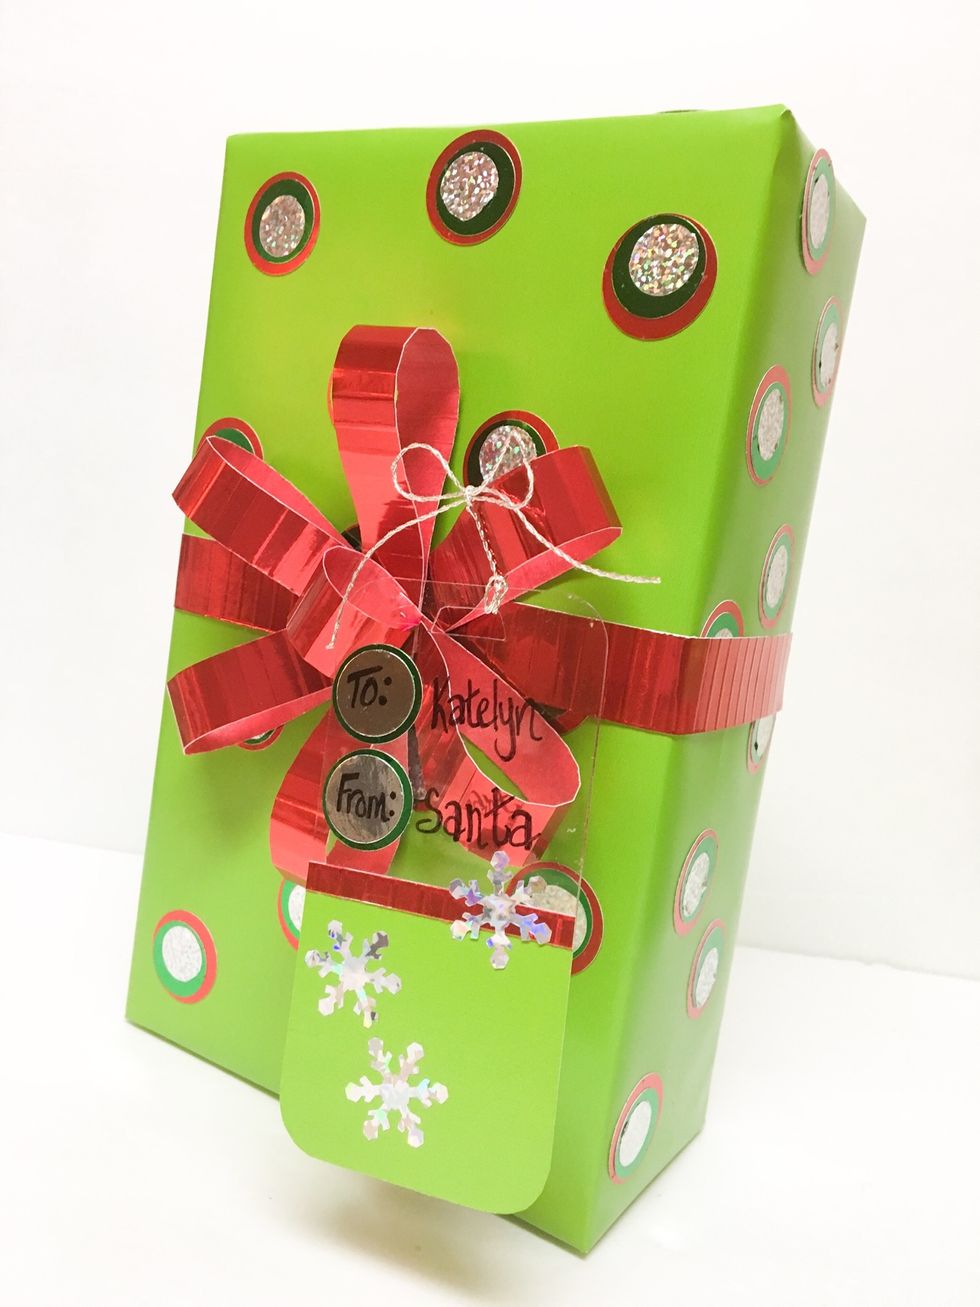
Here are the finished boxes, from plain to BLING*ed with a little help from Grafix Funky Film and Metallic Foil board!
I hope you enjoyed this project. You can find more projects using products by Grafix on their website and blog: www.grafixarts.com. You can find me at www.tamisanders.com