The Conversation (0)
Sign Up
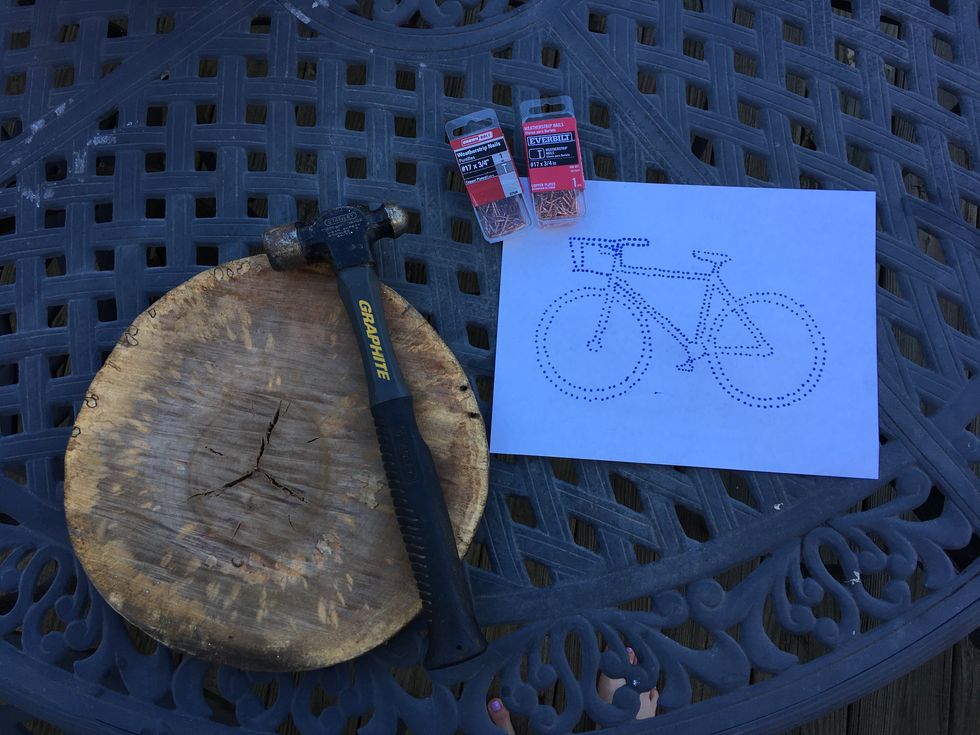
Gather the materials for the first part. You will need a pice of wood, nails, a hammer, and some kind of stencil to guide you when hammering in the nails. I also stained my wood to make it darker.
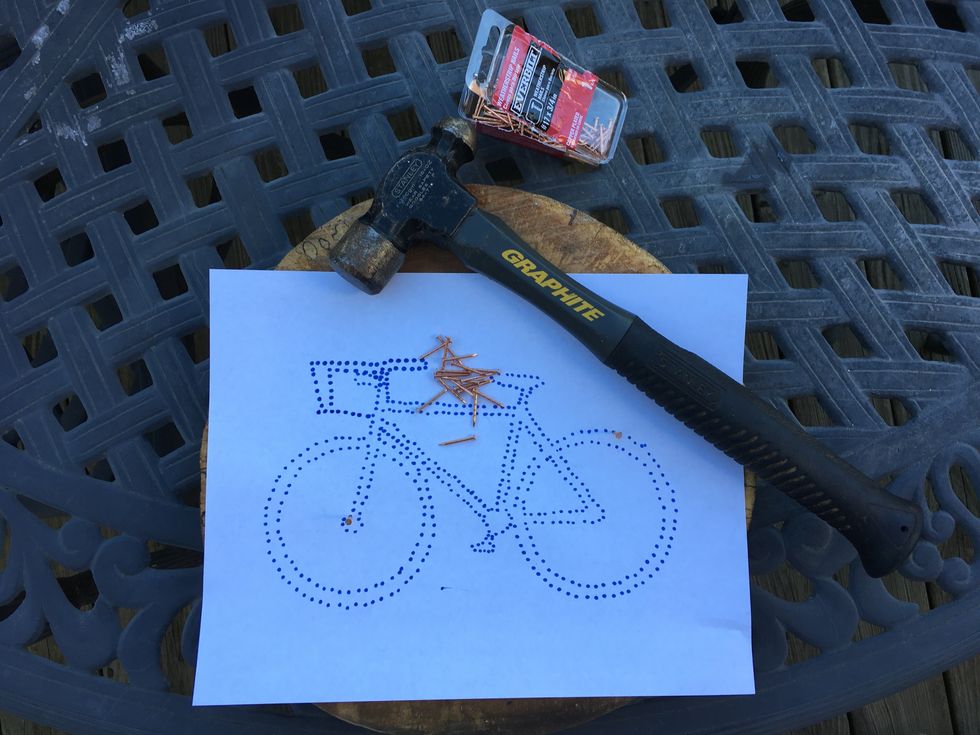
Place the stencil on your piece of wood and hammer in the nails according to the stencil. Be sure to not nail them all the way in, so there is room to lace the string.
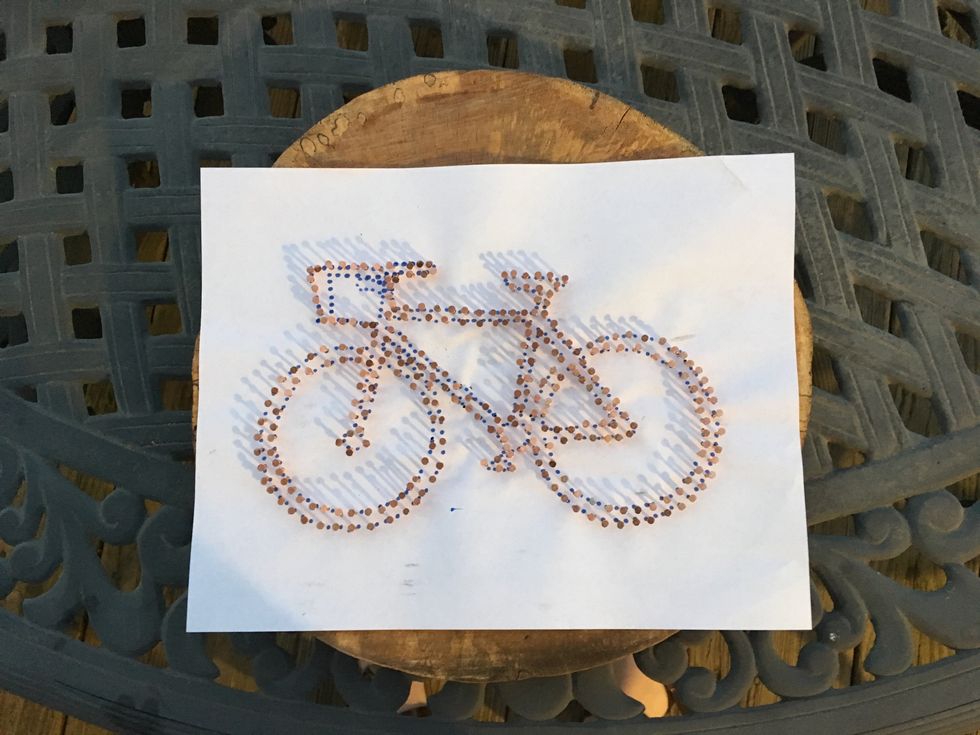
Once you have added all the nails that are necessary, remove the paper. For my bike, I had to wet the paper to make it easier to remove.
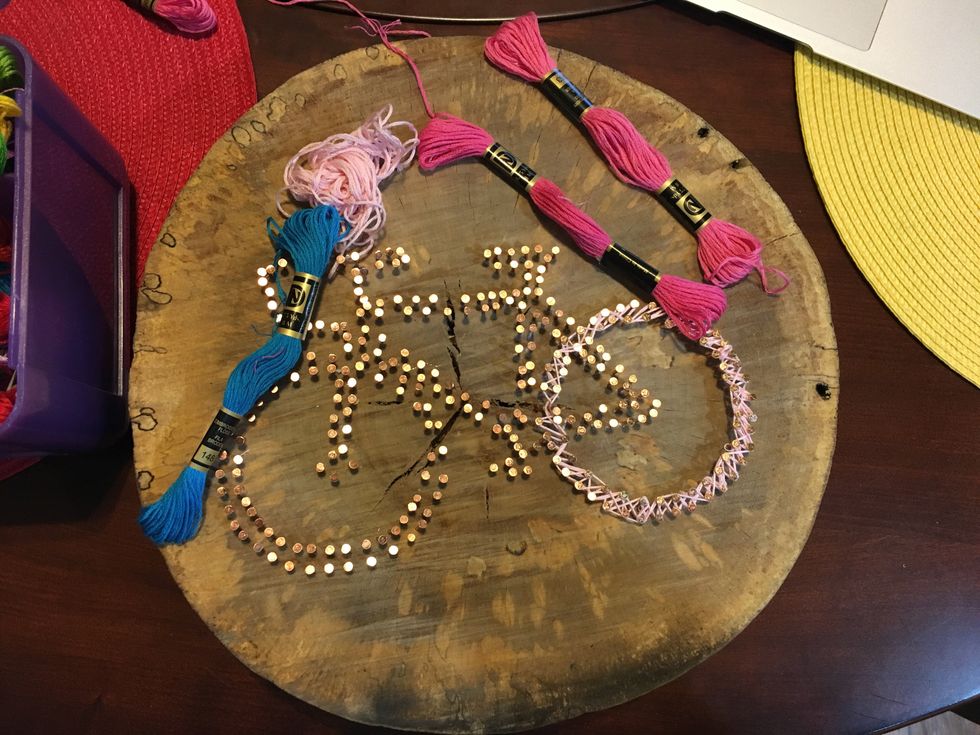
Now it is time for threading. Choose the colors of string you want to use. For my bike I ended up using different shades of pink for the bike and white string for the basket.
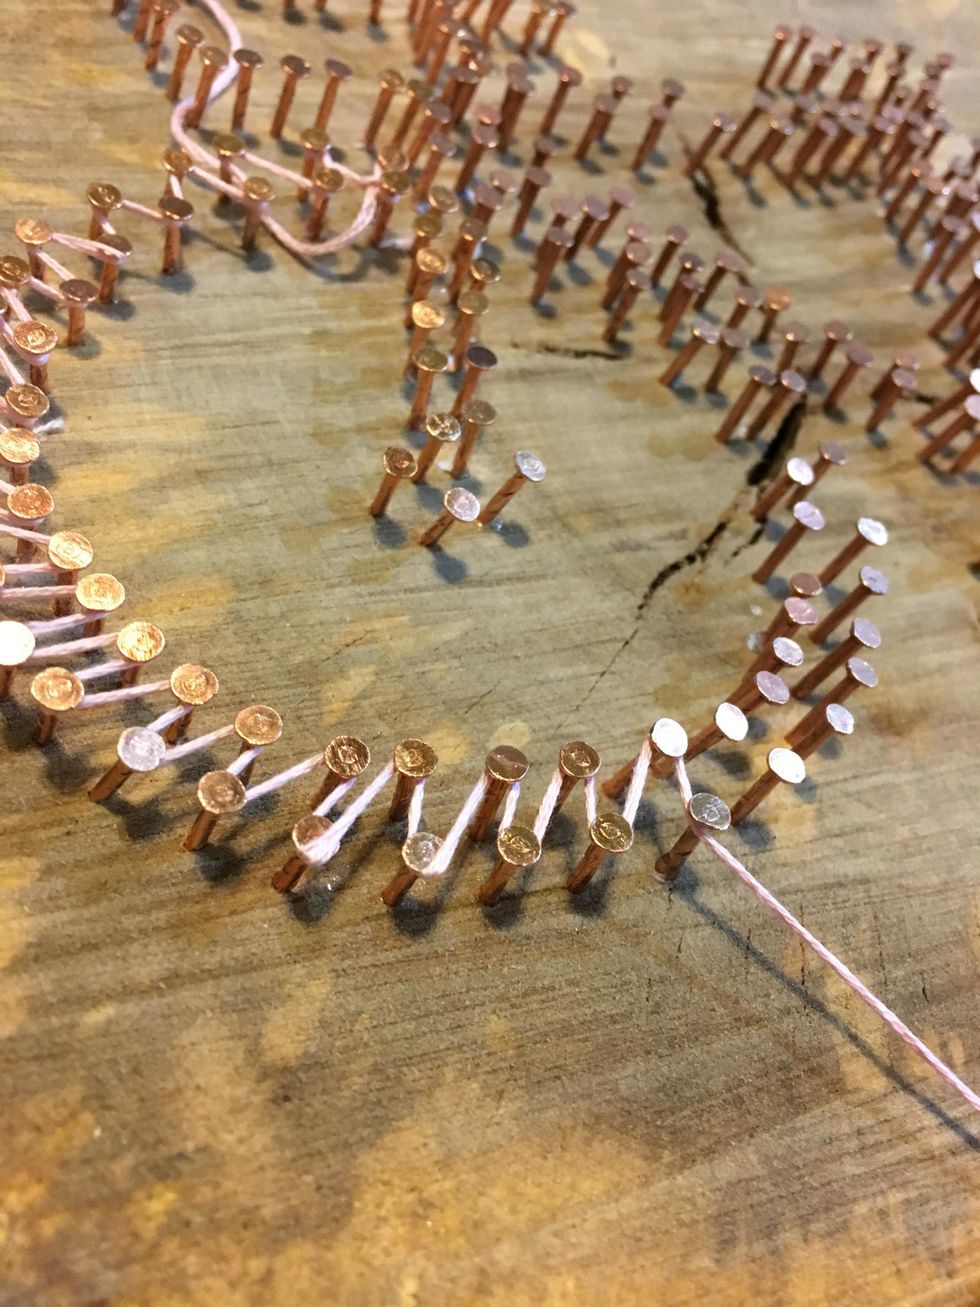
To start, tie one end of the string to a nail. Then start twisting the thread around the nails in any pattern you like.

When you are done threading a section or if you are done using a color, tie off the string around a nail and cut off excess thread. Then paint the knot with clear nail polish to ensure it stays tied.

Continue threading until the design looks the way you like it.
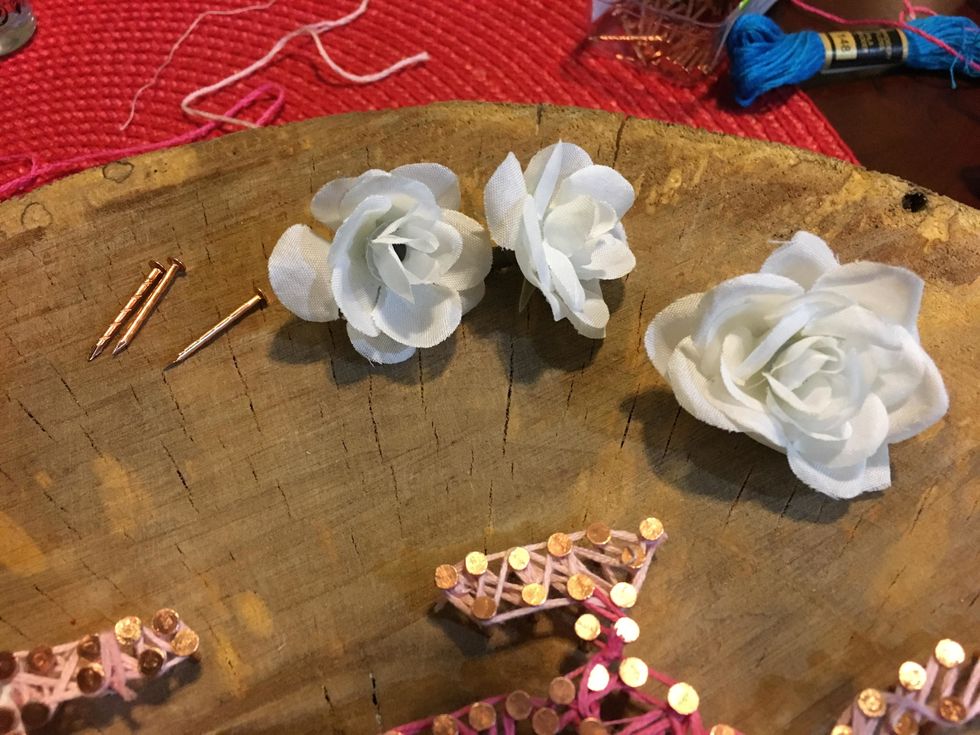
I decided to add a little decoration to my bike with some tiny fabric flowers. I used the same nails to secure them to the wood where the bike basket is.
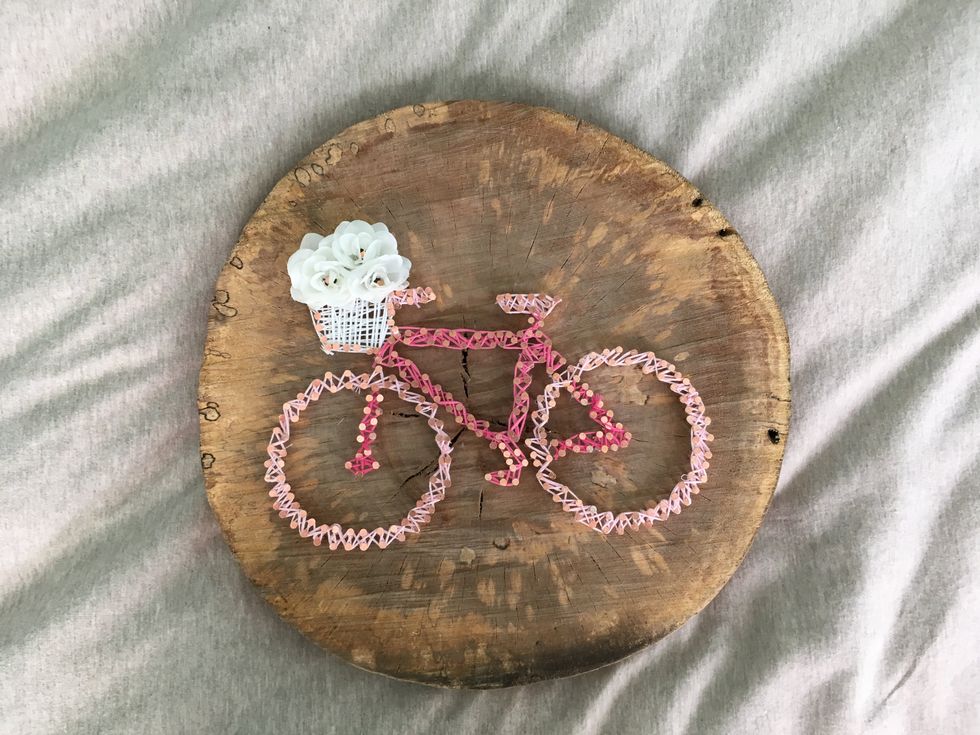
And here is the finished product! It is super cute and can either be hung up or propped up against the wall for decoration!