The Conversation (0)
Sign Up
Disclaimer: This app is $4.99, but is occasionally free. You can track its price changes with an app like AppShopper (Free).
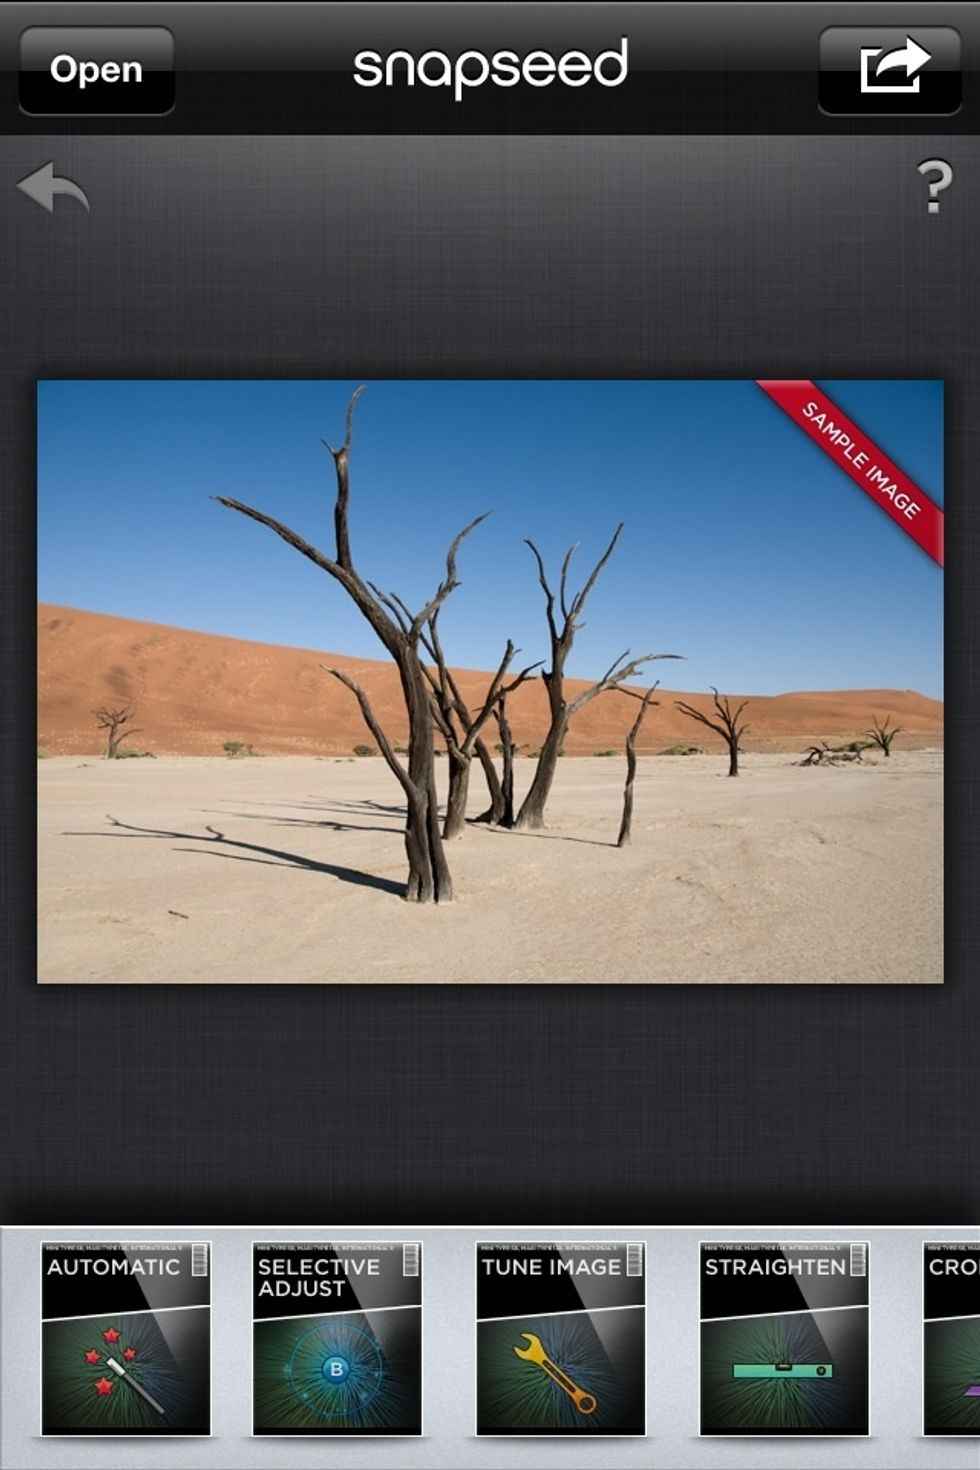
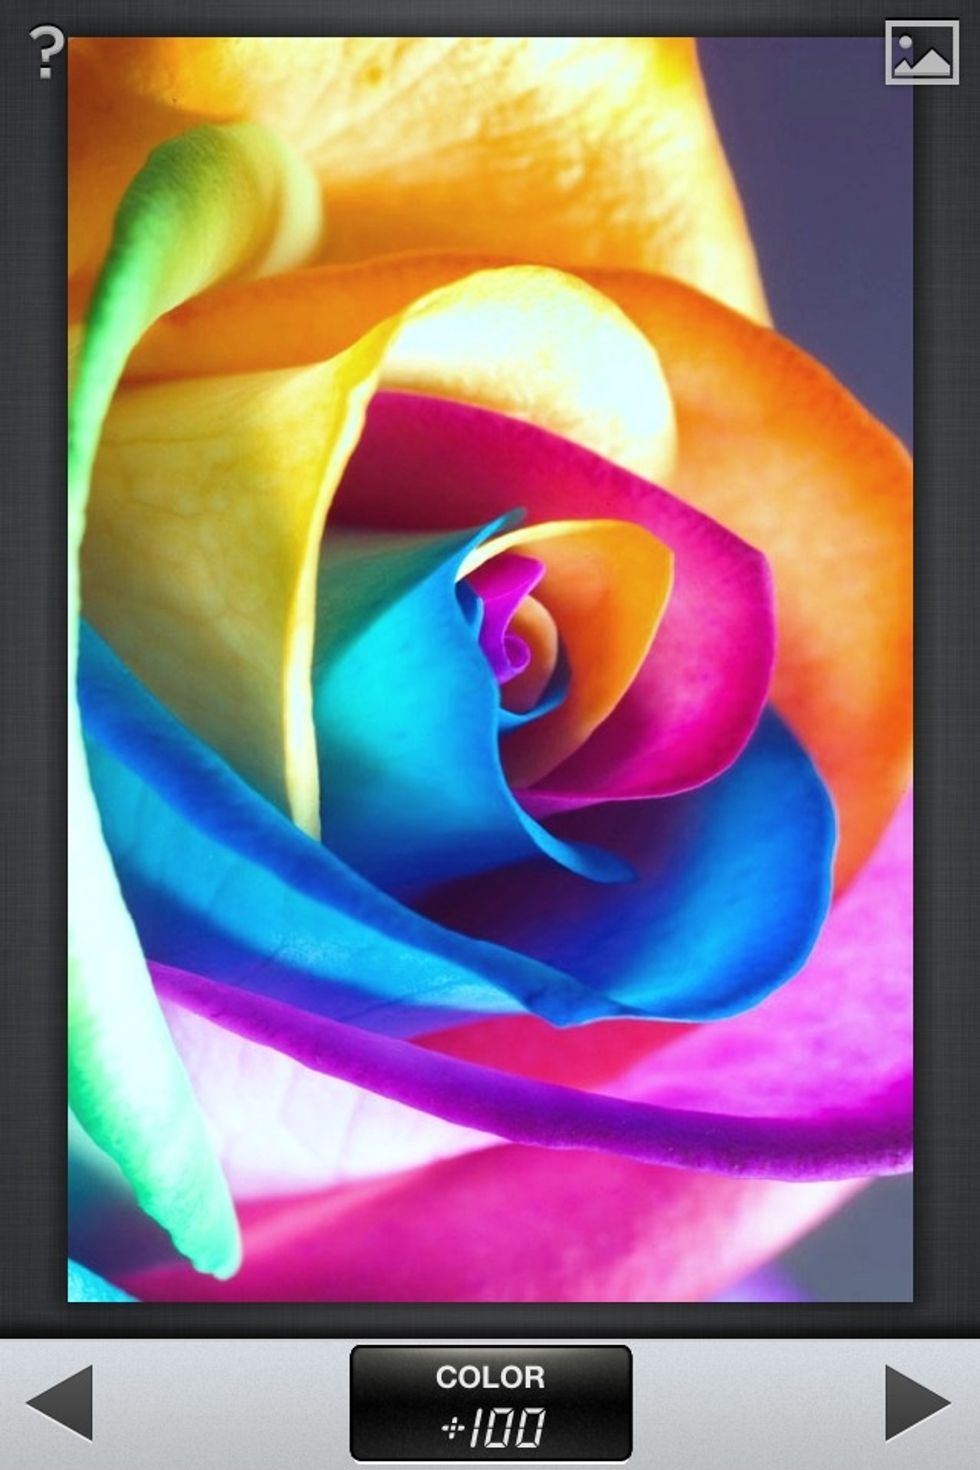
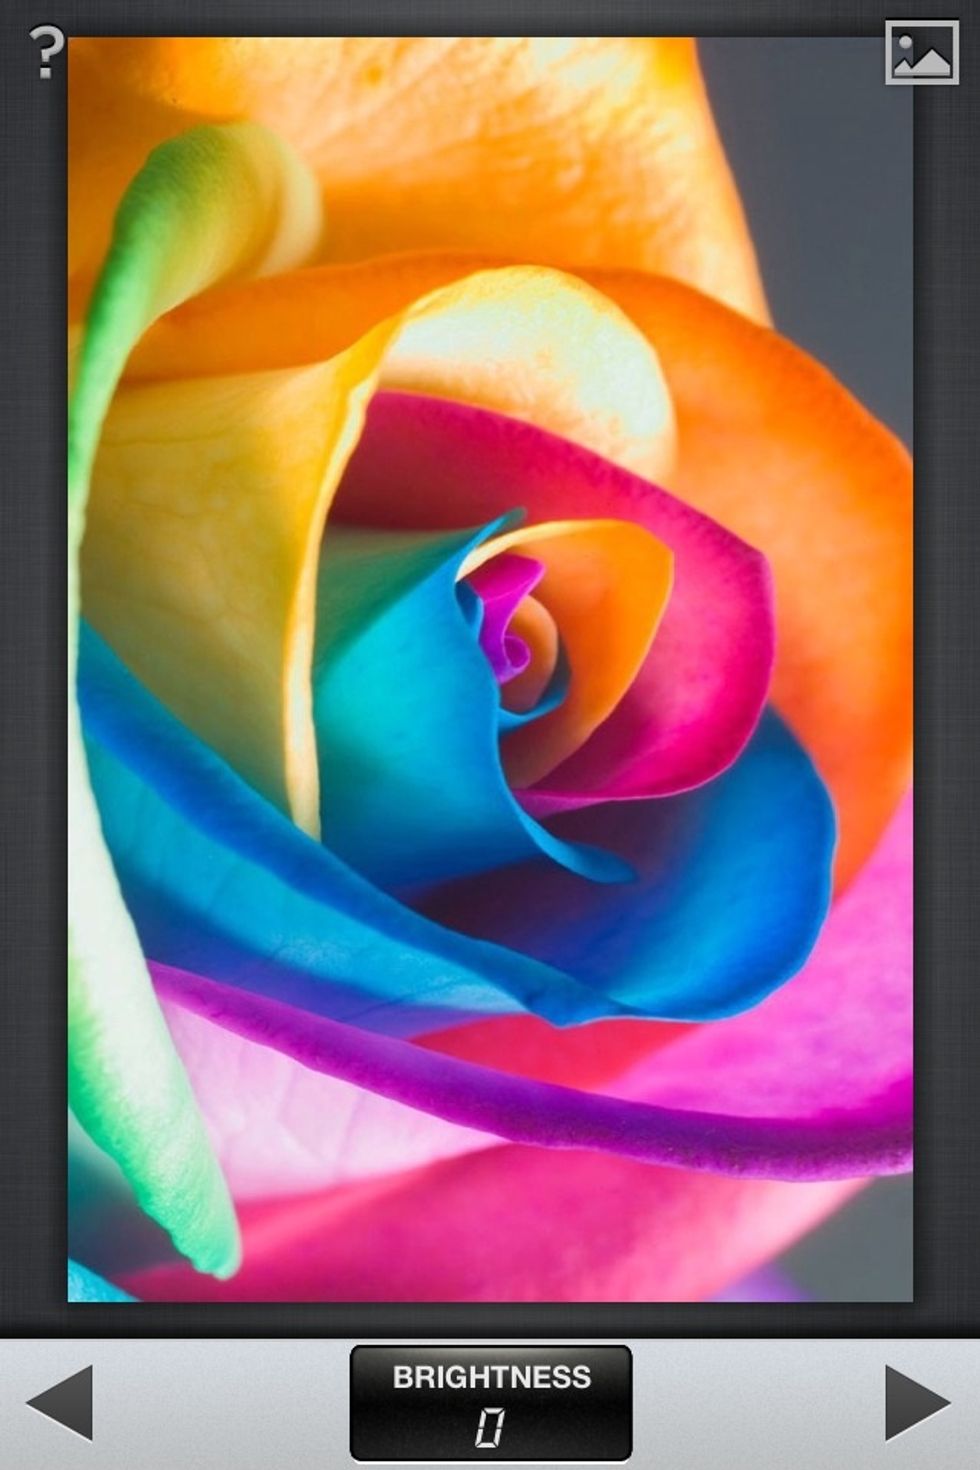
This is the main screen.
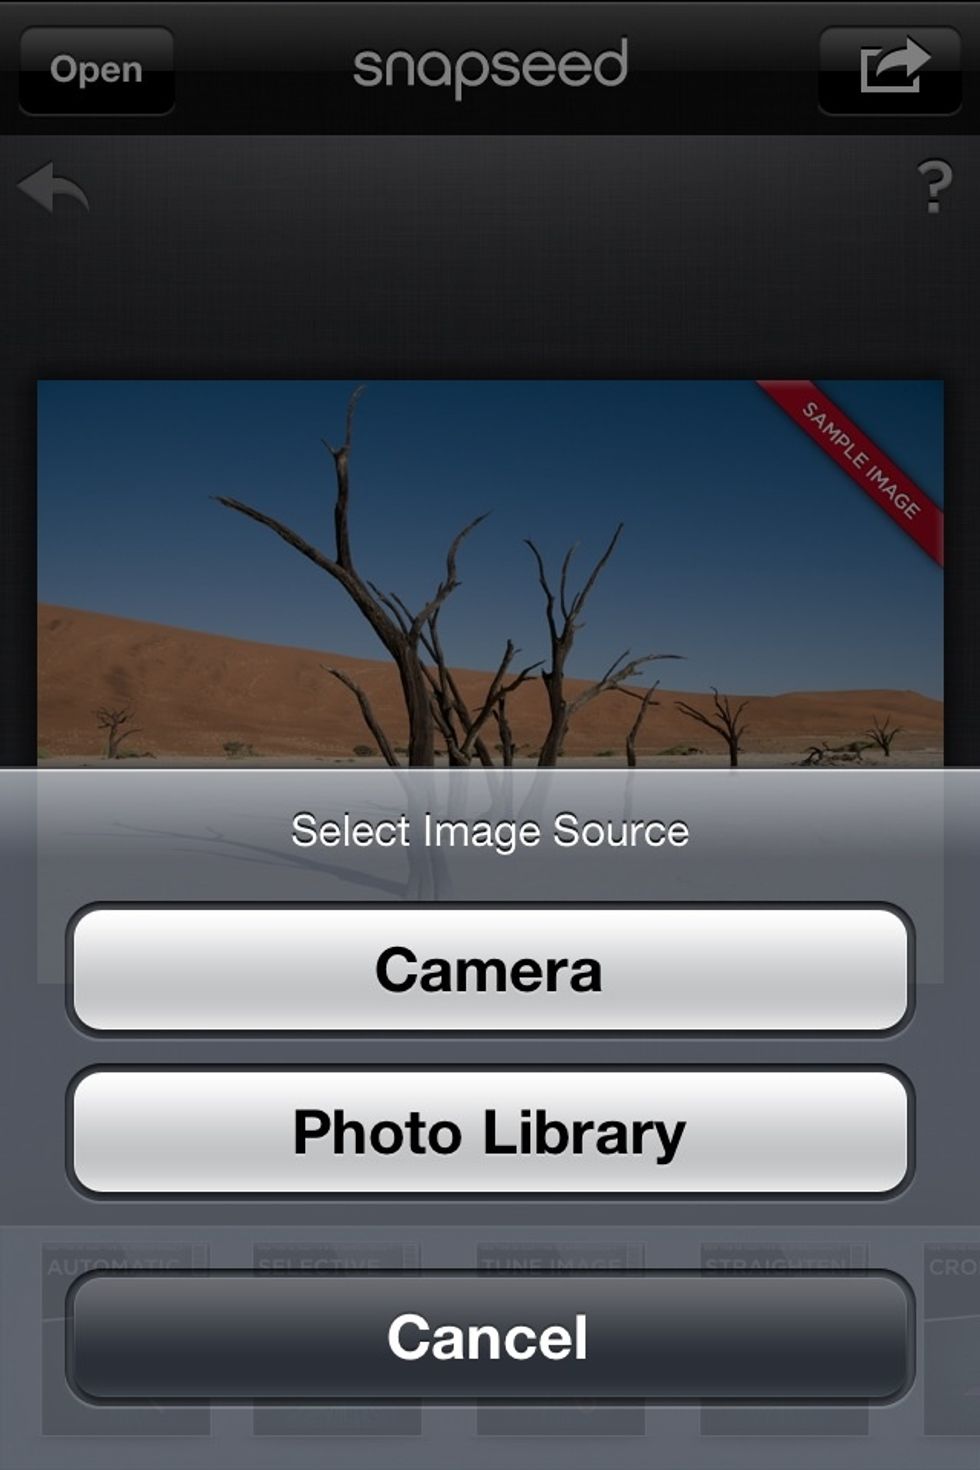
"Open" in the upper left corner reveals this menu.
The arrow on the left side undos ALL changes to the photo.
The arrow in the upper right reveals the "Share" menu.
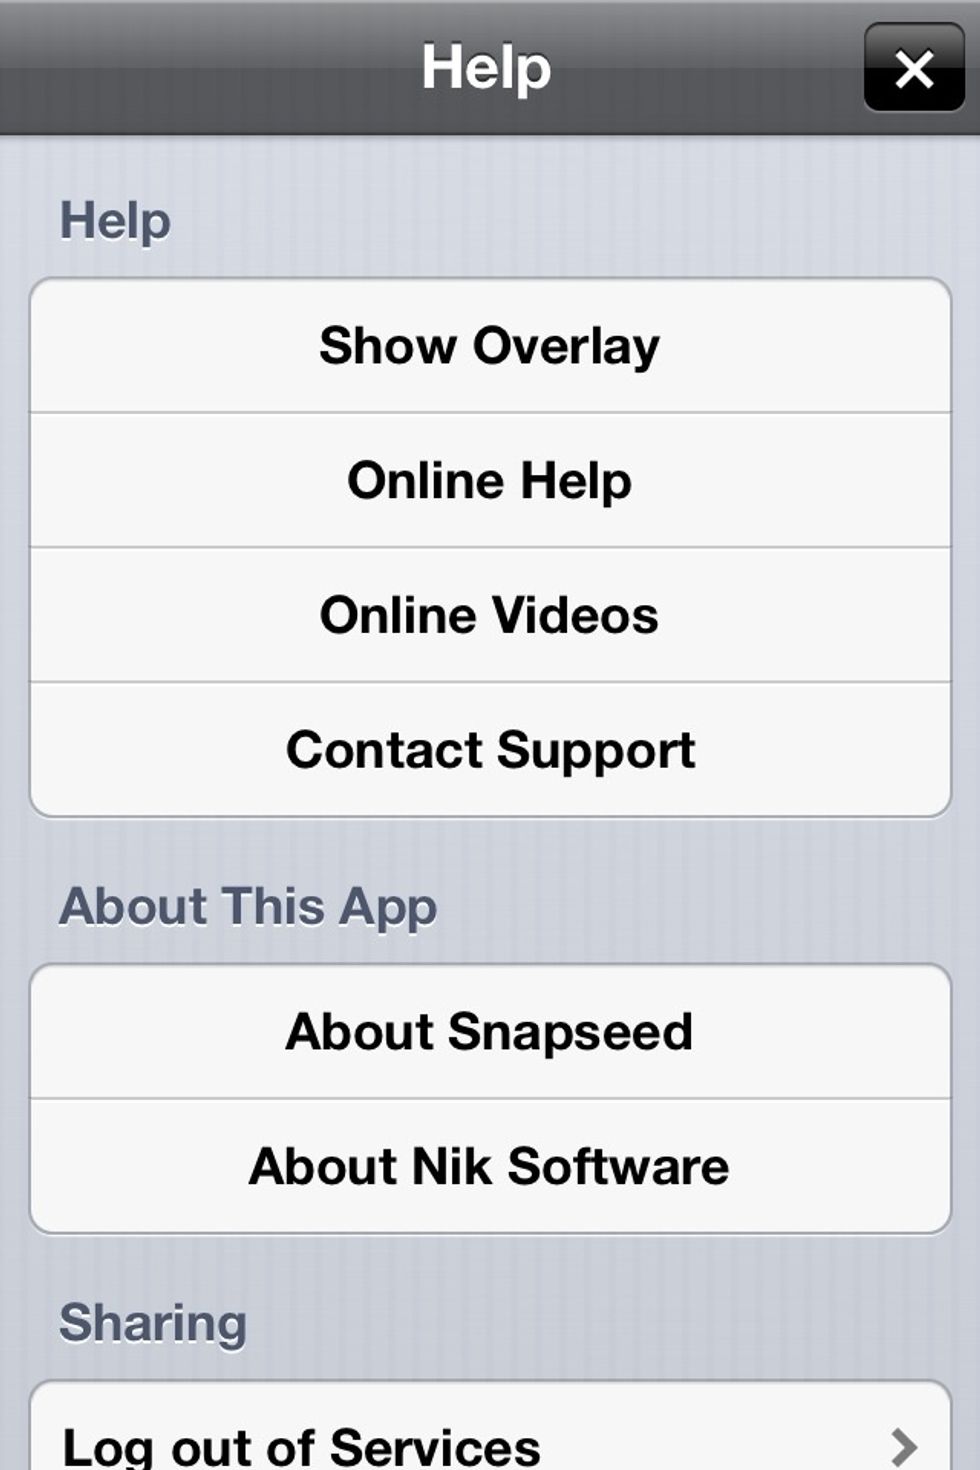
The question mark on the right side reveals the "Help" menu.
First: Automatic.
The menu for Automatic. You swipe down to reveal the menu. Press the right arrow to save the adjustments. Press the landscape photo button to see the original. The question mark is the overlay
Sample of an Automatic adjustment.
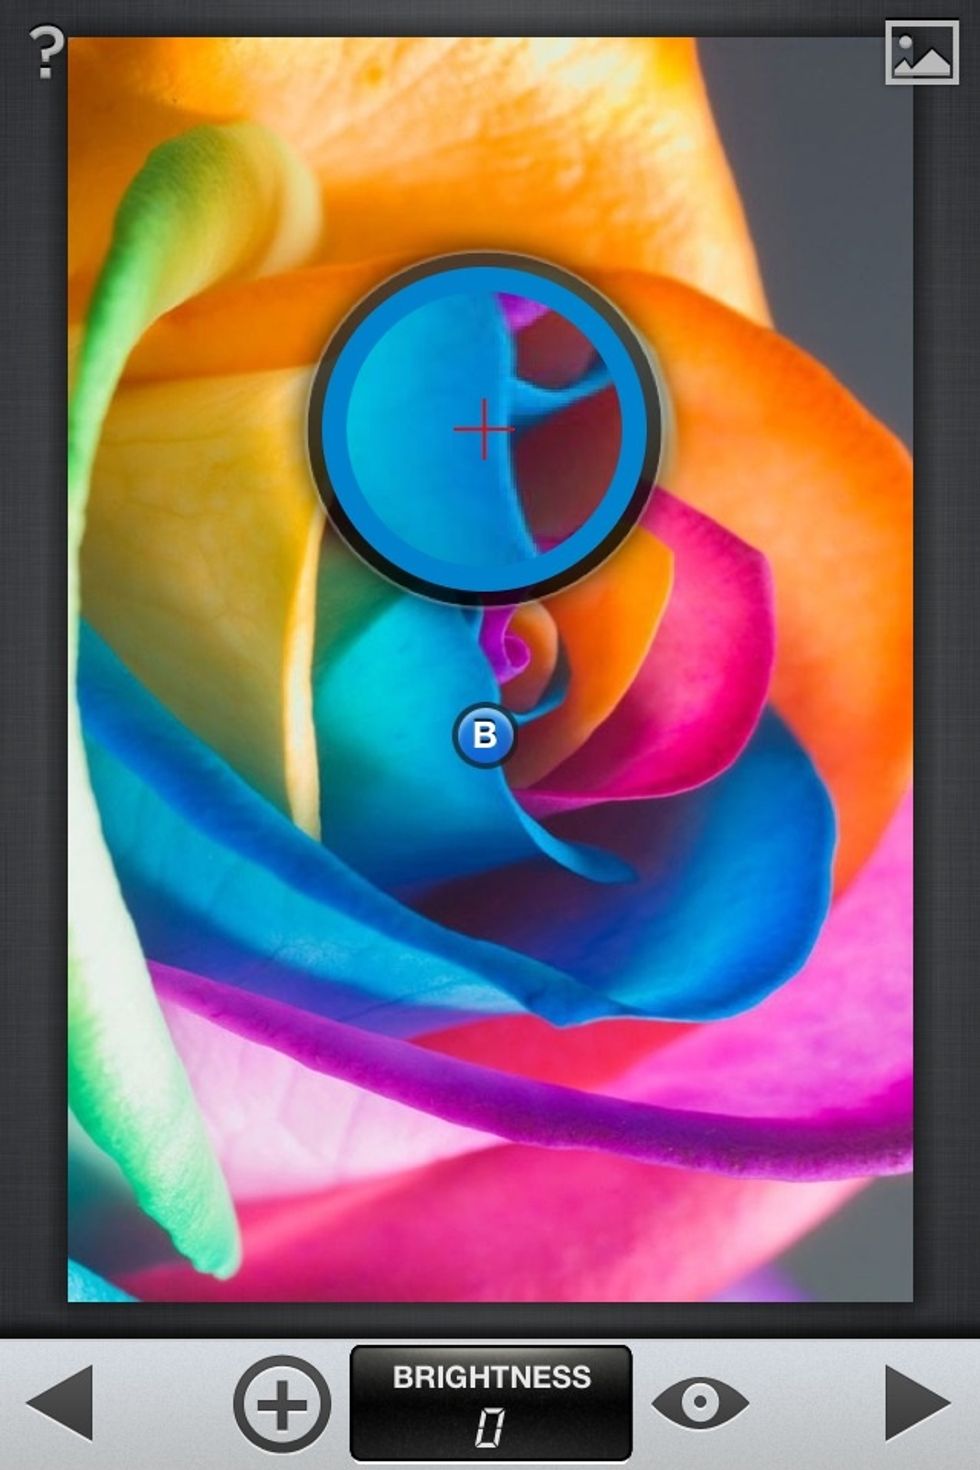
Second: Selective Adjust. Press the "Plus" to magnify the place of adjustment.

The Selective Adjust menu.
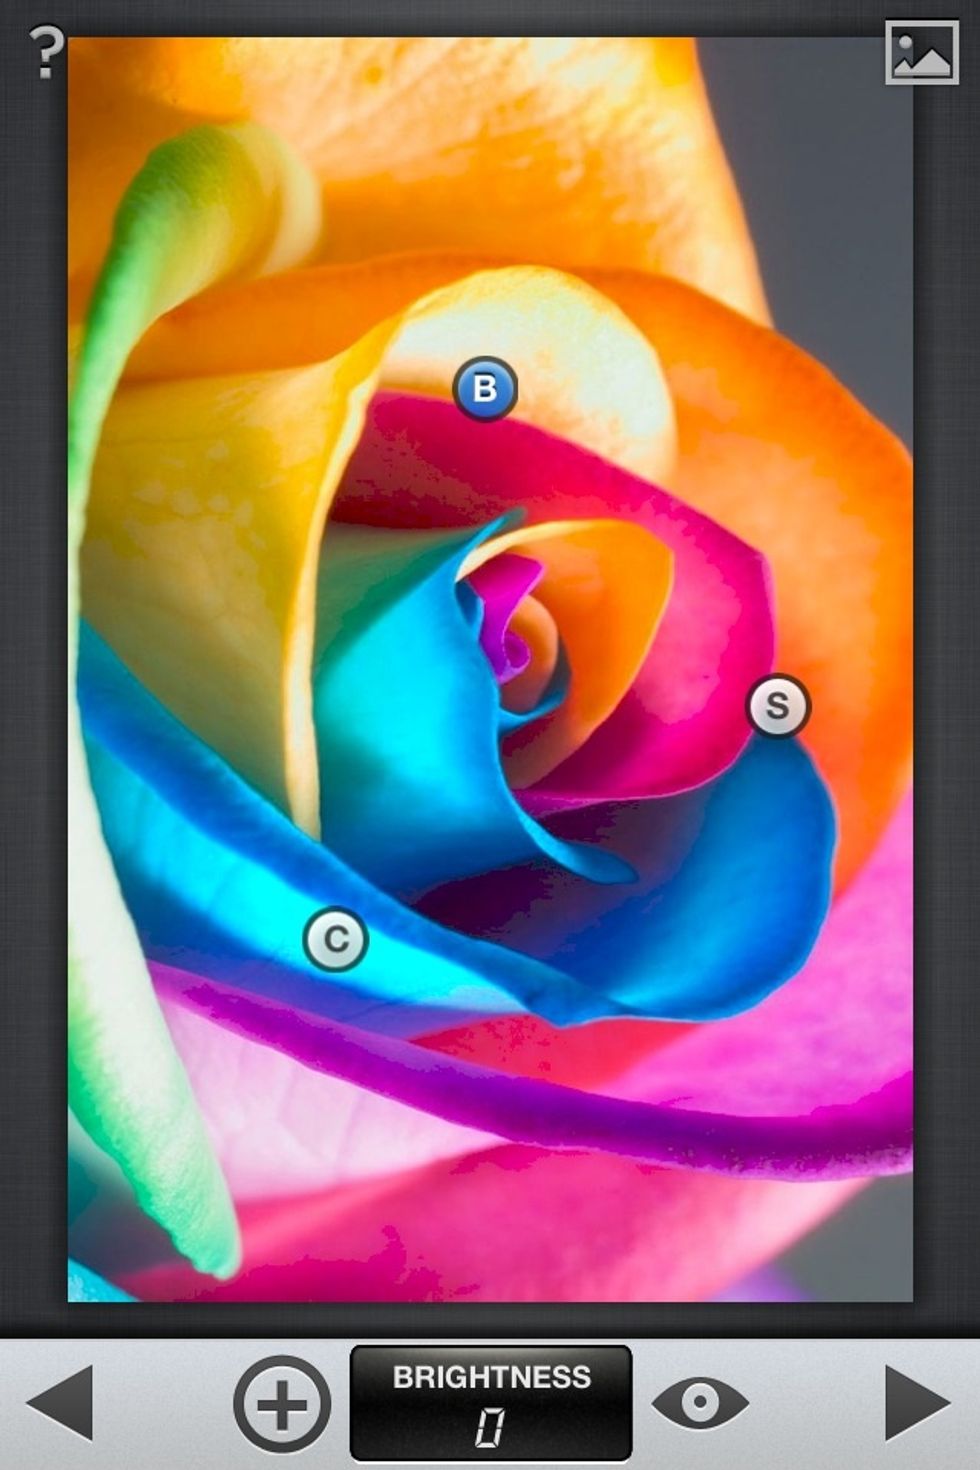
You can use multiple points by pressing the "Plus" continuously.
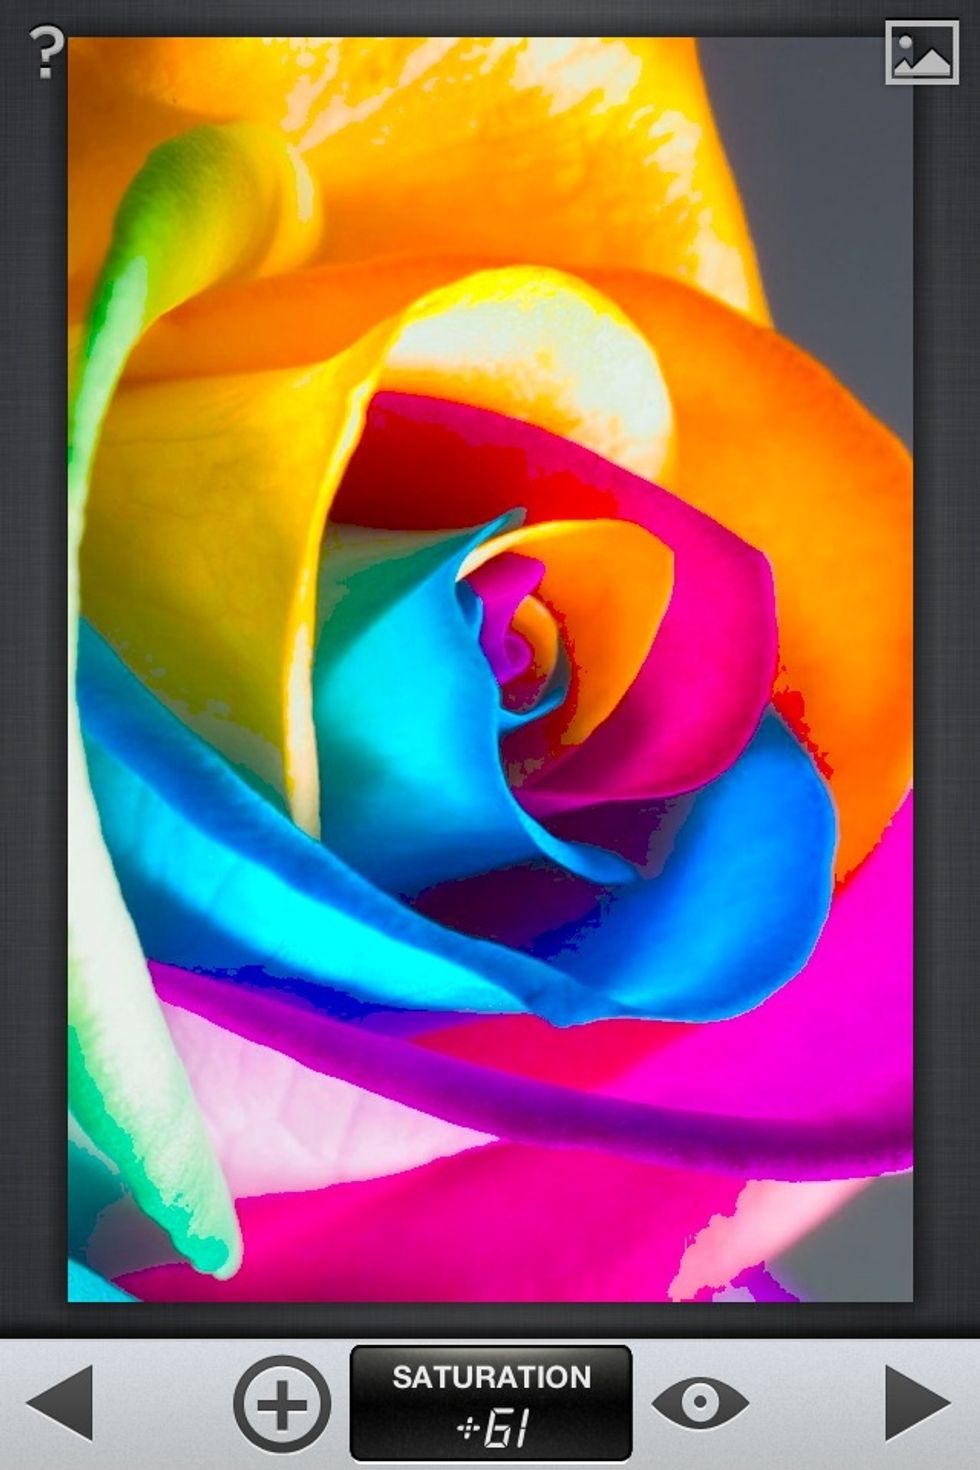
Sample of a Selective Adjust adjustment.
Third: Tune Image.
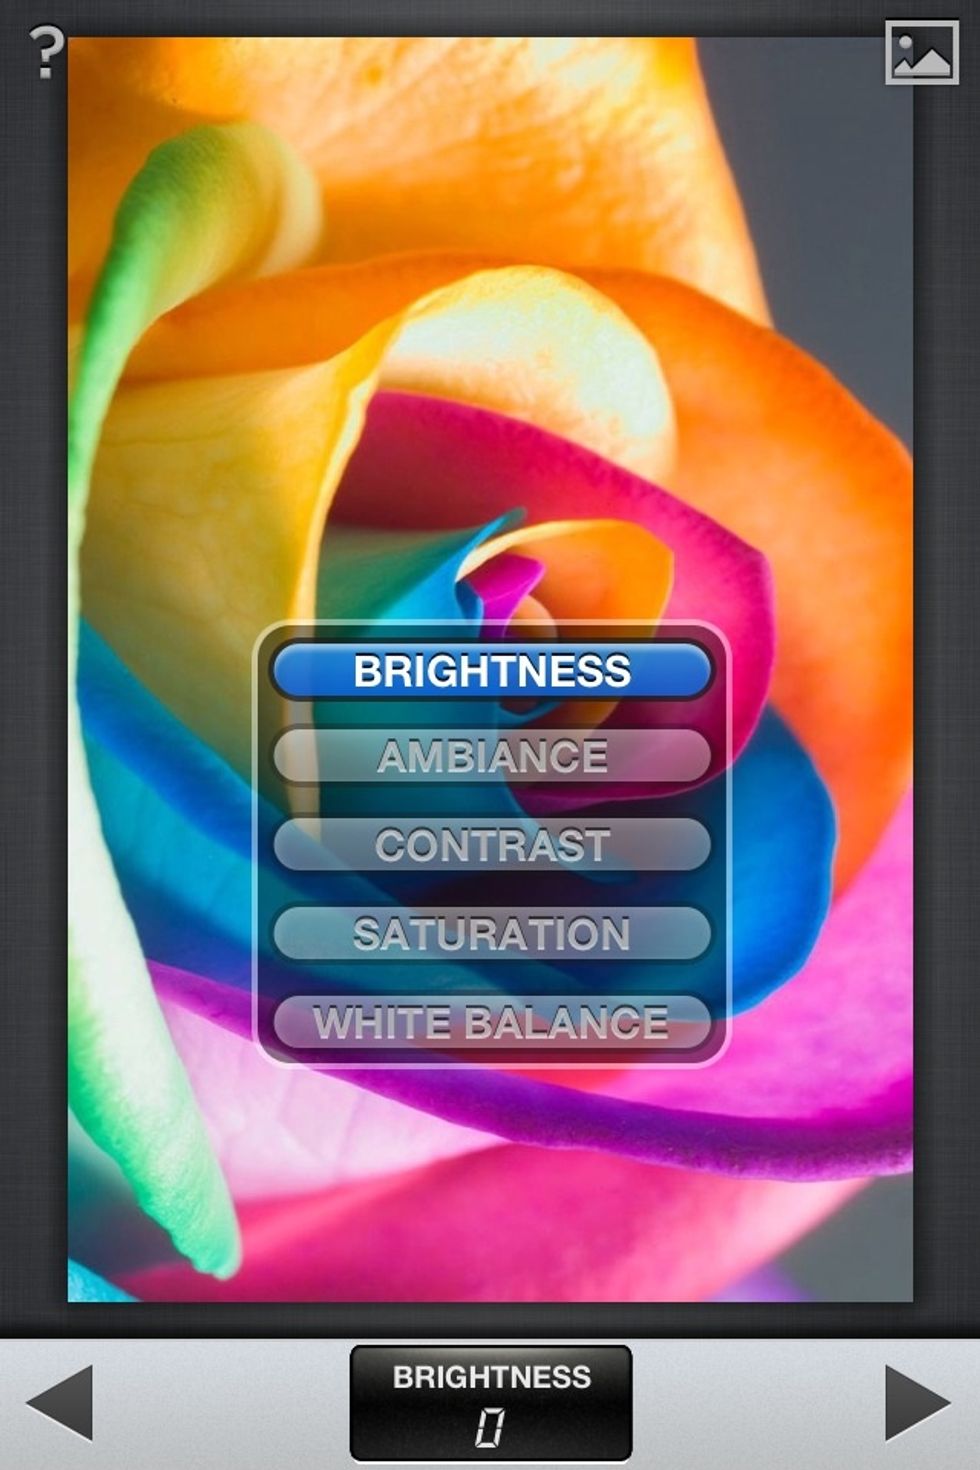
The Tune Image menu.
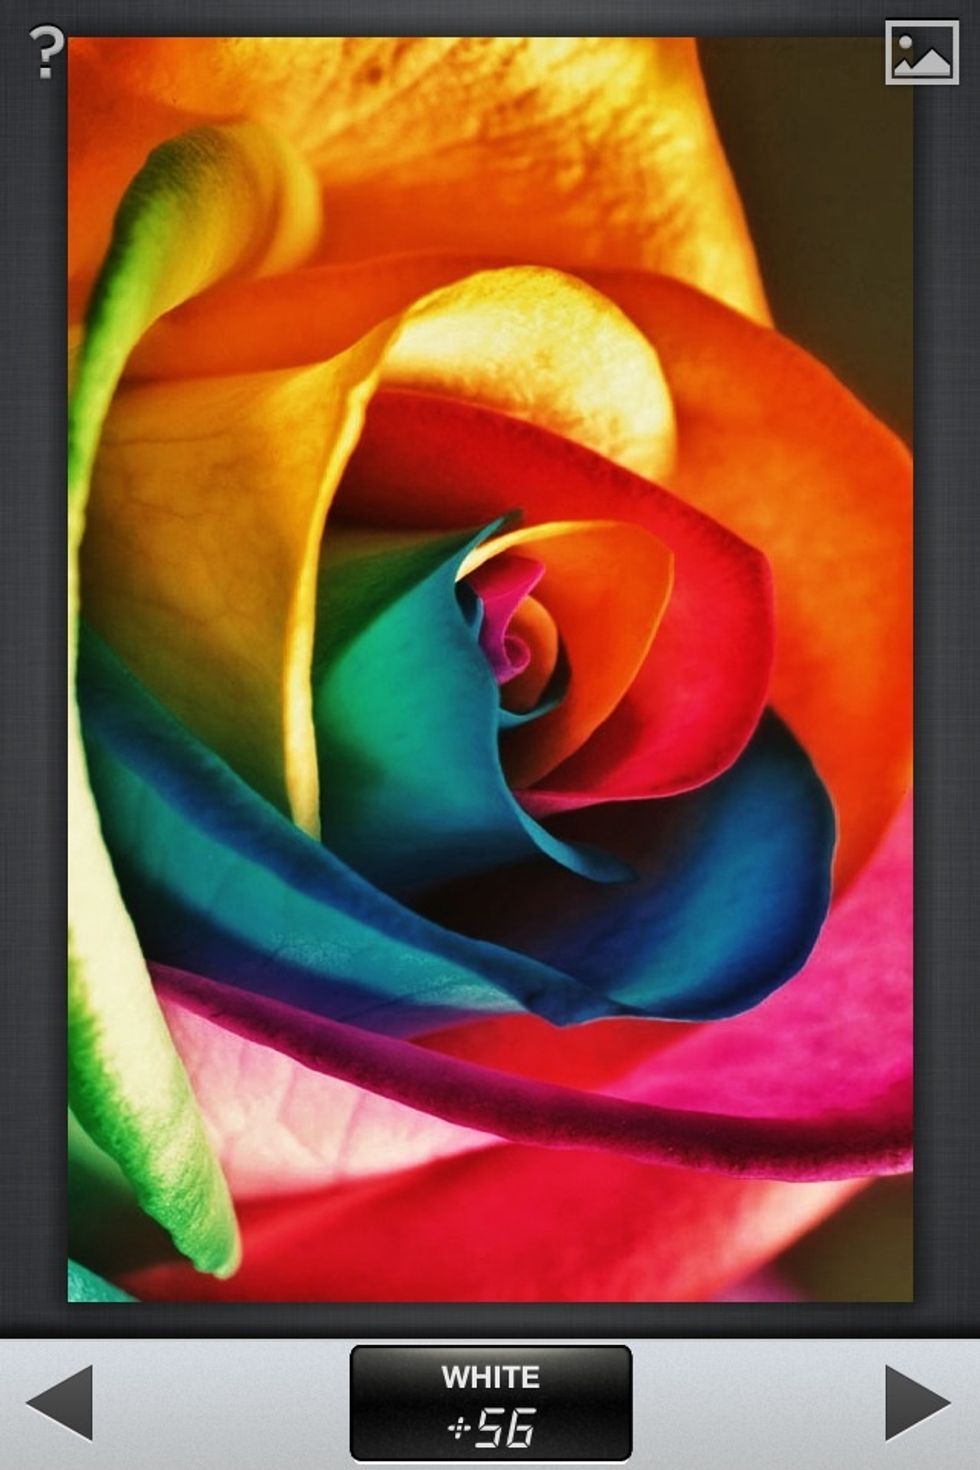
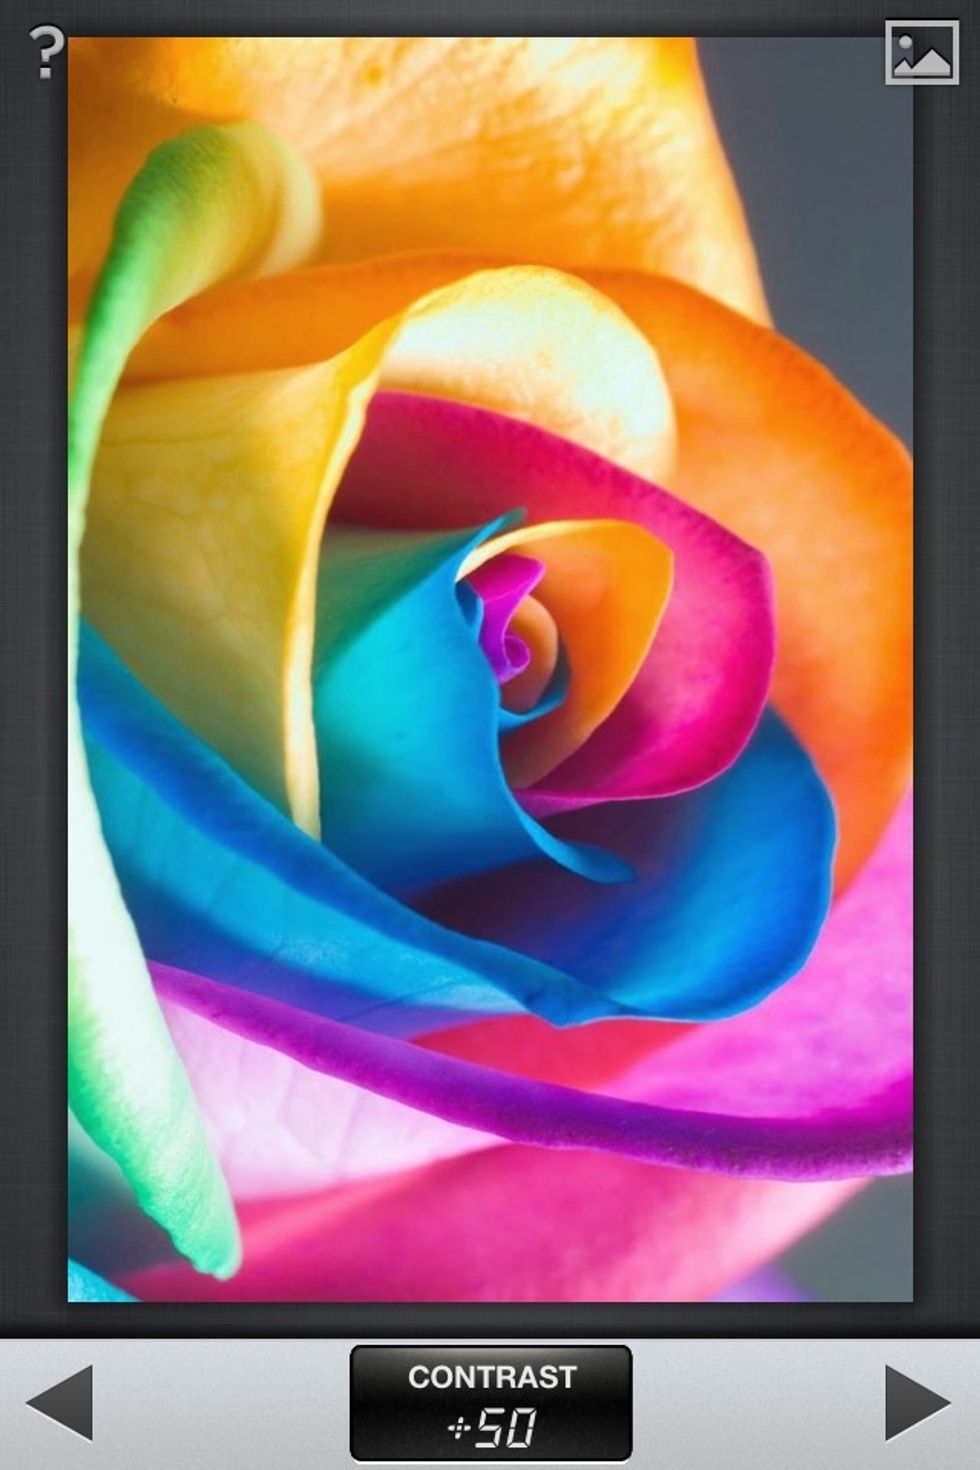
Sample of a True Image adjustment.
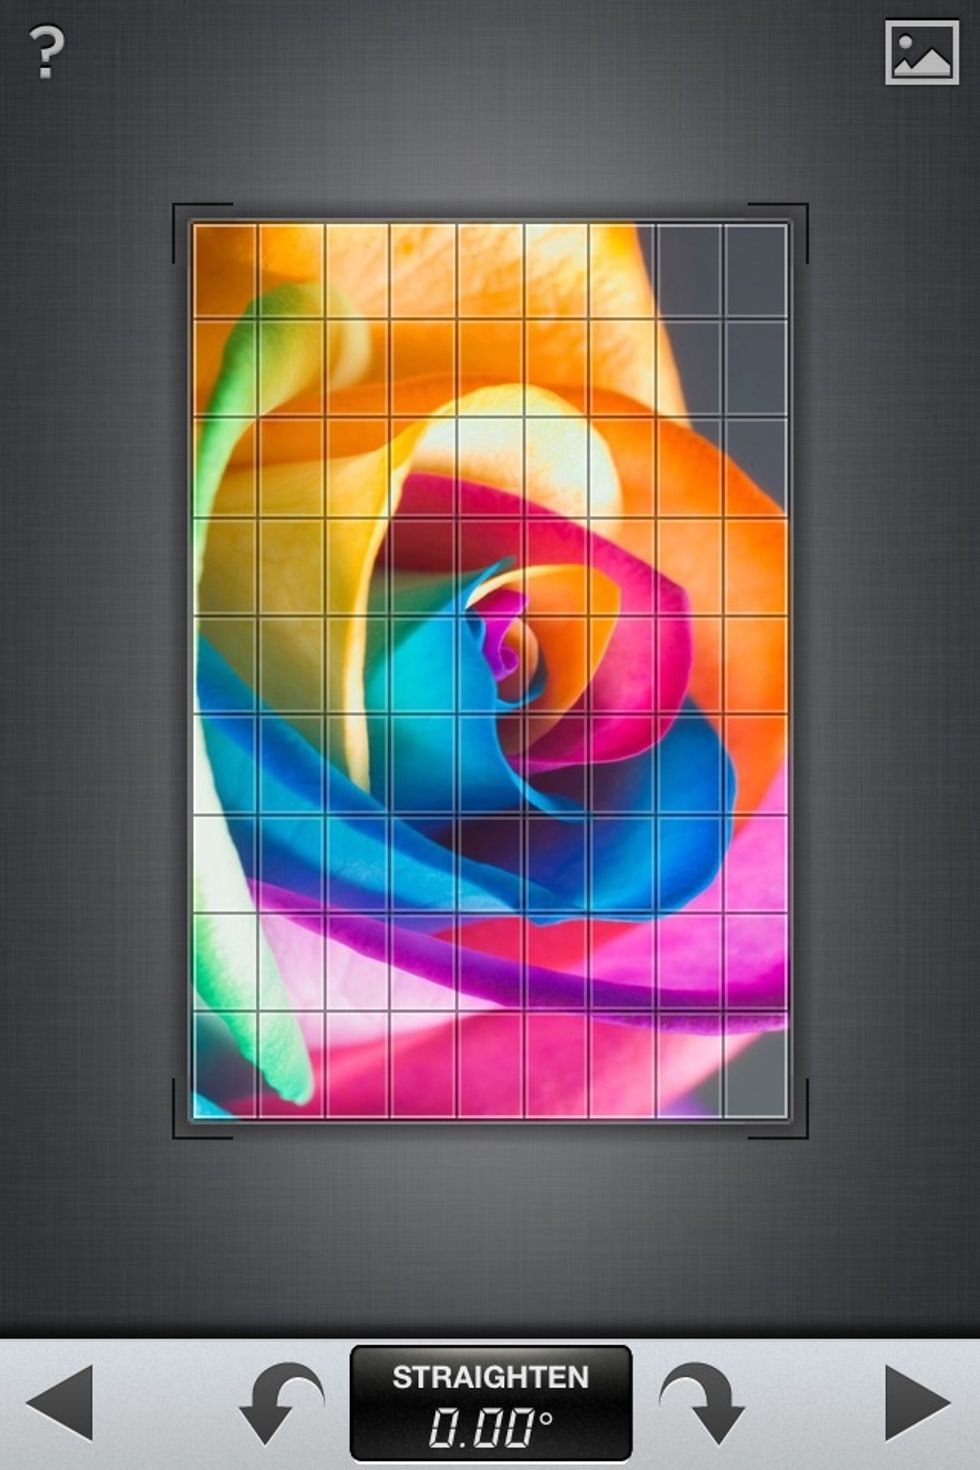
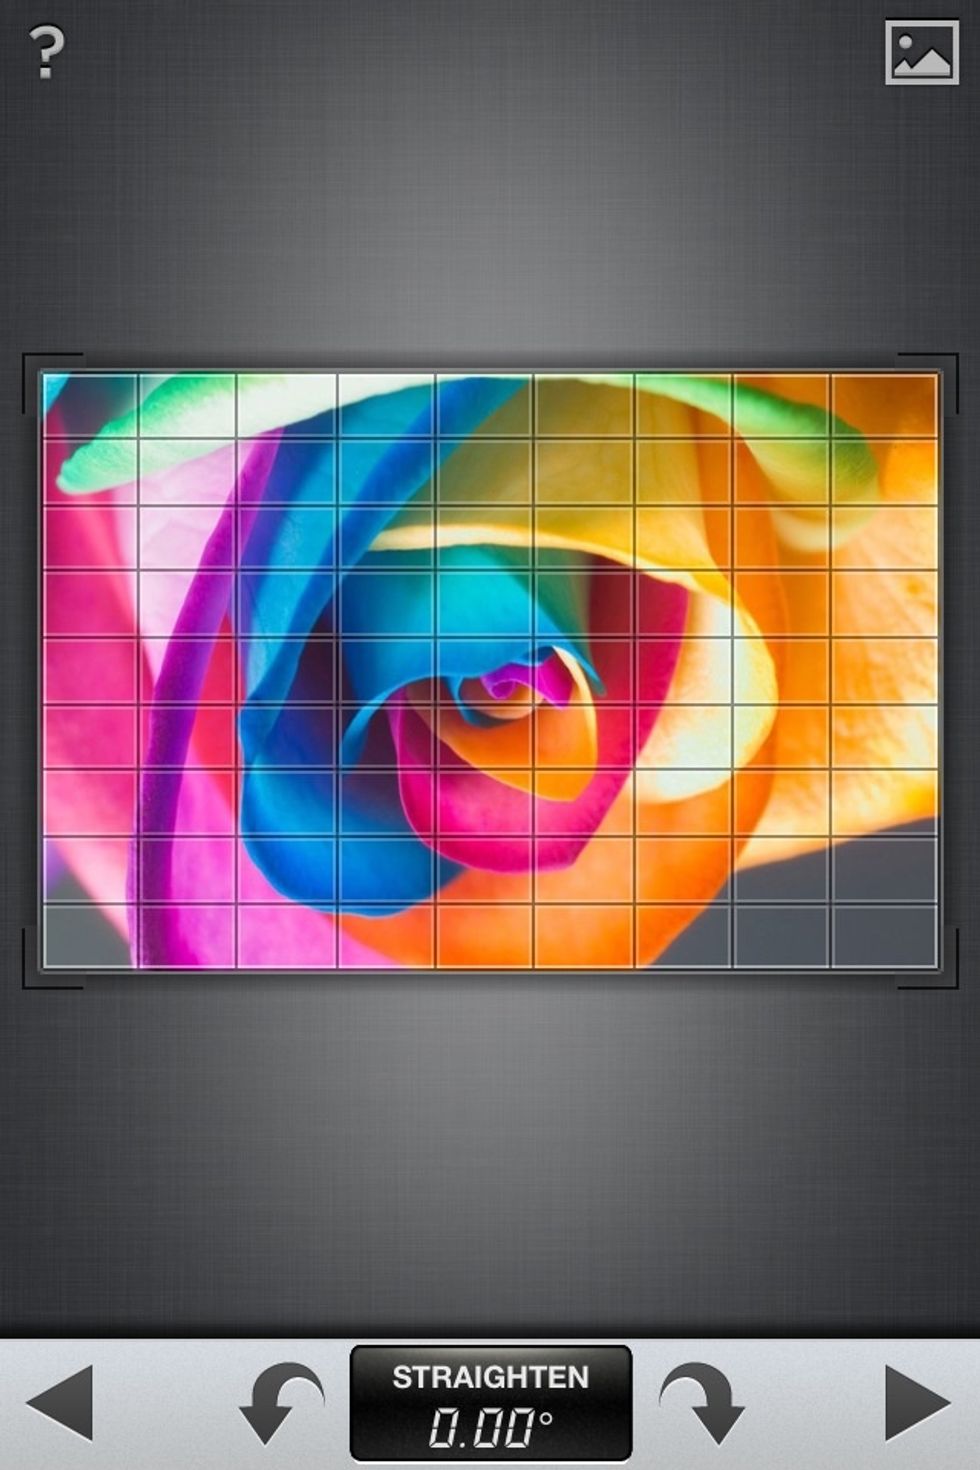
Fourth: Straighten. Press the arrows to rotate the photo. Alternatively, use two fingers to 'twist' it.
Sample of a Straighten adjustment.
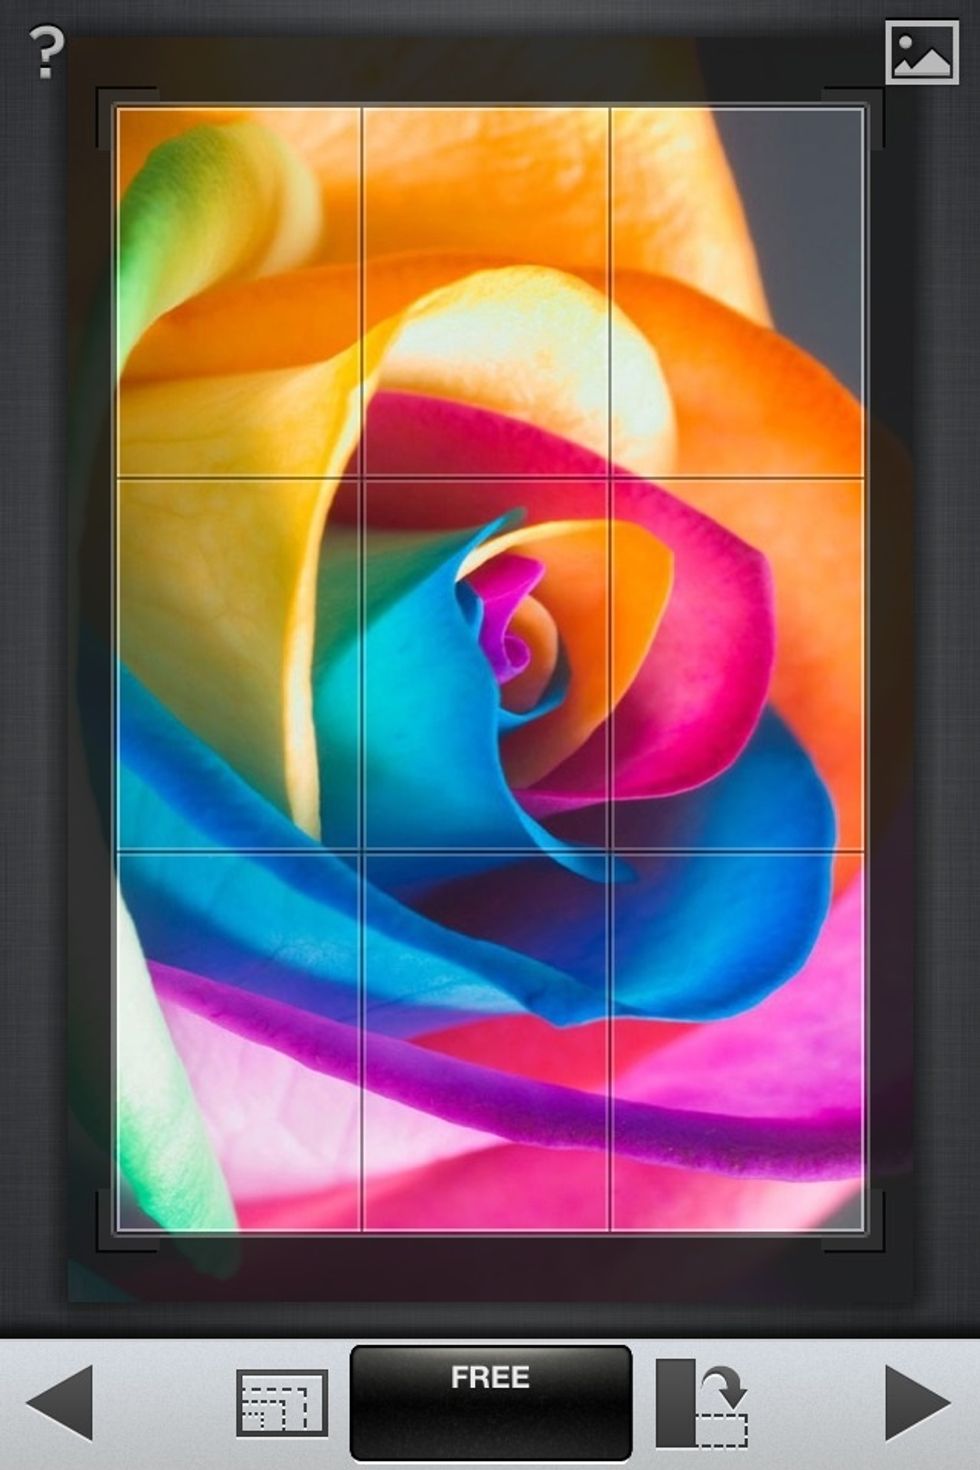
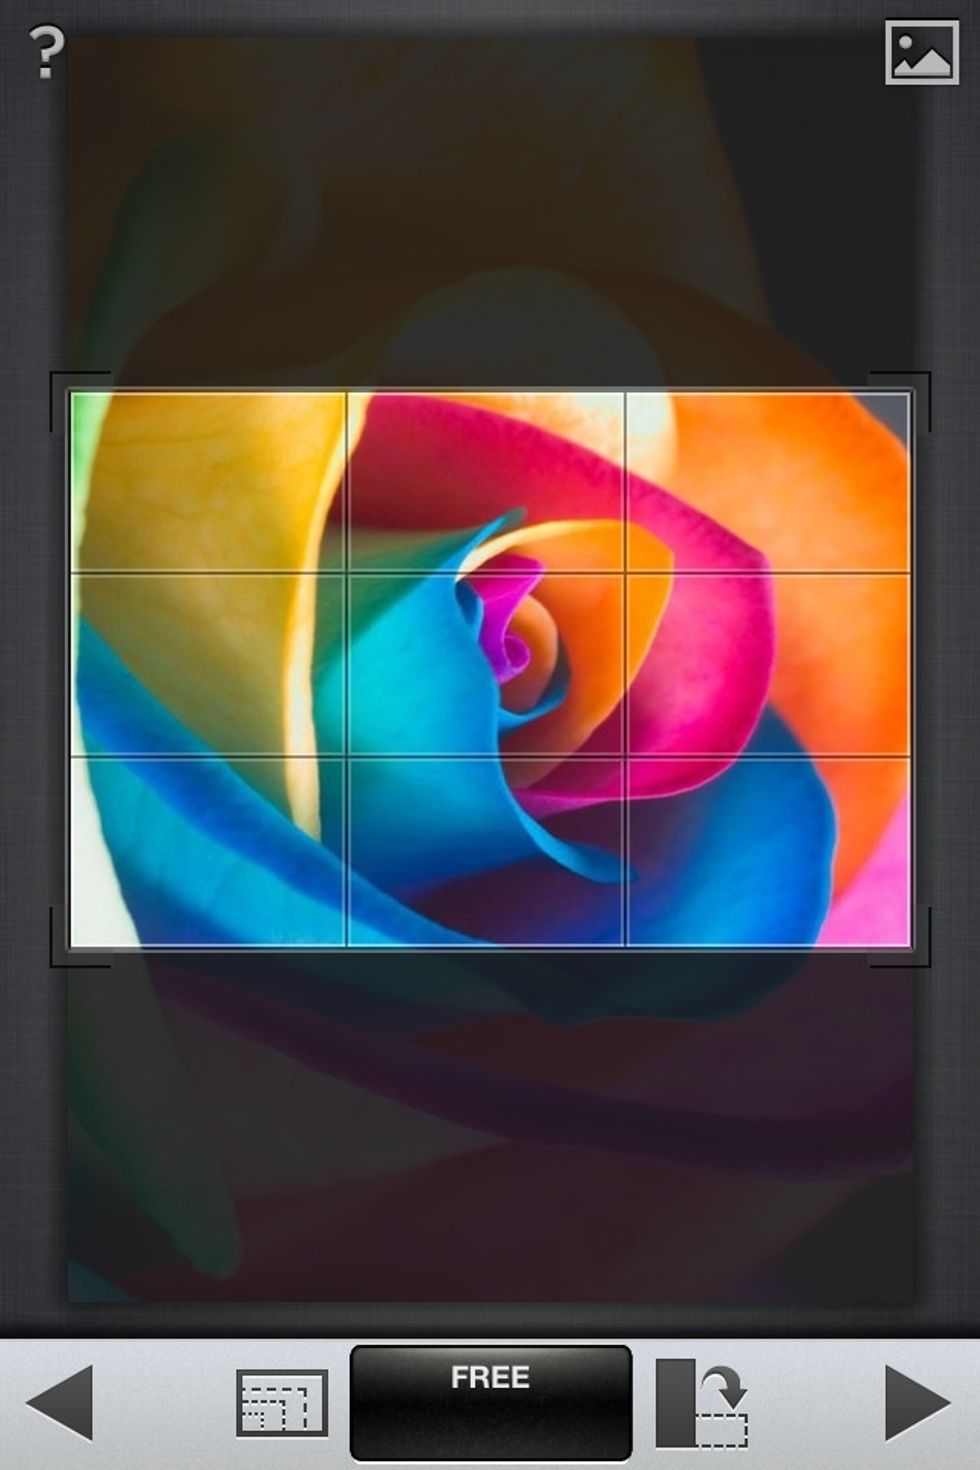
Fifth: Crop. The inlaid boxes on the left are preset crop options. The rectangles on the right switch the cropping box to vertical.
Sample of a Crop adjustment.

Sixth: Details. The Details menu. Sharpening fixes blurriness. Structure gives more definition.
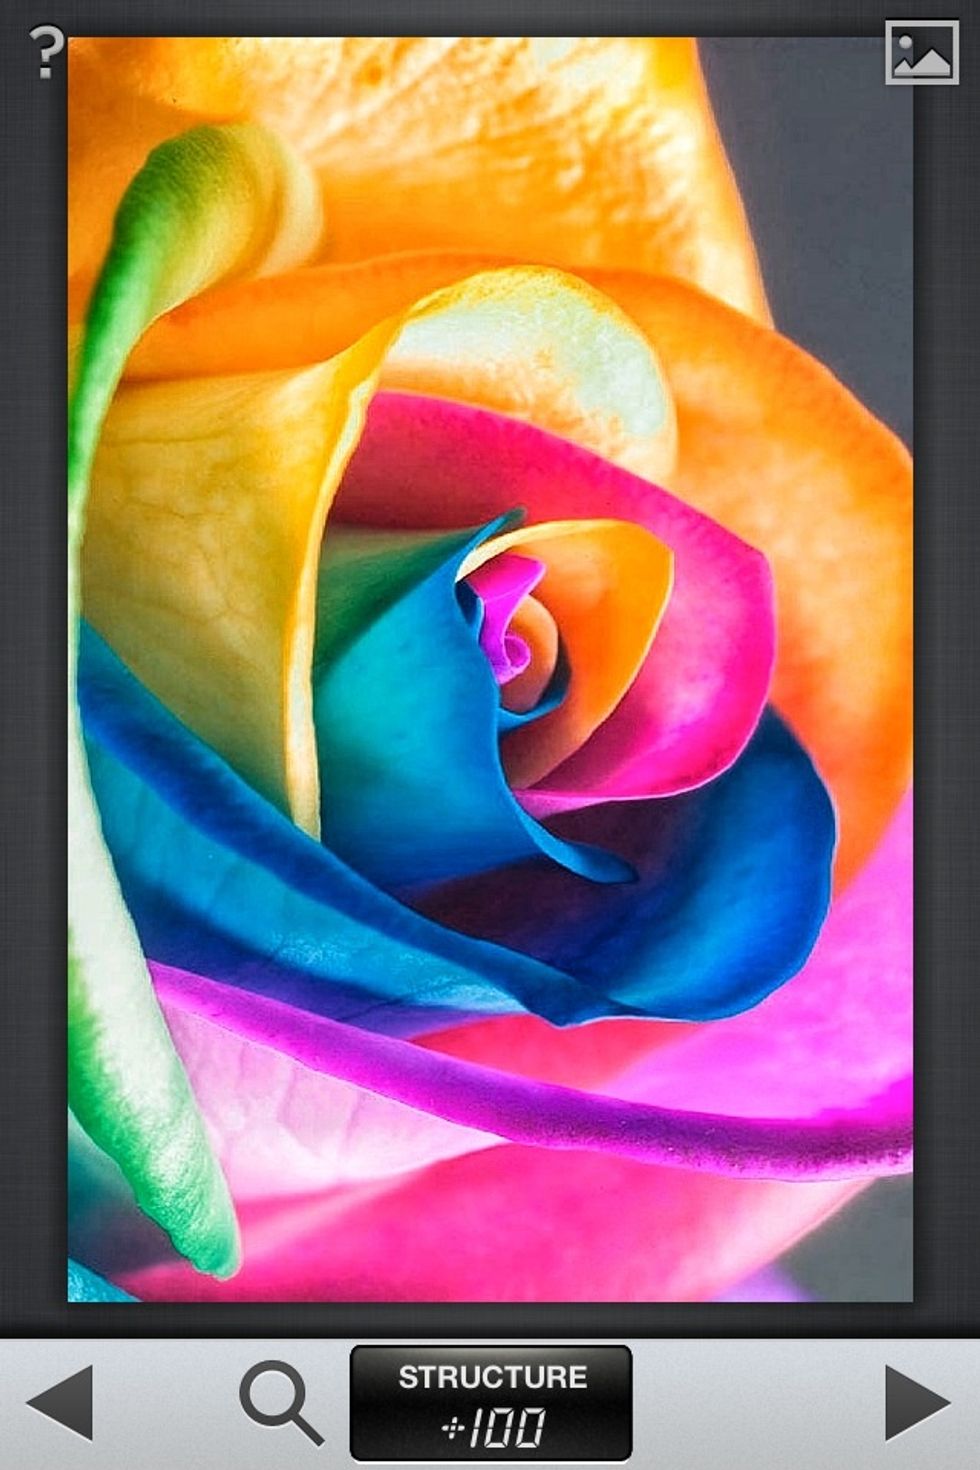
Sample of a Details adjustment.
Seventh: Black & White. The Black & White menu. Grain adds fuzziness.
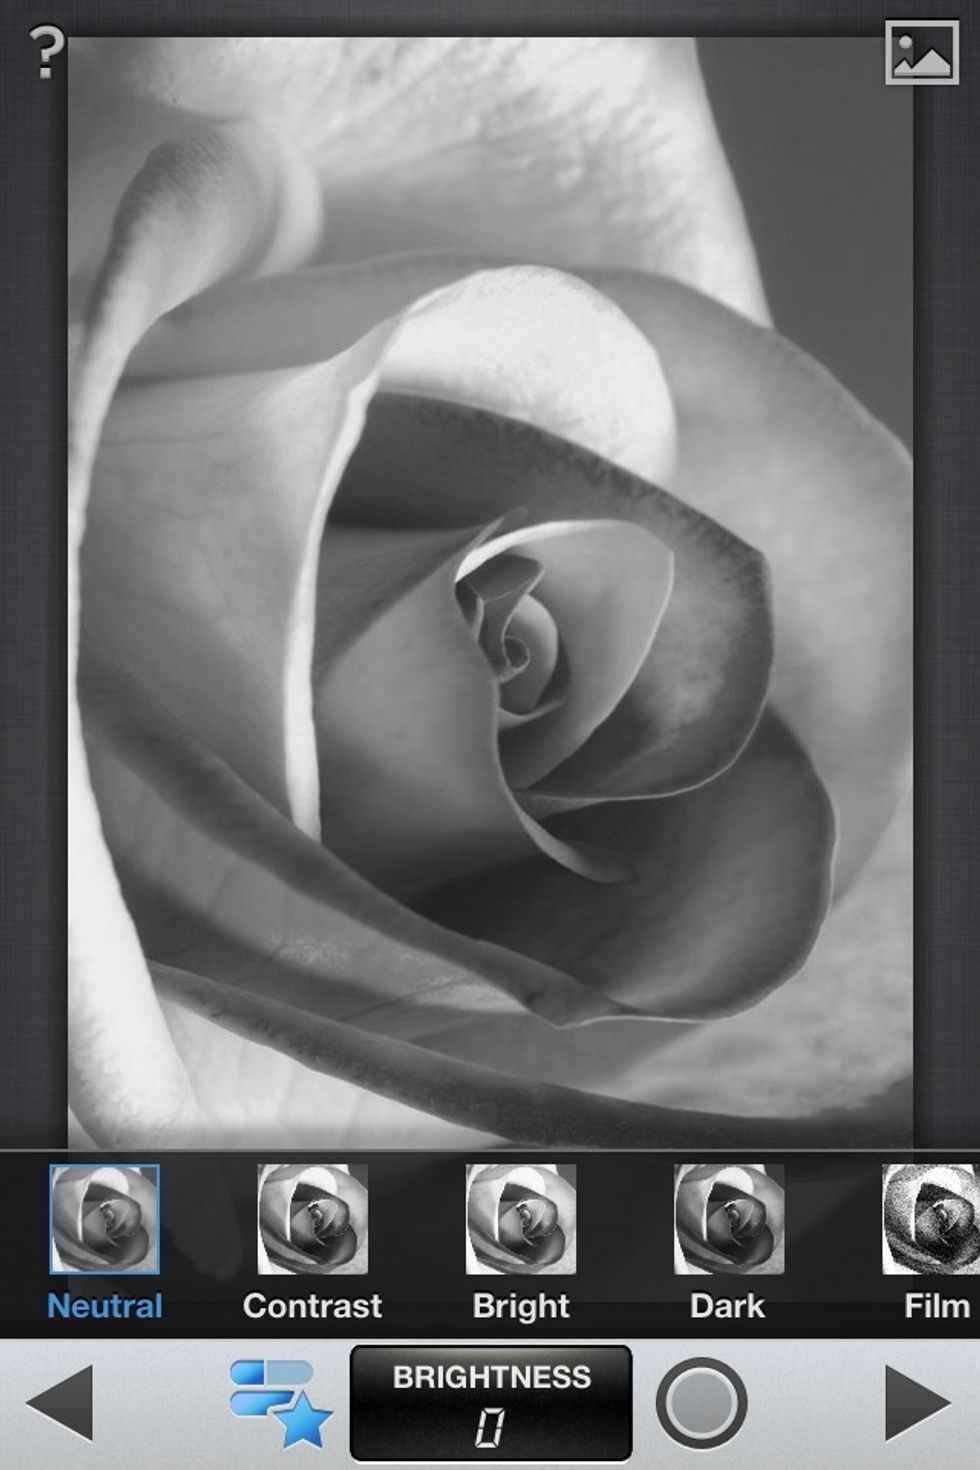
The star opens a preset option menu.
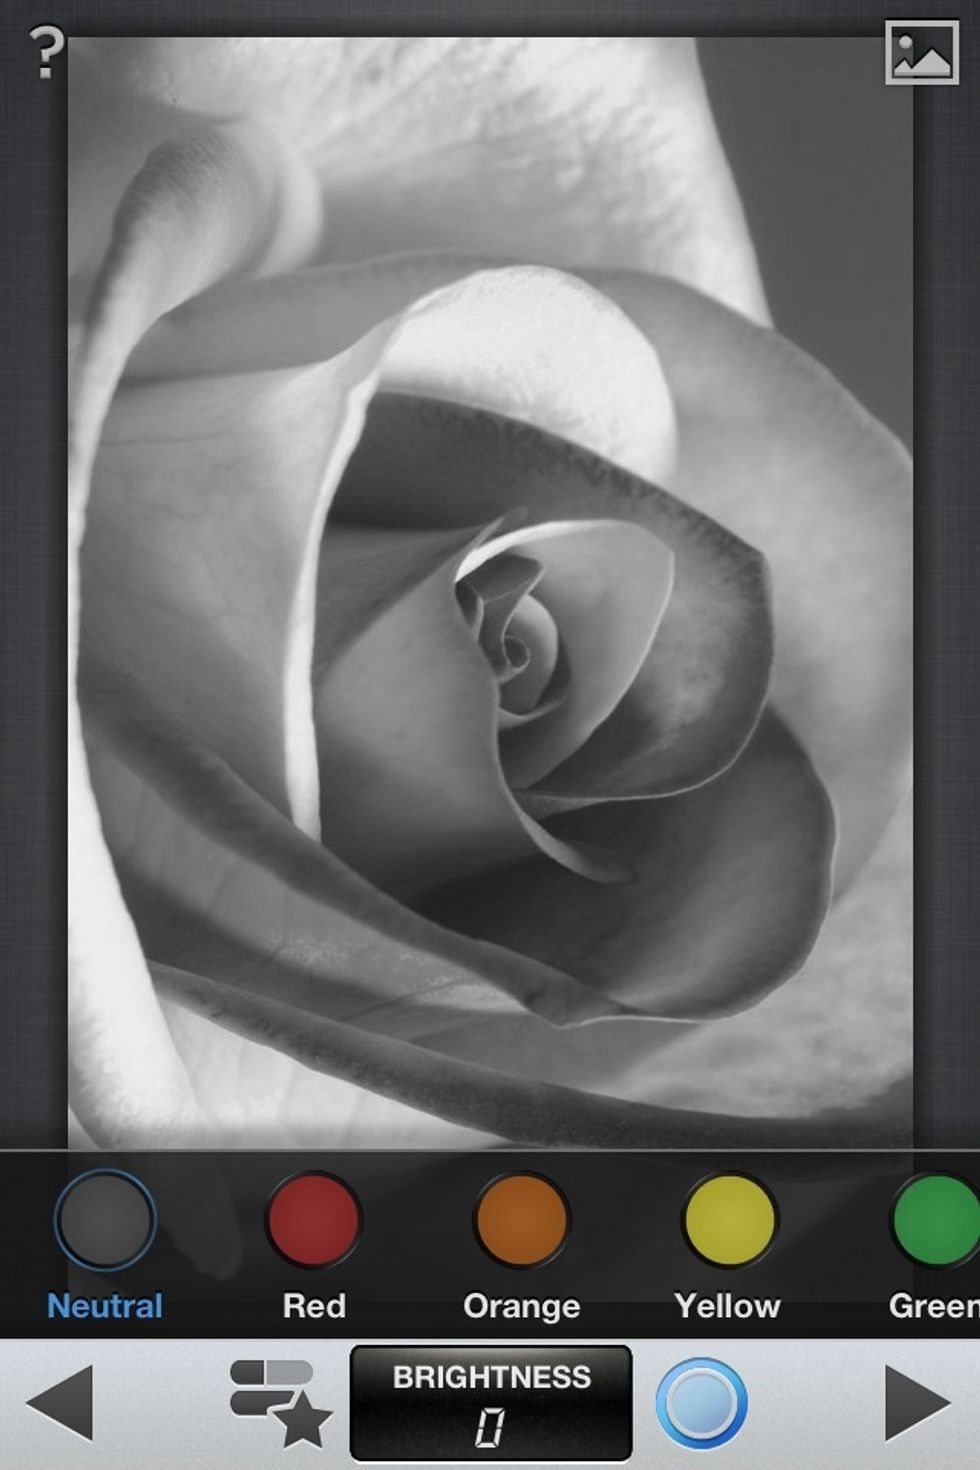
The circle opens the colored menu, darkening that specific color.
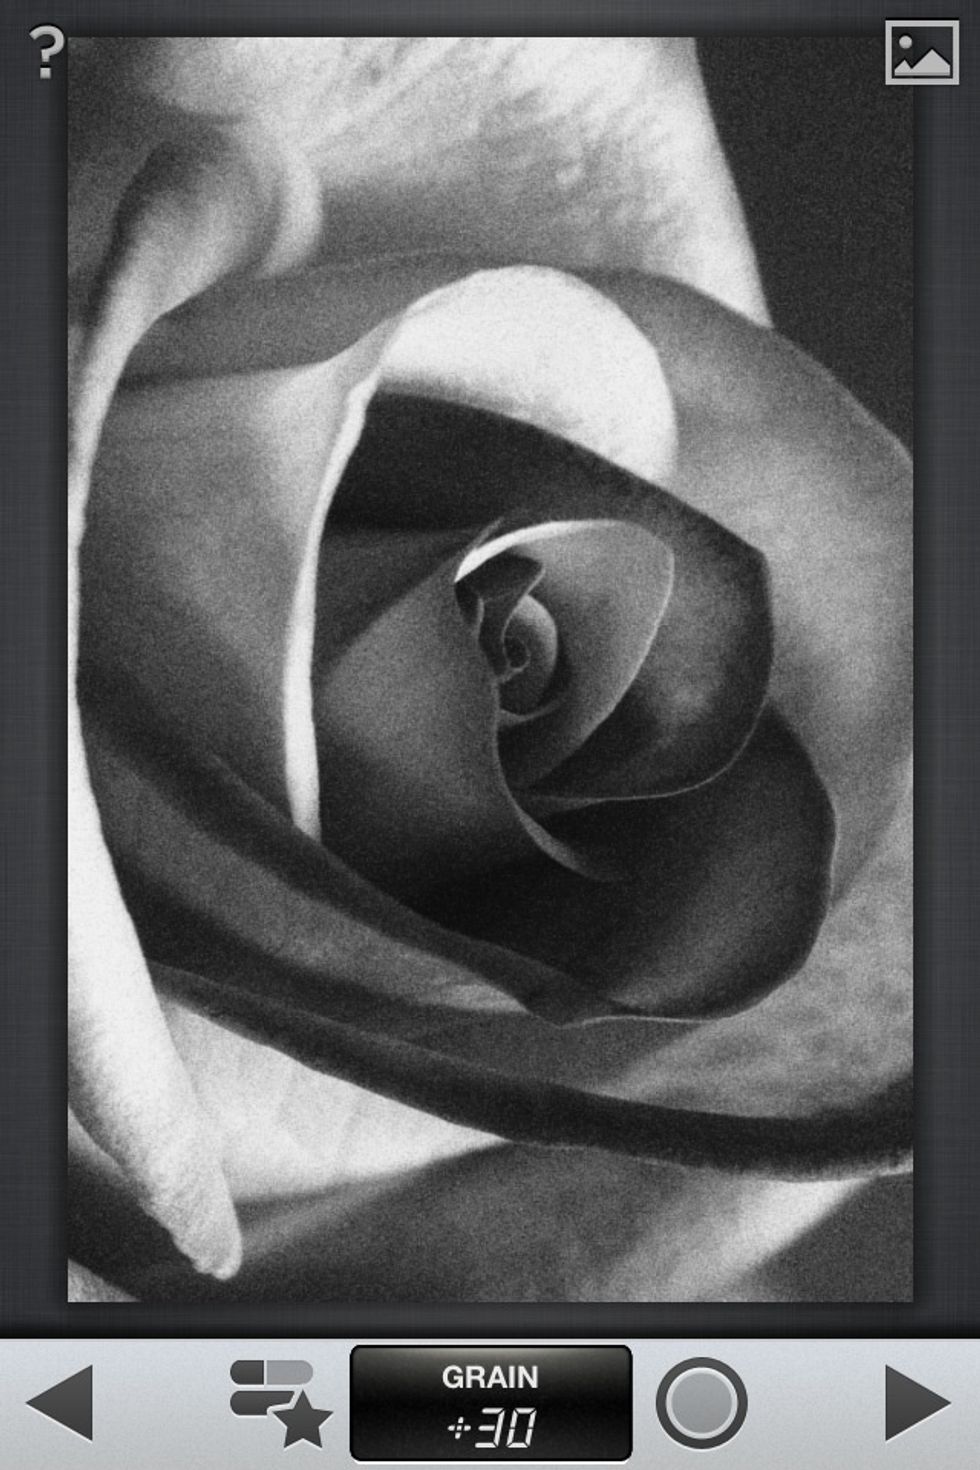
Sample of a Black & White adjustment.

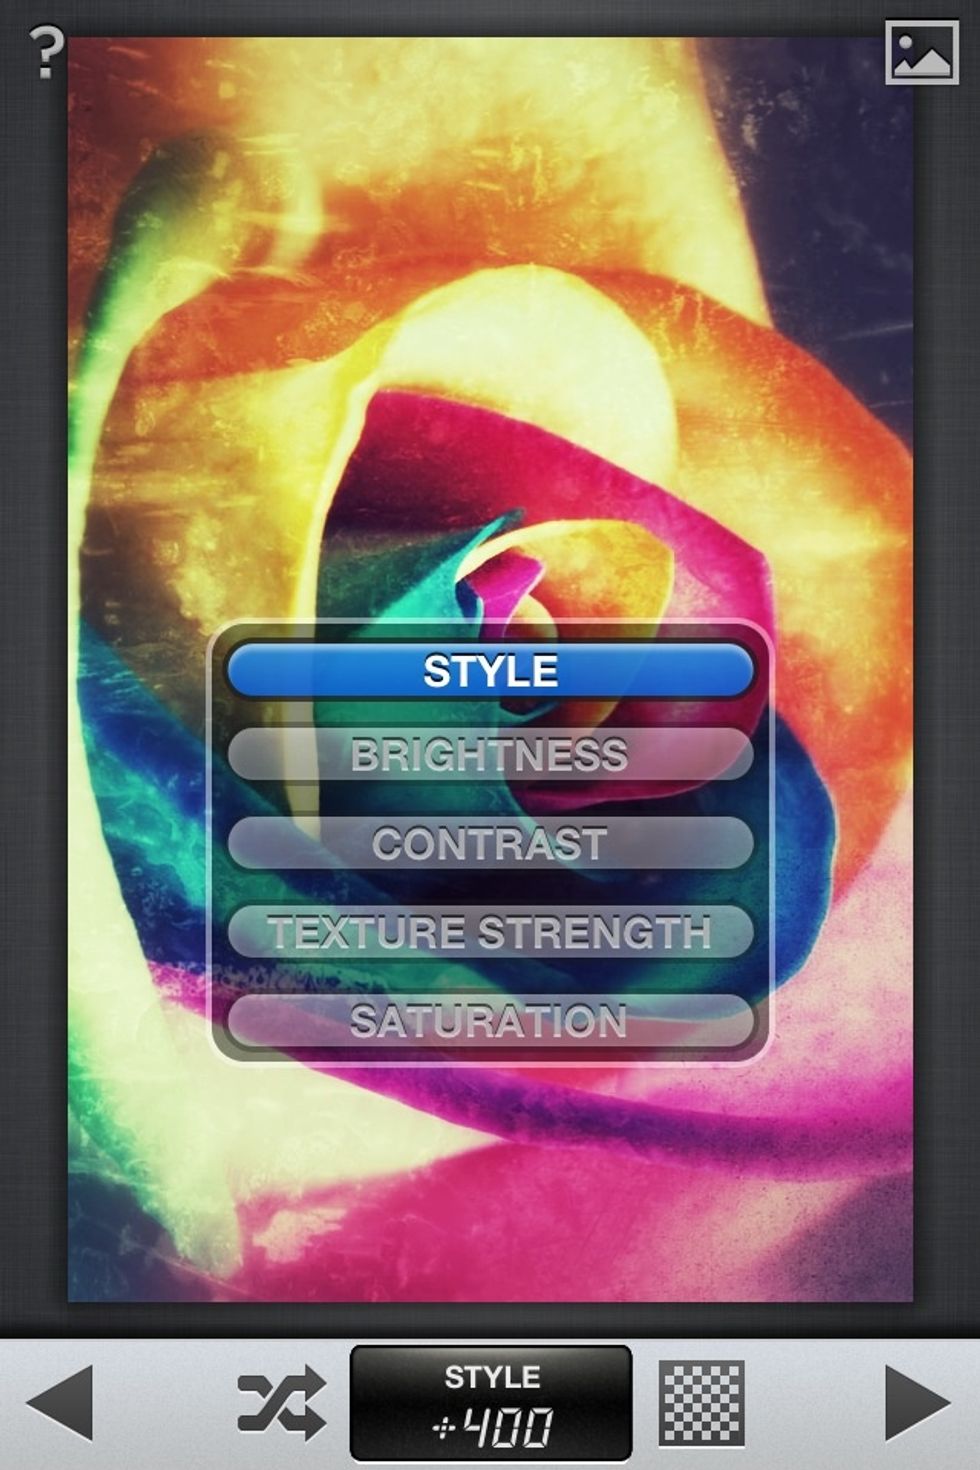
Eighth: Vintage.
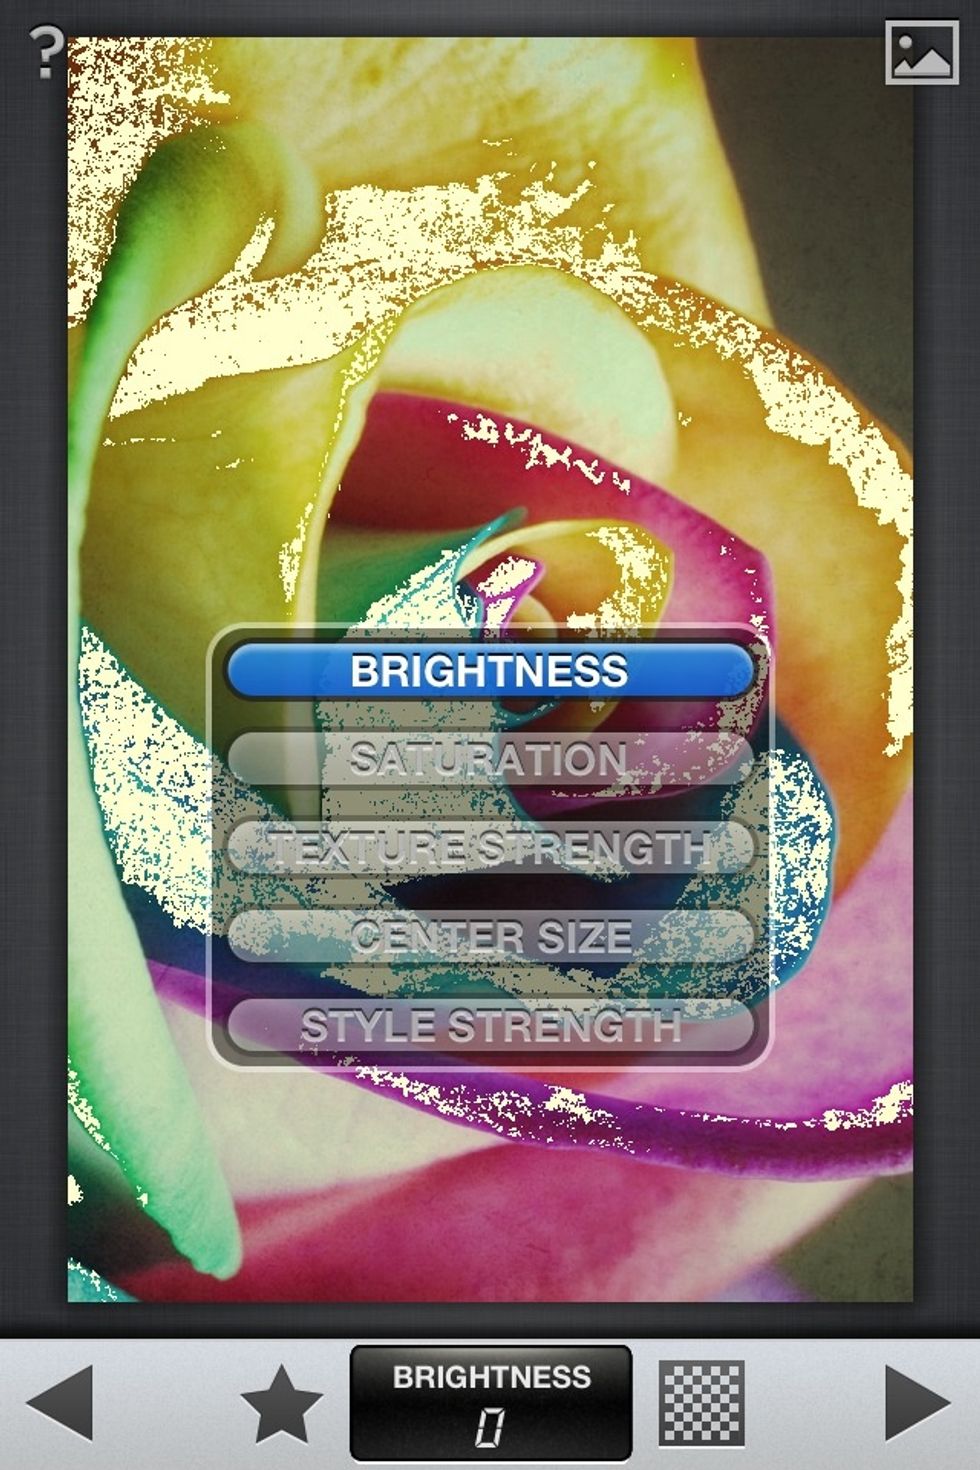
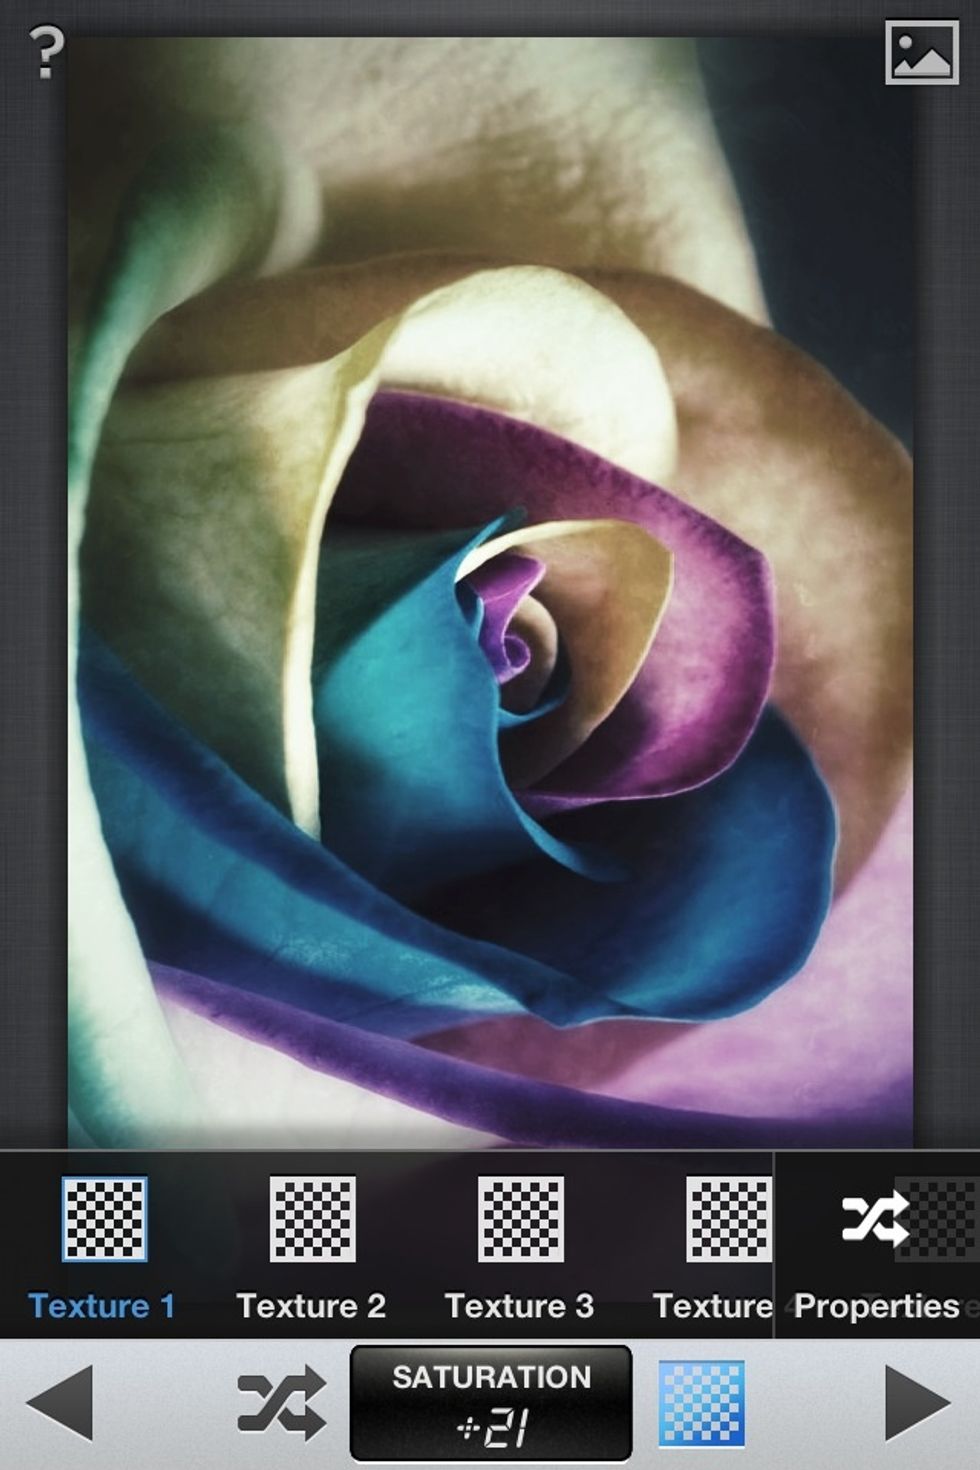
The Vintage menu. Texture Strength adjusts yellow speck amount, and style strength shows different vintage options.
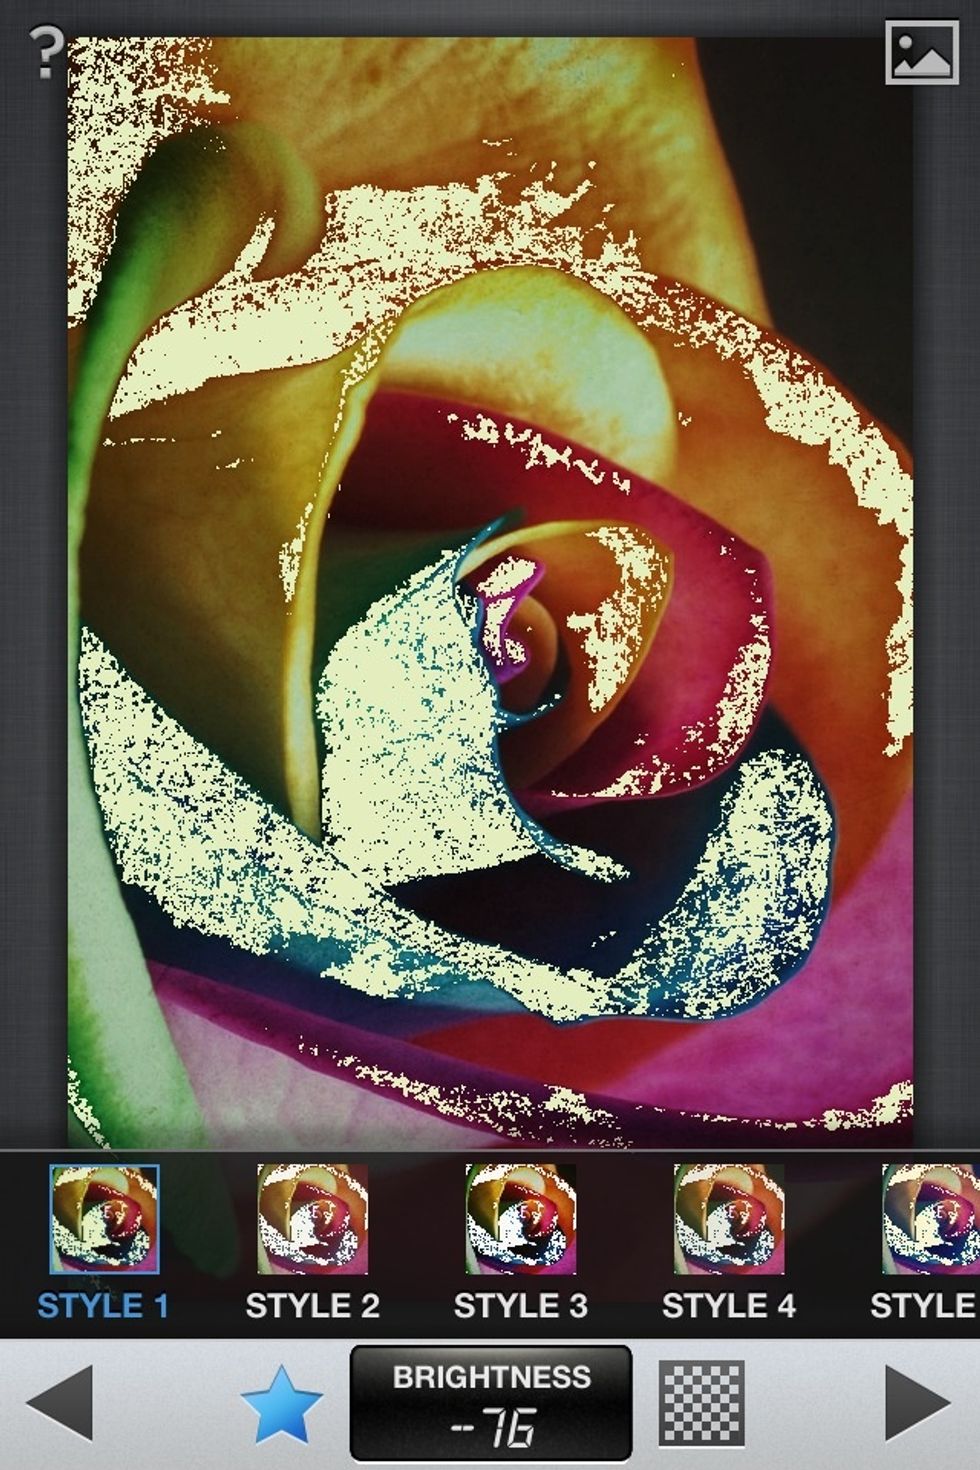
The star opens the preset option menu.
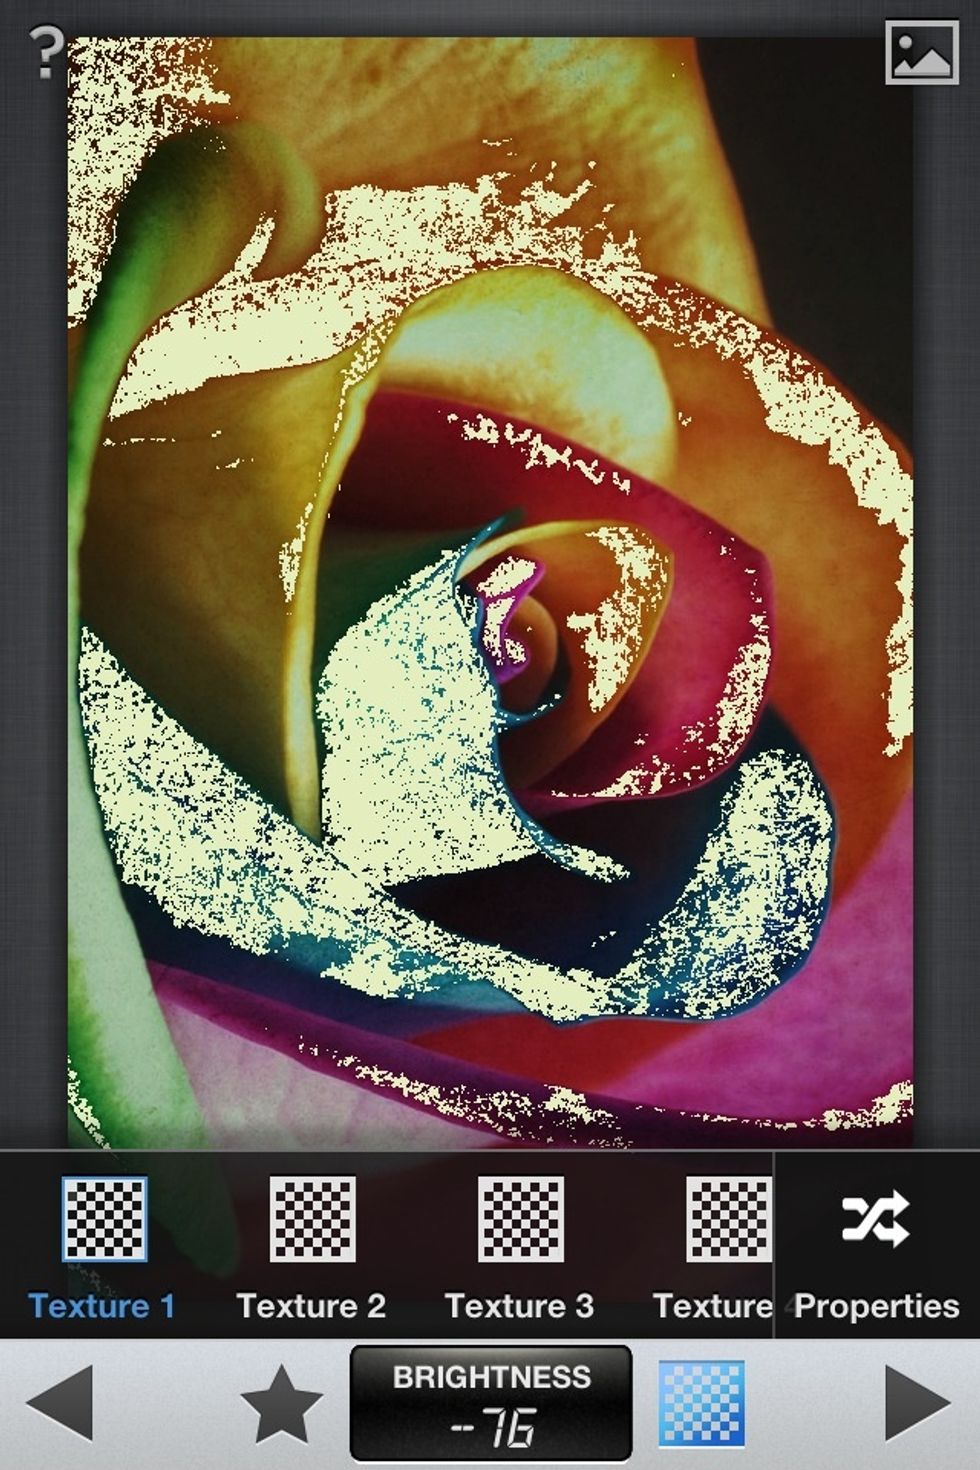
The checkerboard opens the texture menu.

Sample of a Vintage adjustment.

Ninth: Drama.
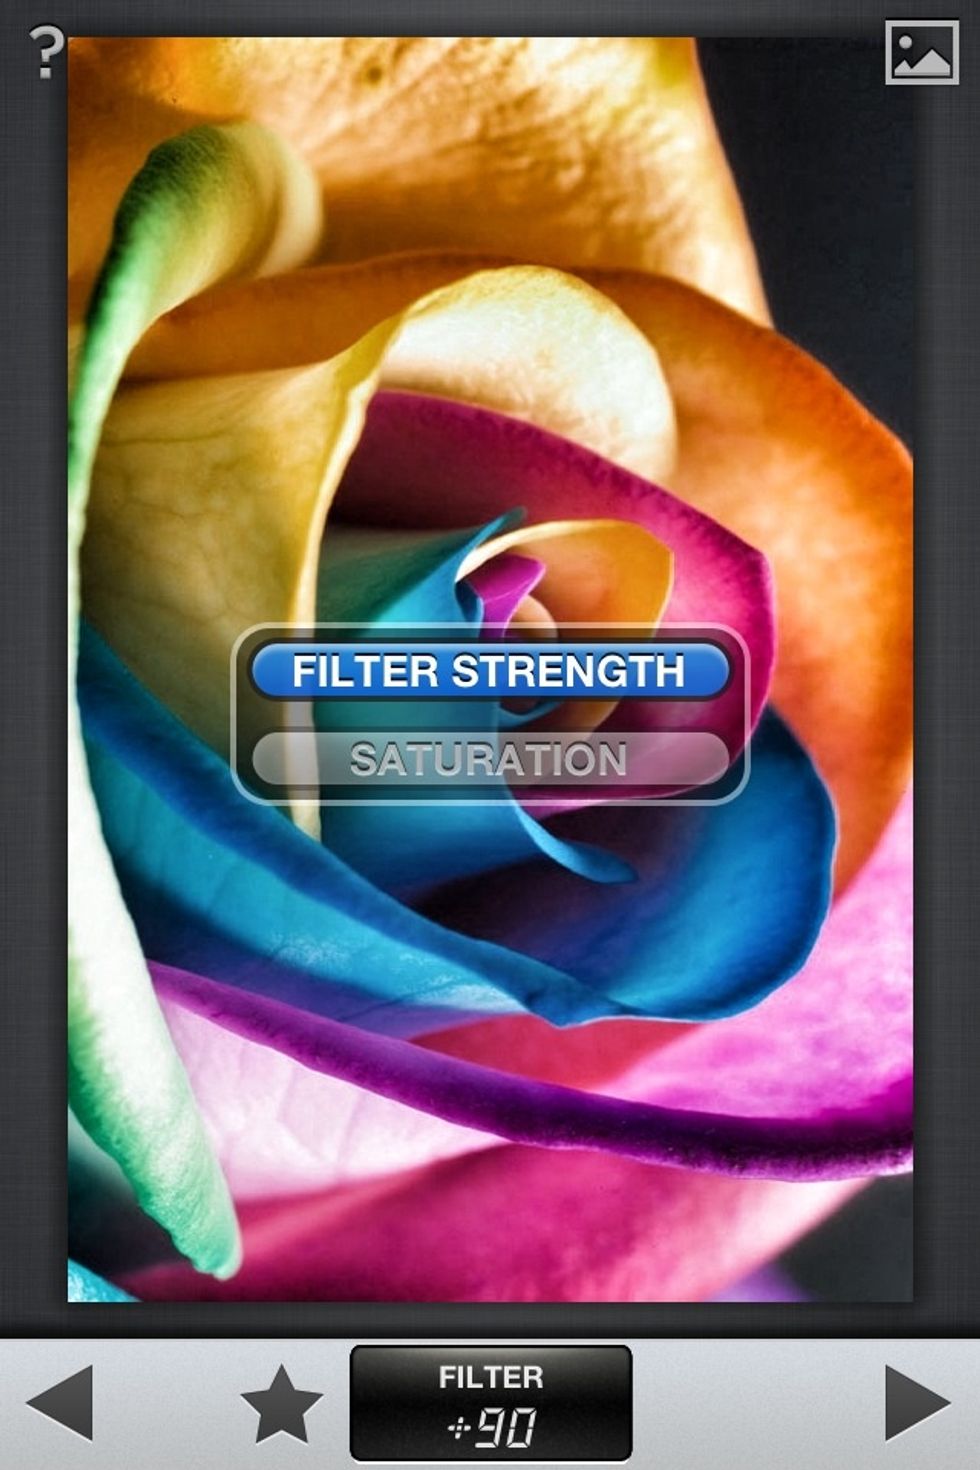
The Drama menu. Filter Strength adjusts how strong "drama" comes through.
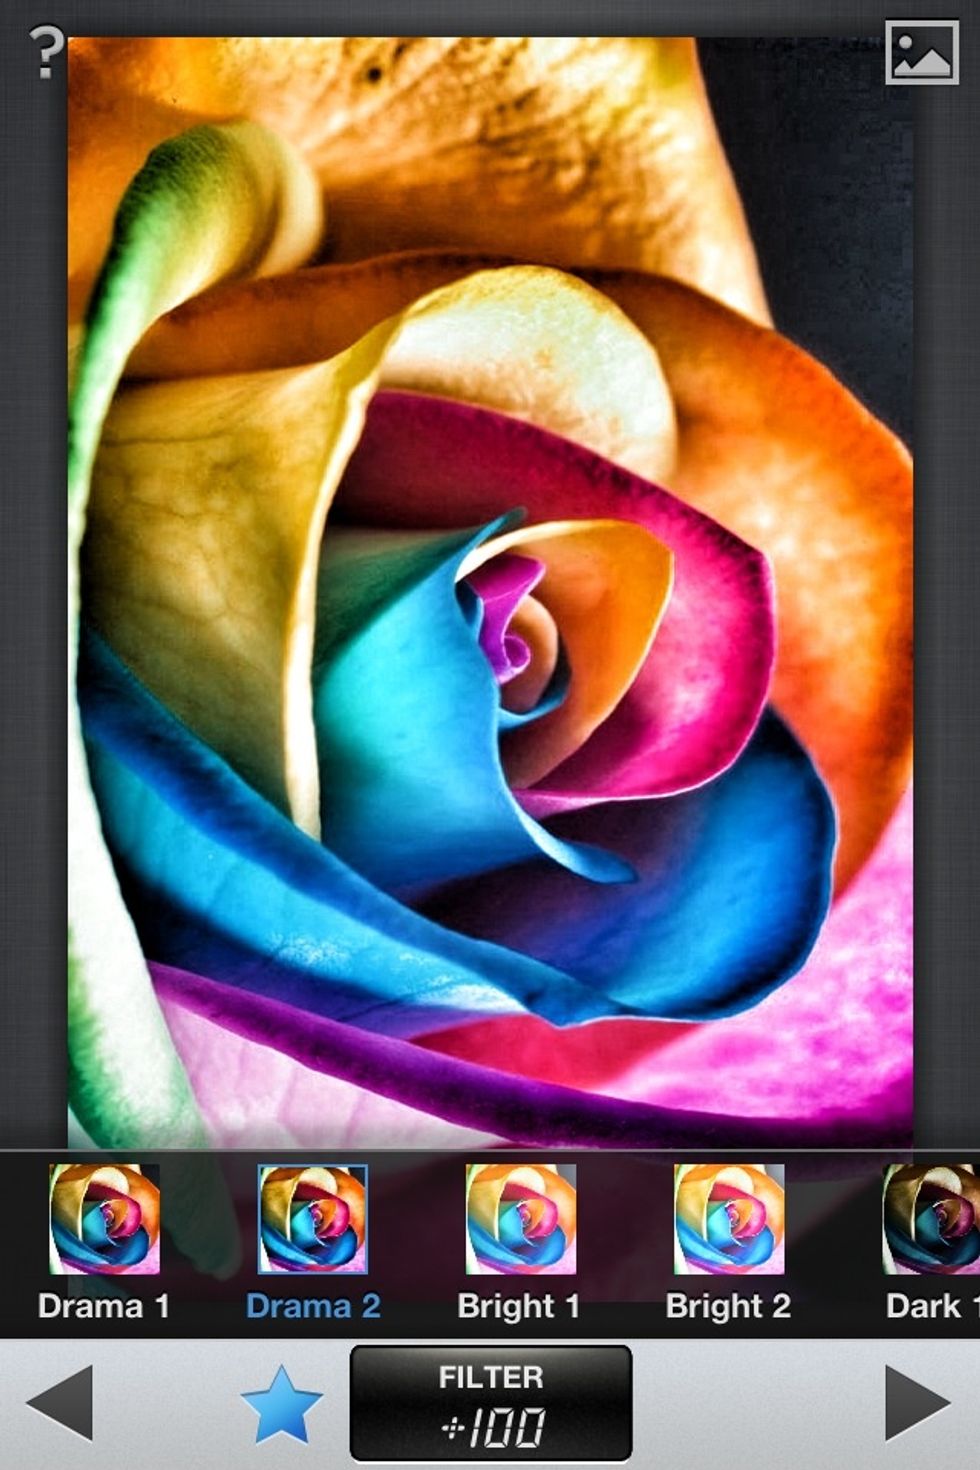
The star opens a preset option menu.
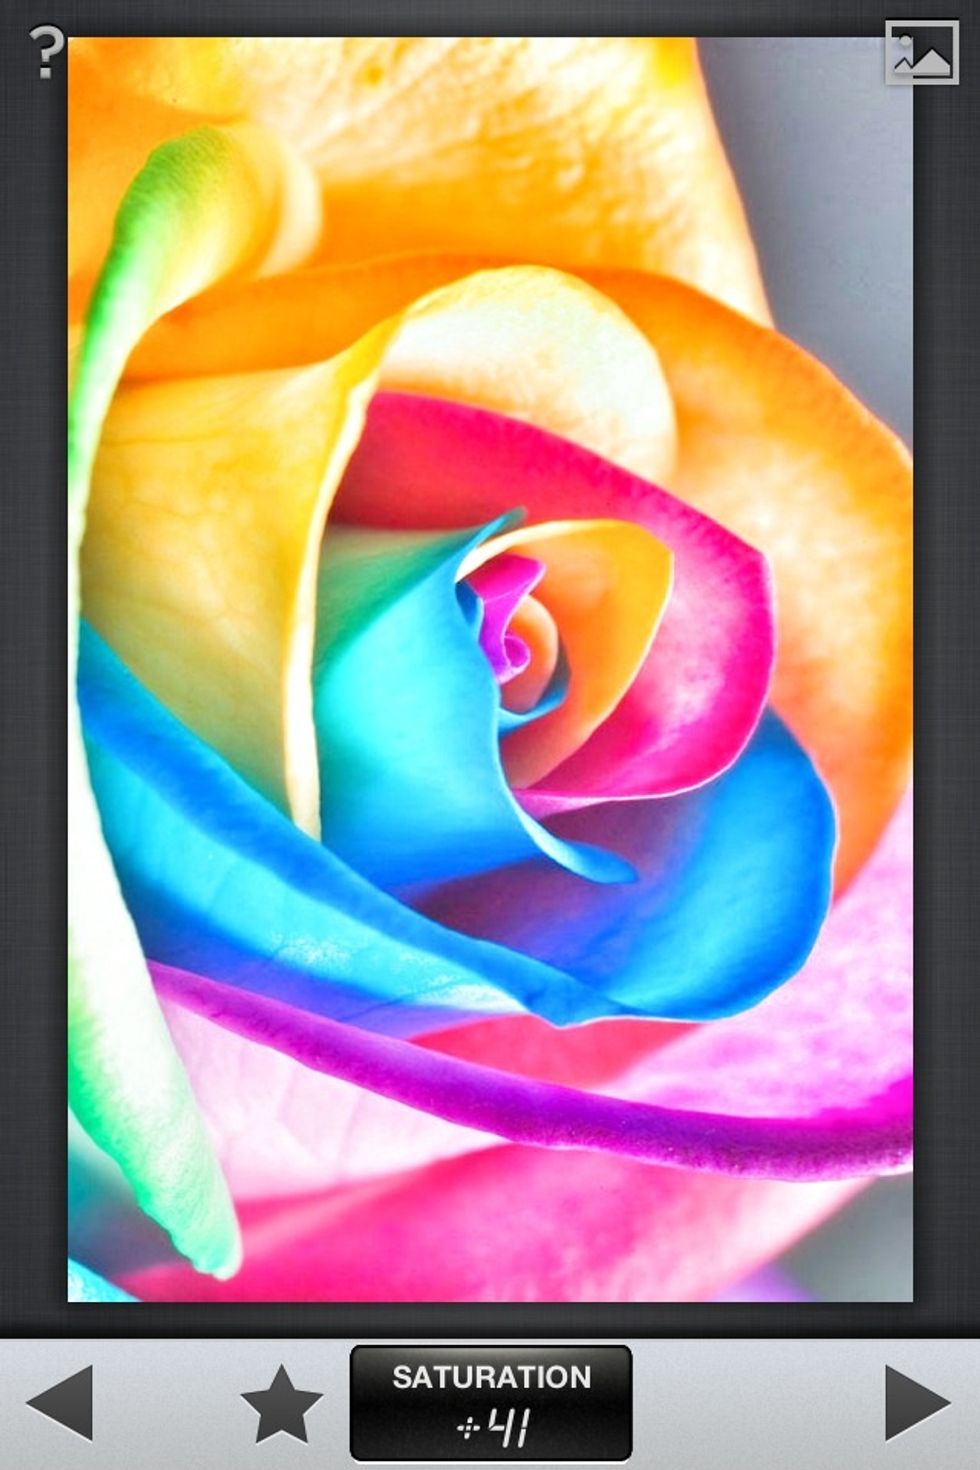
Sample of a Drama adjustment.

Tenth: Grunge.
The Grunge menu.
The checkerboard opens the texture menu.

Sample of a Grunge adjustment.
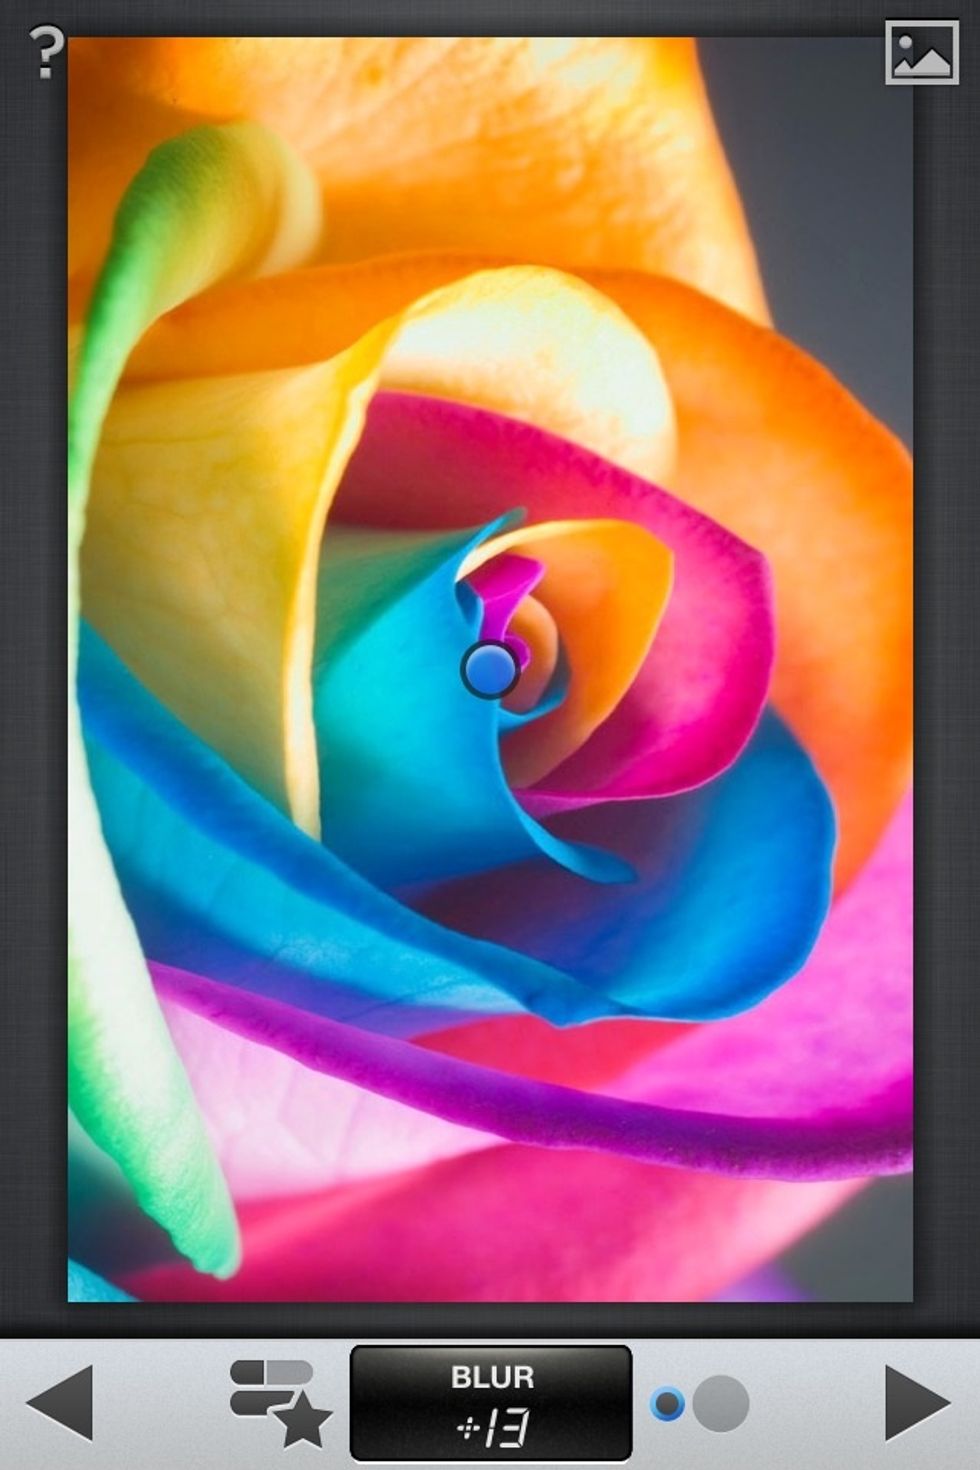
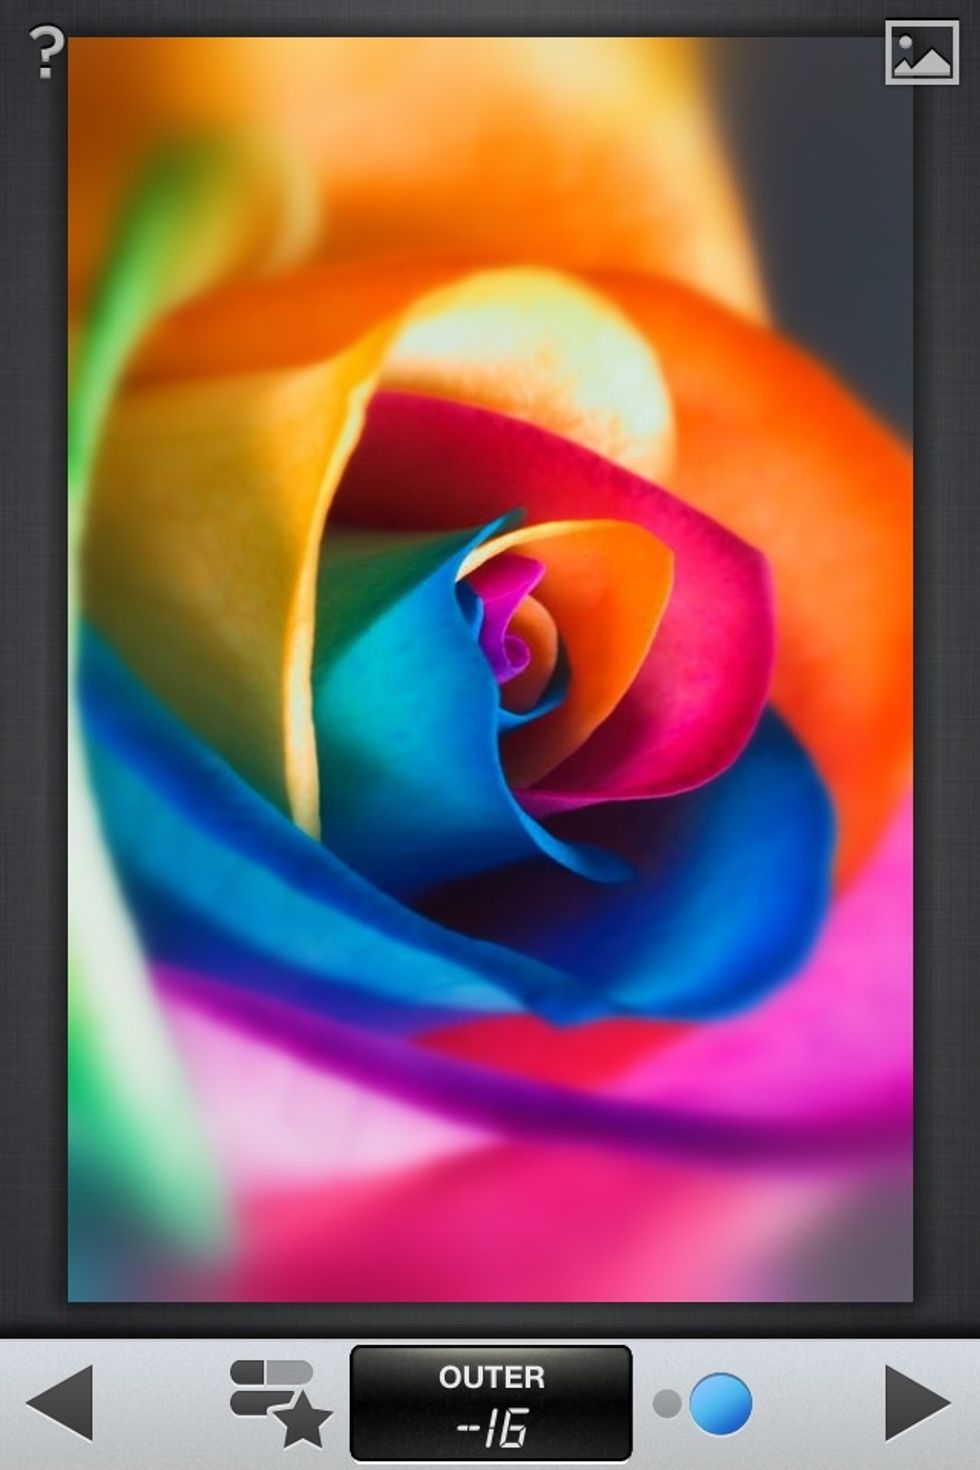
Eleventh: Center Focus.
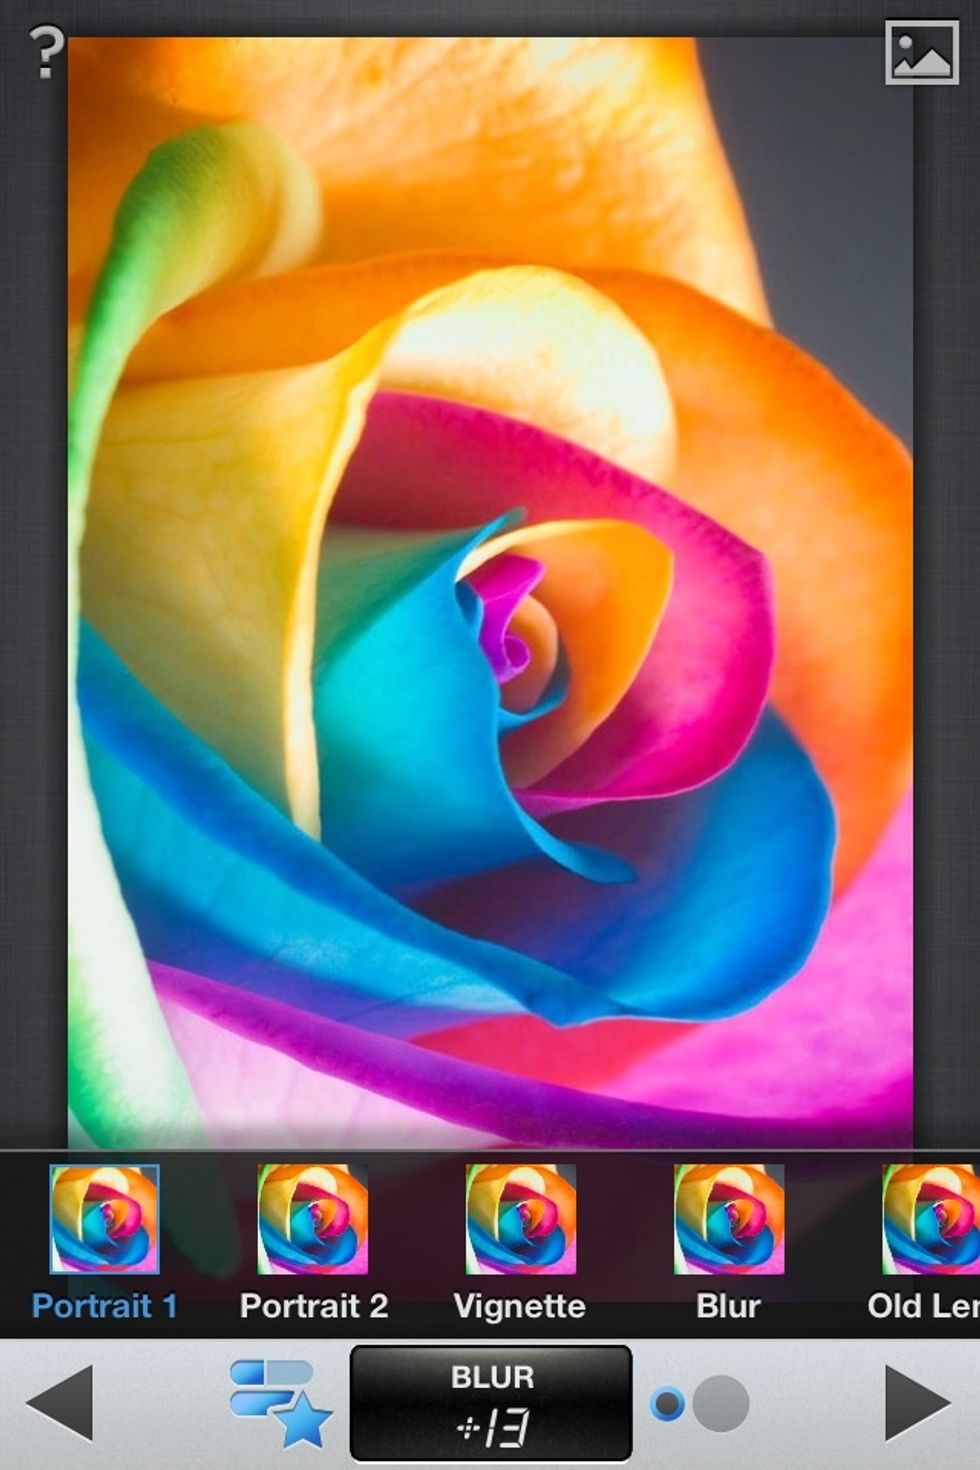
The star opens a preset option menu.
The circles on the left adjust the blur strength. Large is strong, small is weak.
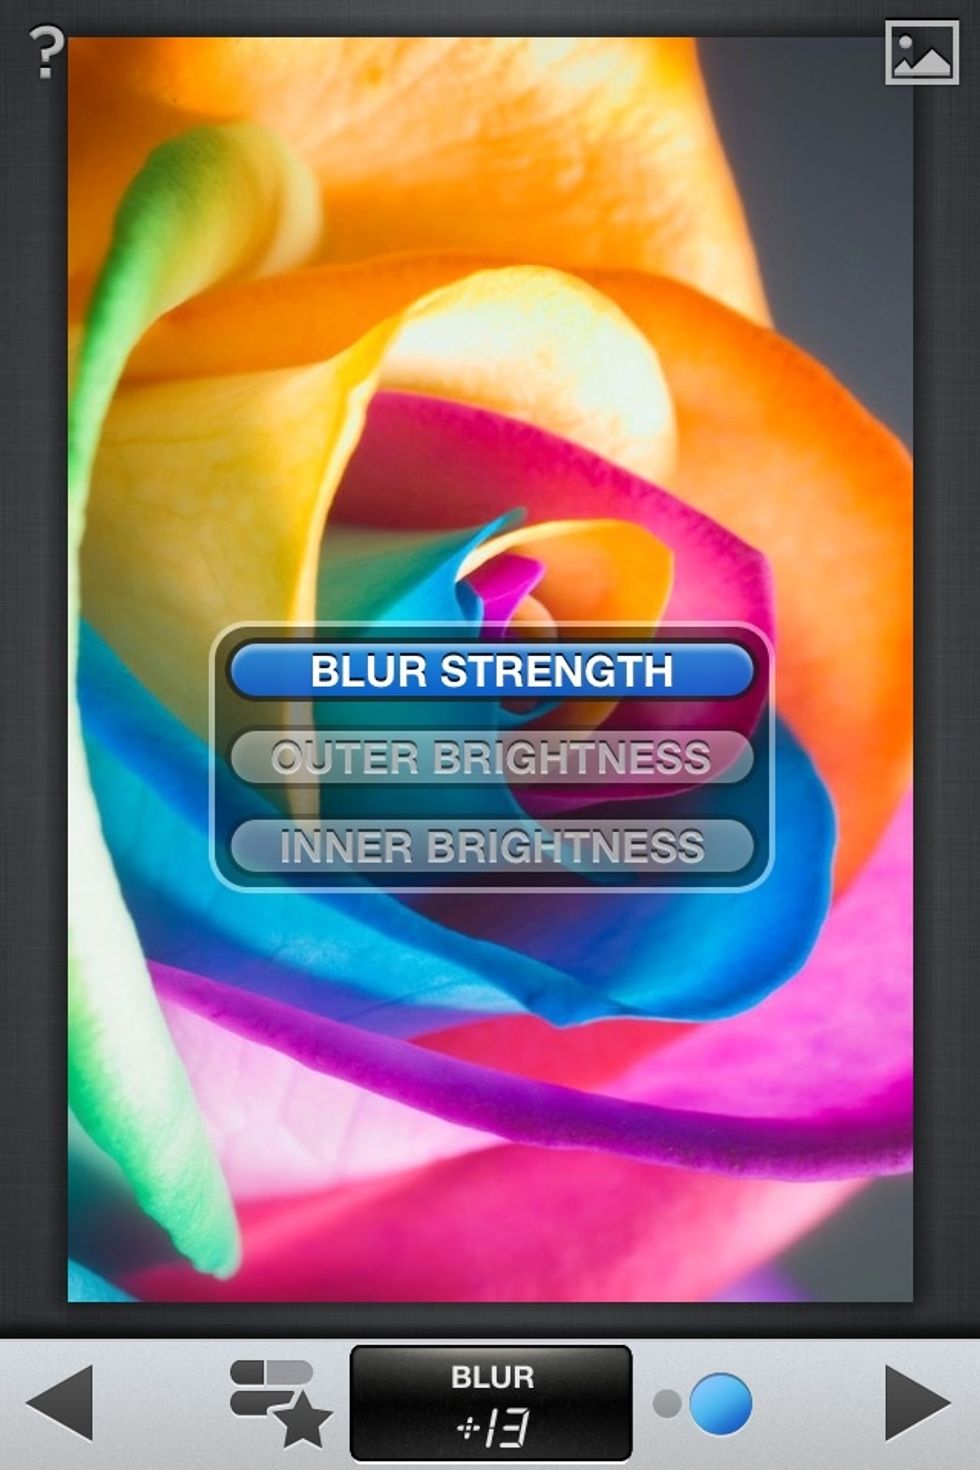
The Center Focus menu. Outer brightness adjusts lighting outside the circle; inner brightness is vice versa.
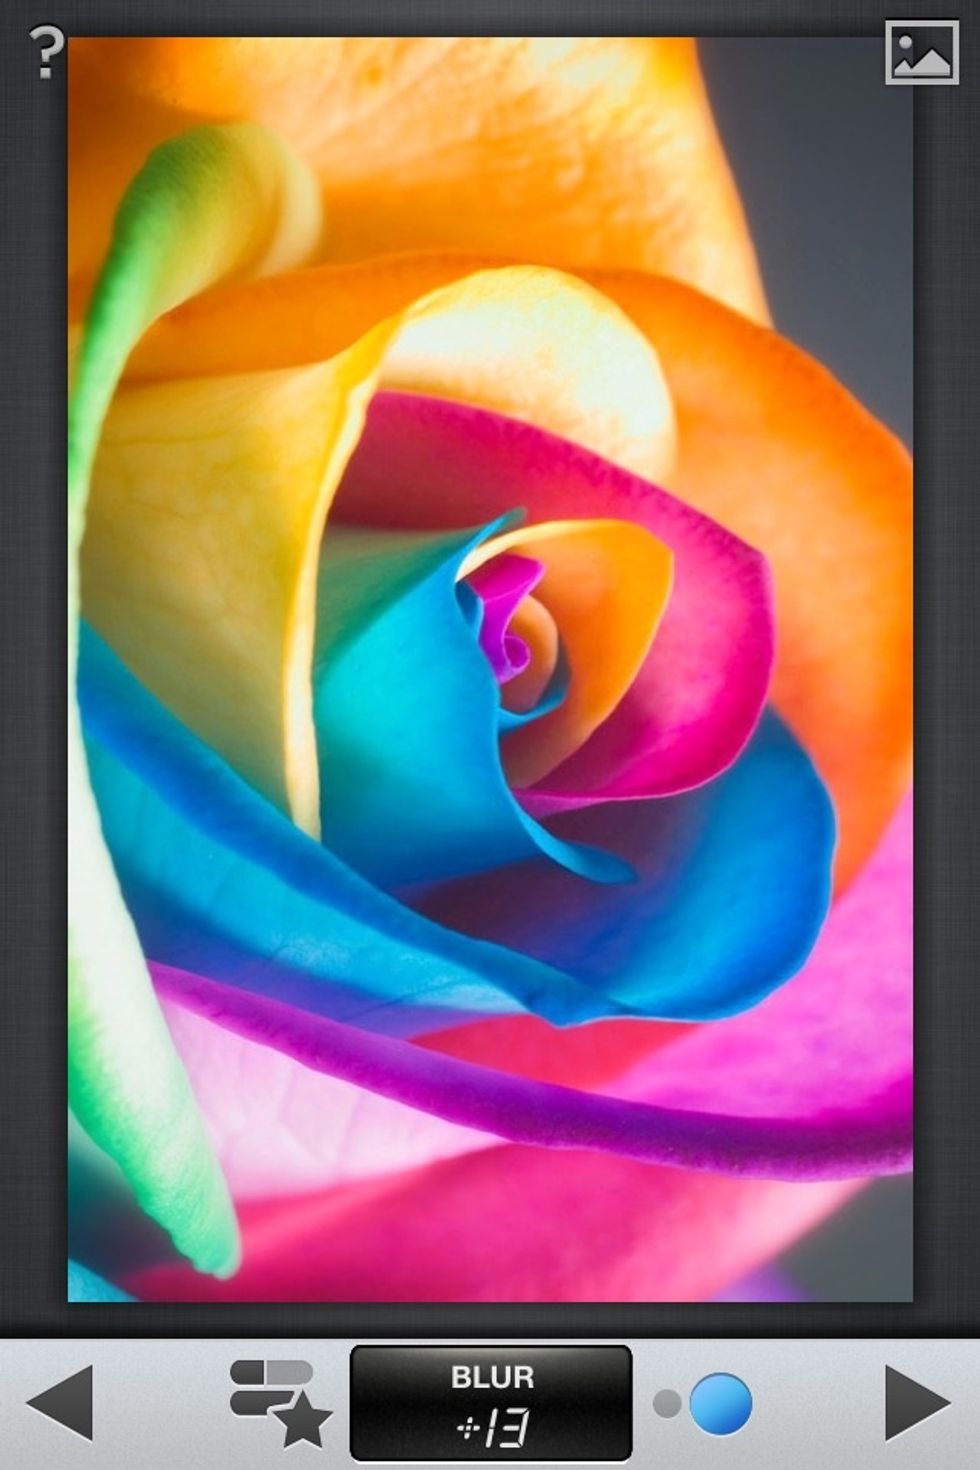
Sample of a Center Focus adjustment.
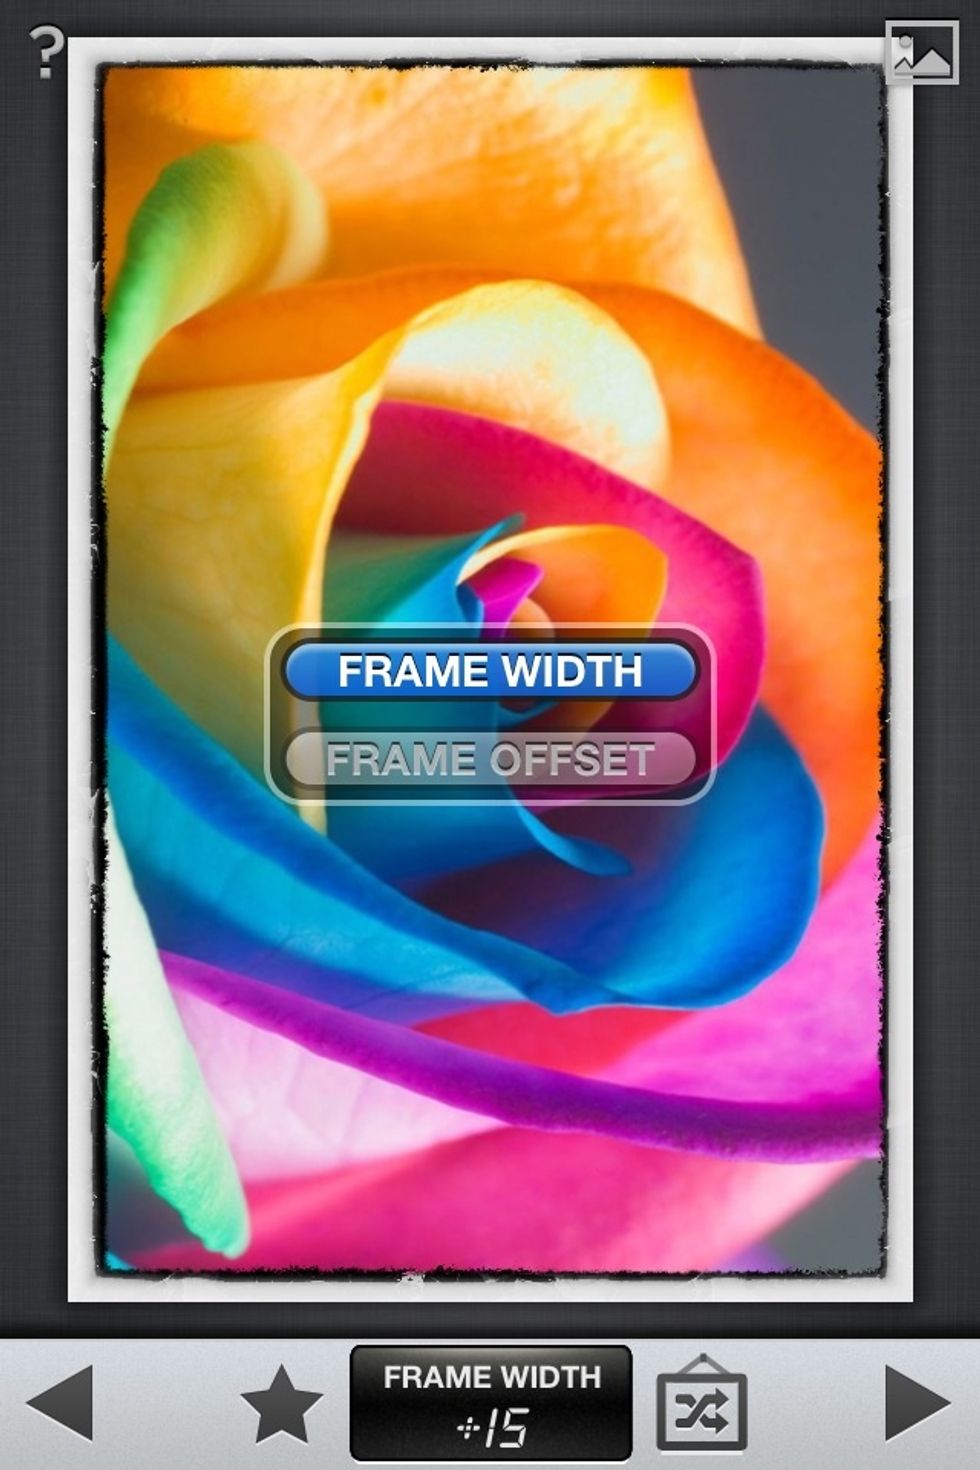
Twelfth: Frames. Frame offset removes and brings back the frame.
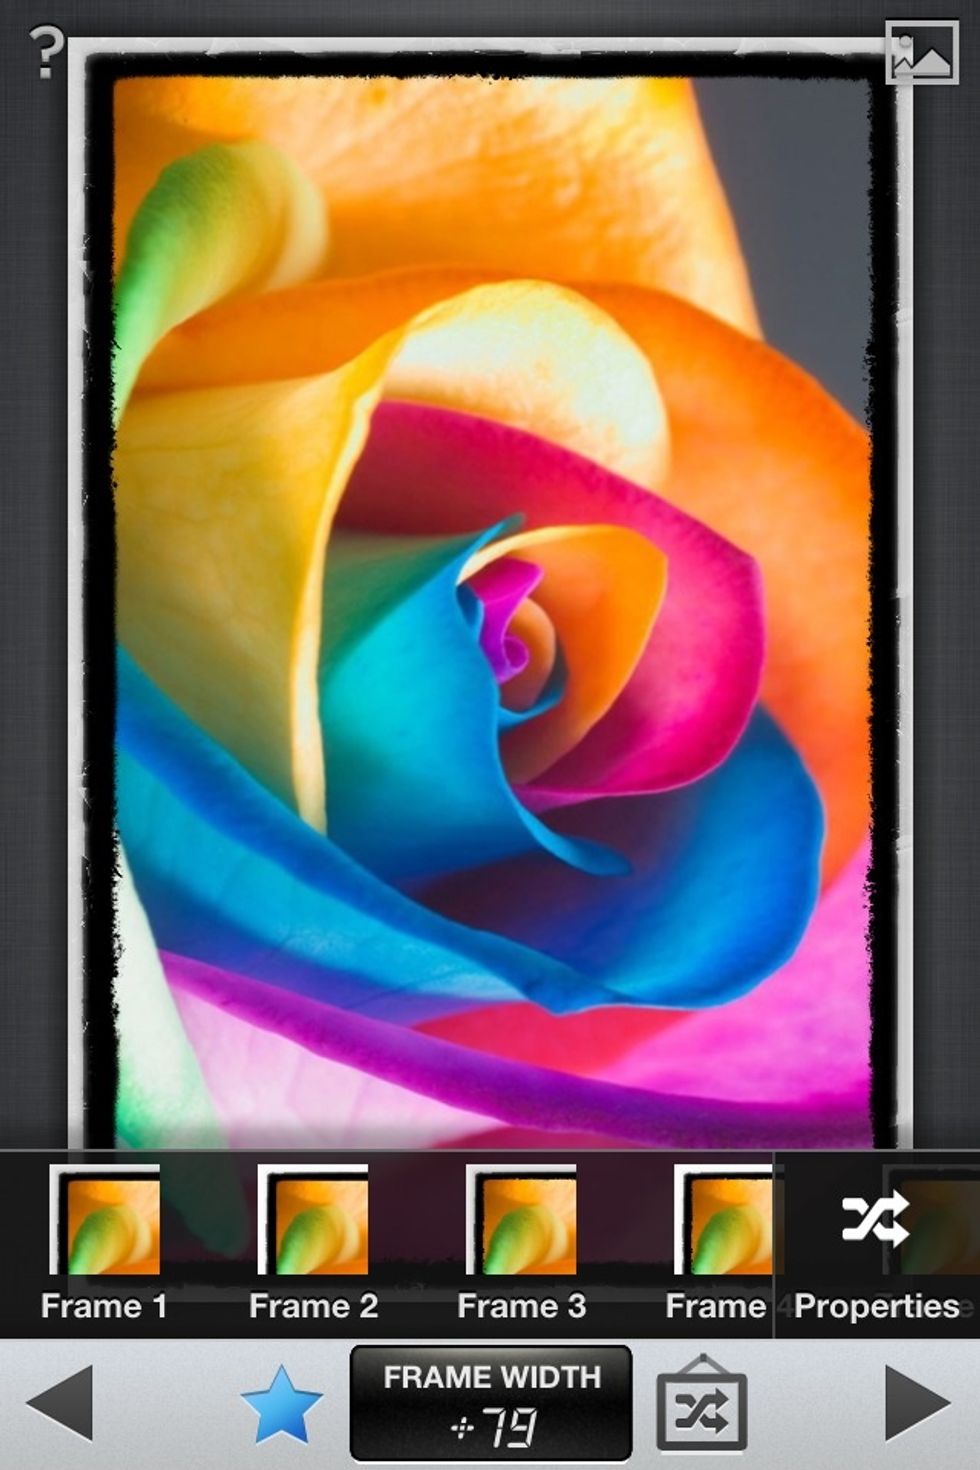
The star shows a preset option menu.

Sample of a Frames adjustment.
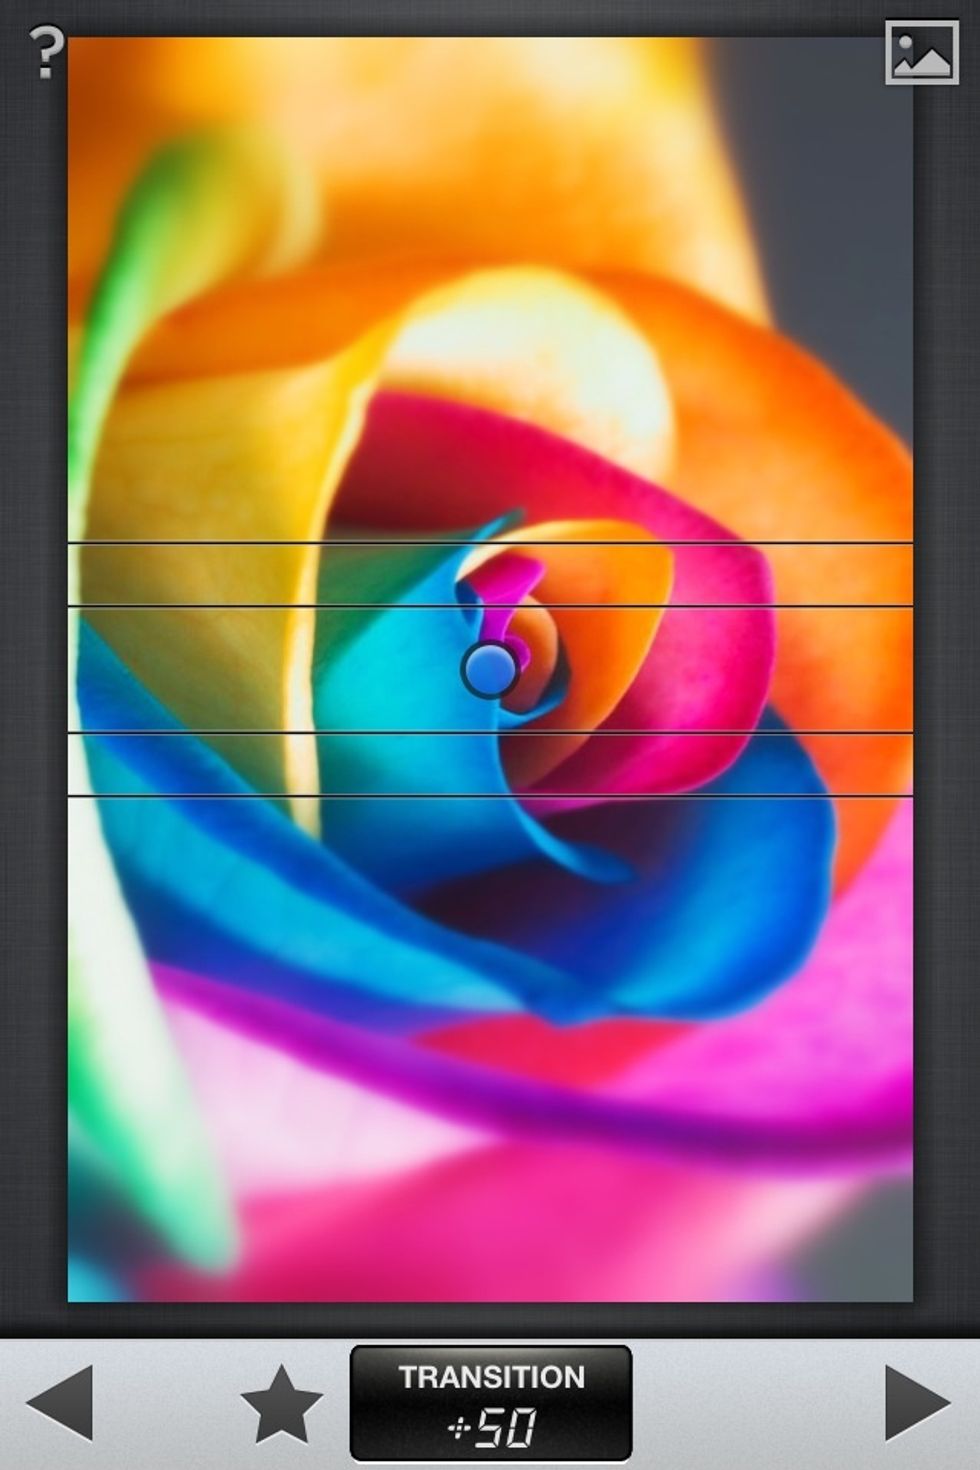
Thirteenth: Tilt-Shift.
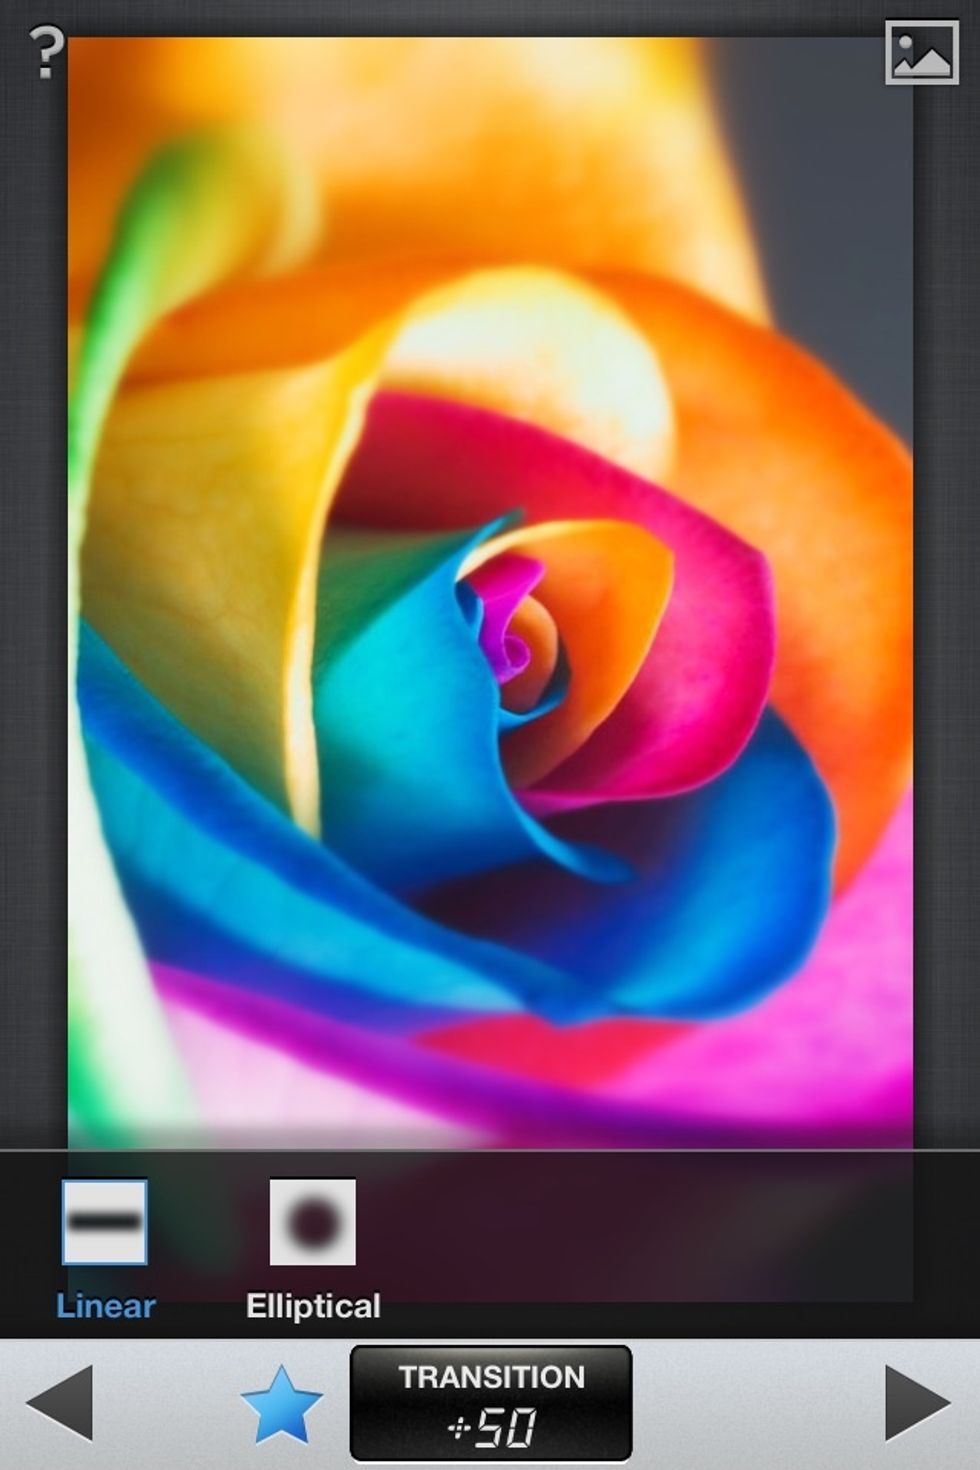
The star changes the shape of the focus point.
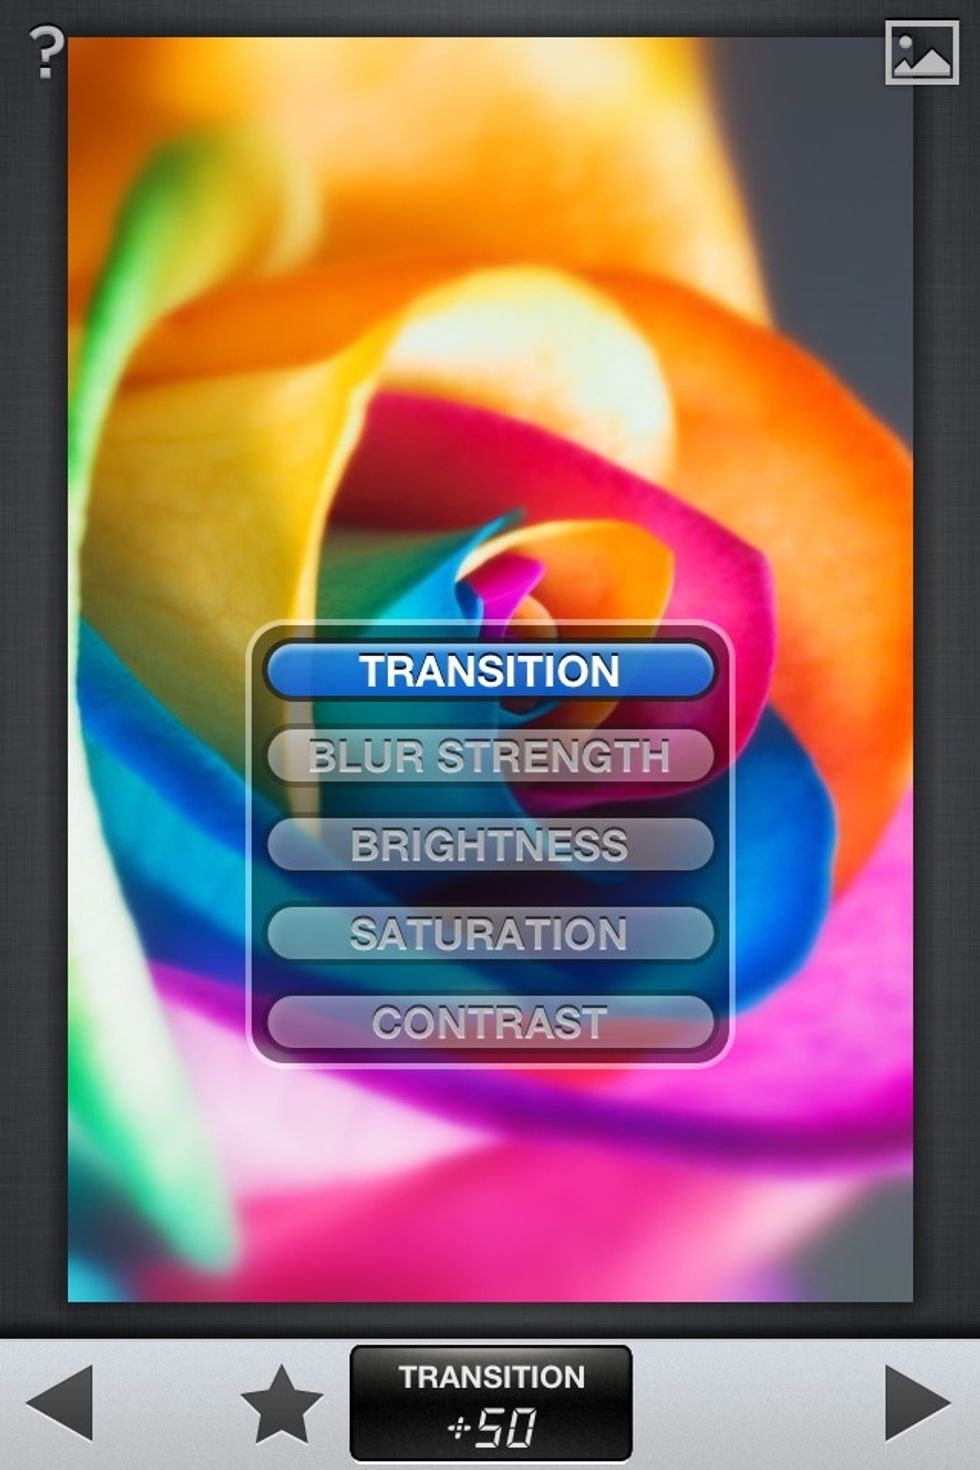
The Tilt-Shift menu. Transition changes the area of the focus point.

Sample of a Tilt-Shift adjustment.
If you have any questions, don't hesitate to ask. I hope this guide will help you become a better Snapseeder!