The Conversation (0)
Sign Up
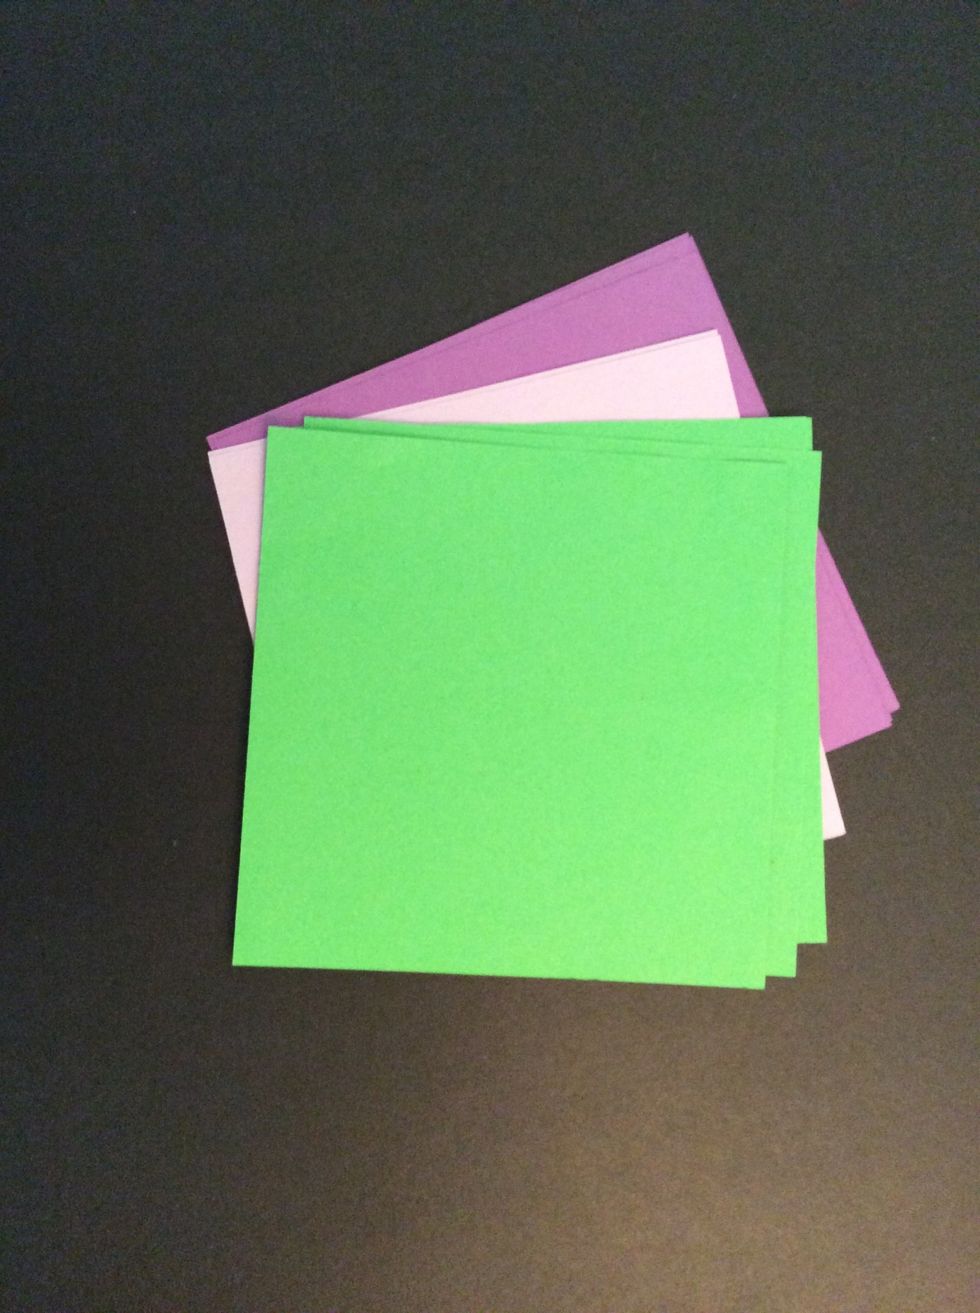
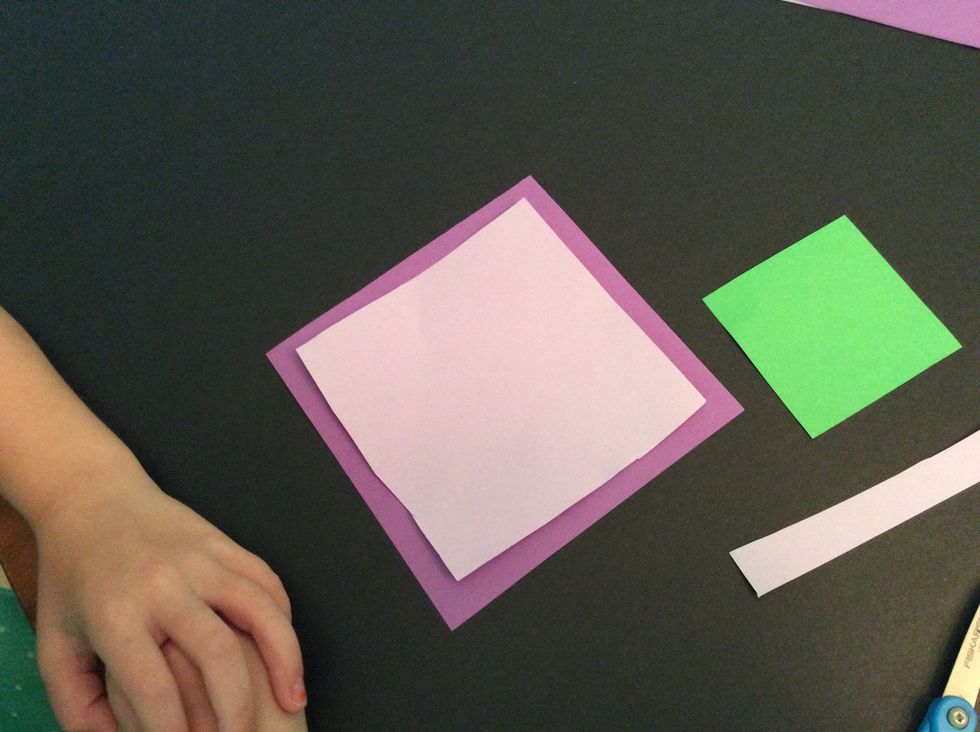
Large squares
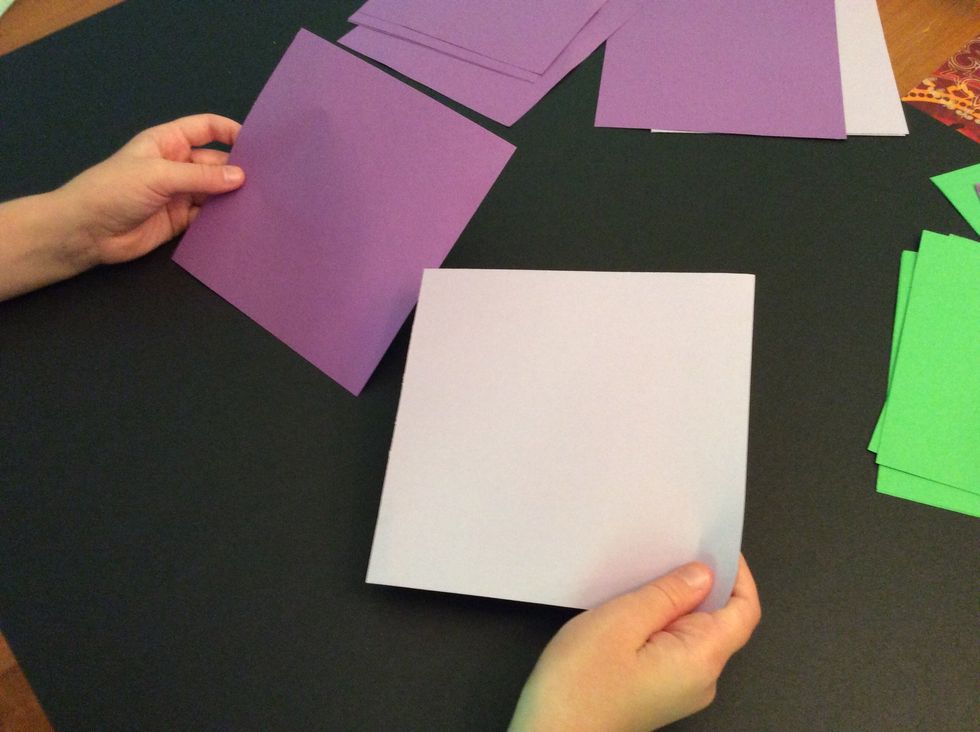
Choose 2 large colored squares.
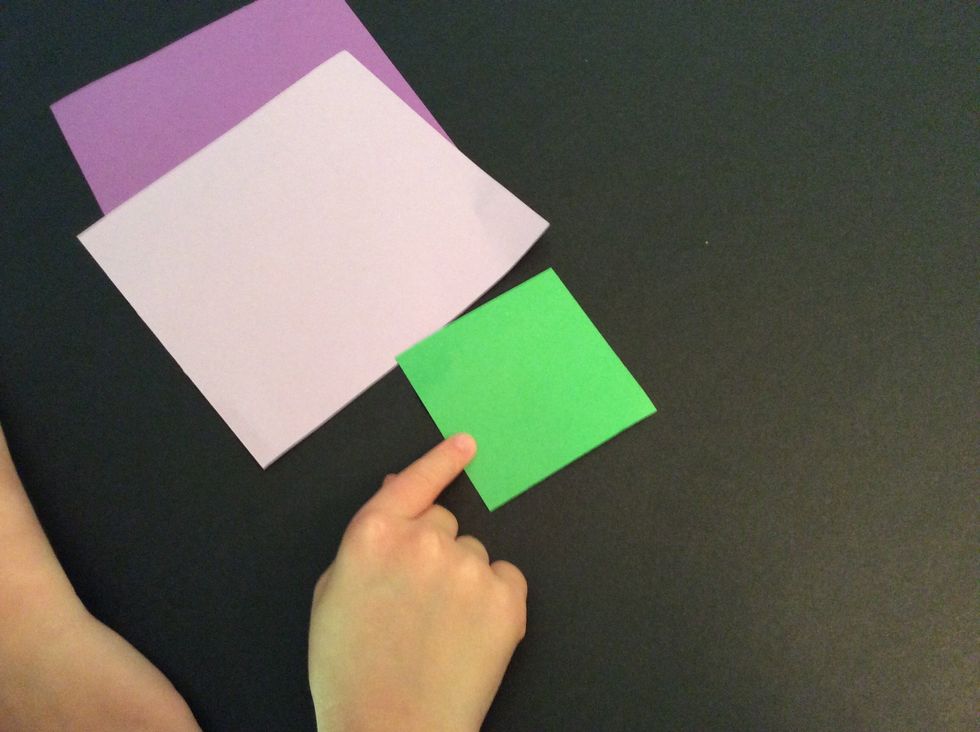
Choose 1 small colored square.

I will cut a line about as wide as my thumb.
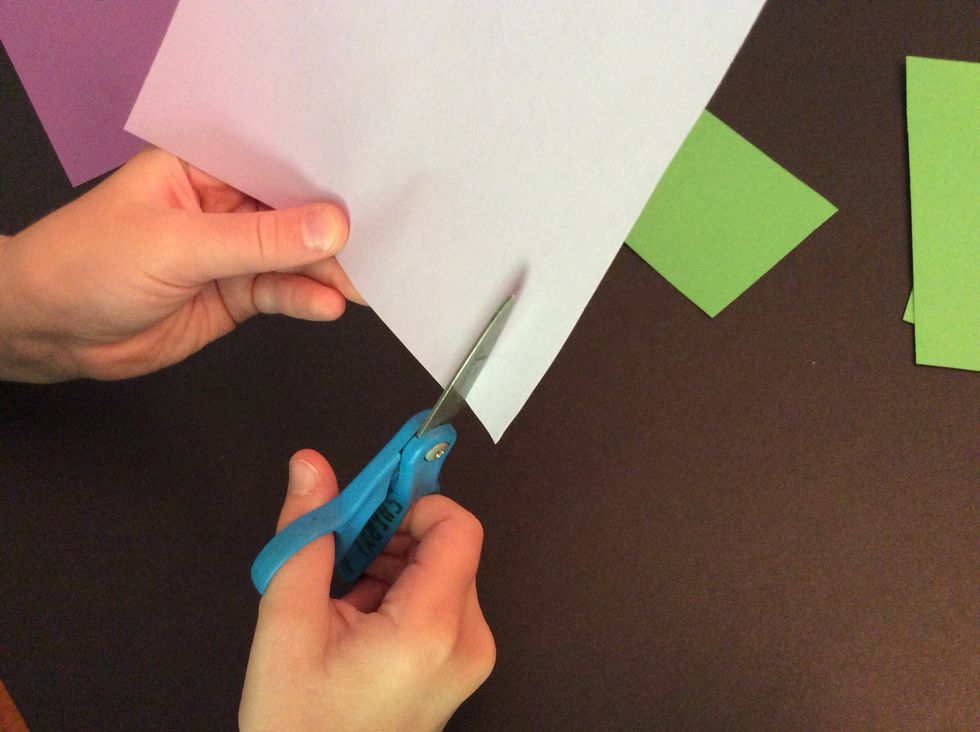
Cut from bottom to top.
I will put my cut square on top of my other large square.

Now I will use the glue stick and put glue on my smaller square.

Then I will glue my cut square on top of my other square.
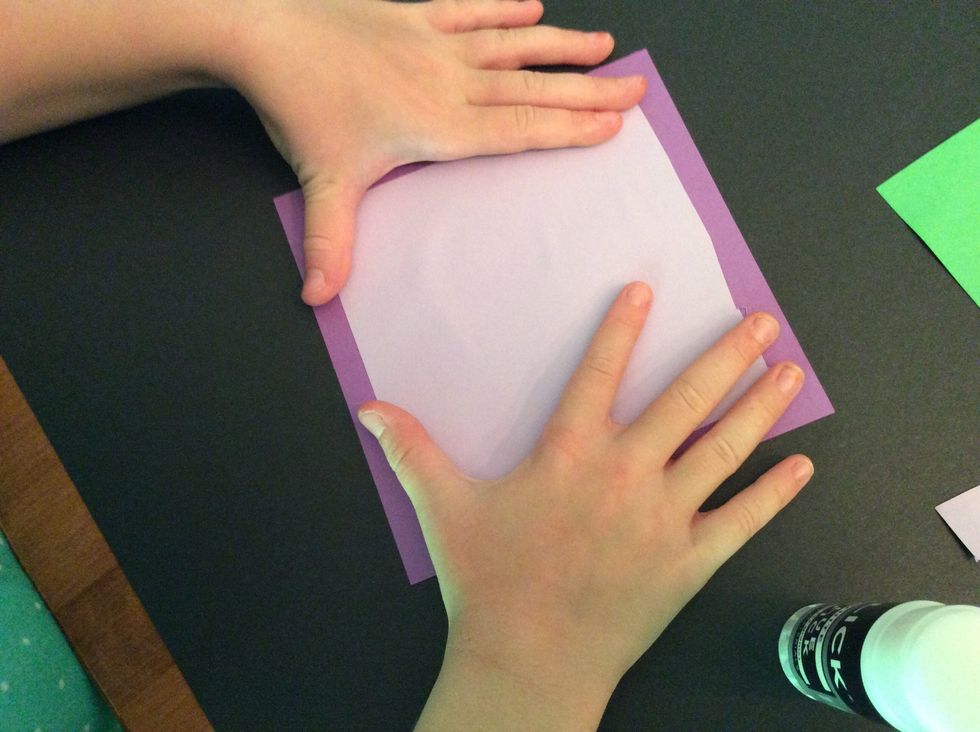
I want to smooth it out with my hands to make sure it is flat.
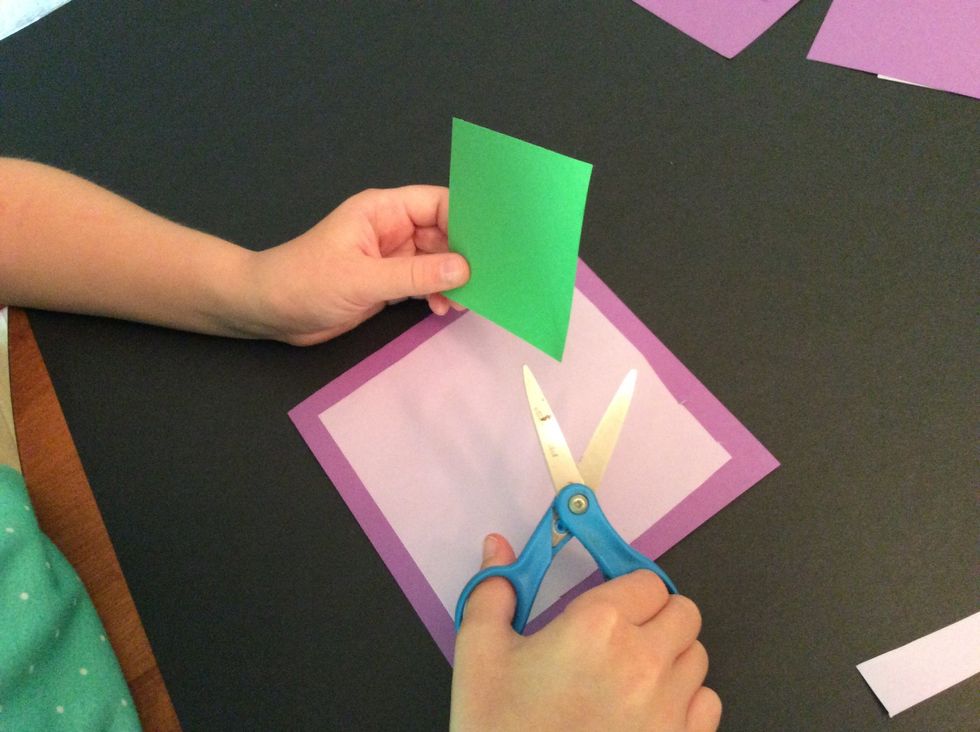
Now I will use my scissors to cut my small square into a circle shape.
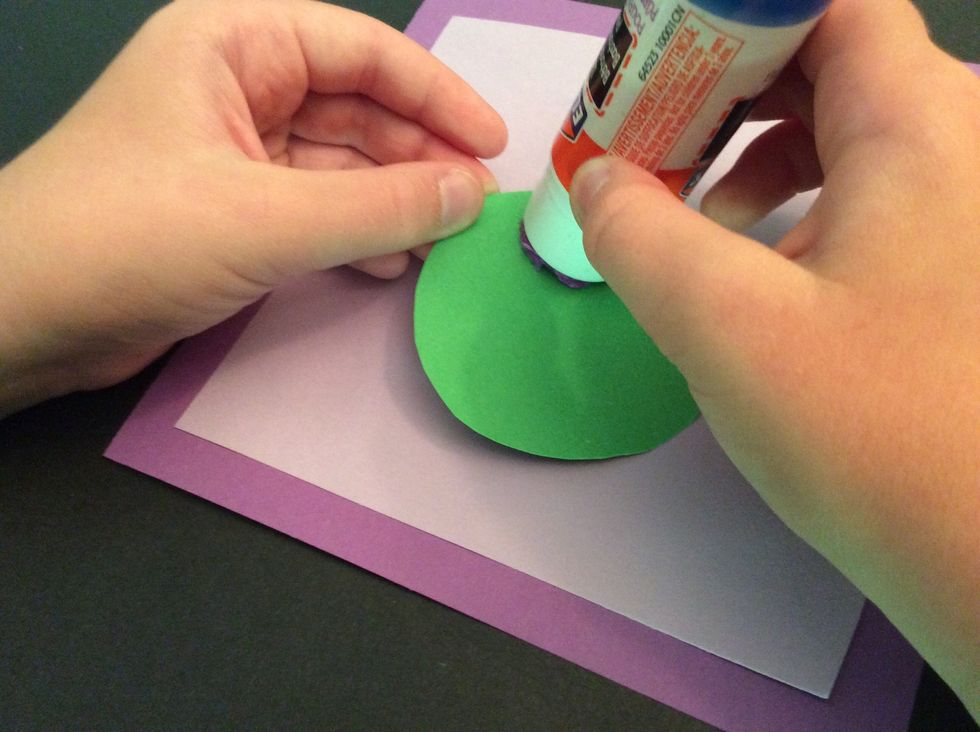
I'll put glue on my circle...
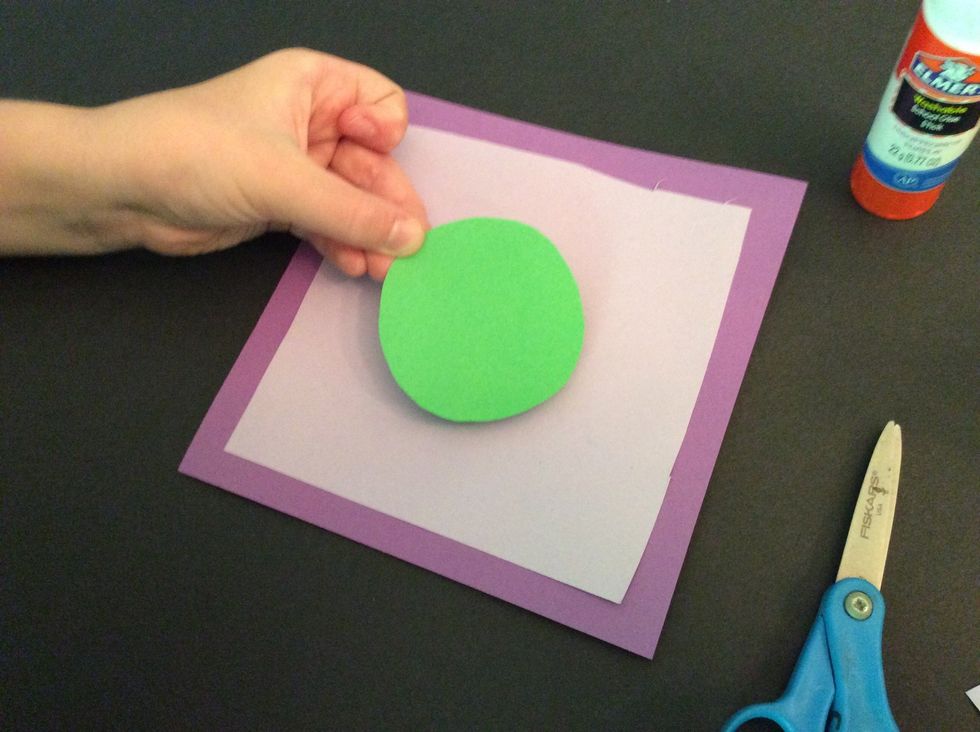
And place it in the center of my design.
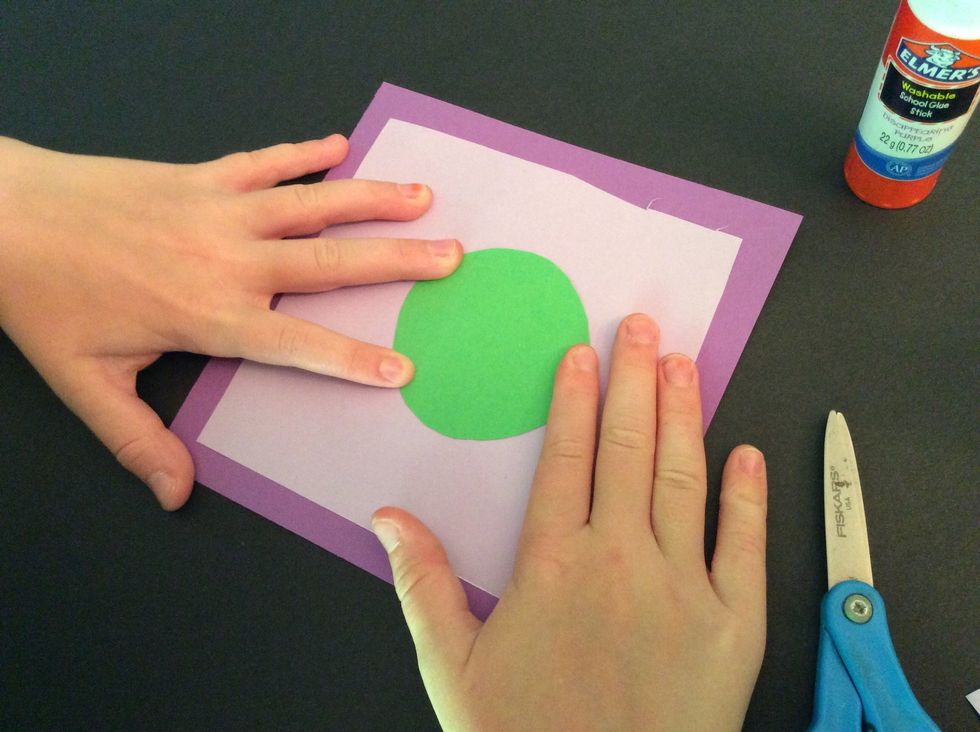
Smooth it out again.
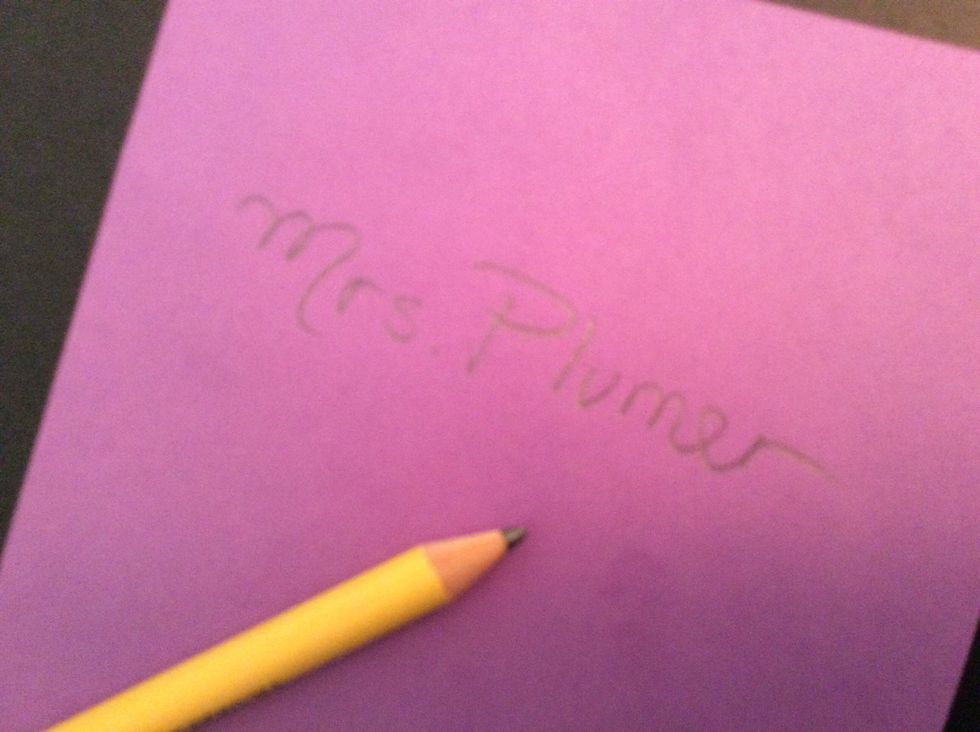
I'll write my name on the back when I'm finished and then I'll put my artwork on the drying rack.