The Conversation (0)
Sign Up
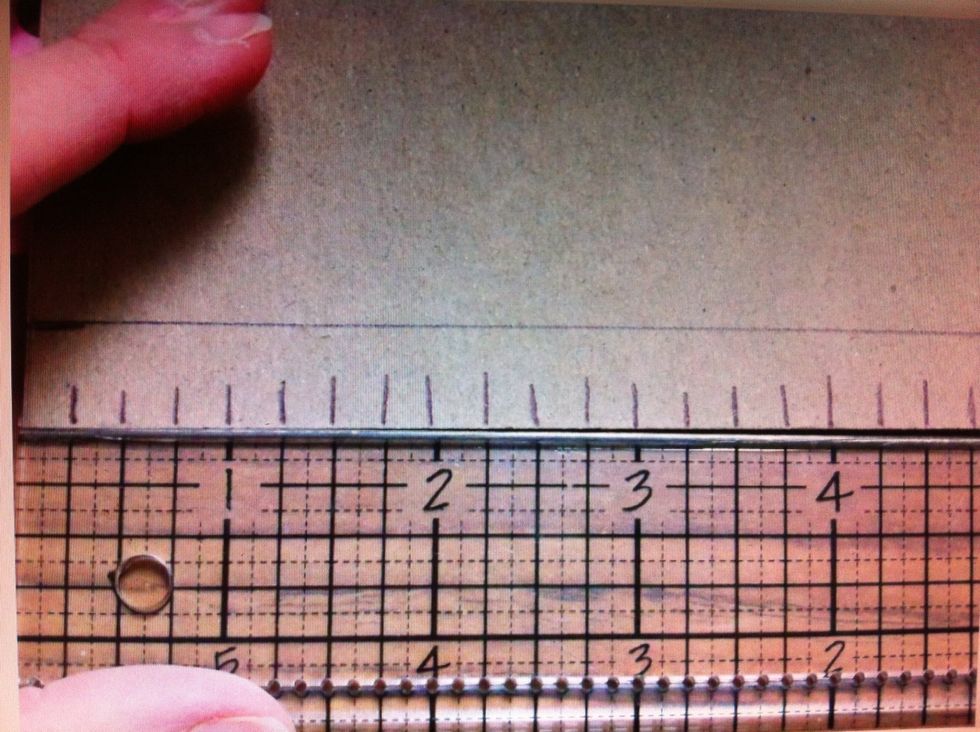
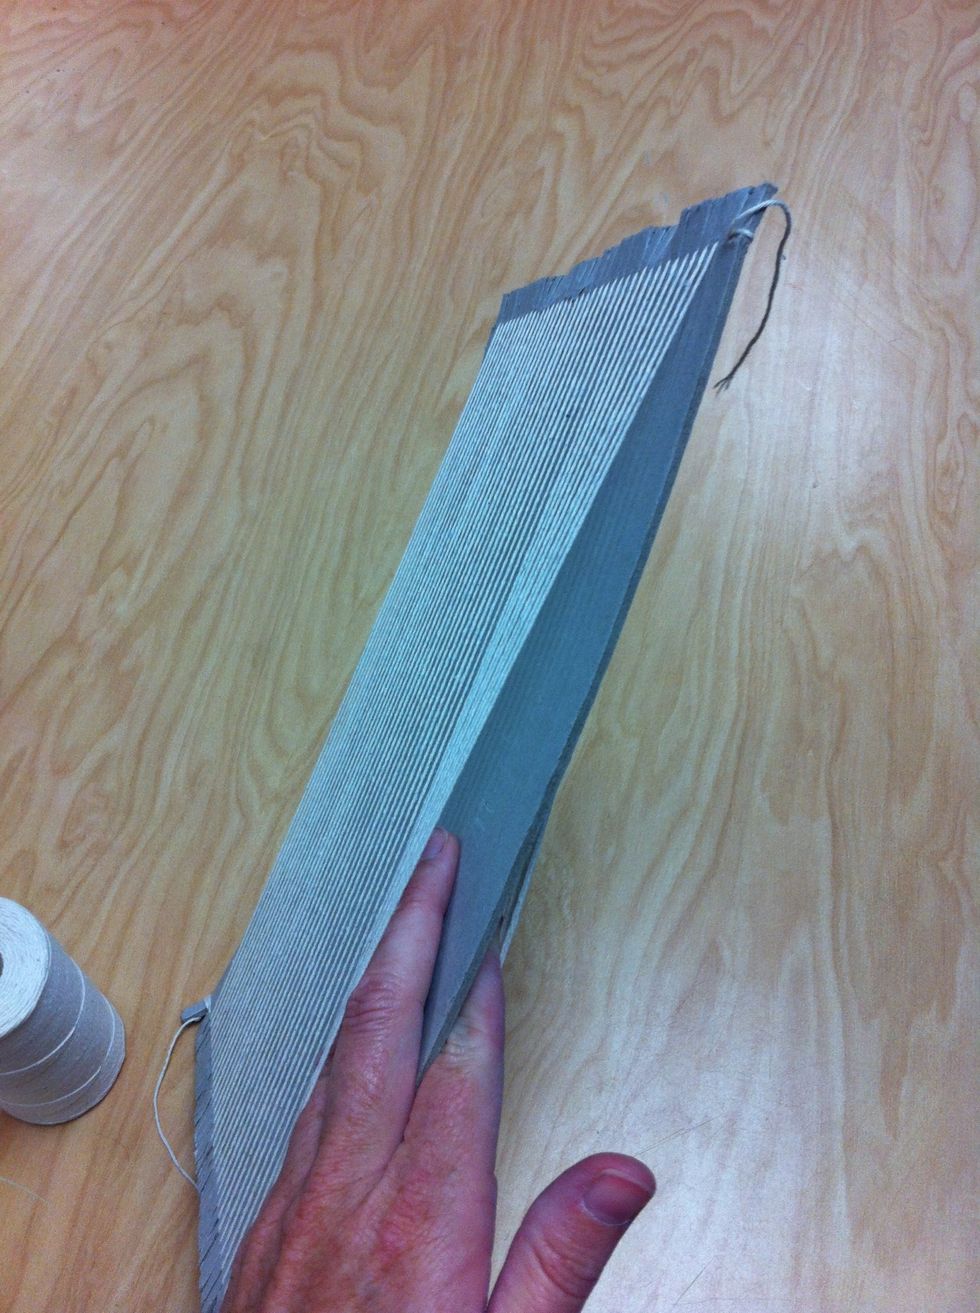
Cut your chipboard to size and then measure 1/2 inch up on each short end and draw a line across the board. Then mark ever 1/4 inch.

Cut on you 1/4 inch marks to the 1/2 inch line. This makes tabs.
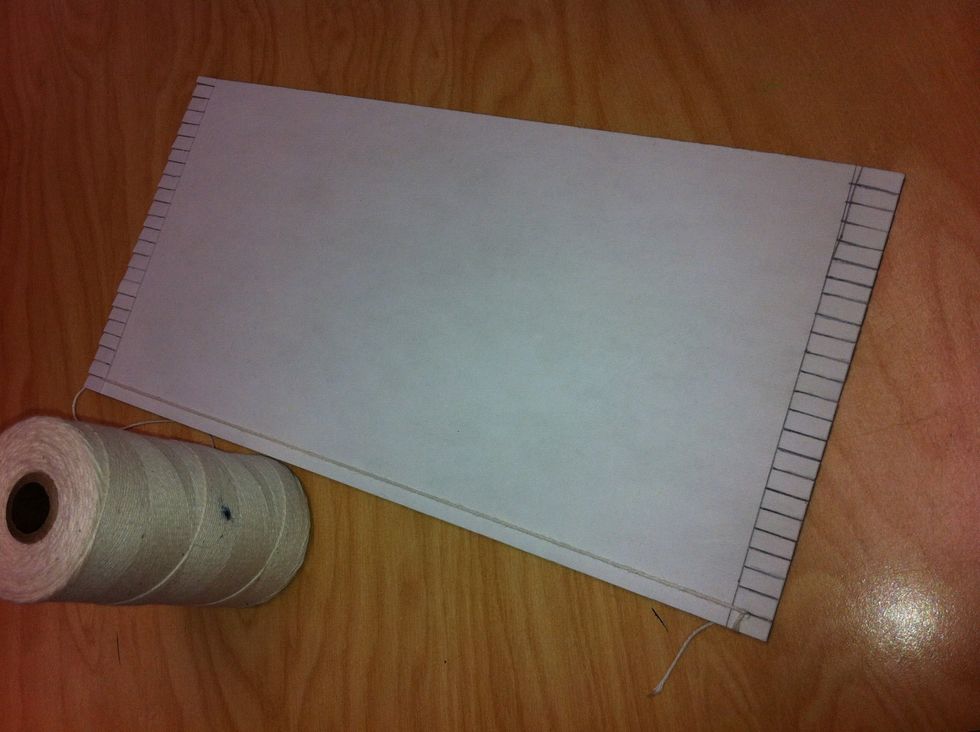
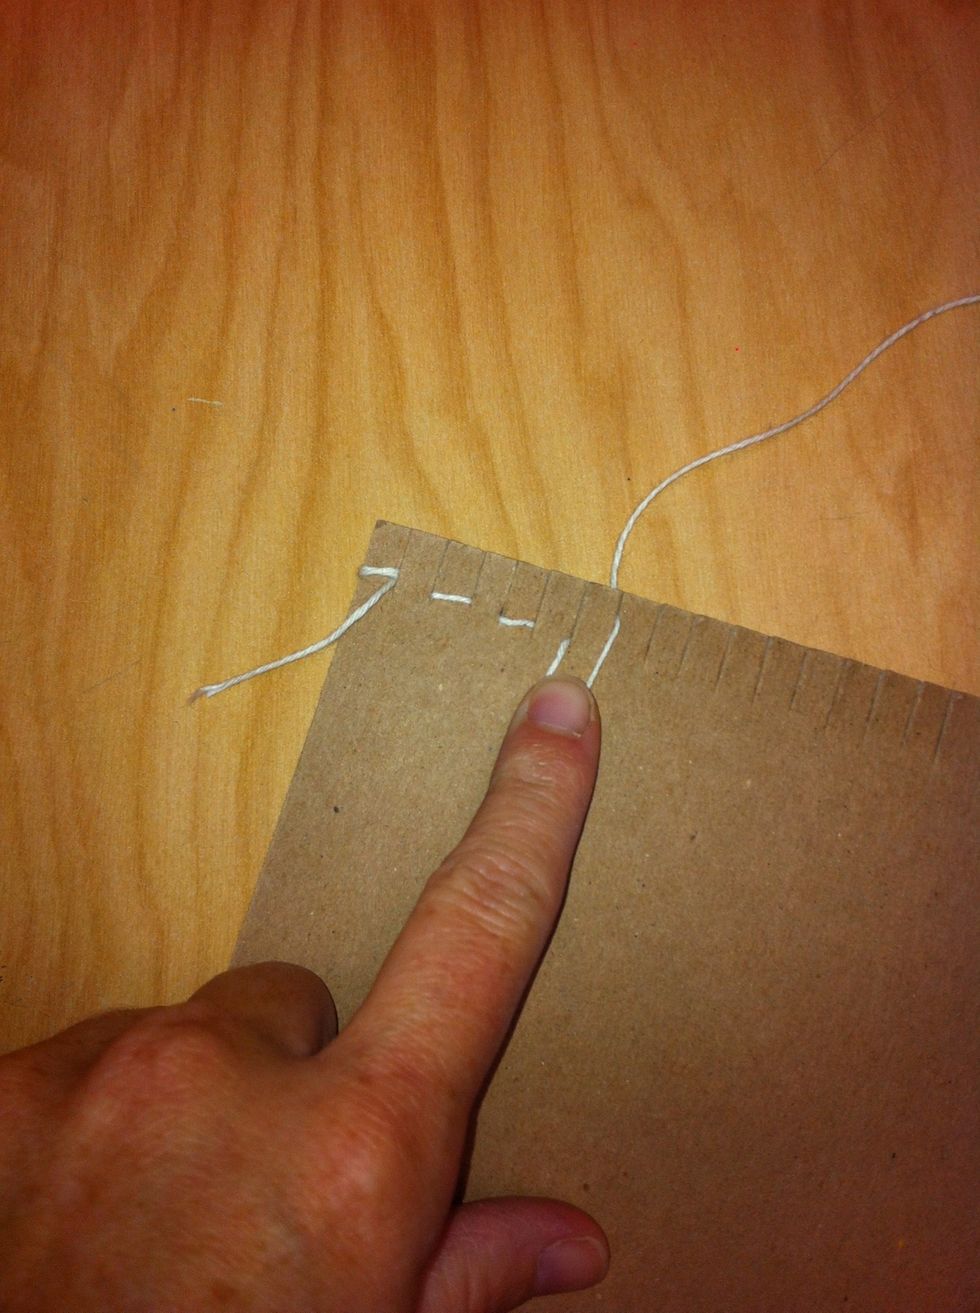
Starting at one end wrap your cotton warp string a couple of times around the first tab. Then go straight up and over the tab across the board.
At this point you have to choose. Either up and down the back of the board, continuing across the board so that it looks the same on both sides.

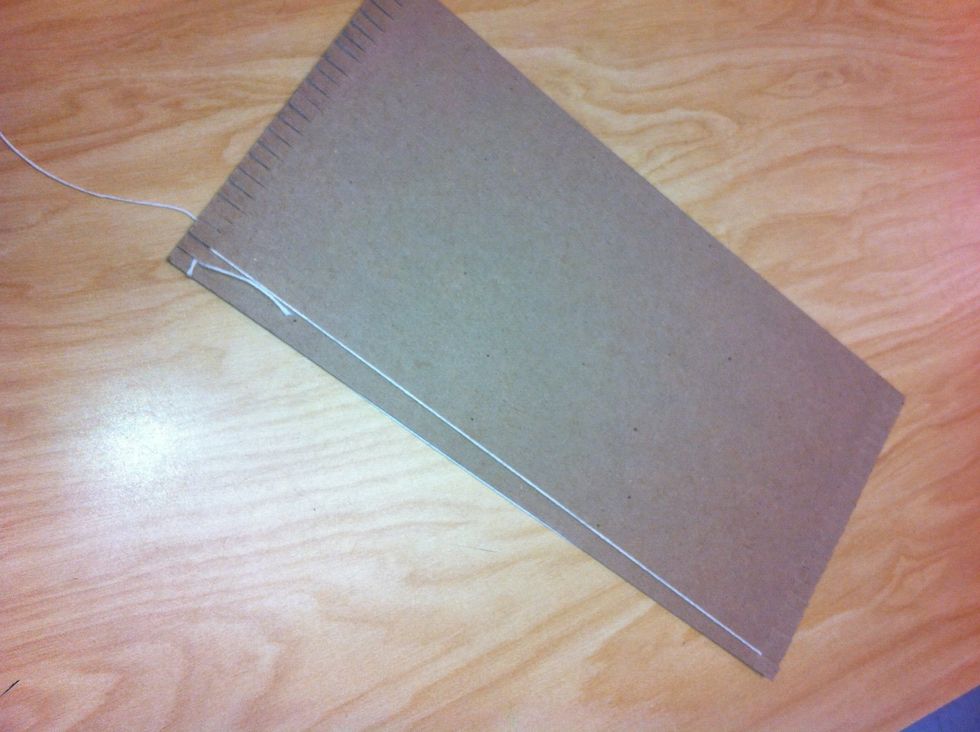
Like this. Or...
Are you going to wrap the string around the back of the tab like this? Both are good. It's personal preference.

Like this.


Now I prepare my "needle" which is a Popsicle stick! Cut a small slit in one end.

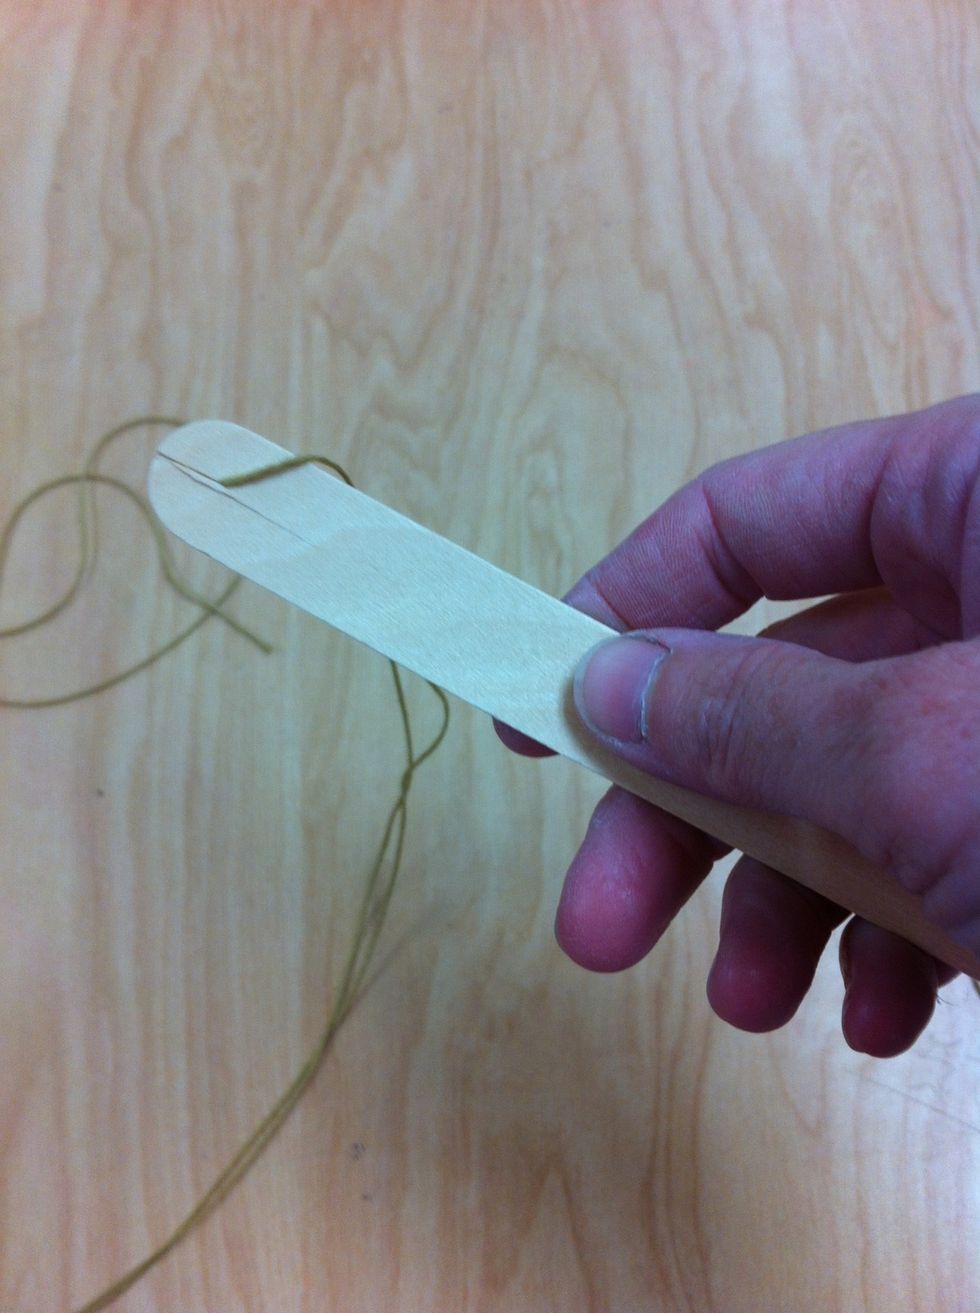
Now cut about 2 arm lengths of cotton yarn/string. Find the center of the yarn and Push the center of the yarn into the slit. It works great! No need to tie on the yarn, it doesn't go anywhere!

Start your basic or tabby weave with the over and under motion.
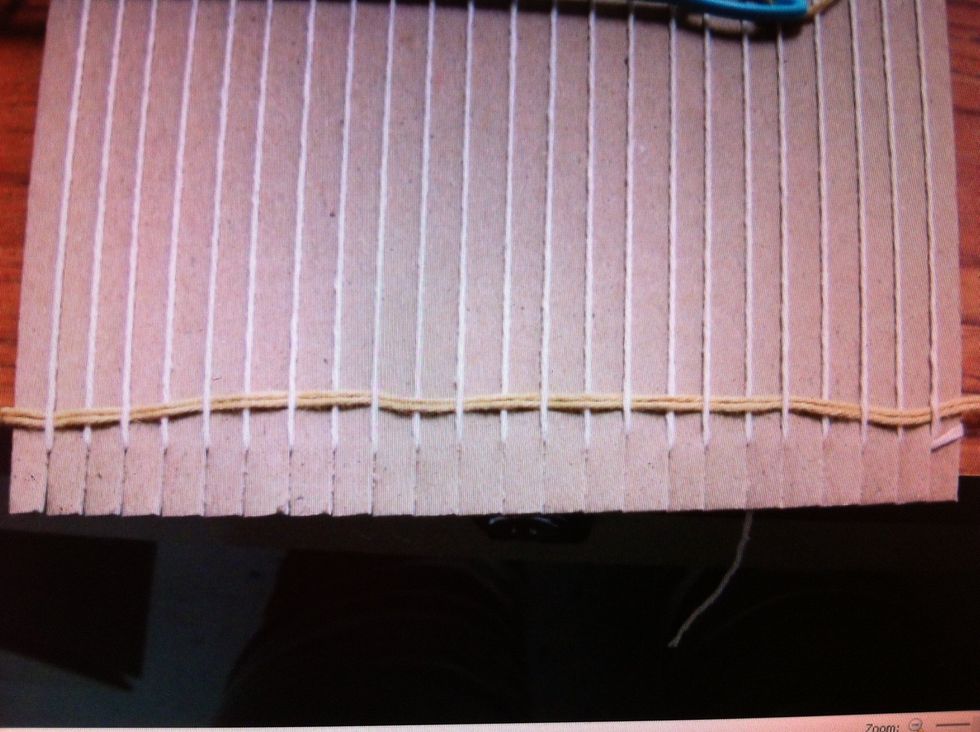
This is how it looks after the first line or "shot".

Here you can see that I left a very short tail on my first line. I don't like lots of extra string, it just gets in the way.

Two lines. The great thing about the Popsicle stick is that the string end can lead or follow.

It's important to not pull the string too tightly when starting another line. A good practice is to put your finger on the last warp thread and hold it in place as you pull the shot tight.
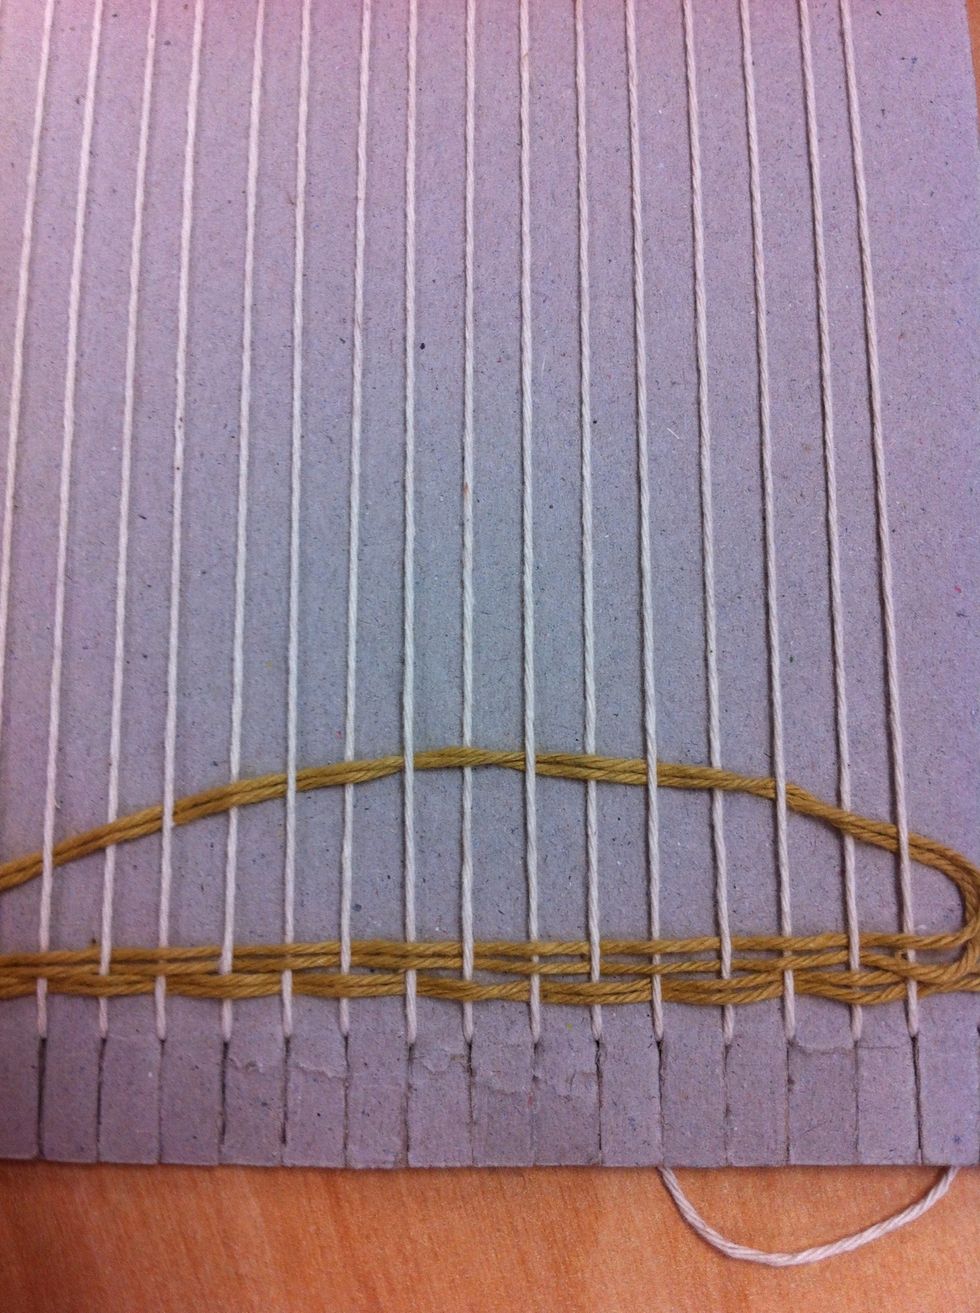
I also weave the yarn in at an angle. This way, when I finish a shot, I can make a rainbow bringing the yarn down at the end so that the weave won't be too tight.
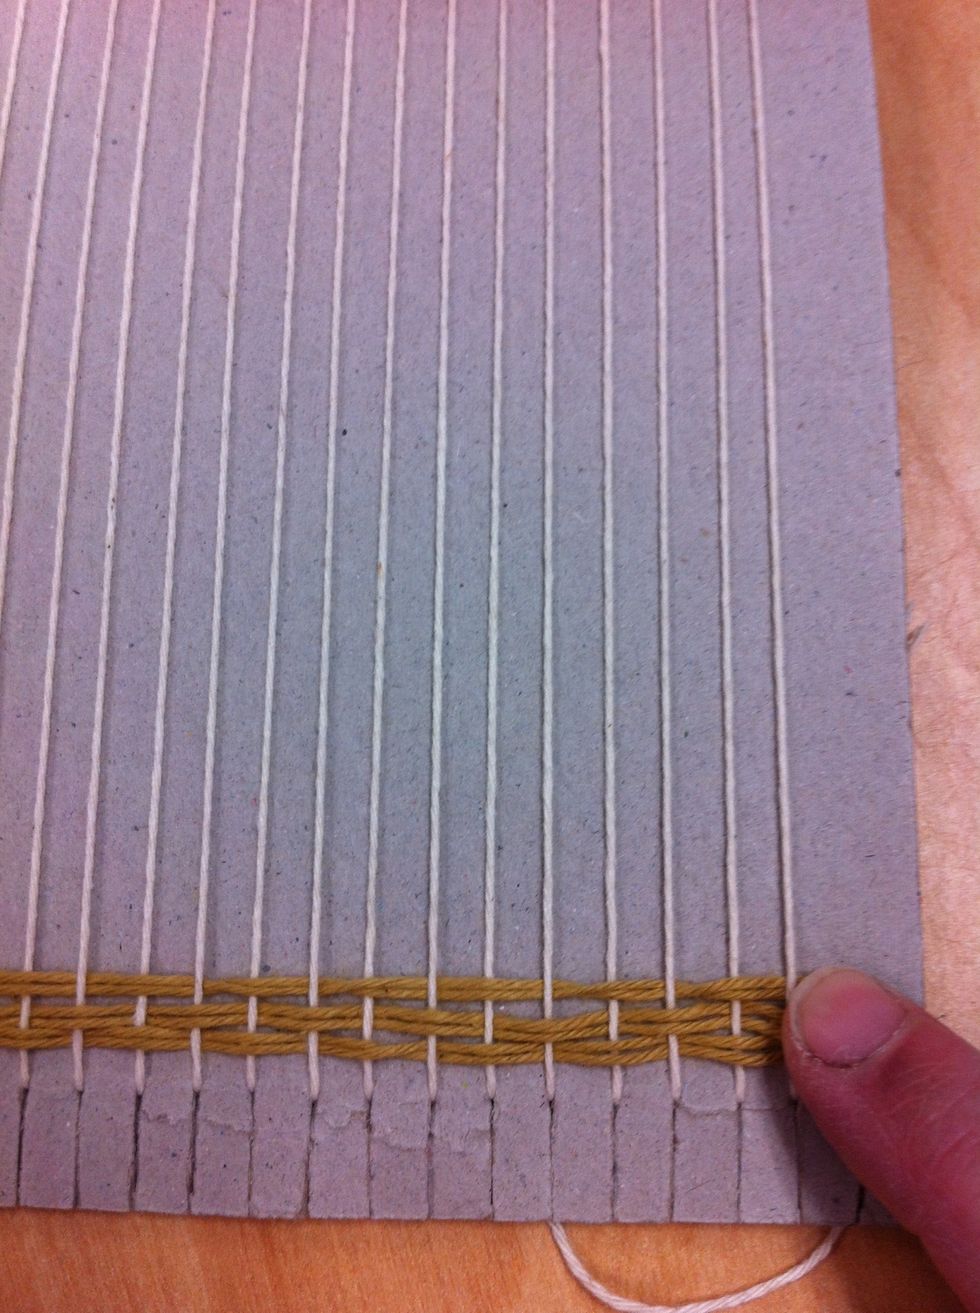
Then I hold the last warp thread down and smooth my rainbow straight down to the line before. This keeps my loom from becoming an hourglass shape.
After a few double thread lines, I change out my string and begin my pattern. I use the double first lines as a selvage and repeate this at the very end of the project.
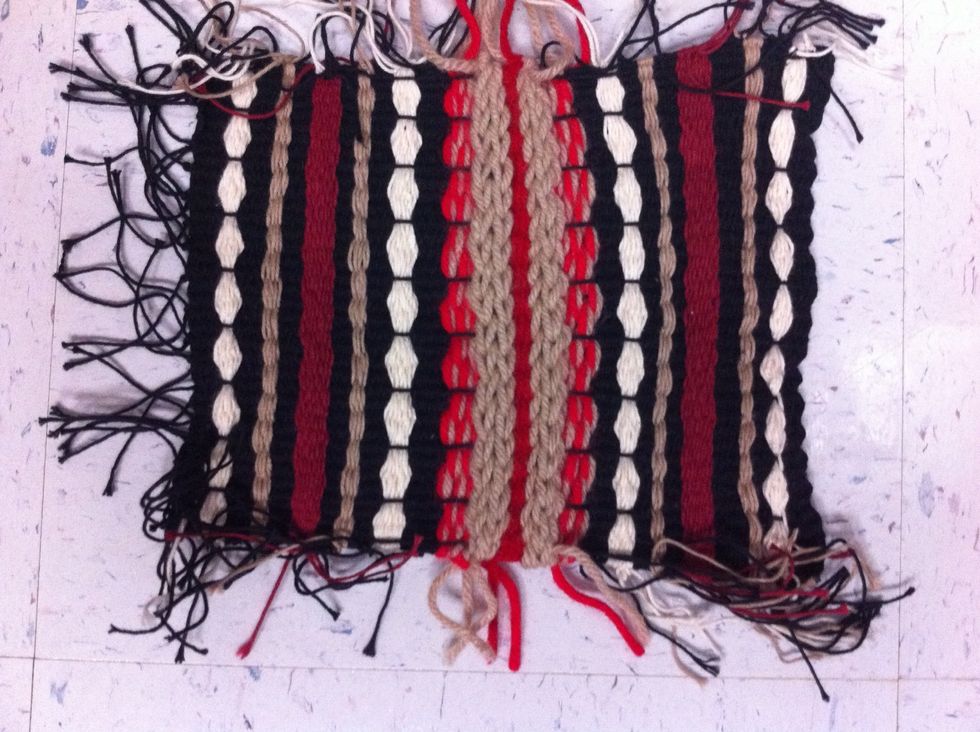
Here is a sample completed project. Good Luck!