The Conversation (0)
Sign Up
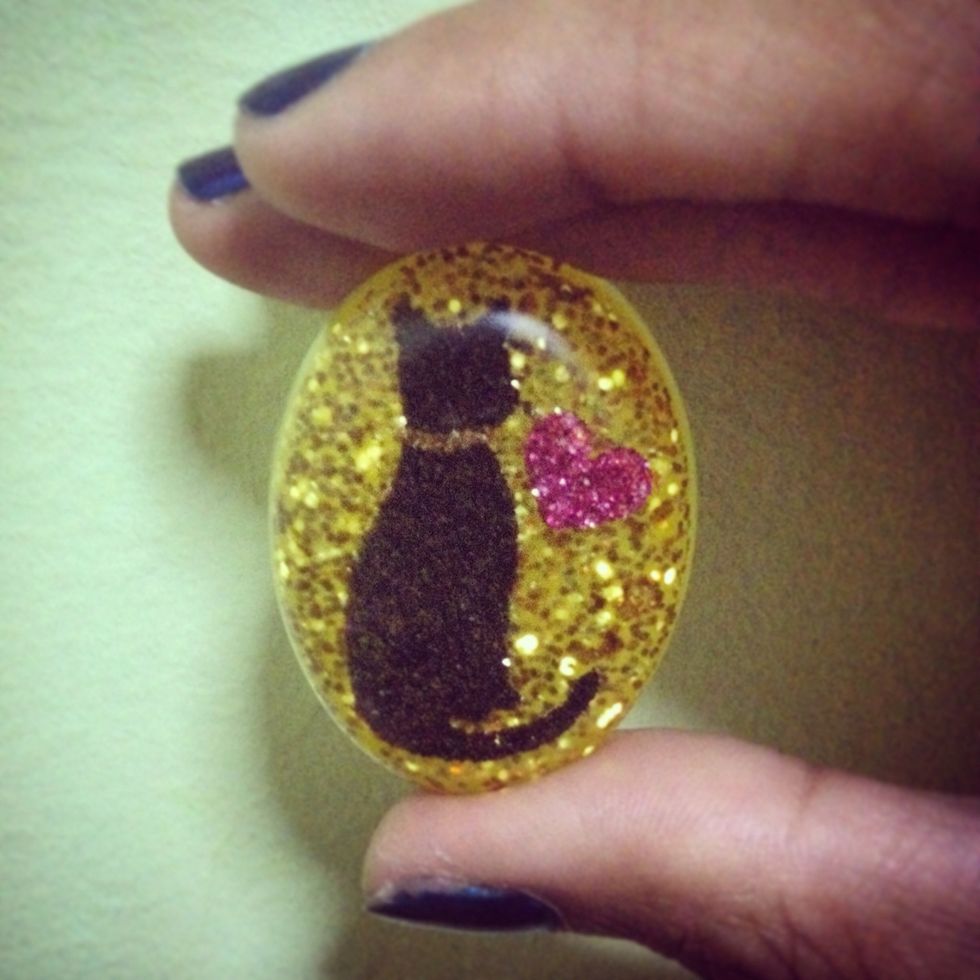
Resin is an ornament with deco encast in it. Once made, it can be turned into a fridge magnet, paper weight, jewellery, keychain, etc.
Here is the process of creating a resin piece; 1. Designing 2. Mixing 3. Casting first layer 4. Placing deco 5. Casting background layer 6. Doming (optional) 7. Turning resin into an item.
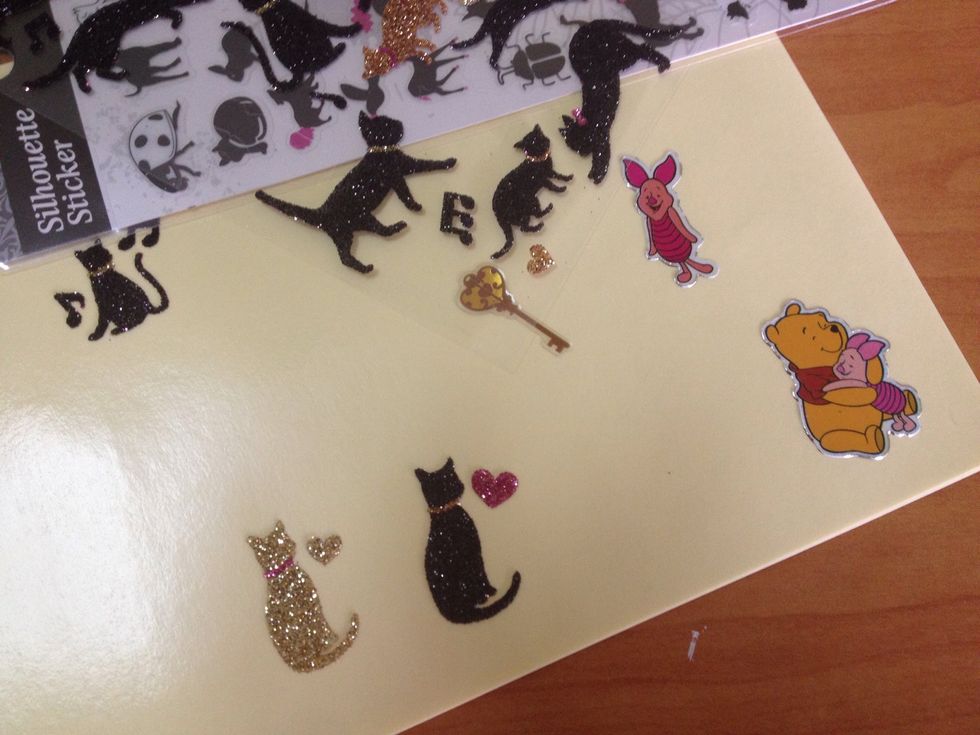
You may choose any object able to be encast within the size of the mould. It can be stickers, polymer clay, etc. However if you wish to encast an illustration, make sure to varnish it first.
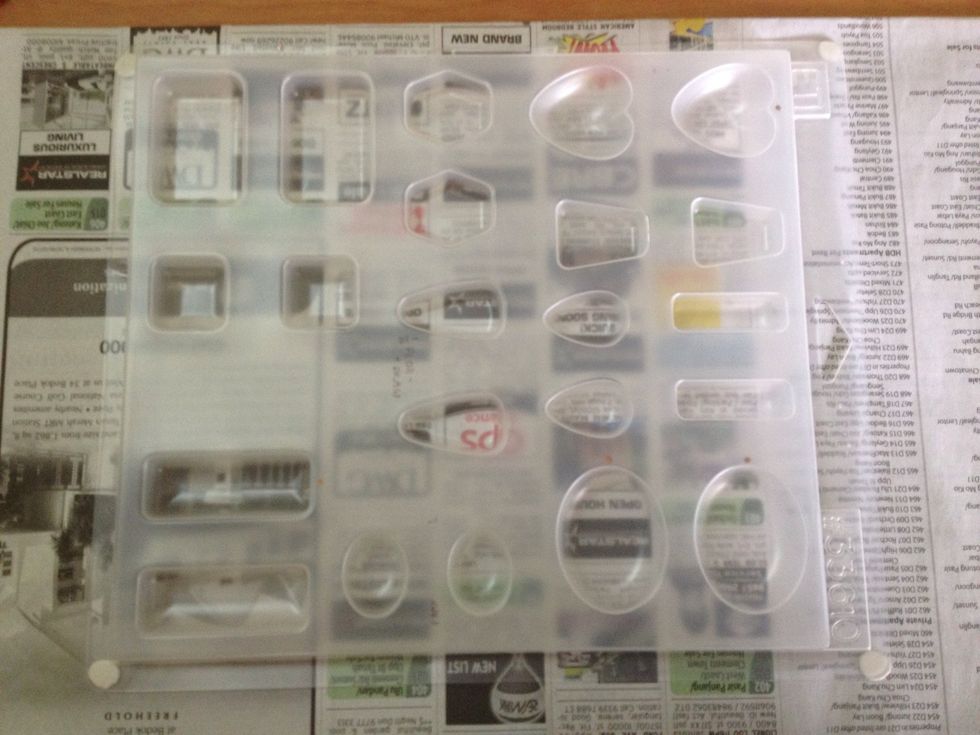
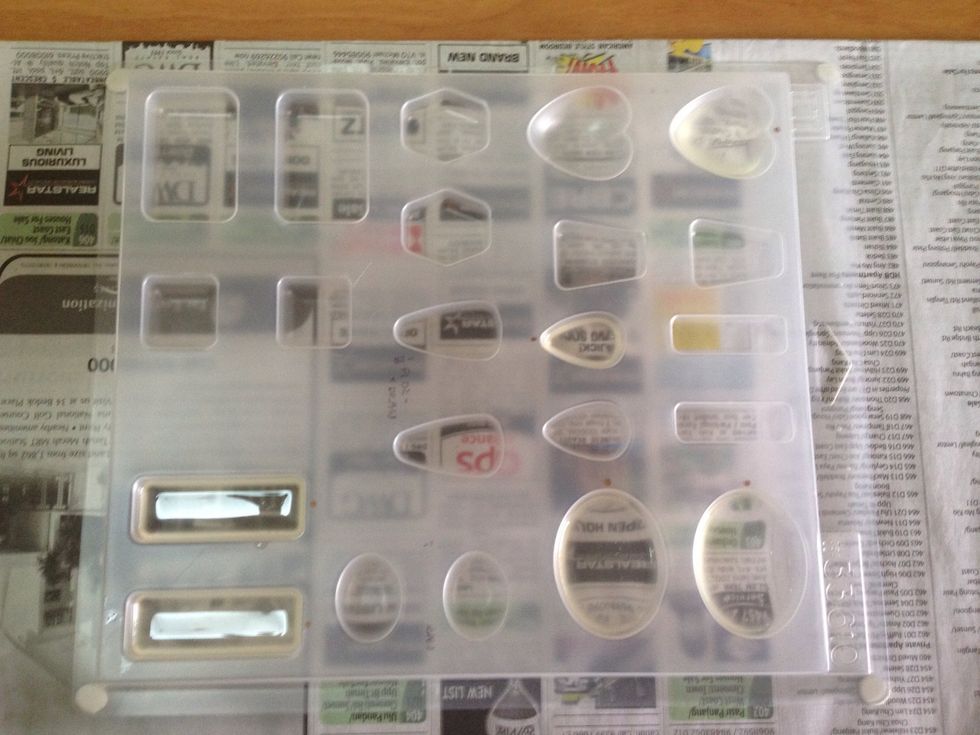
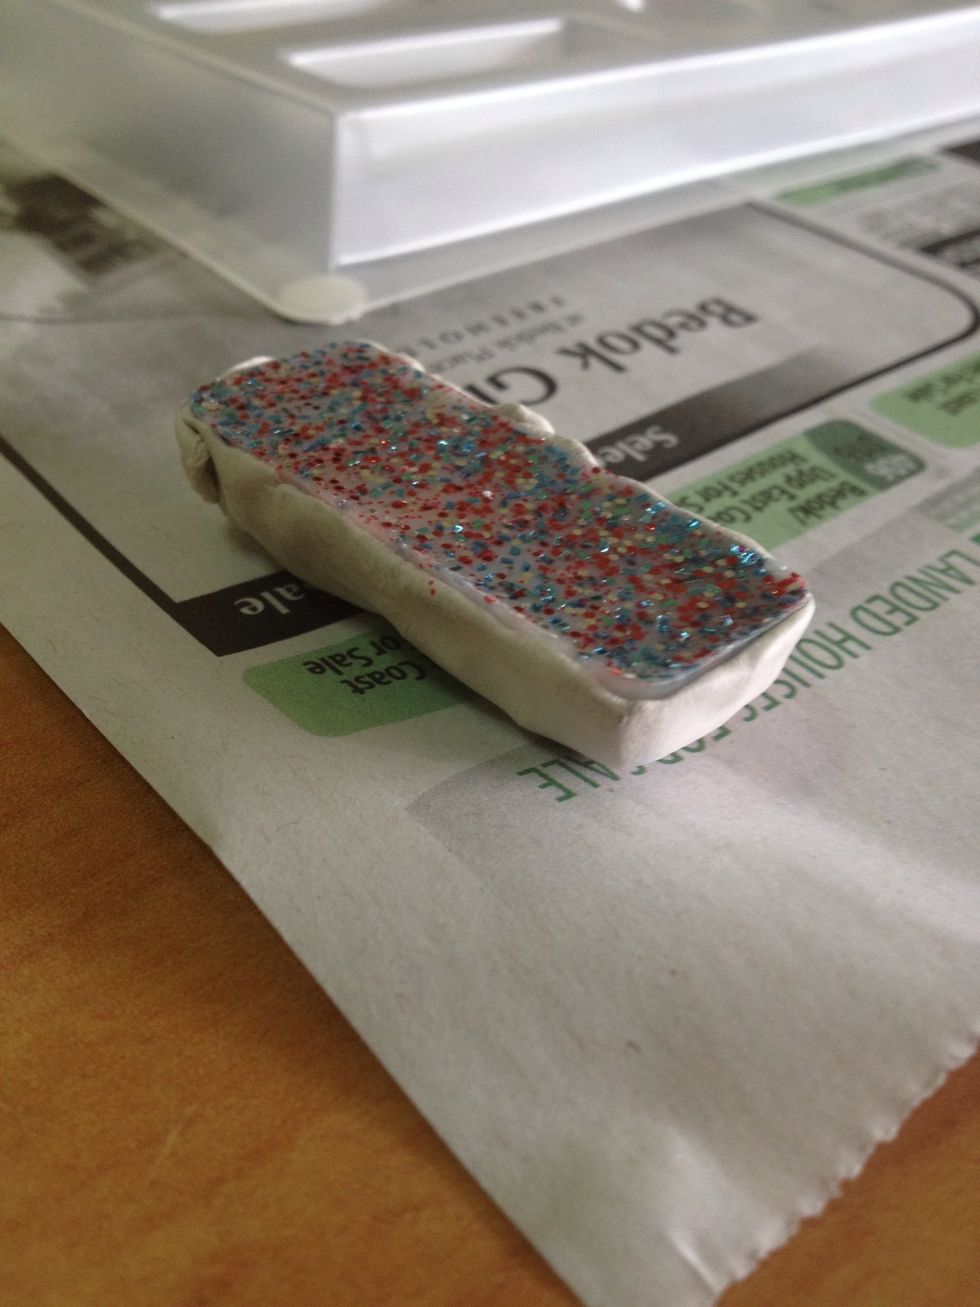
Using resin may get a little messy no matter how careful you are. Protect your work surface with newspaper taped to it. Place bluetac underneath the mould and secure it to the newspaper.

I use small containers (as my resin pieces are all small casts) from SKP (S$3) which are known for storing condiments.
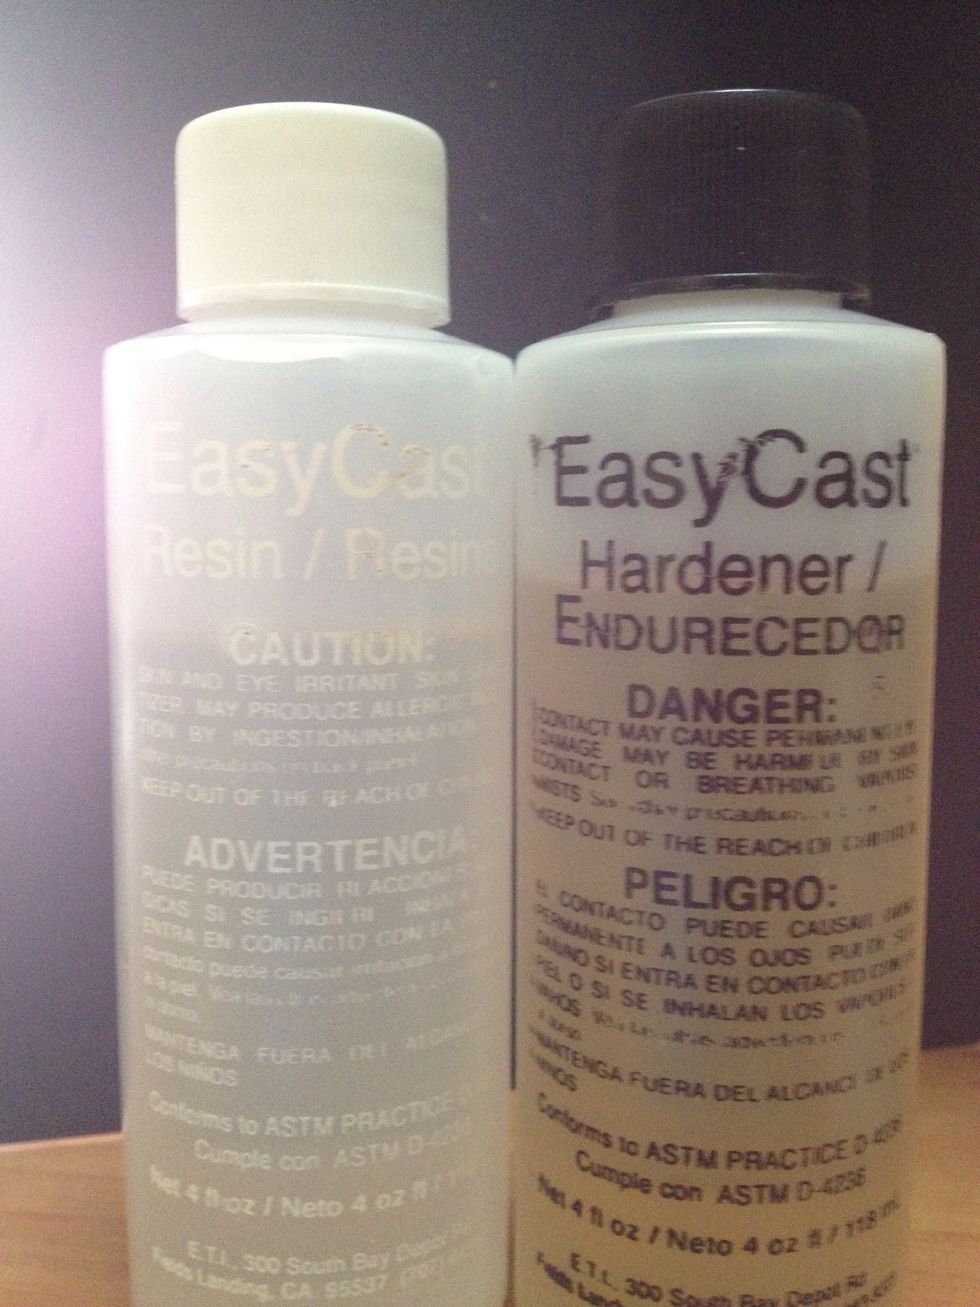
The Clear Epoxy contains hardener and resin solutions. These 2 are to be measured in equal volumes. Too much/ little of either one will give an sticky, undesirable resin piece.
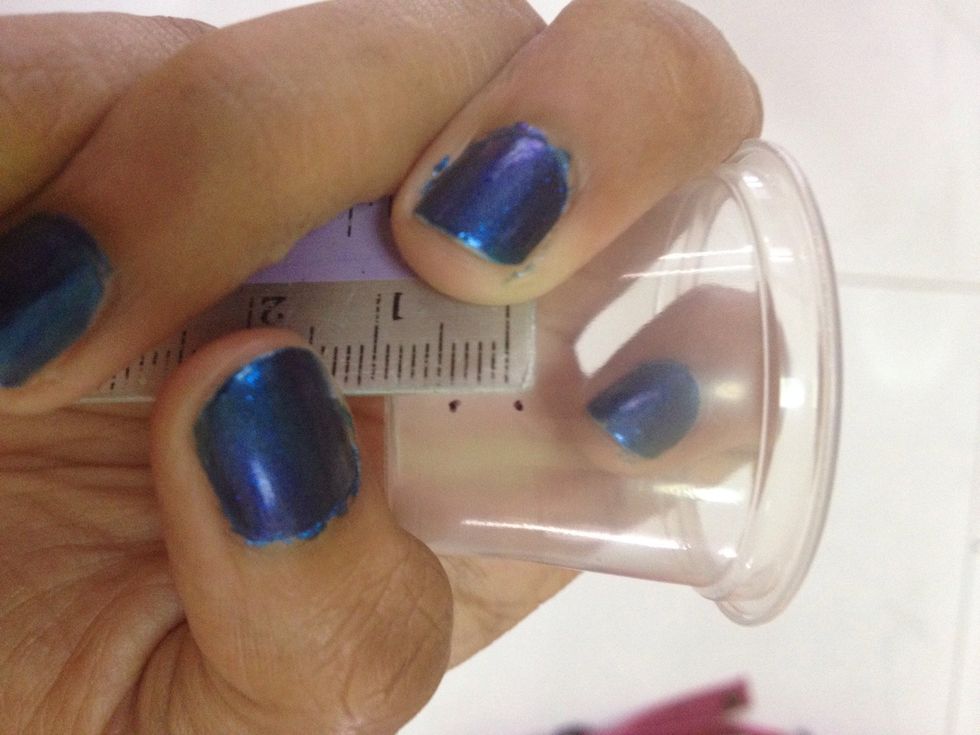
Thus, it is advisable to pour the 2 and measure in separate containers when measuring. If your container is not graduate, measure and mark it yourself.
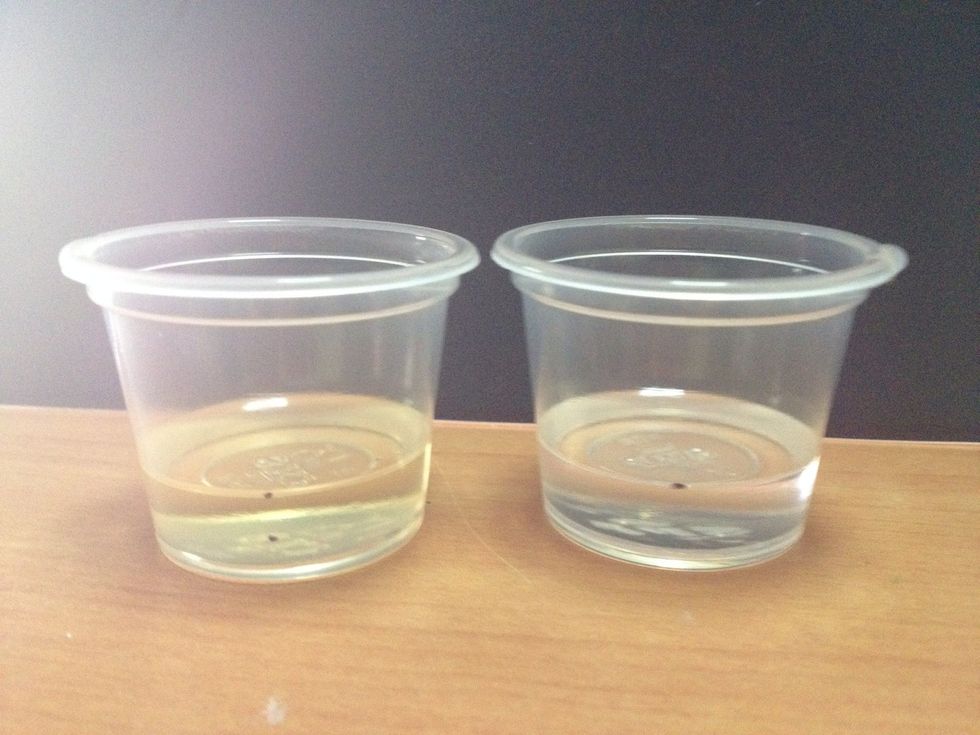
Equal volumes of resin and hardener. Pour the 2 together and using a stirrer stick, mix uniformly for 2mins straight than transfer into a new container and mix for another 1min.

Do these all while using gloves to protect your hands. After pouring 1/3 of the mould, invert your gloves onto the consumables used to discard.
Leave the resin to set for 1hr before proceeding to add stickers. You may cover the exposed resin with a cup to prevent dust from settling.
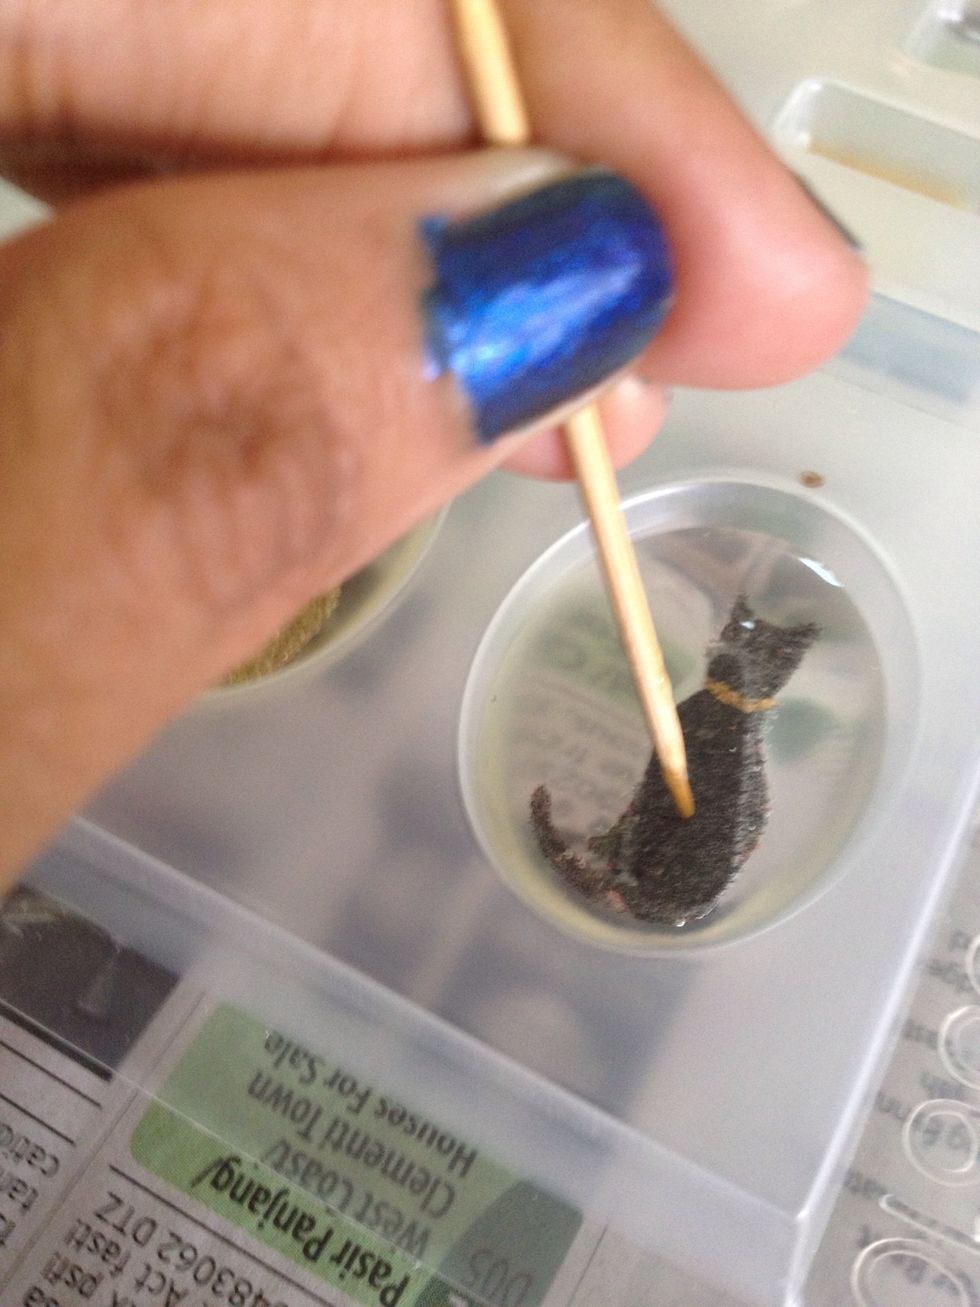
After an hour, proceed with placing the deco. Use a toothpick to position your creations. Wait another hour to add the background.
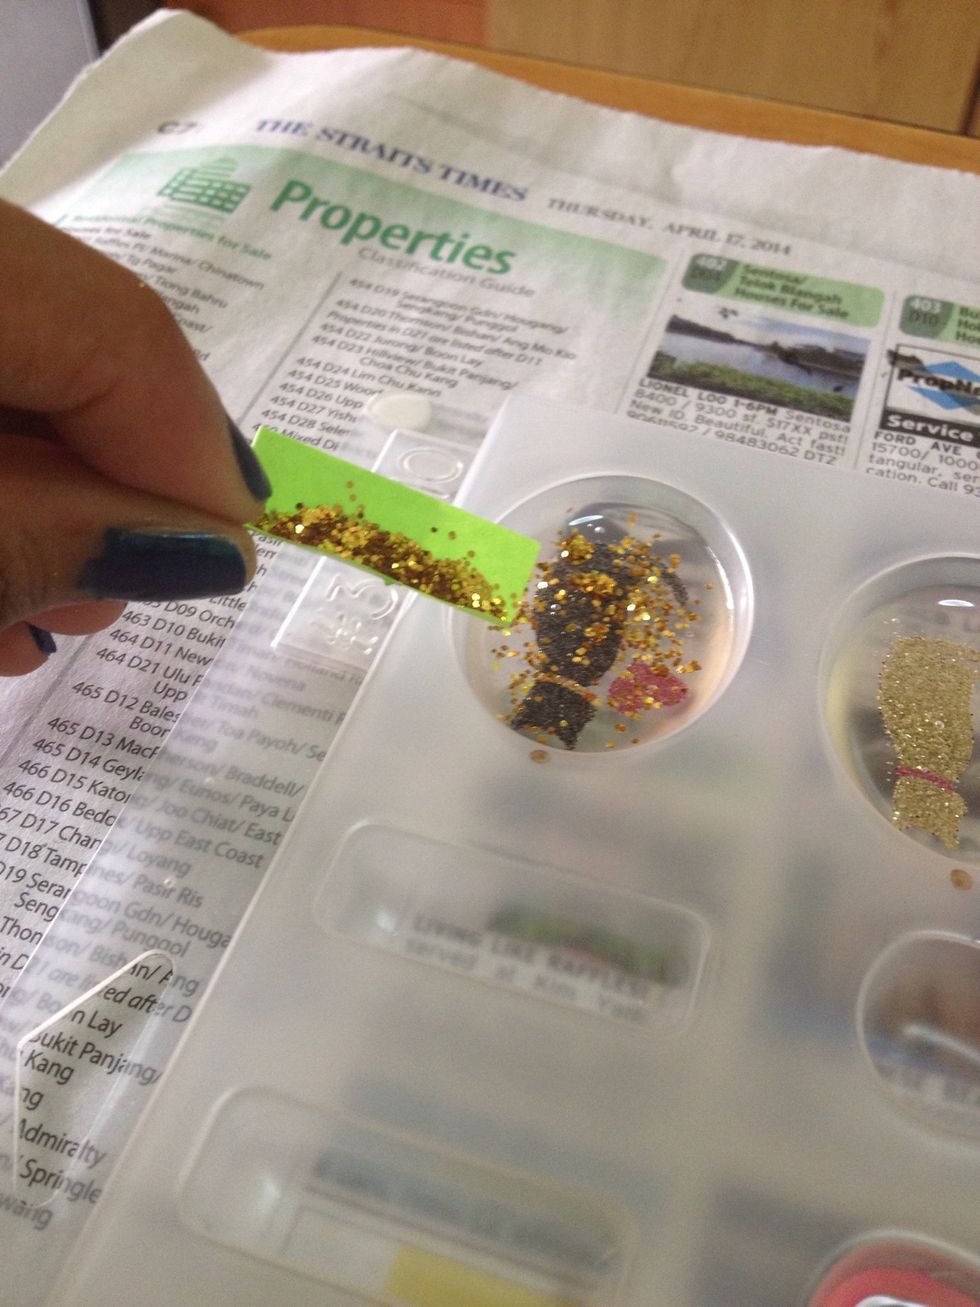
Add glitter after 2hrs, so as to prevent the glitter from sinking to the bottom.
After 24hrs, you may remove the resin piece from it's mould. It may take some effort if you're using hard plastic, less if using silicon. Nevertheless, you may proceed with your project :)
Doming creates a shiny back. You may choose to omit this if you're not particular. Cover the front and sides with Bluetac to protect in case of leakage from the top when resin is poured.