The Conversation (0)
Sign Up
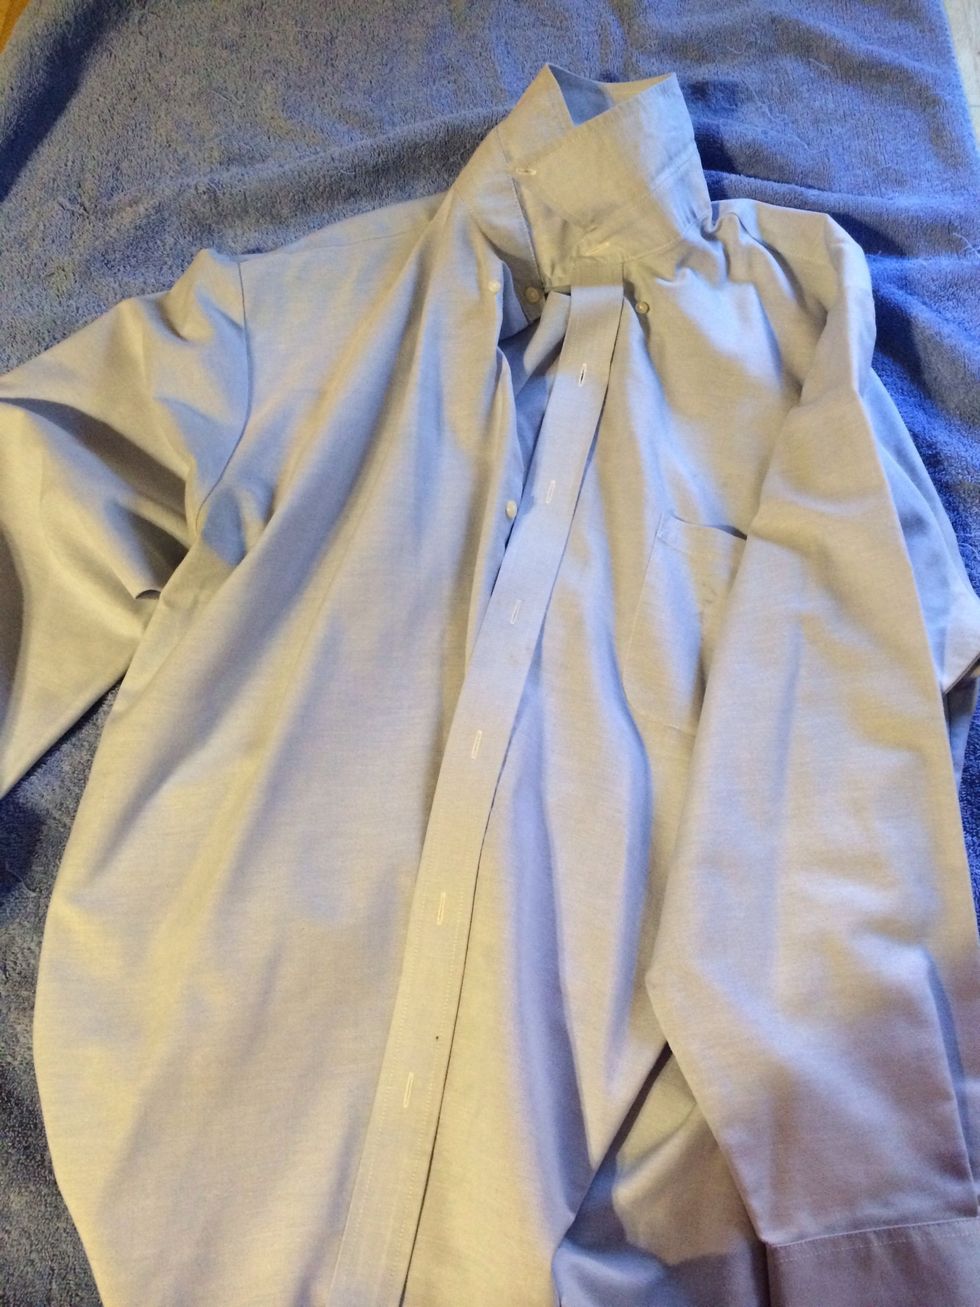
My Zombie needs some clothes. Grab something that can be trashed later. Zombie clothes can be anything..a business suit, sports uniform, a tutu costume. Be as creative as you want.
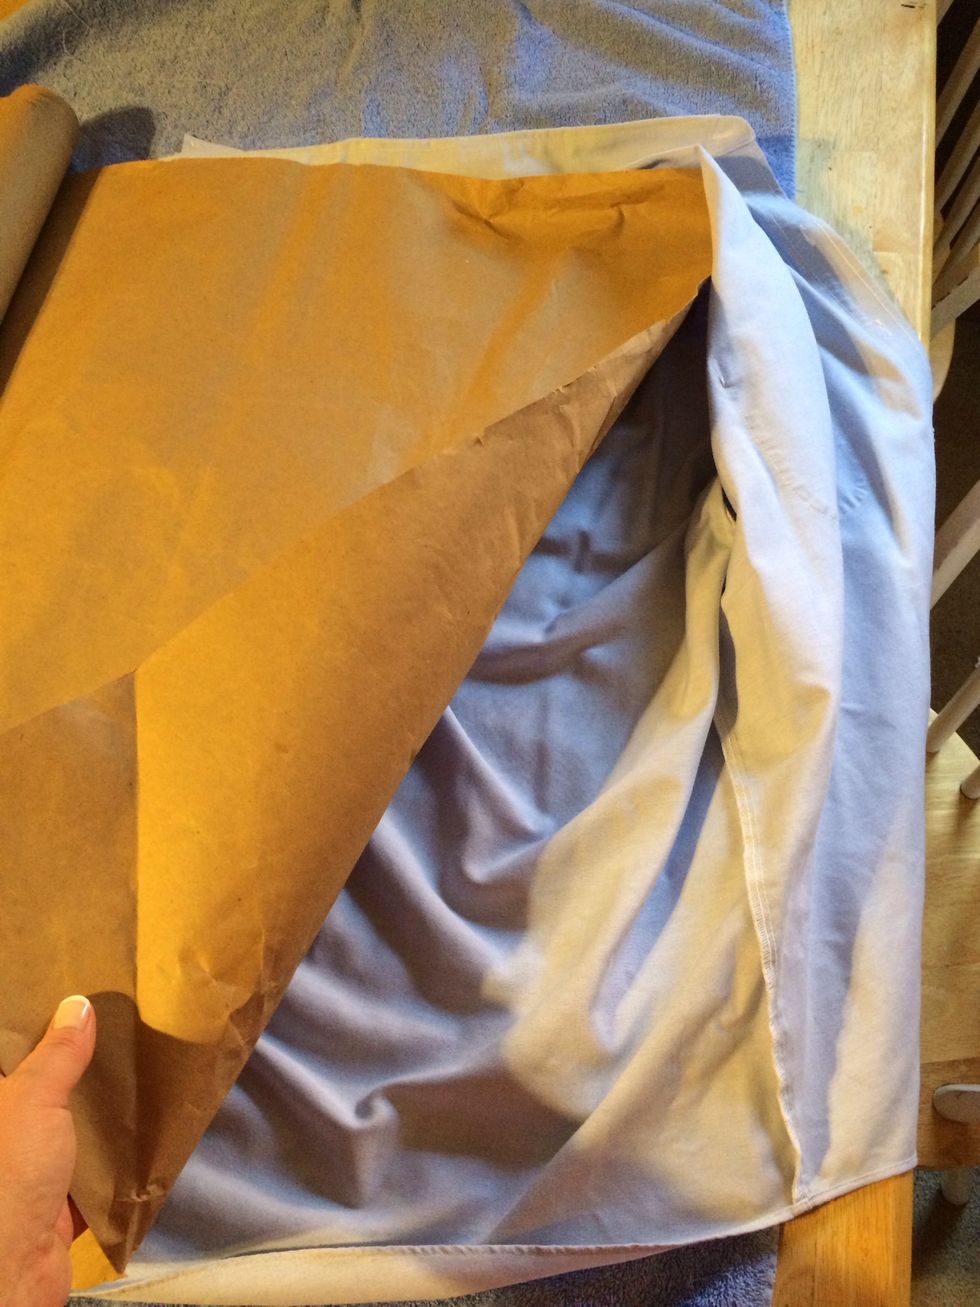
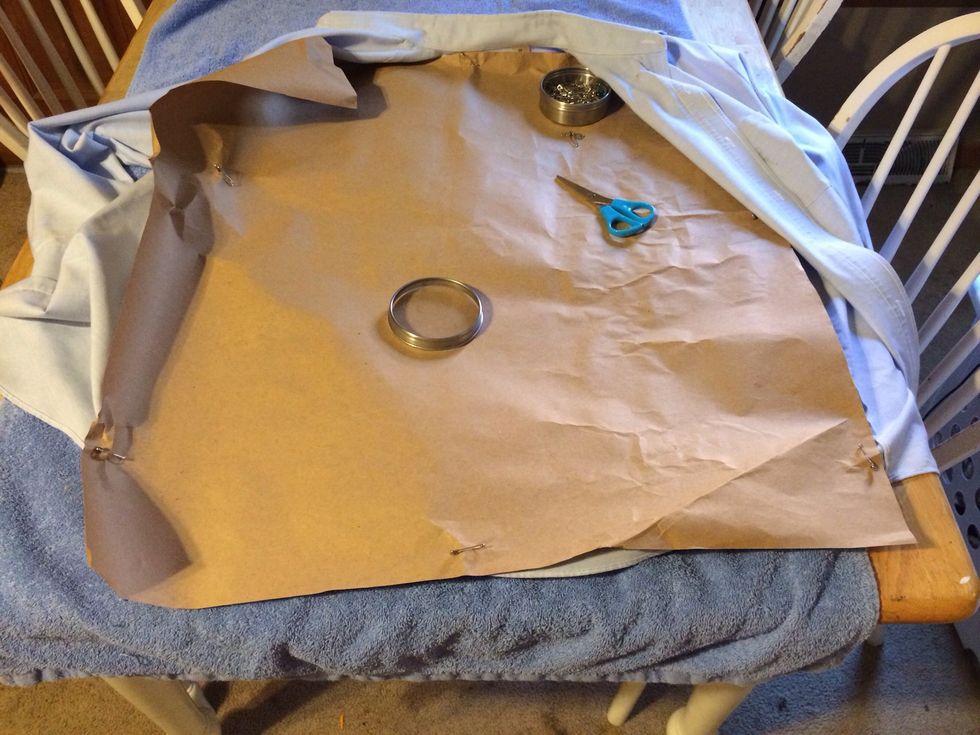
Prepare your inner part of clothing to prevent your "designing" to bleed through to the other side. I'm using butcher paper. You could also use cardboard, wax paper, or heavy wrapping paper.
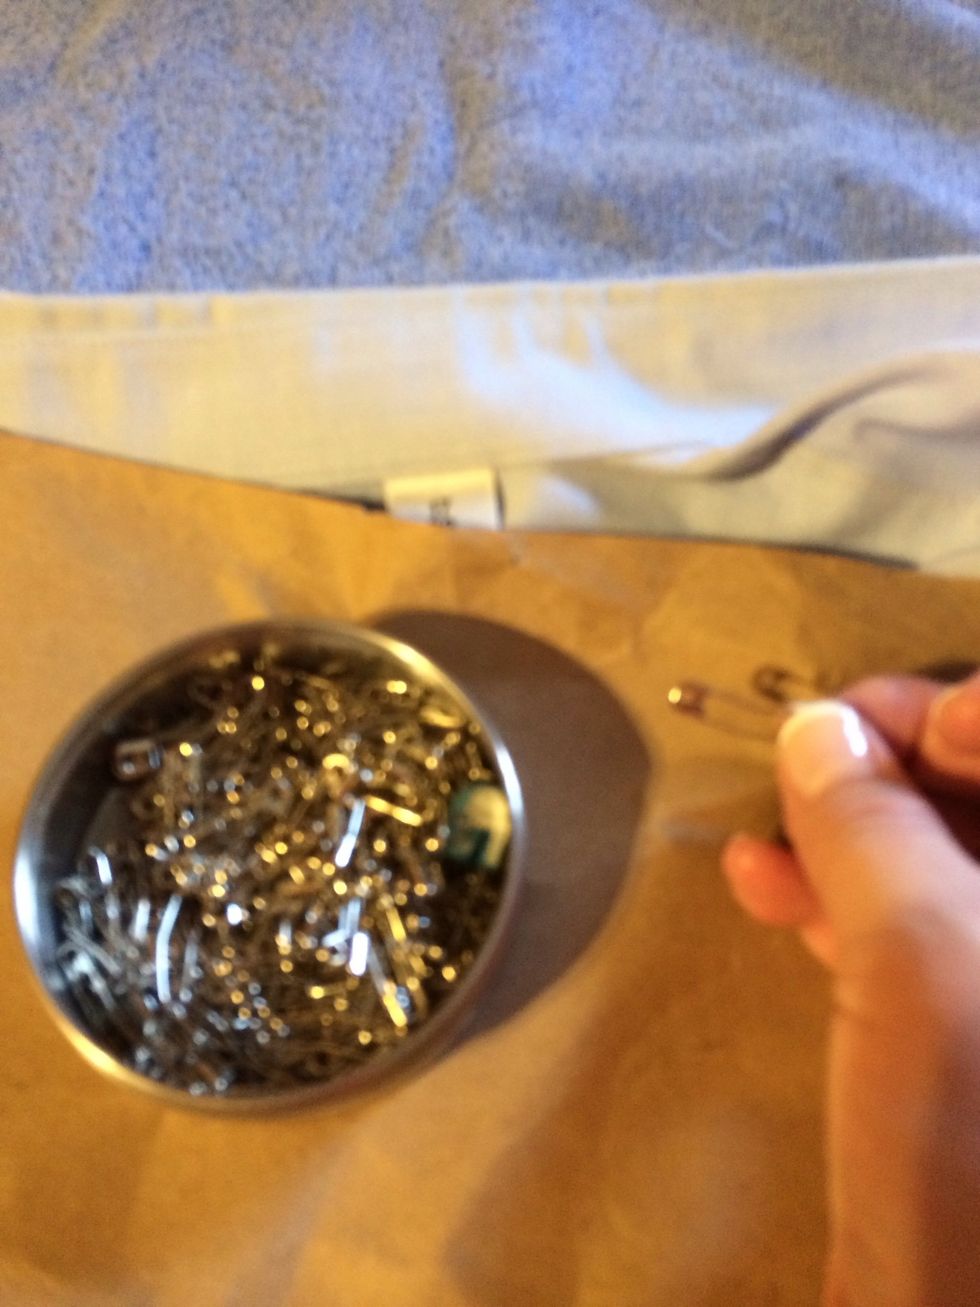
I'm using safety pins to hold it in place. You could also use straight pins, clothes pins or clips.
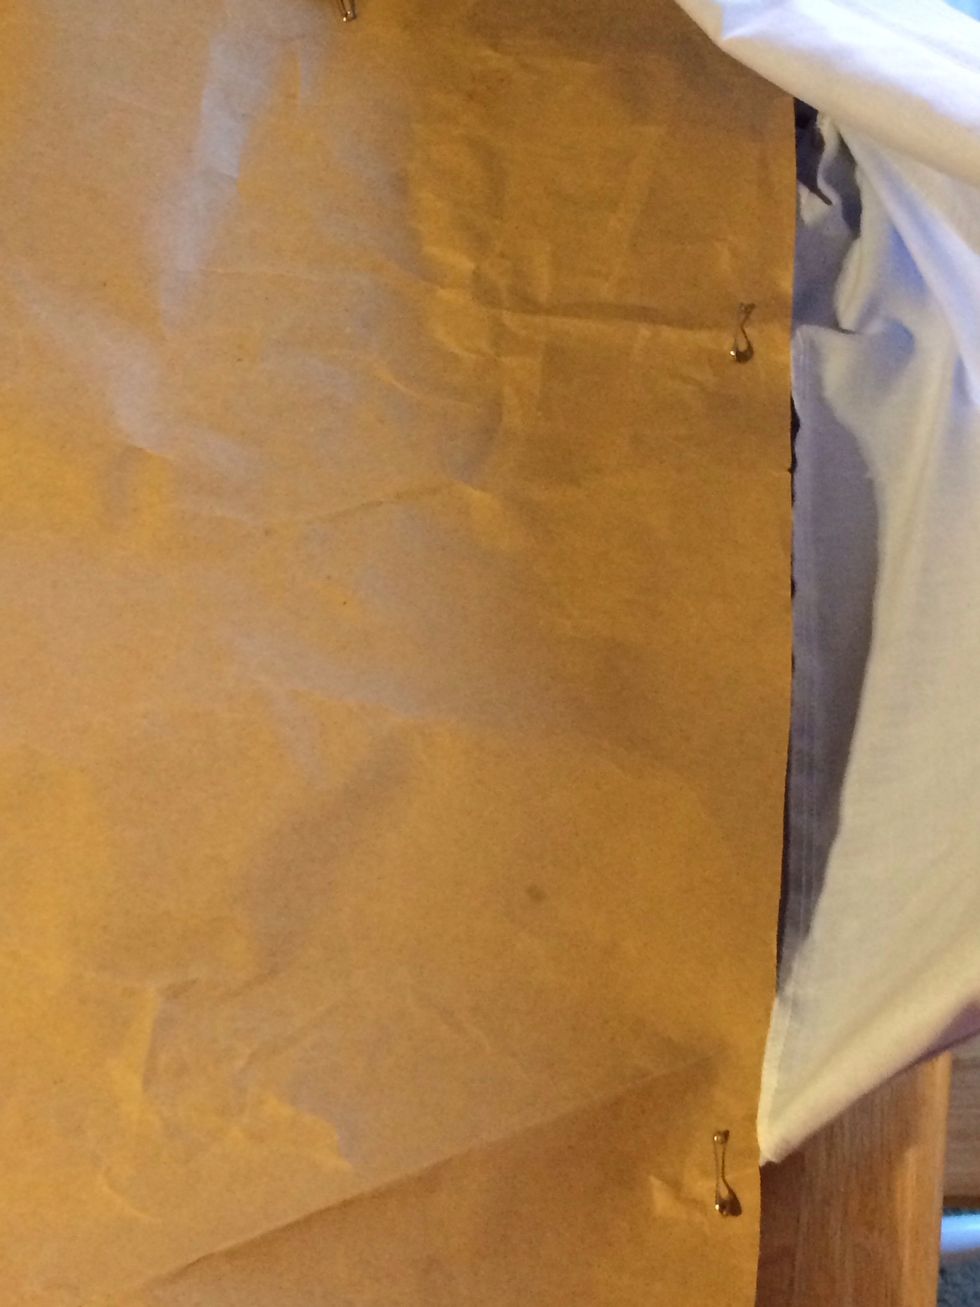
Pin all the way around.
Like so.
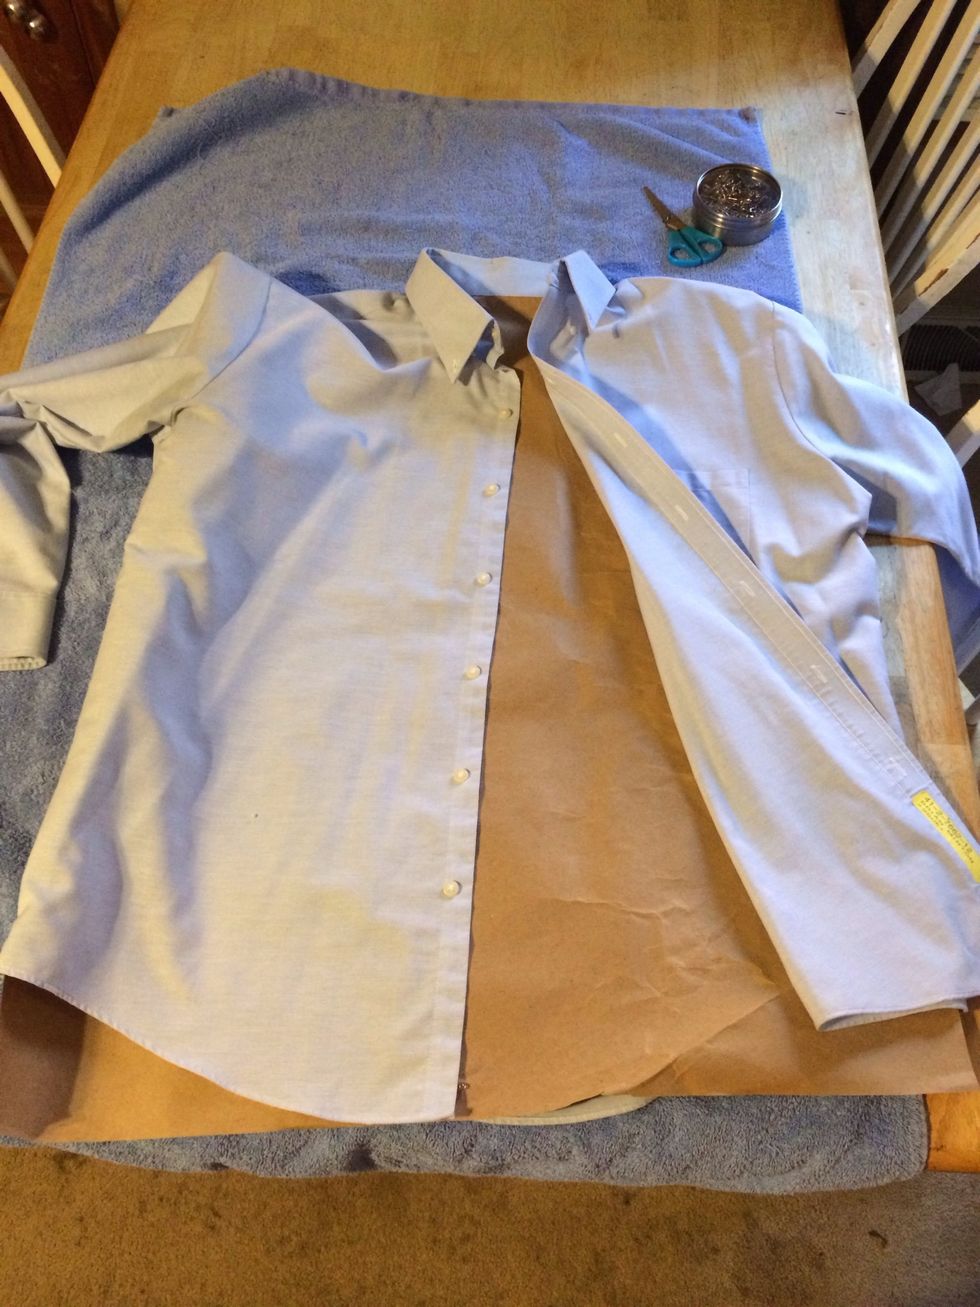
Now to button up.
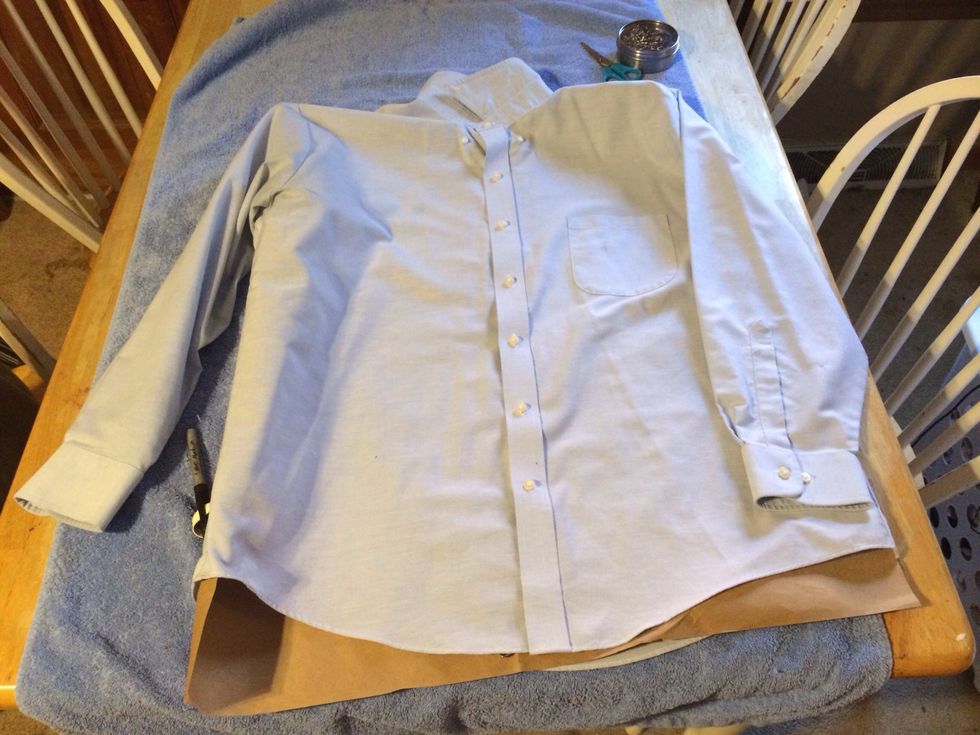
Like so..making sure all of inner is covered. You can do the sleeves if you plan on designing a lot on them.
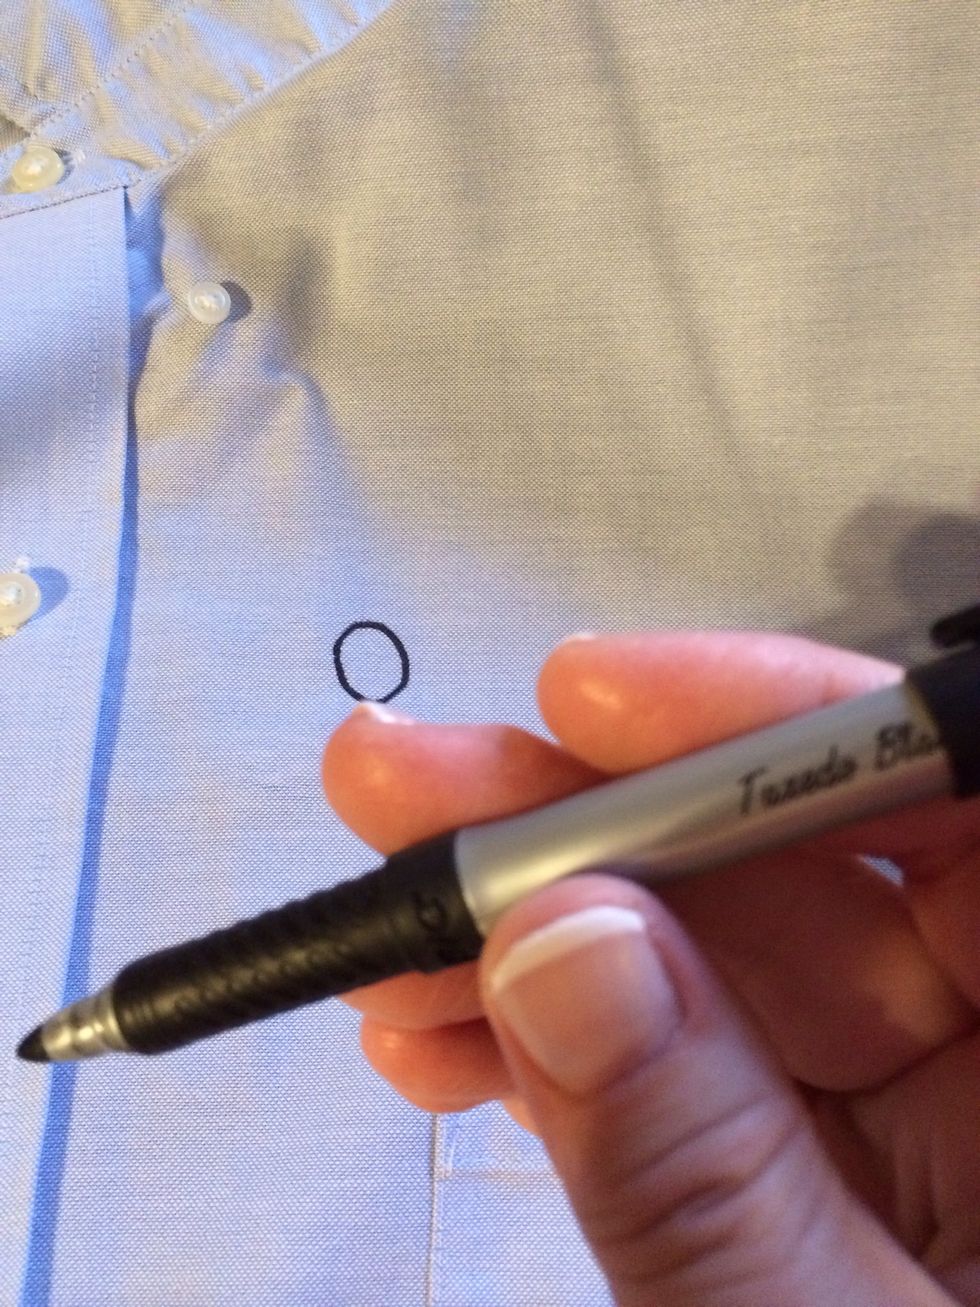
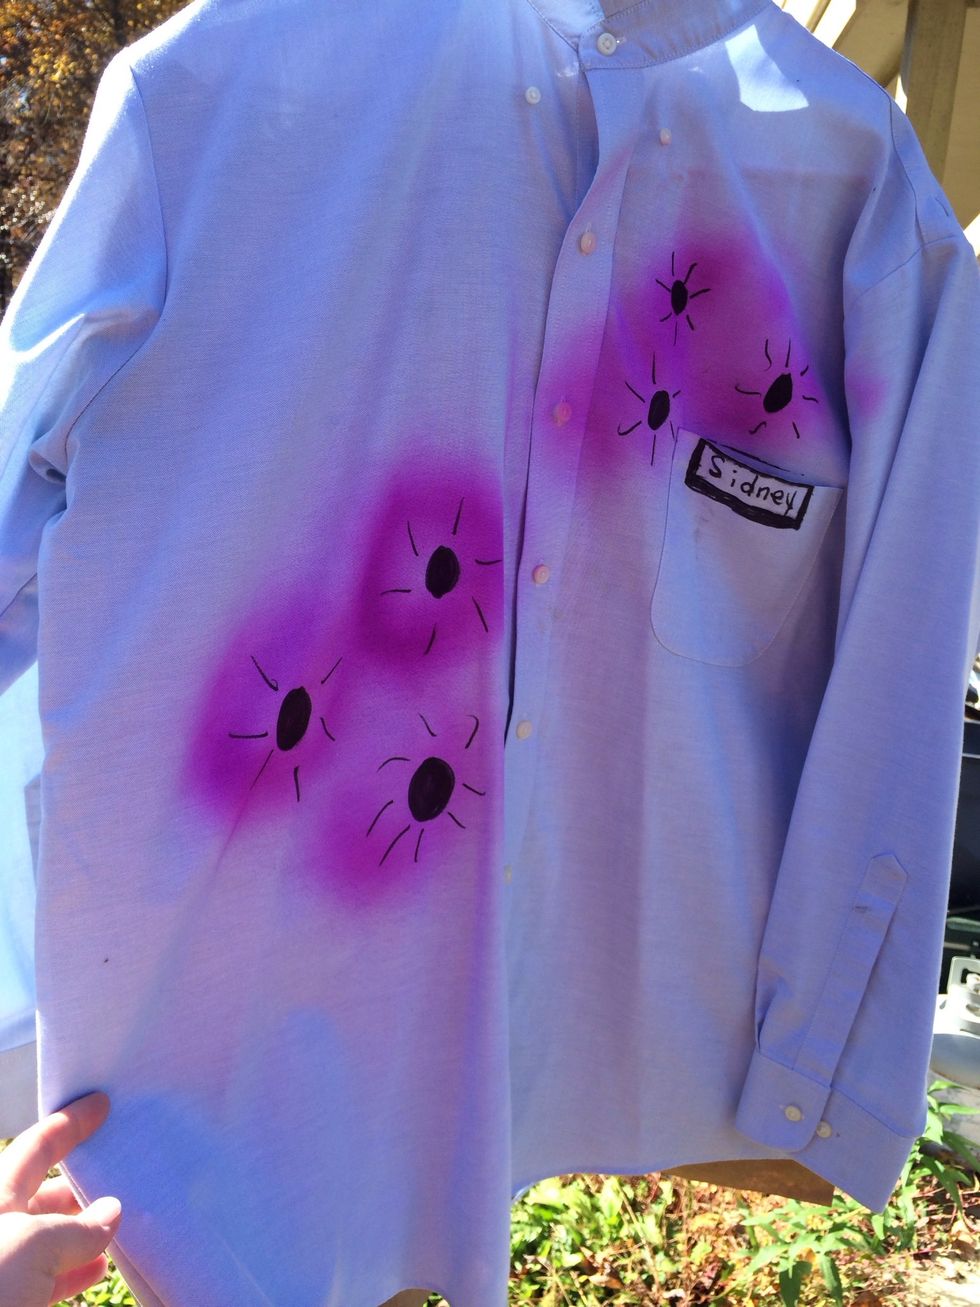
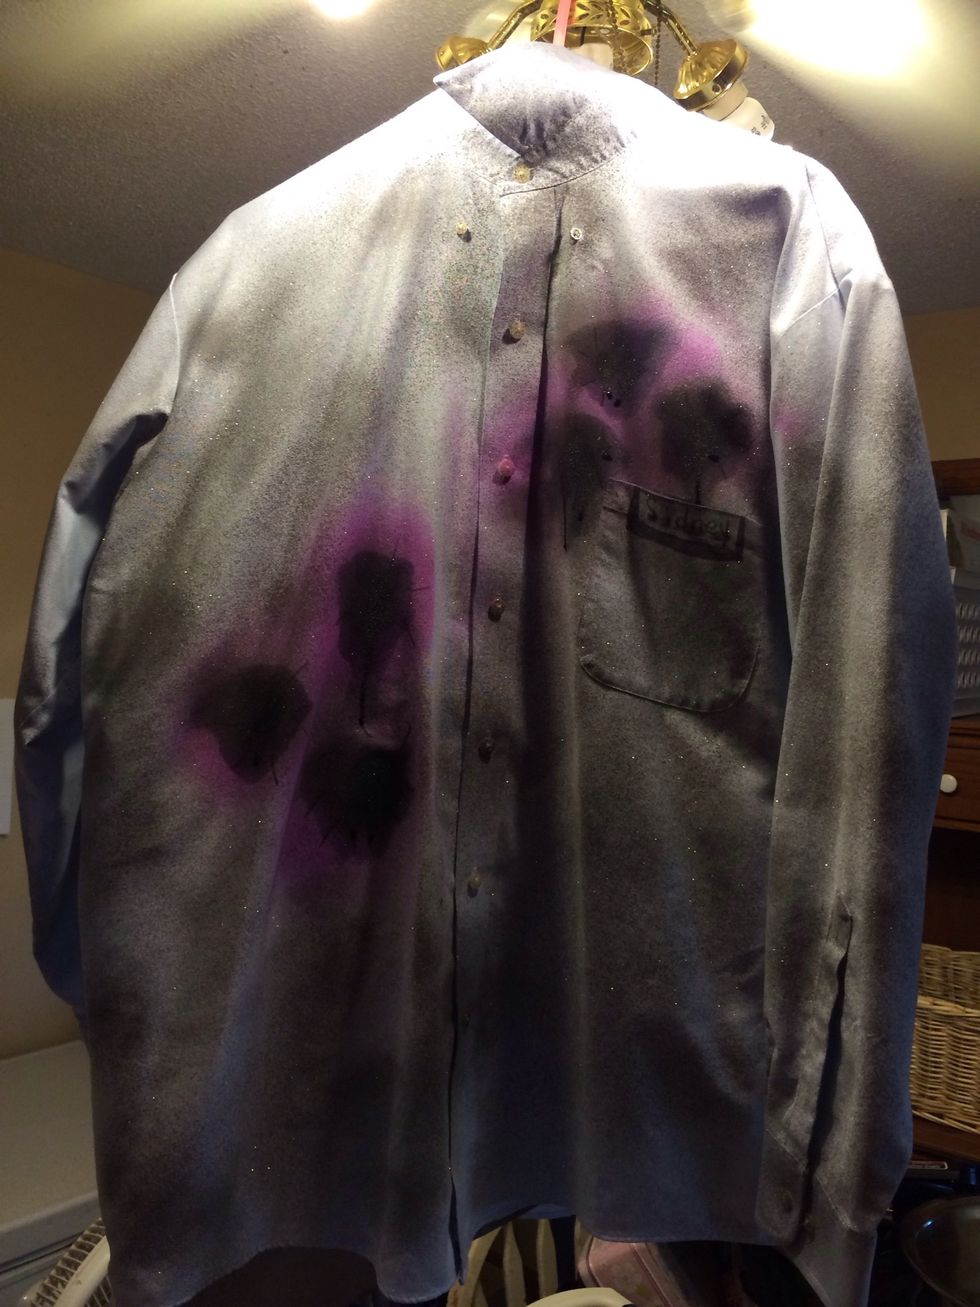
Now to design. Use art supplies, food products, or anything that creates the color and texture you like. Be creative with what you already have on hand. I'm making a bullet hole with a marker.
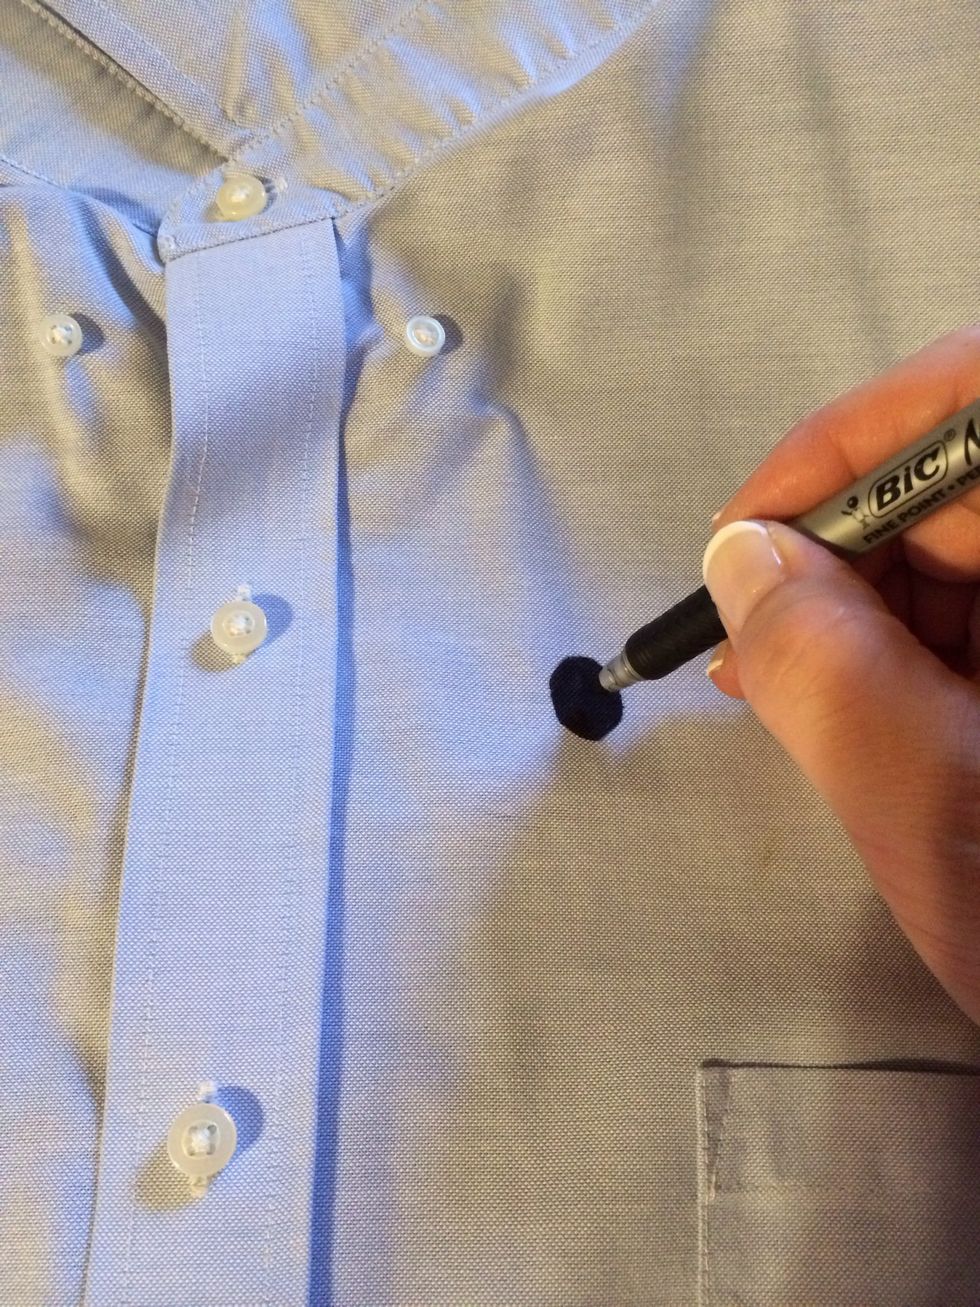
Color in...
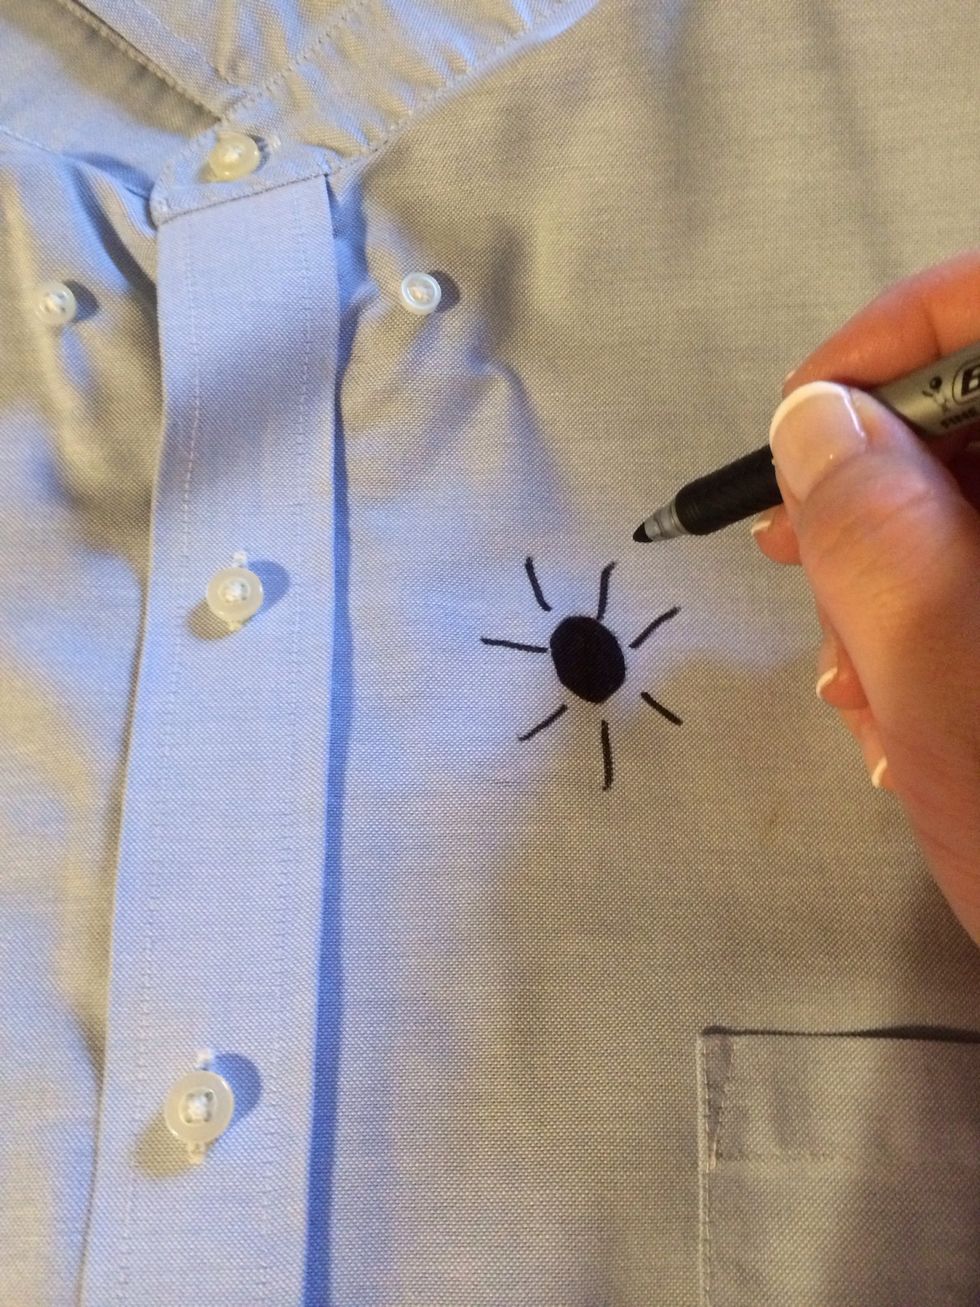
Adding impression marks..

Be as creative as you want. 😃
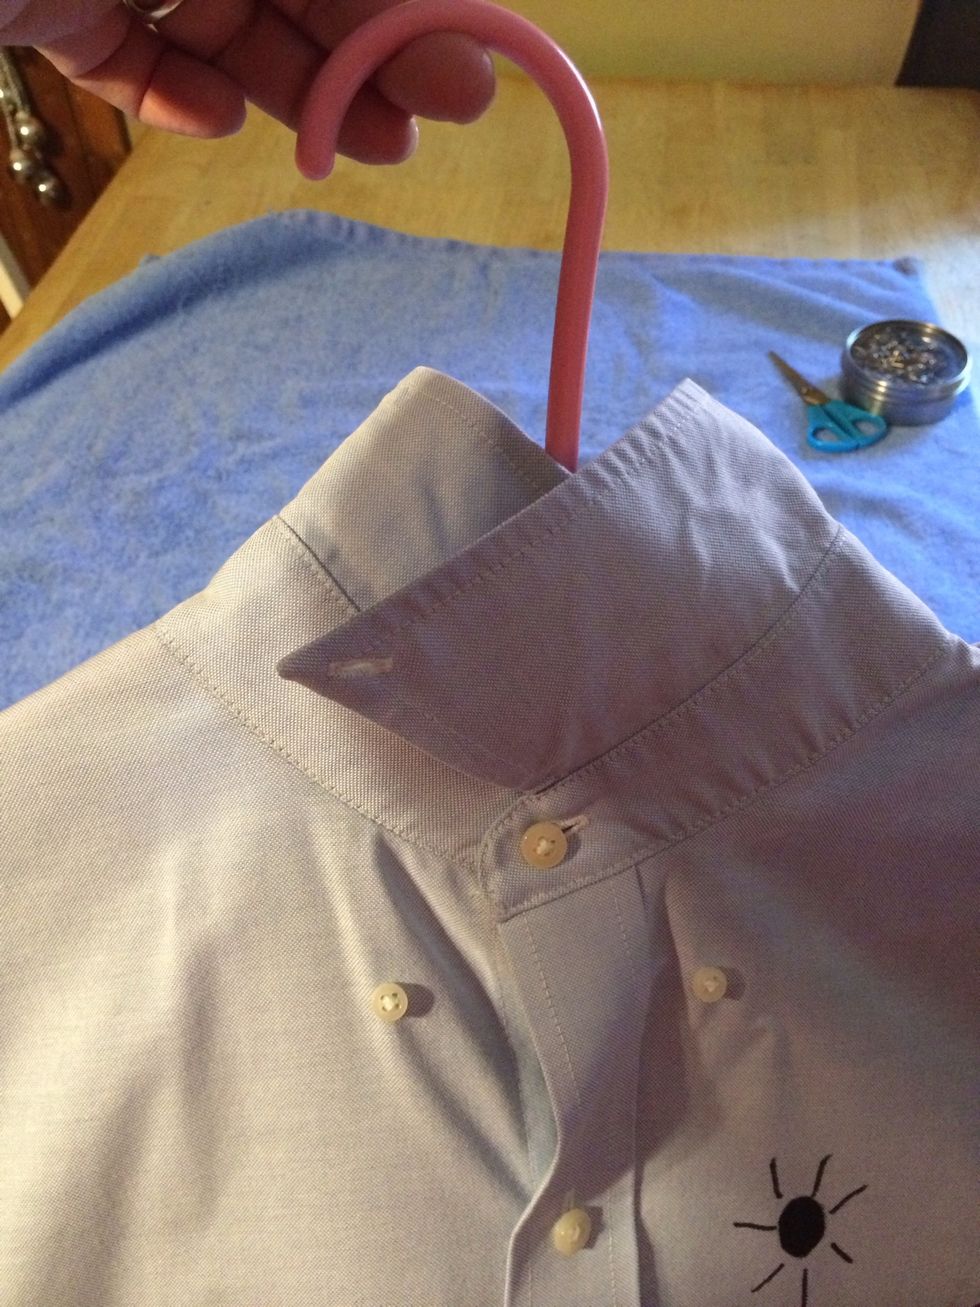
Now with a hanger in..
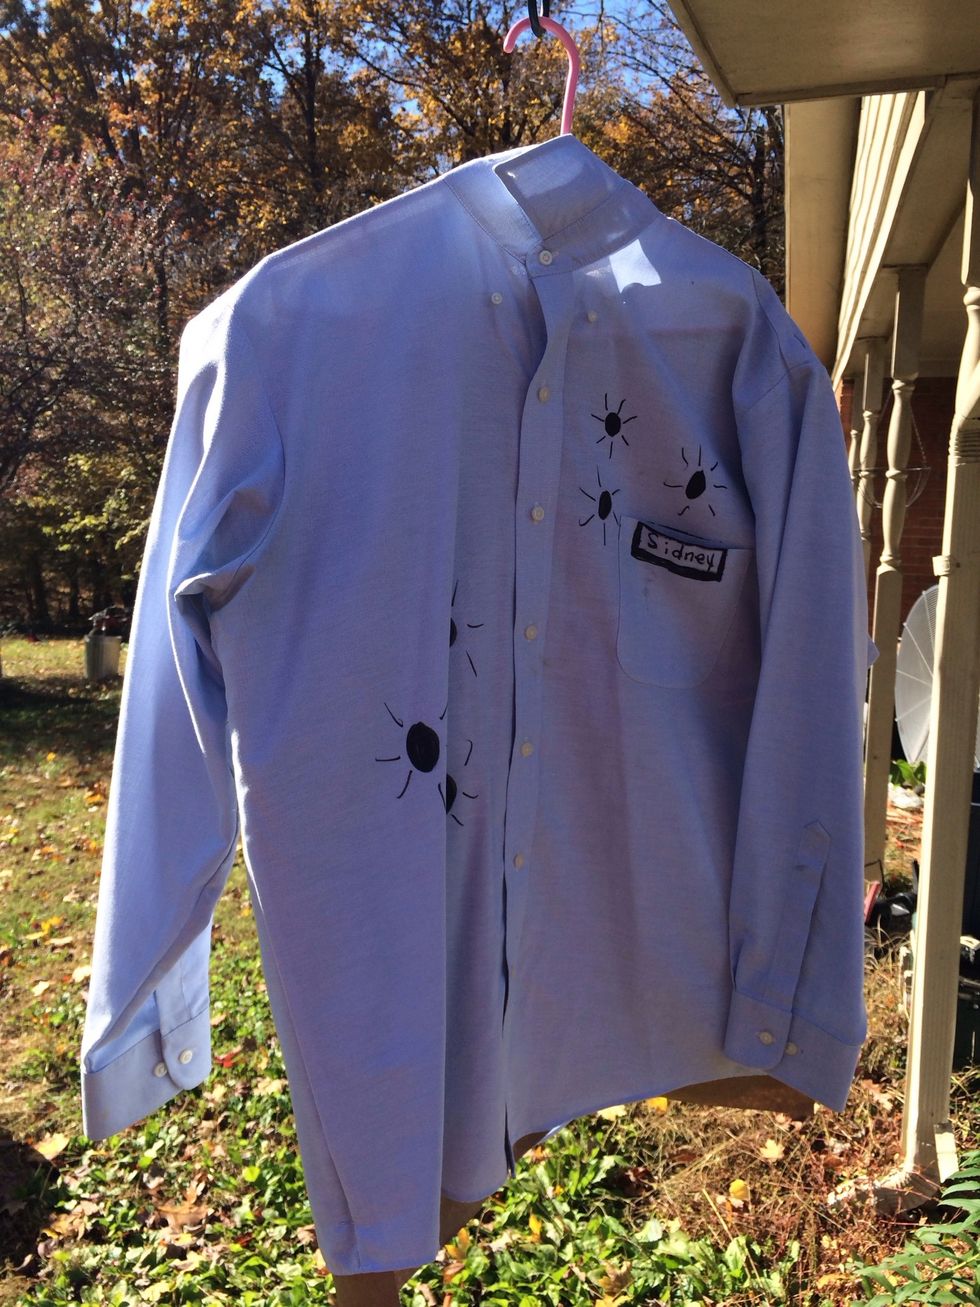
Outside we go. This could get messy.
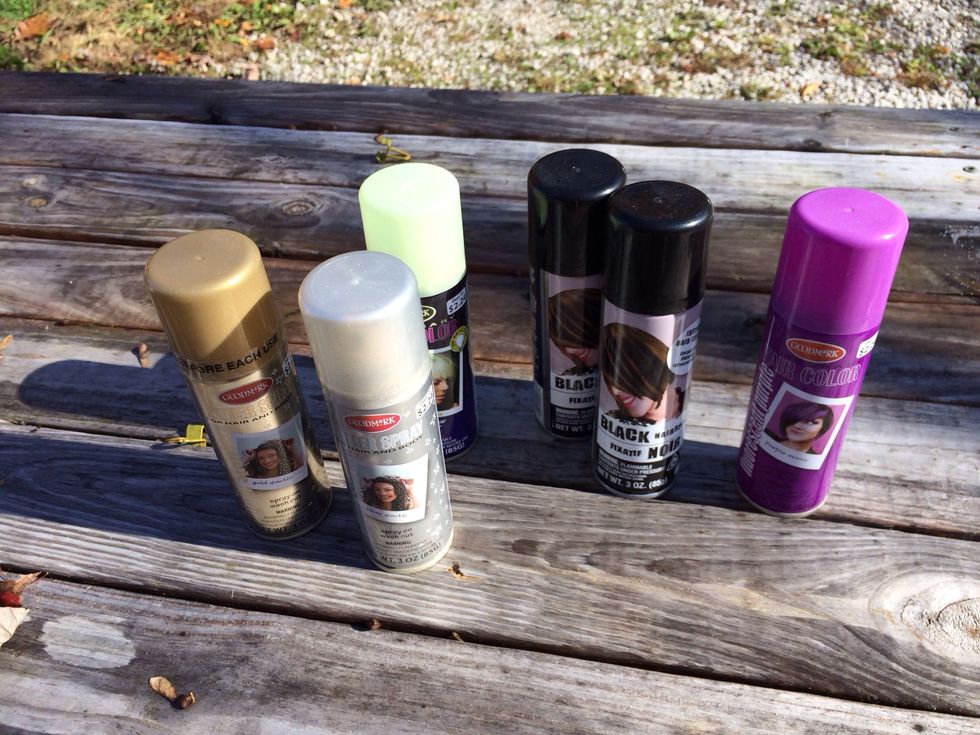
My bunch likes to dress up a lot. So I have a several of these color hairsprays on hand that I'm going to decorate with. Use what you have on hand.
With the purple I enhanced my bullet holes.
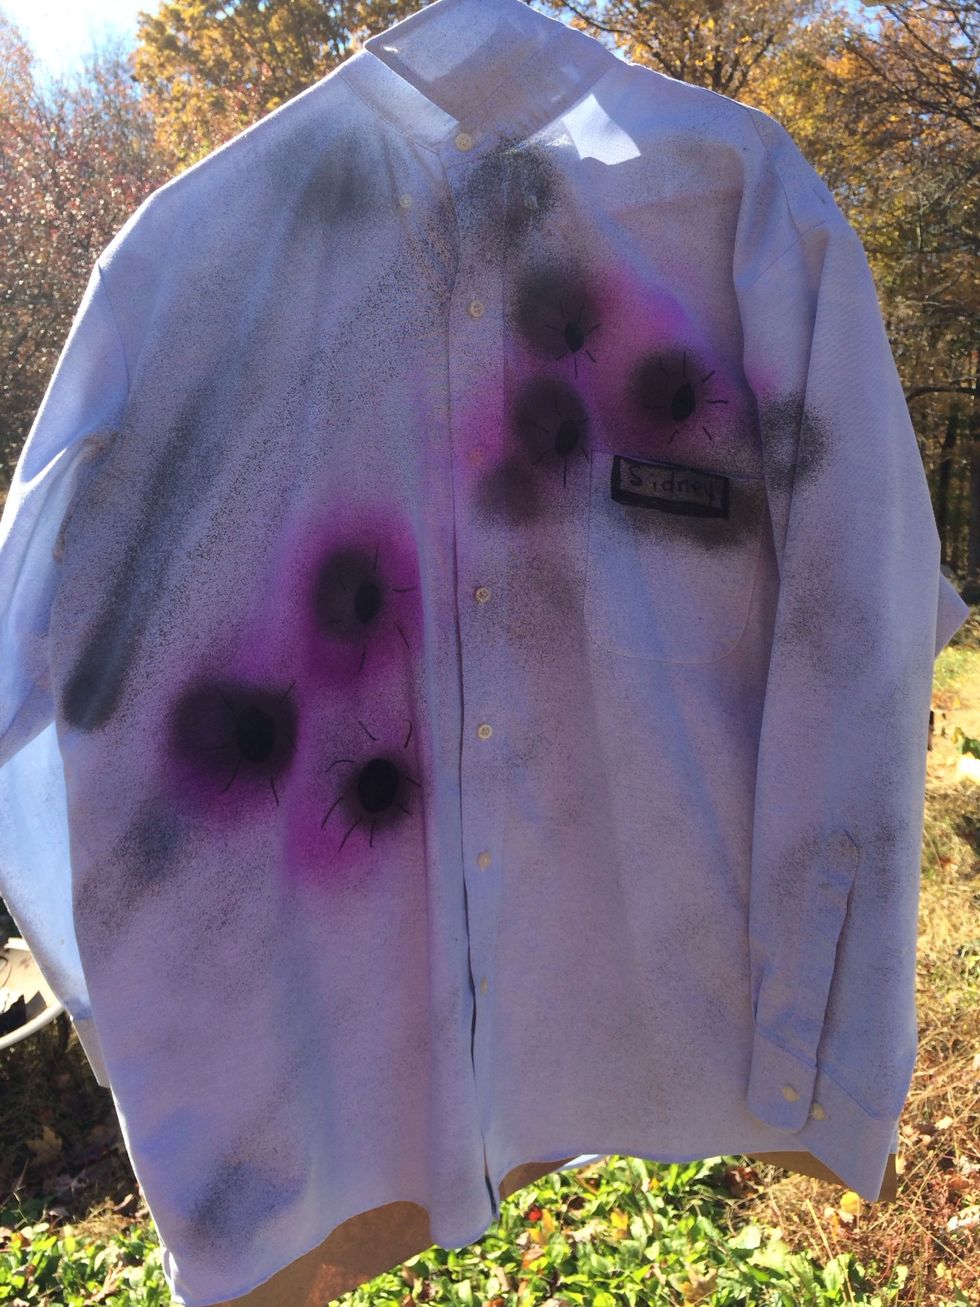
The black spray gives a deeper look. I lightly sprayed the rest to create a "dirty" look.
Little more dirty. Zombies don't bathe don't you know. 😀
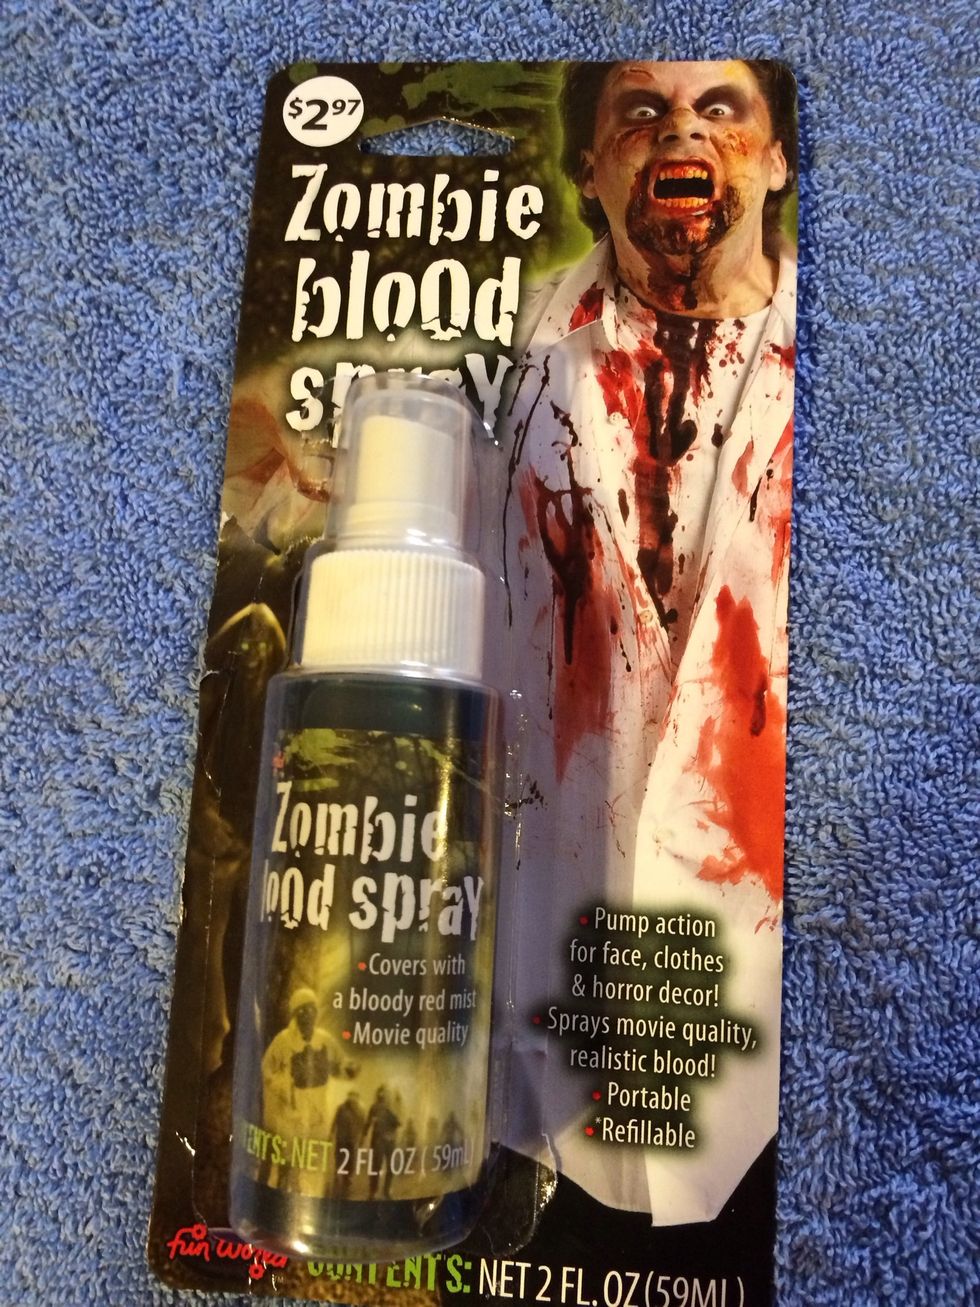
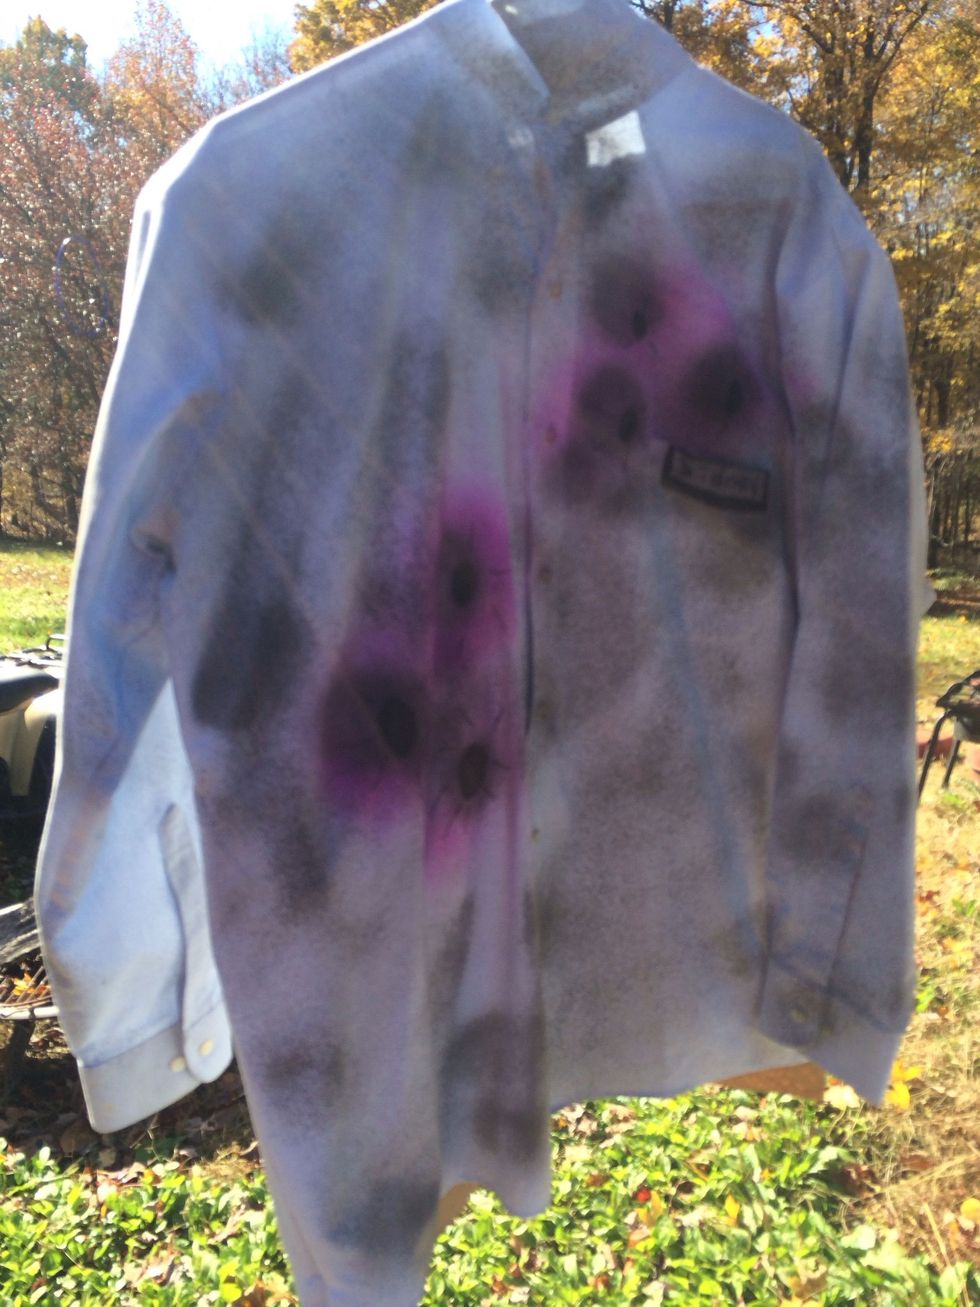
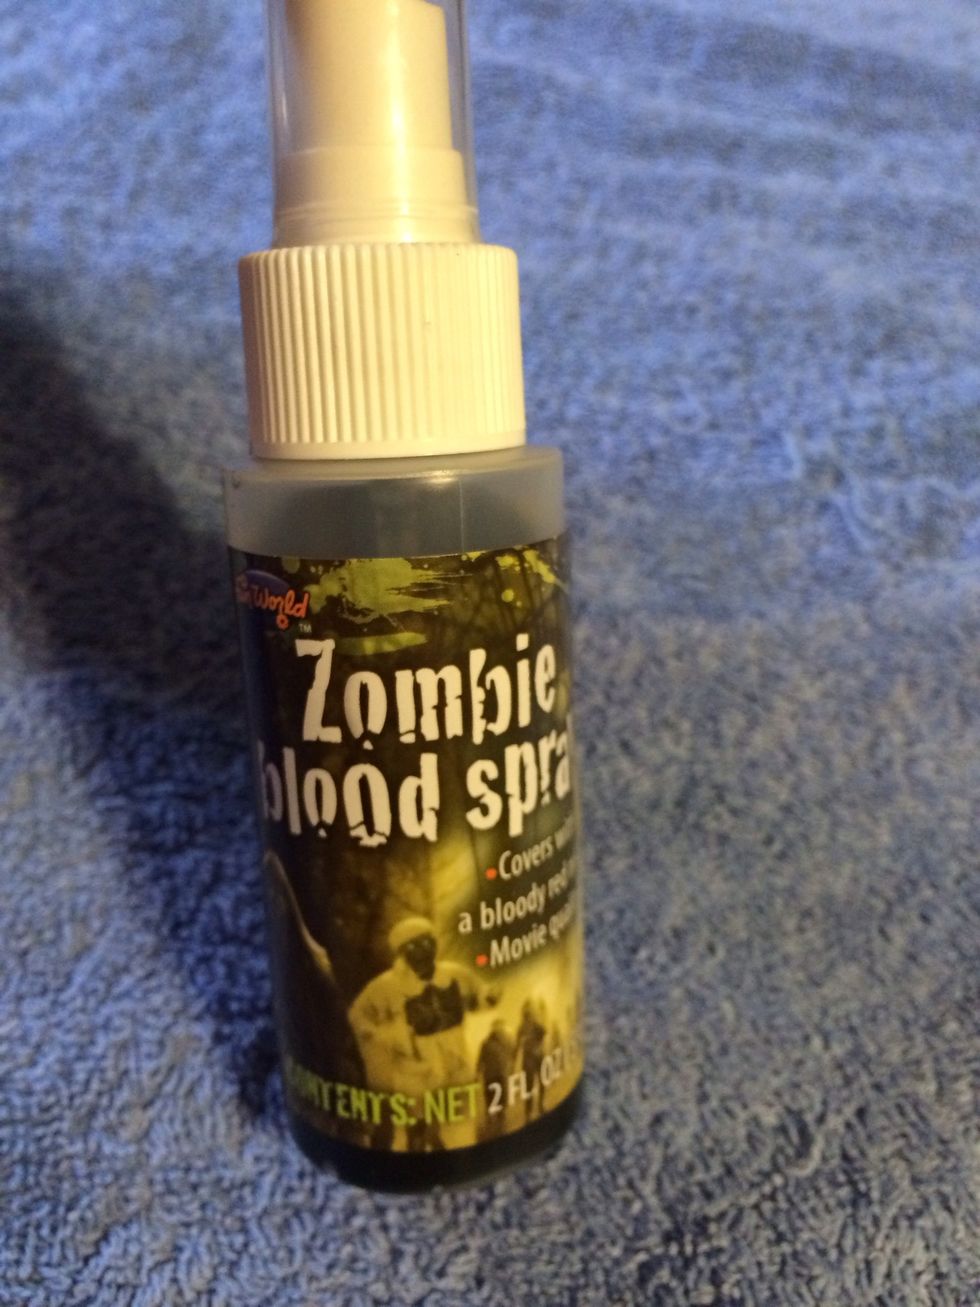
We bought some of this on clearance after Halloween. The day after a holiday stock up on what you will use next year!
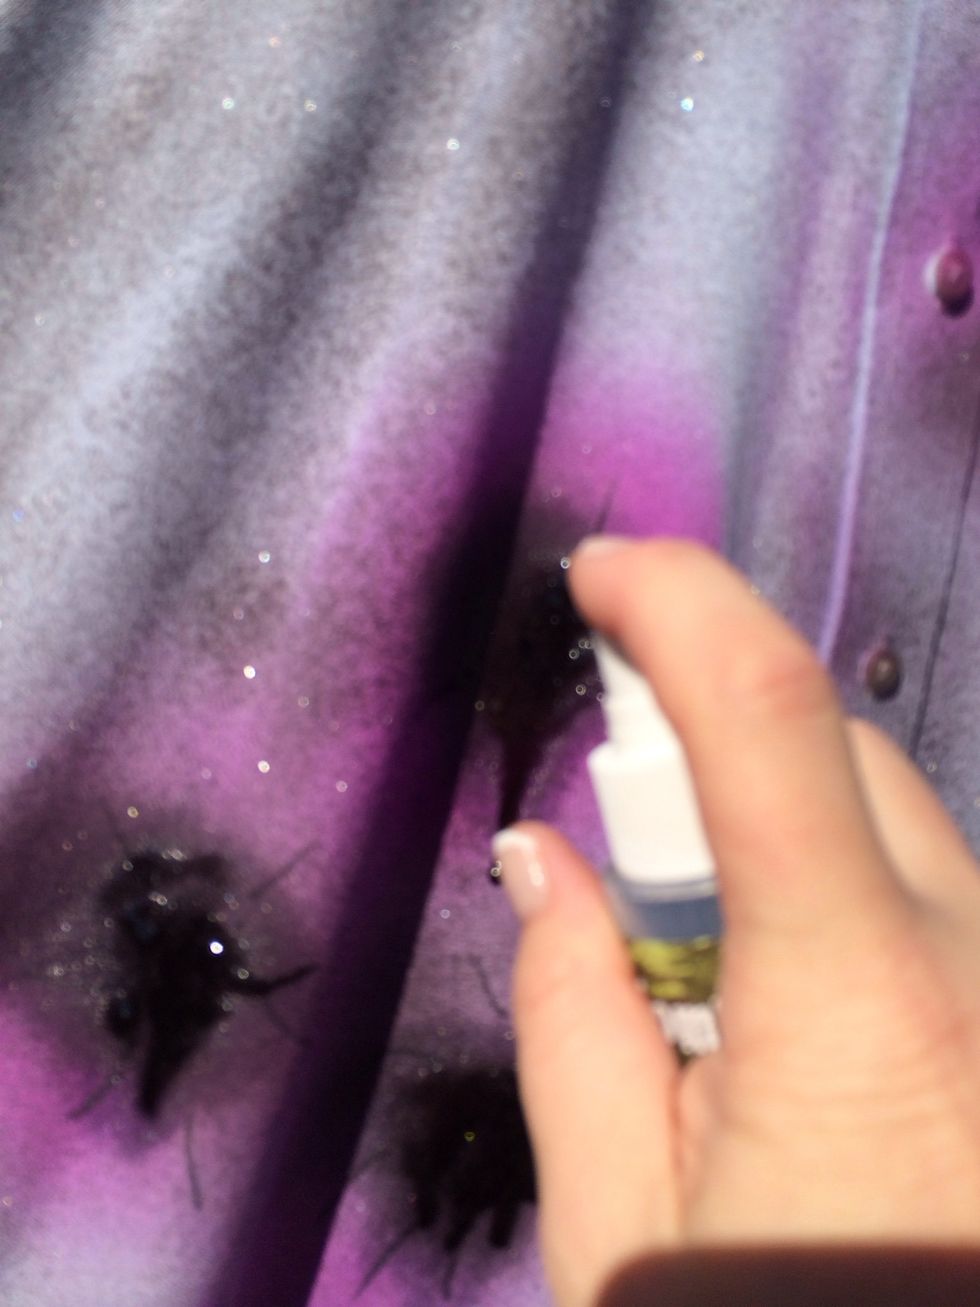
This Zombie blood is just what these bullet wounds needed. ...what?....oh yeah that's glitter...well it is for Dear Daughter. 😉
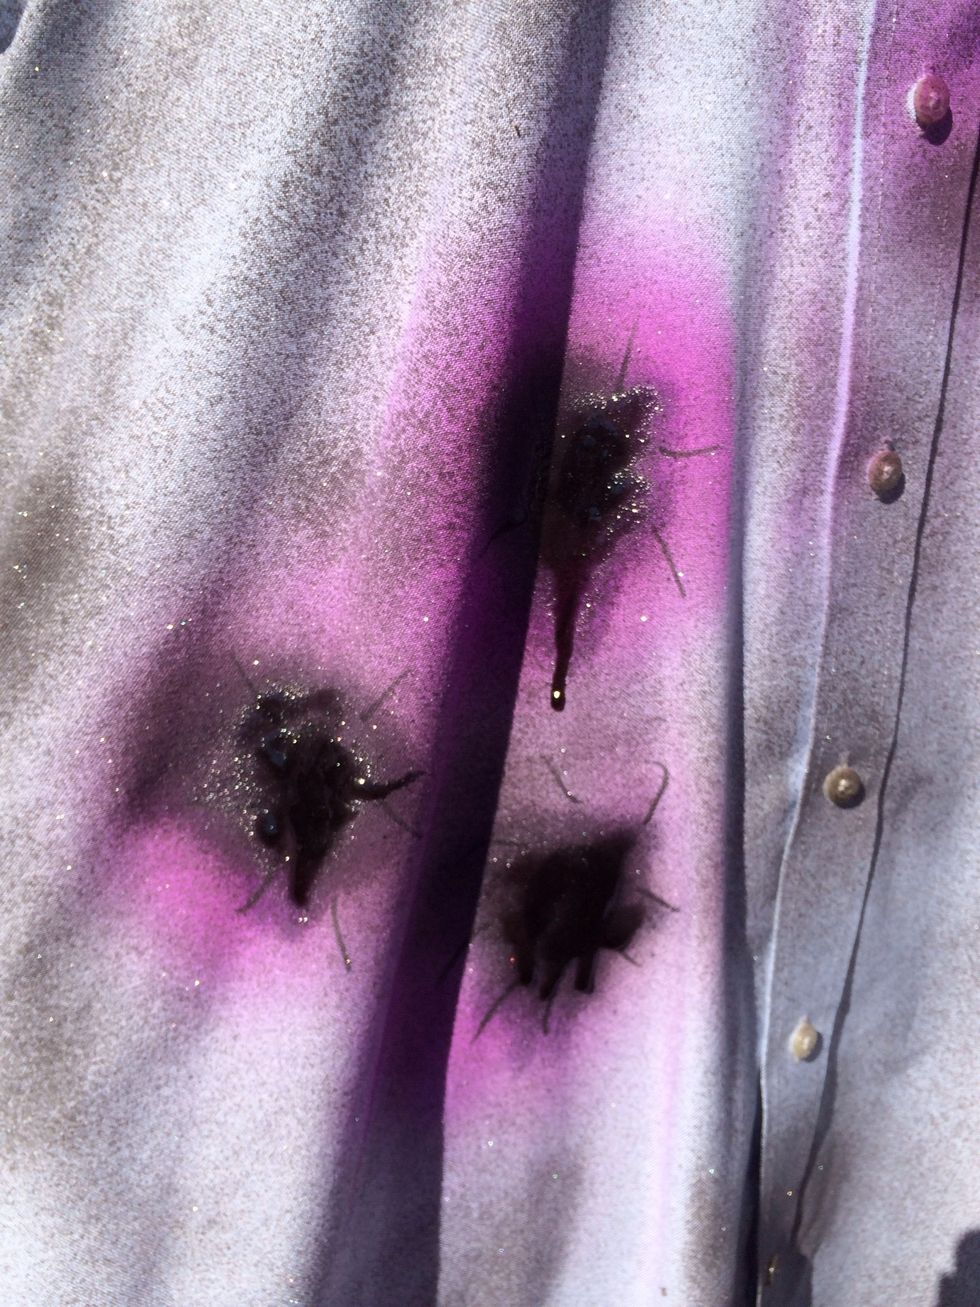
Perfecto!
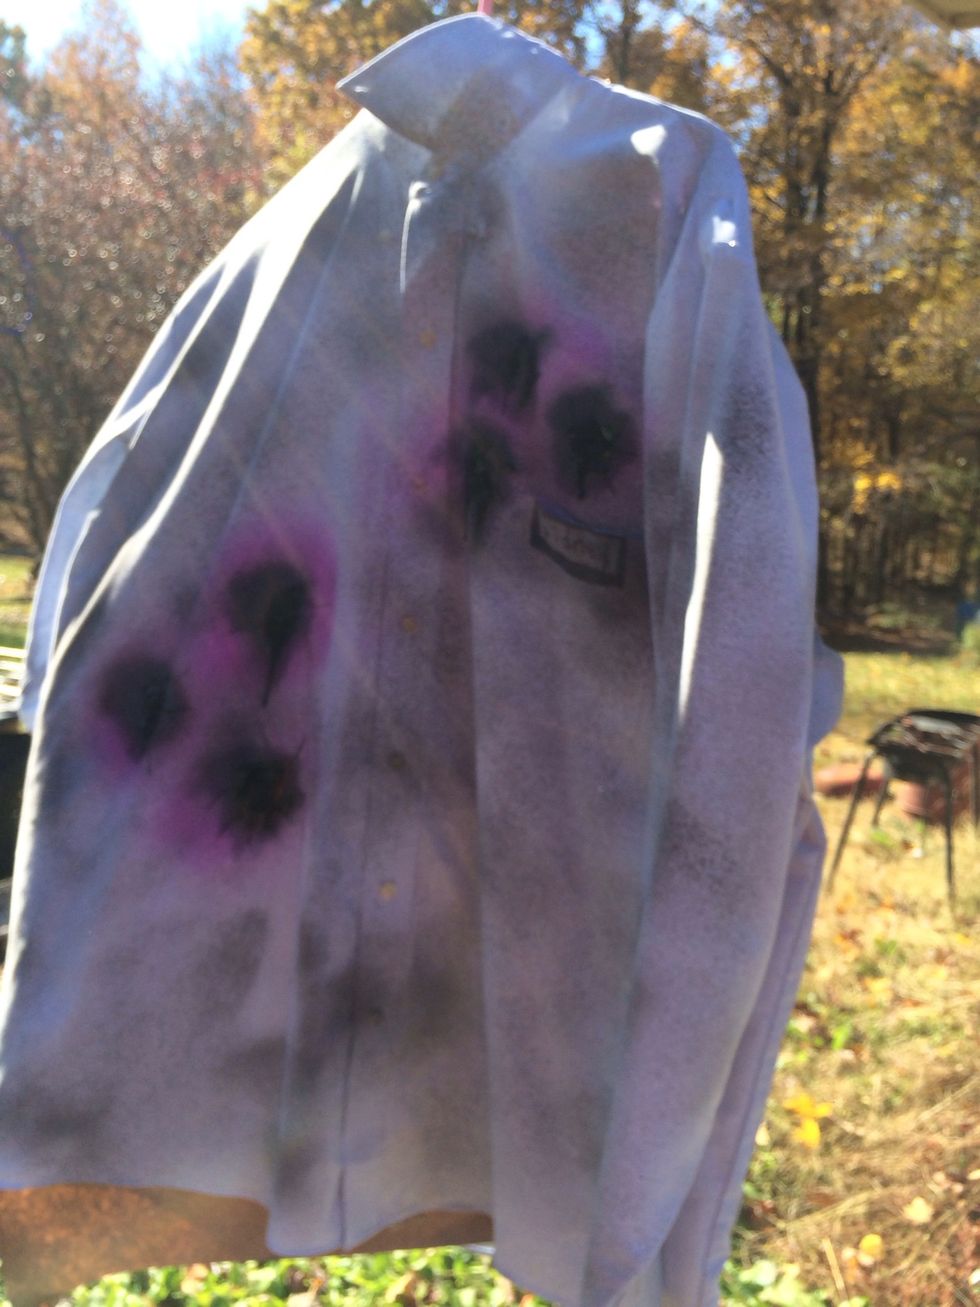
Now to let it dry in the sun. 🌞
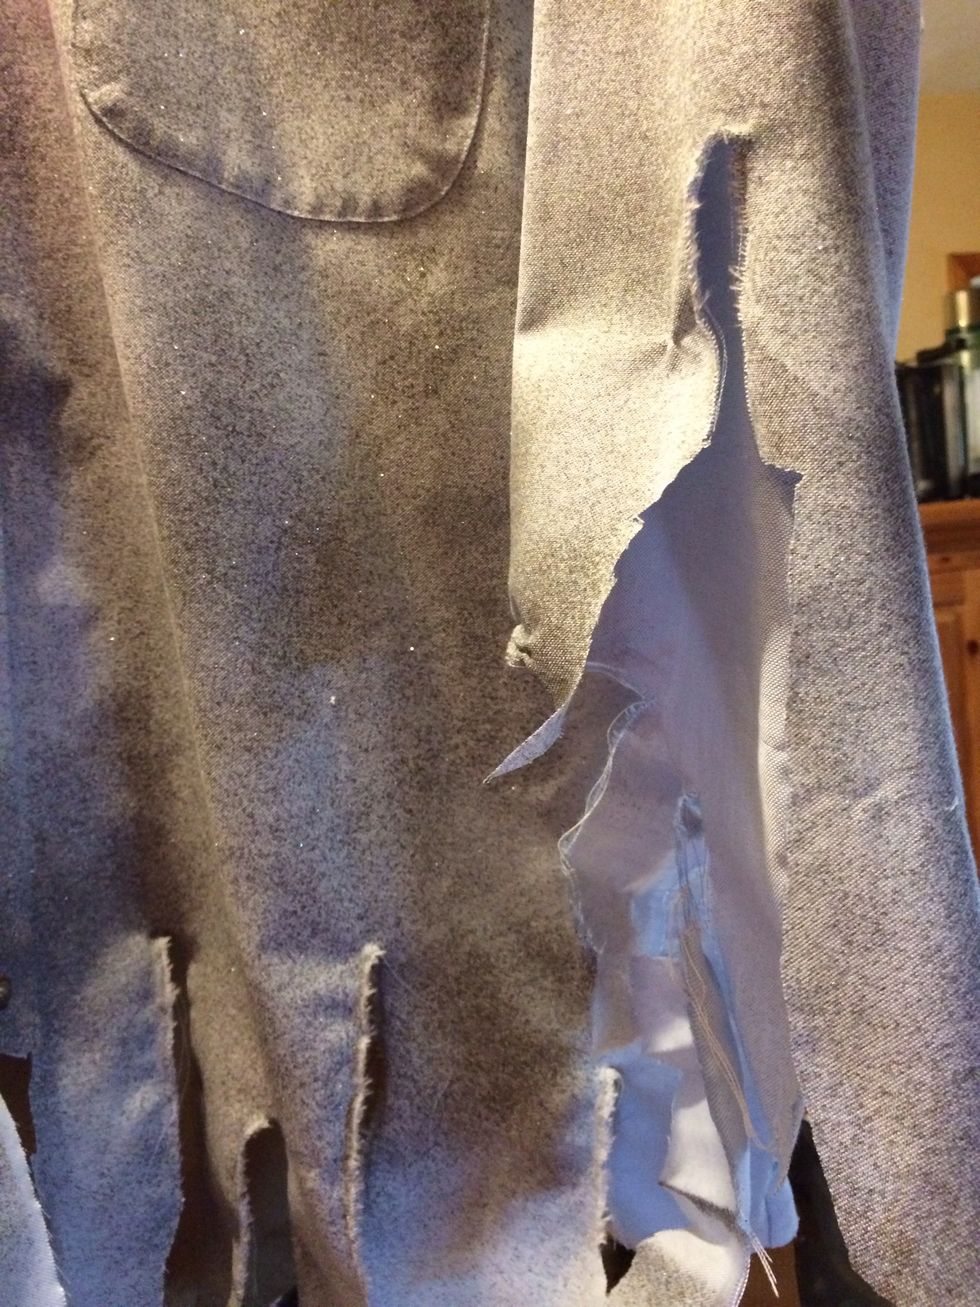
When shirt is dry it's ready to shred up. Zombies get their clothes hung up on things and just keep going.
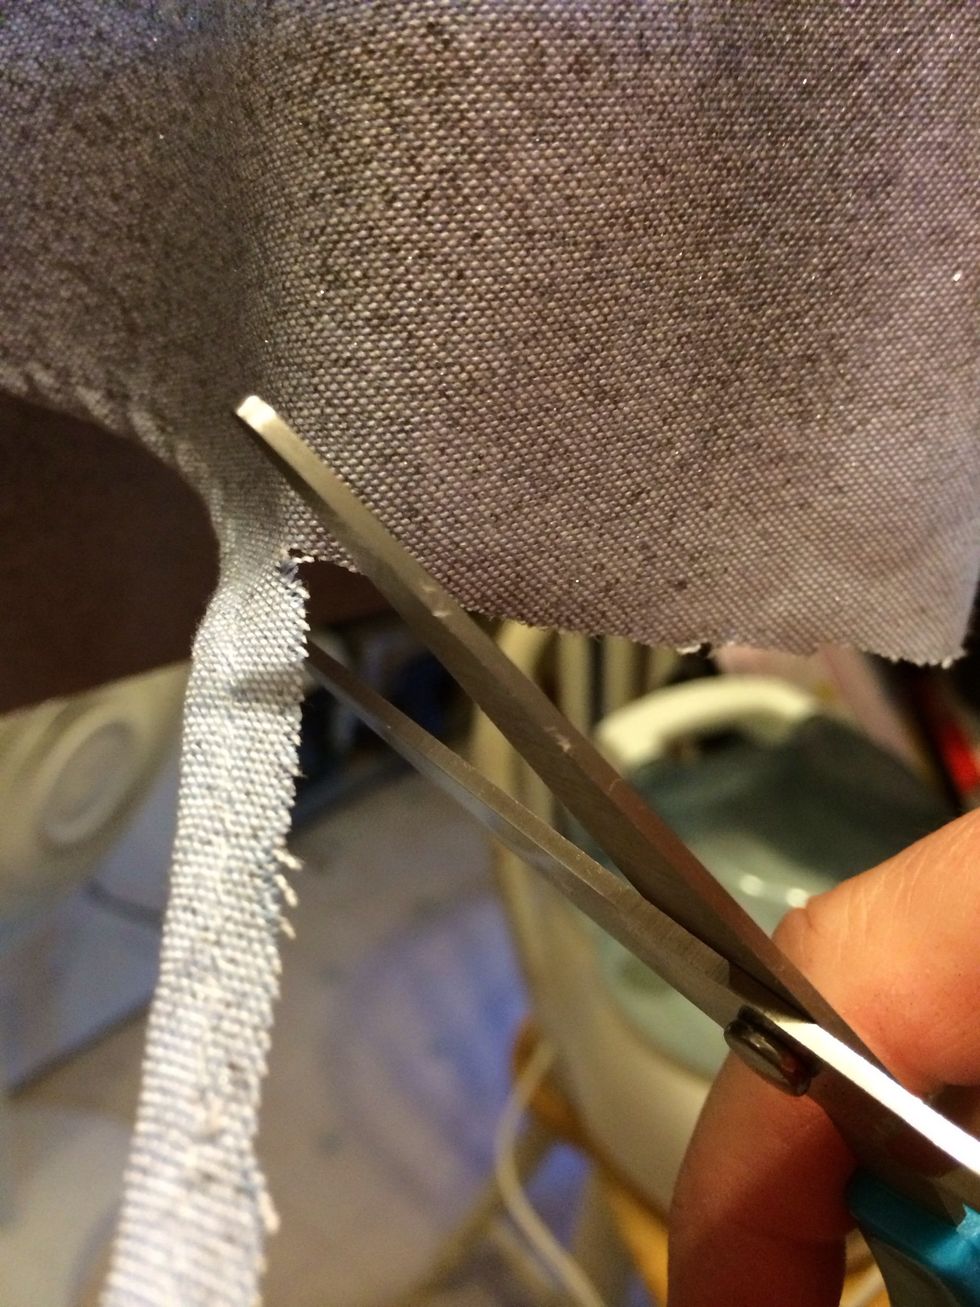
Trim the stitched edge.
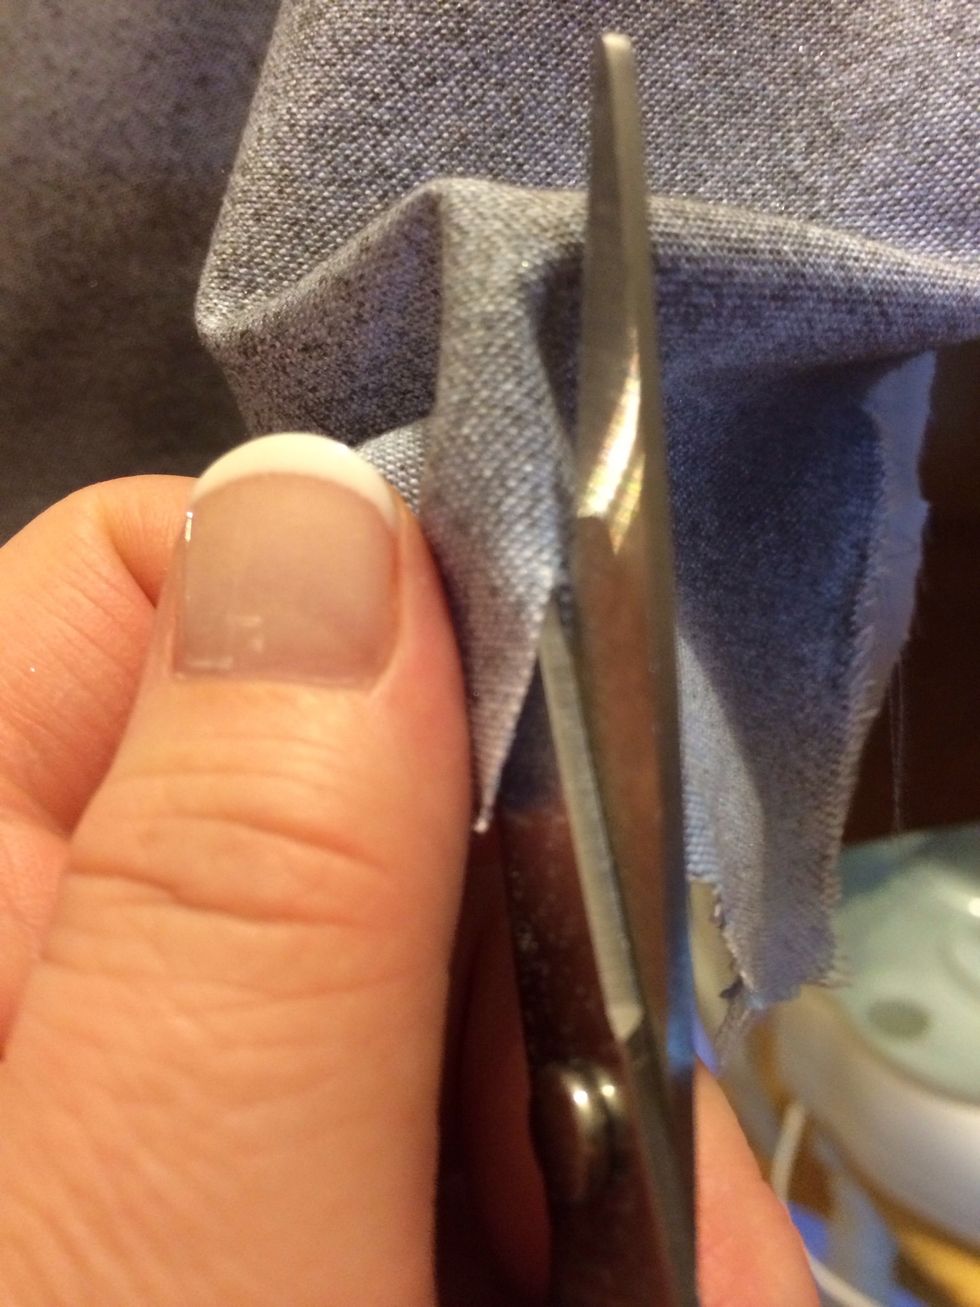
Cut a slit.
Then rip from the slit.
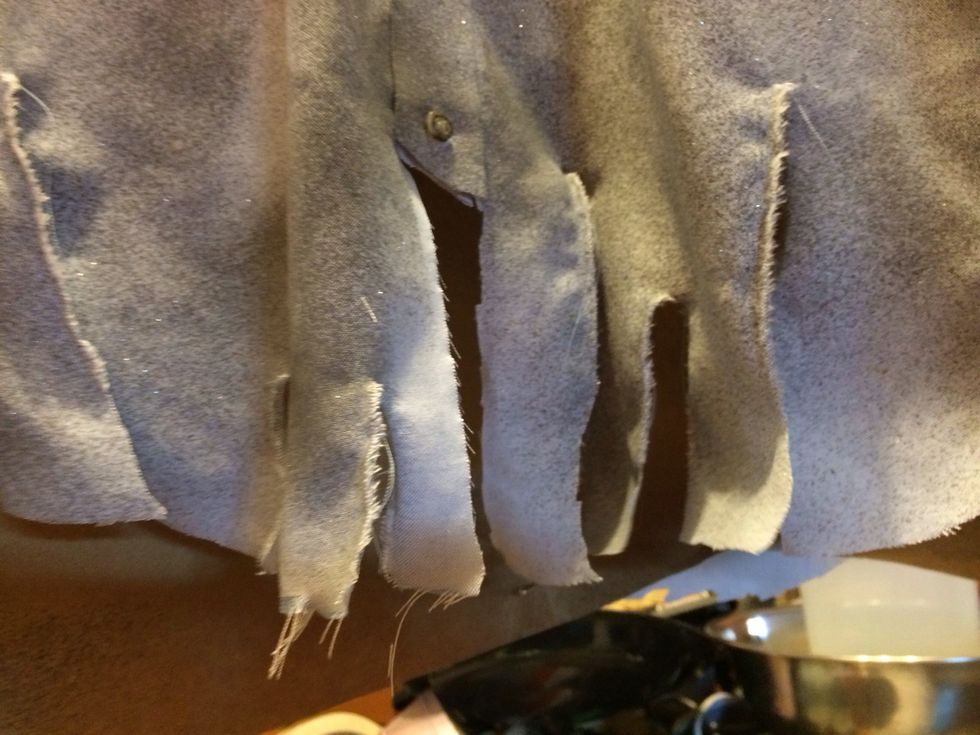
Like so.
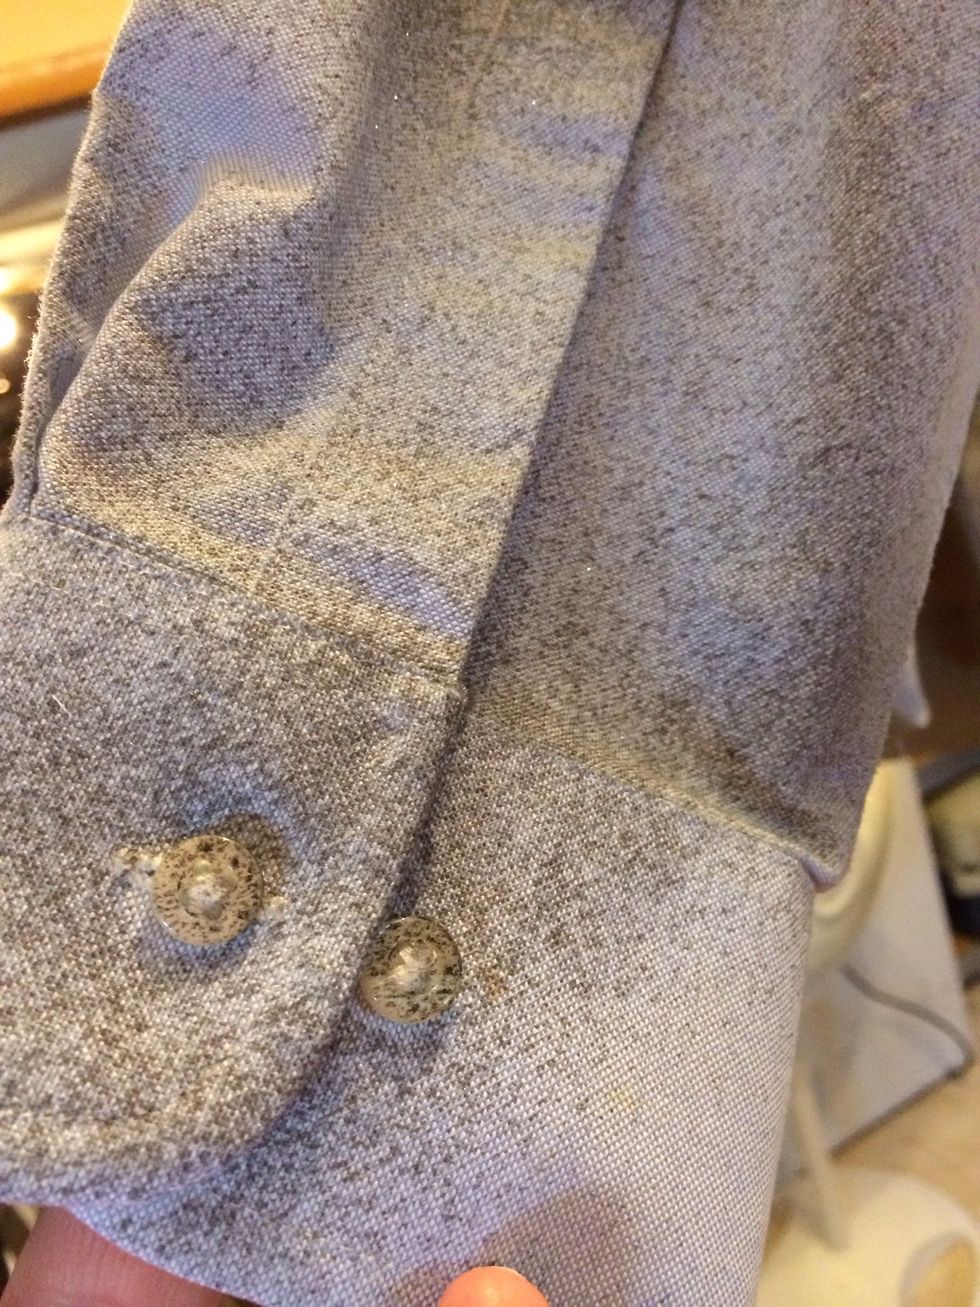
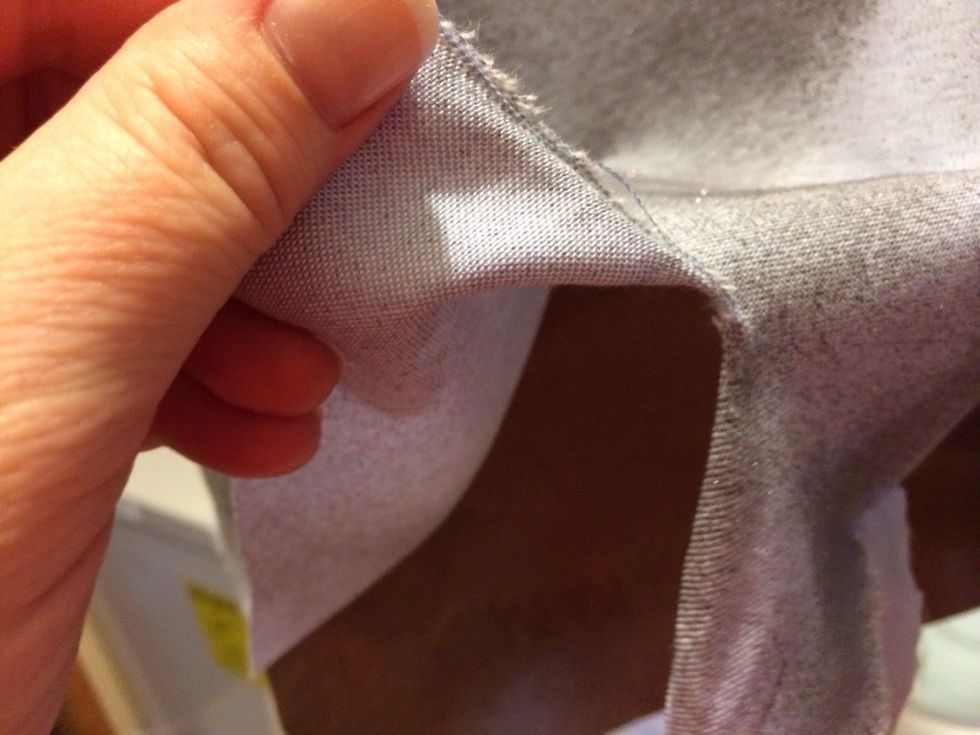
Trim off the cuff. Rip it up. Then still wear the cuff.
Like so. Have fun with it.
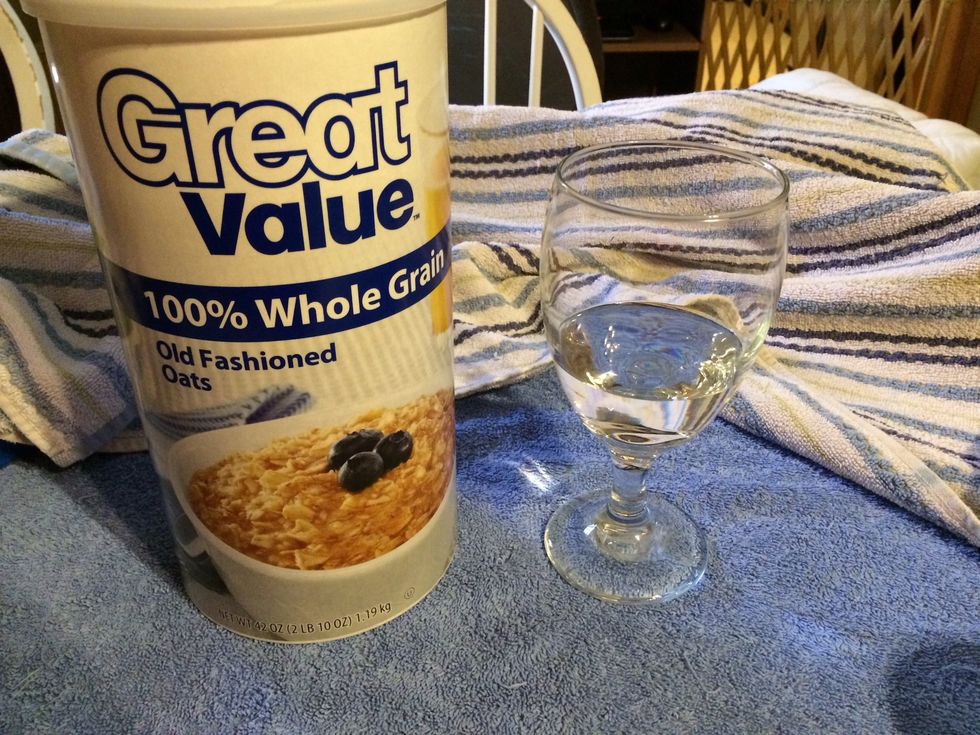
Next grab oats and water.
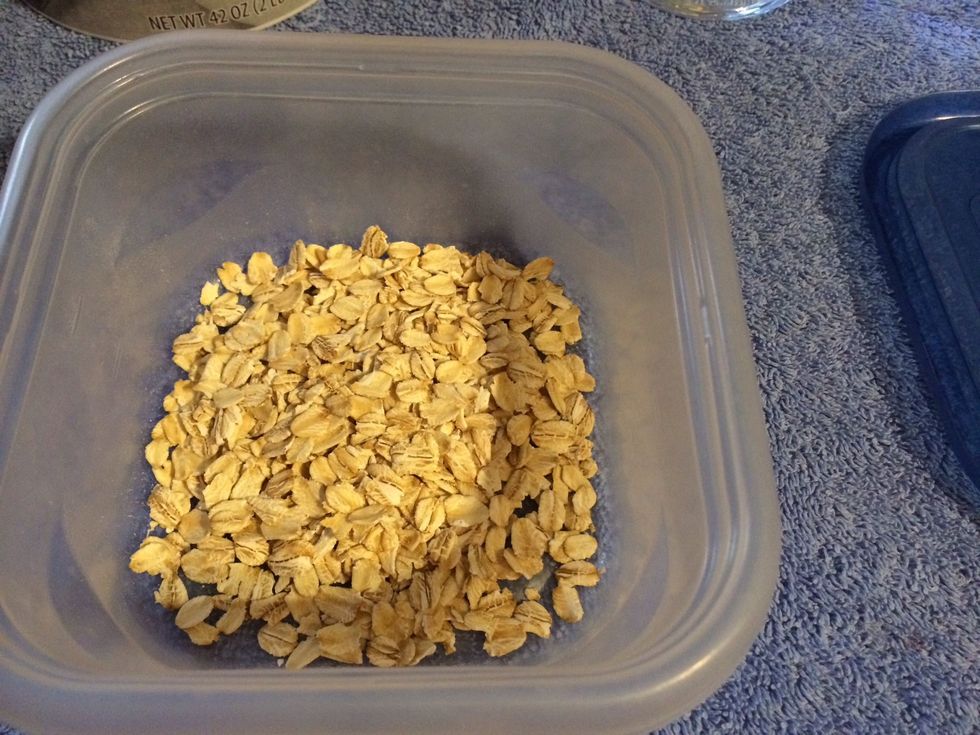
Fix this ahead of time. Pour small amount of oats in bowl.
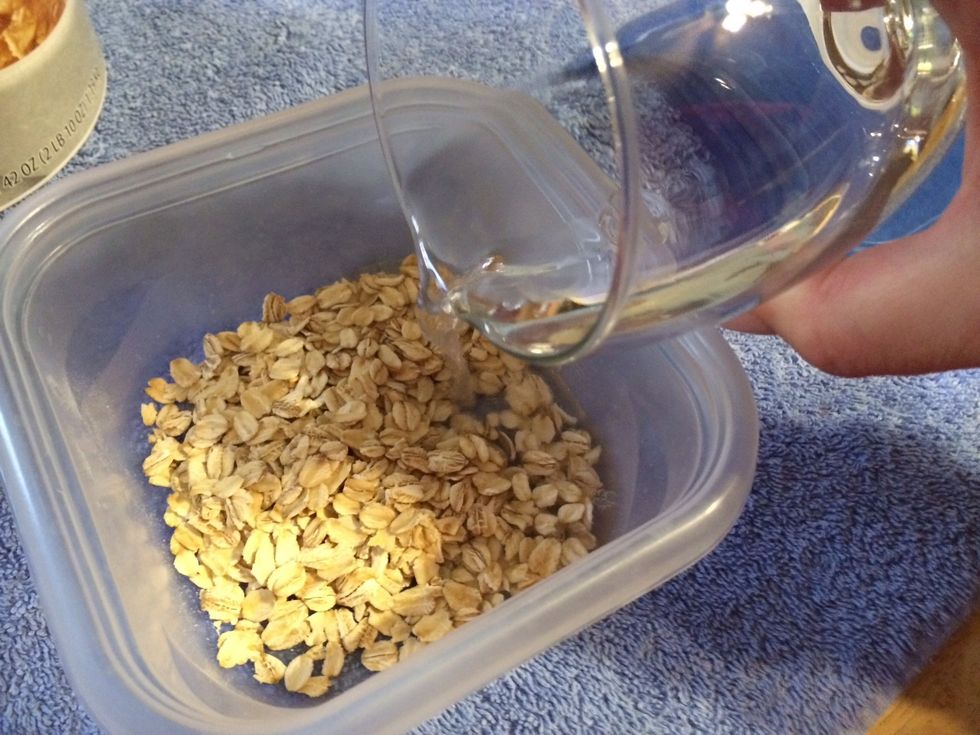
Cover with water.
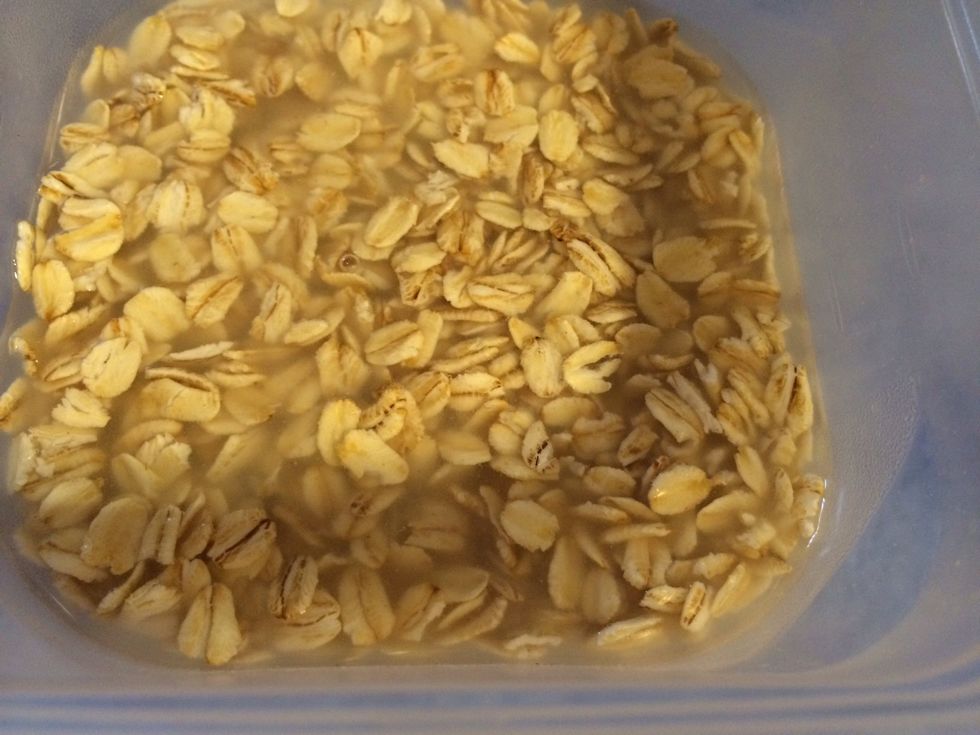
Allow time to soak.
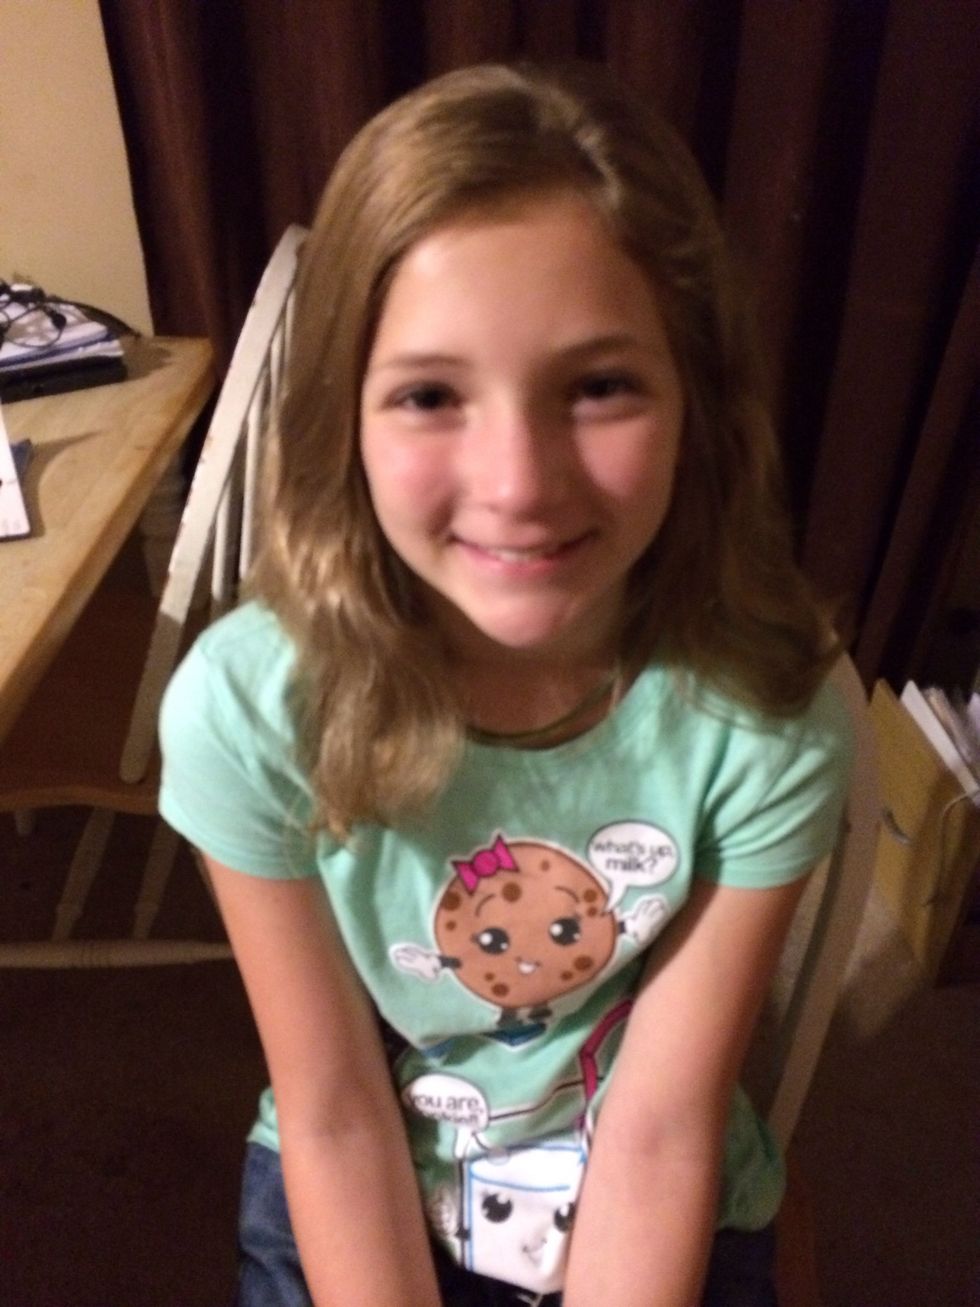
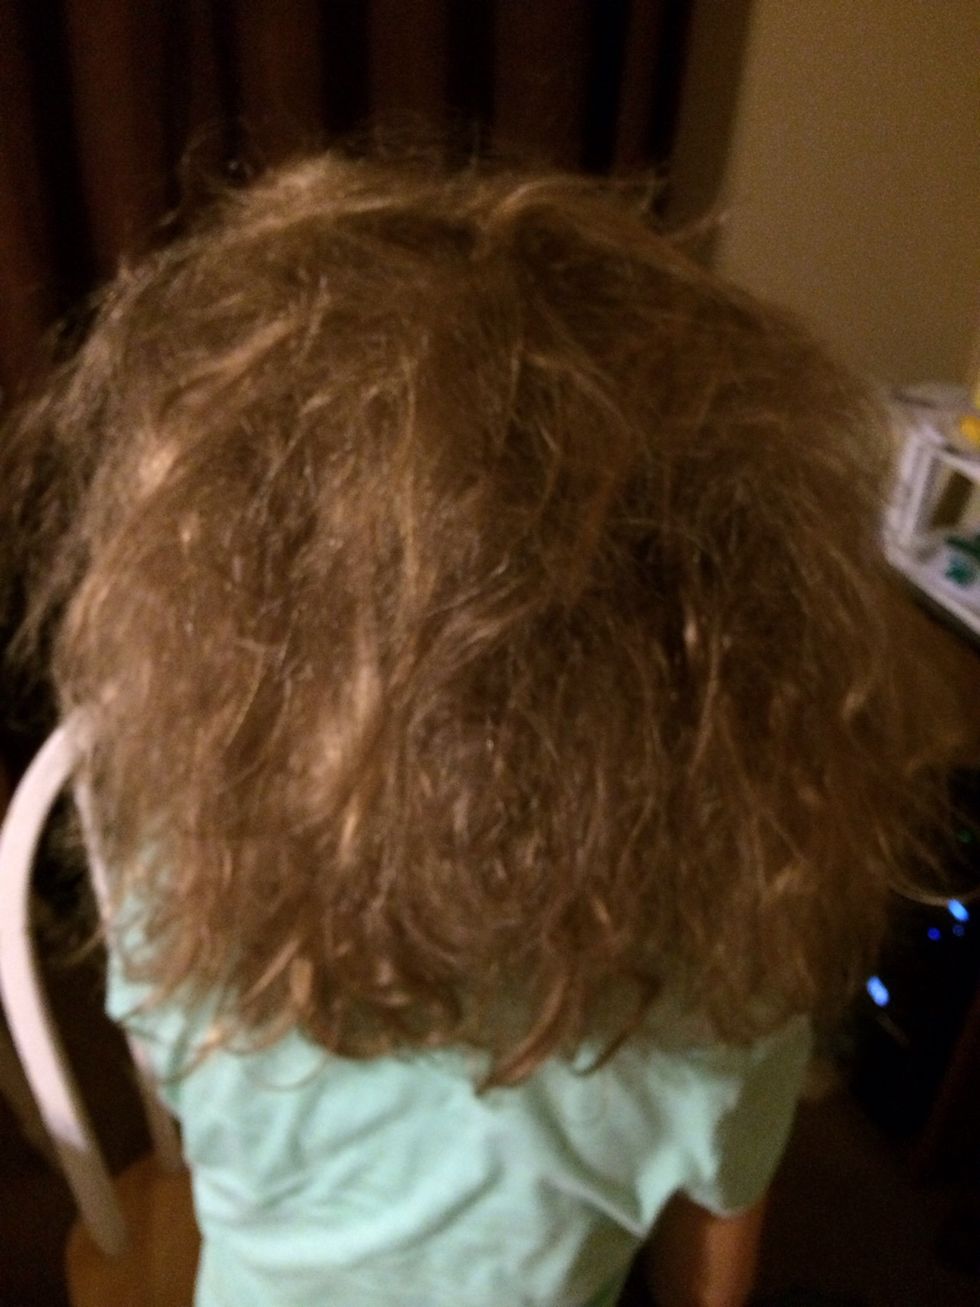
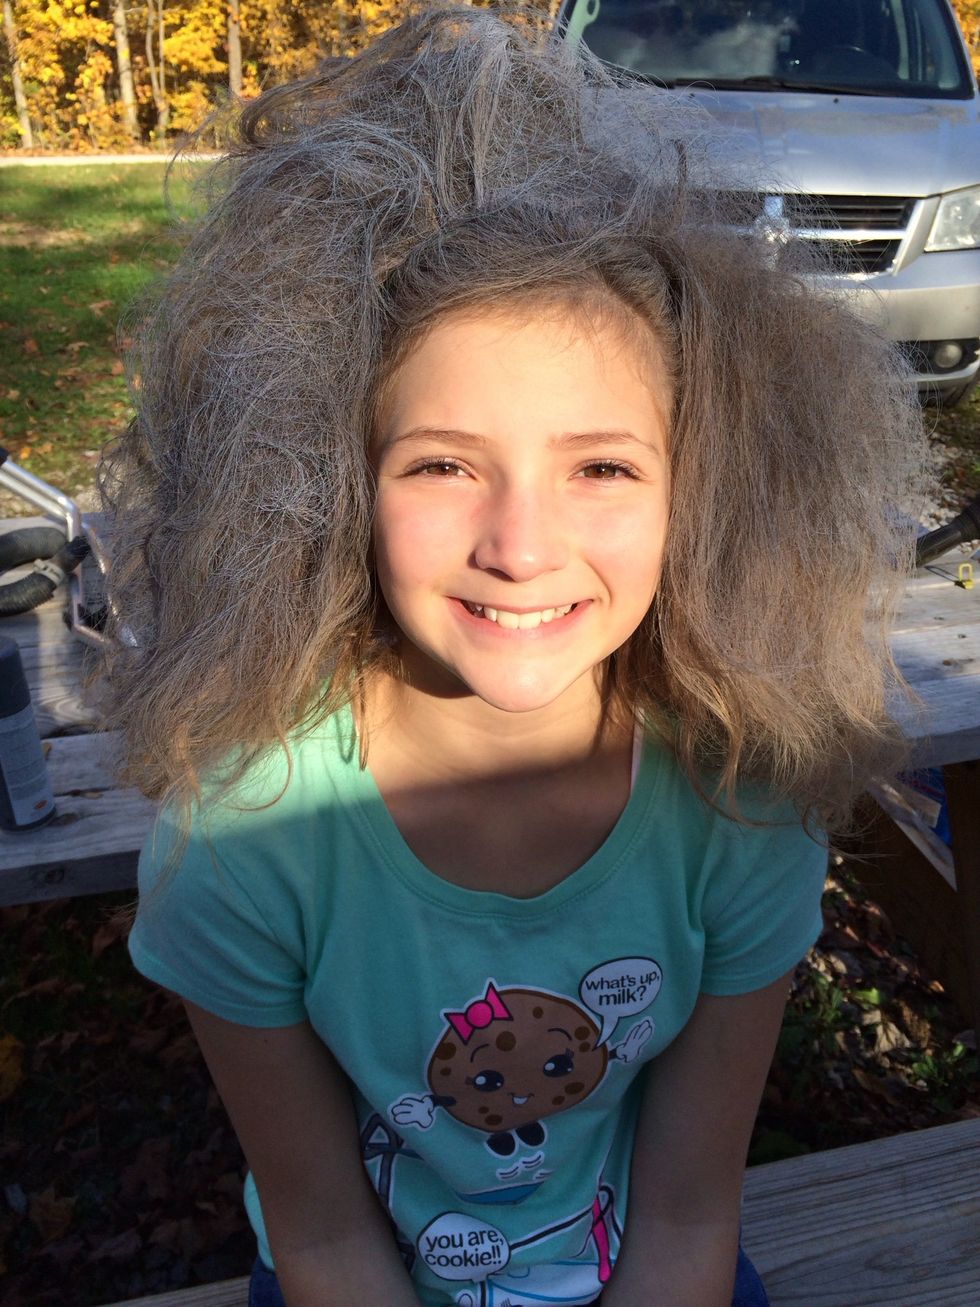
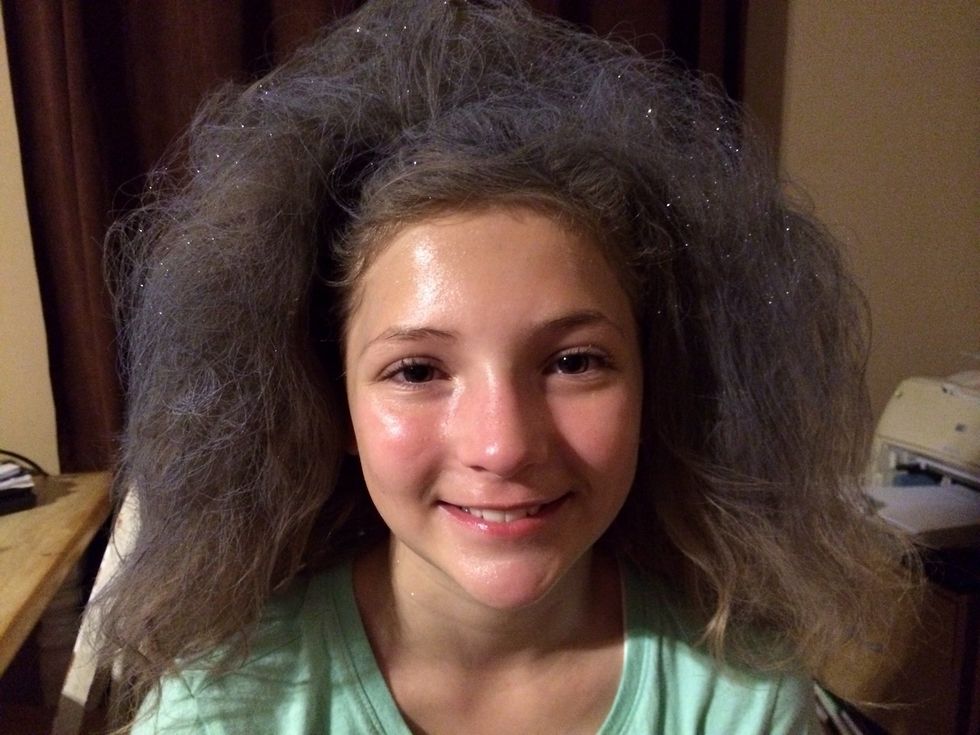
Before: My Sweet Dear Daughter. Love you Jo-Jo!

Headband on first to keep it out of her face then tease the hair by back combing.
Like so.
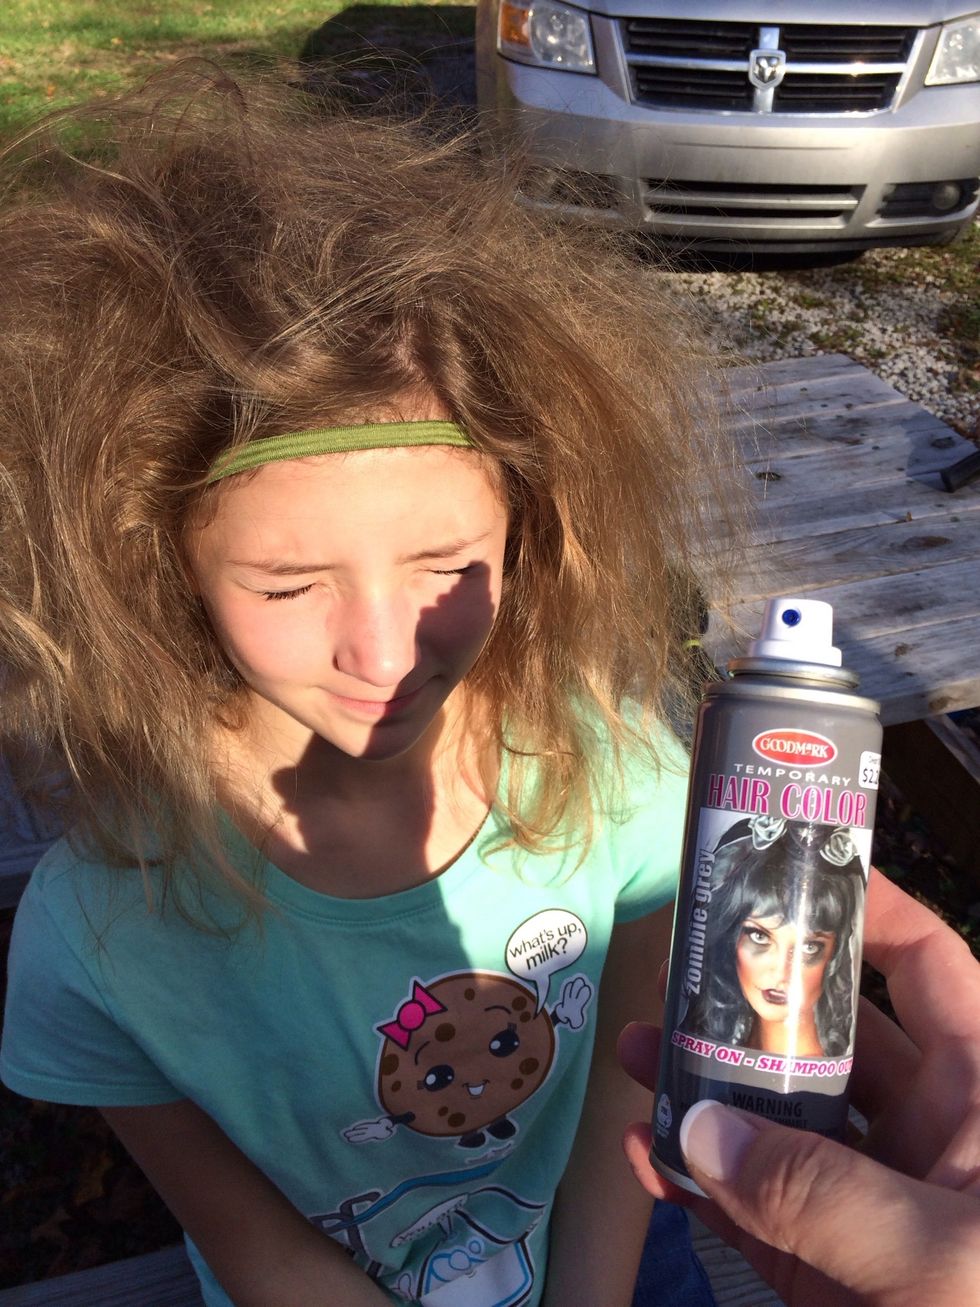
Tease as crazy as you want. Now for a base color. Blue or gray works best for Zombie look.
Gray on.
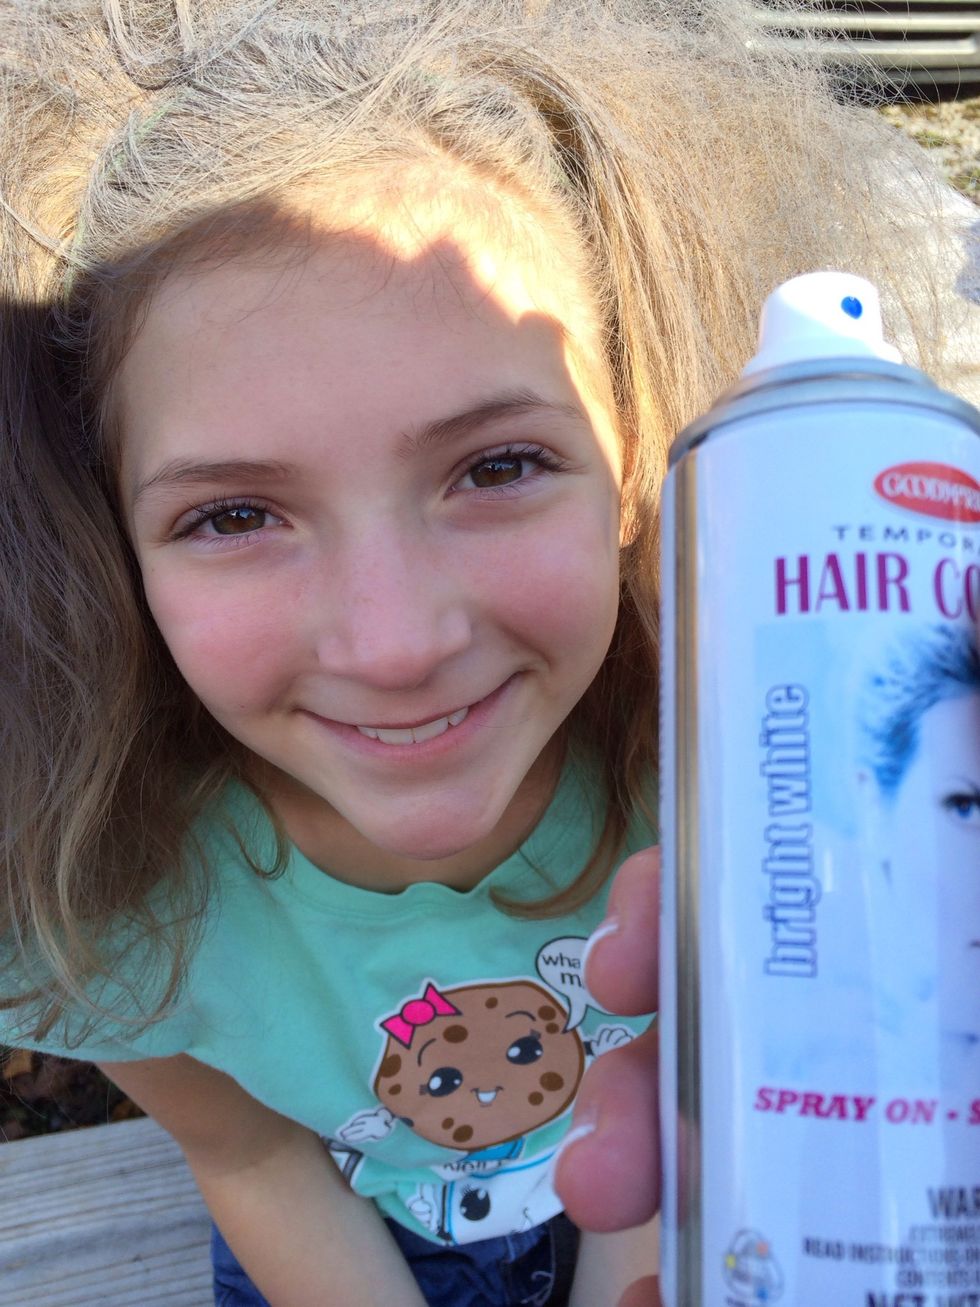
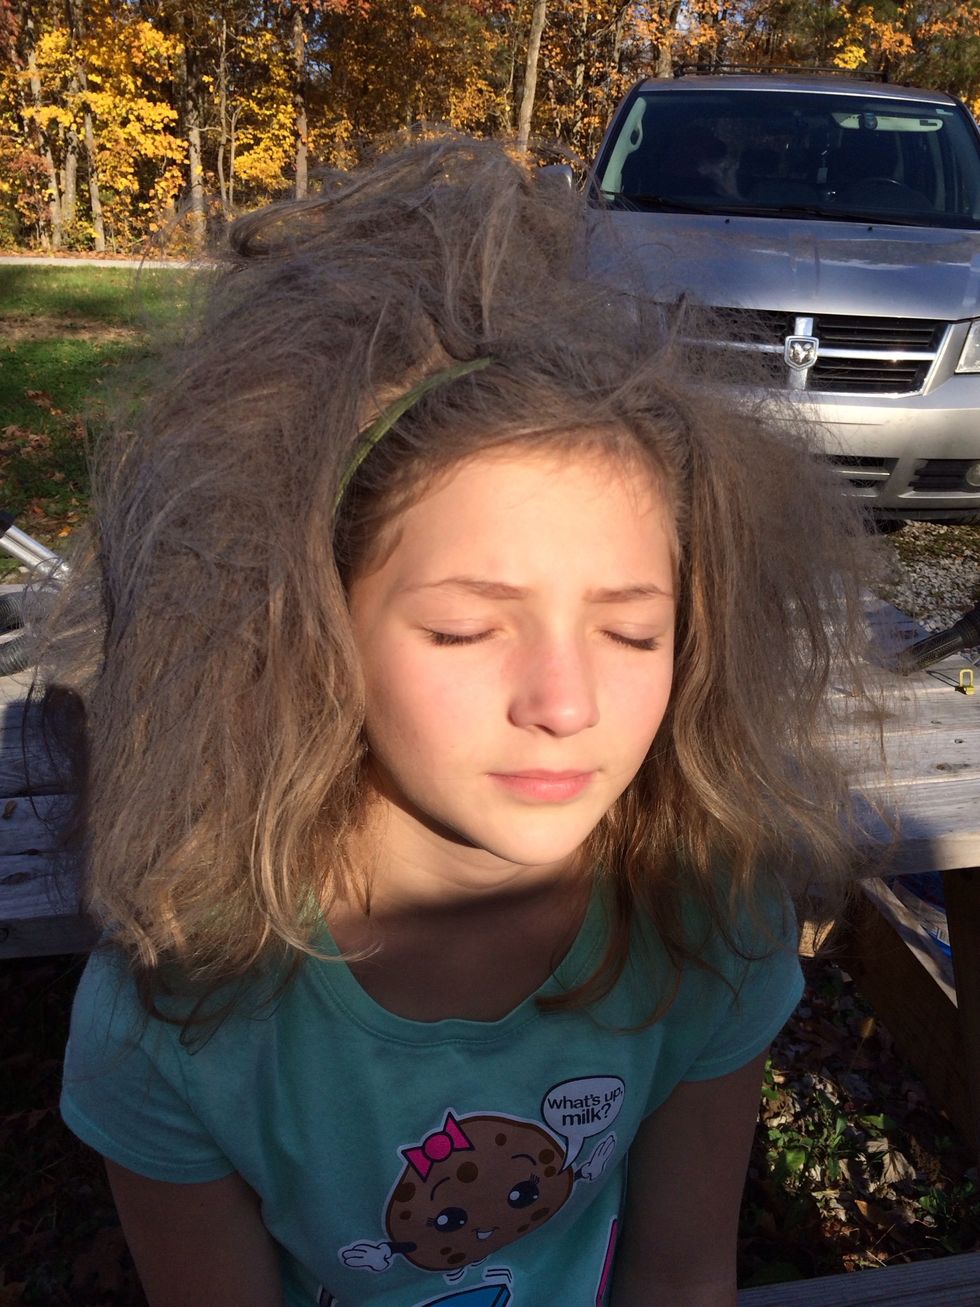
Now highlight with white. This look can also be achieved with just using regular hair spray and white baby powder sprinkled on the hair.
Highlights on!
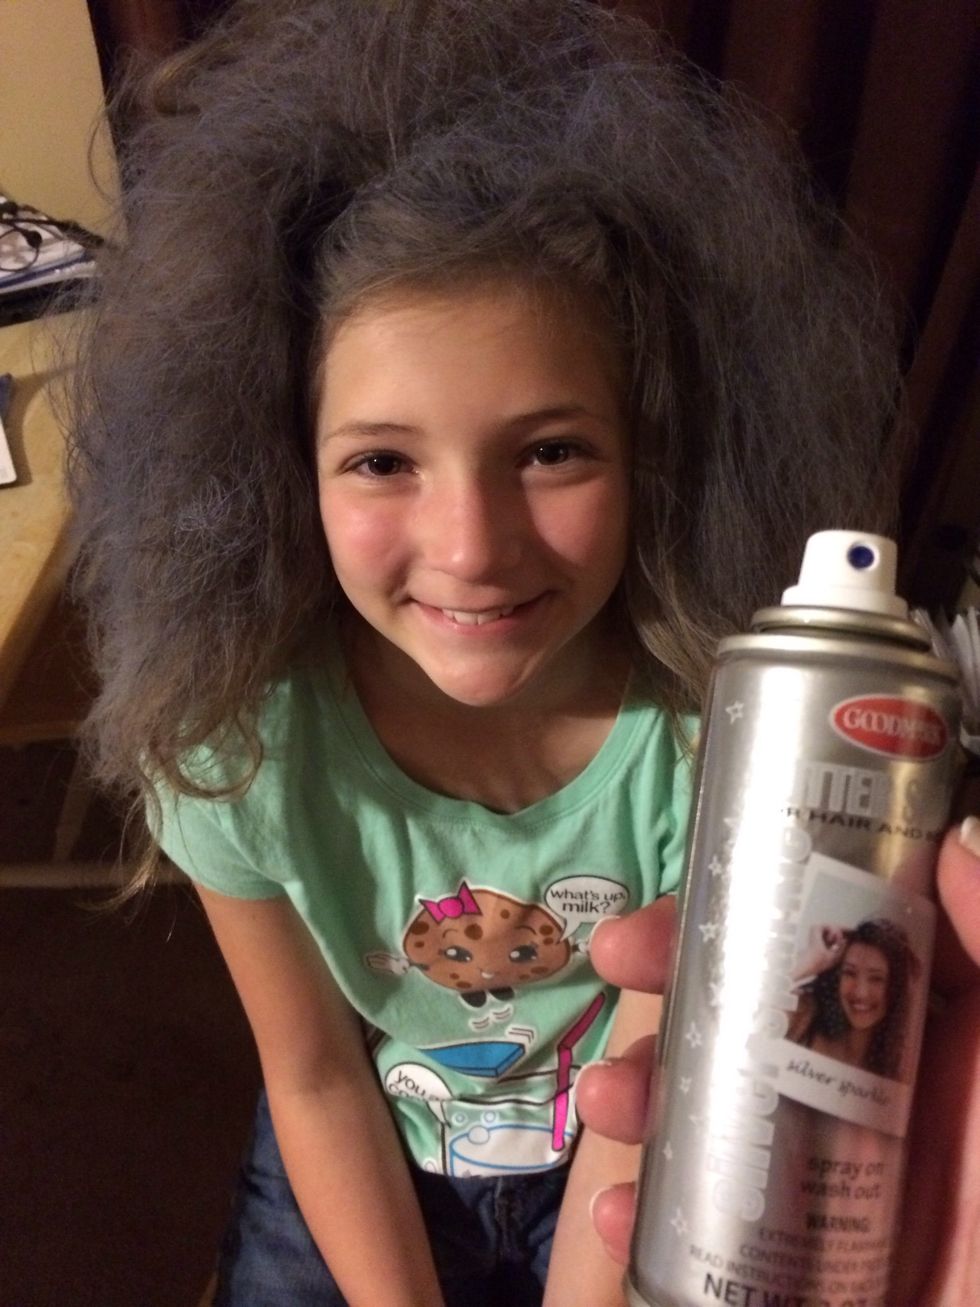
Just a spritz of glitter.
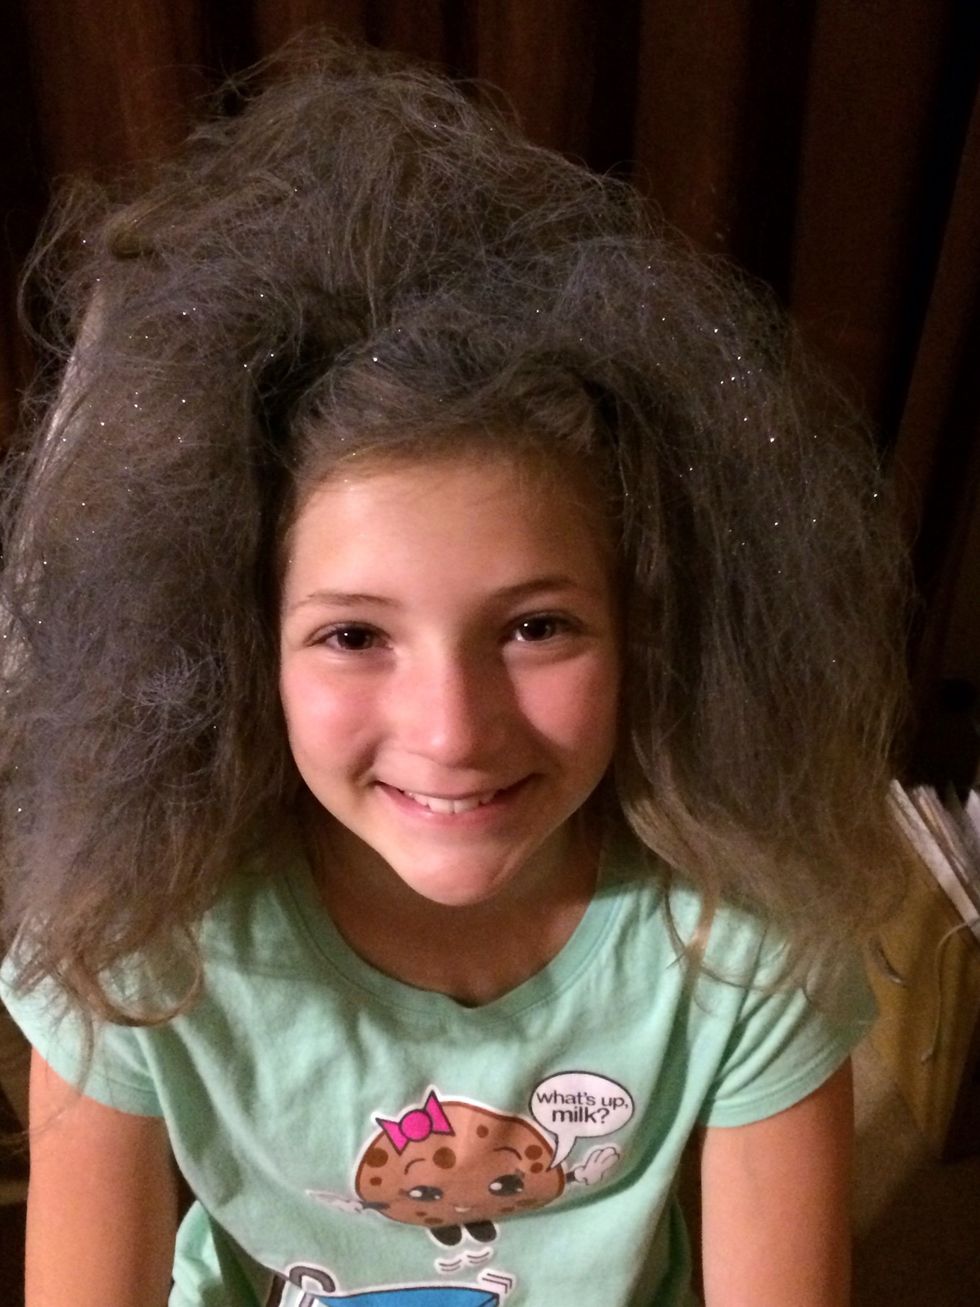
Like so.

Now Halloween makeup is harsh and can stain your skin. Use a base of Vaseline to protect your face. This also helps it come off easily. Or you can use face cream.
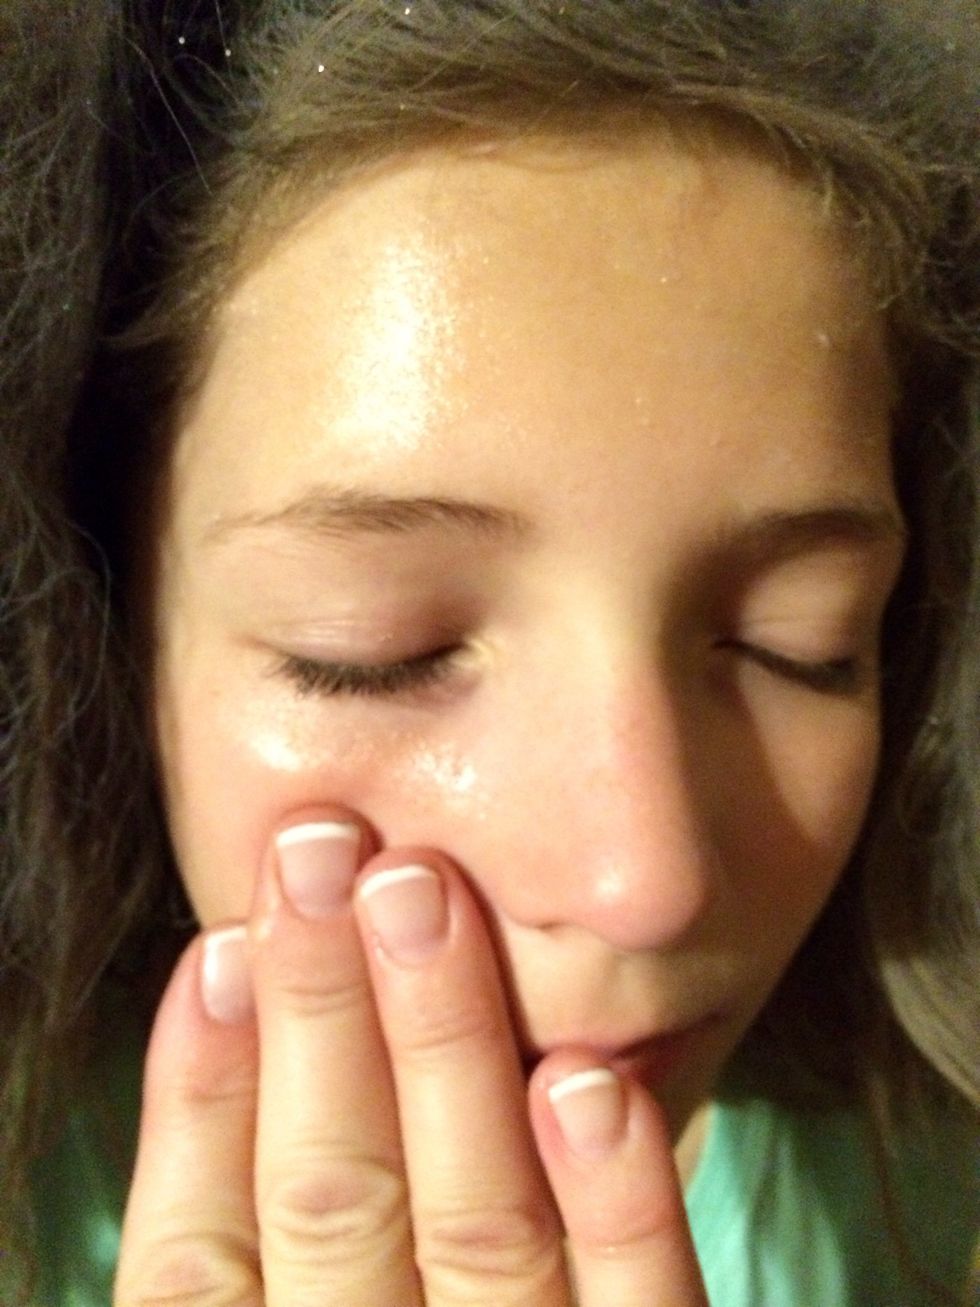
Just smooth on the Vaseline.
Like so.
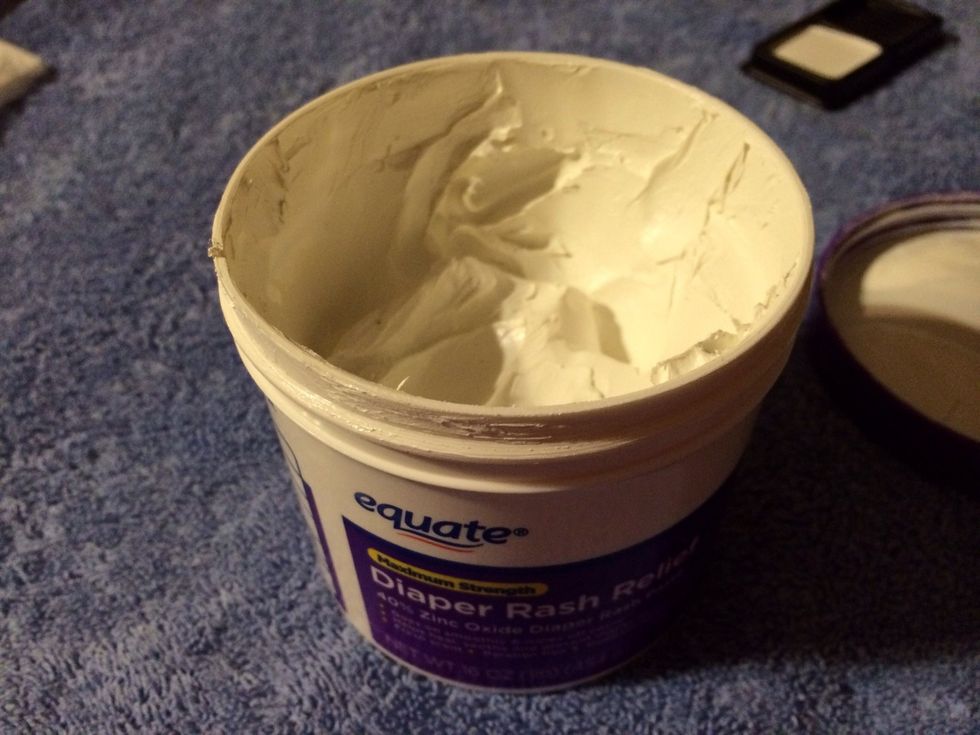
For a base, we are using Zinc Oxide. I buy generic Desitin, aka diaper rash ointment or sunblock..same thing.
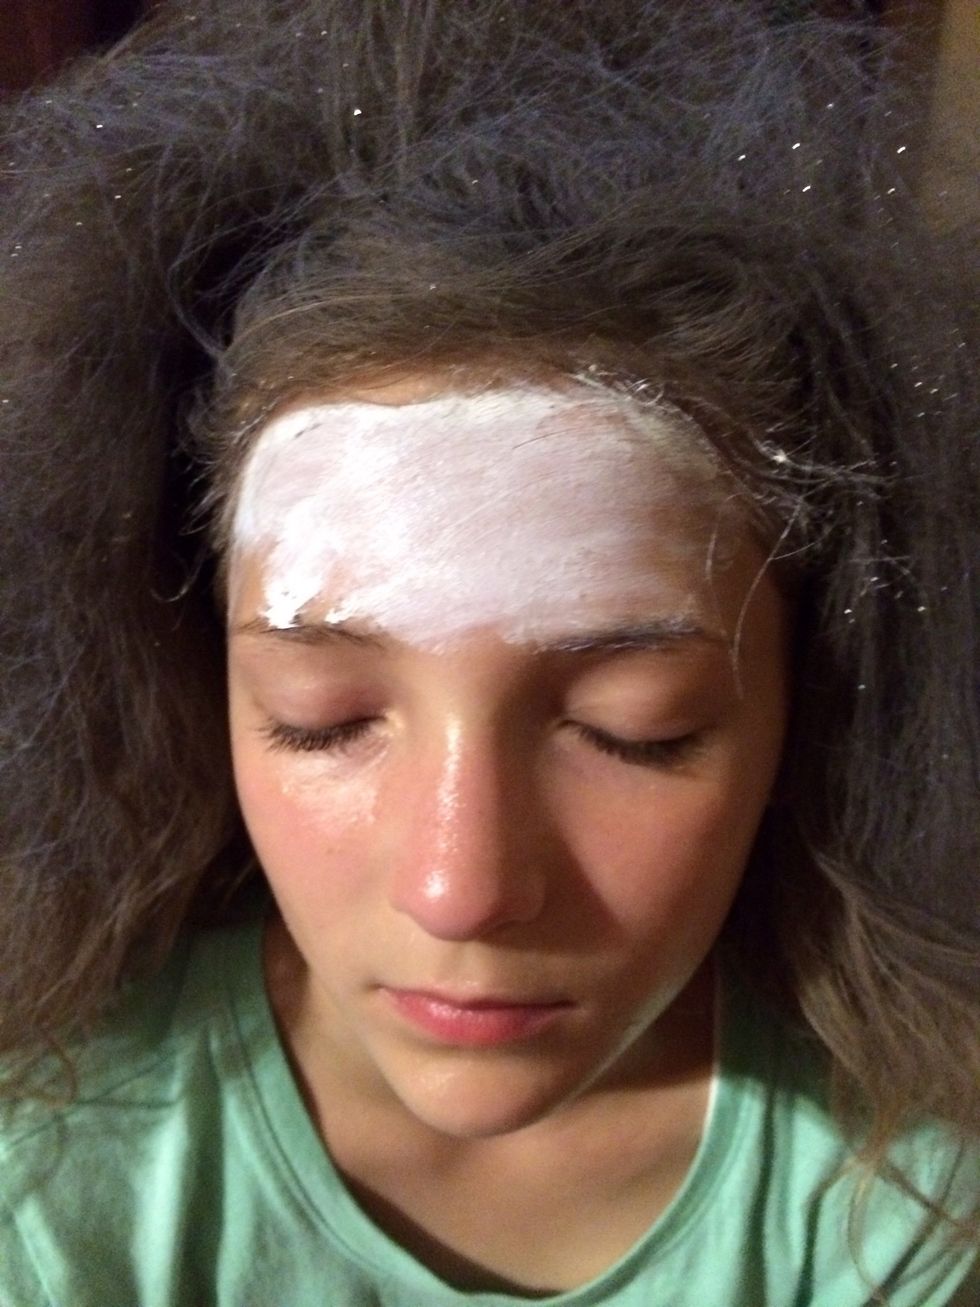
Just rub on...

...face and neck.
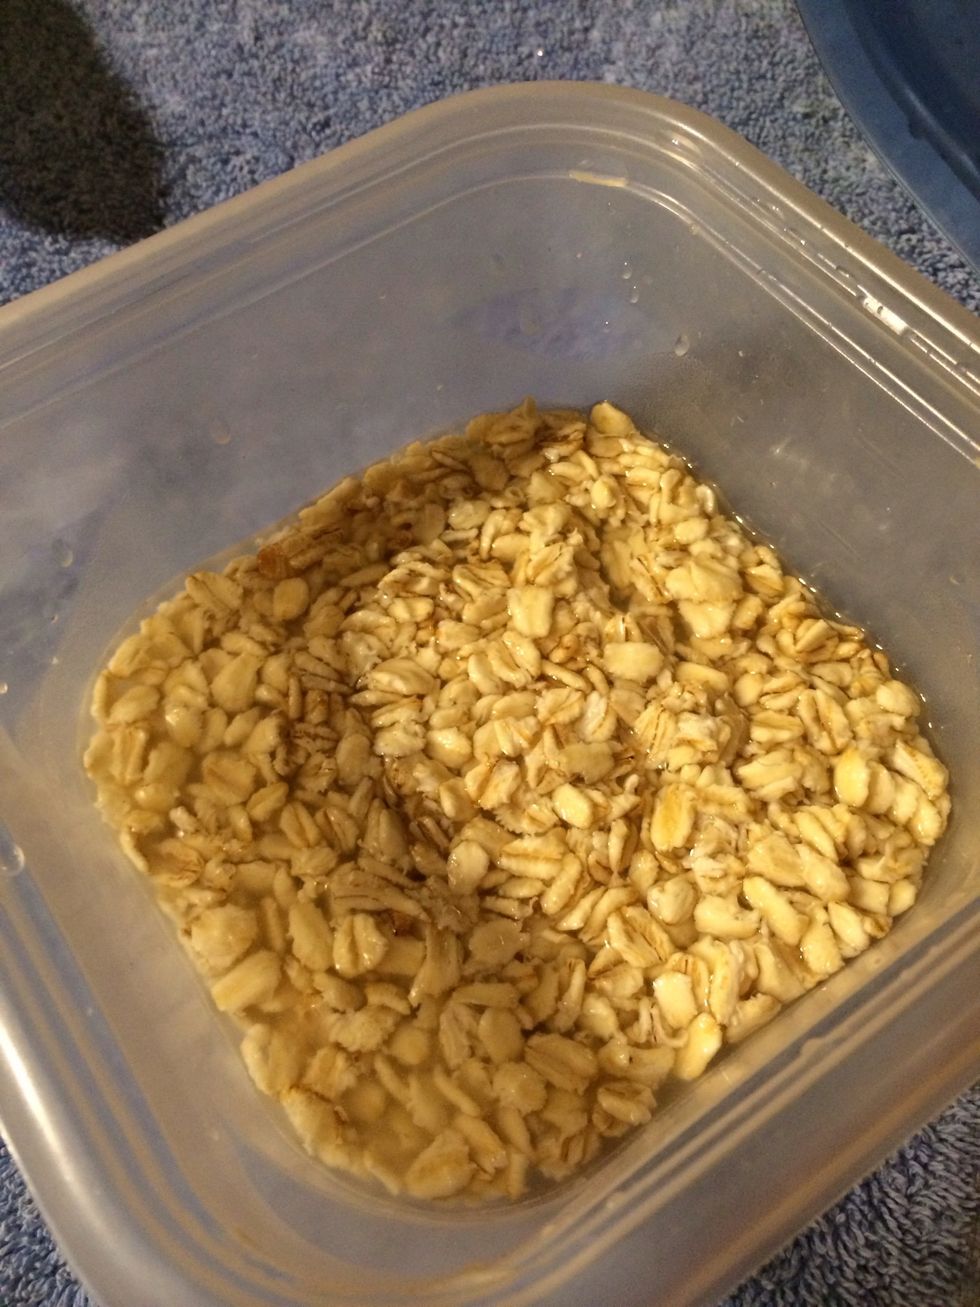
Next grab your soaked oats....
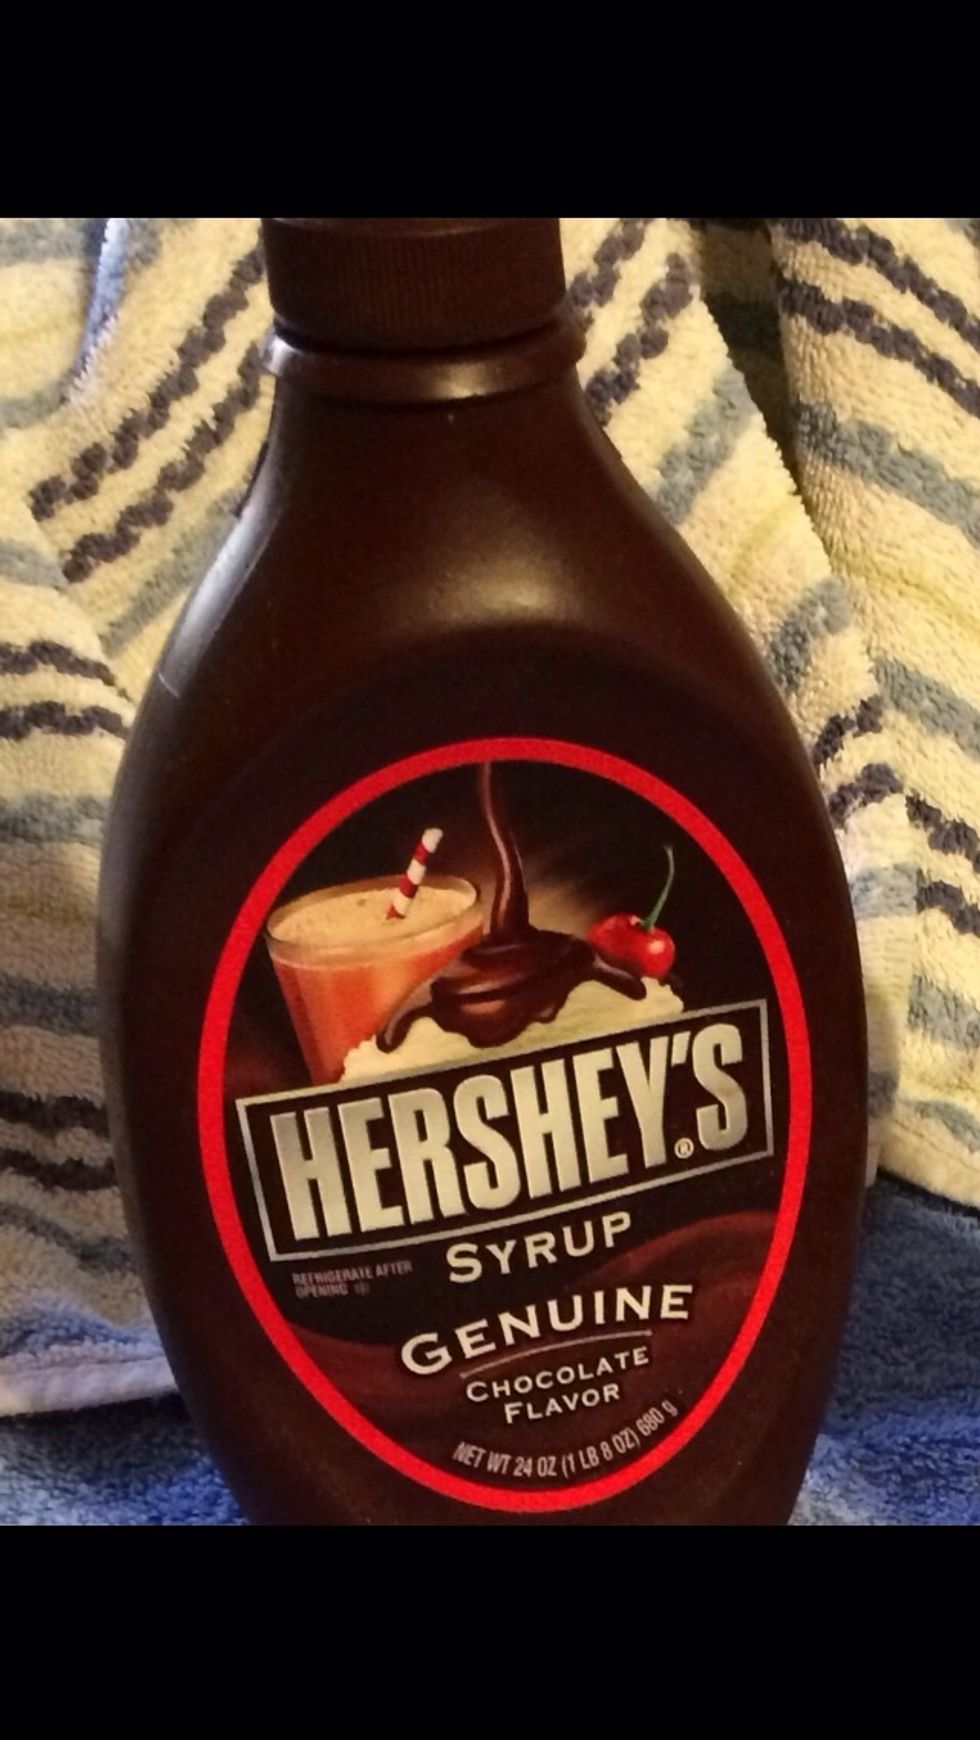
..and some syrup. Now you can use this or pancake syrup.
Mix a little oats and syrup and apply to skin. We're making "scabs."
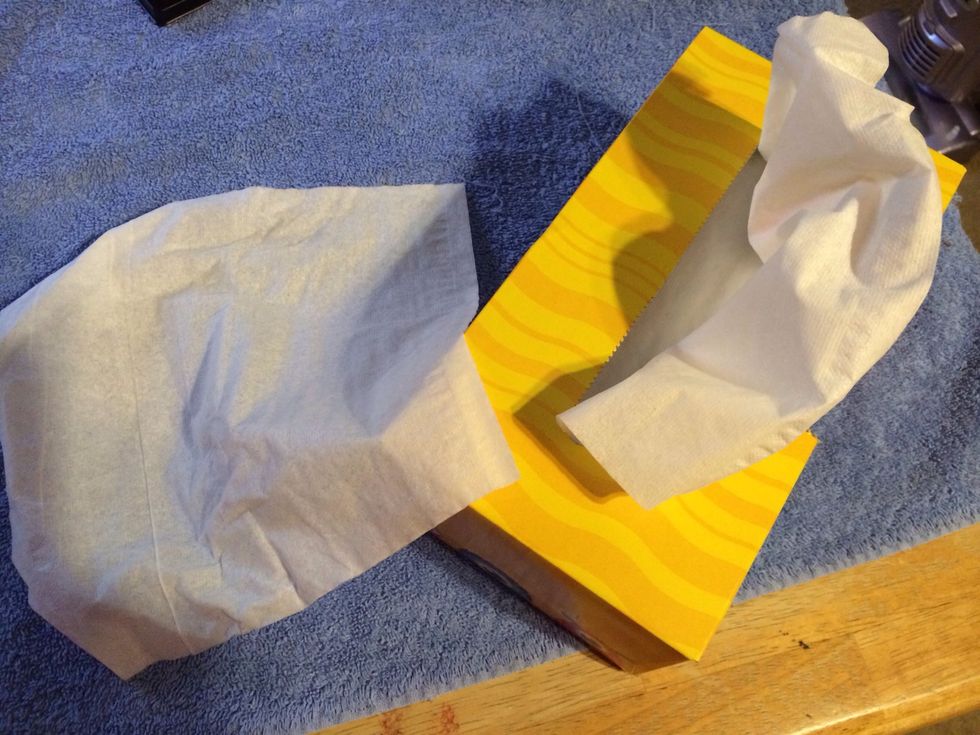
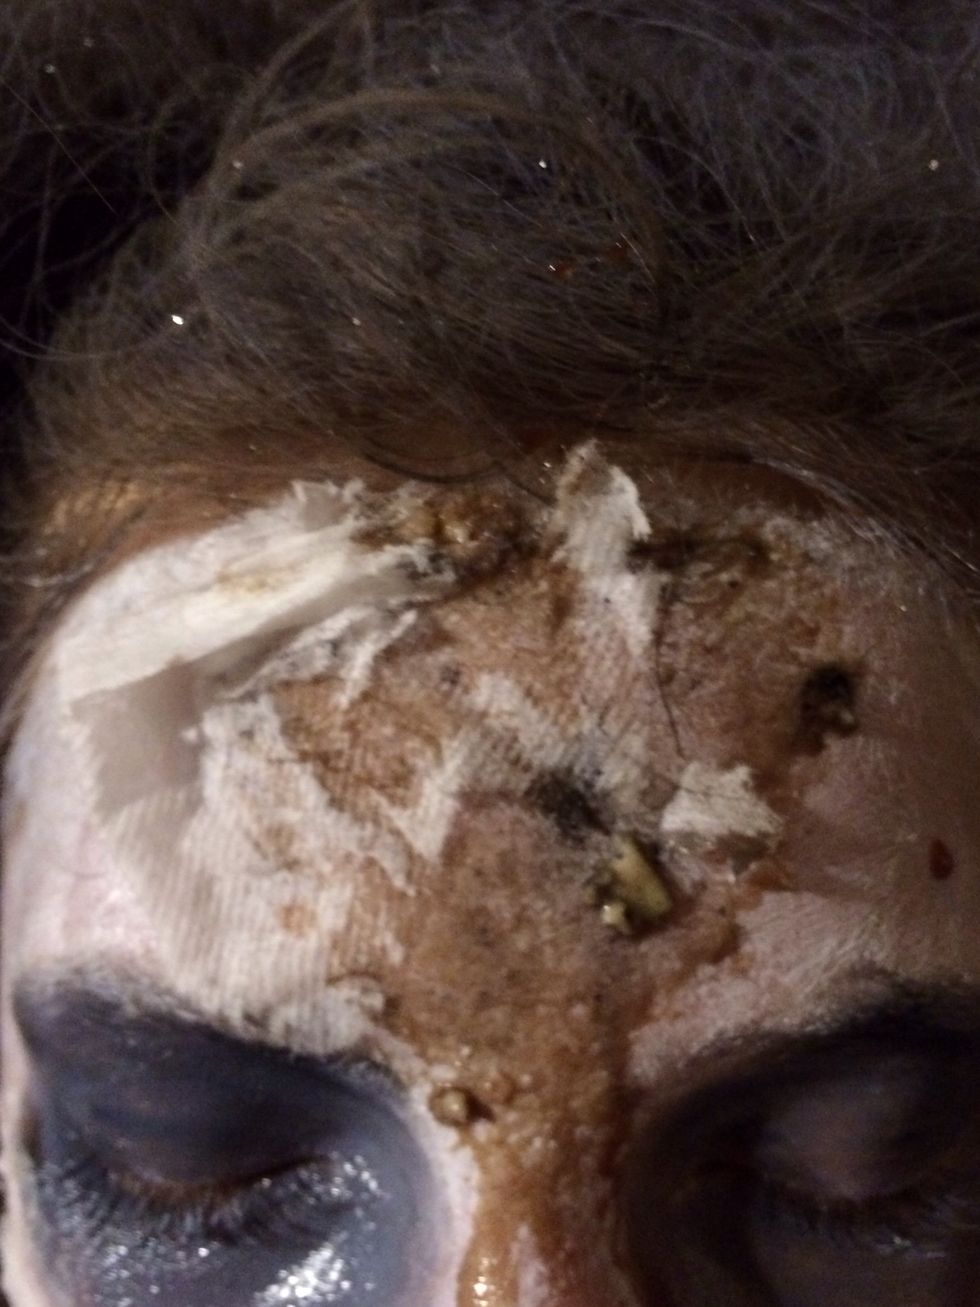
Grab the Kleenex.
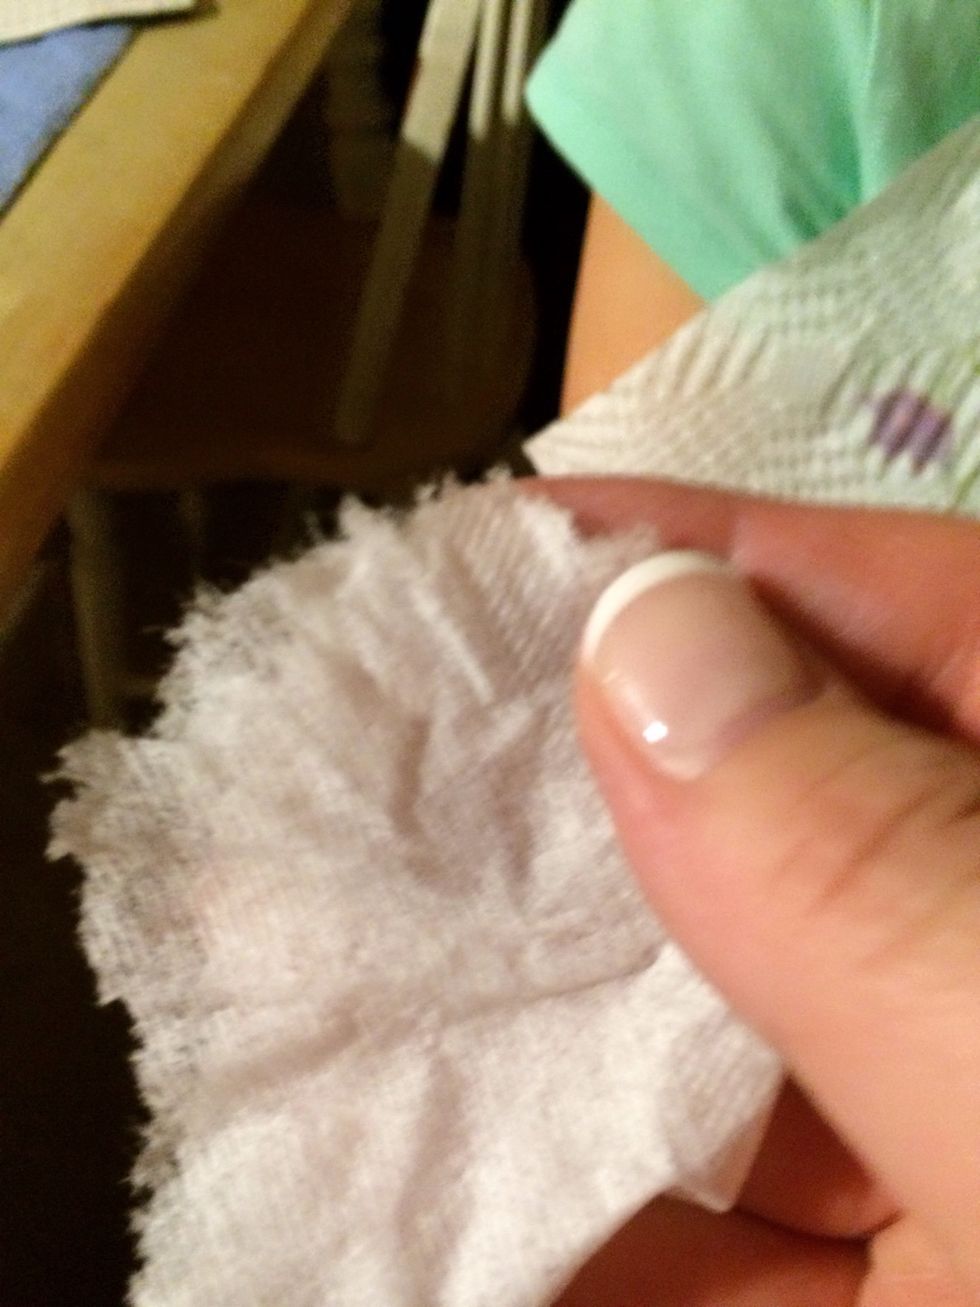
Rip off small amount.
Press on with black makeup.
Like so.
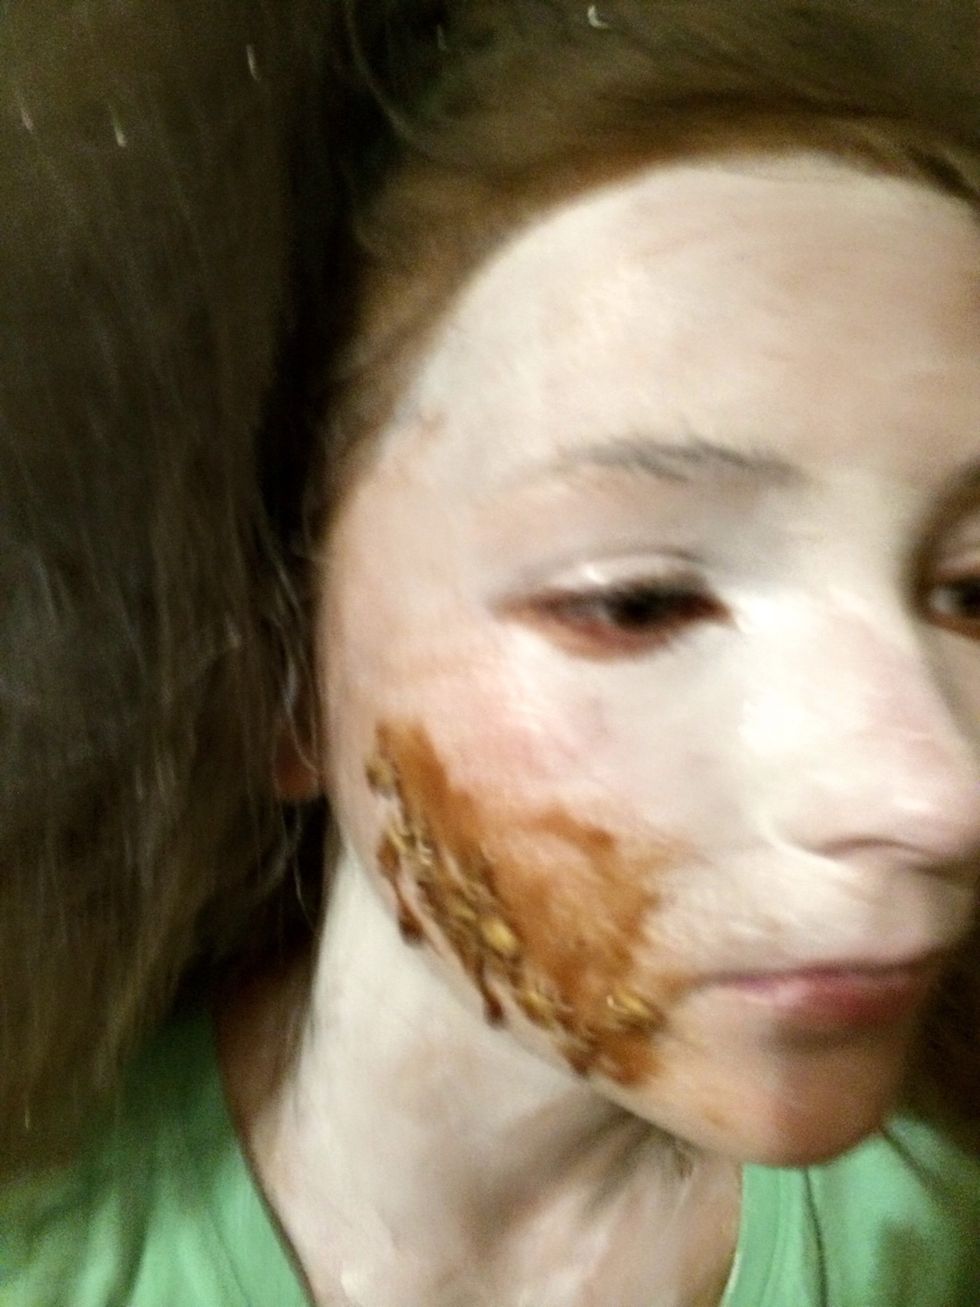
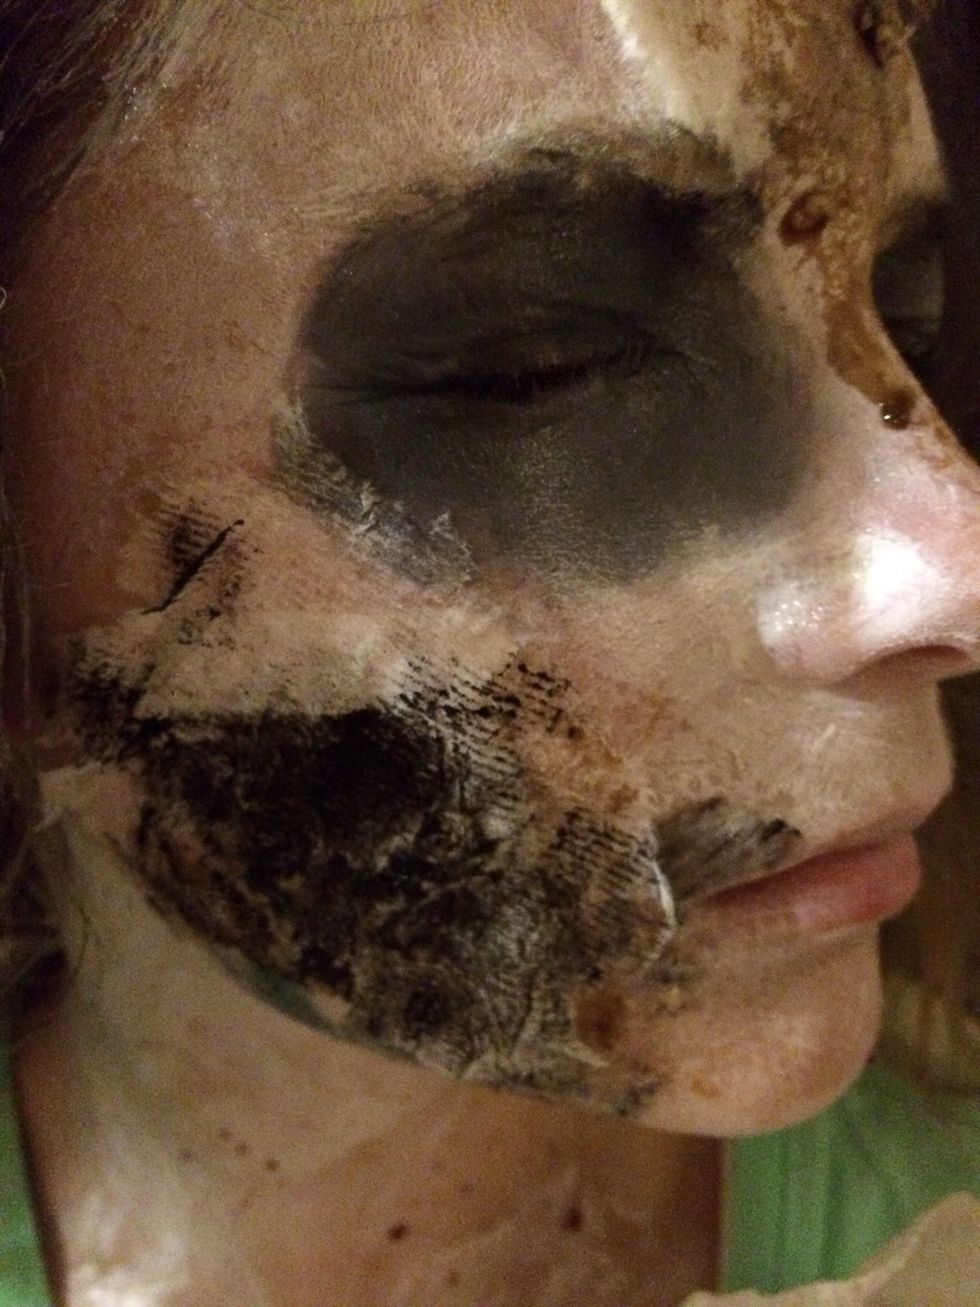
Add black around the eyes and apply more oats and syrup with Kleenex above eyes.
Add black.
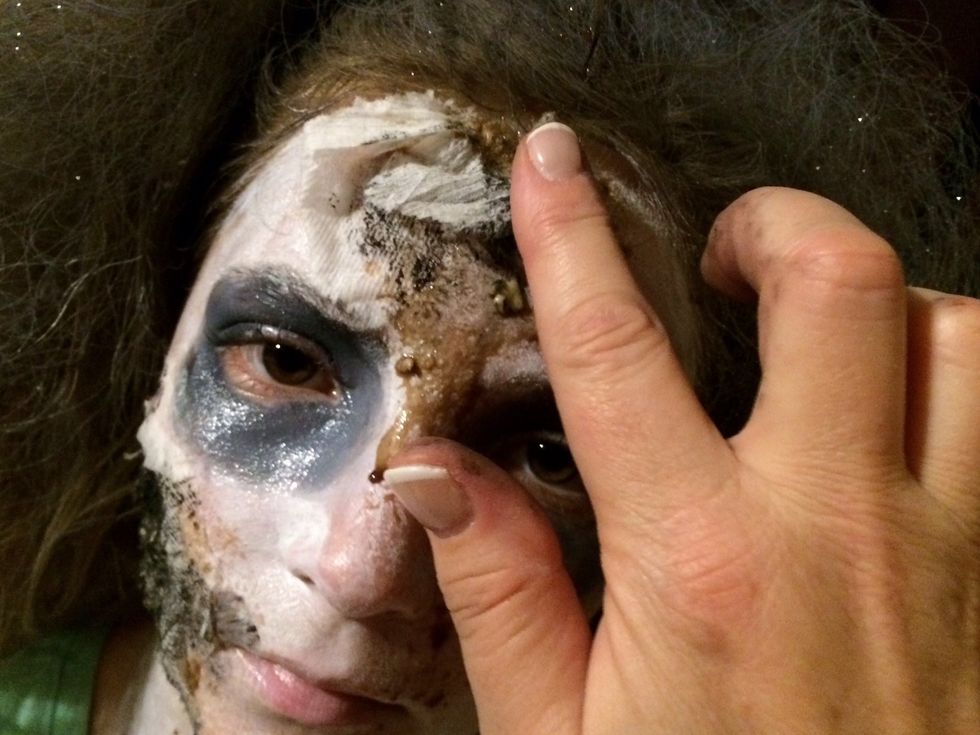
Pat it on.
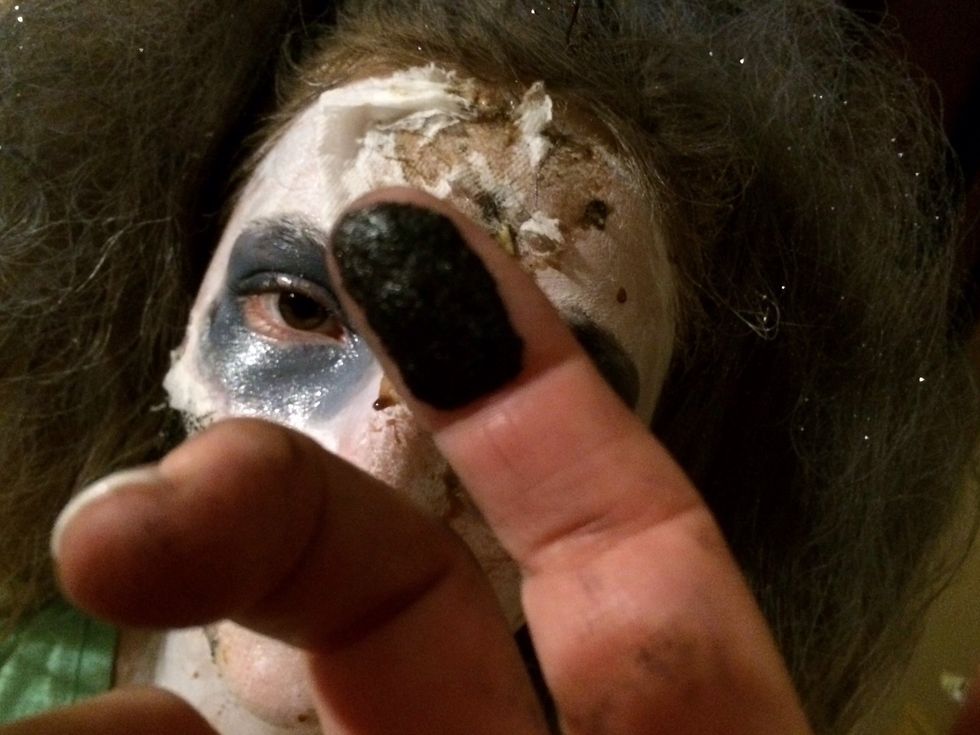
Yeah...that's starting to look creepy.
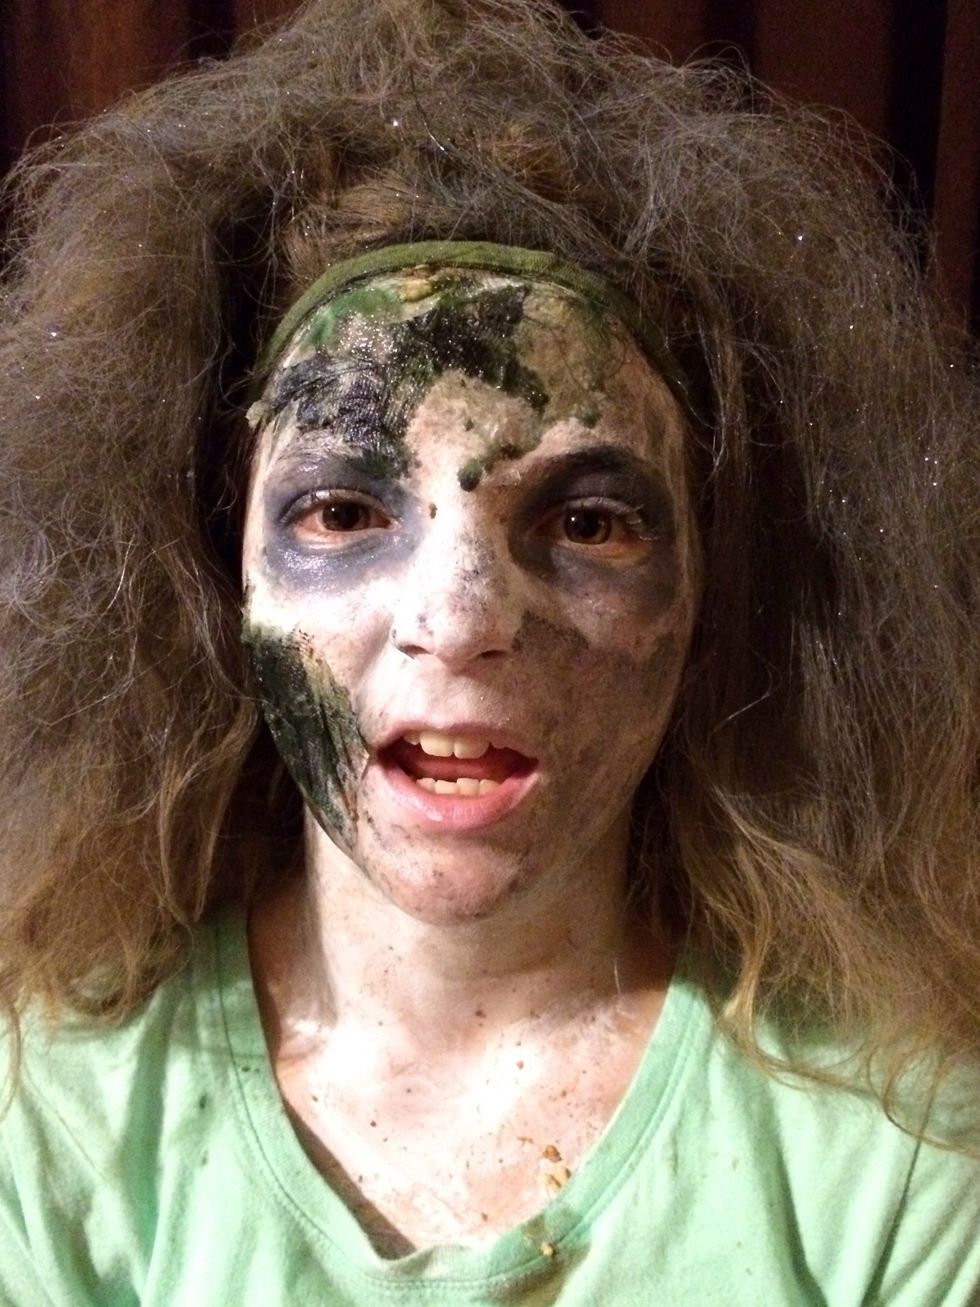
Grab the Zombie blood and carefully apply to the "scabs."
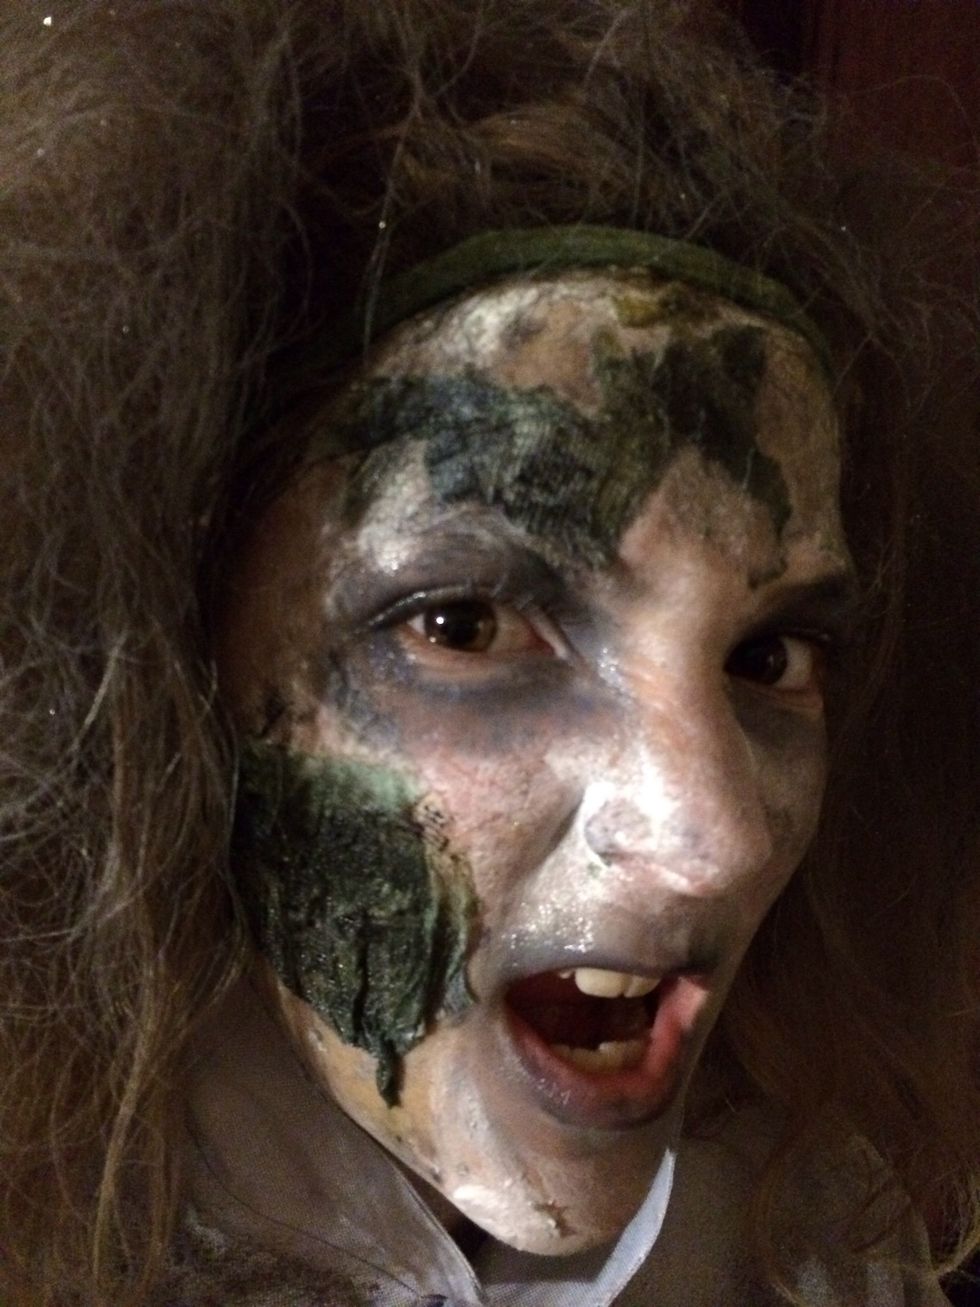
Zombie blood and black lips. Yep, creepy enough. Dear Daughter is transformed!
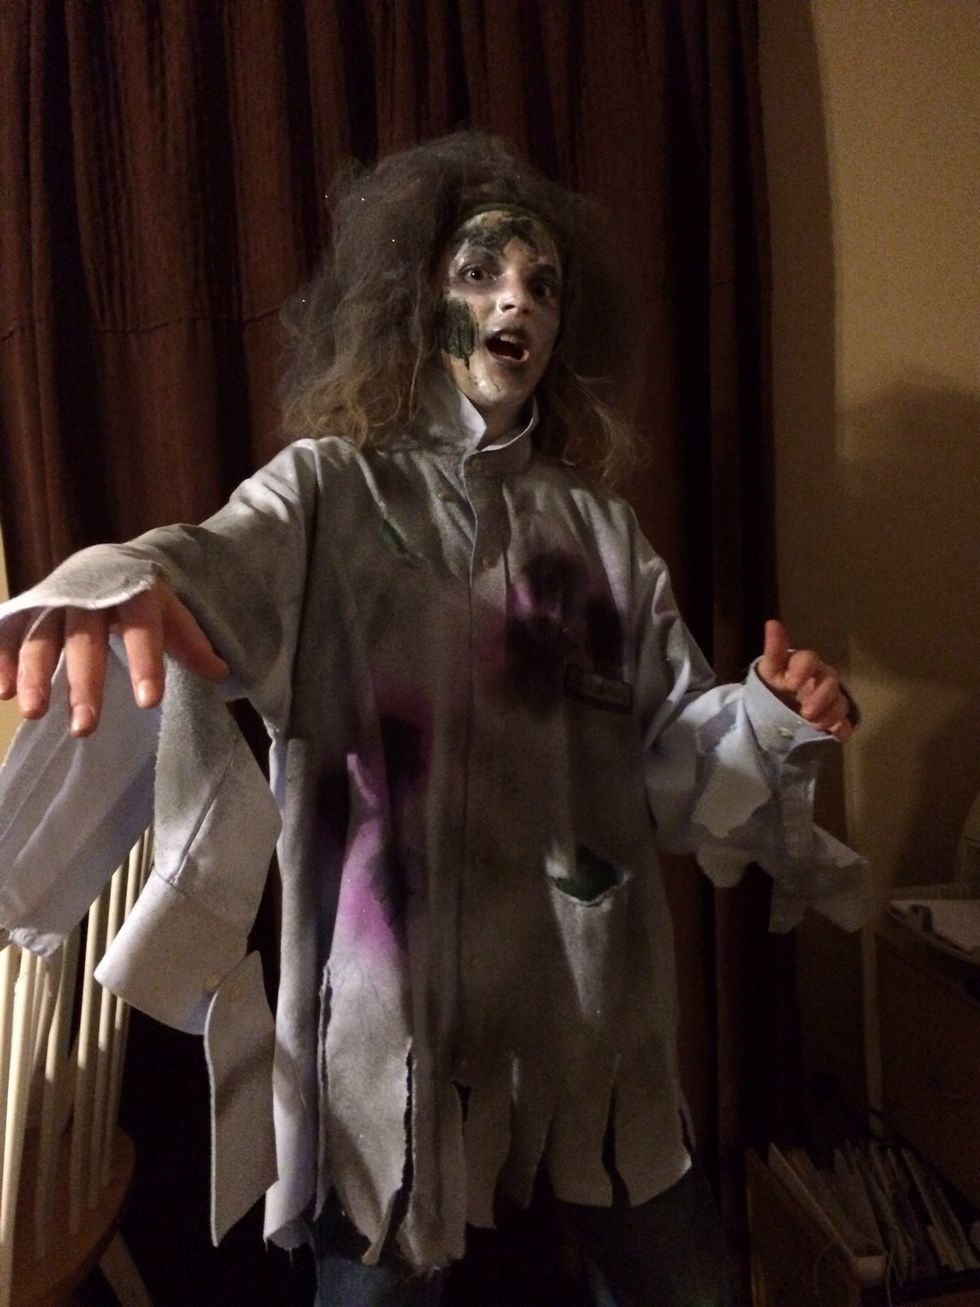
Add the Zombie clothing for a completed look.
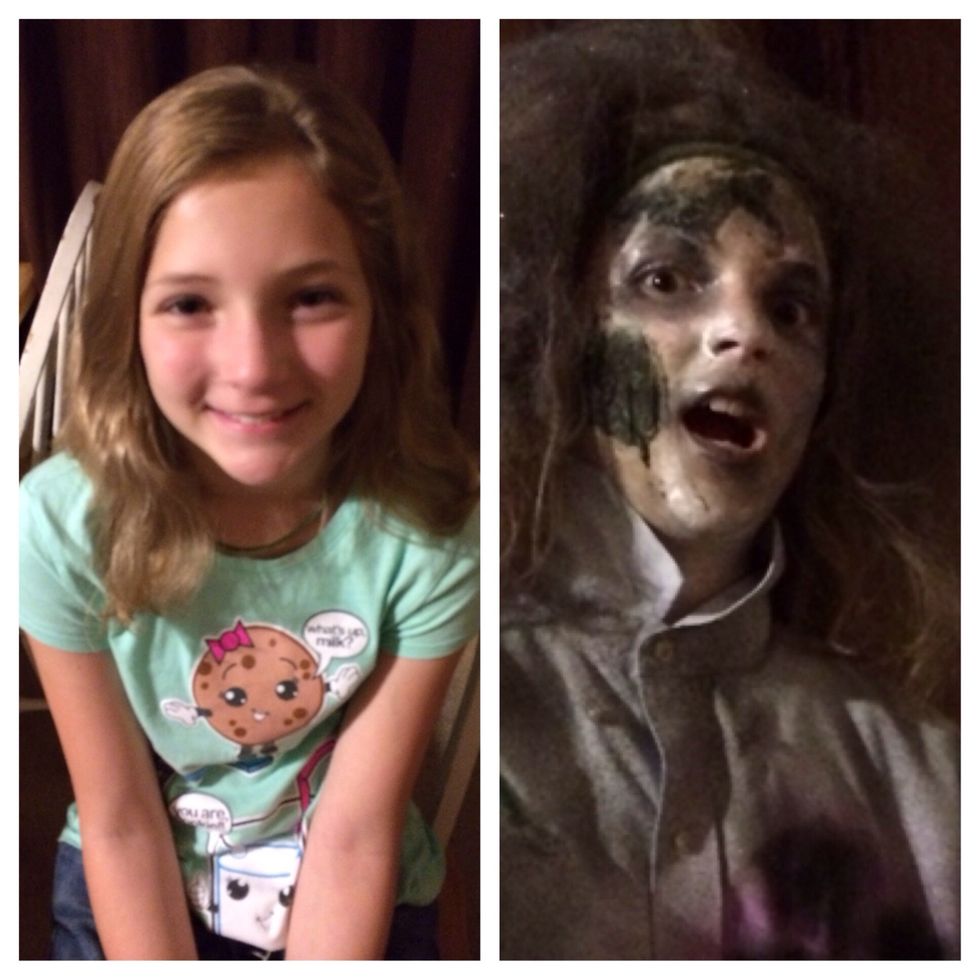
Before and After
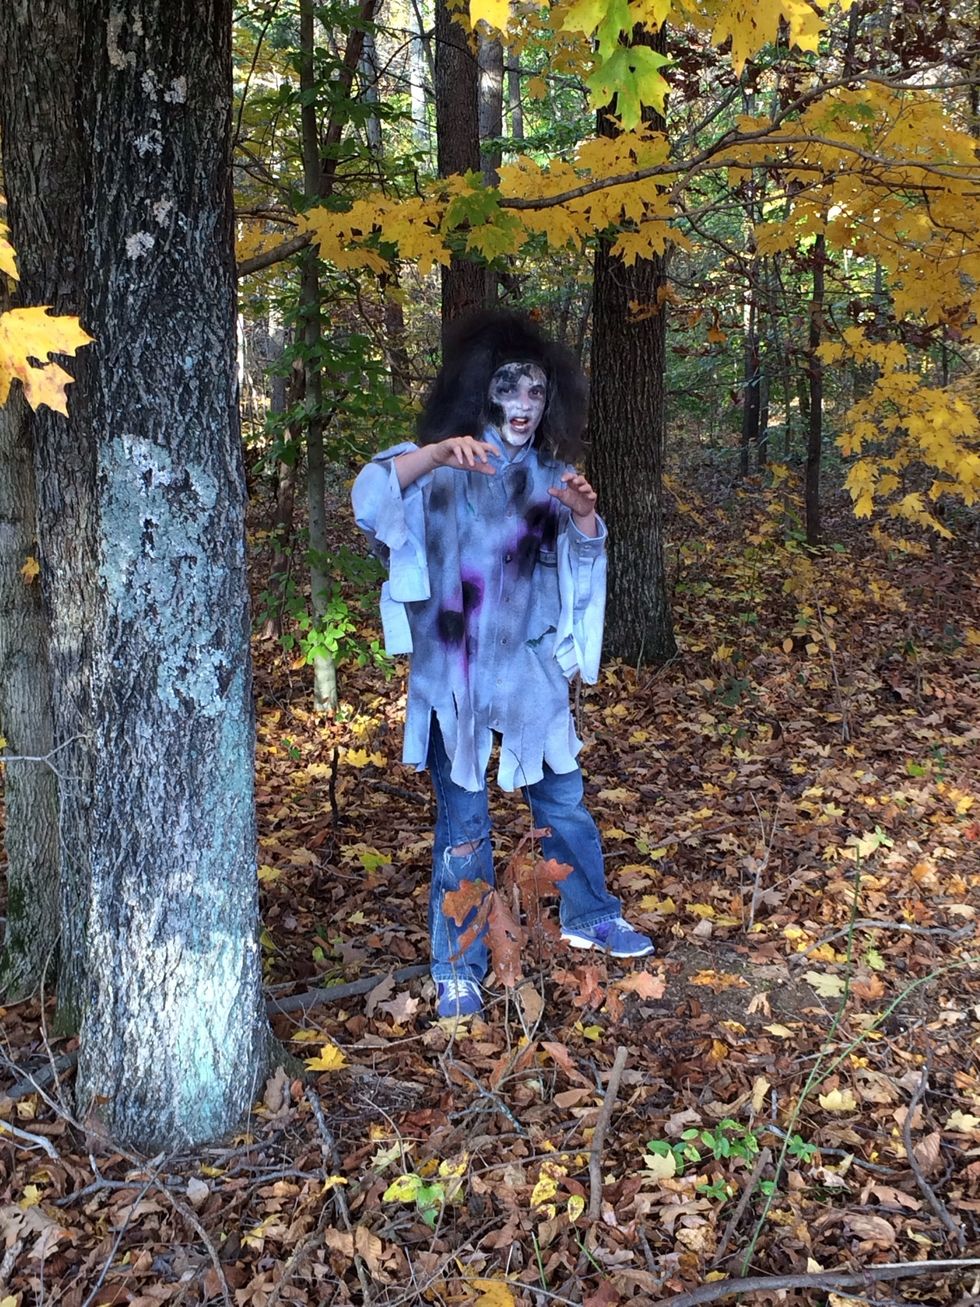
Oh no! Look it's a Zombie in the woods!
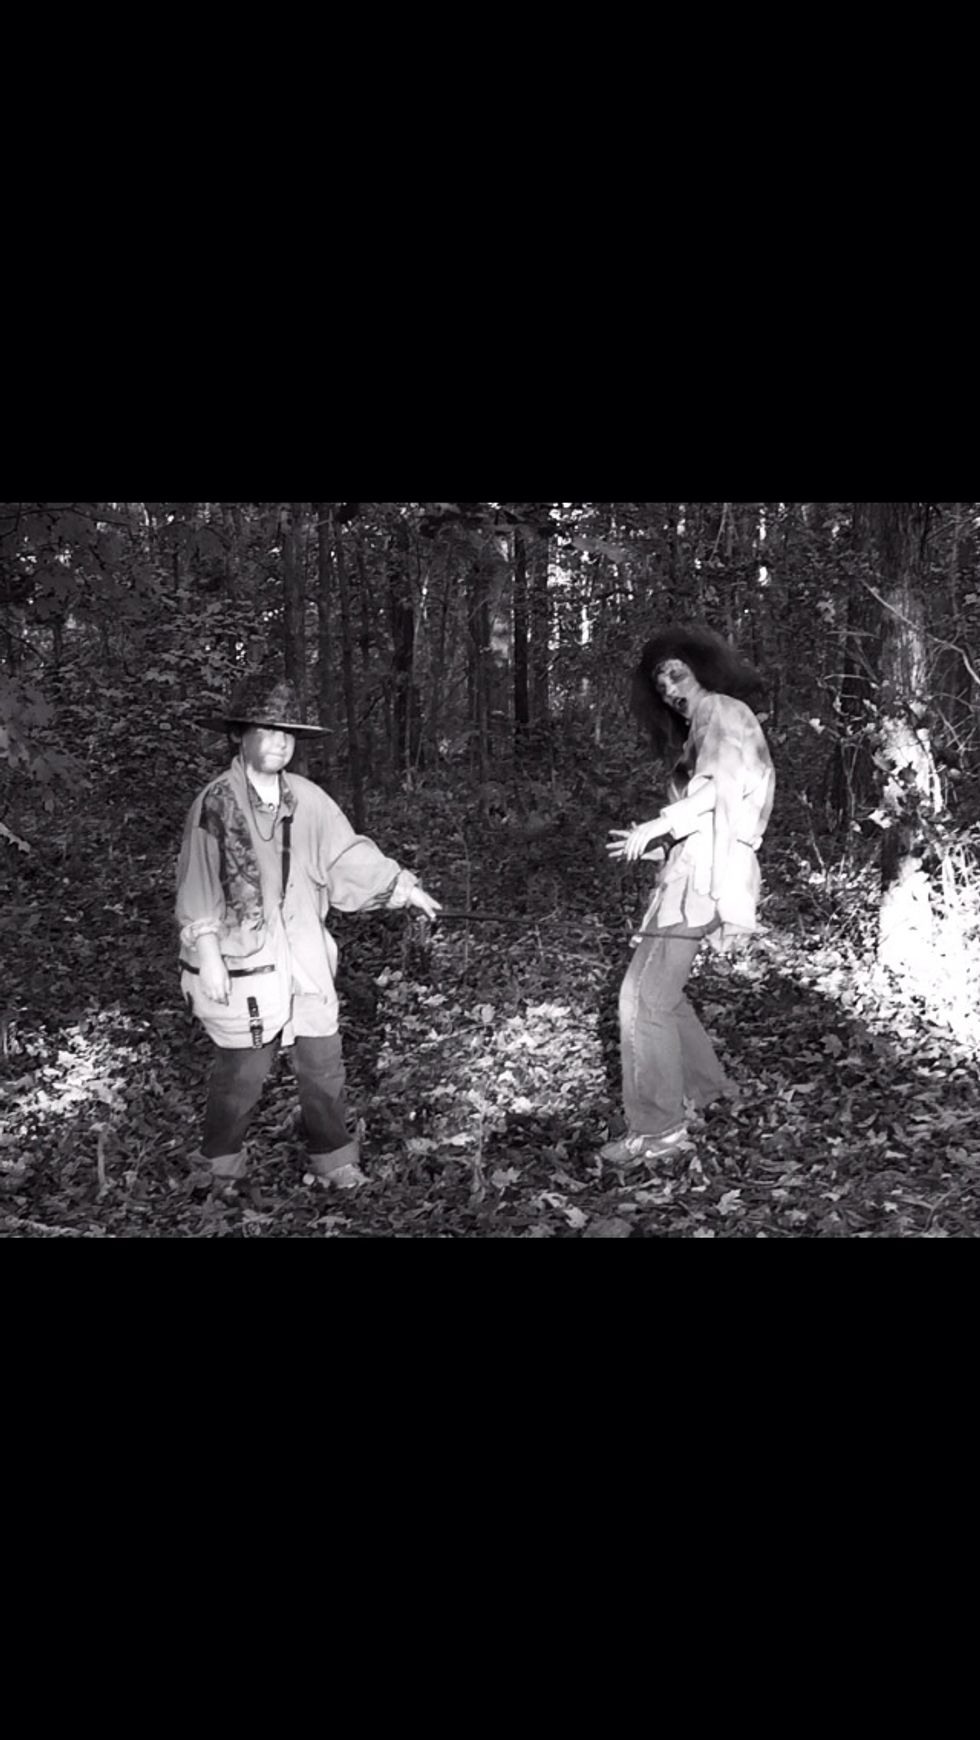
Indiana Jones the Zombie Slayer caught the Zombie with his trusty whip!