The Conversation (0)
Sign Up
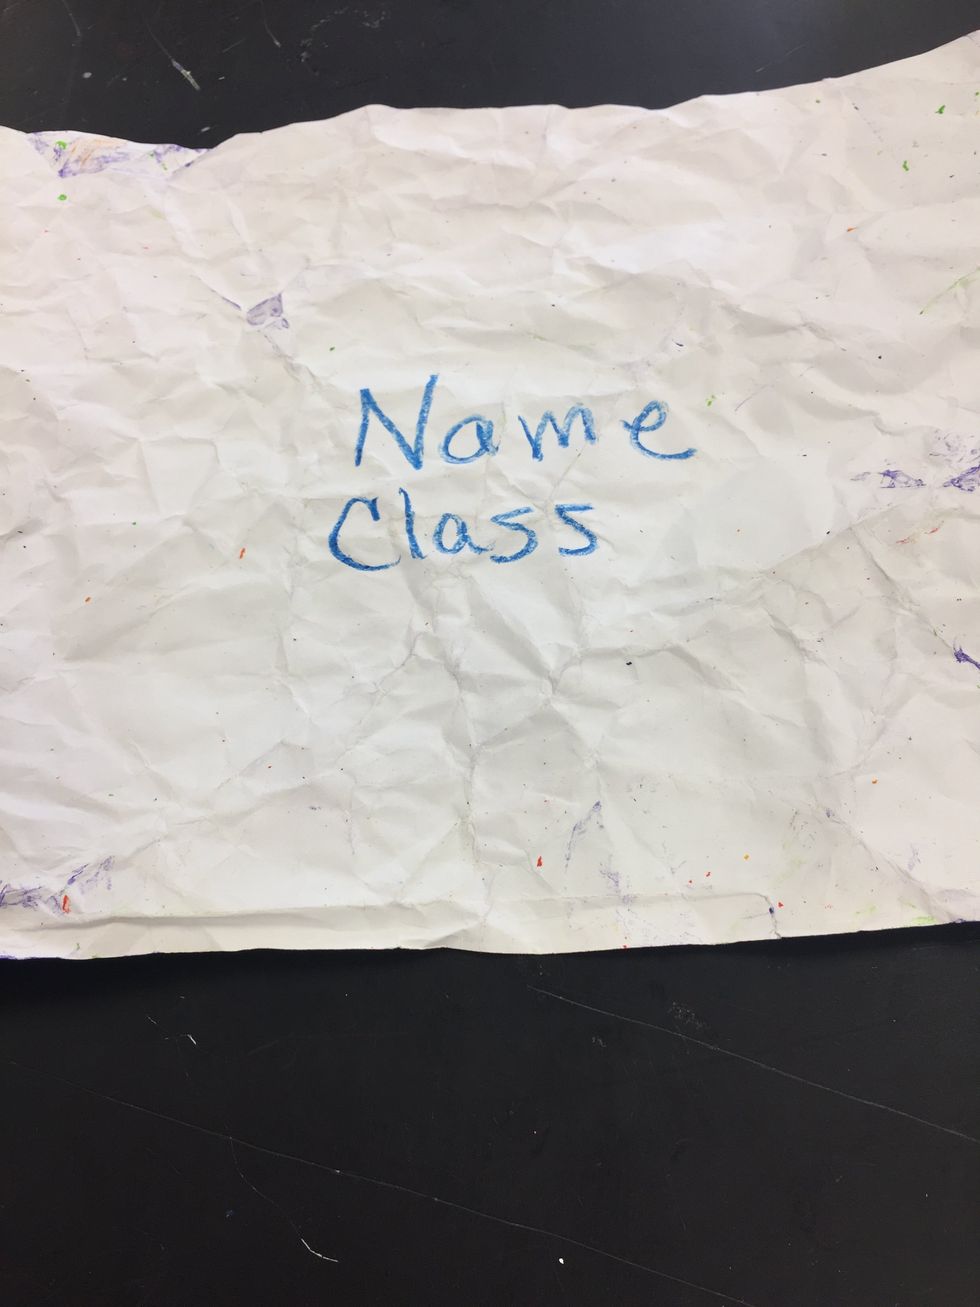
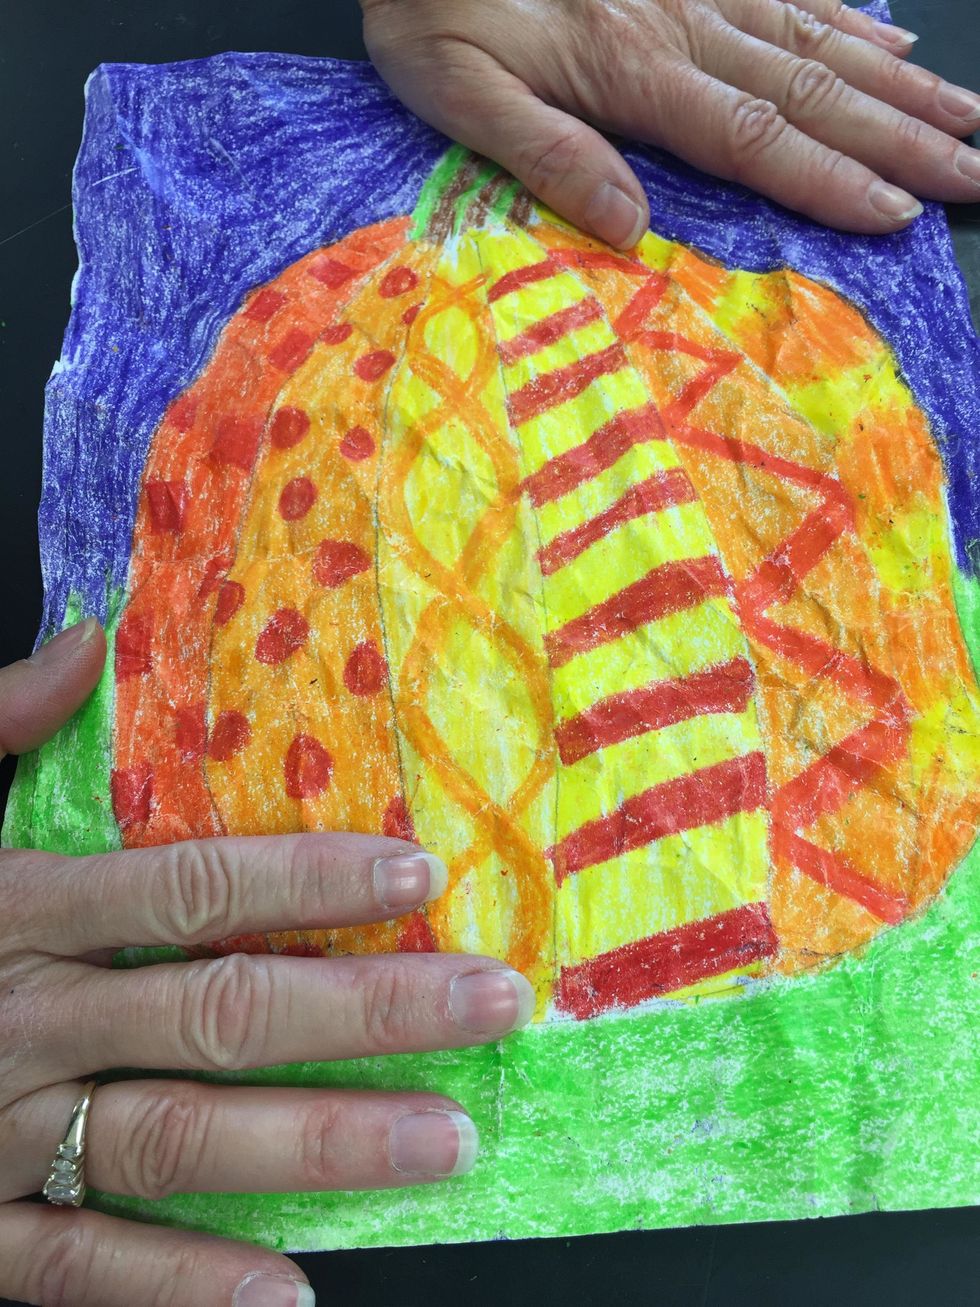
Make sure your first name, last initial, and class is on the back.
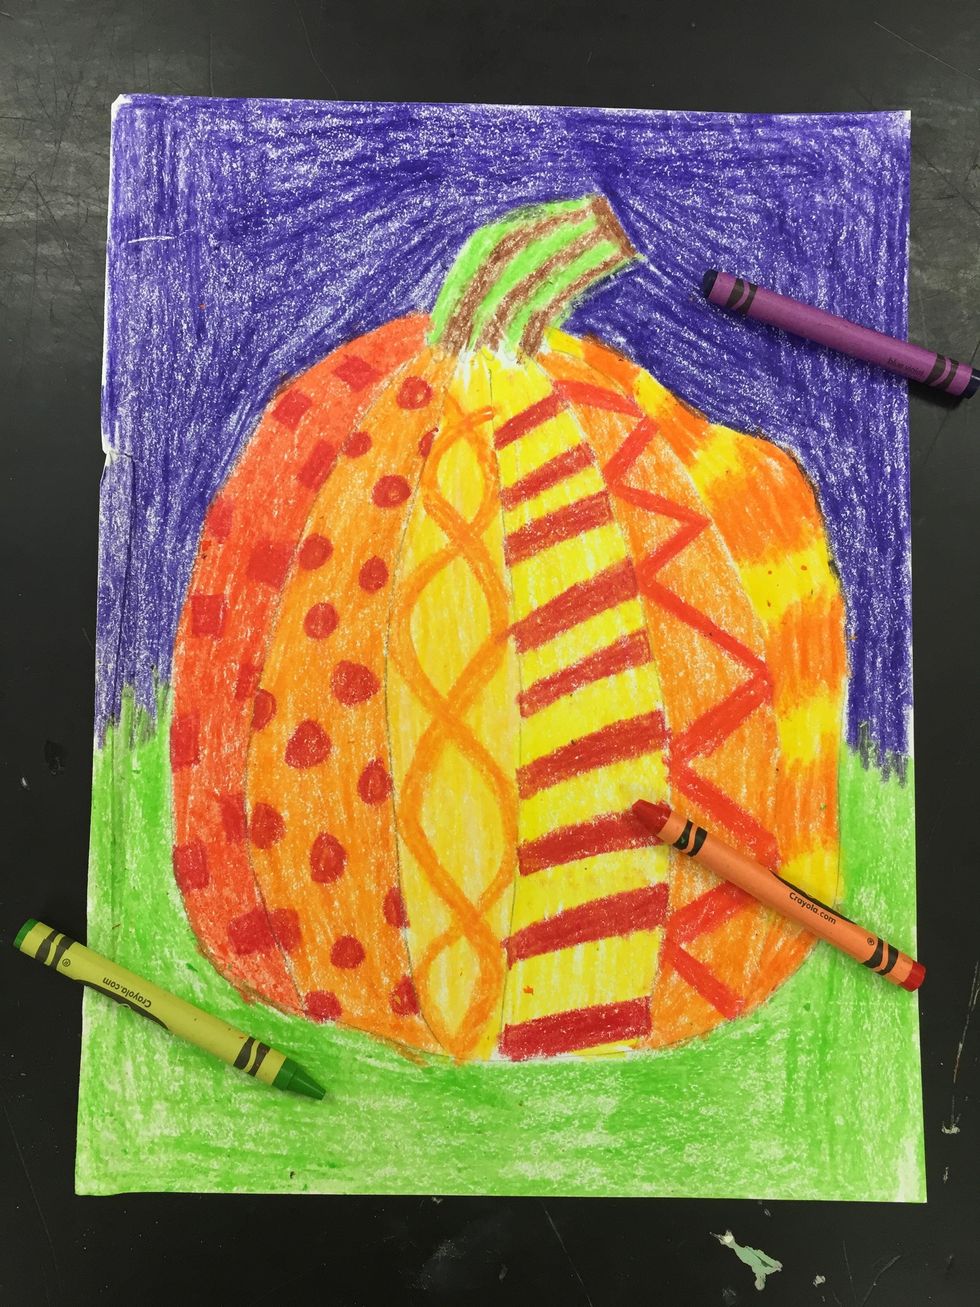
Make sure your colors are bright and there is NO WHITE SHOWING!
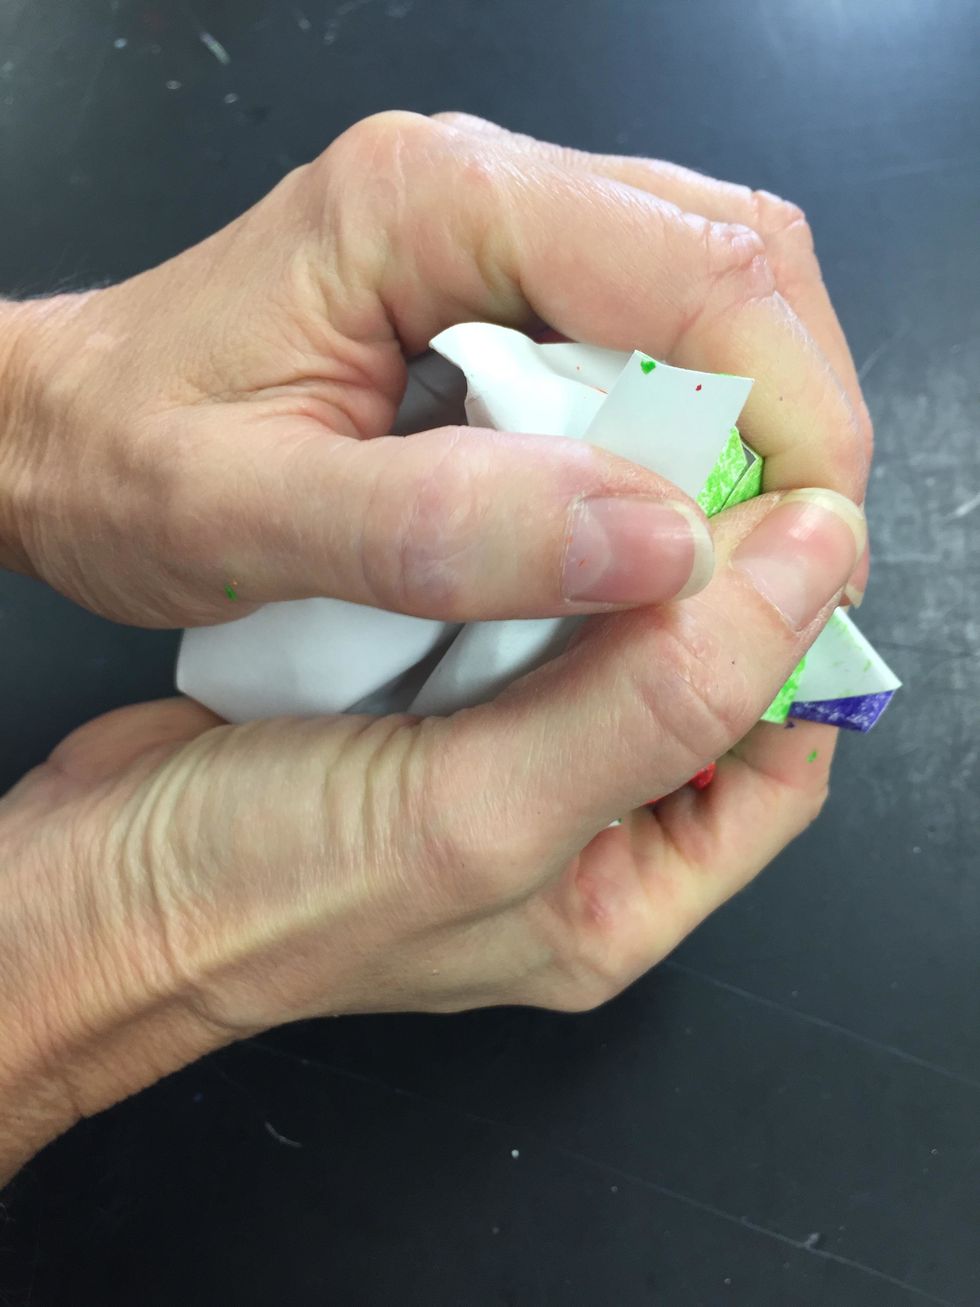
Crumple your project!
Flatten it out.
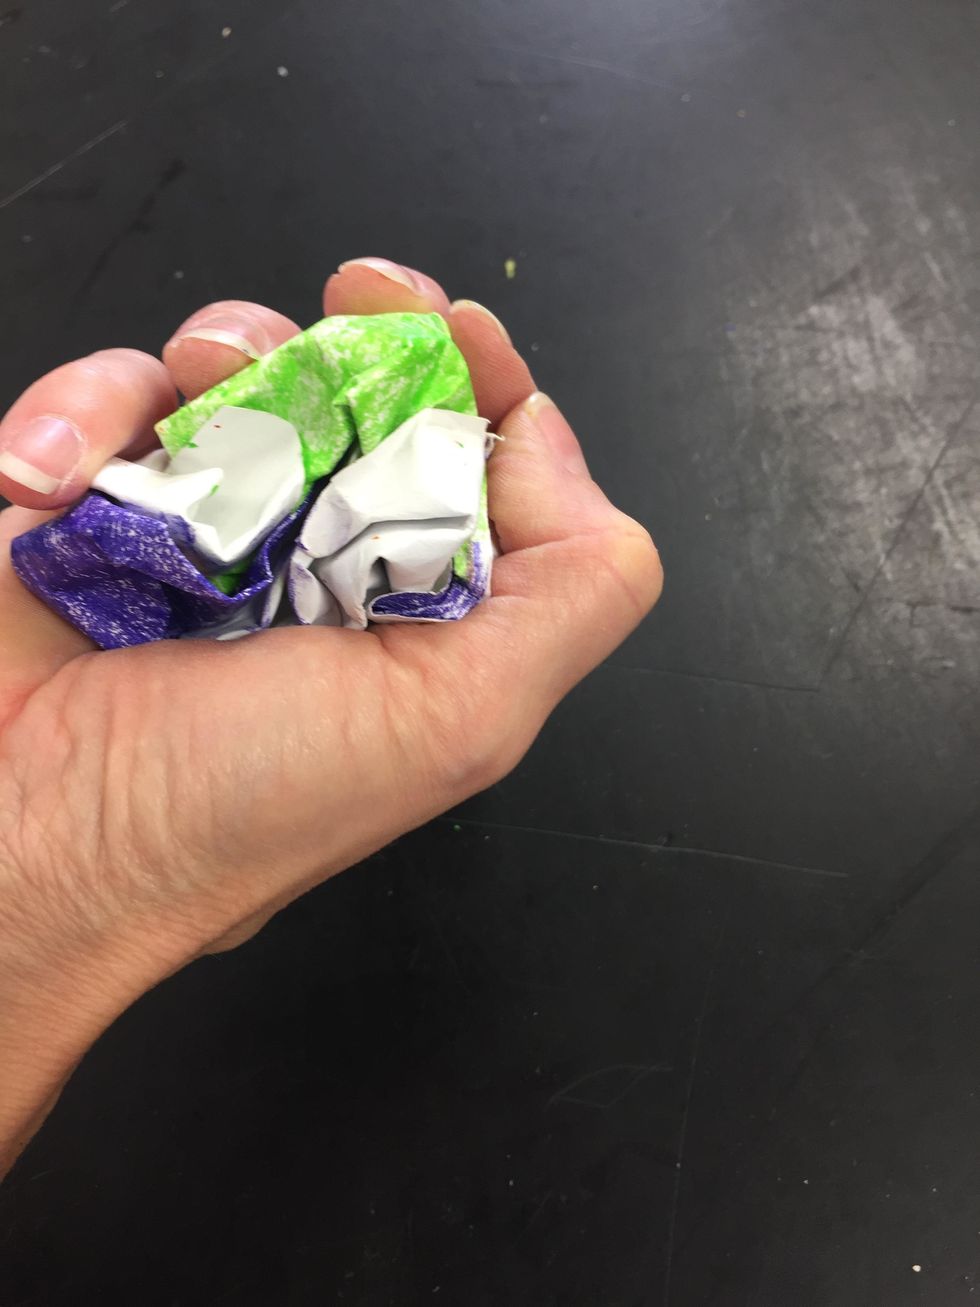
Crumple AGAIN!
Smooth it out again!
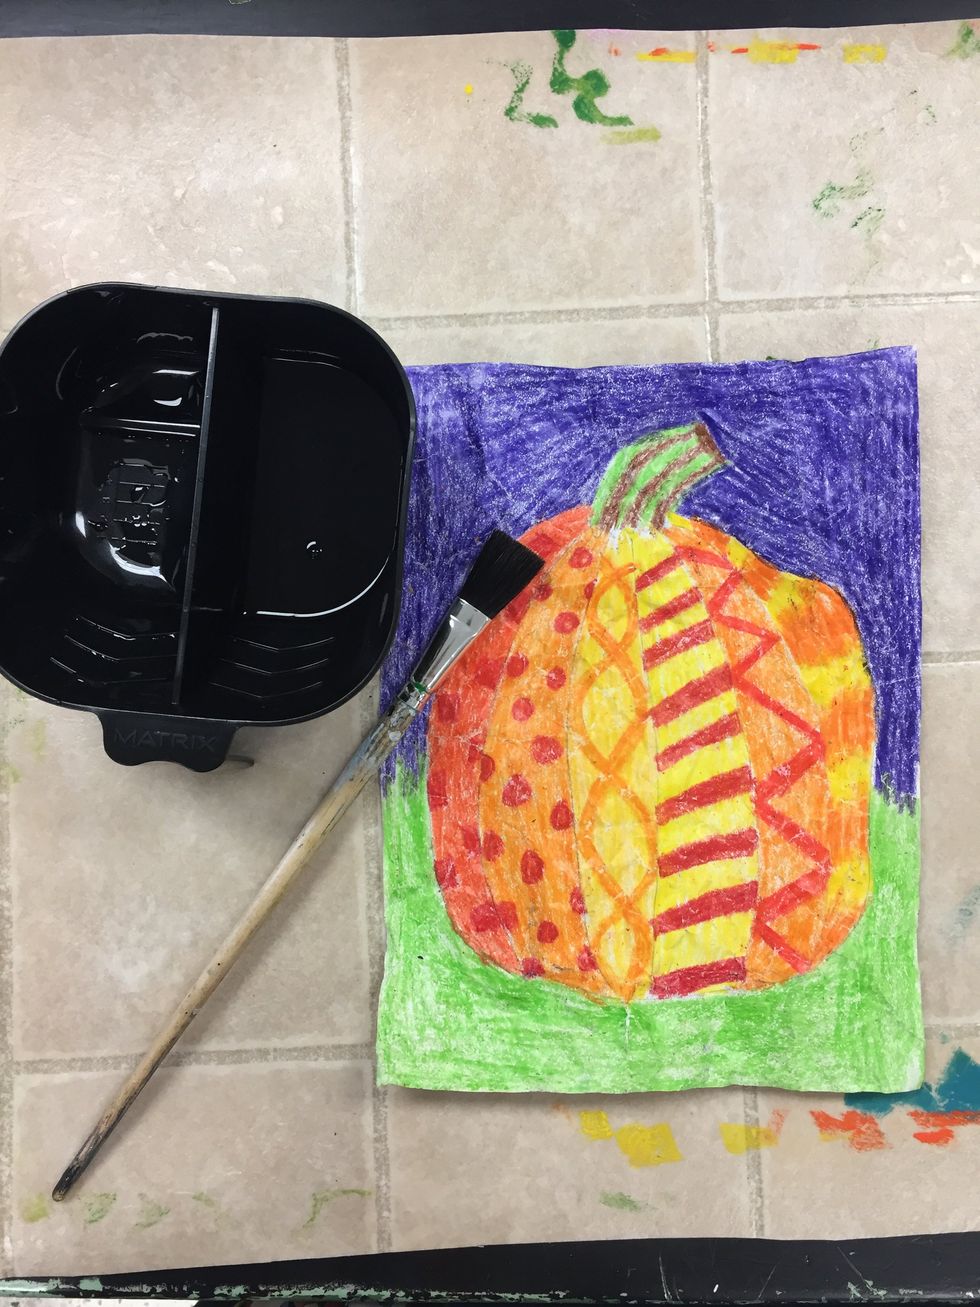
Take it to a paint center.
With ONE paint dip, try to cover at least HALF of your paper before you dip again. SPREAD the paint out really well! Don't re-dip until you can't spread any more!
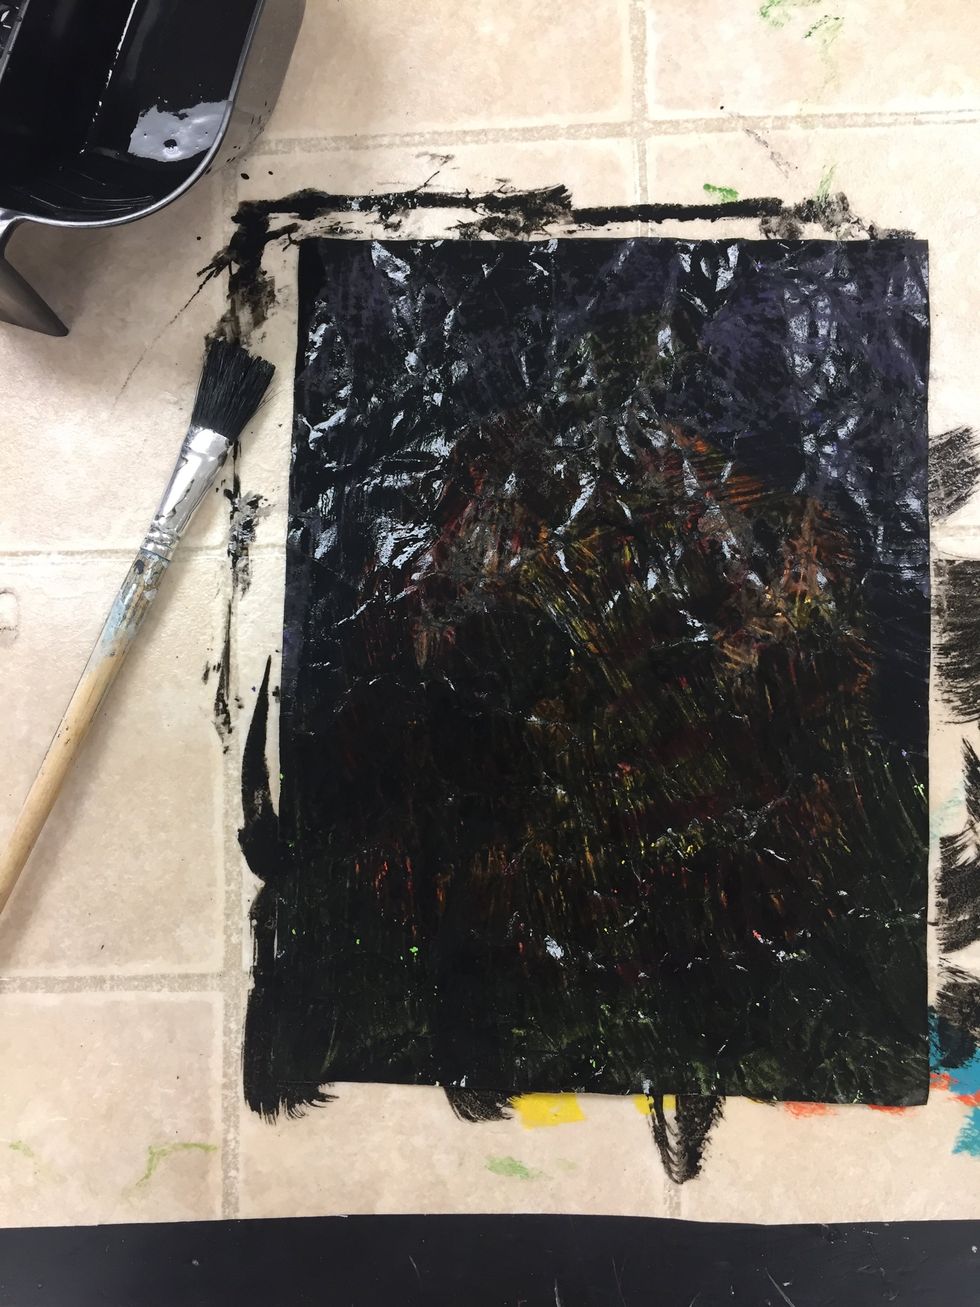
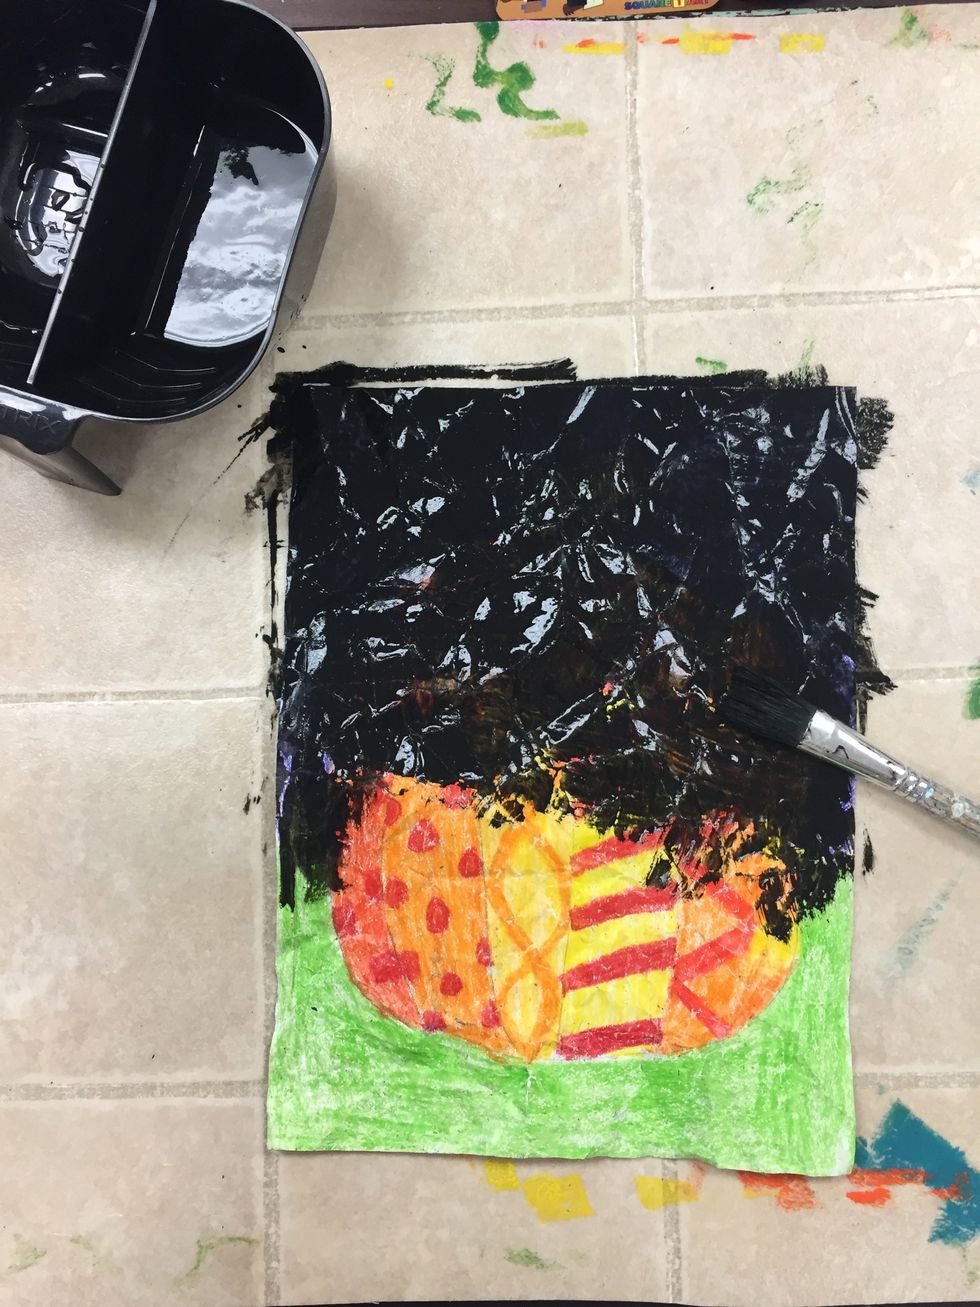
COMPLETELY cover your entire project, including all edges!
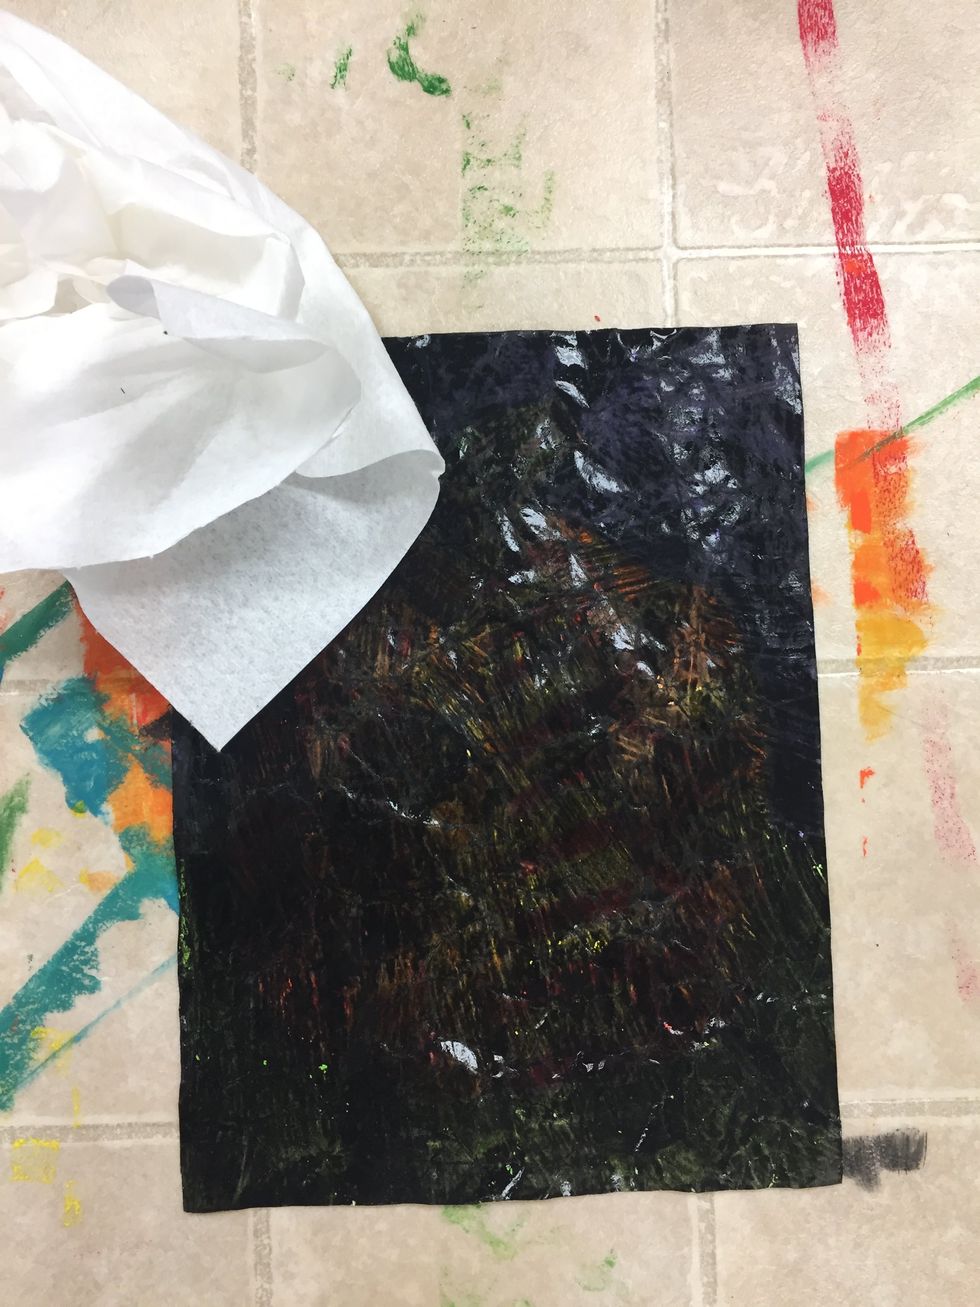
Move your project to the Dry section.
Start wiping off the paint.
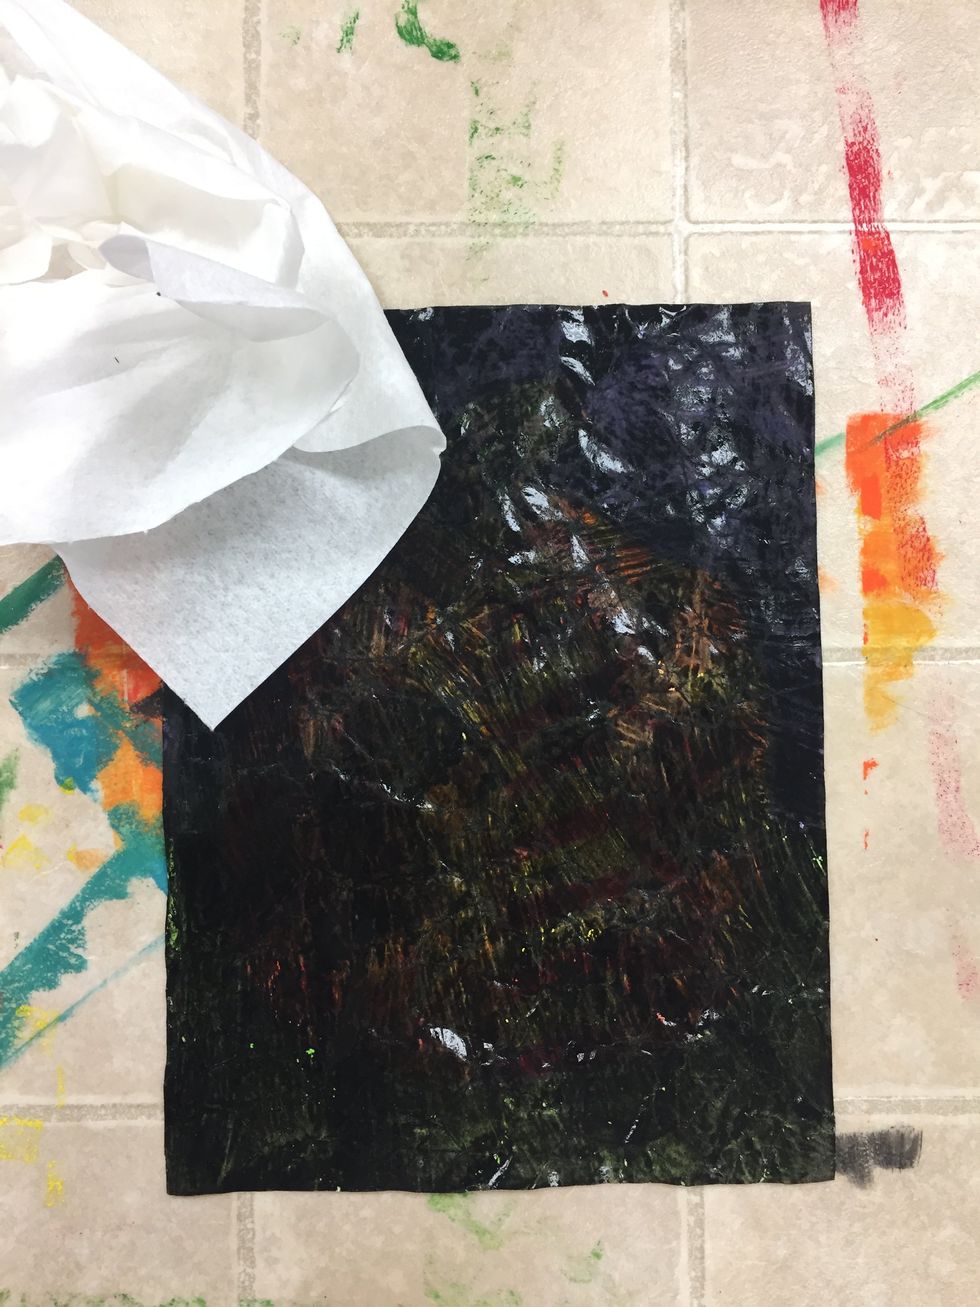
Pull your paper towel from the center to the edges so you don't tear or bunch up your project.
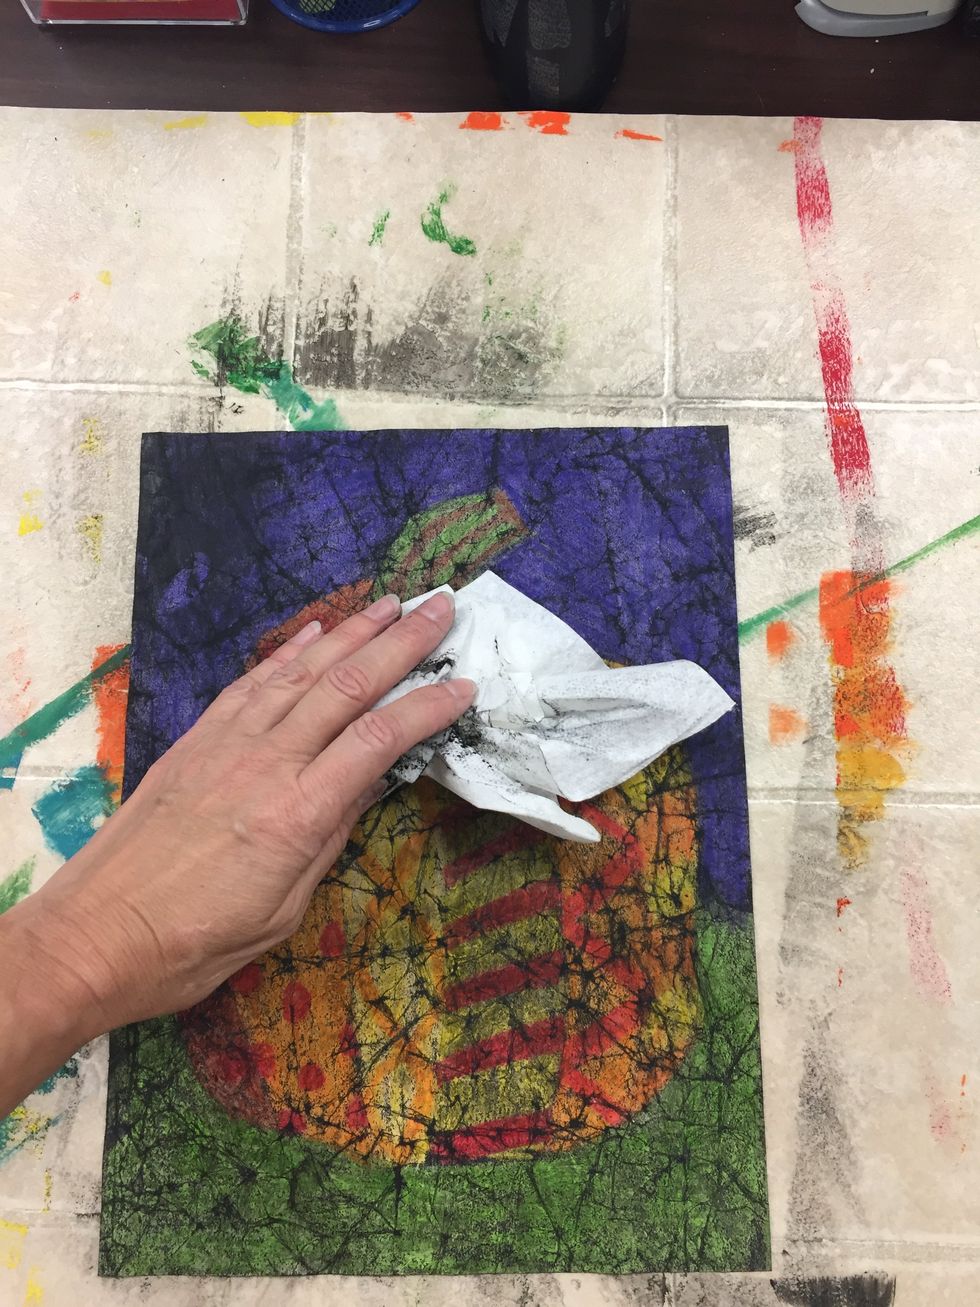
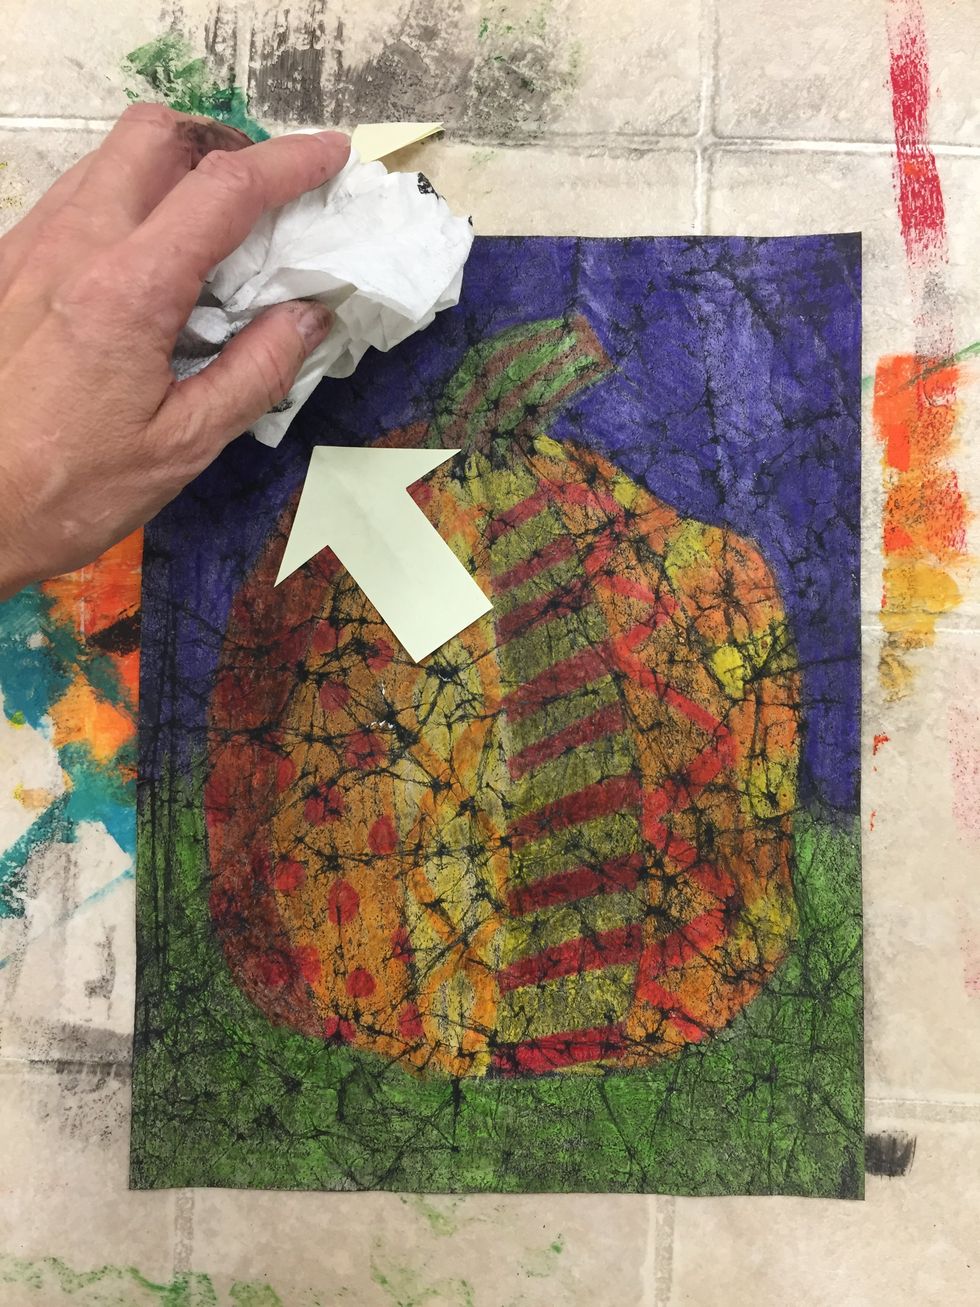
Wipe until your crayon starts to look bright again.
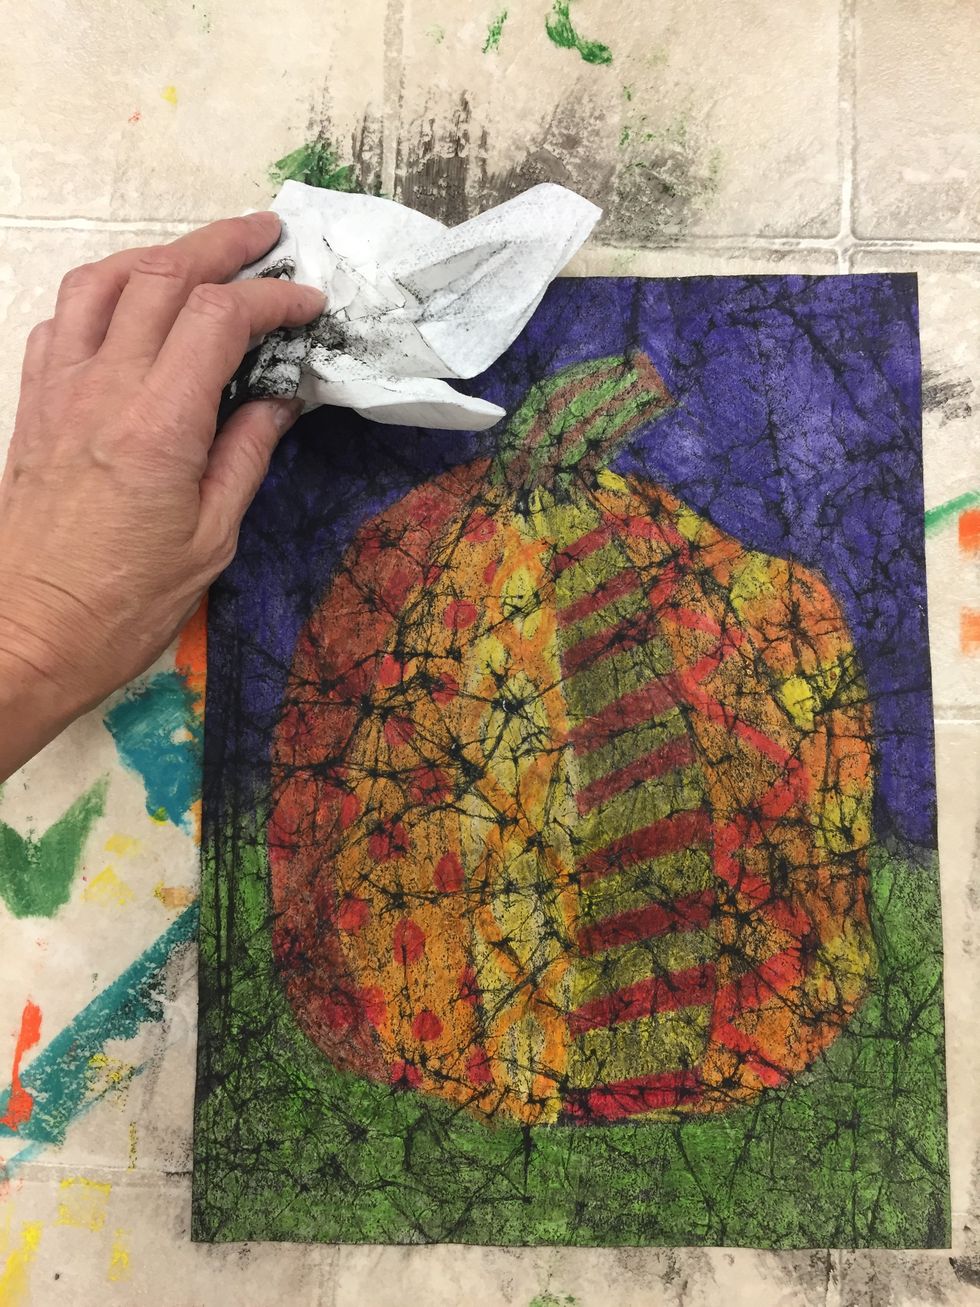
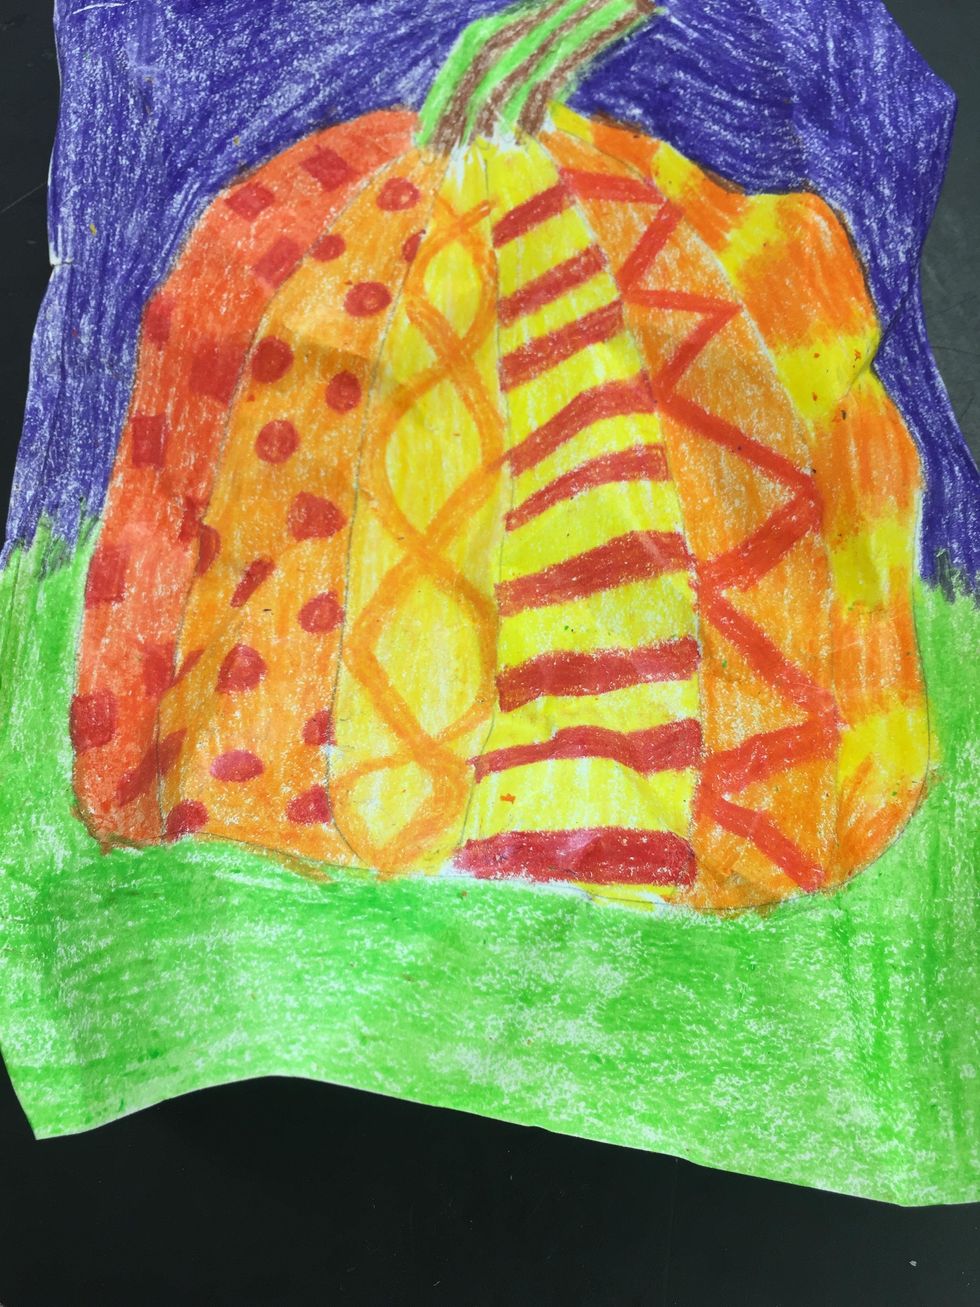
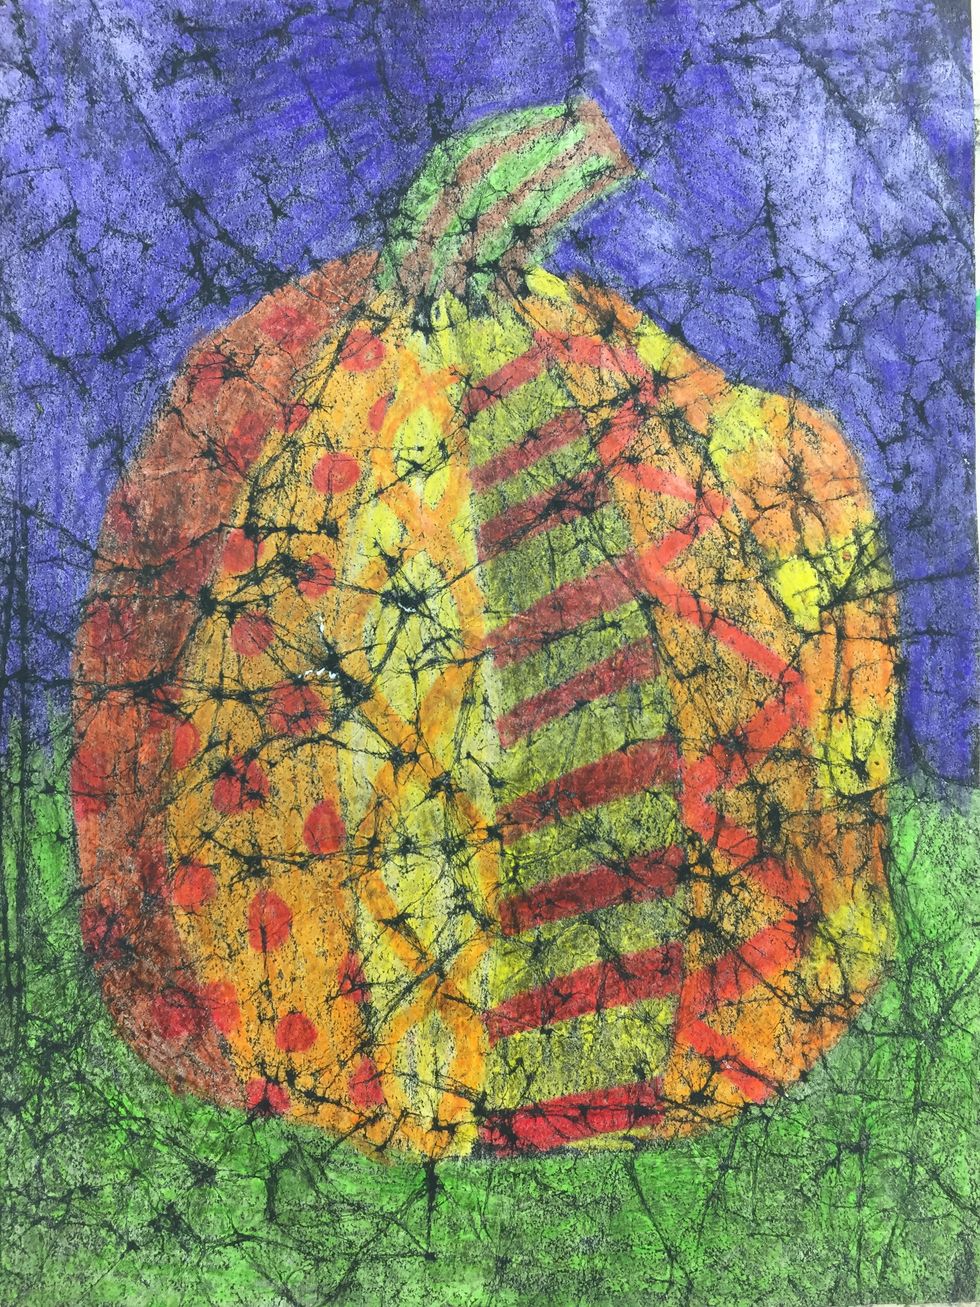
Check out the Batik effect!
You're almost done. Fill out a rubric. Put the rubric under your project on the drying rack.