The Conversation (0)
Sign Up
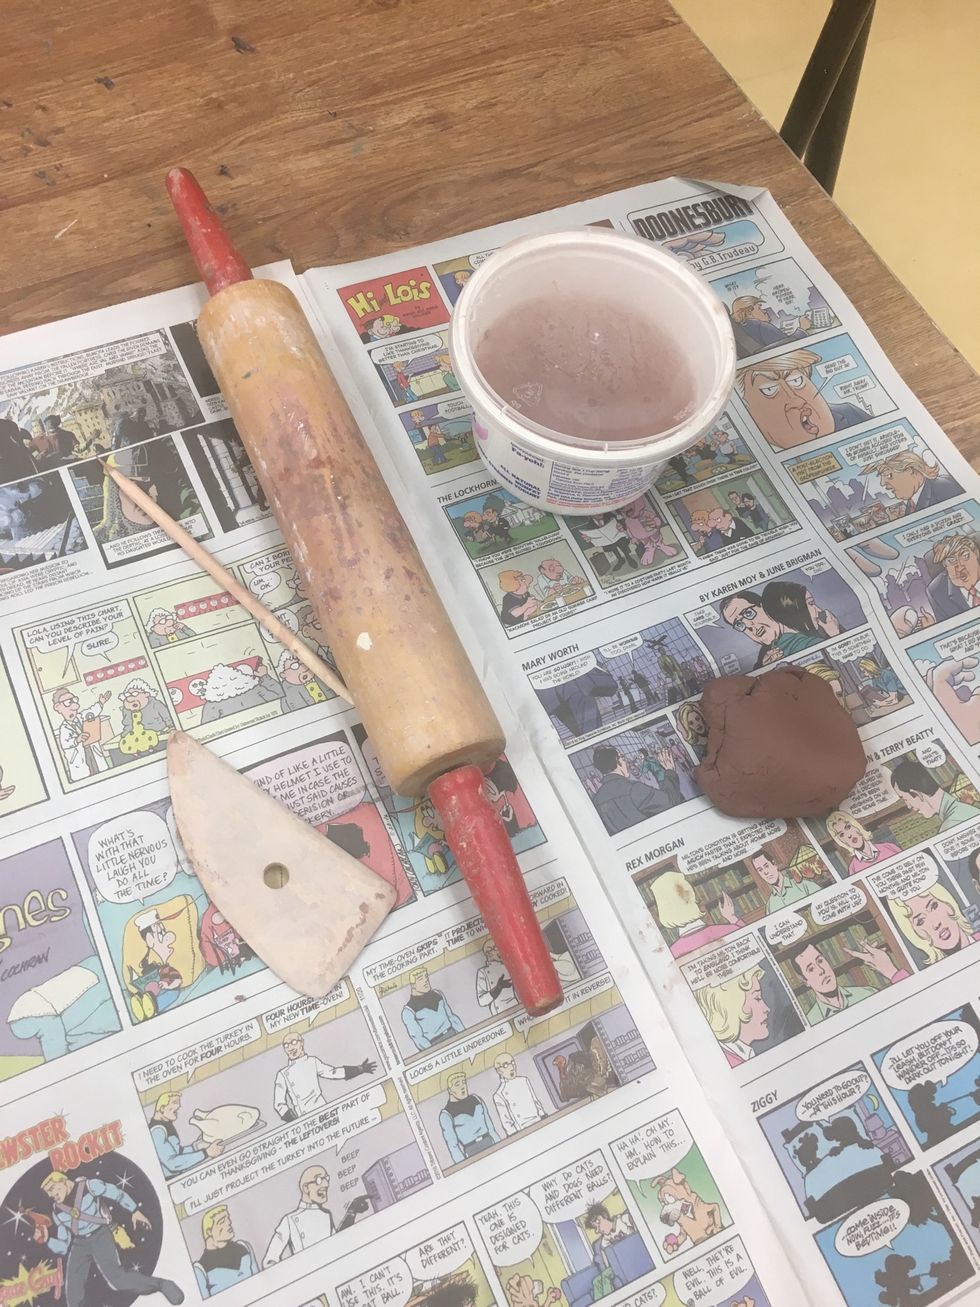
Supplies!

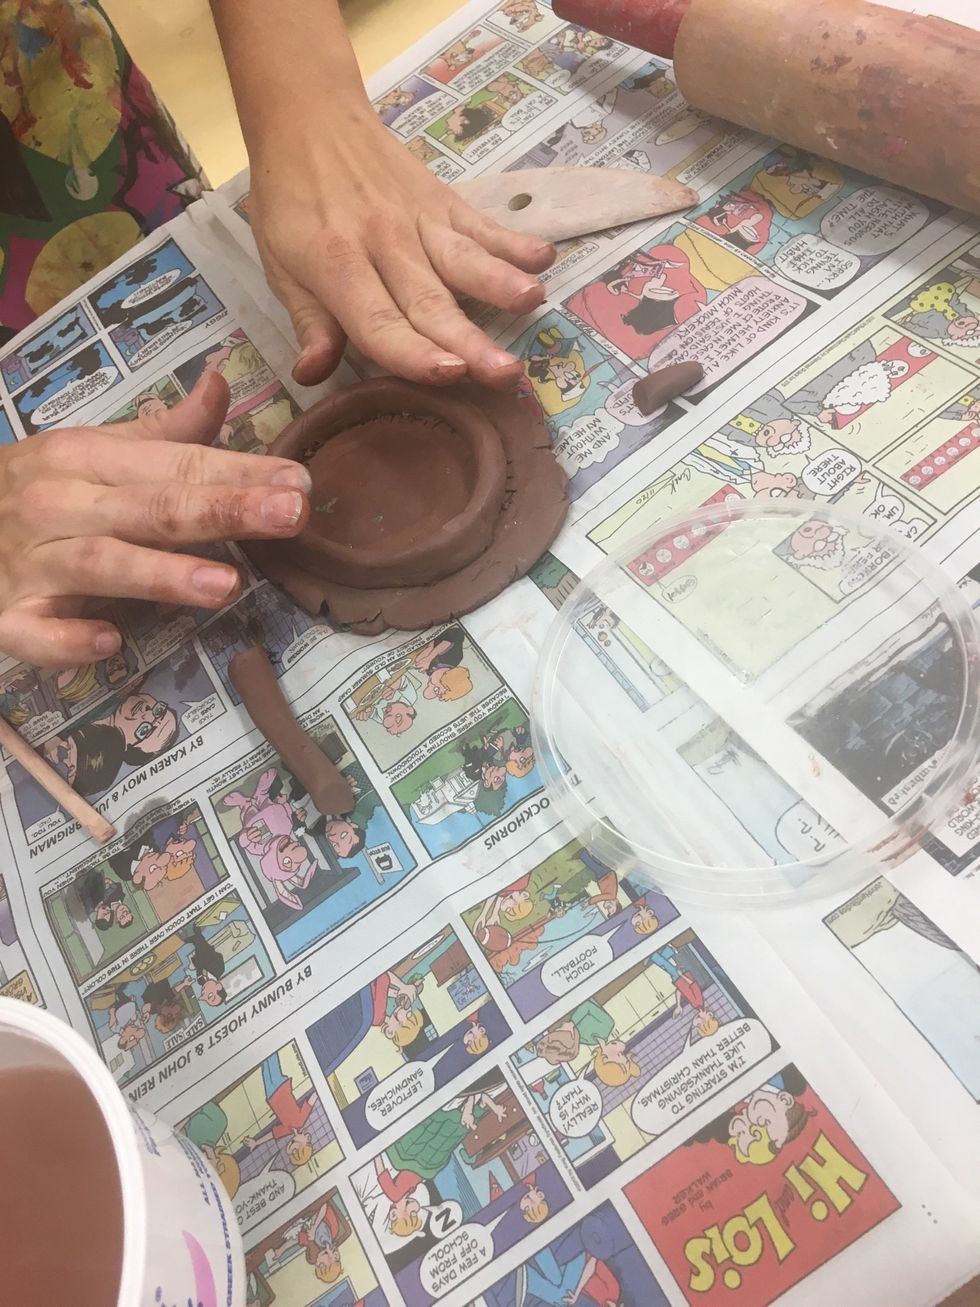
Always start with a base first- roll out to an even 1/4" ( sometimes 1/2 but never thicker than that!)
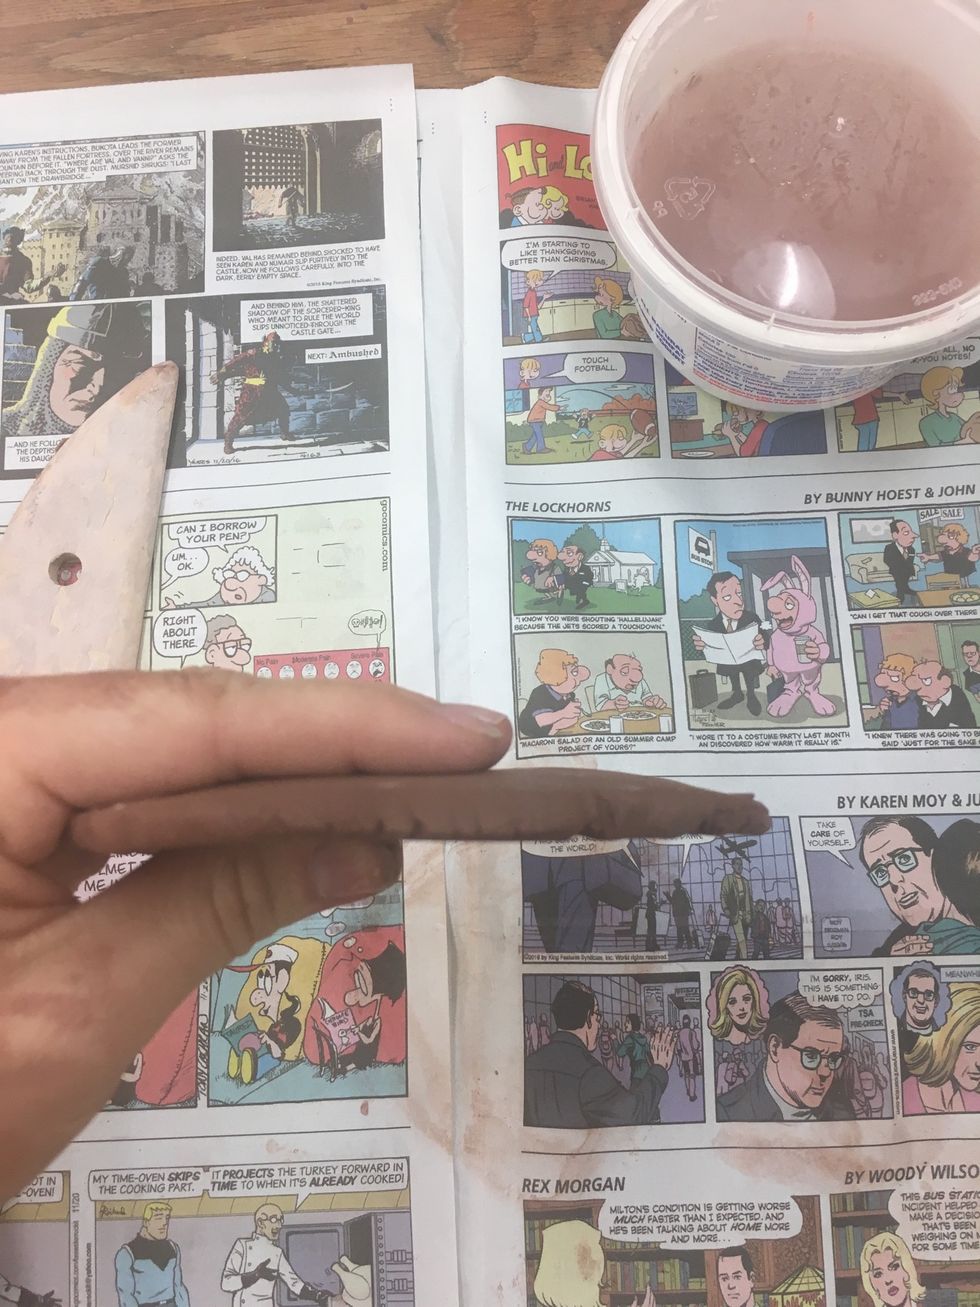
You can use a ruler to measure, or "guesstimate"

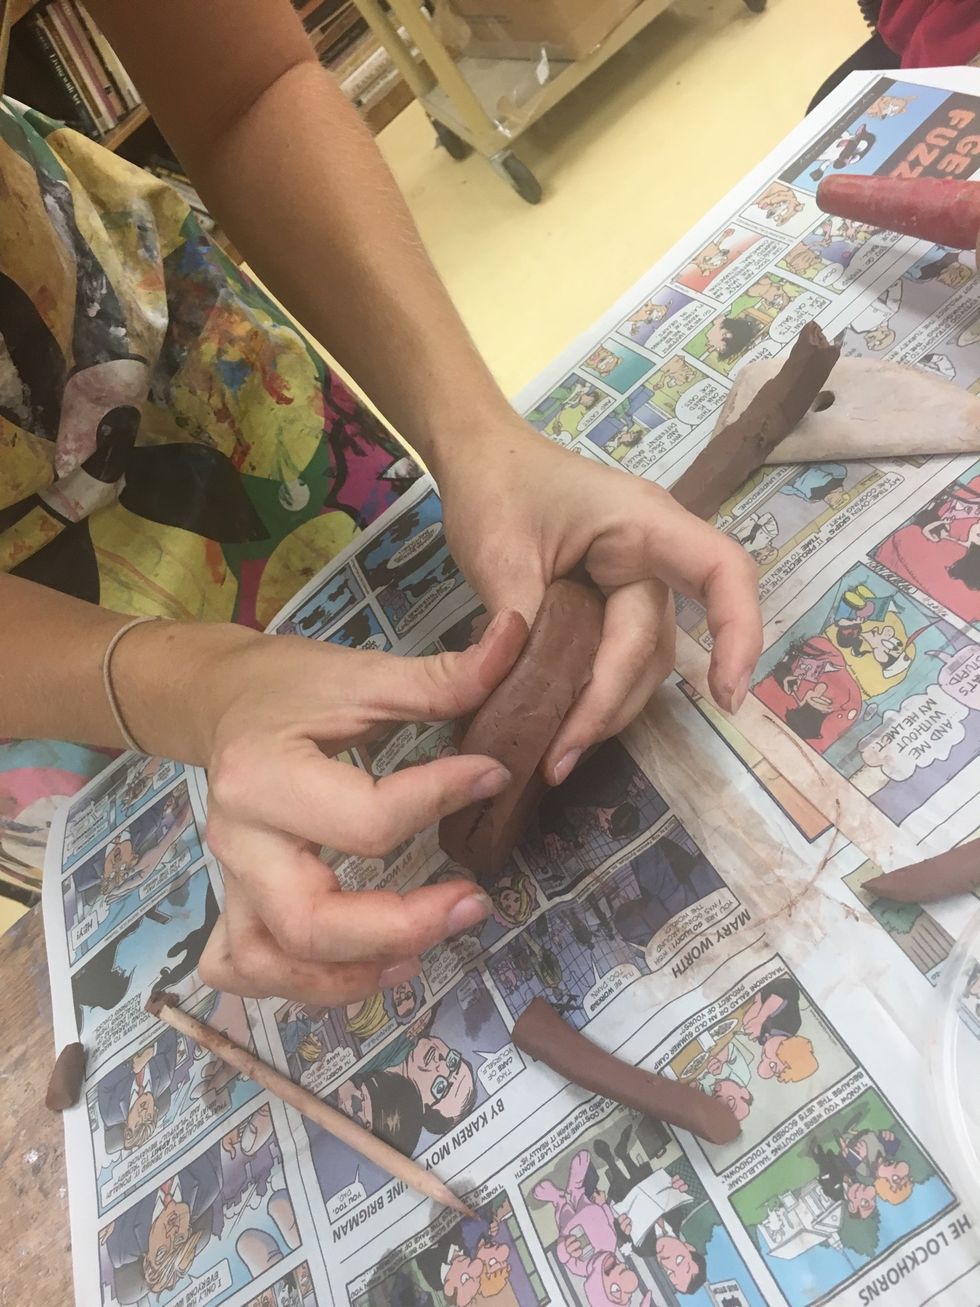
To make a coil, start with a ball of clay and start rubbing back and forth between palms

Check length and trim any access of for a nice flat joint

While first coil is on base, make marks around so you know where to attach
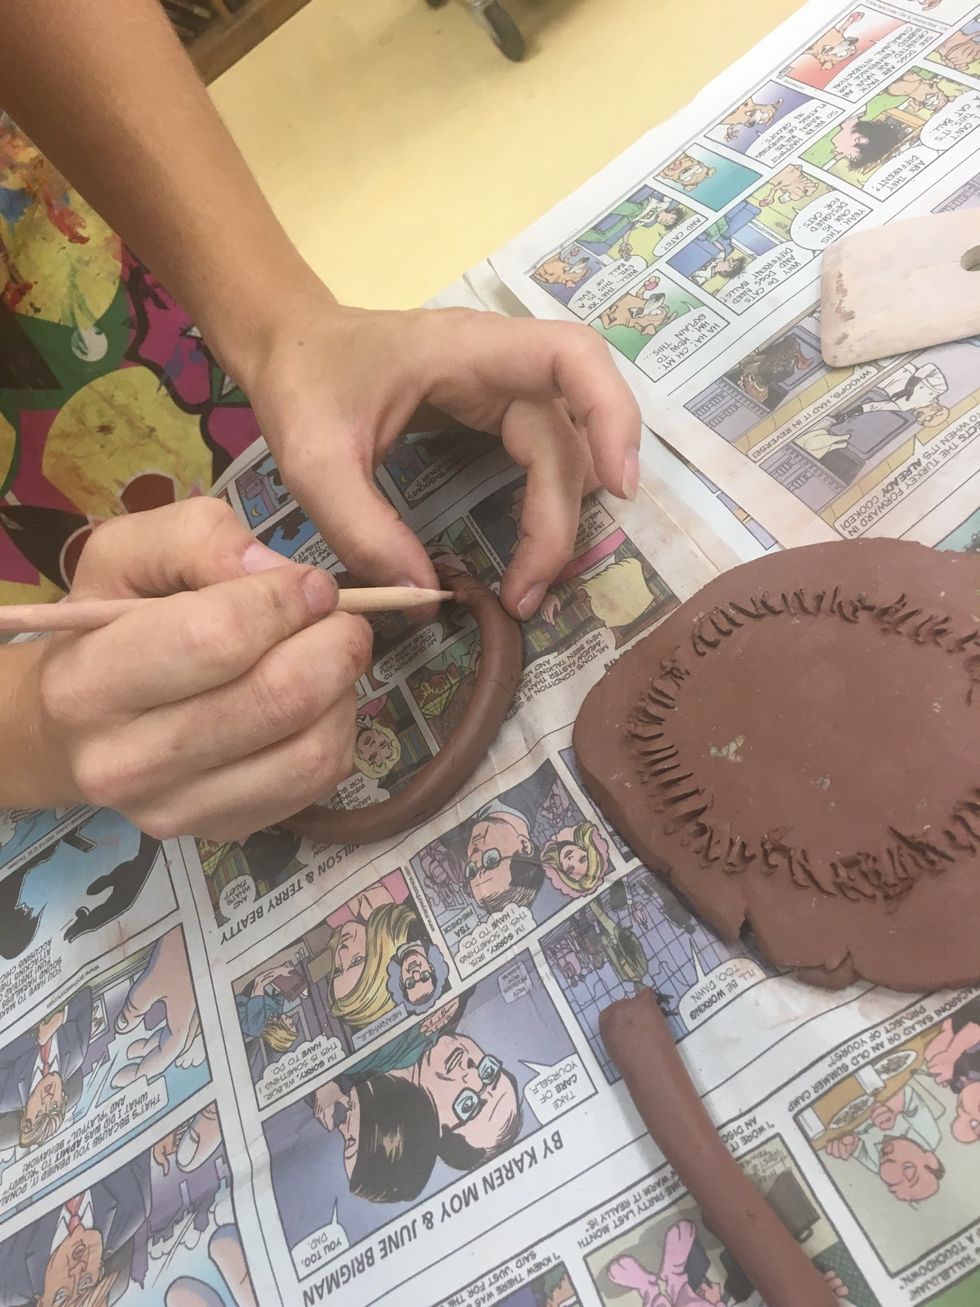
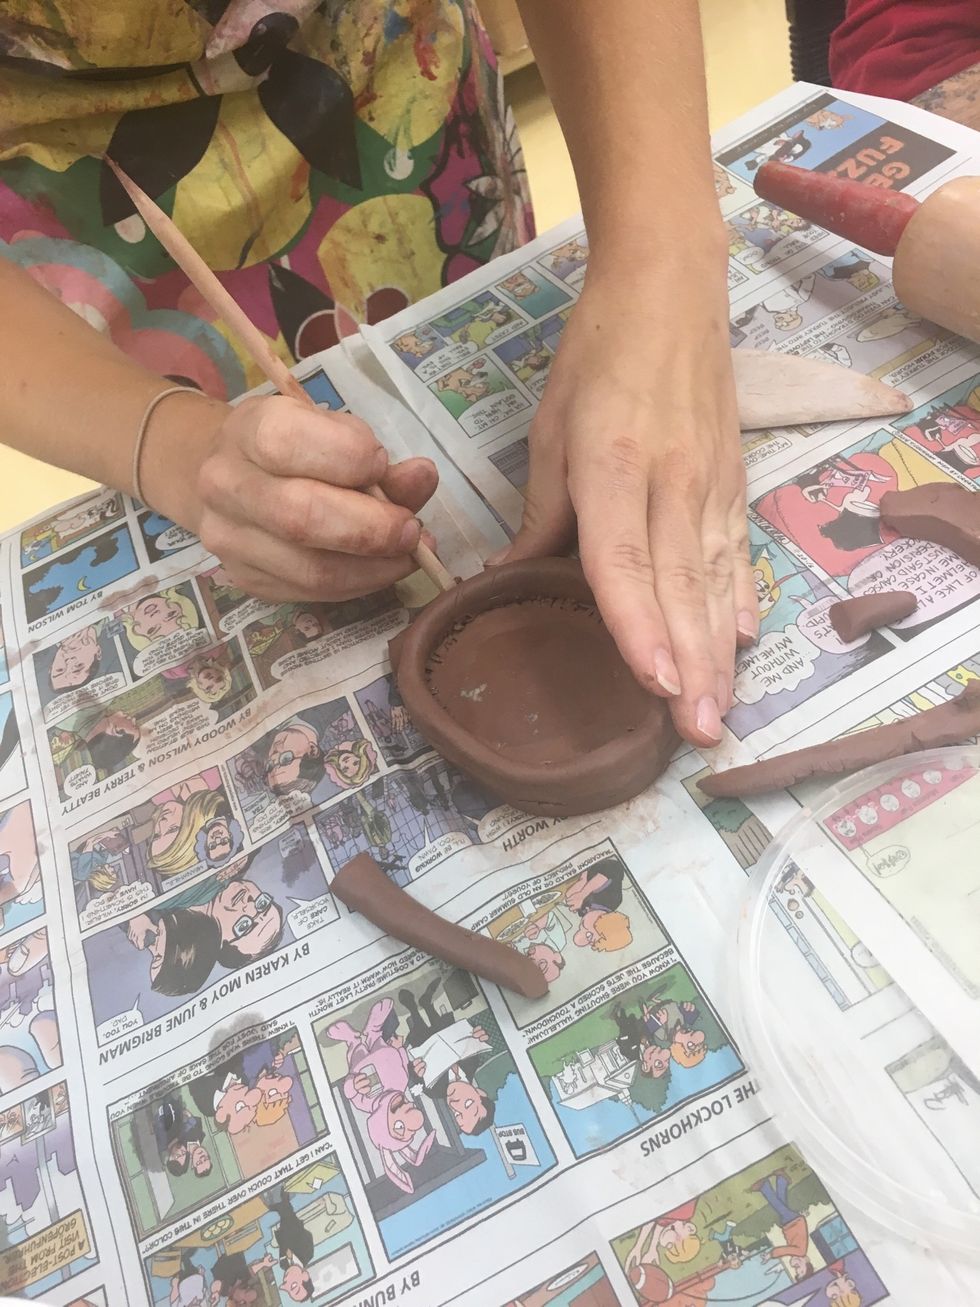
First attach step: SCORE !!
2nd step: SLIP!!
Gently press it into place ...
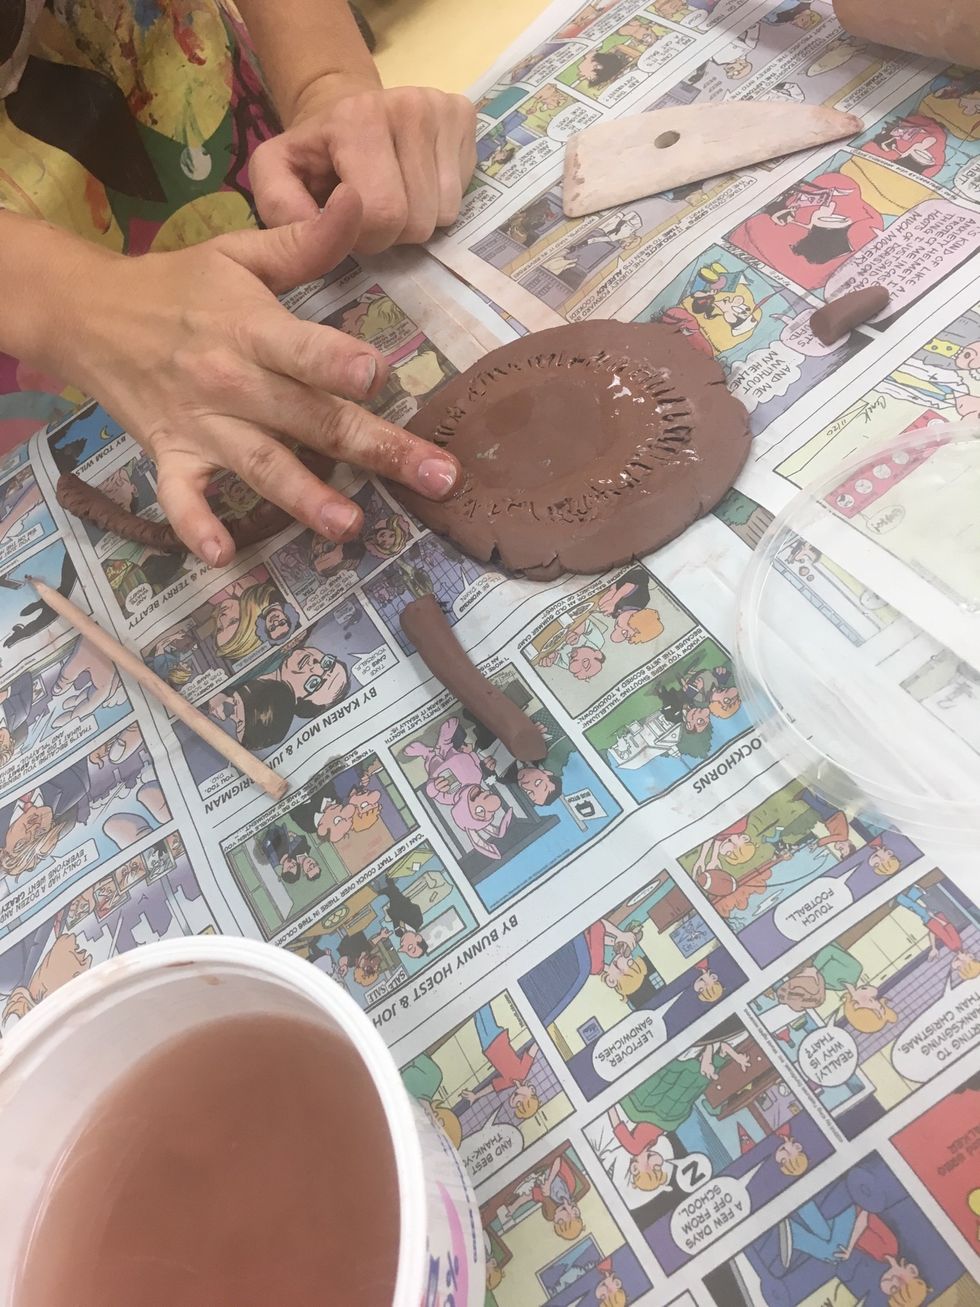
Trim your base carefully around coil
SMOOTH the attachment together