The Conversation (0)
Sign Up
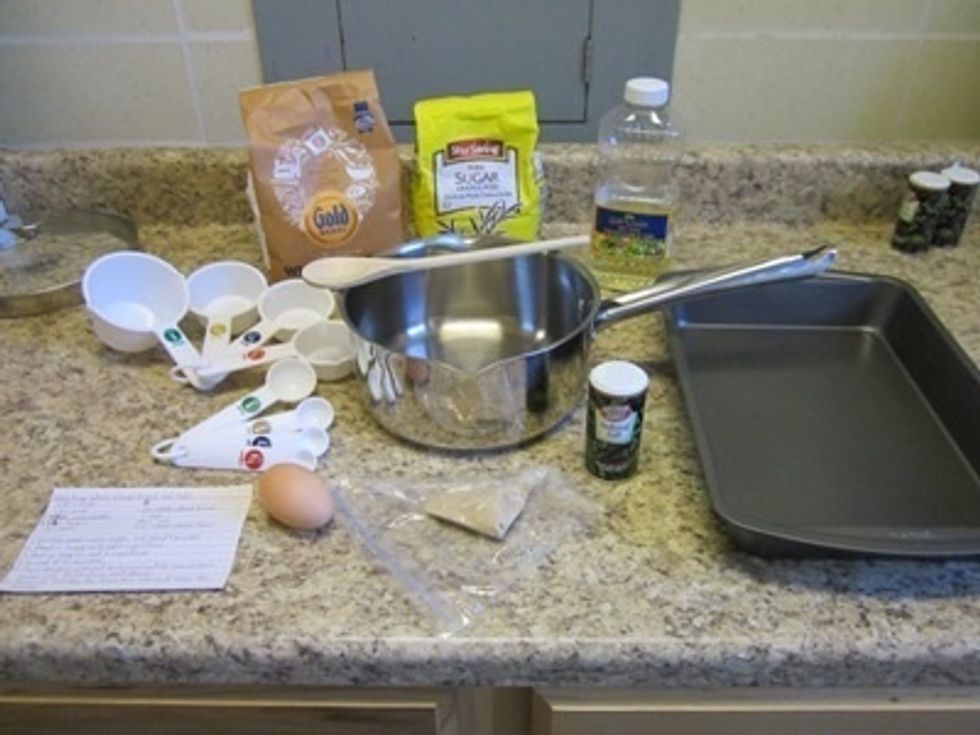
Gather all your supplies. It doesn't really matter if you have an actual bowl or if you have to use a pot instead, like me, but...
IT IS VERY IMPORTANT THAT YOUR FLOUR IS WHOLE WHEAT AND NOT WHITE!!!!!! Otherwise the whole point of Whole Wheat bread is undermined!
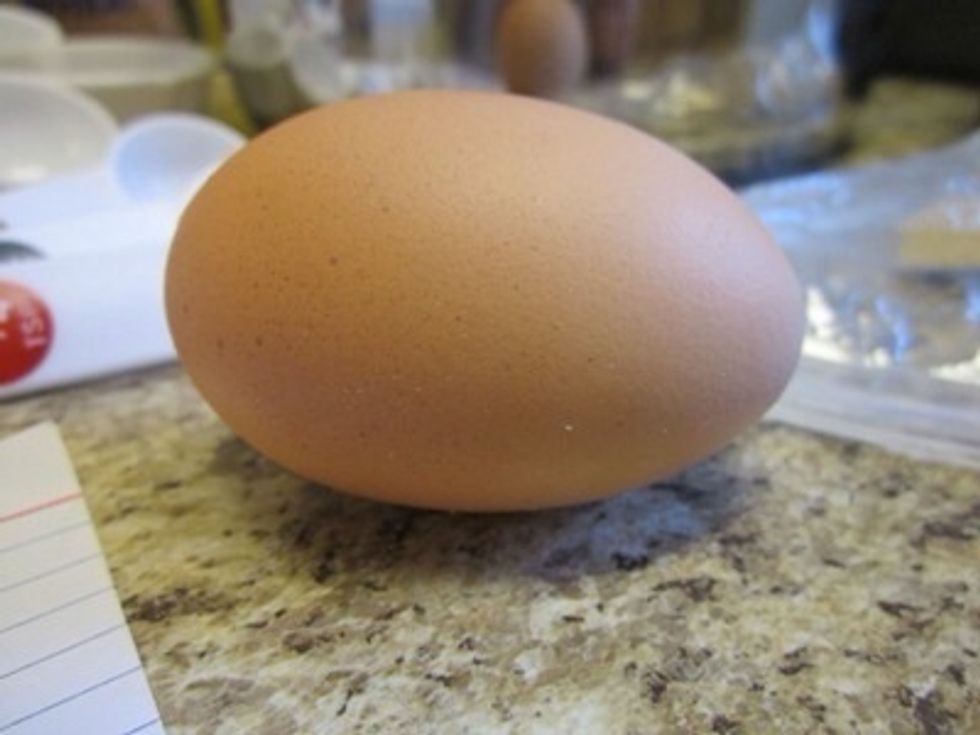
Yes, this is an egg, and yes it is brown. You can use white eggs, but I happened to have fresh eggs on hand and they were brown. And since fresh is better for you, I would recommend you do the same.
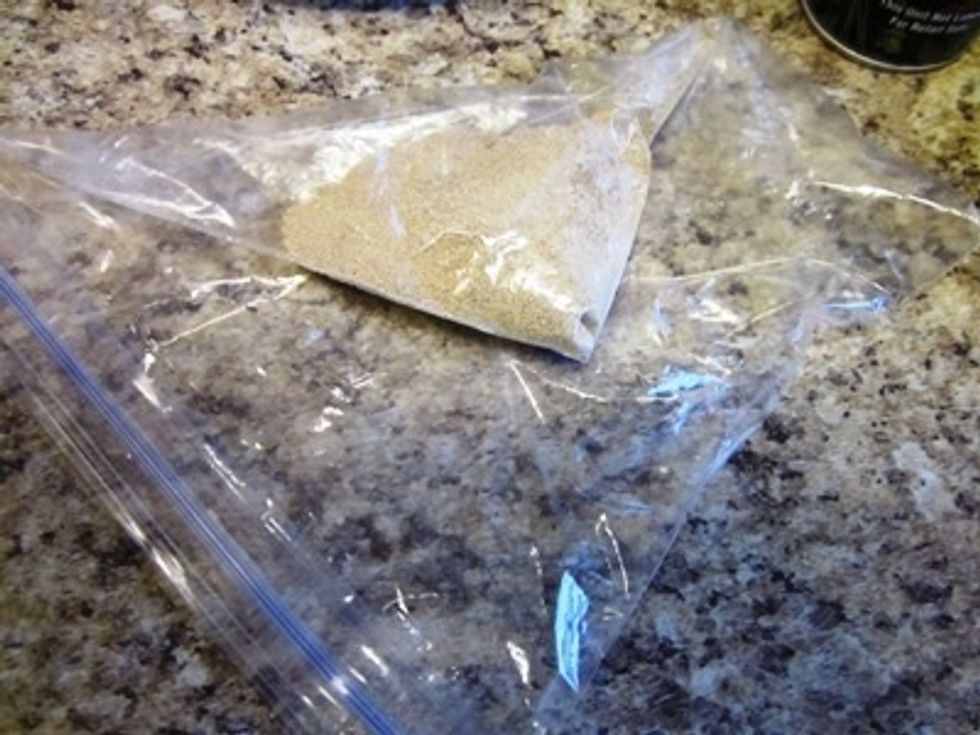
This is yeast. It is a whole bunch of tiny pellets of yeasty beasties that I got from home. Hence the plastic bag. Yeast also comes in other forms, so you may need more or less of it. Experiment : )
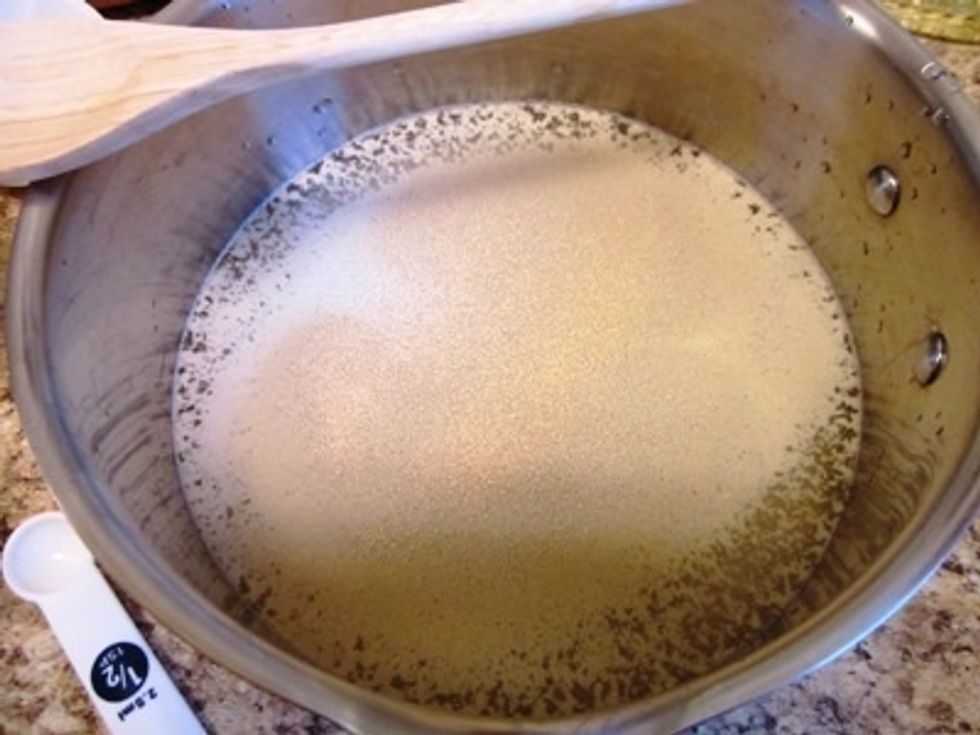
Put the water in your bowl (or pot) and then sprinkle the yeast on top. You need to let it sit long enough that the yeast is nice and soft. Then you give it a stir.
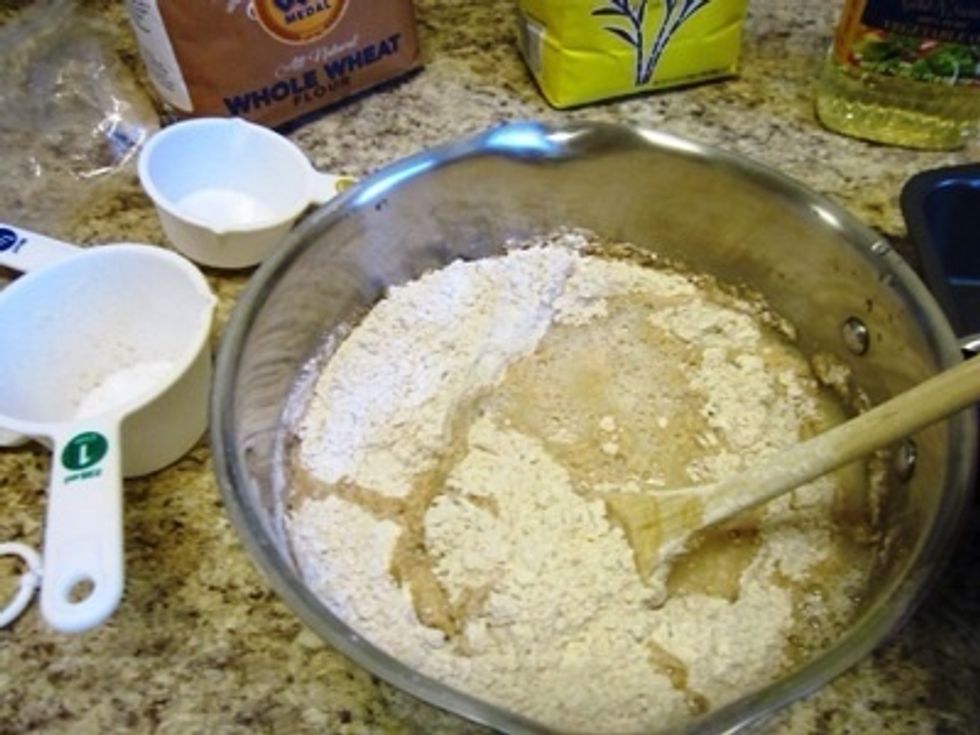
Next you add the sugar, salt, and 3 cups of flour. Some people say to add the flour slowly, but that's only to keep it from flying away in a big cloud. I just add it all at once. Mix it all up.
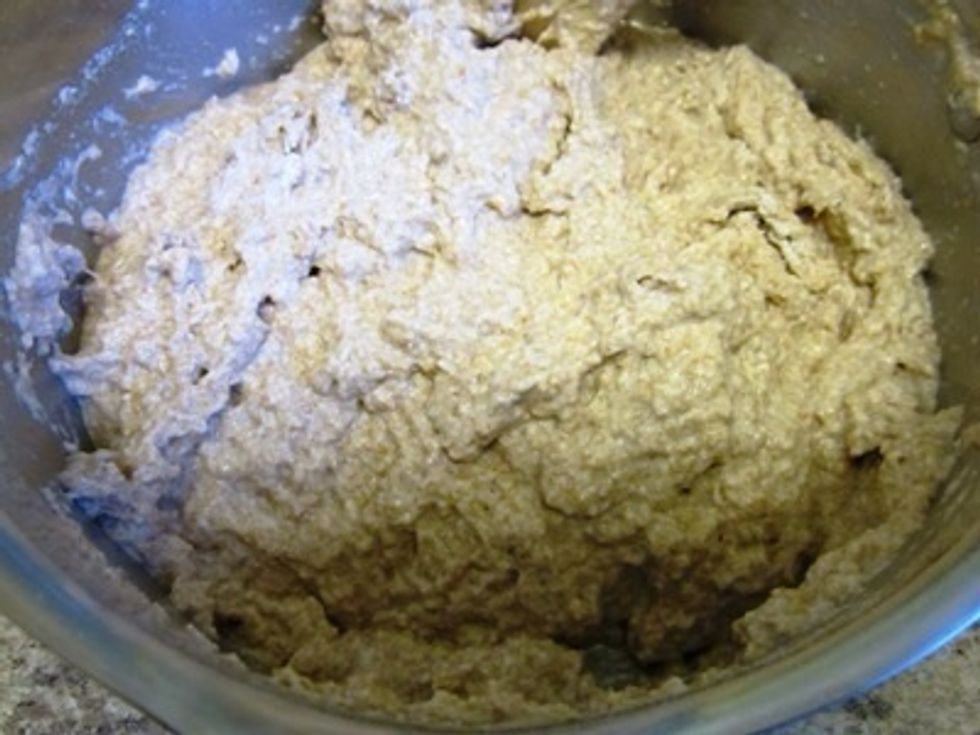
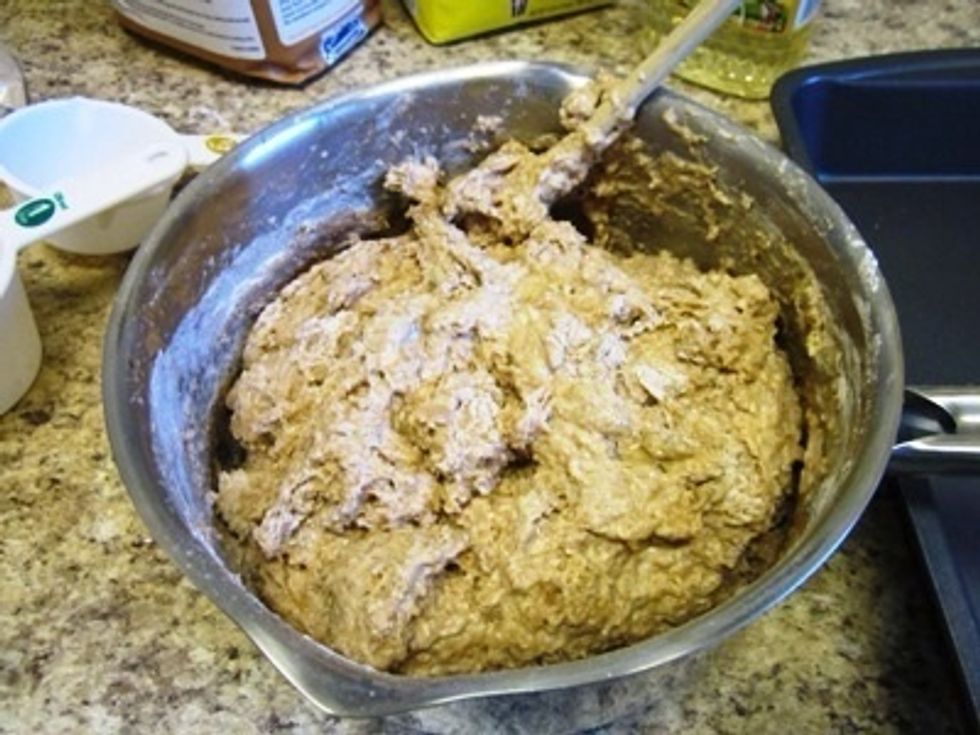
This is how it should look; thick, gloppy, sticky wetness.
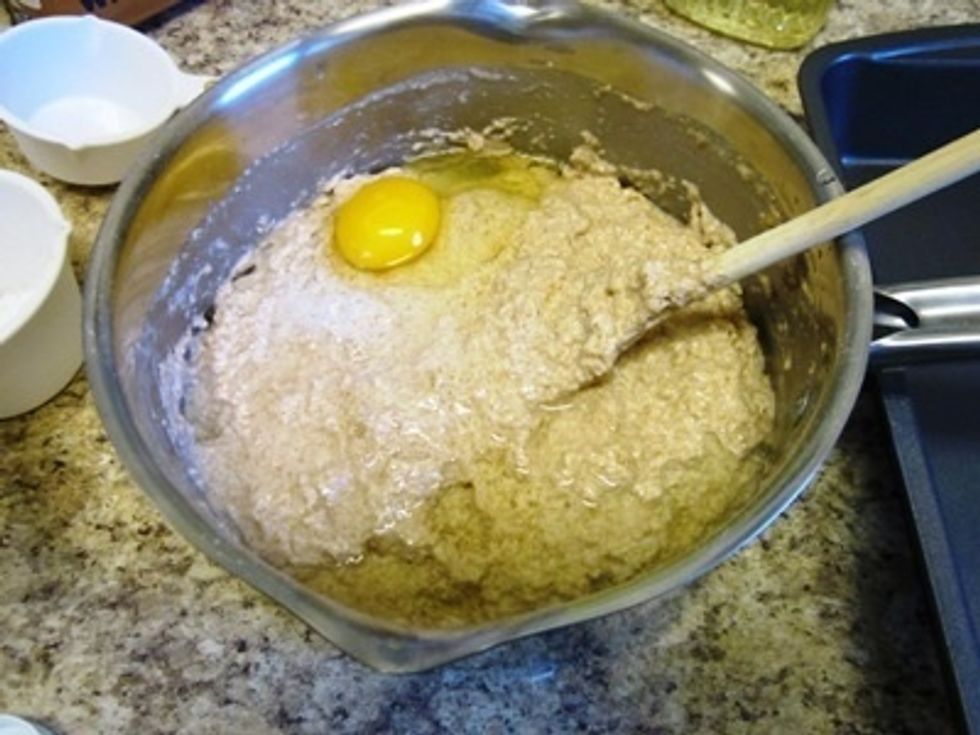
Add the egg and oil.
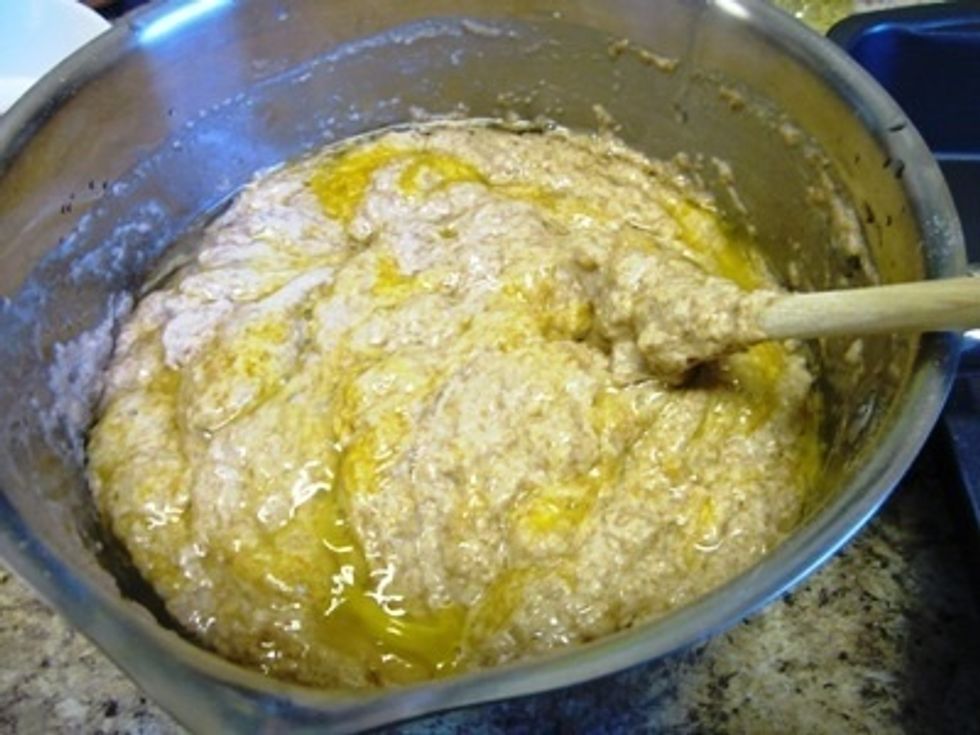
Mix.
Now add the rest of the flour (2 cups). Depending on how wet it all is, you may need to add more flour. I usually add an extra cup.
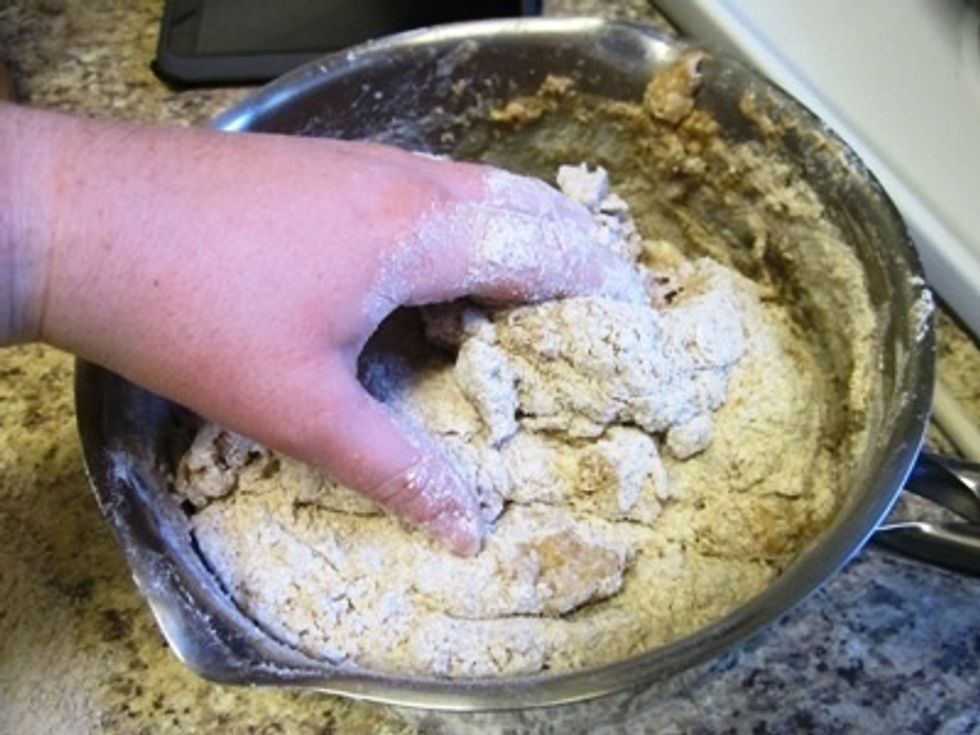
Once you've added the extra flour, it's time to start mixing by hand.
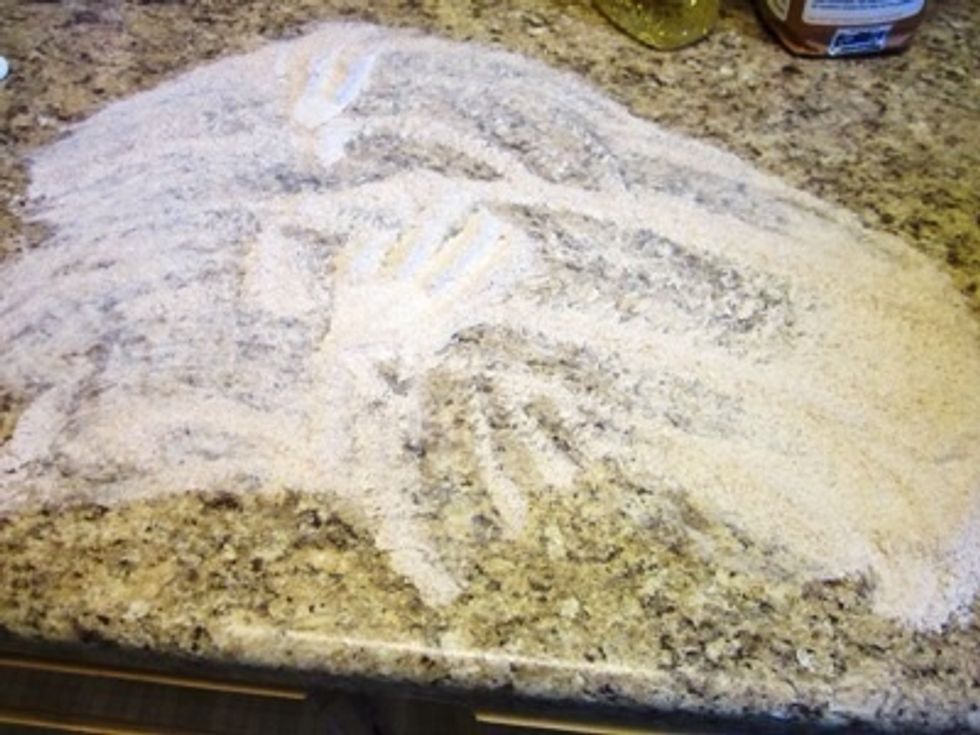
Spread flour on your countertop. This is where you will knead the bread dough and the flour helps keep it from sticking to the countertop.
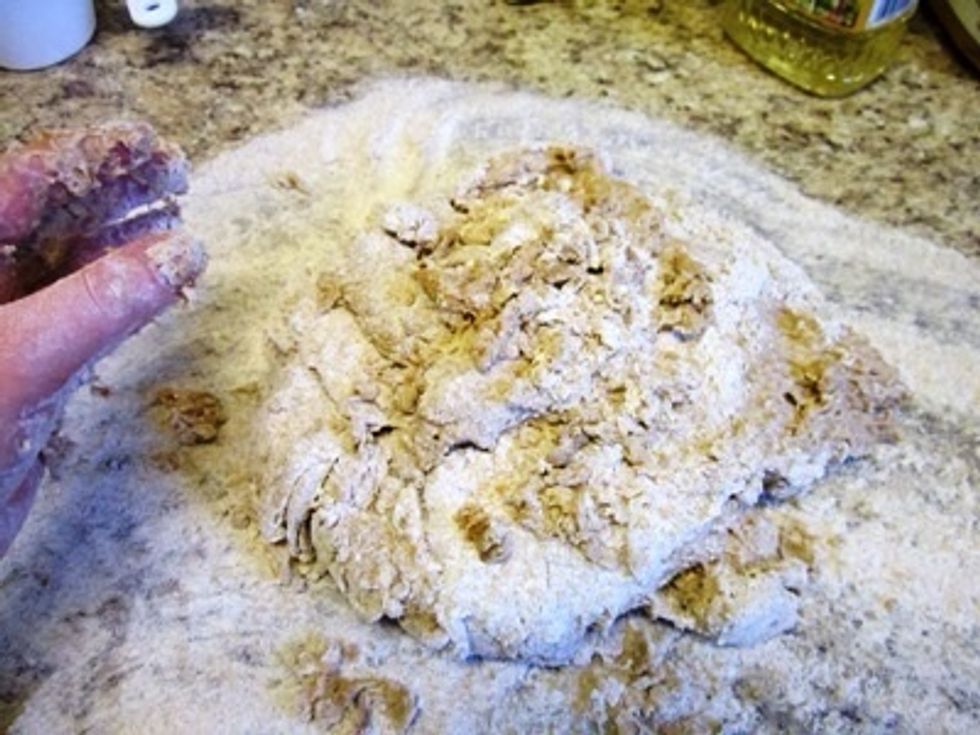
Dump the dough out of the bowl (pot) and onto the floury surface. The next 3 pictures show the sequence of motions used for kneading.
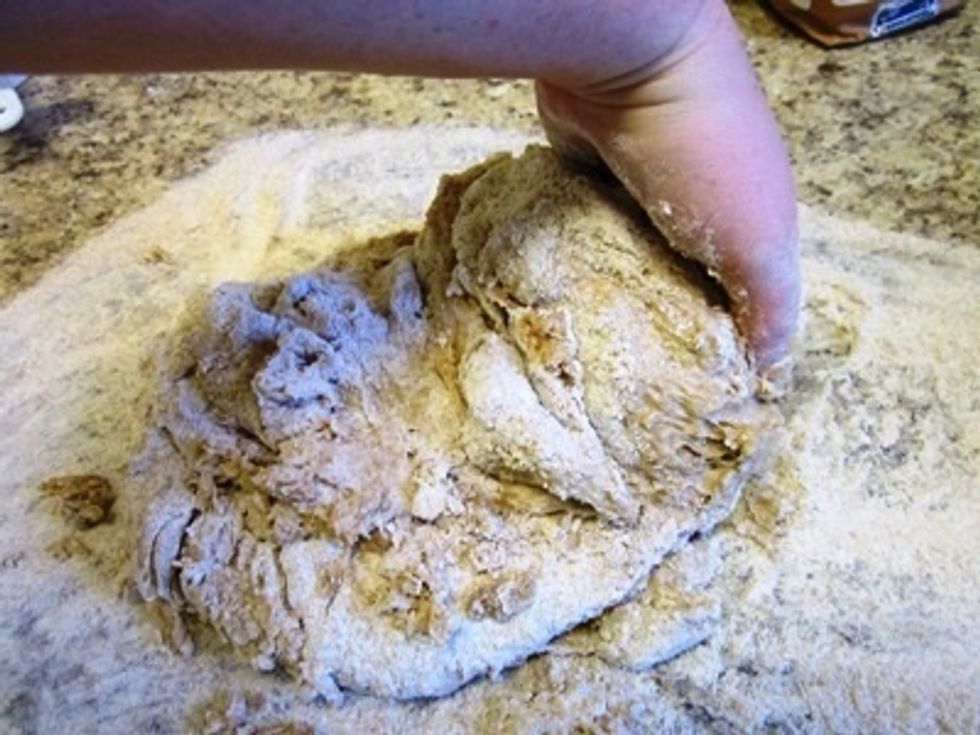
Lift one side of the blob of dough...
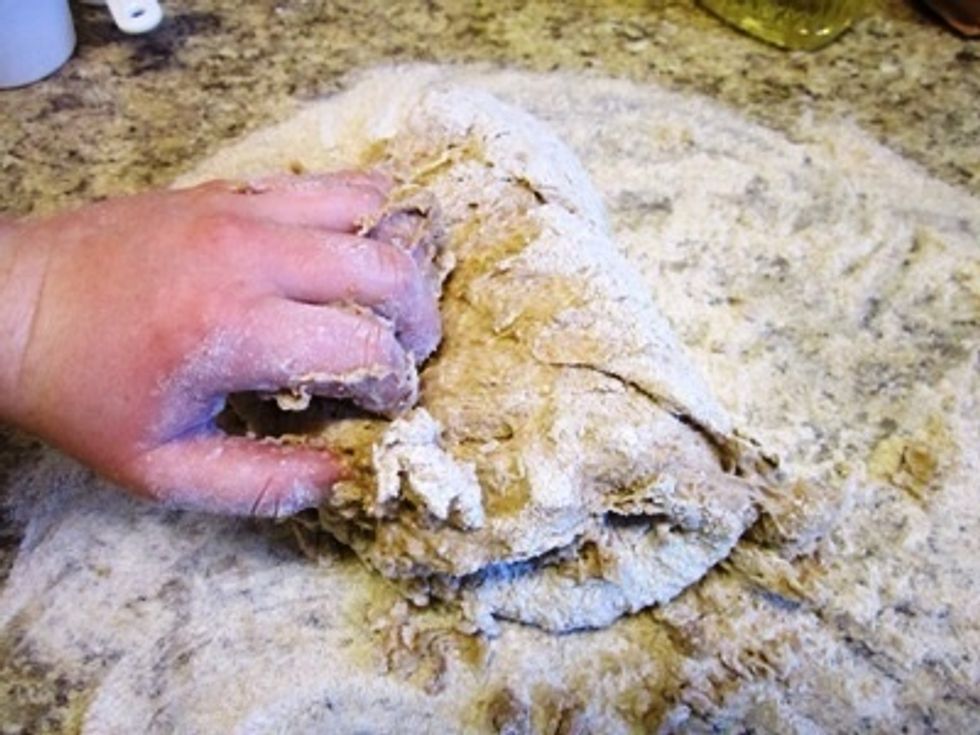
...Flop it on top of the other side, folding the whole thing in half...
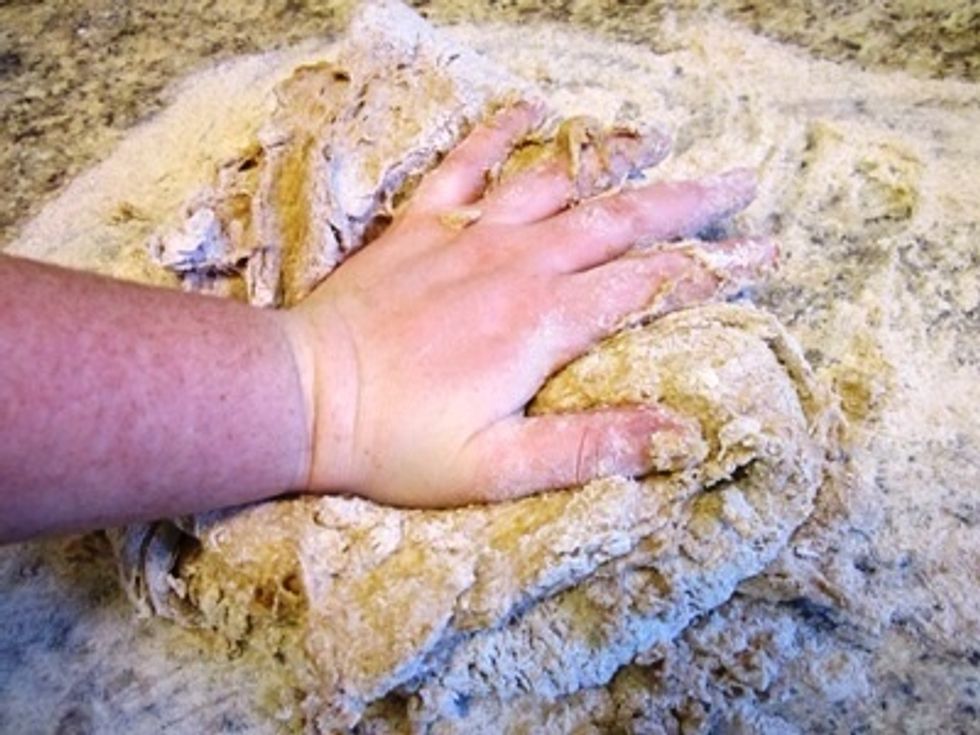
...And then press down on the center to squish it all together. Knead the dough for about 8 minutes. Usually I use two hands, but I didn't really want to get my camera messy.
Now that the dough is kneaded, you need to shape it so it can rise. After the descriptions I have a video so you can see it done.
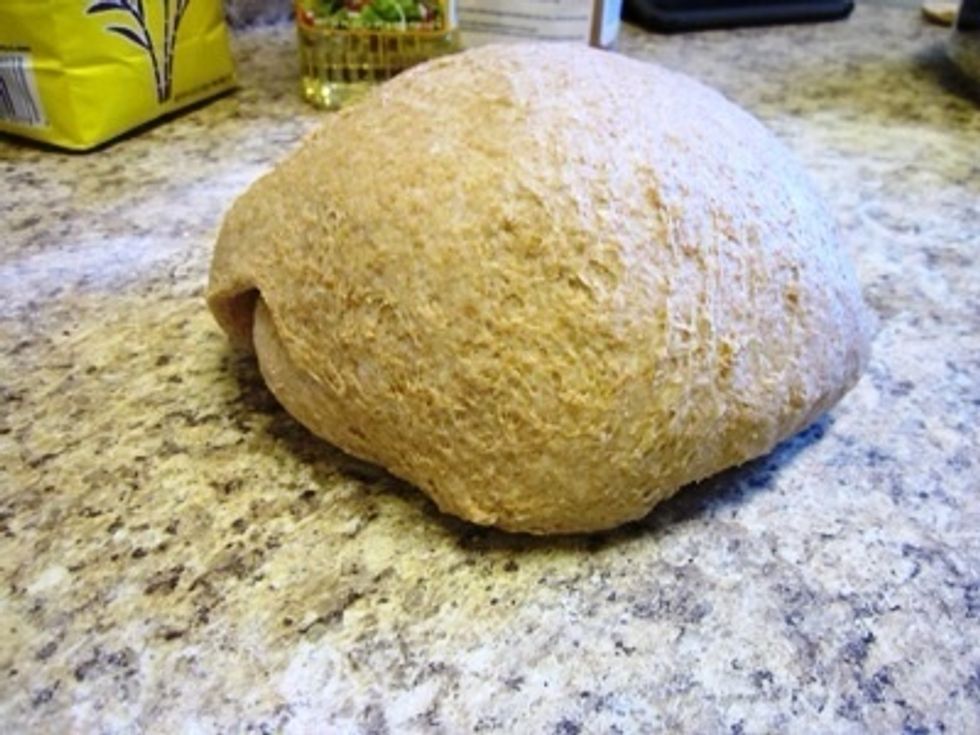
Holding the dough, twist your hands so your thumbs move away from each other and your fingertips poke into the middle of the underside of the dough. Repeat several times, on different edges.
The dough should look like a flattened ball, with a smooth top. Now set the dough on the countertop and let it rise.
This is how it should look. Now you need to protect it while it rises.
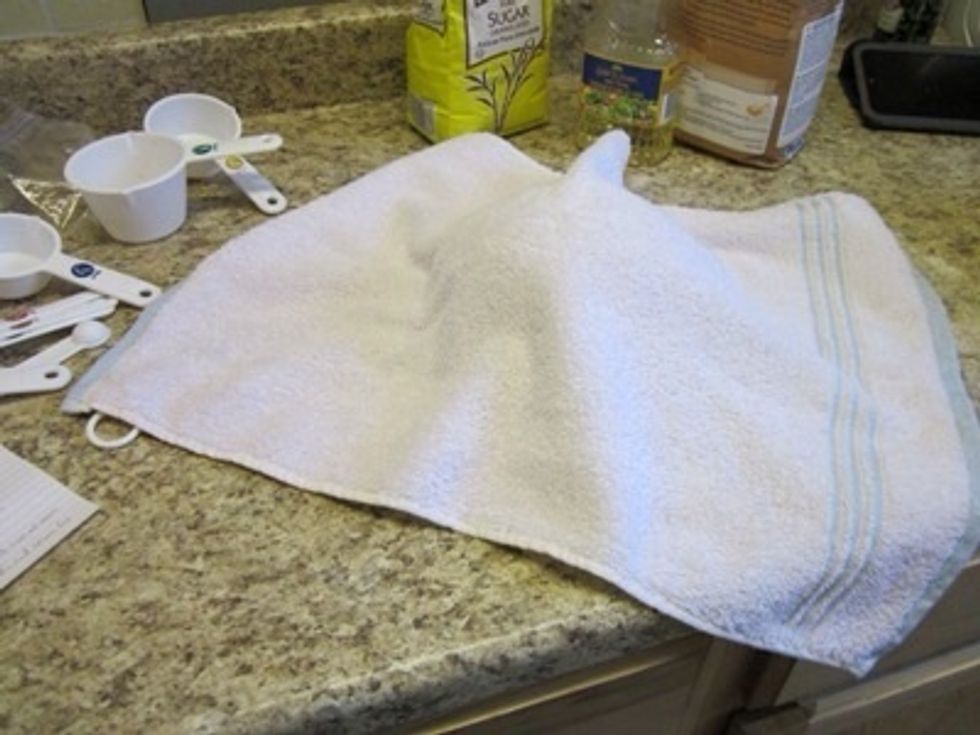
So, put a towel on it and practice patience. The waiting part may take anywhere from 1/2 hour to an hour, depending on how warm the room is.
You can also put the dough in an oiled bowl to rise, but I did not have one handy. The bread is done rising when it is double in size or you can poke it and the hole doesn't immediately fill up.
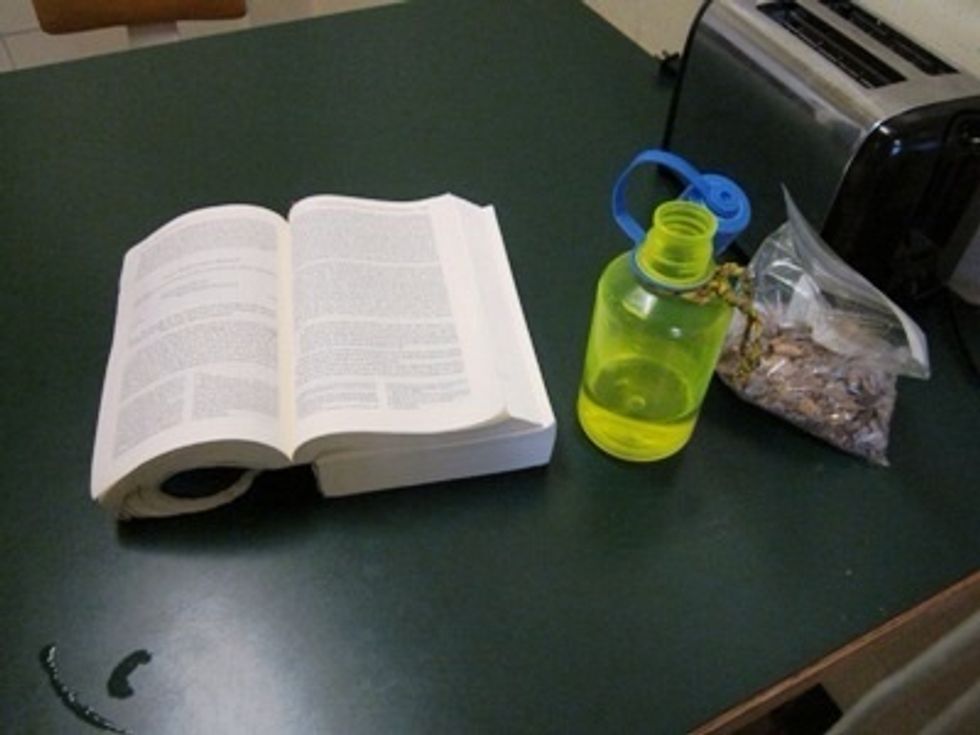
What to do while waiting? Well, this time I decided to read a book and eat some muddy buddies. This is one of the least structured parts of the bread baking process. So, it is up to you to decide.
Now it is time to shape the dough into loaves. Lift the bread dough from the counter and then place the middle of it across your hand between your thumb and fingers.
By squeezing your thumb and pointer finger together, you should be able to split the dough into two separate chunks. You can then shape it in the same way as before, except oblong instead of round.
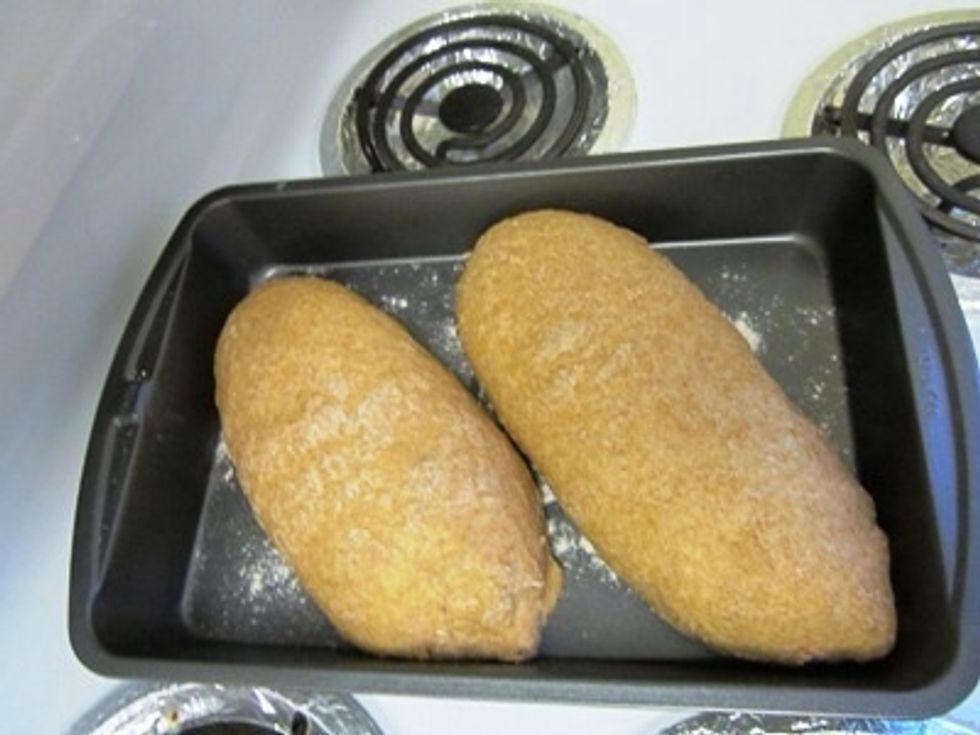
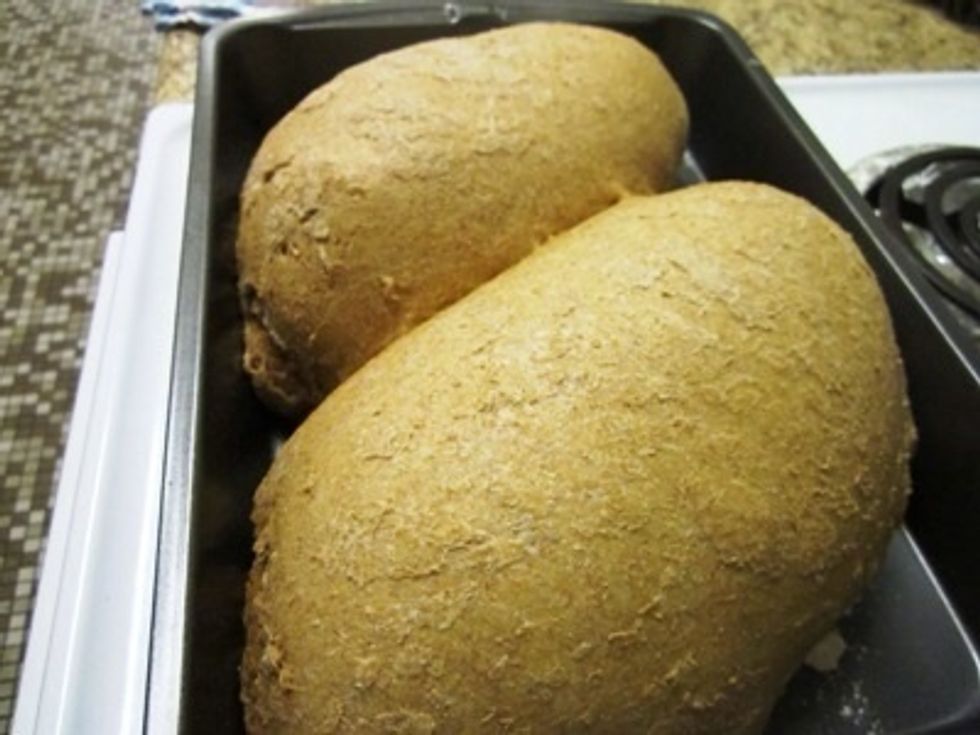
This is how the dough should look in the pan. (Though this picture was taken after it was done rising).

And guess what? You get to play the waiting game again while the bread rises the second time.

Now that the bread is risen in the pan, it is ready to go in the oven. It needs to bake for half an hour.
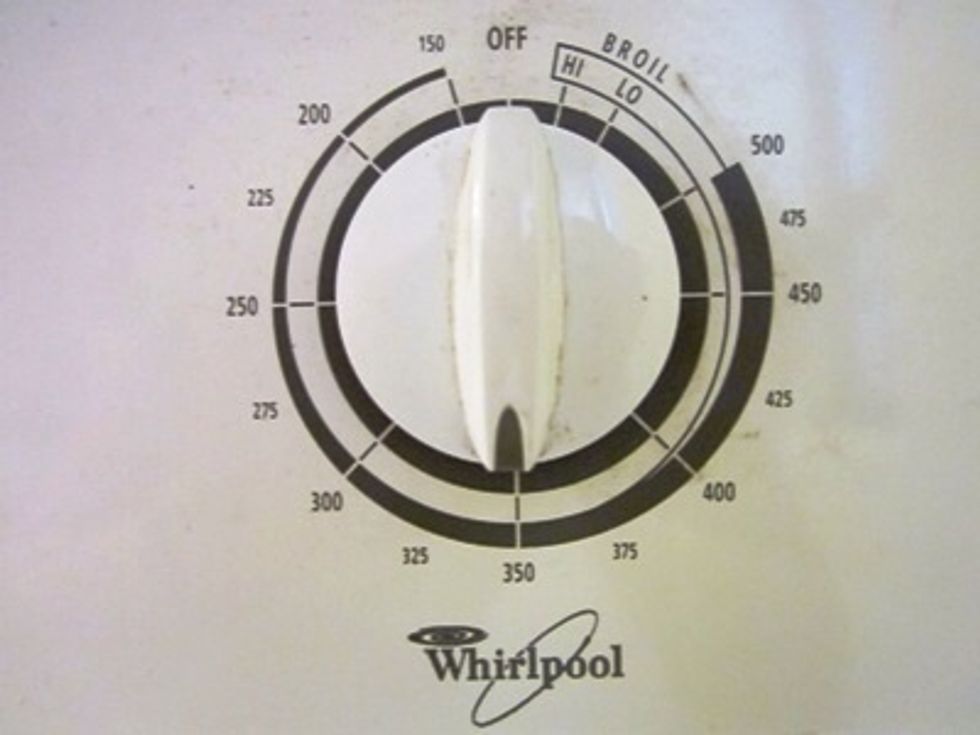
Set the oven to 350 degrees. When it is heated, you can put the dough in. Do not put it in too soon though, because a heating oven tends to burn things. This is your third and last wait.
When you pull the bread out, it should be a nice light brown and should not look doughy. If the bread looks more white than brown, it needs to bake longer.
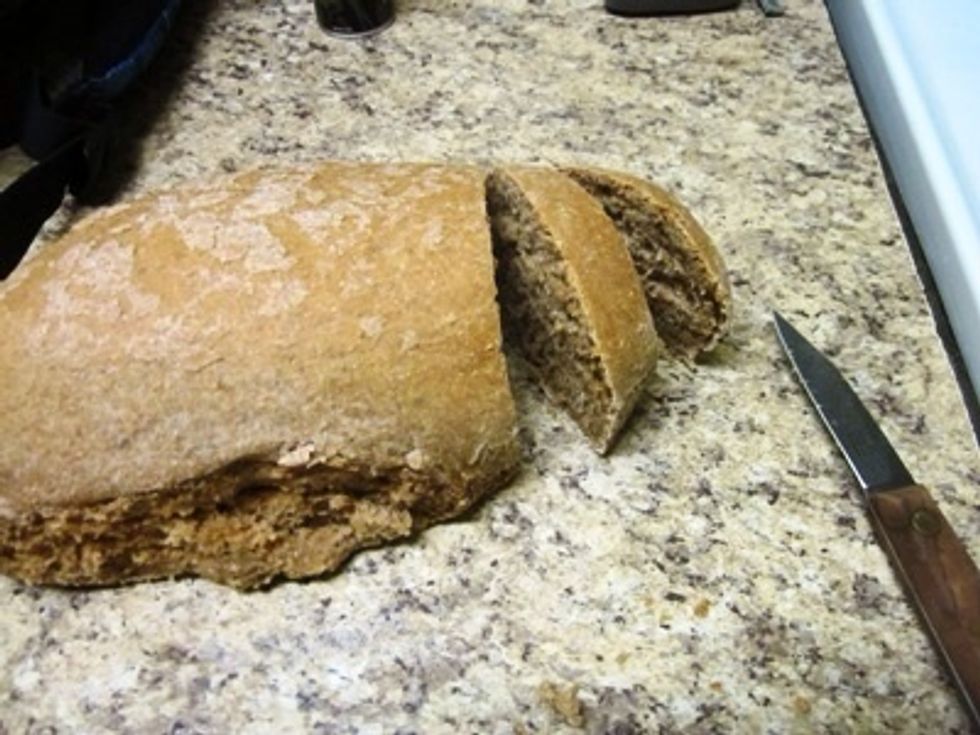
Congratulations! The bread is done! It is easier to cut when it is cool, but it is perfectly acceptable to cut it right away and enjoy a slice. It tastes great, even without butter.

Enjoy your fresh, healthy, home-made, hand-made, whole wheat bread! But be careful, because before you know it...
...It will all be gone and you will need to make more!