The Conversation (0)
Sign Up
Why waste time writing when you can make it automatic?
So, download EDITORIAL by OMZ:SOFTWARE (4.99)
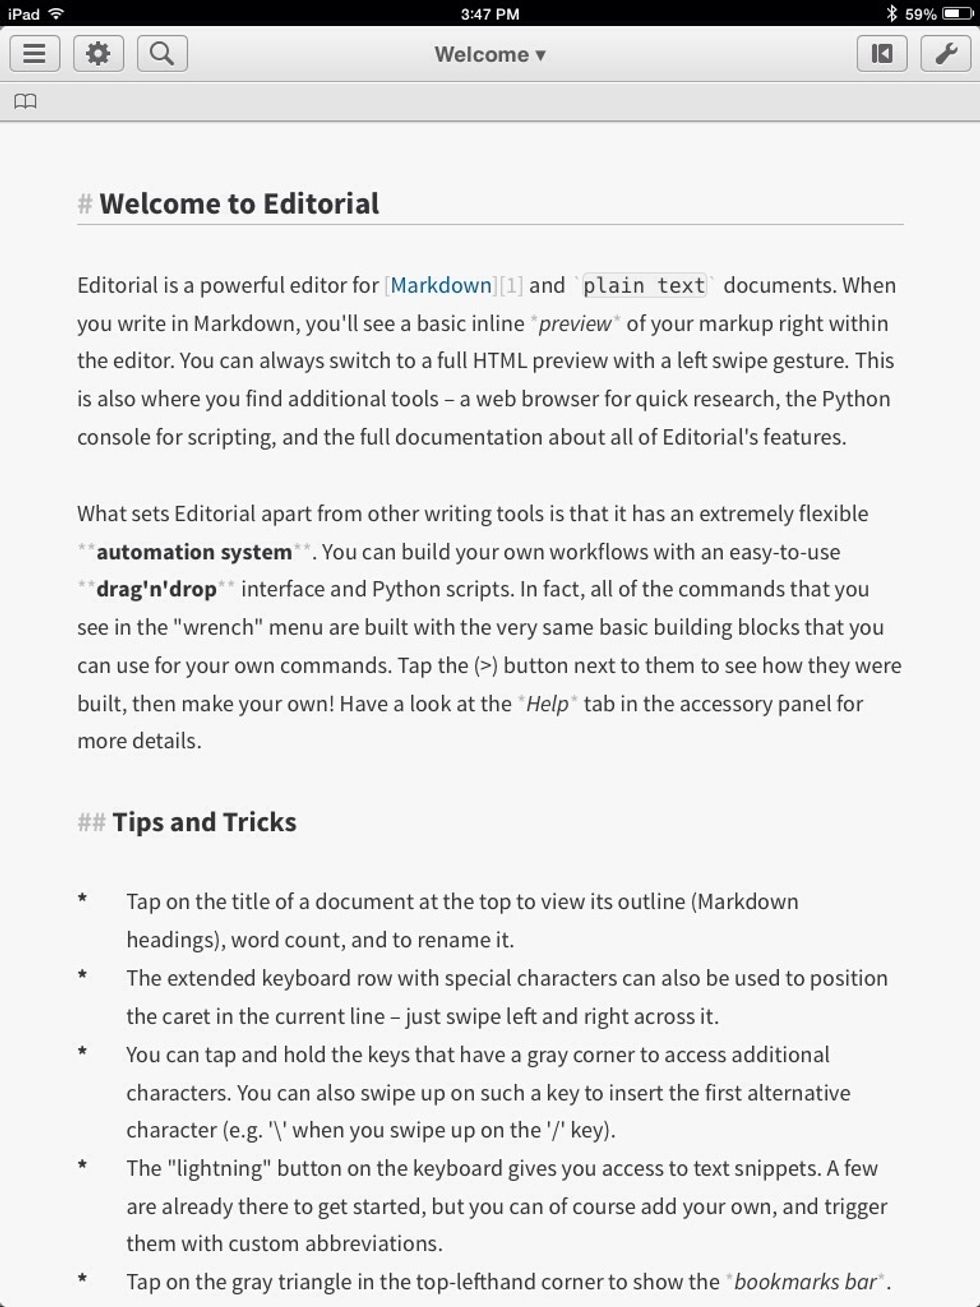
Editorial is a writing tool that can automate your writing needs. Writing is automated using SNIPPETS and WORKFLOWS. To create a new file tap the 3 bars at the top left.
Tap the plus to create a new file.
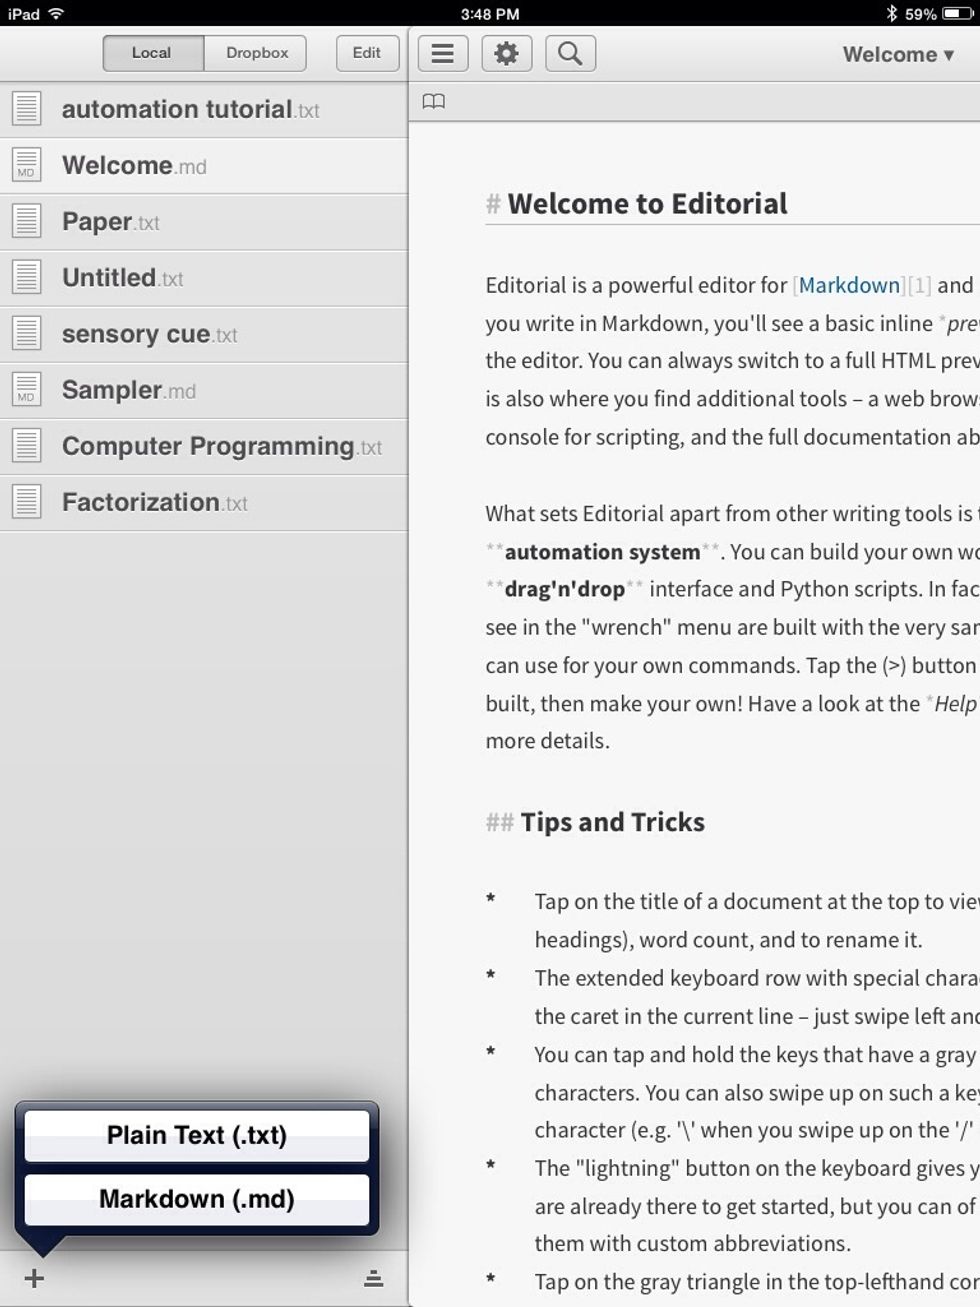
then tap "Plain text."
You can change the title of your document by tapping it at the top of the screen.
Tap the pencil icon to edit the title.
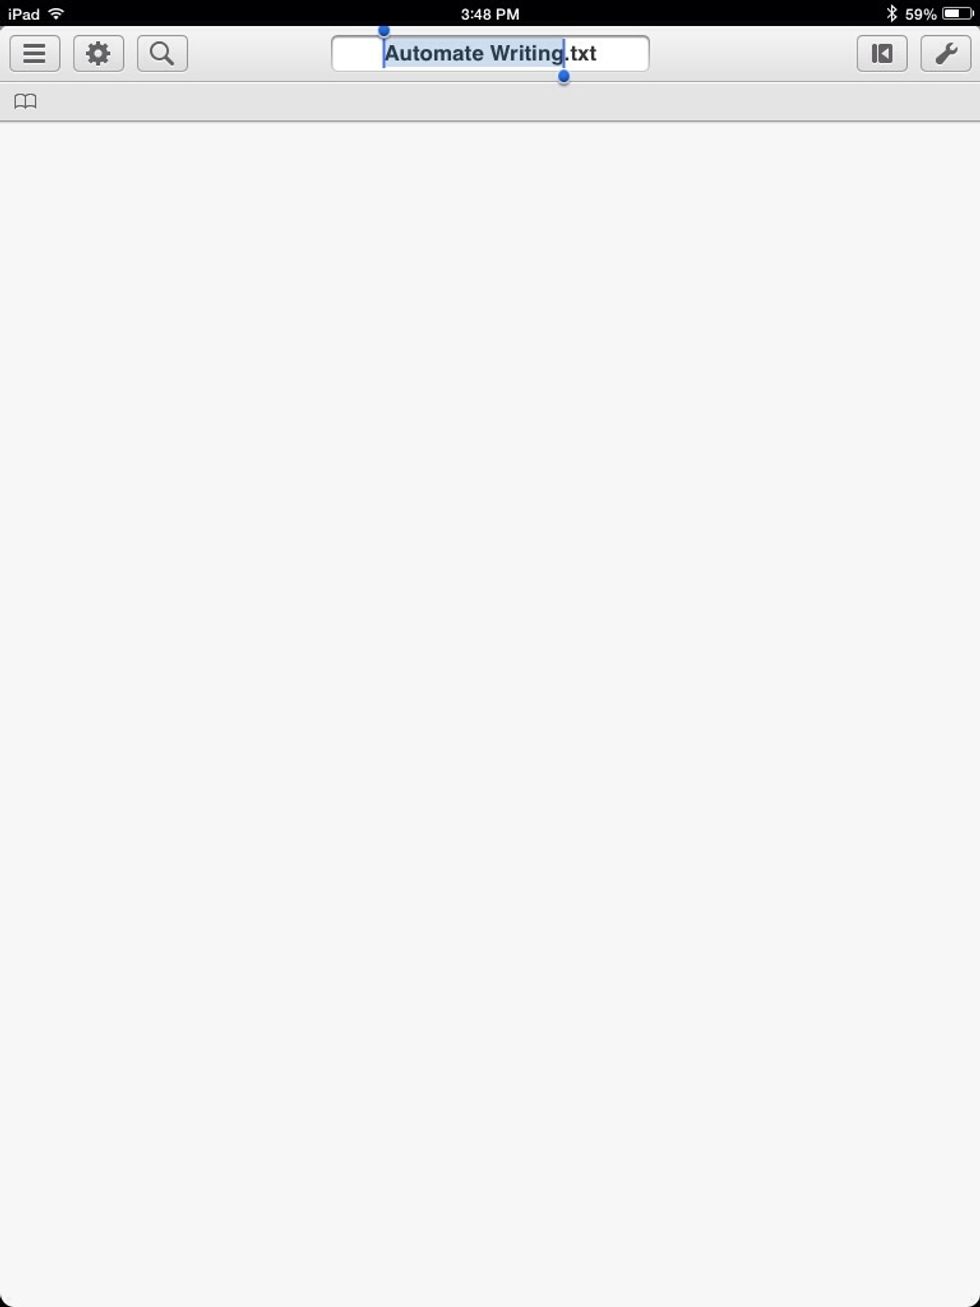
I am using a bluetooth keyboard so I press the return key to commit the changes.
Snippets
Snippets are little pieces of text that you can insert quickly. This is done by typing abbreviations, or by selecting them from the snippet list that is available on the extended keyboad.
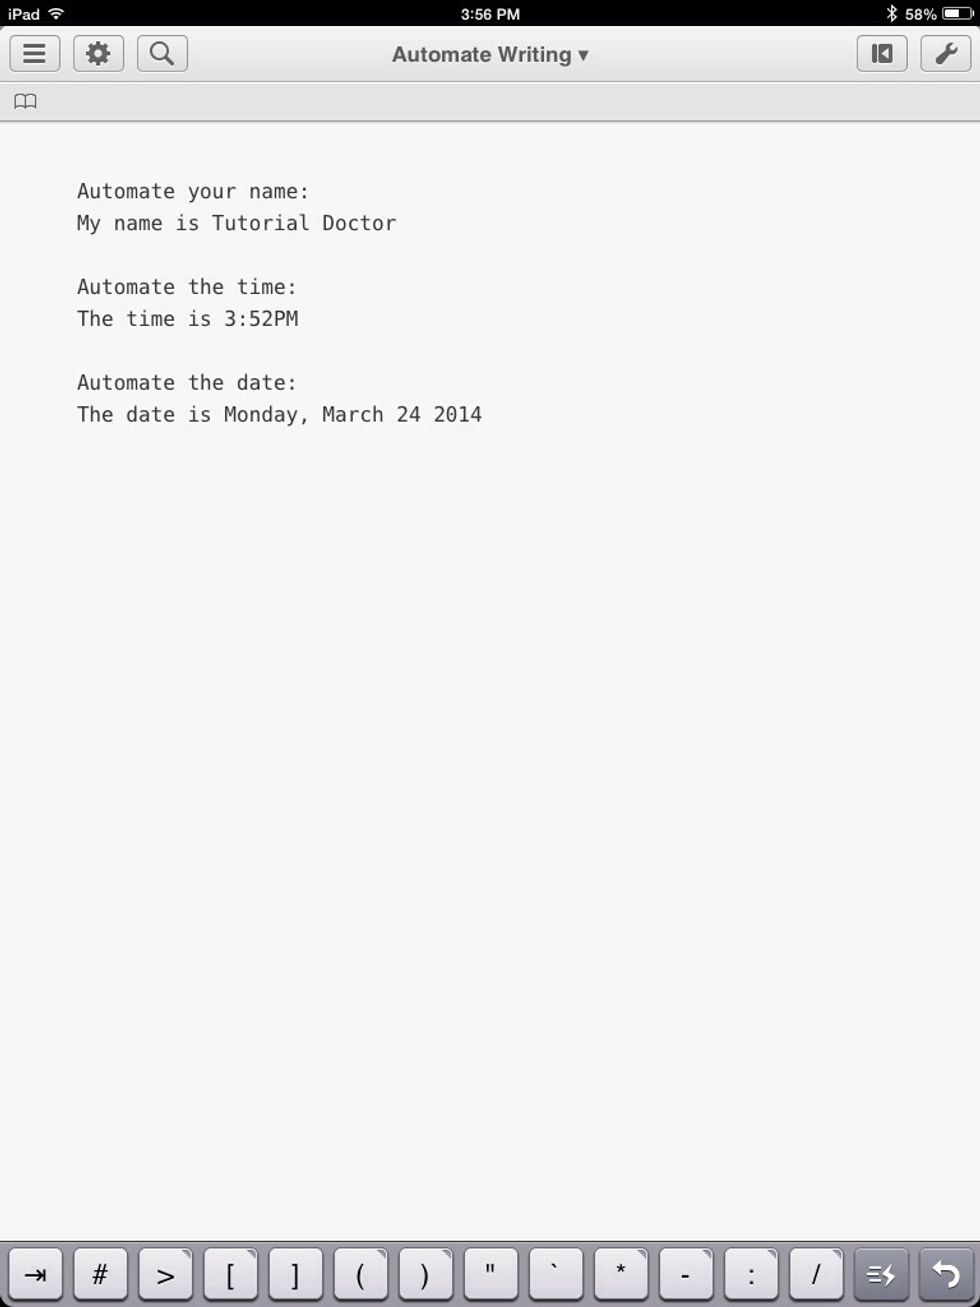
How to Automate your name:
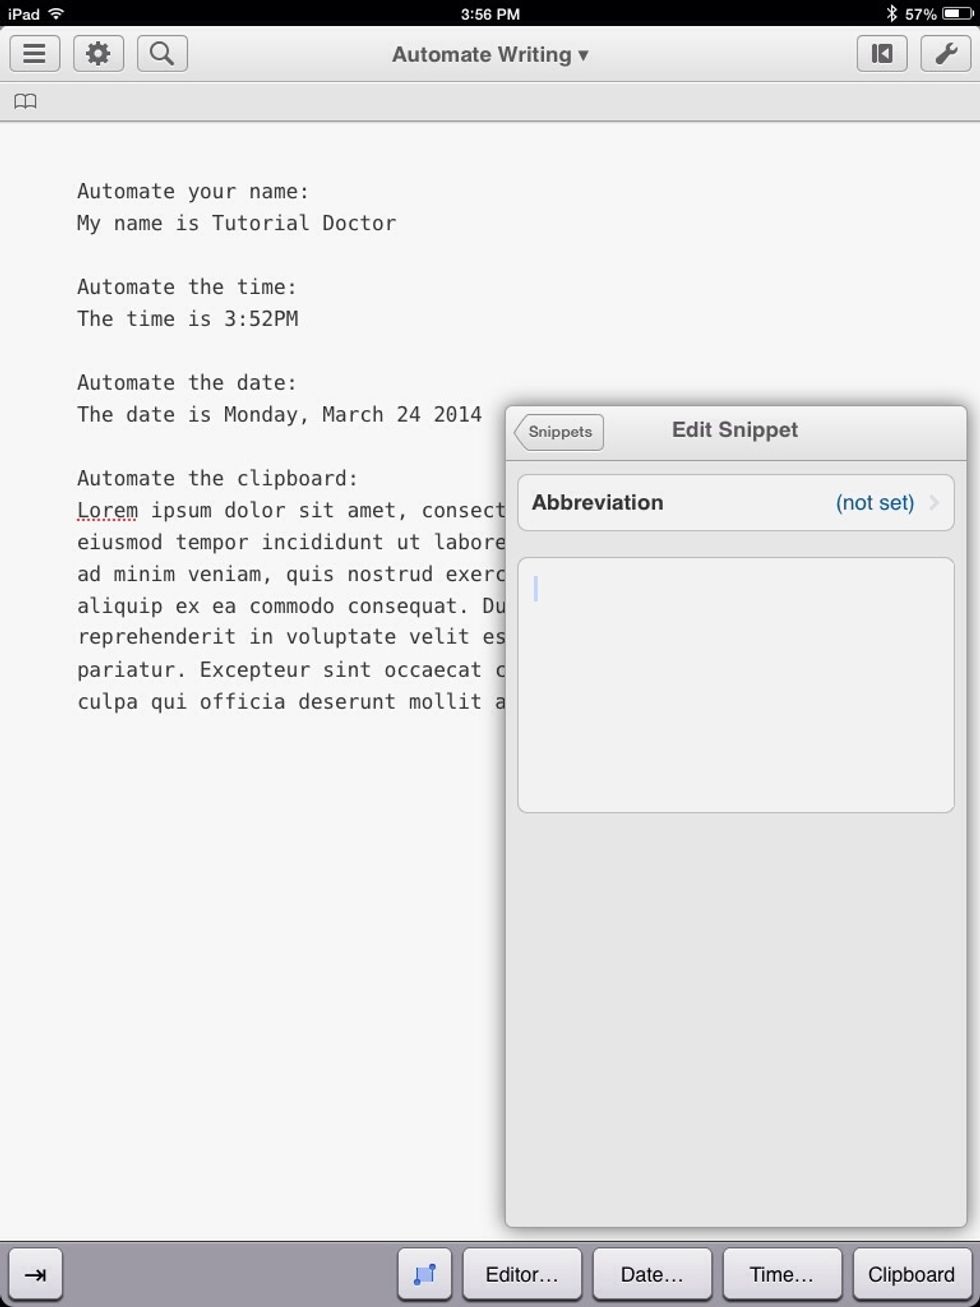
On the on-screen keyboard tap the snippets icon (looks like 3 bars and a lightning bolt). Tap the plus to create a new snippet.

In the white box, type in some text you want to automate. In this case, I want to type my name.
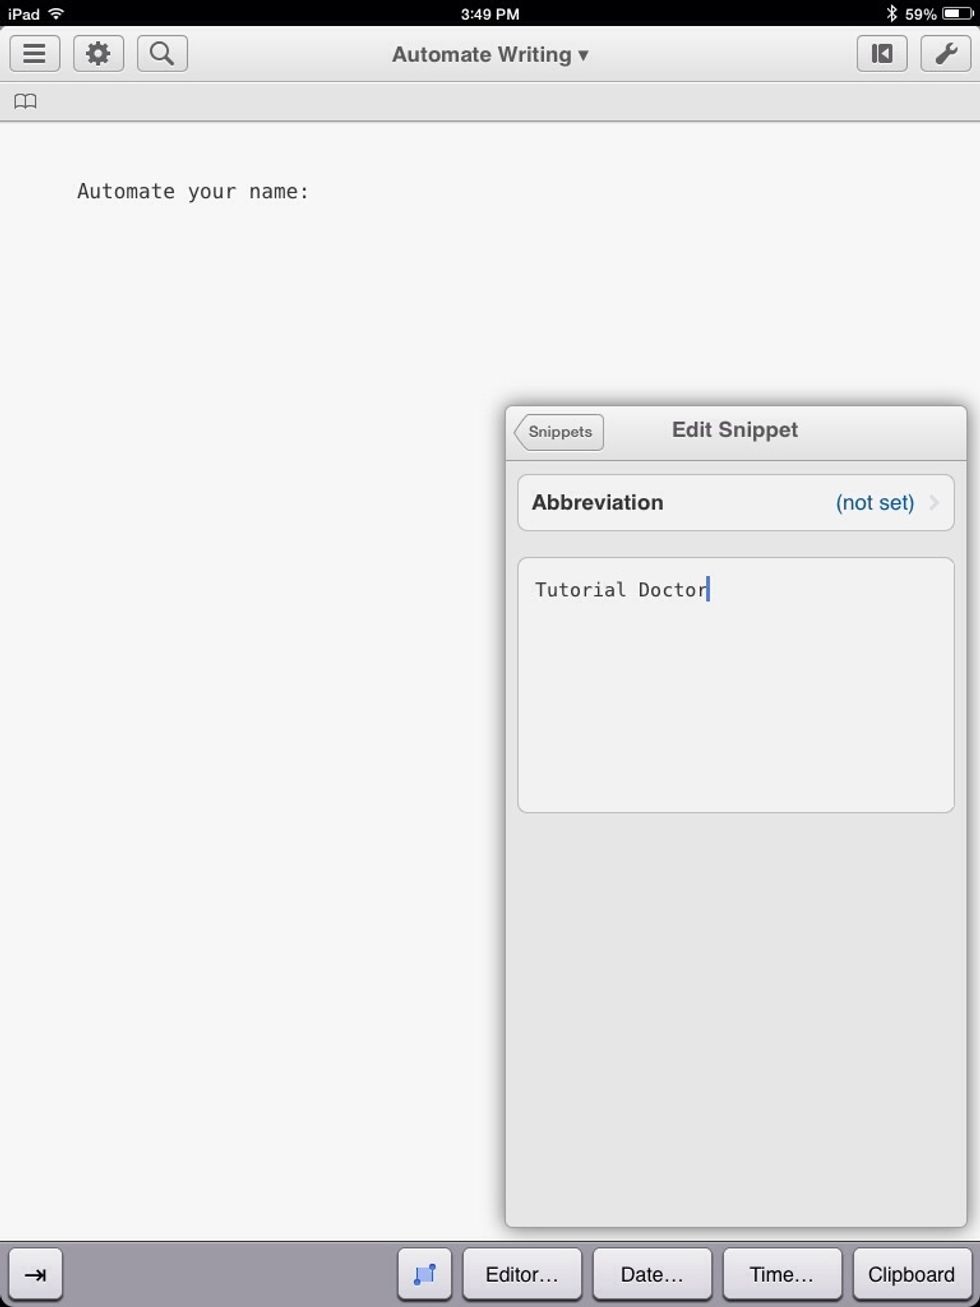
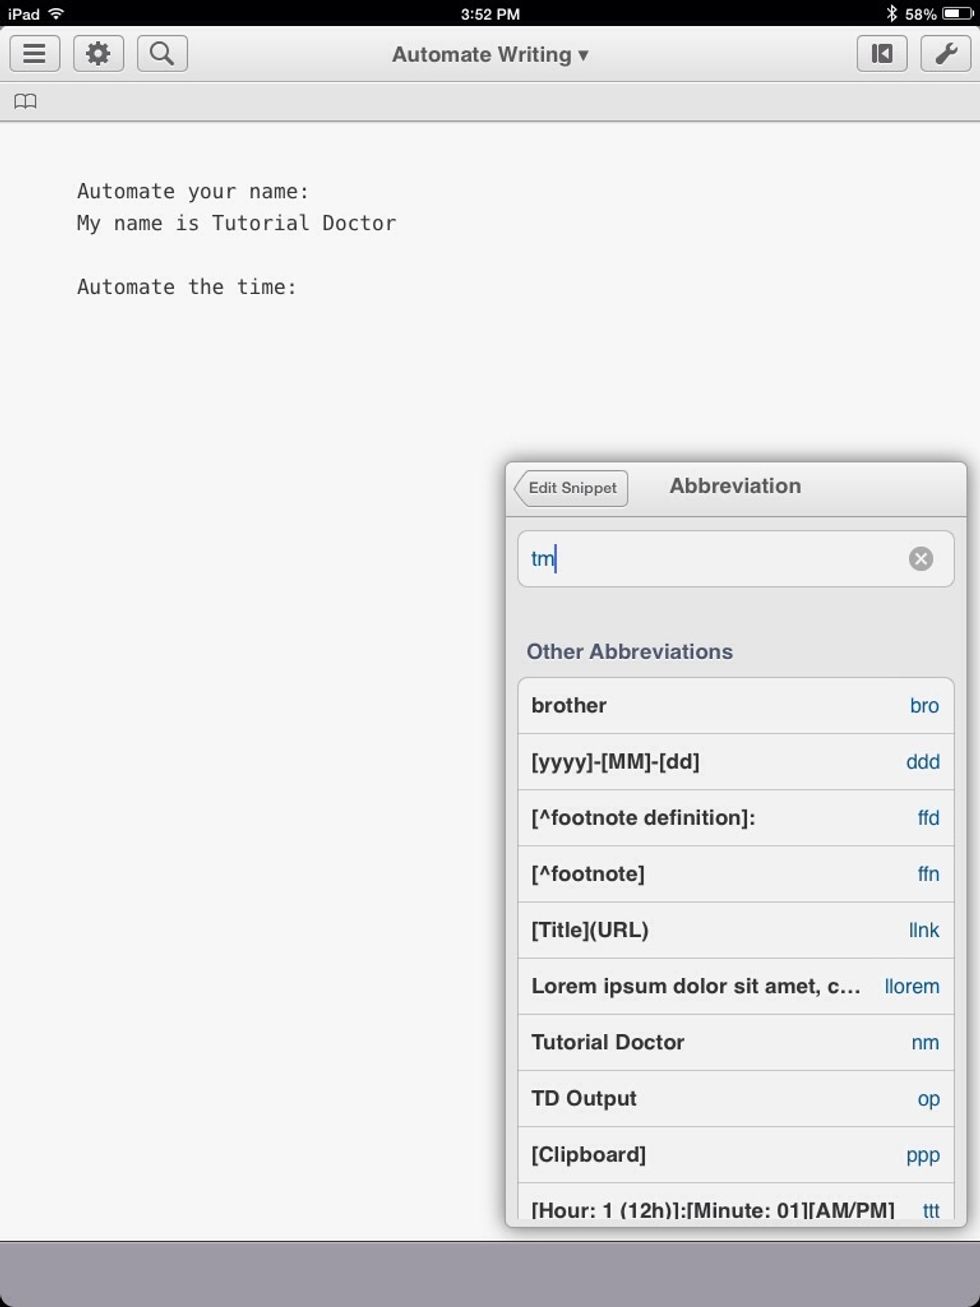
Now we create an abbreviation for my name by tapping "Abbreviation."
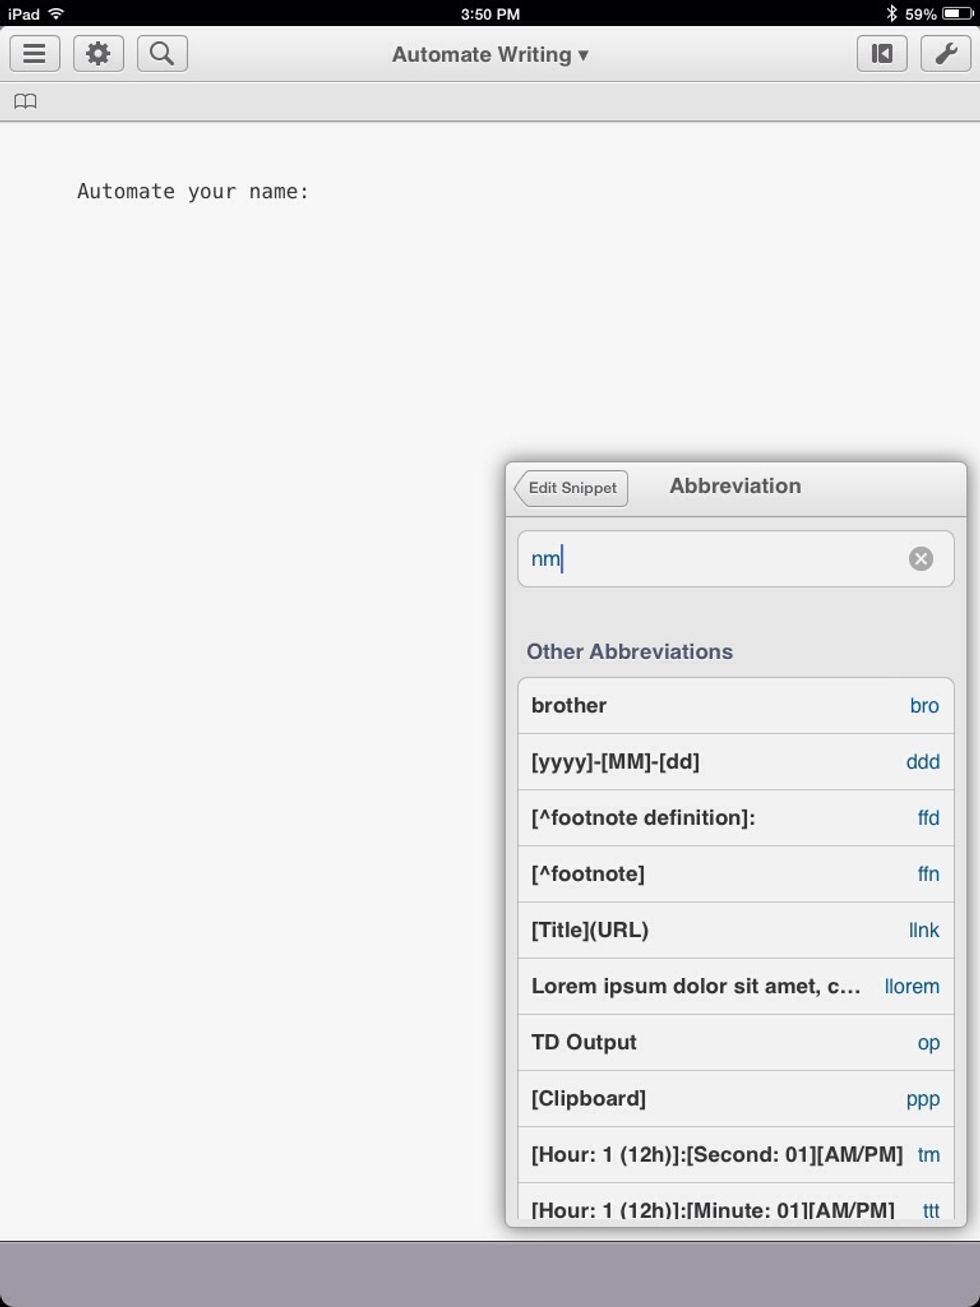
I named my abbreviation "nm."
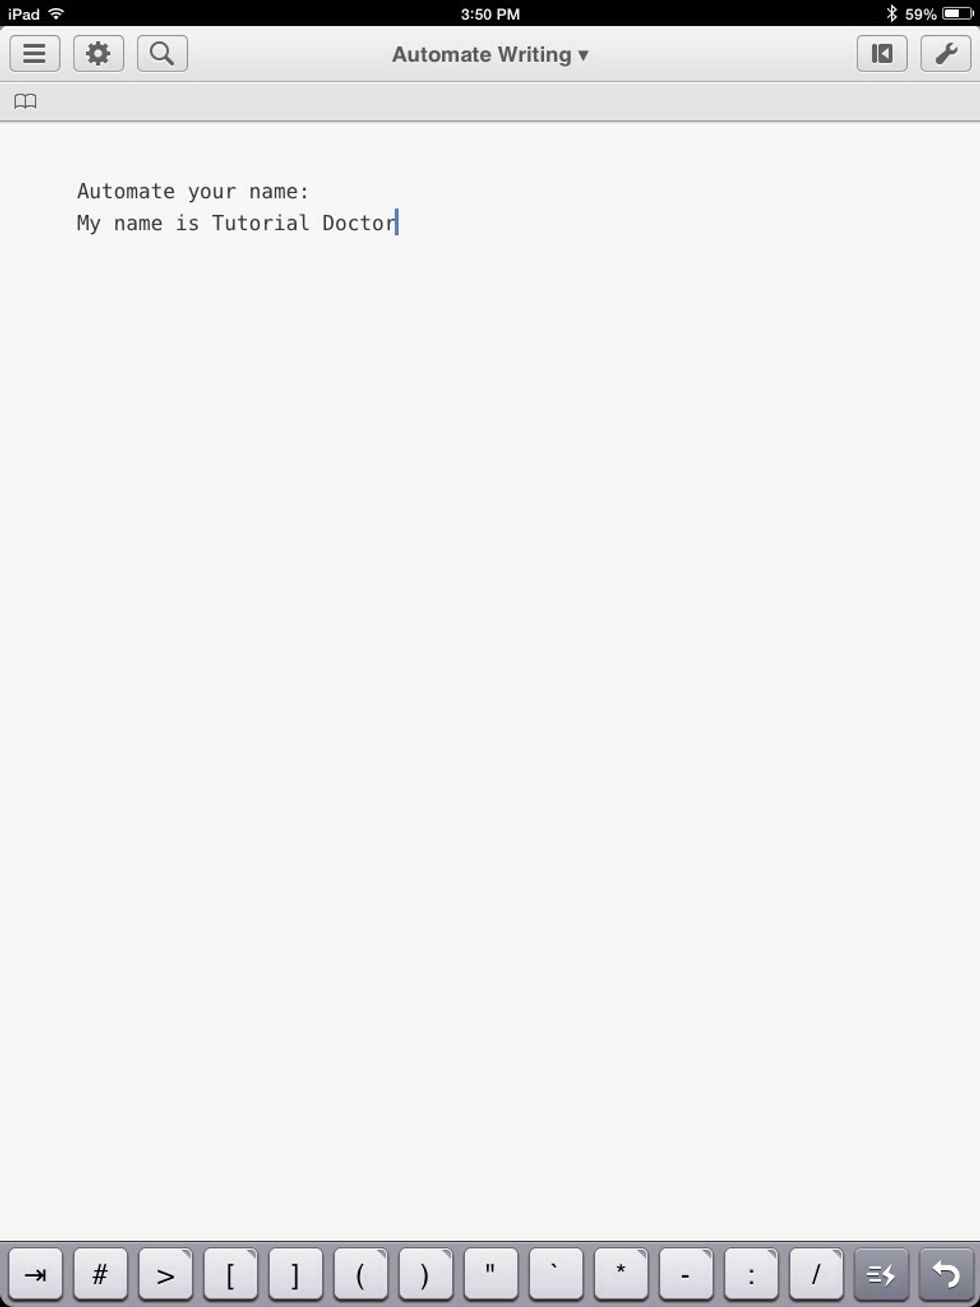
Now when I type "nm" my entire name will show up. My name is nm. This will display "My name is Tutorial Doctor."
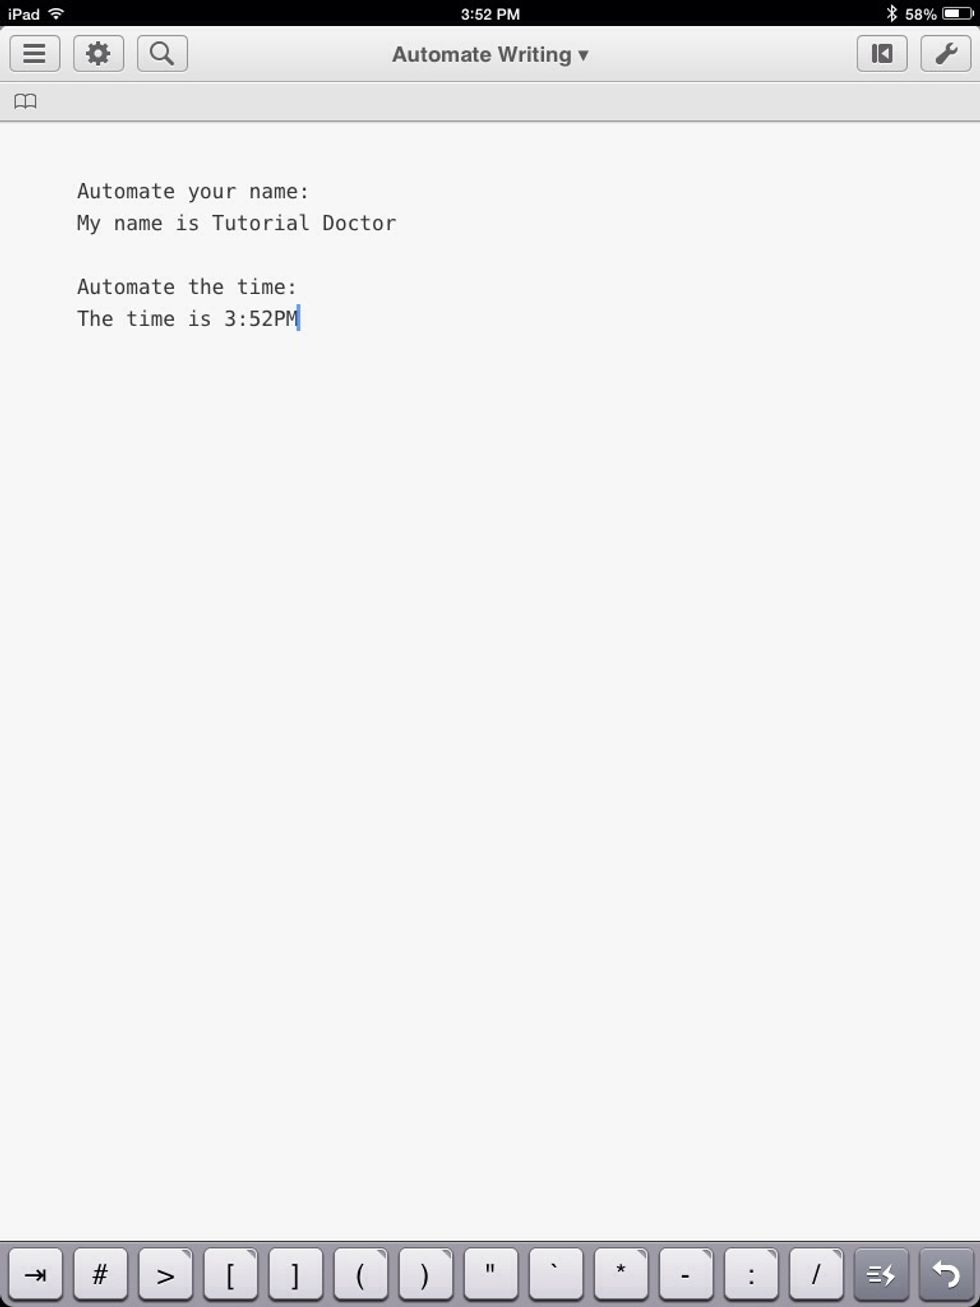
How to Automate the time:

Create another snippet and tap where it says "Time" on the on-screen keyboard.
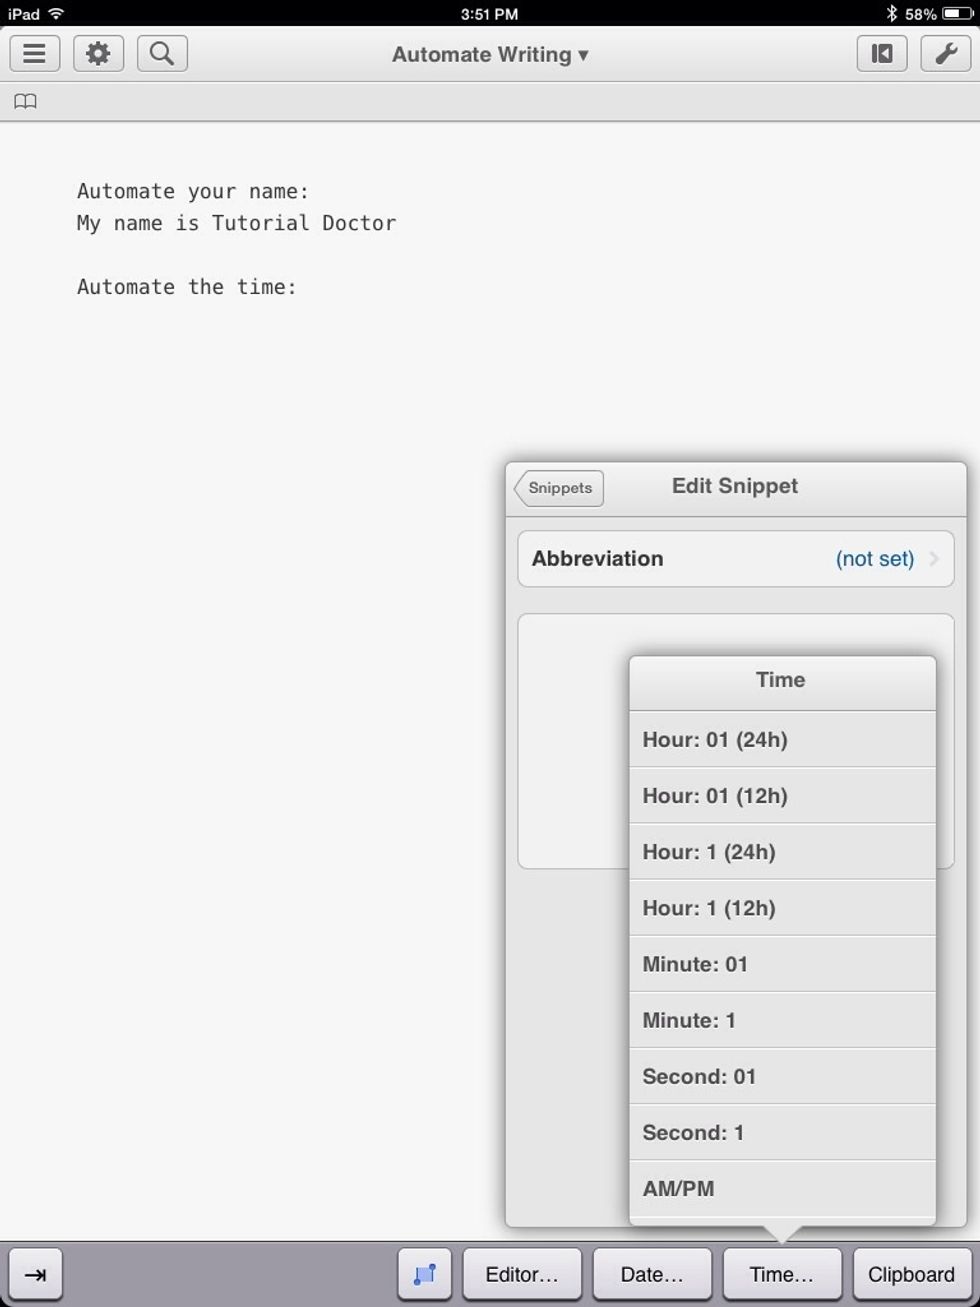
Editorial has preset variables for the current time. The time can be displayed in a custom format. For the hour choose Hour: 1(12h). This will show the hour with a single number on a 12 hour clock.

This is how it looks when it is added.
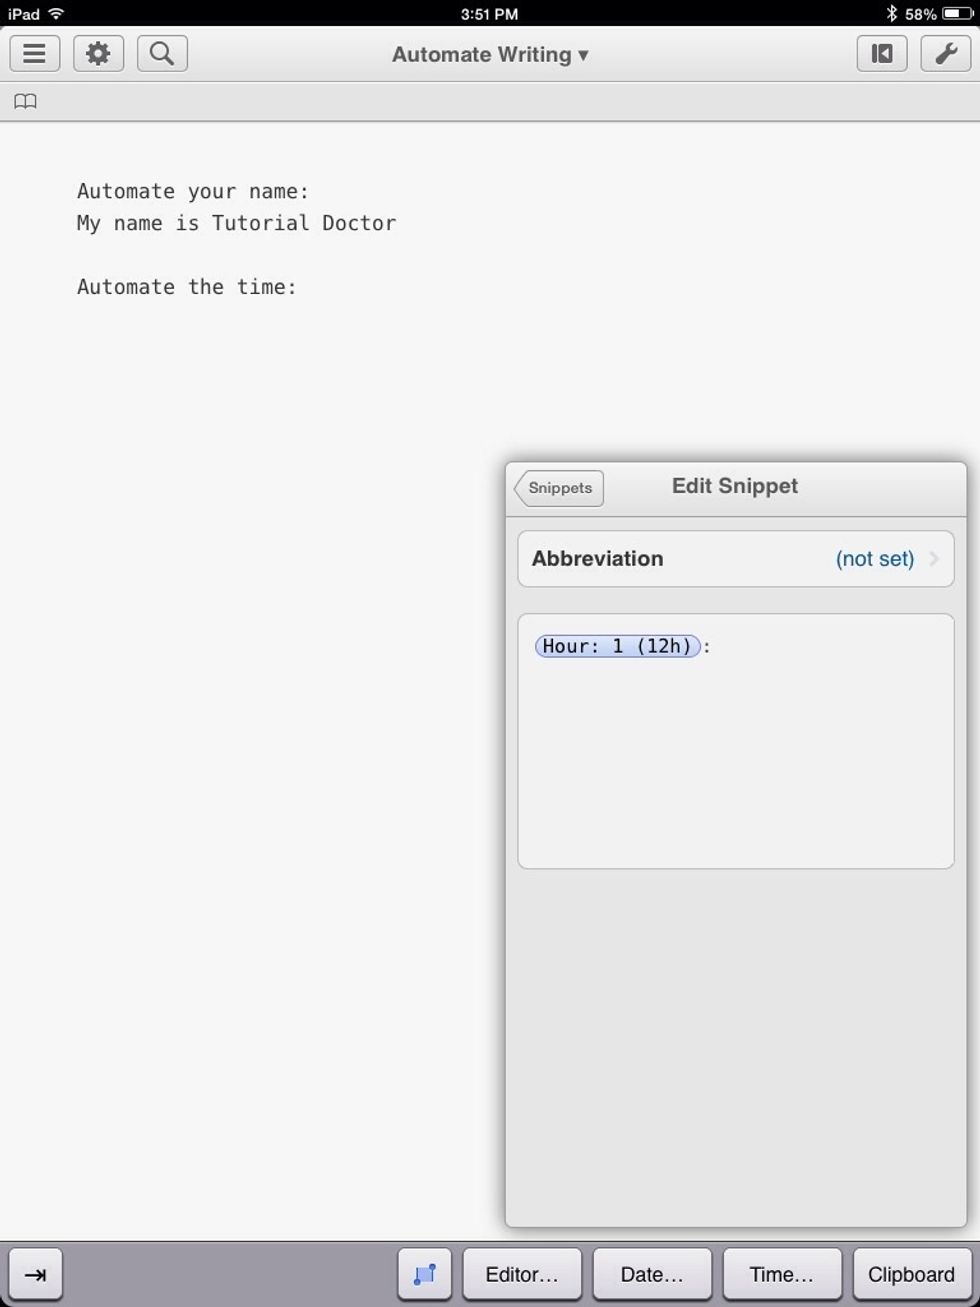
Now type a colon. We have to add our own punctuation. If you want spaces, you have to type those too.
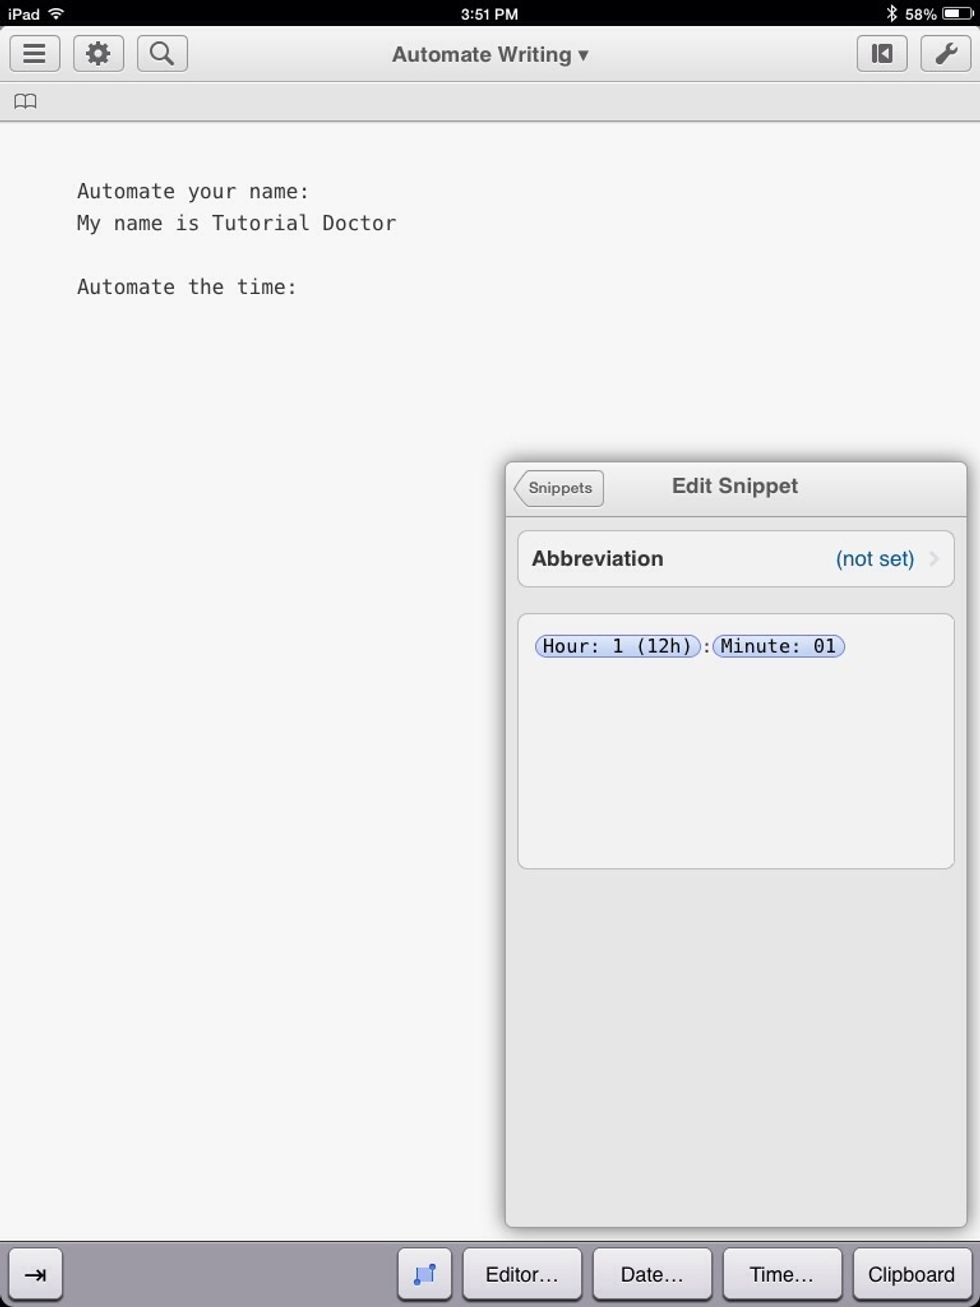
Do the same for the minutes (Minute: 01).

You can also add AM/PM
I named the abbreviation "tm." When I type "tm" the current time will be displayed in format I set.
...

You can do this with dates also.
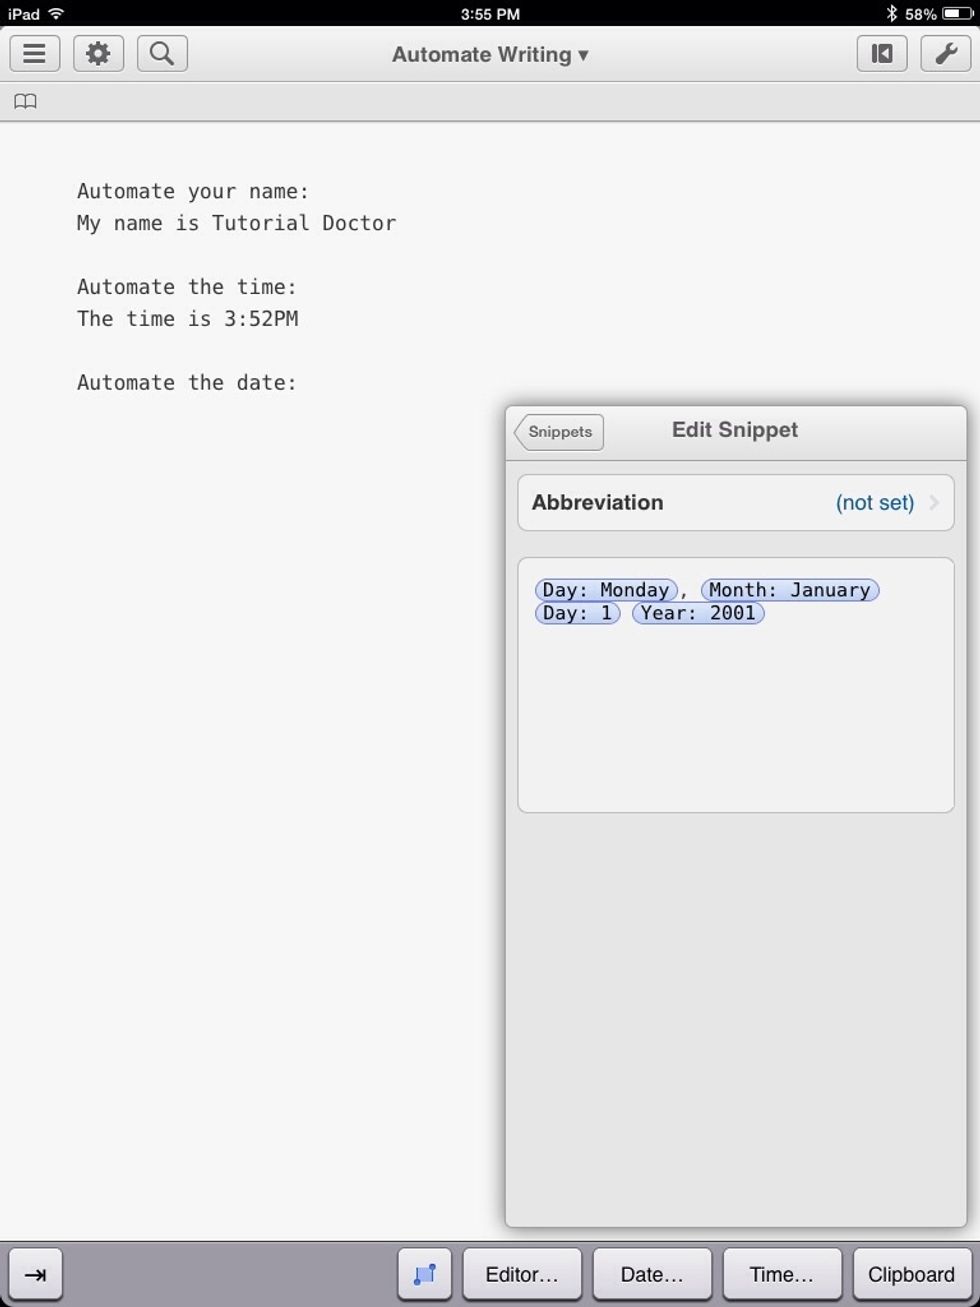
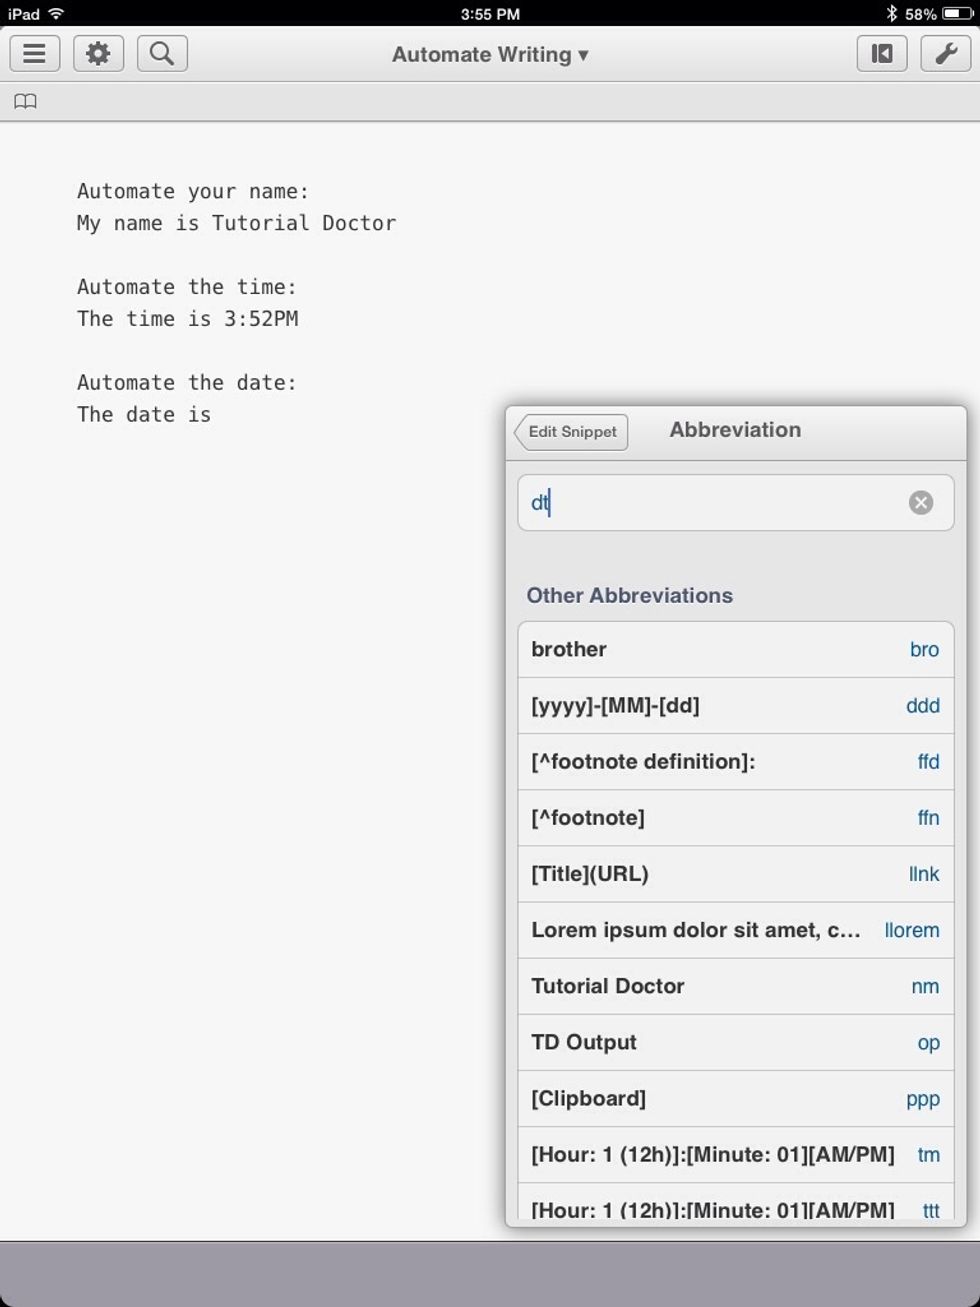
I abbreviated it as "dt." There is an included snippet that uses "ddd."
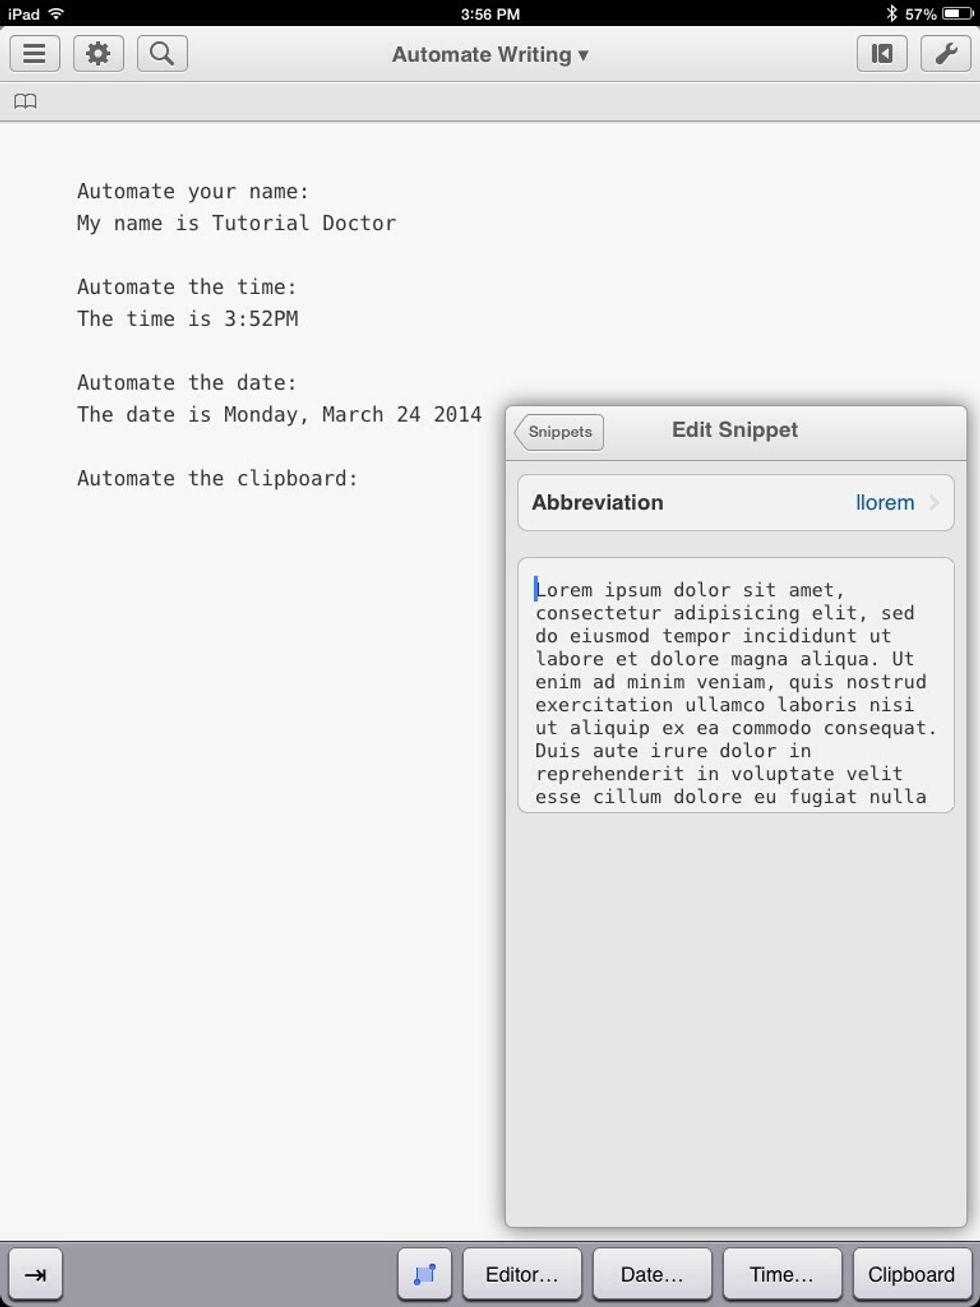
You can also automate any text you want.
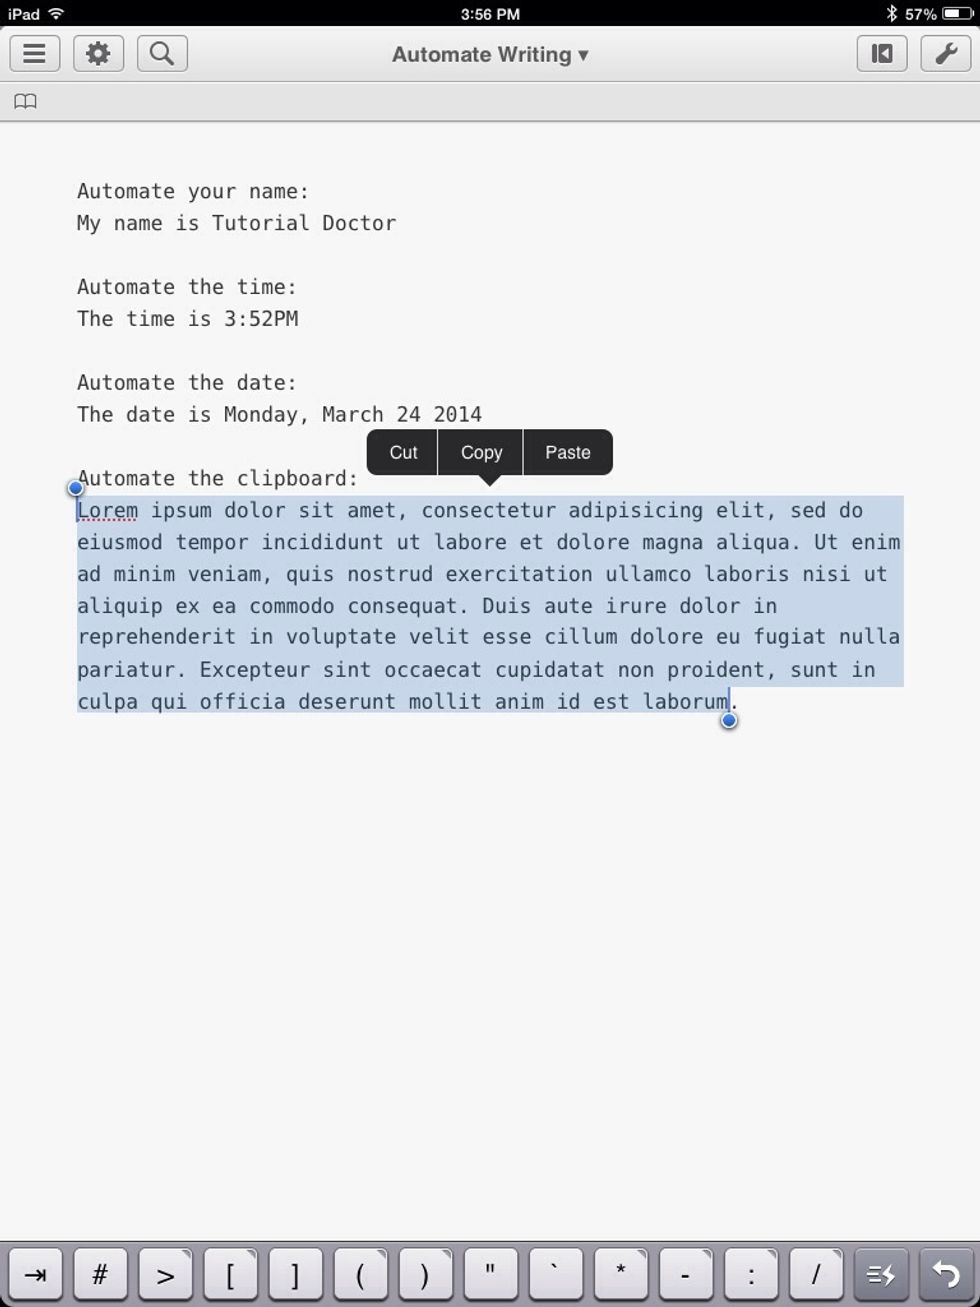
You can also automate a paste from the clipboard. Select some text and copy it.
Choose "Clipboard" on the on-screen keyboard.
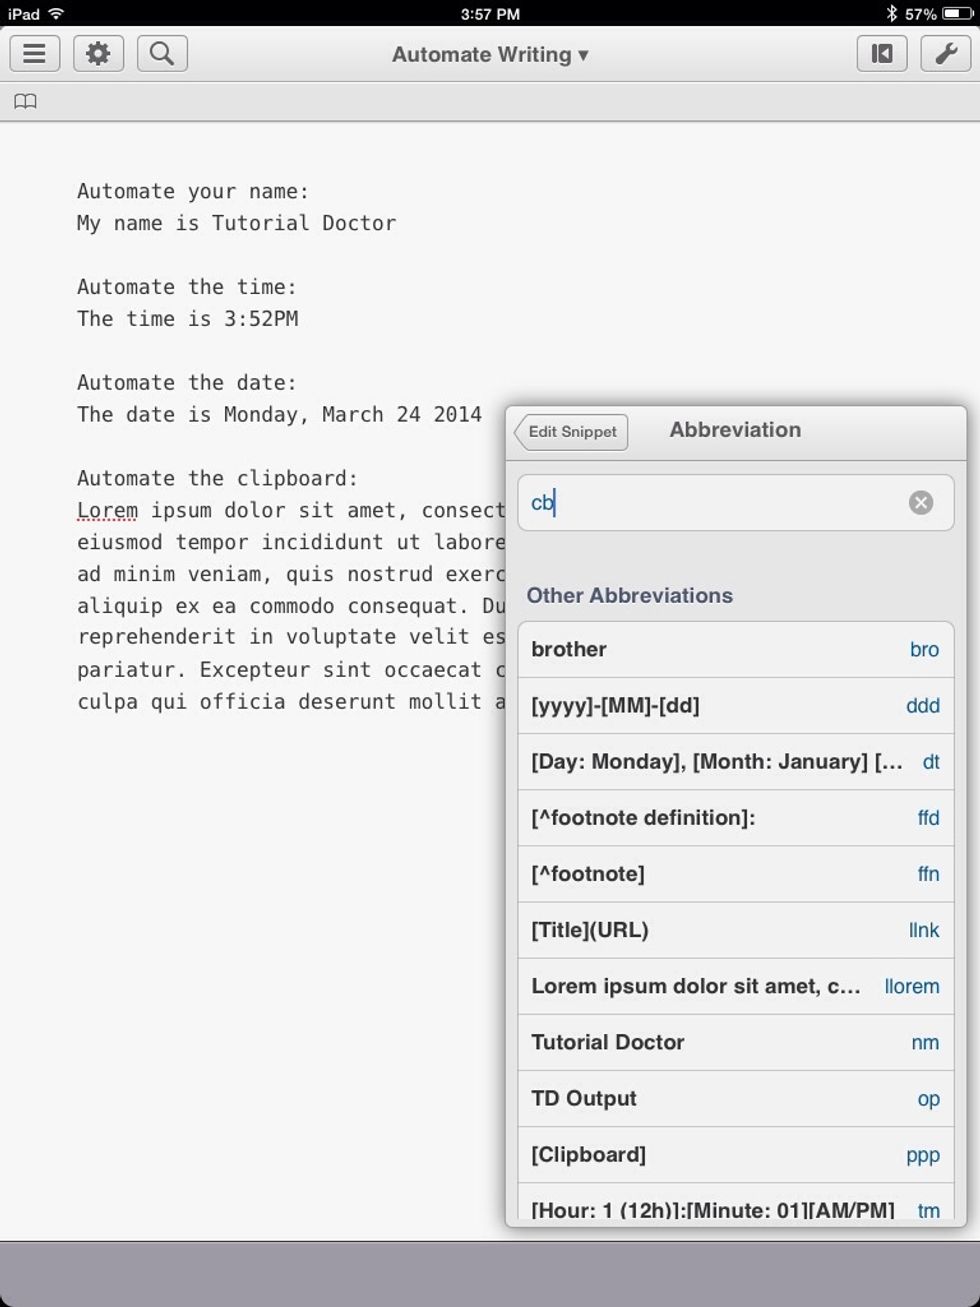
I abbreviated it "cb" for "Clipbaord."
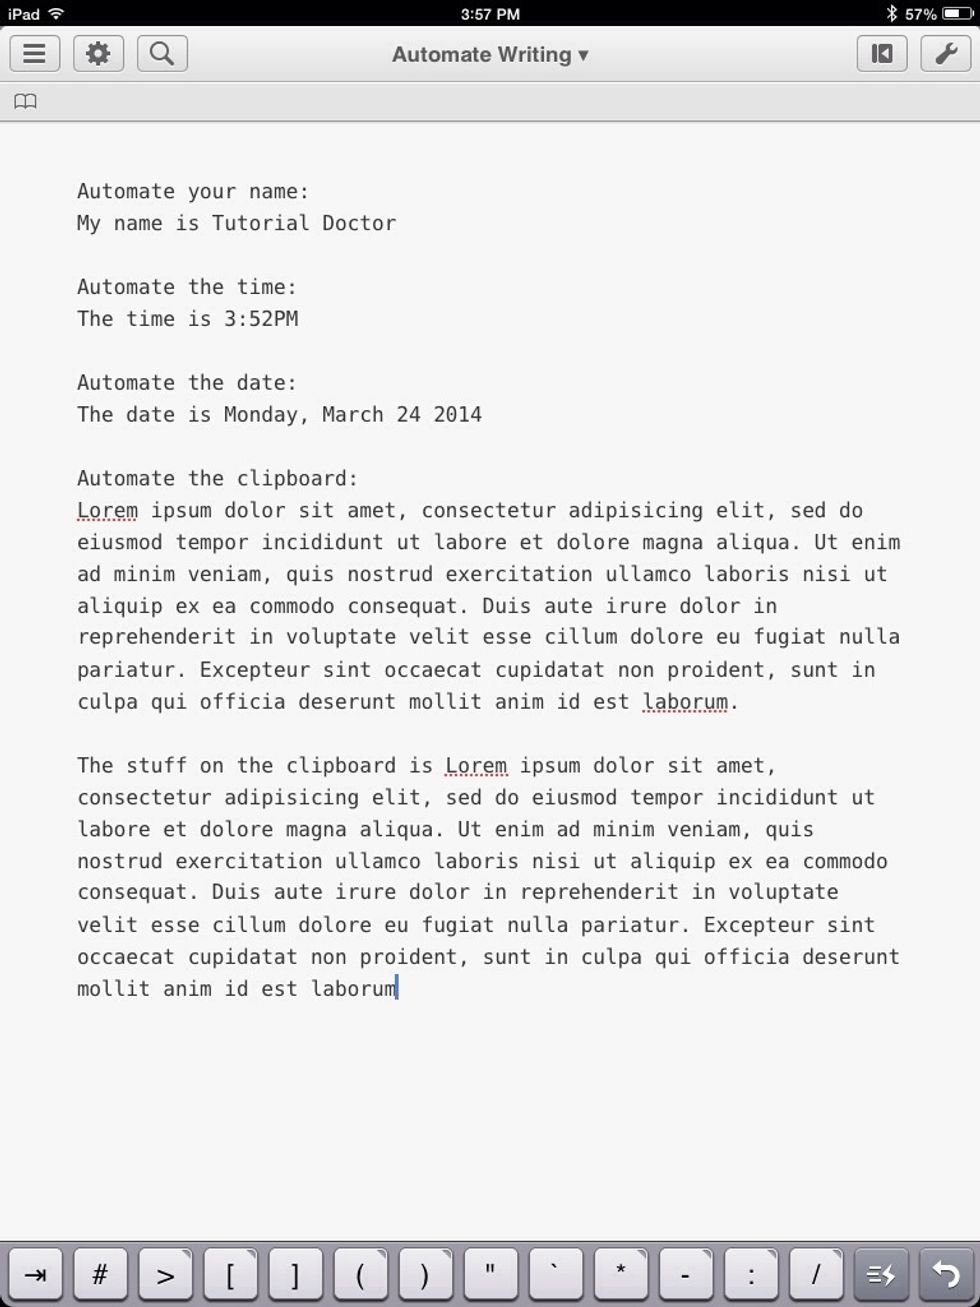
Whenever you type "cb" whatever is on the clipboard (whatever it is you copied) will be pasted into the document. This works across apps.
Workflows
A 'Workflow" is a sequence of simple steps (called actions) that are executed one after another.
Workflows allow you to do more elaborate and complex automation.

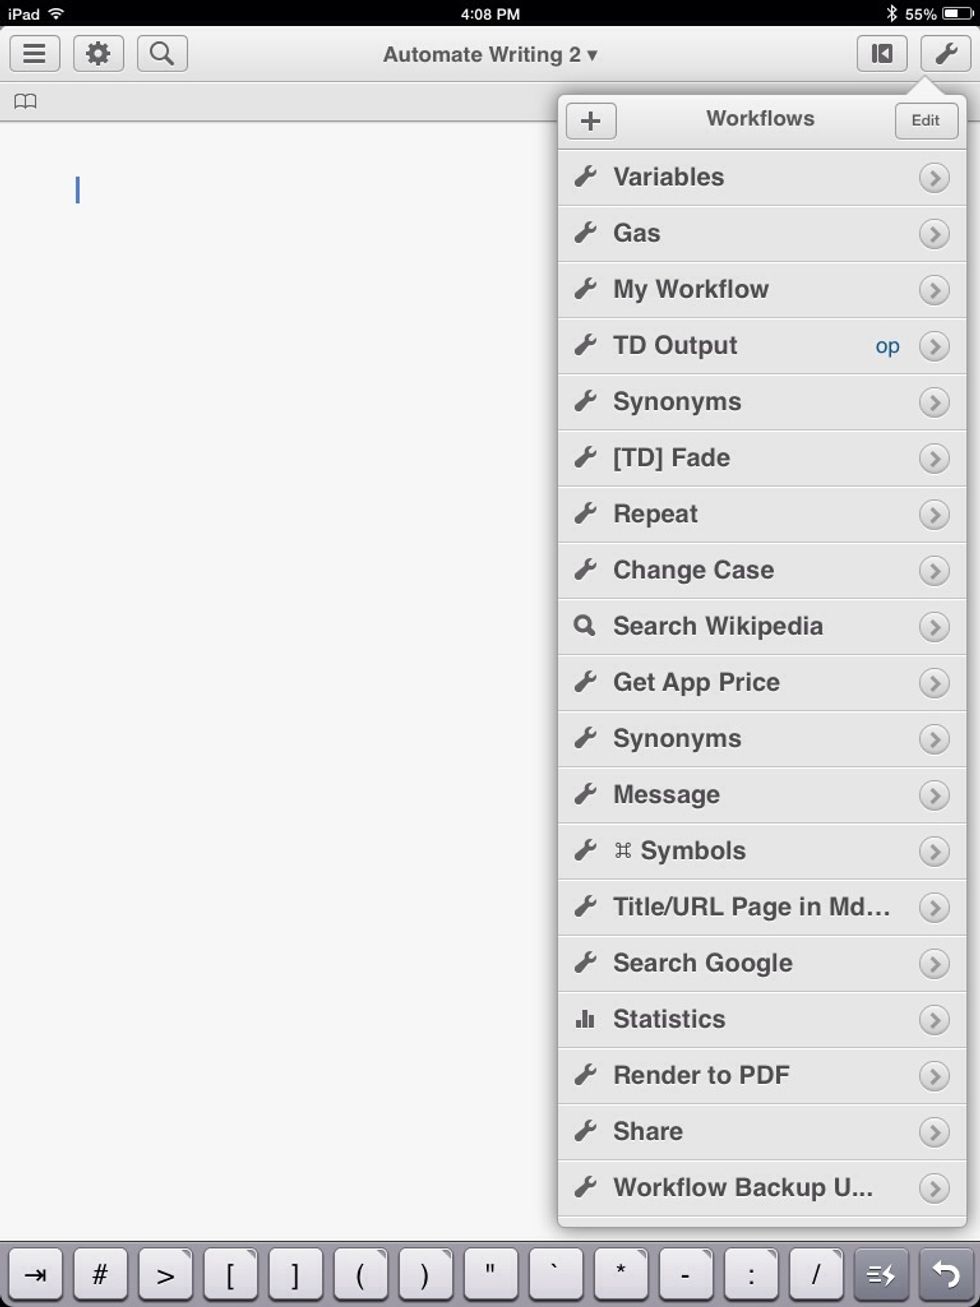
Tapping the gear at the top-right of the screen brings up a list of workflows. To create your own workflow, tap the plus.
Variables
You can store information in variables and then output it to the editor.
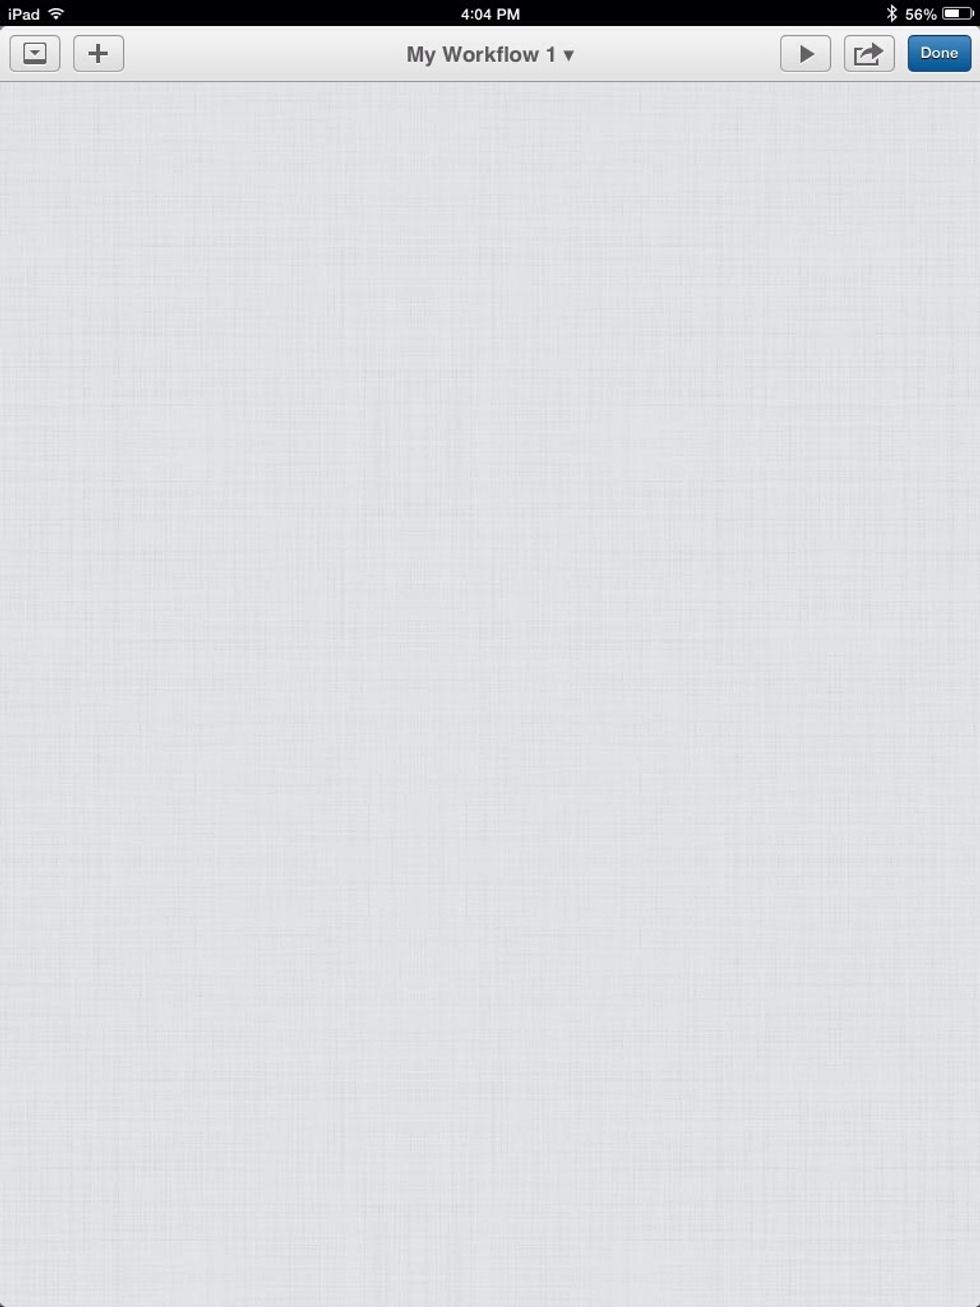
When you create a new workflow, a screen like this will appear.
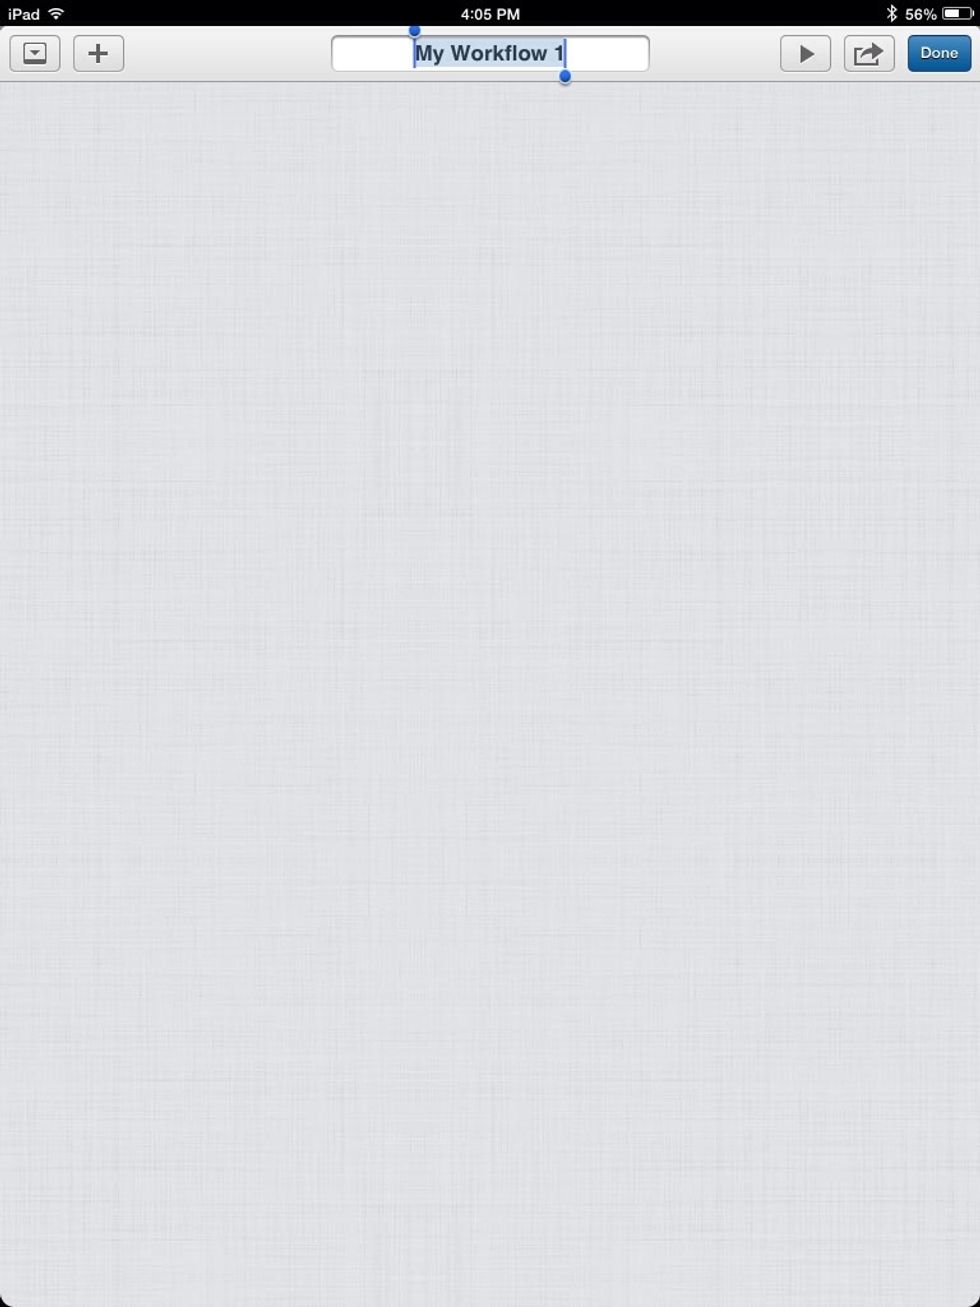
To change the title, tap it.
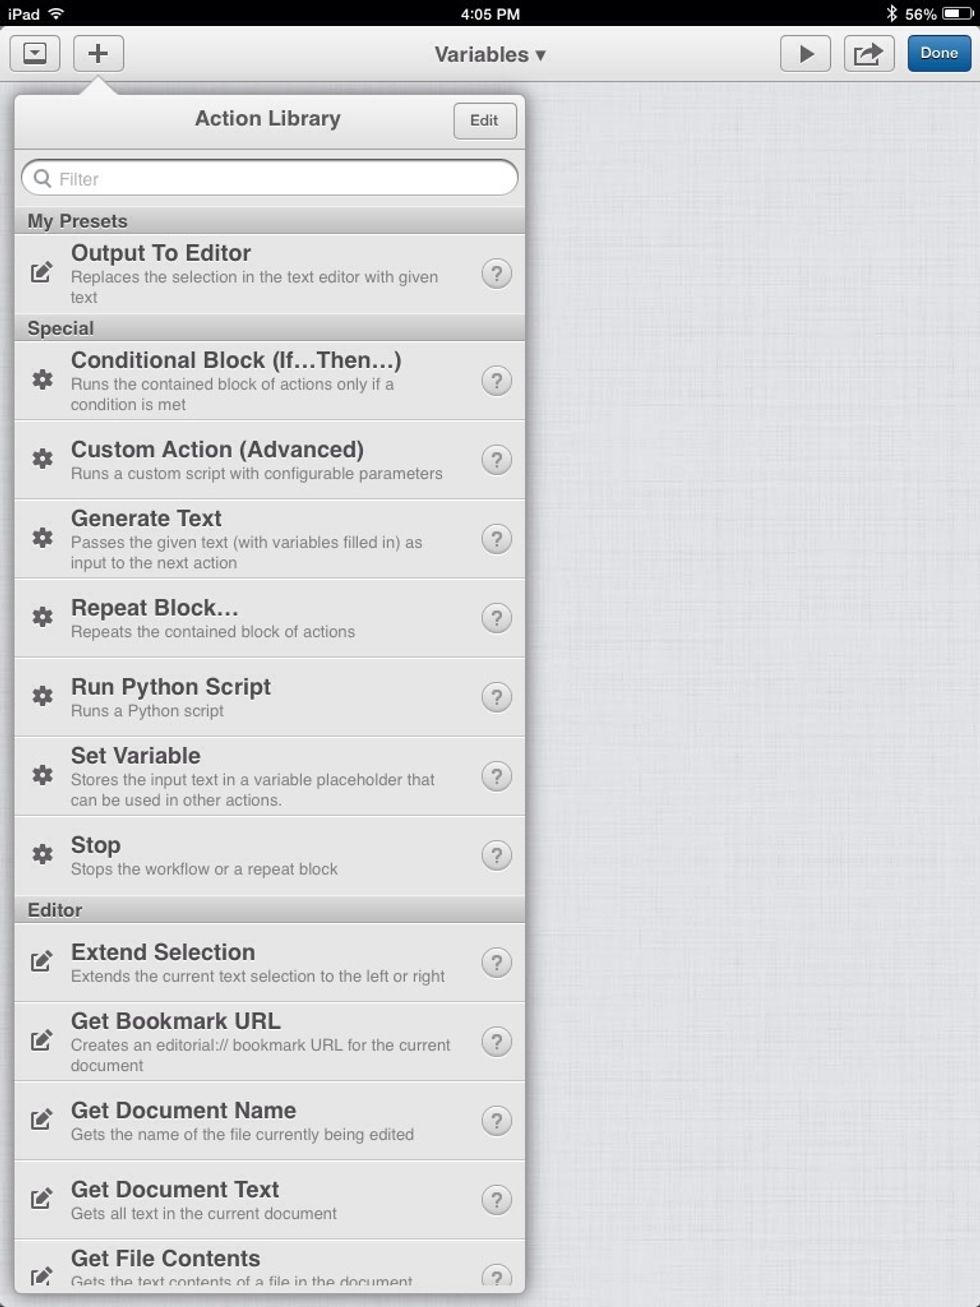
Workflows are made of actions. Tap the plus to add a new action. Scroll to the Special category and choose Set Variable.
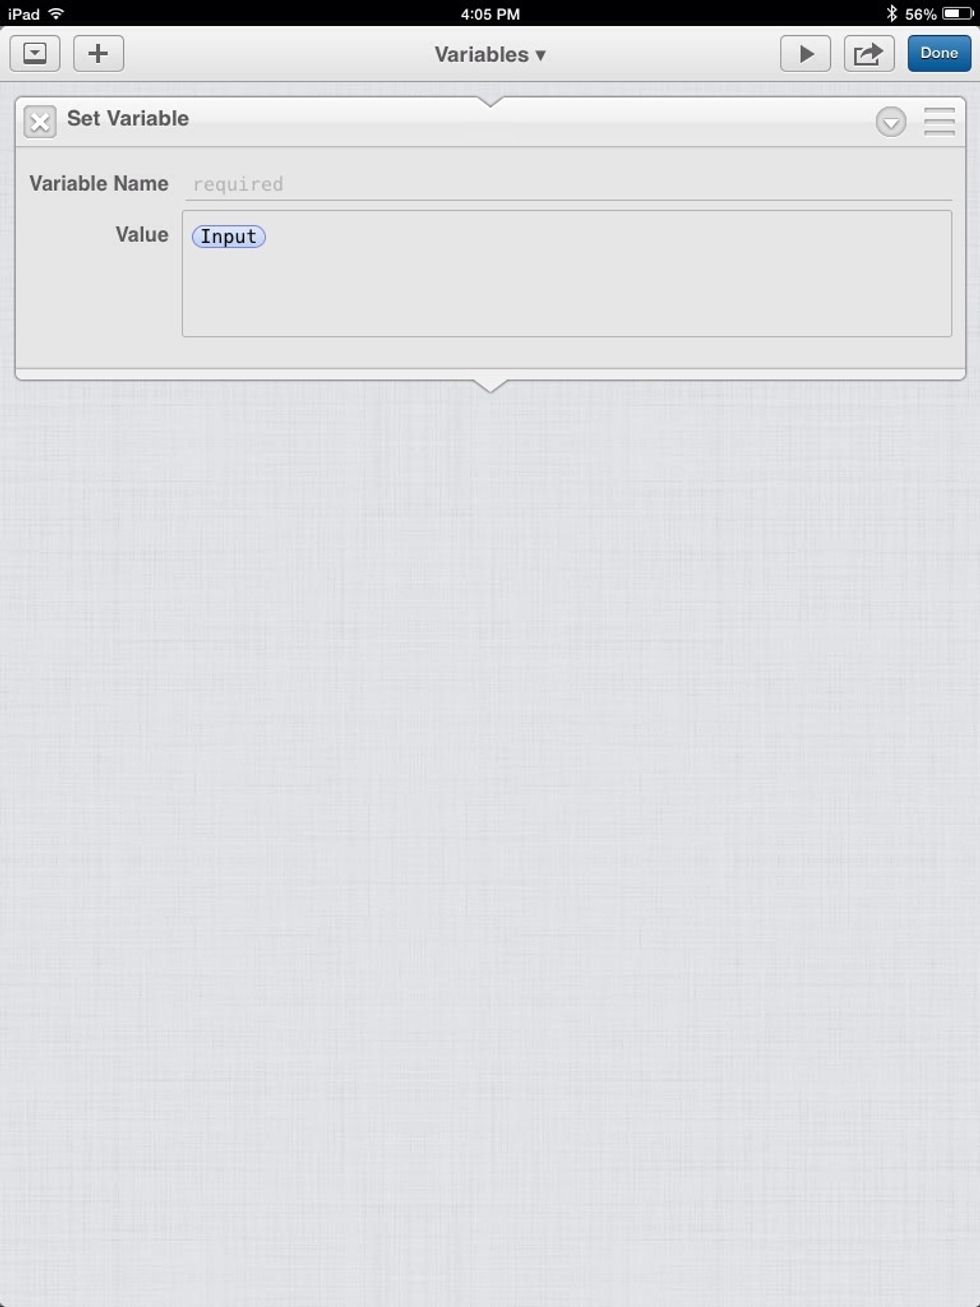
Delete the Input text for now.
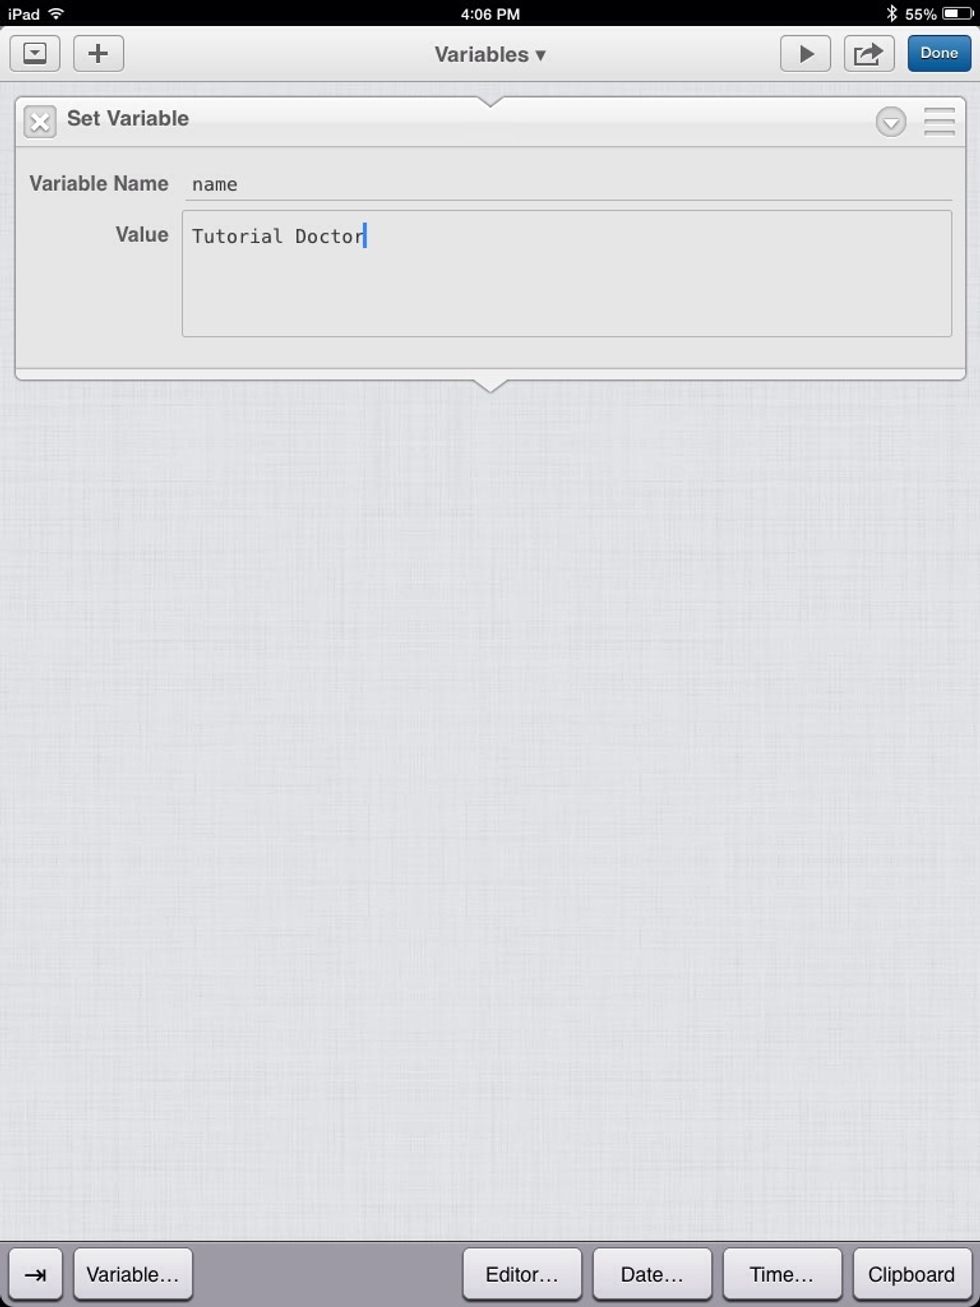
The variable must have a name and a value. It needs a name so that we can reference it. The value is what will be stored in the variable. Variables are seen as containers because they store stuff.
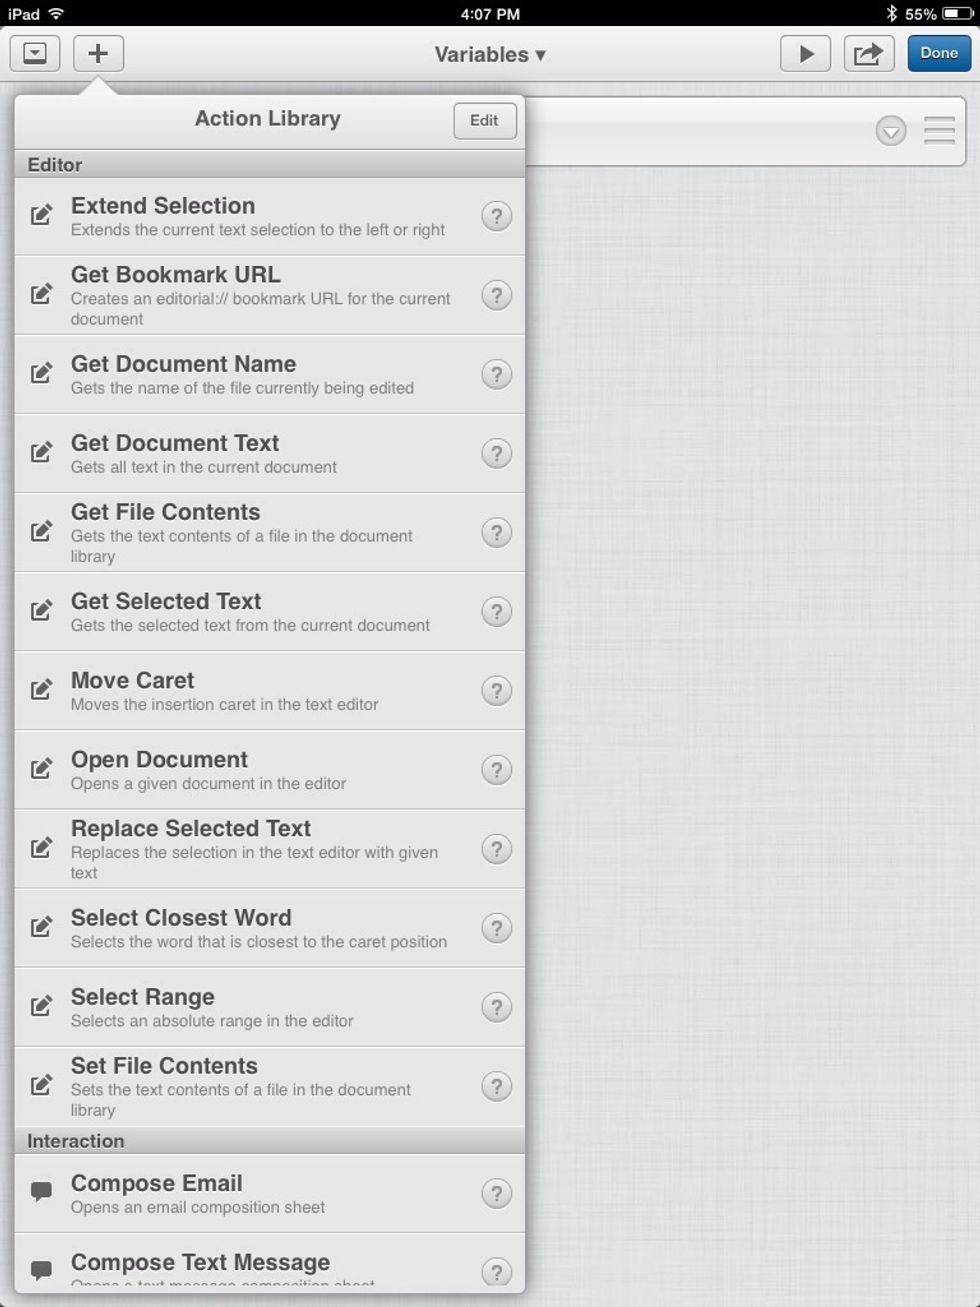
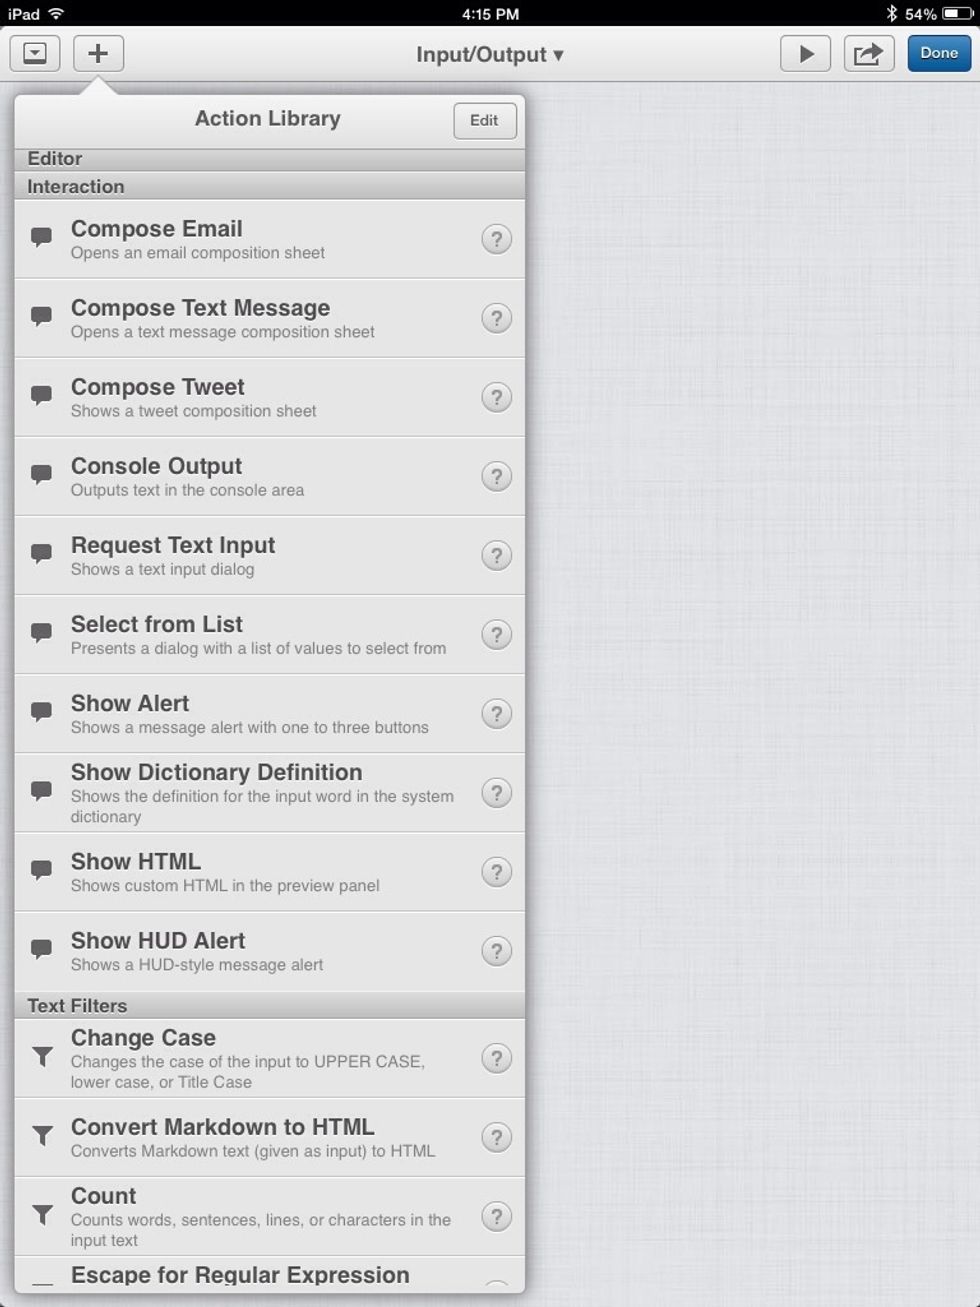
Under "Editor" add a "Replace Selected Text" action.
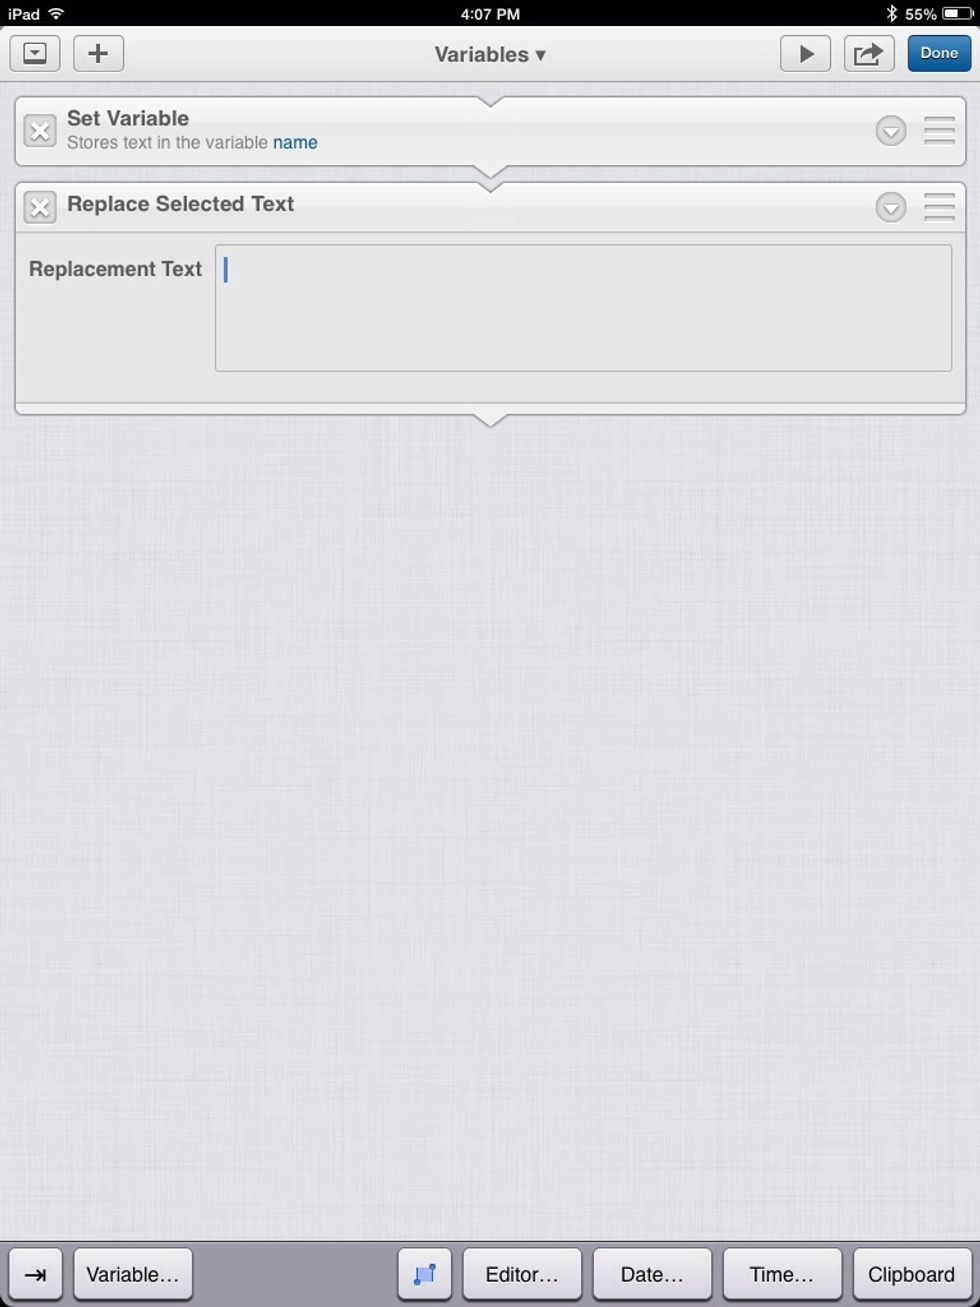
By defualt, the "Replace Selected Text" action outputs all text in the document, if none is selected. Tap where it says "Variable" on the on-screen keyboard.
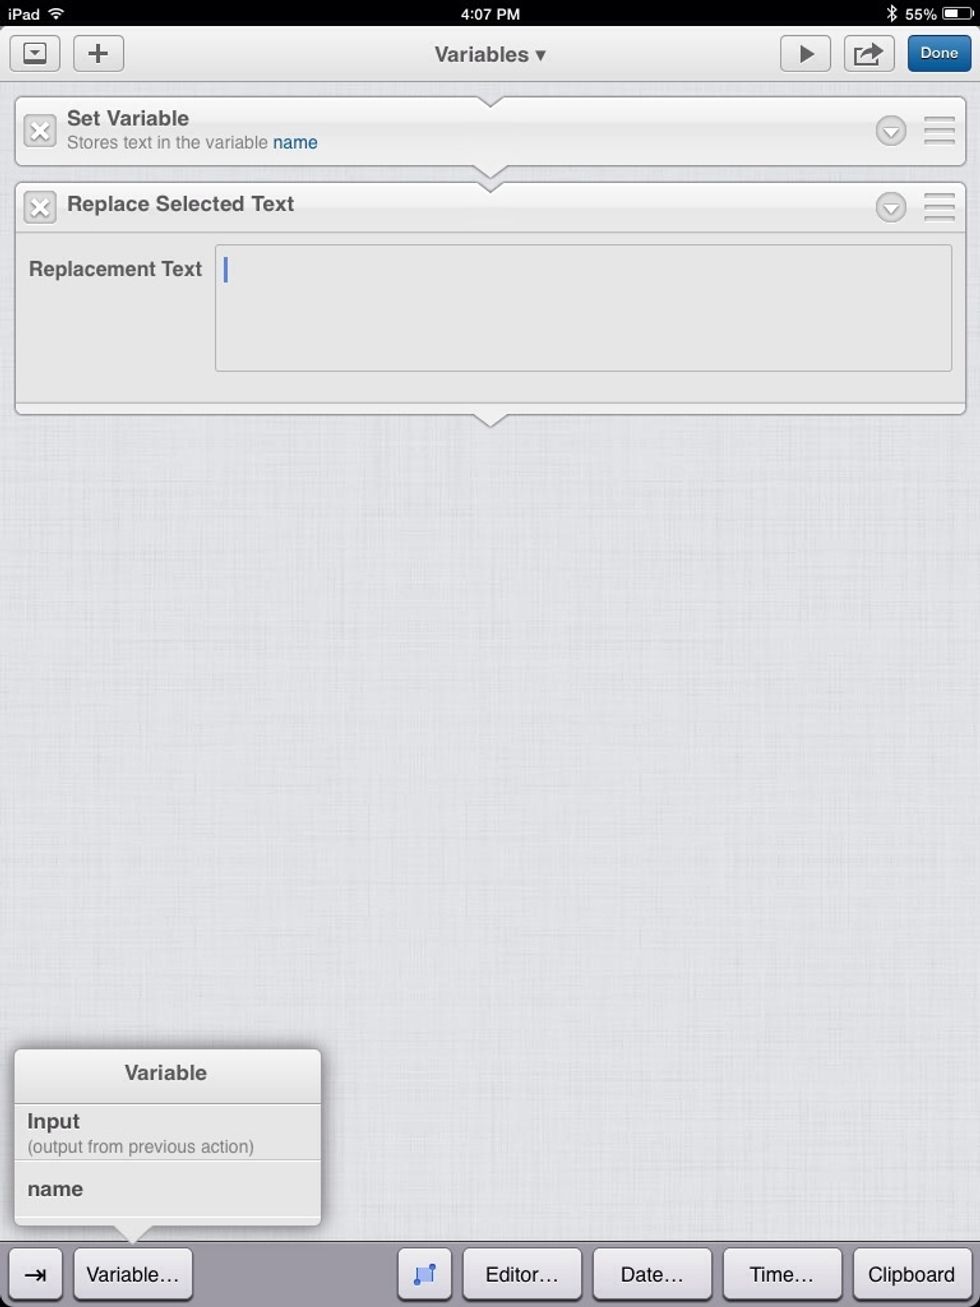
A list will pop up displaying all variables that we can use. Choose the variable named "name" (this is the one we created above).
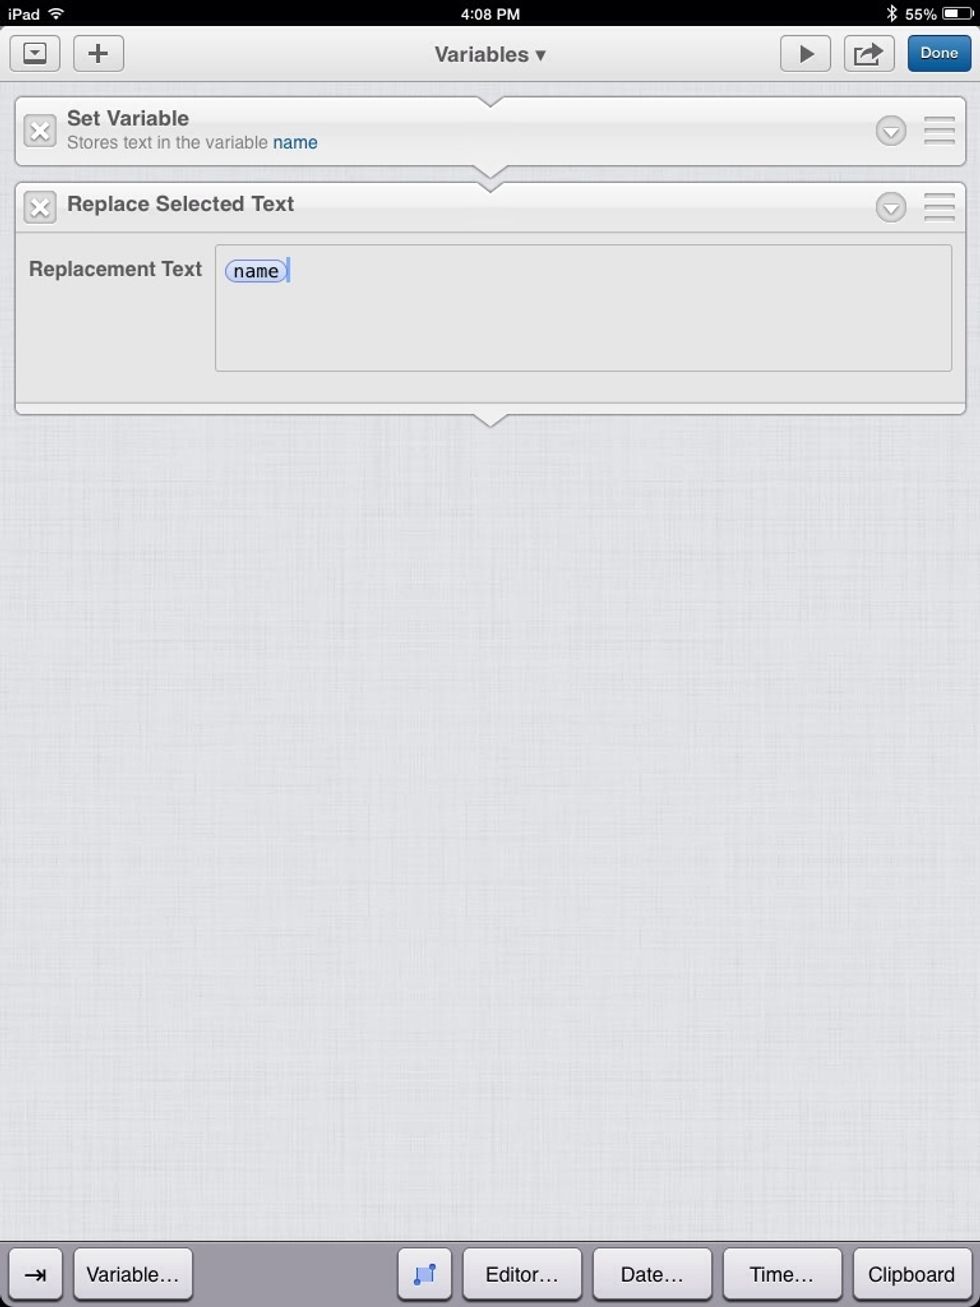
this is how it looks when it is added.
Whenever we tap the "Variables" workflow, it will do the steps we set in it.

It prints "Tutorial Doctor."
You can change the name of an action by tapping the white down arrow on the right of its title.
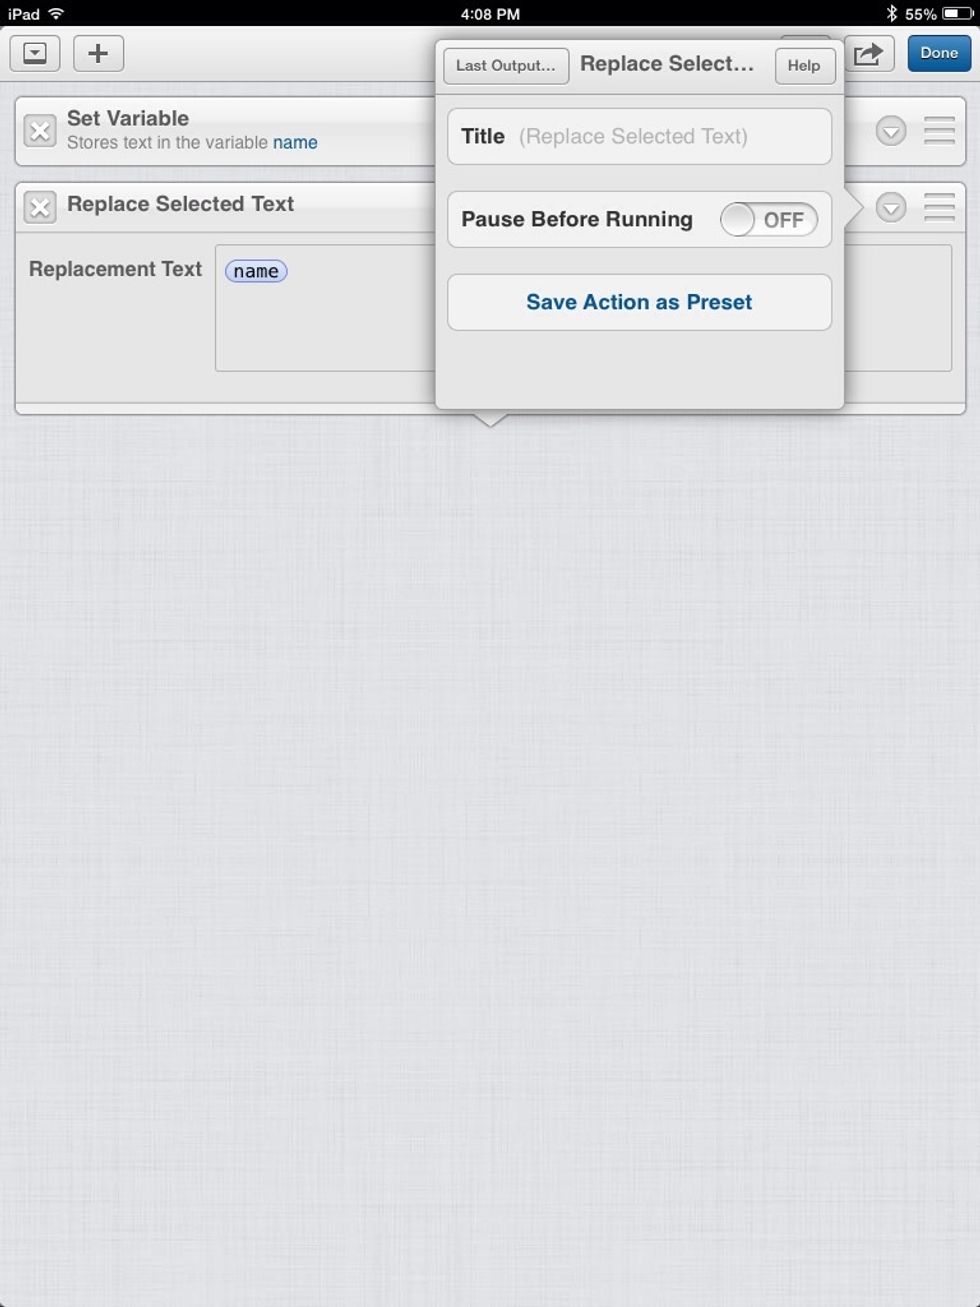
This comes up, tap where it says "Title" to change it
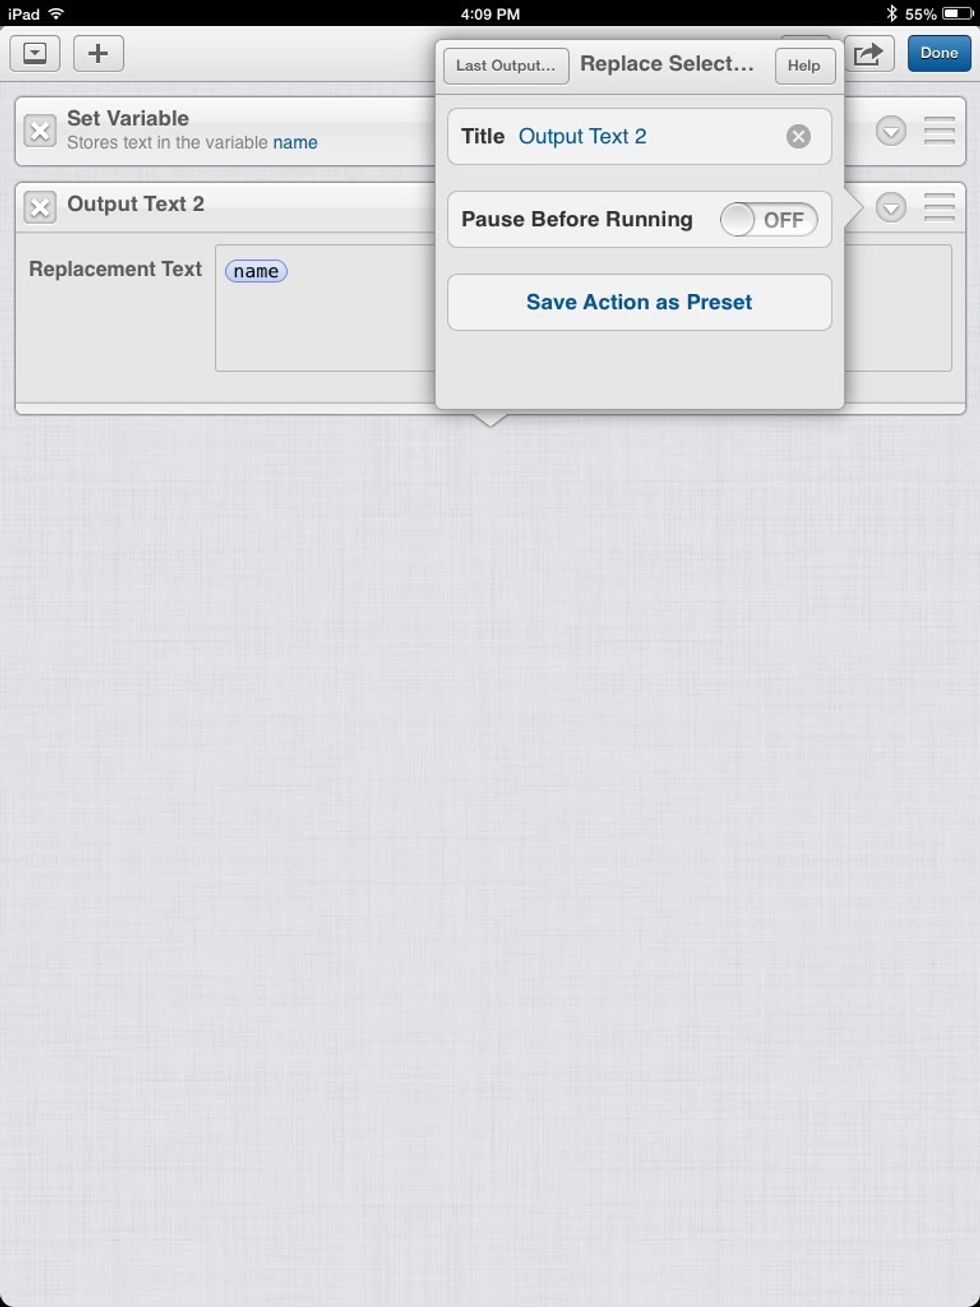
To save it as a Preset tap Save Action as Preset.
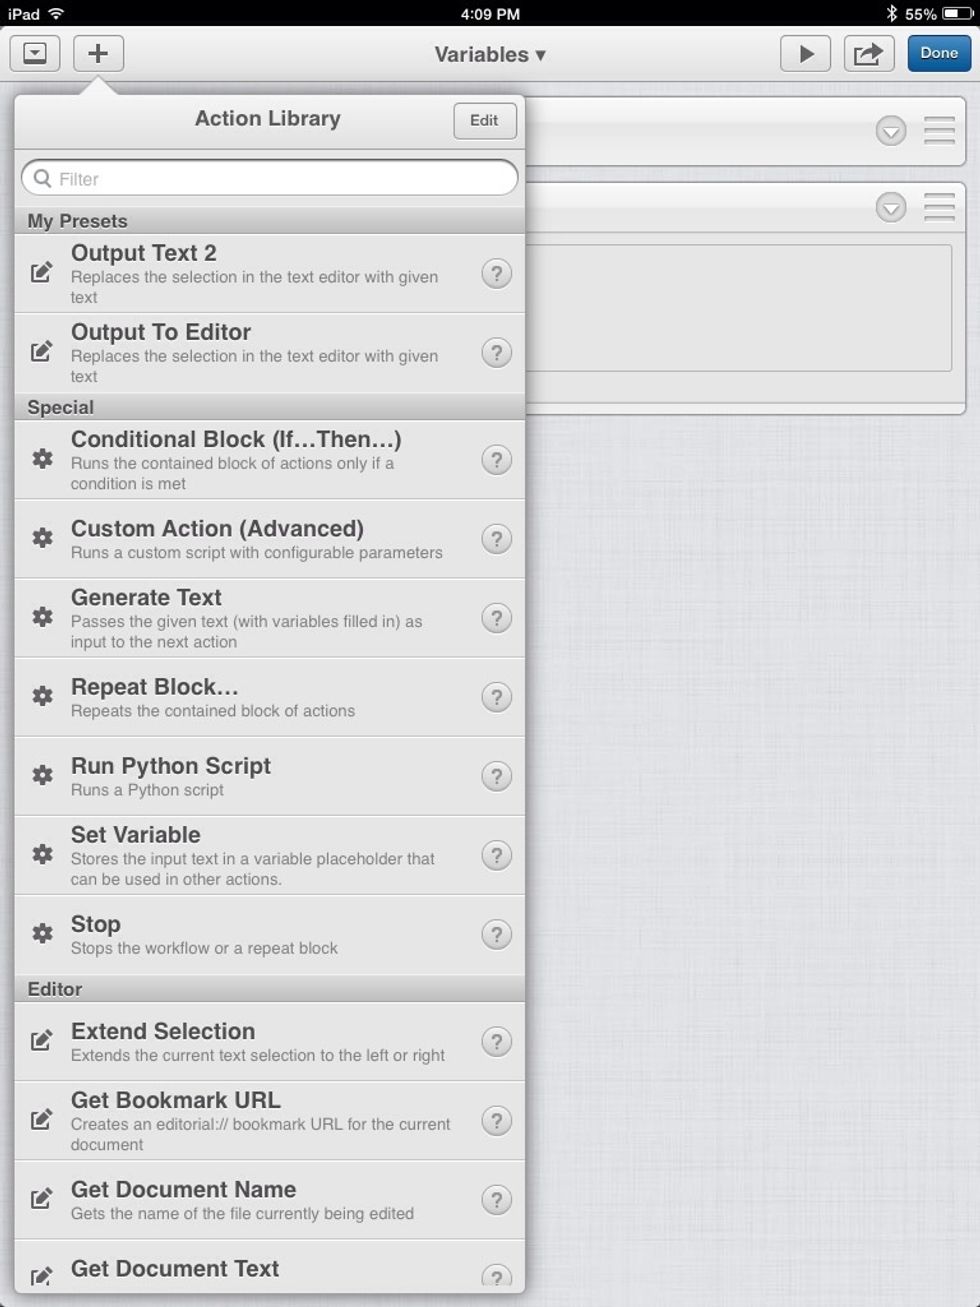
Now you have a category named "My Presets."
Actions can take input, or output to other actions.
Input/Output:

Create a new Workflow and name it "Input/Output."
Add a "Request Text Input."

The "Request Text Input" action gets input from the user. Just change the title to "What is your favorite Color?" Now the user knows to input a favorite color when they are prompted.
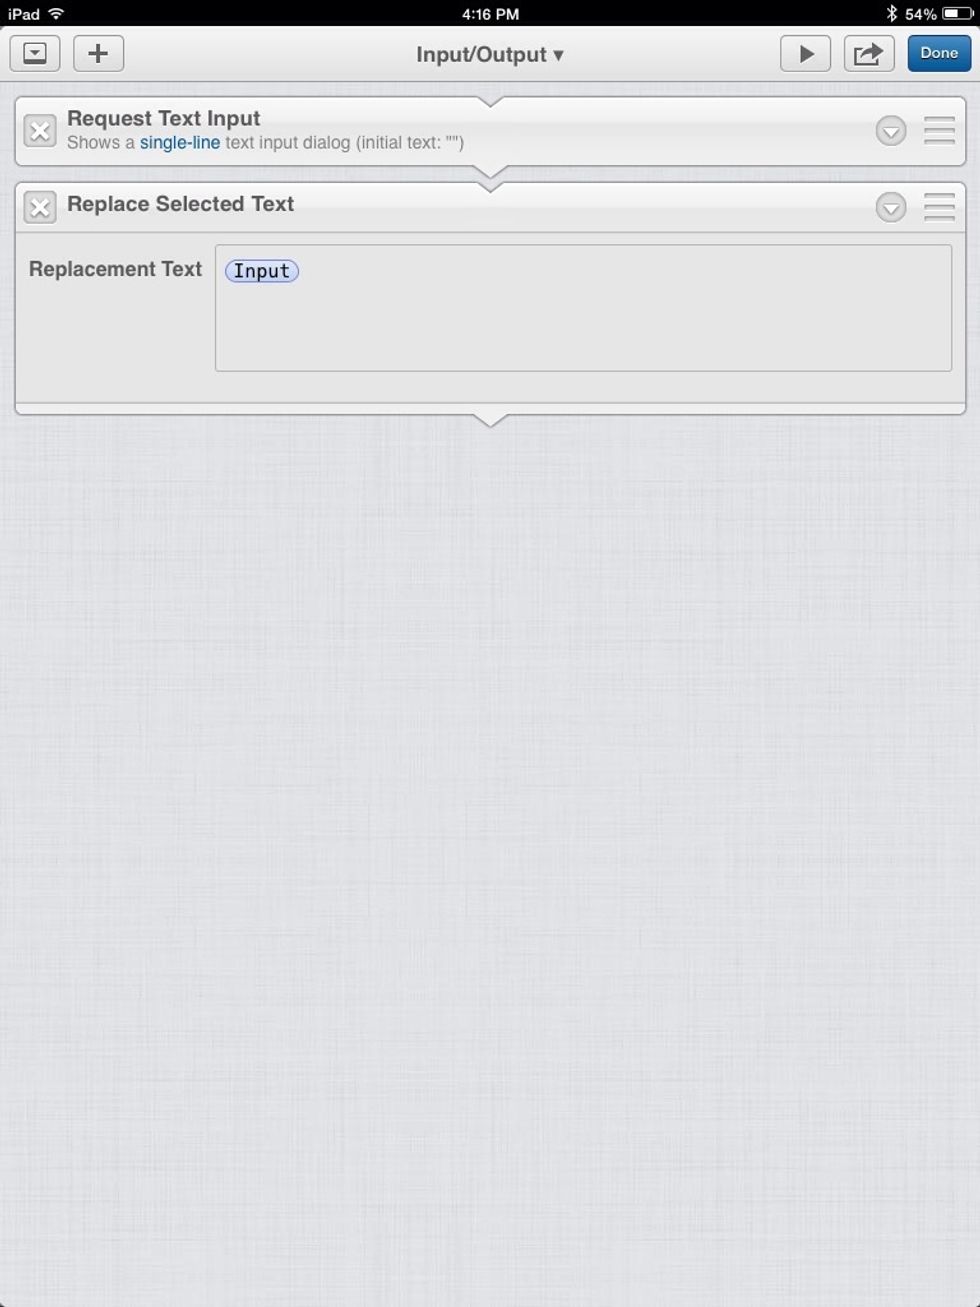
Now add a Replace Selected Text action (remember this outputs something to the editor). By default, it will output the "Input" which is always from the action above it.
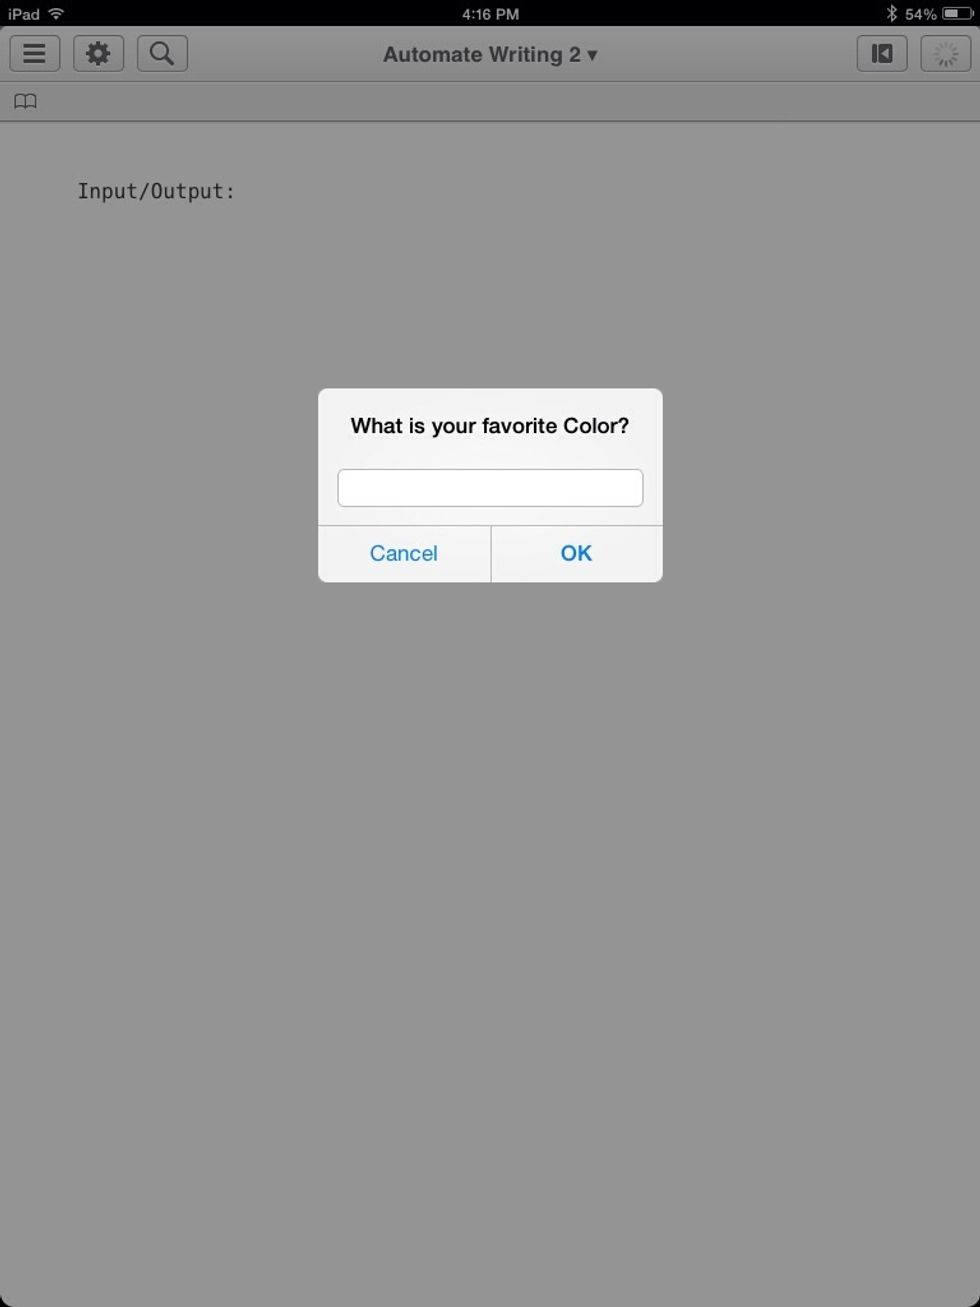
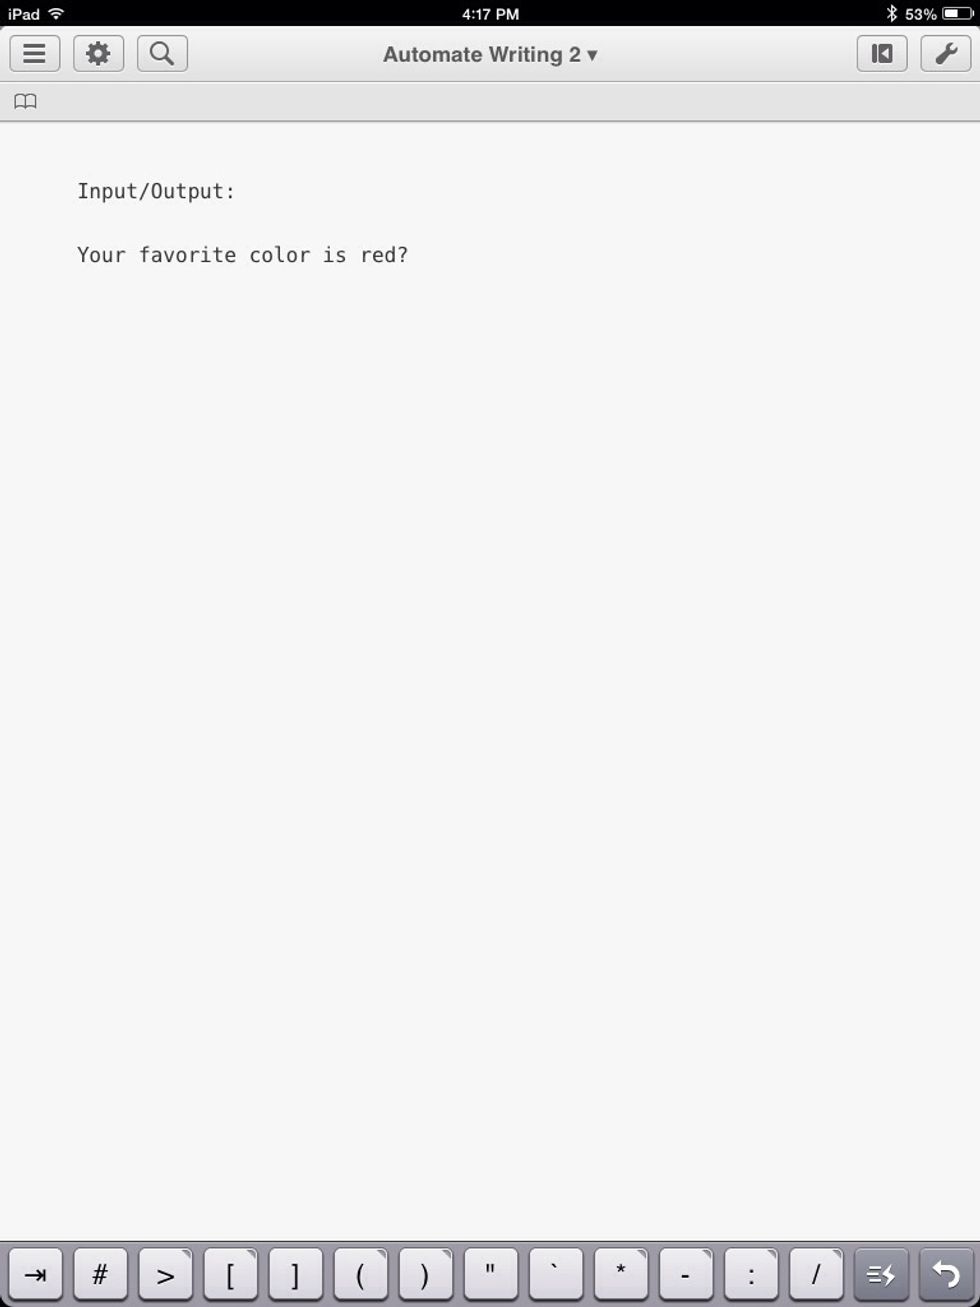
That is it! When you tap the Input/Output workflow, you get a pop-up that says "What is your Favorite Color?"
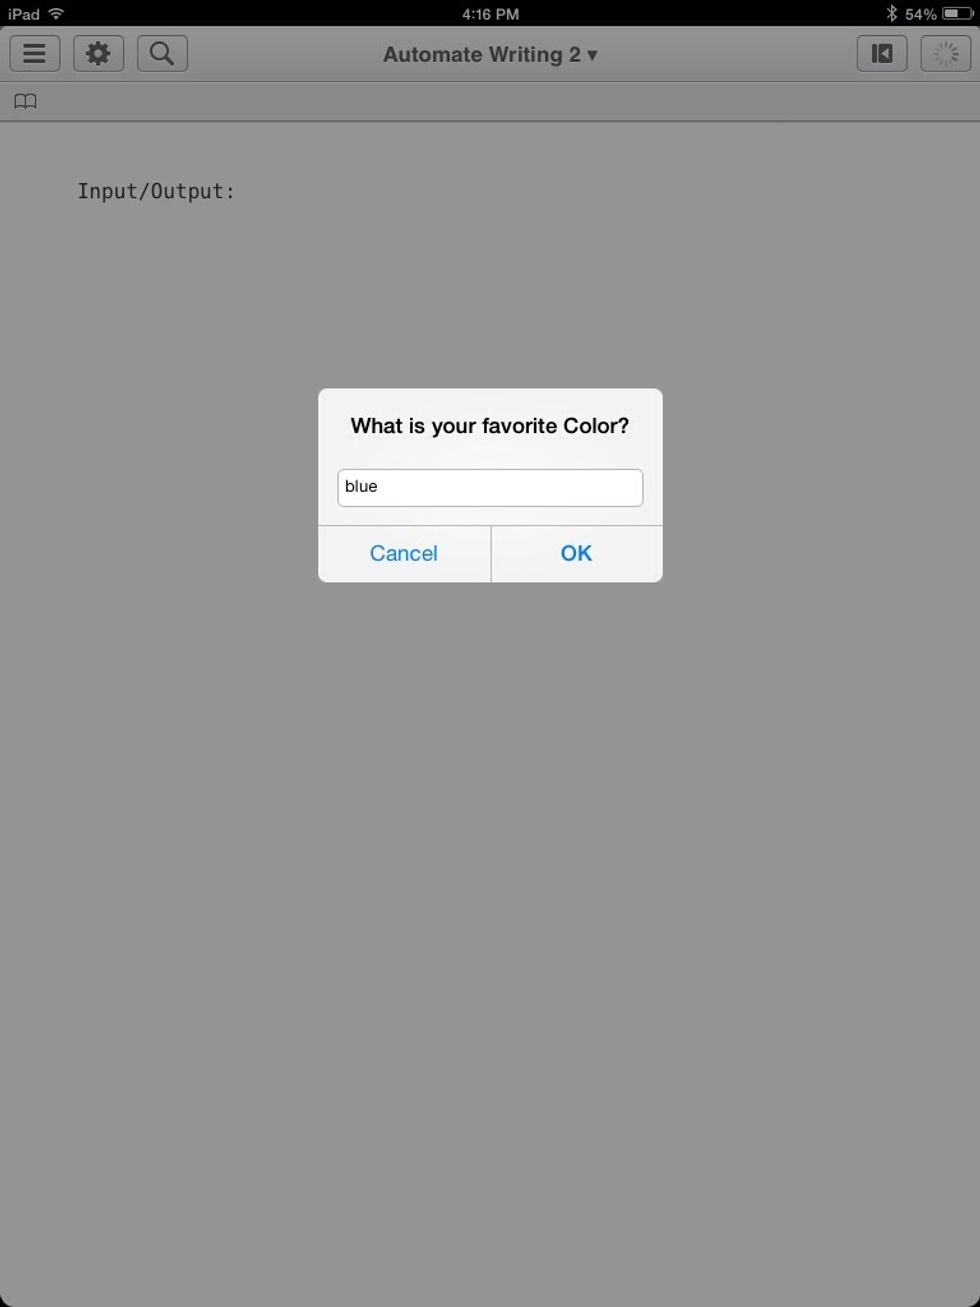
After you type in your favorite color, tap "OK"
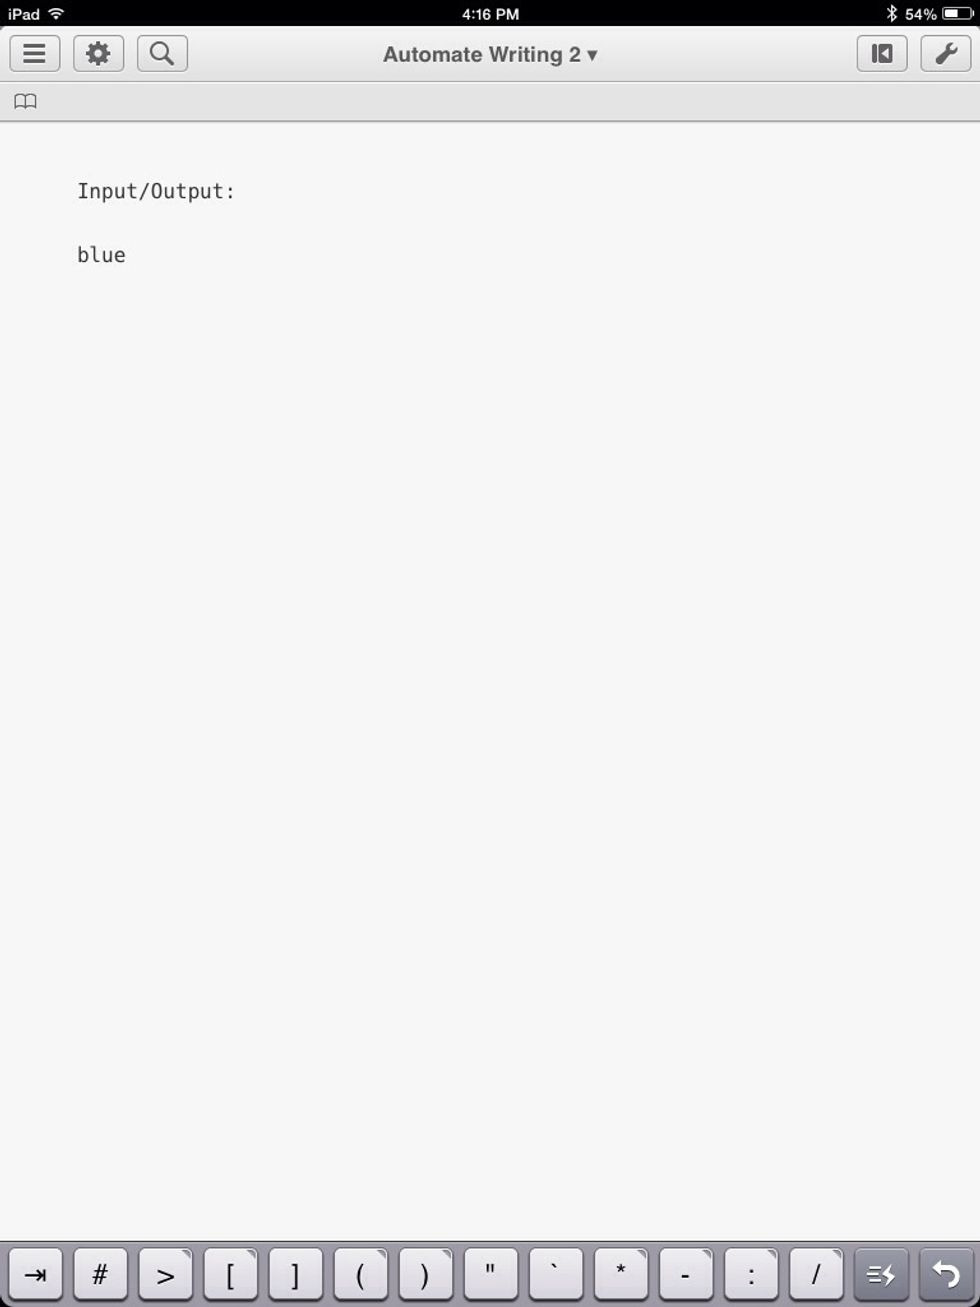
It outputs your favorite color!
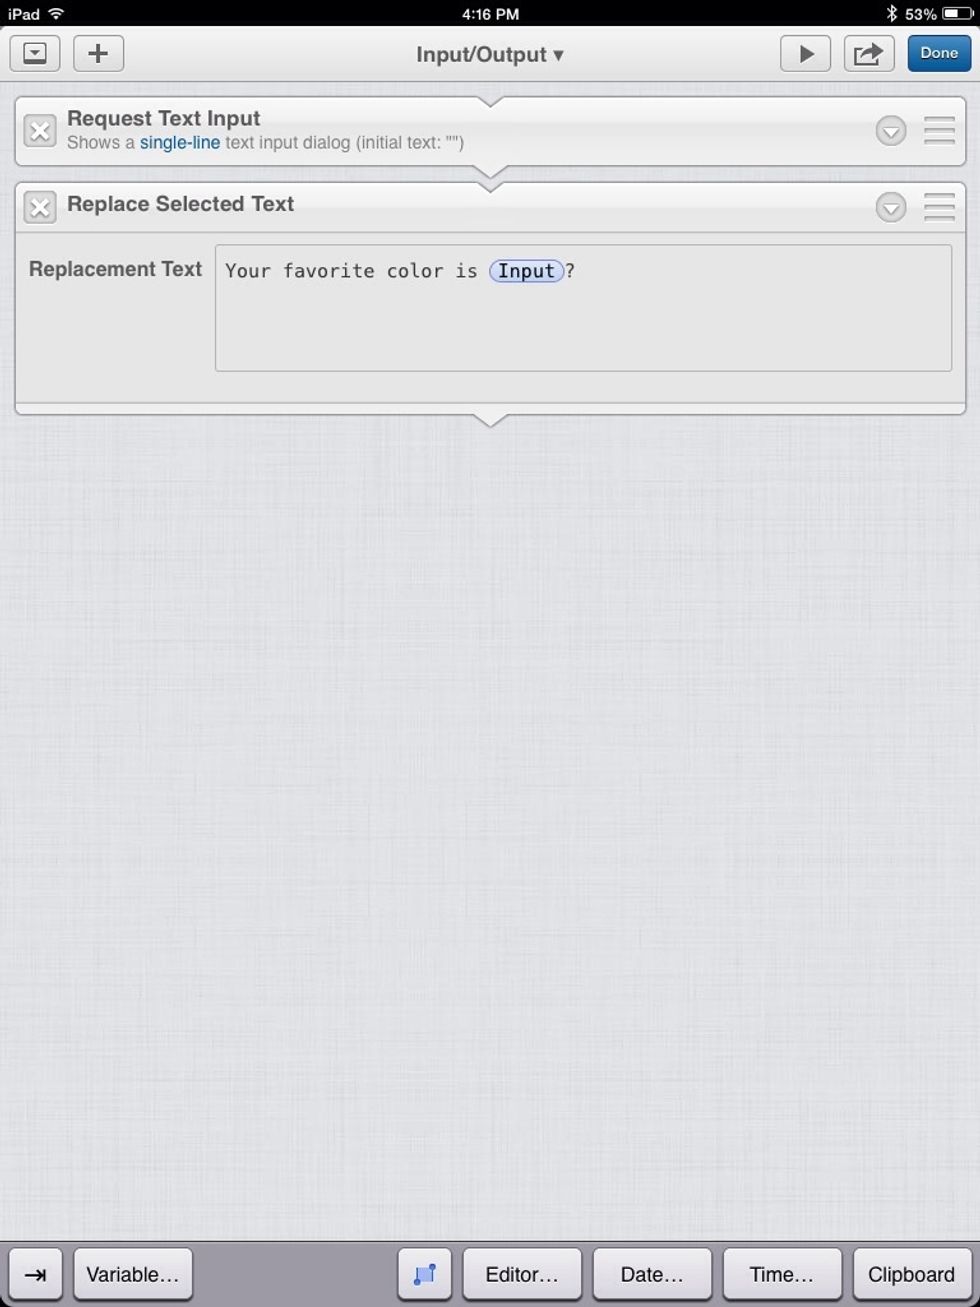
You can add additional text to make it prettier.
...
Automate Emails:
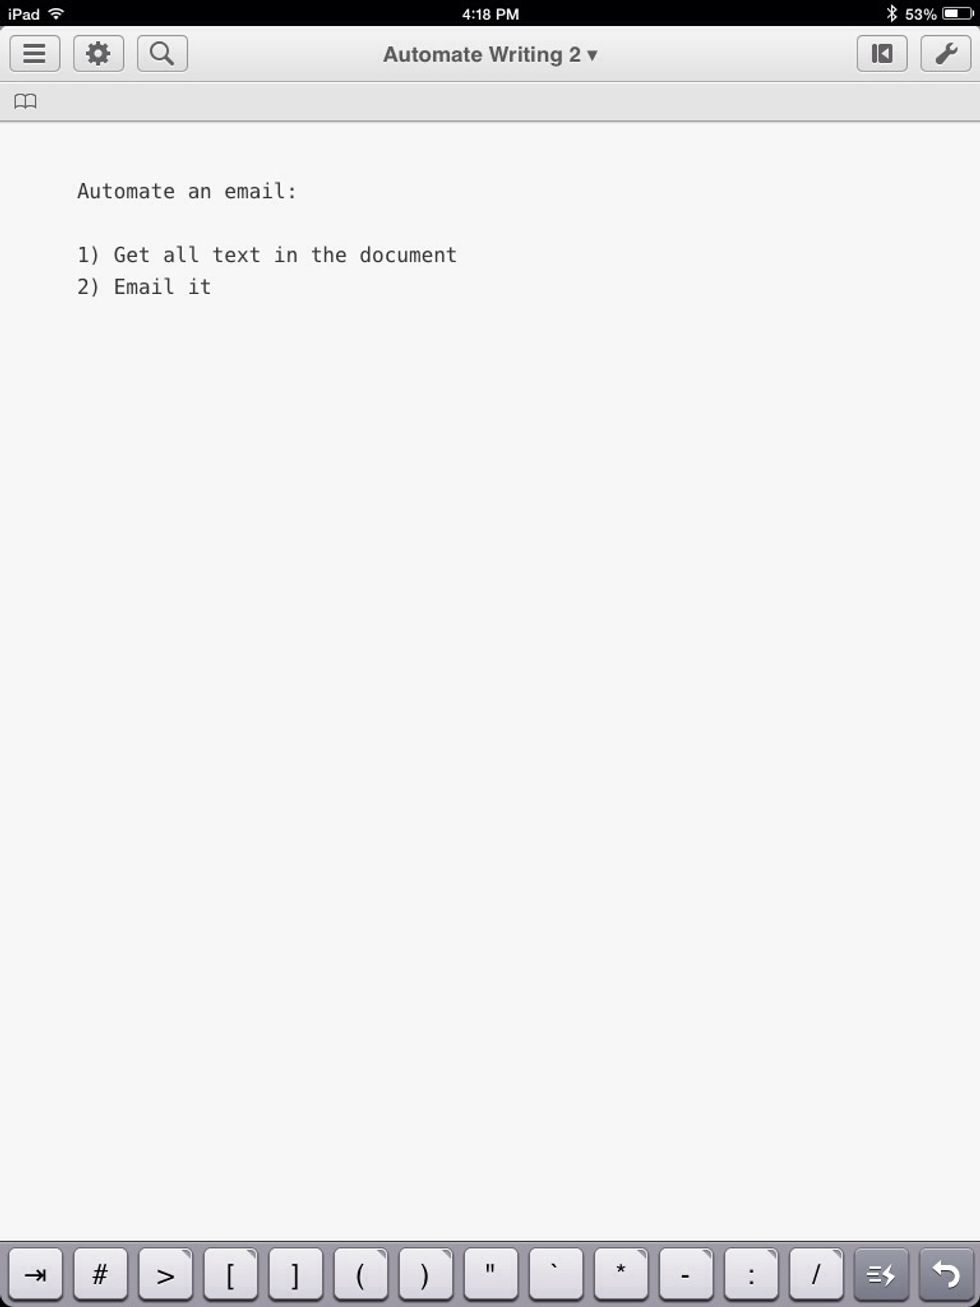
You can automate emails. The steps to doing this are to get all the text in the document and then email it. This will be simple and only requires two actions.

Create a new workflow named "Email Document."
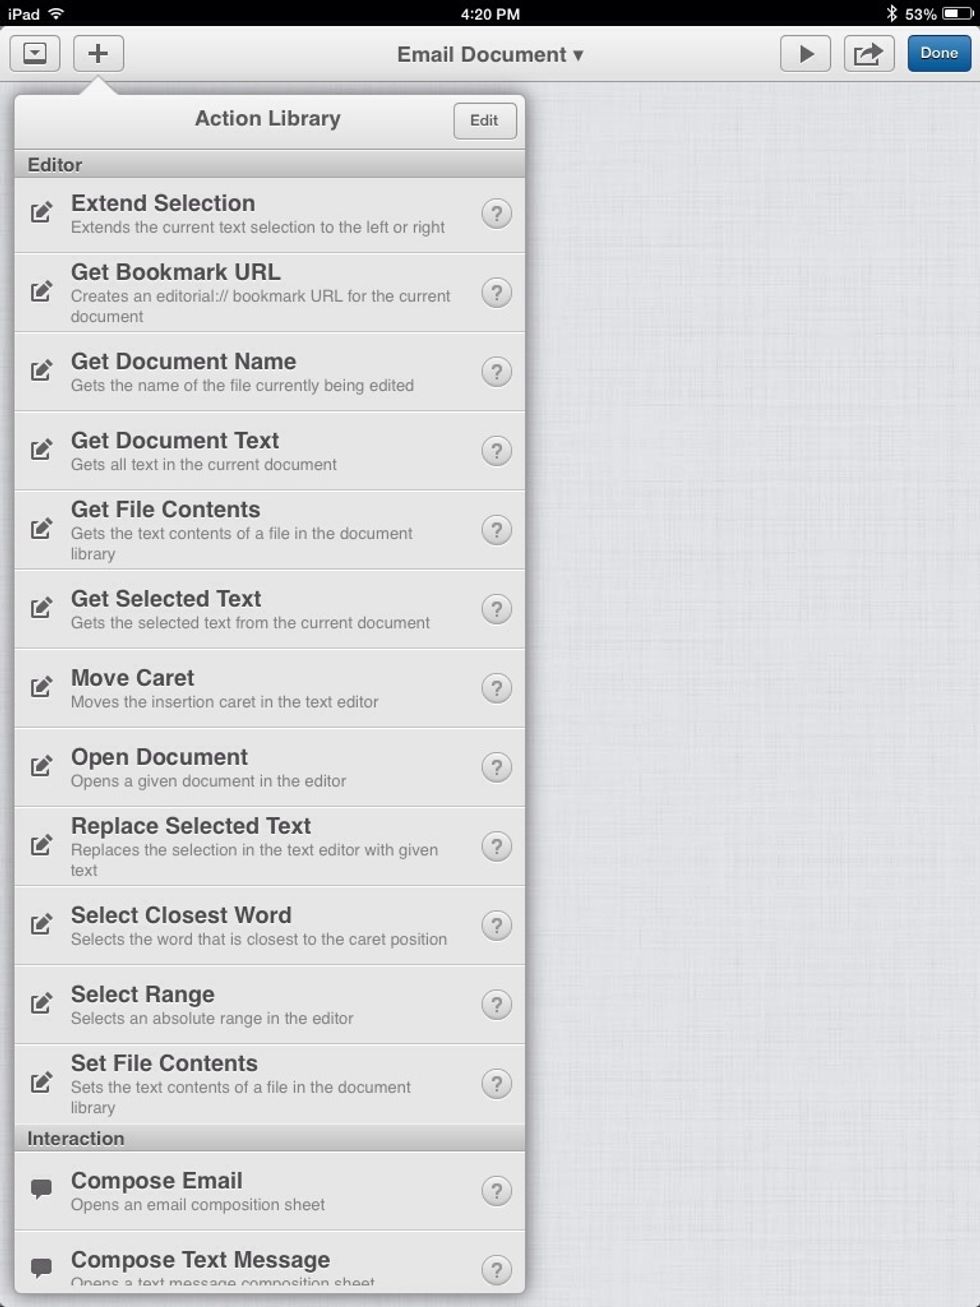
Under "Editor" add a "Get Document Text" action.
Also, under "Interaction" add a "Compose Email" action.
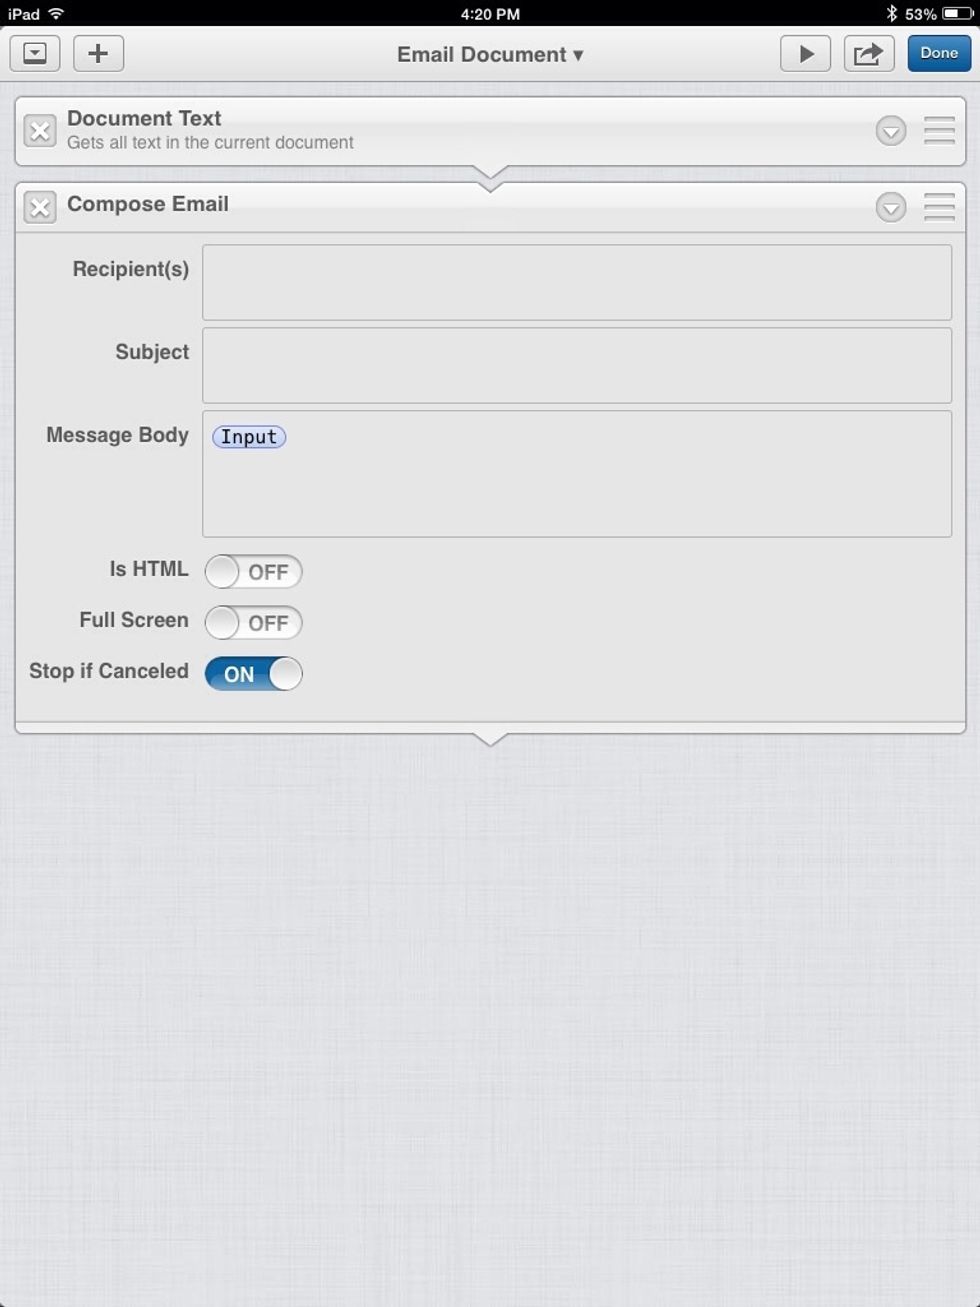
The "message body" of the email will be all of the text in the document. tap DONE.
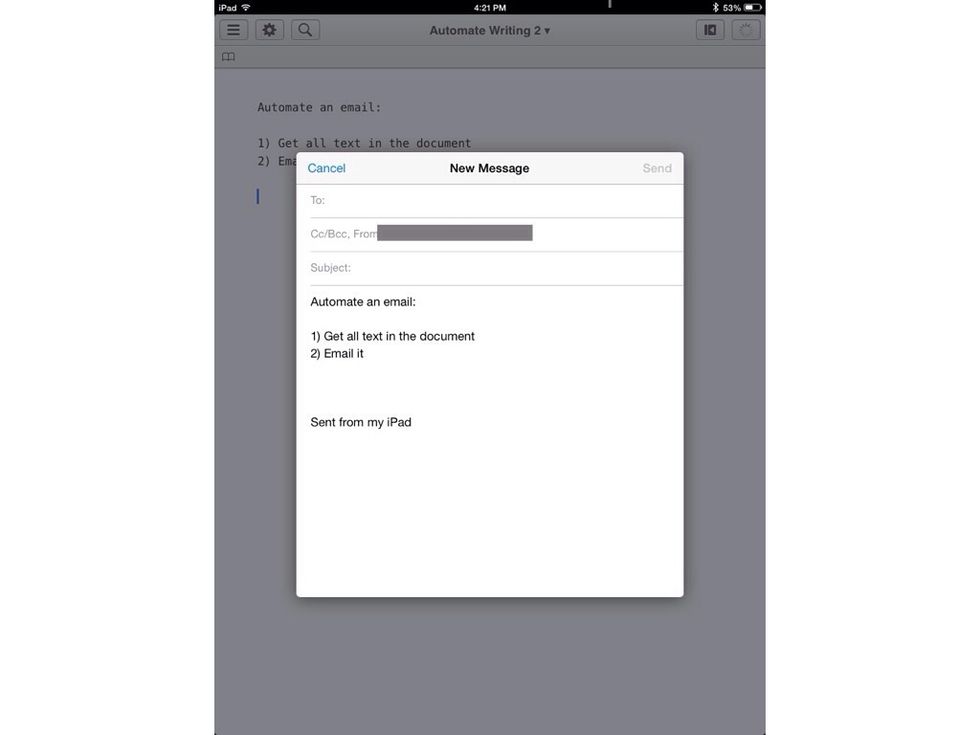
When you tap your workflow this will happen:
Word count:

You can count the amount of words in the document using a Get Selected Text and a Count action.

You can count Words, sentences, Lines, and characters.
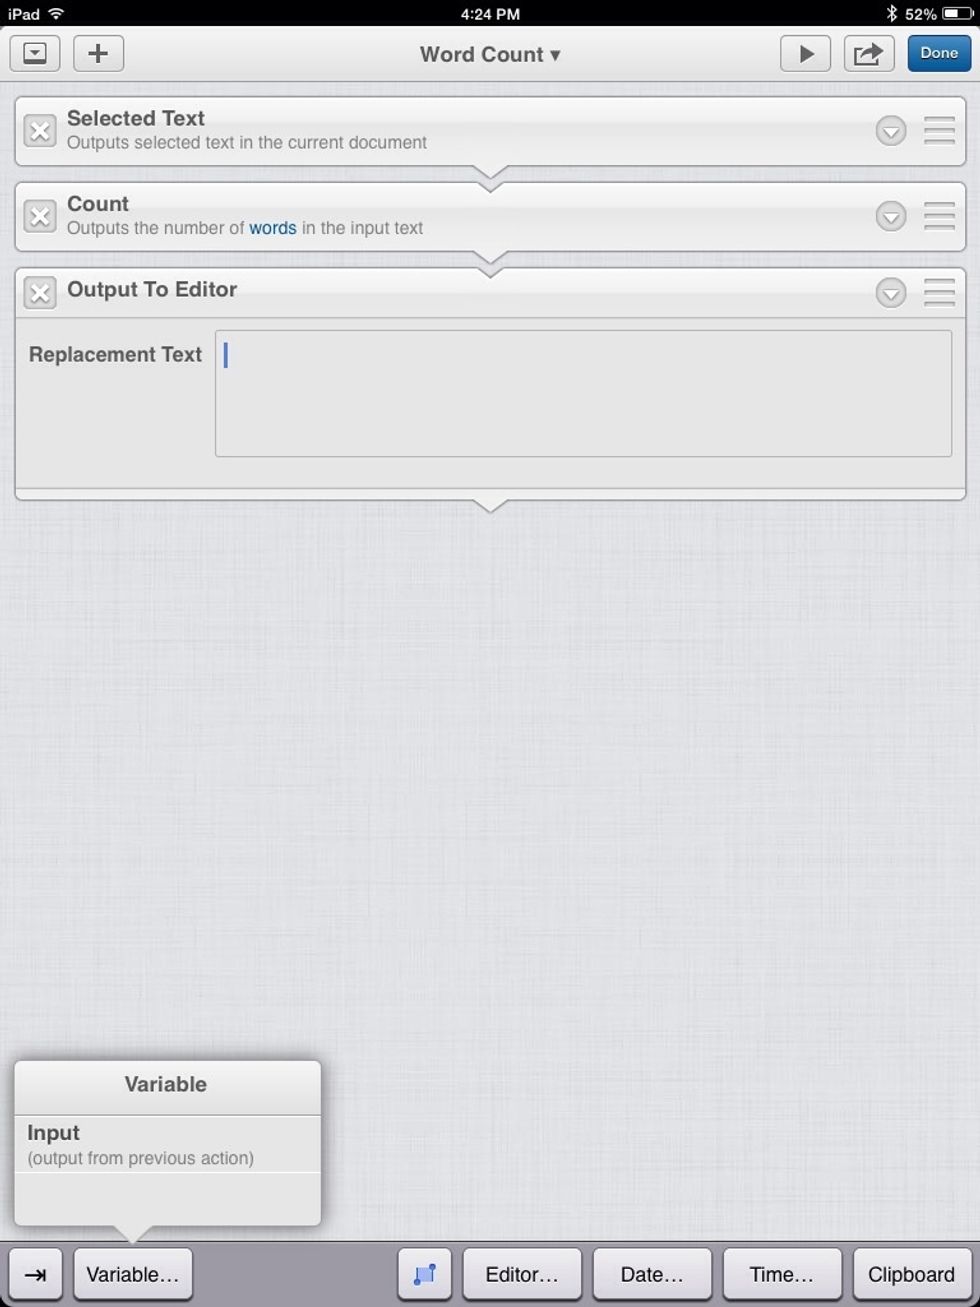
Using our "Output To Editor" action and choosing Input under "Variables" on the on-screen keyboard, and then selecting "Input" will output the input from the previous action.
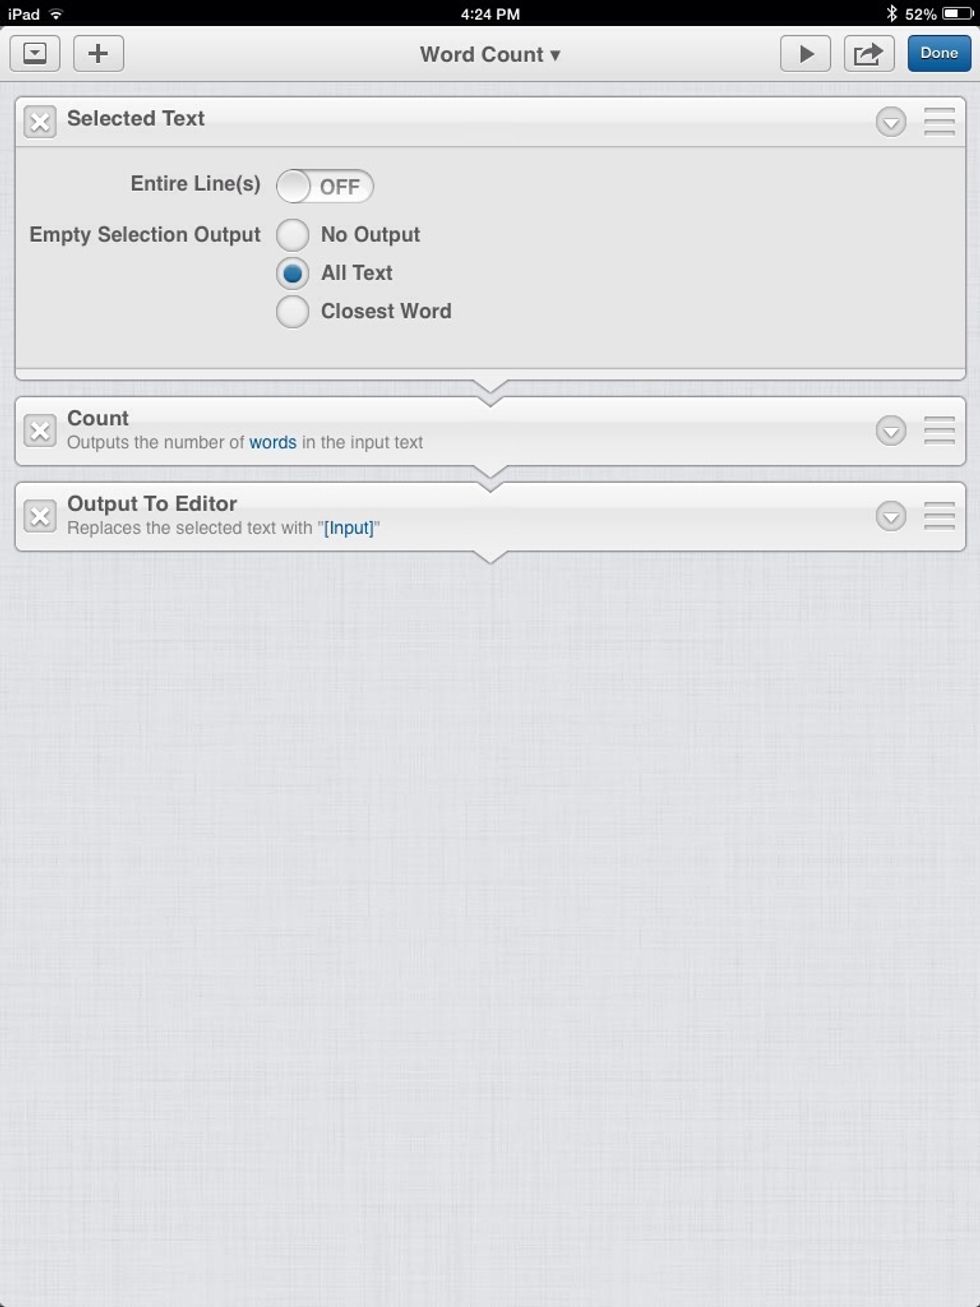
Make sure "All text" is selected so that we get all of the text in the document.
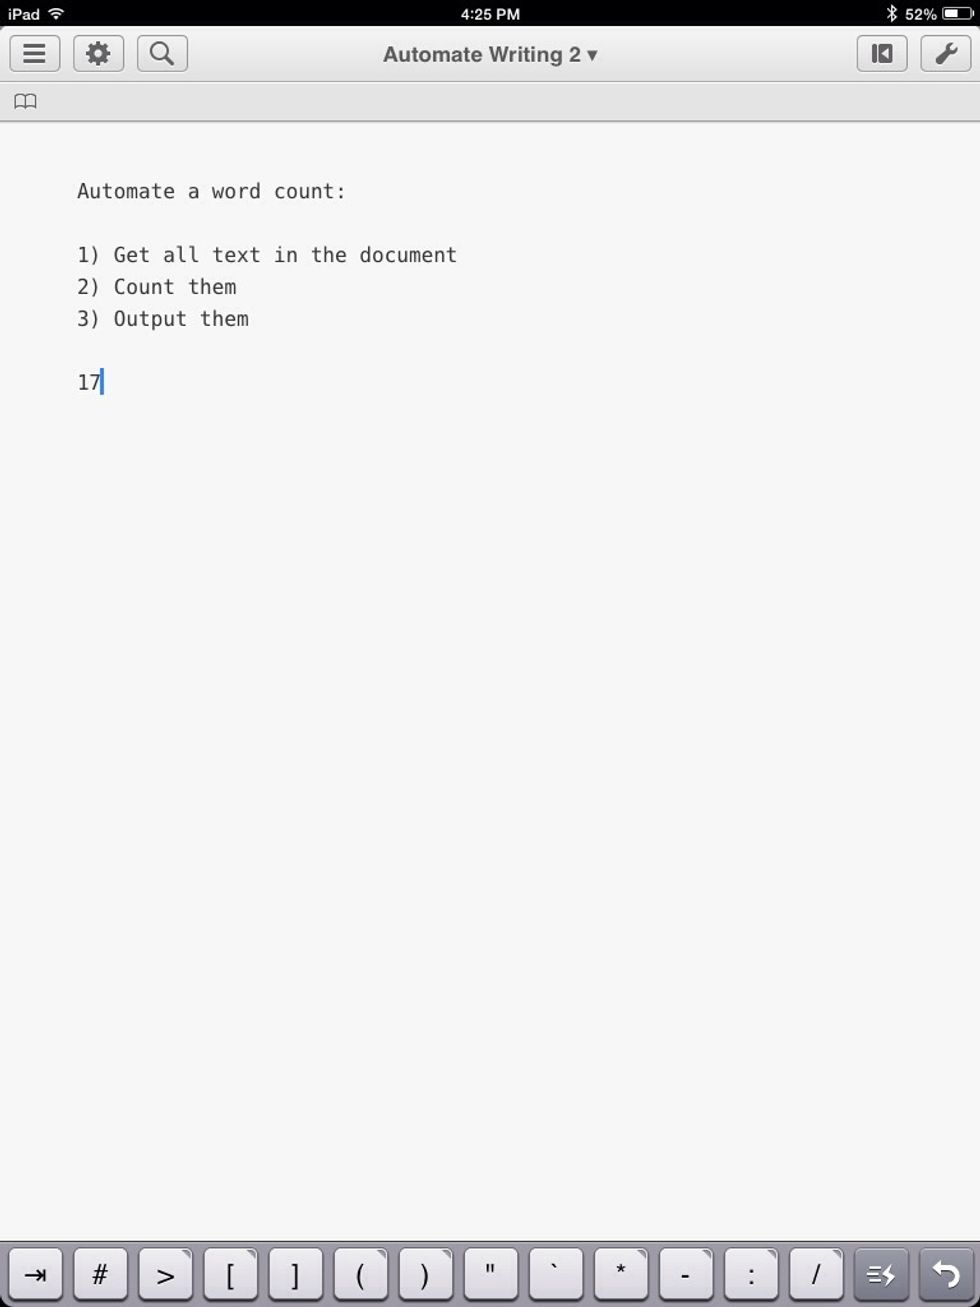
There are 17 words in this document
Calculate:
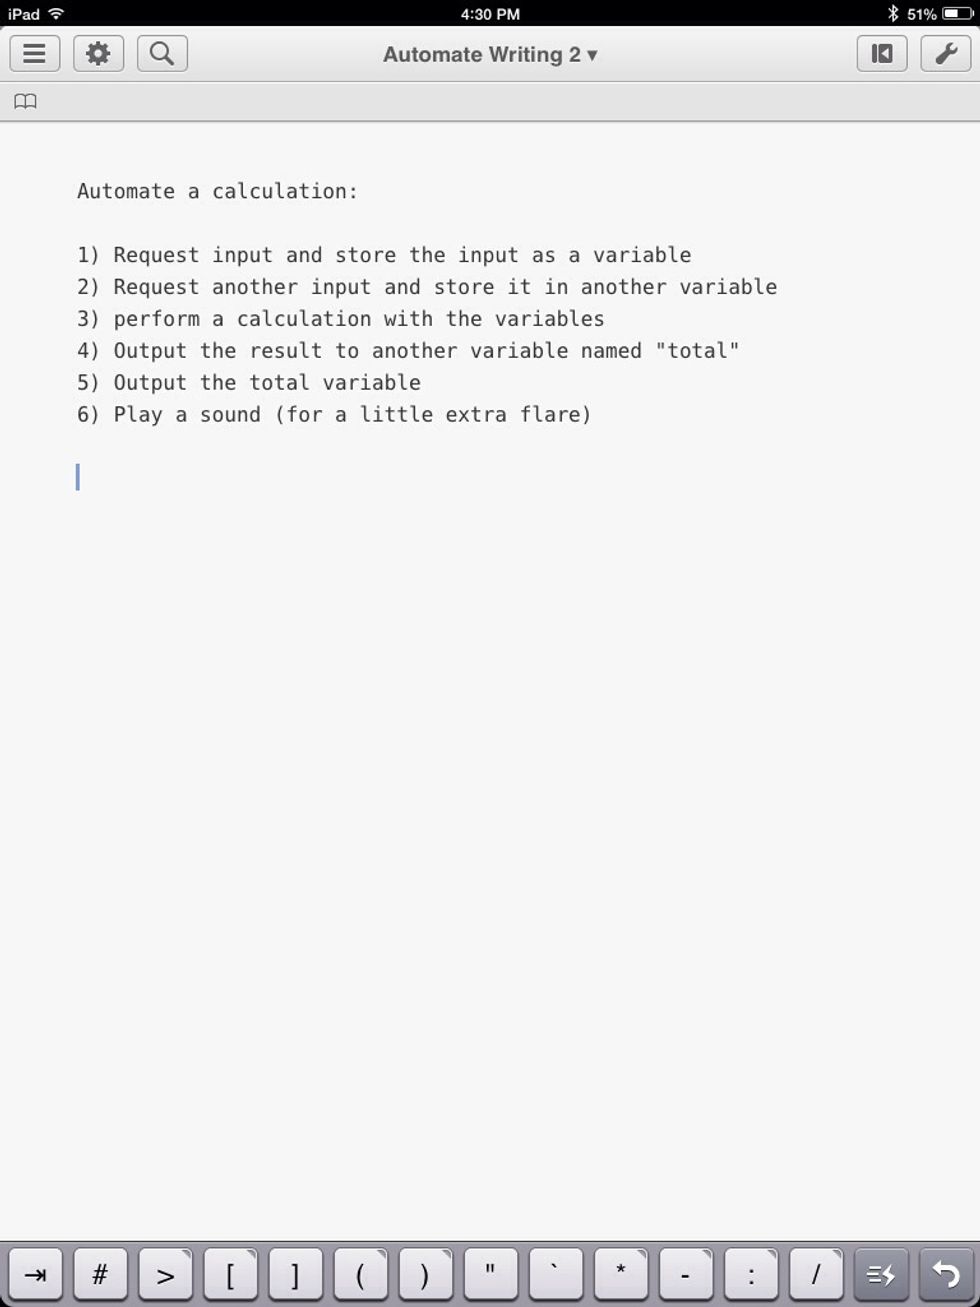
These are the steps we need to take to perform a calculation
Create a new workflow called "Calculate."

Request some text

Request a first number

Set a variable to the input from that requested text
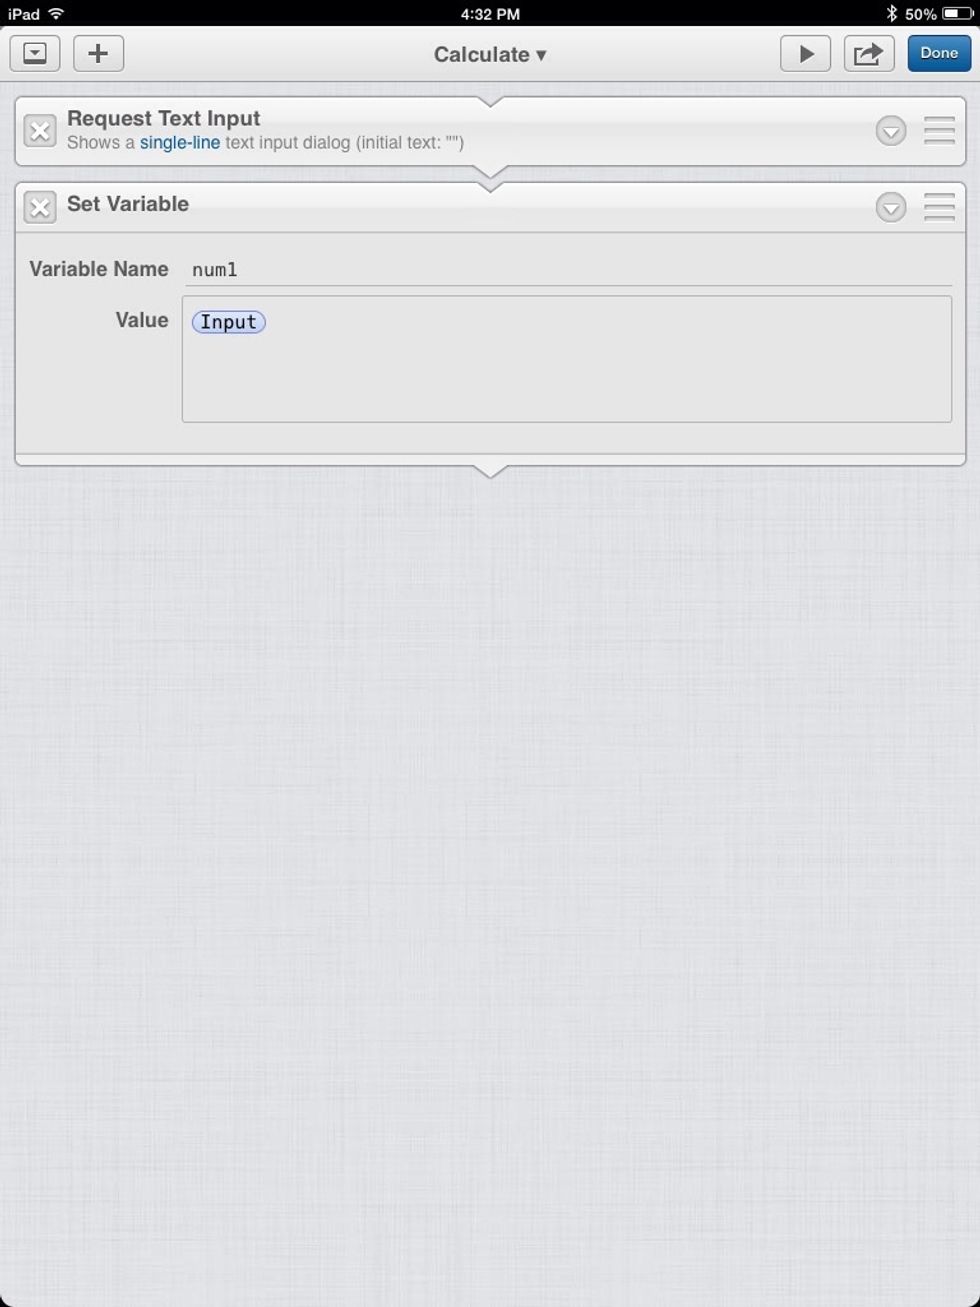
Name the variable "num1" (short for "first number").

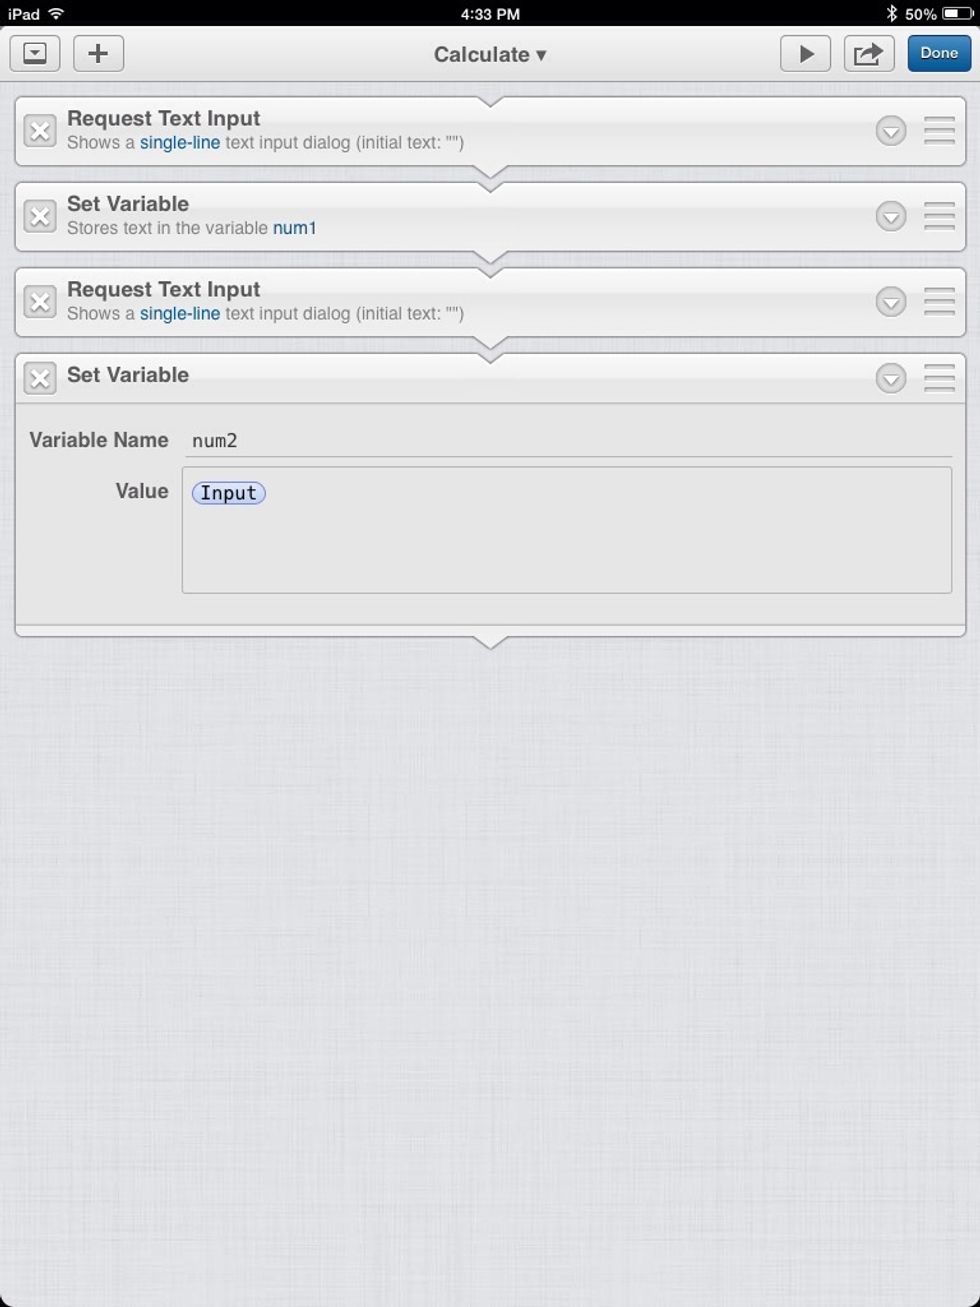
Repeat this for another number/variable

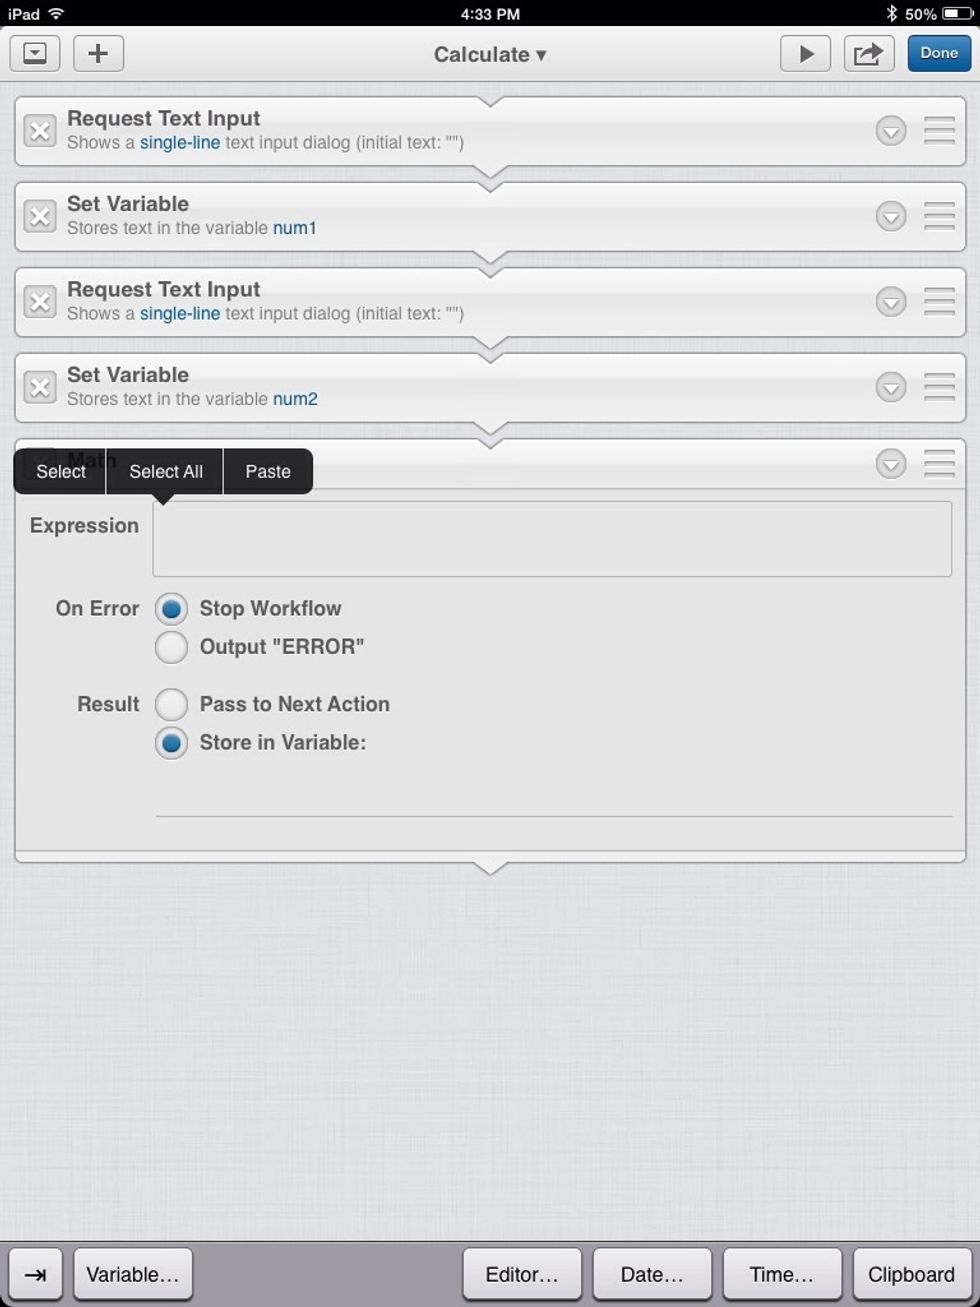
Add a Math" action

We are going to multiply the two variables and pass the result to the next action. Choose "num1" from the Variables button.

The asterisk(*) is used to multiply. Type an asterisk and then select the 2nd variable. Now the expression is (num1 x num2).
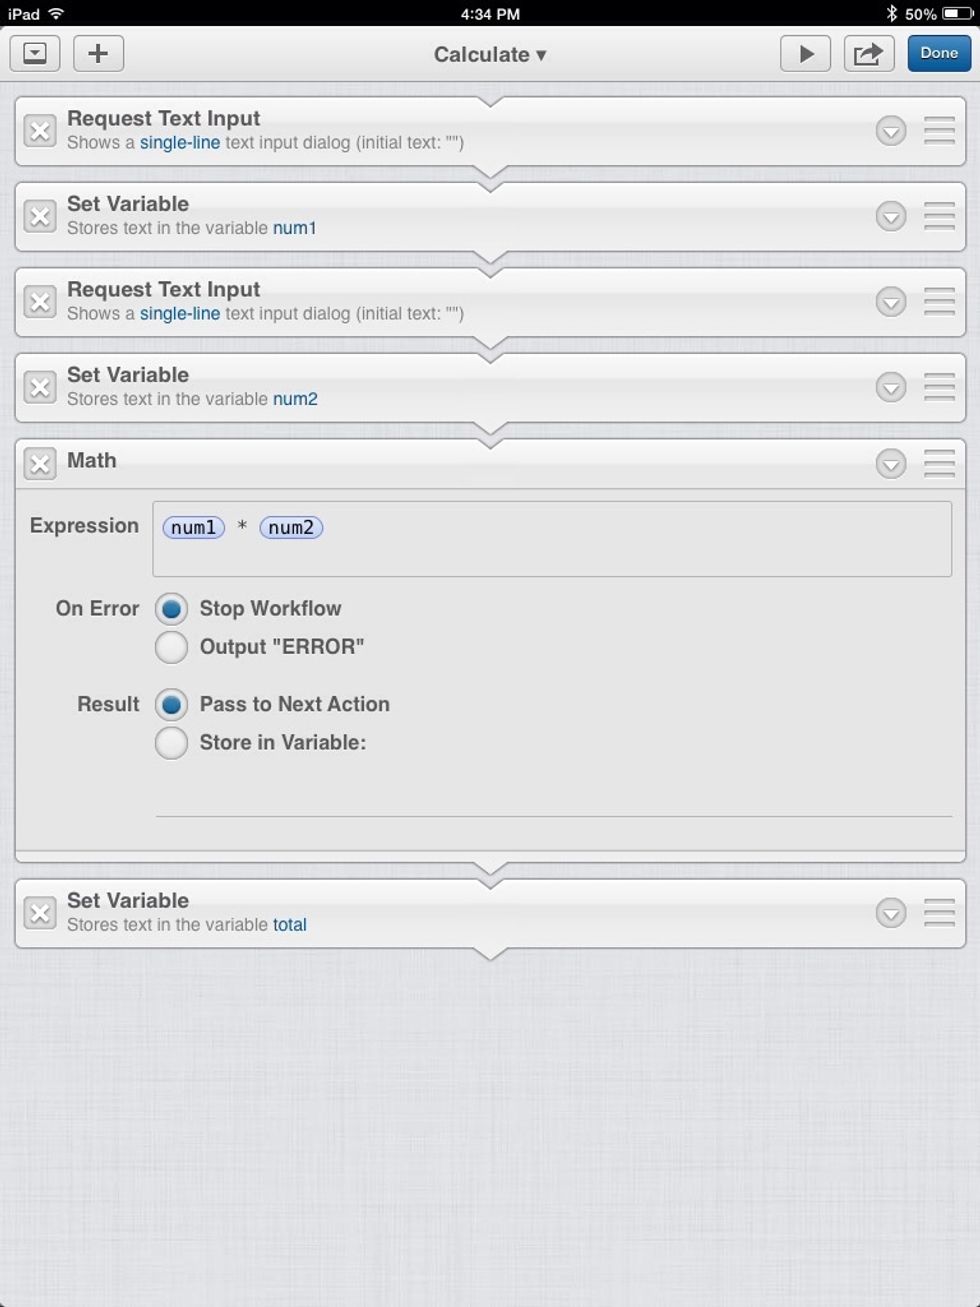
Make sure the "Result" is "Pass to Next Action".
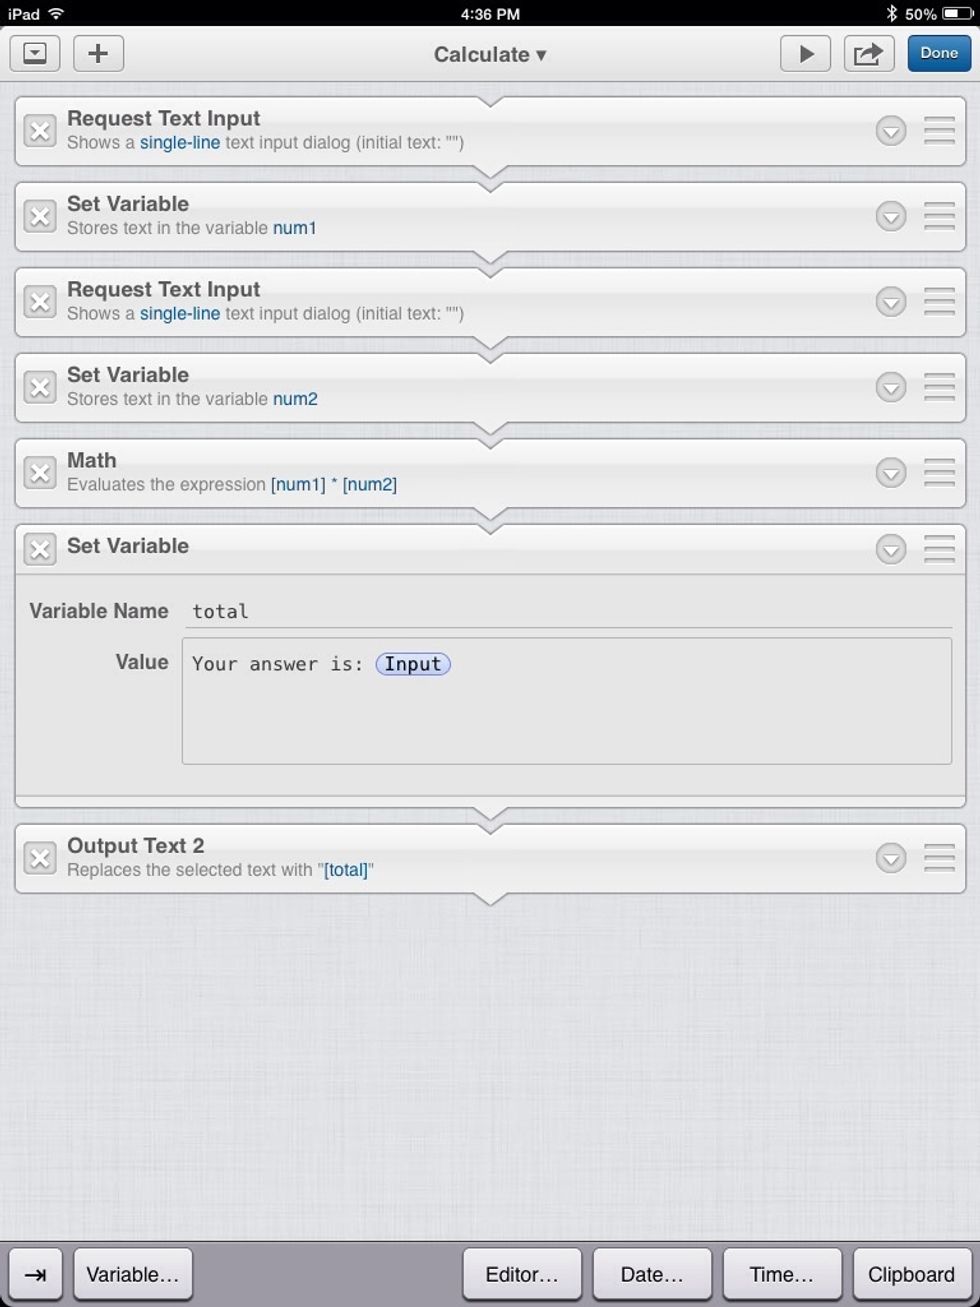
Add one more variable to store the output from the math action. I added some extra text. Then use the "Output To Editor" action we made to output this variable. (Try this on your own).
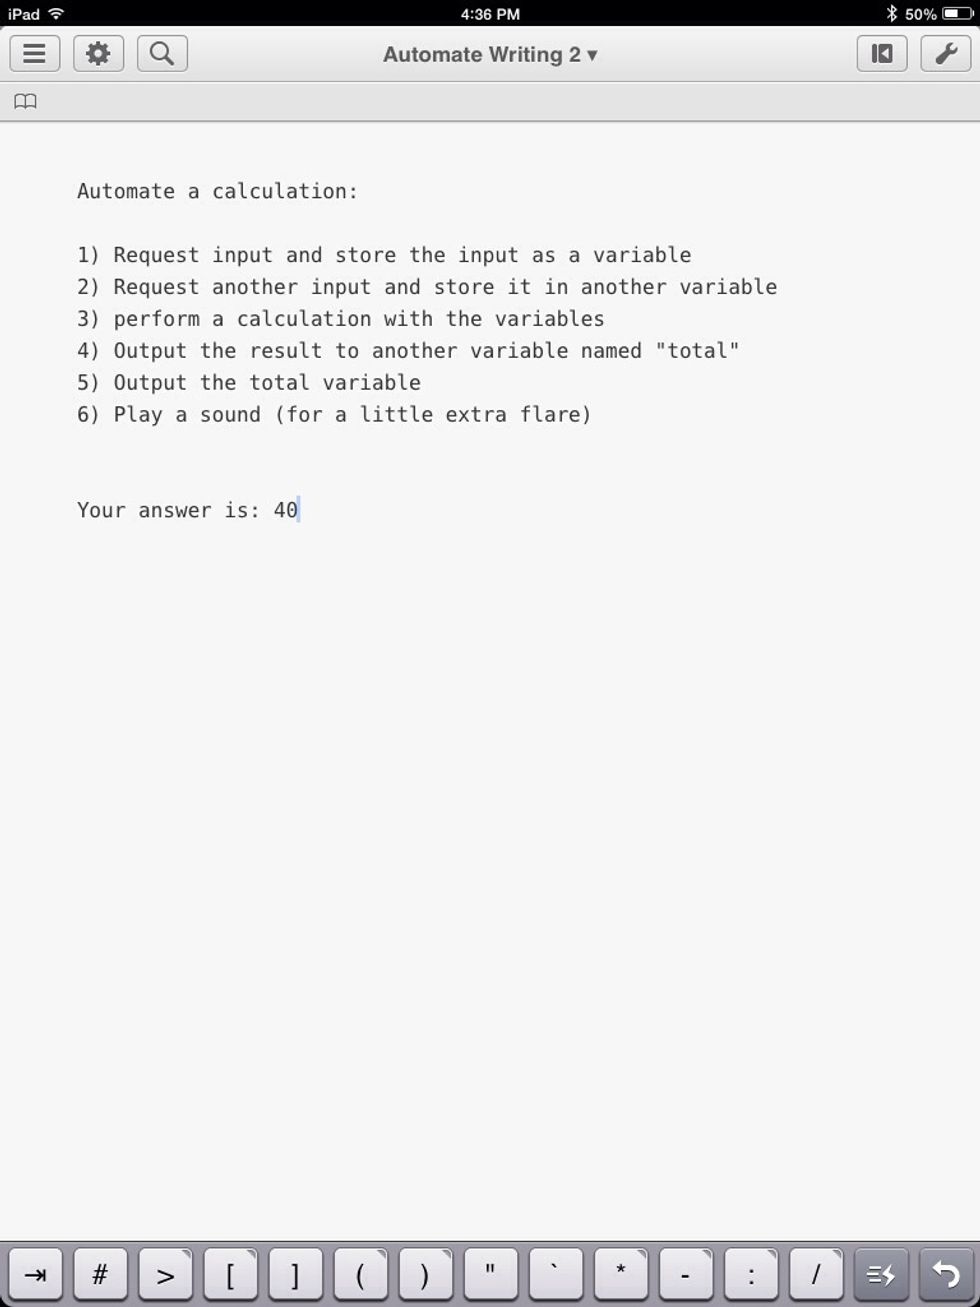
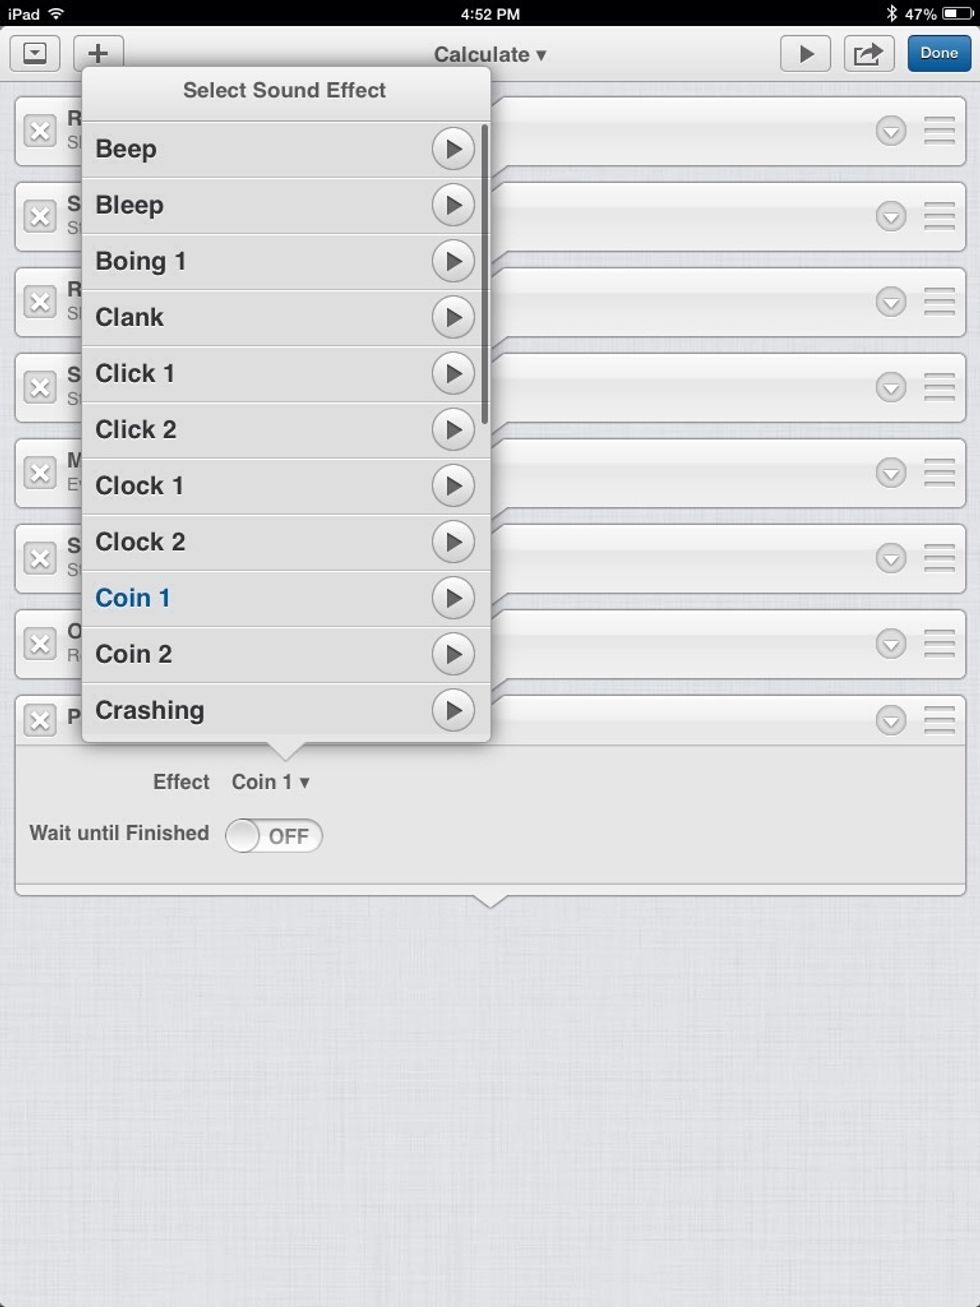
You can even make a sound Play at the end of your workflow. "Play Sound."
Easy Access:
By tapping the arrow next to your workflow in the "Gear menu" you have a choice of "Add to Bookmark Bar." Tap it.
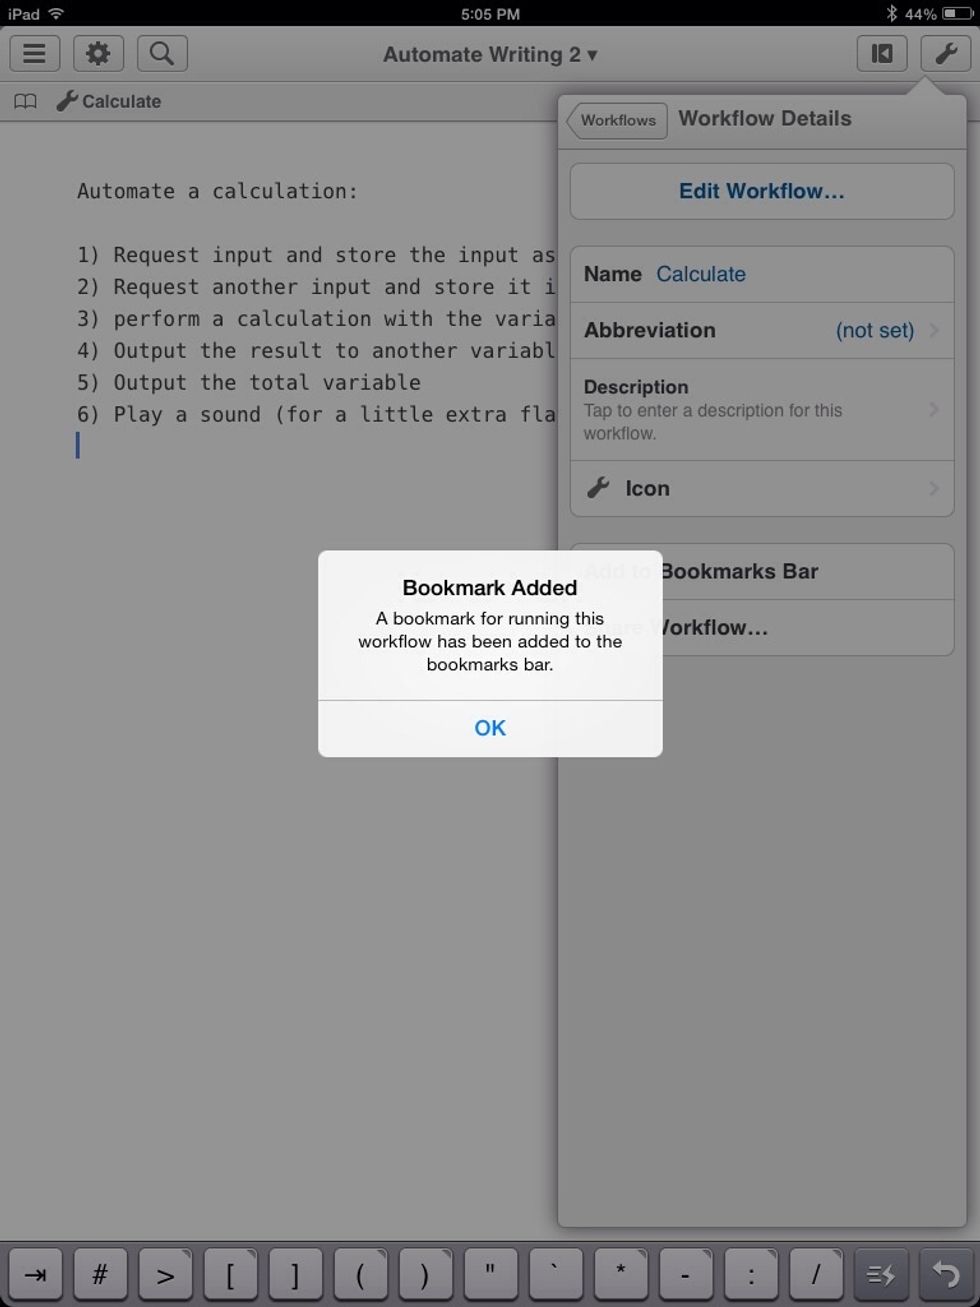
This adds a bookmark right above your text window for easy access of frequently used workflows.
Tapping on the book Icon next to the bookmark will open a menu.
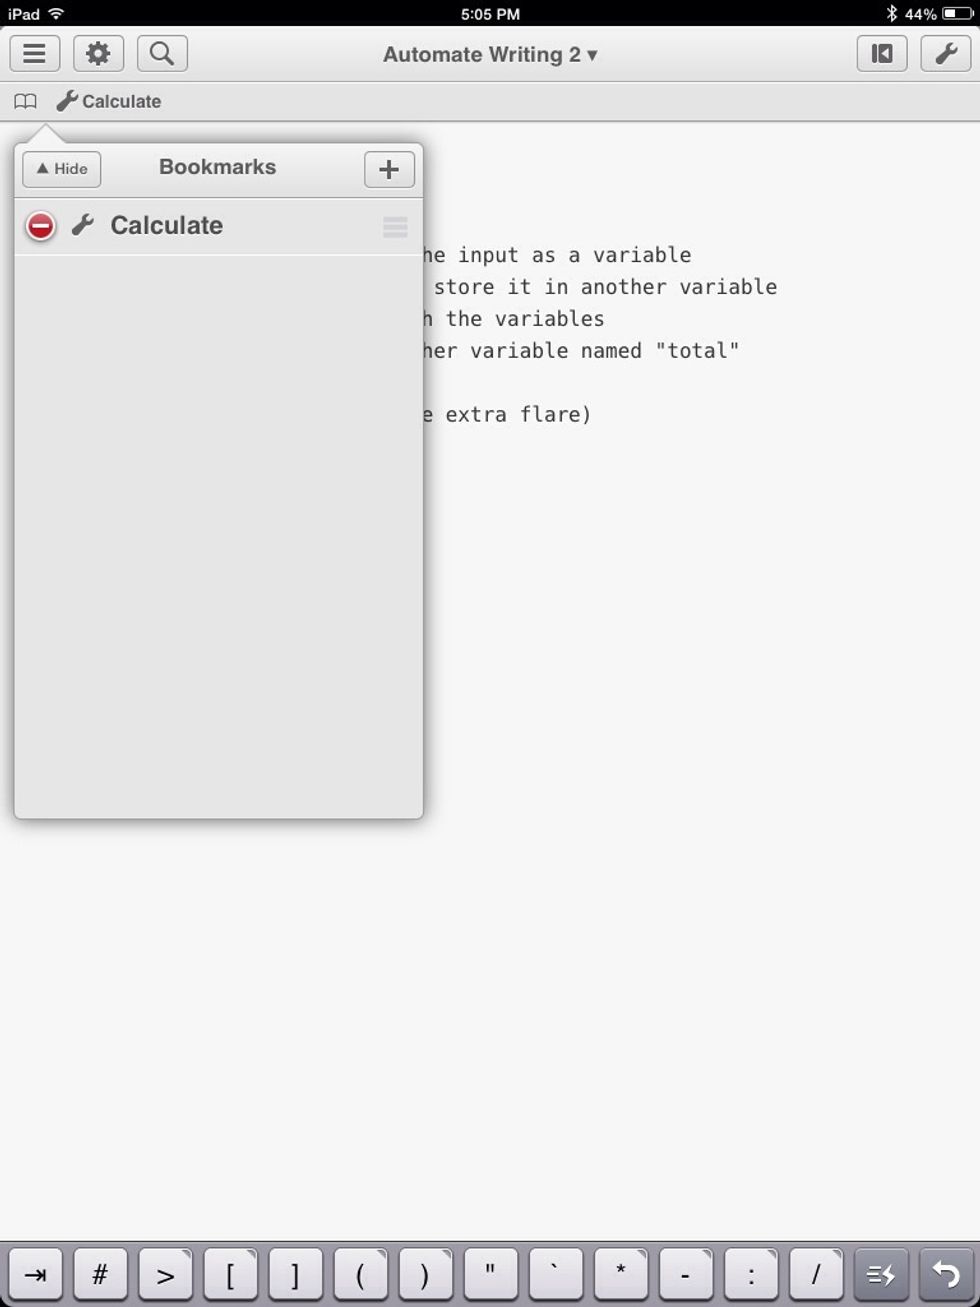
From here you can add additional workflows or delete workflows to/from the bookmark bar.
If your bar is hidden, tapping the grey arrow at the top left will display it.

You can also make abbreviations for workflows. The abbreviation that will run the "Calculate" workflow is "cal."
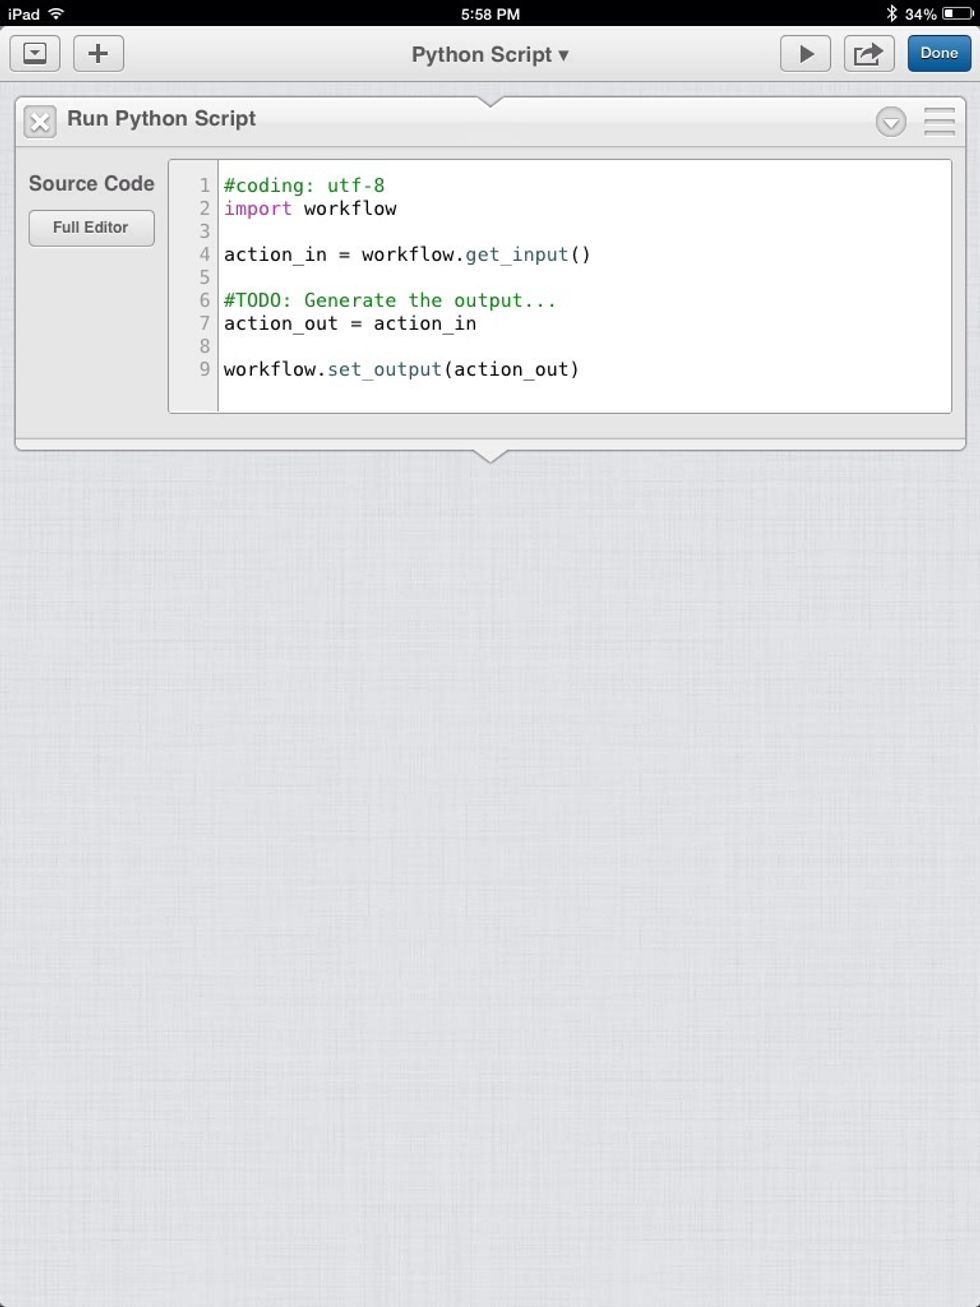
And if that is not enough functionality for you, you can run custom python scripts as a separate action as well.
Check out my guide on "How to Understand Computer Programming" if you want to create more advanced workflows.
end()
Examples:
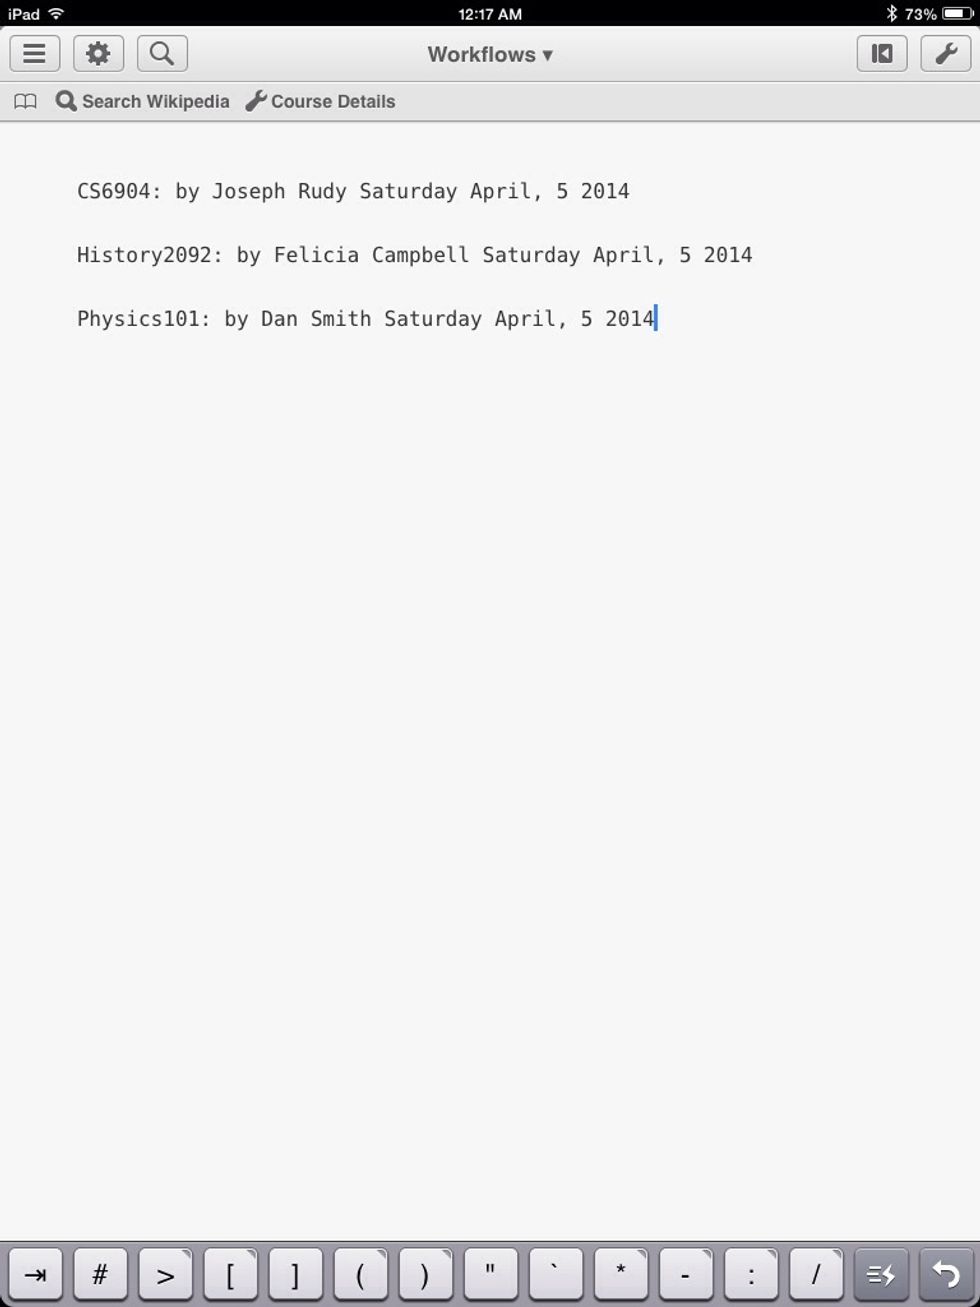
Automate Course Details:
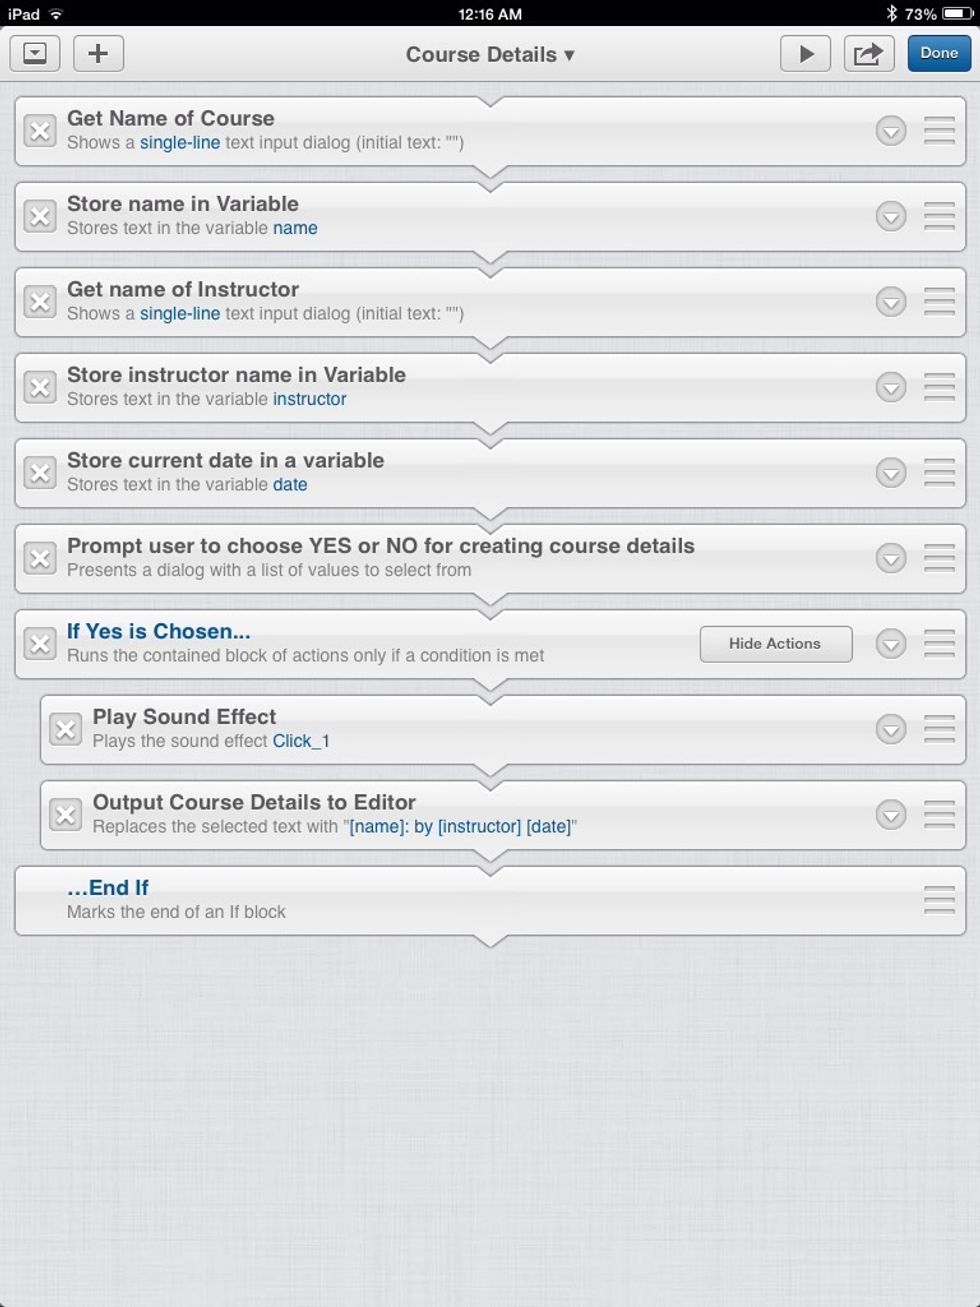
This is the workflow for getting and outputting course details.
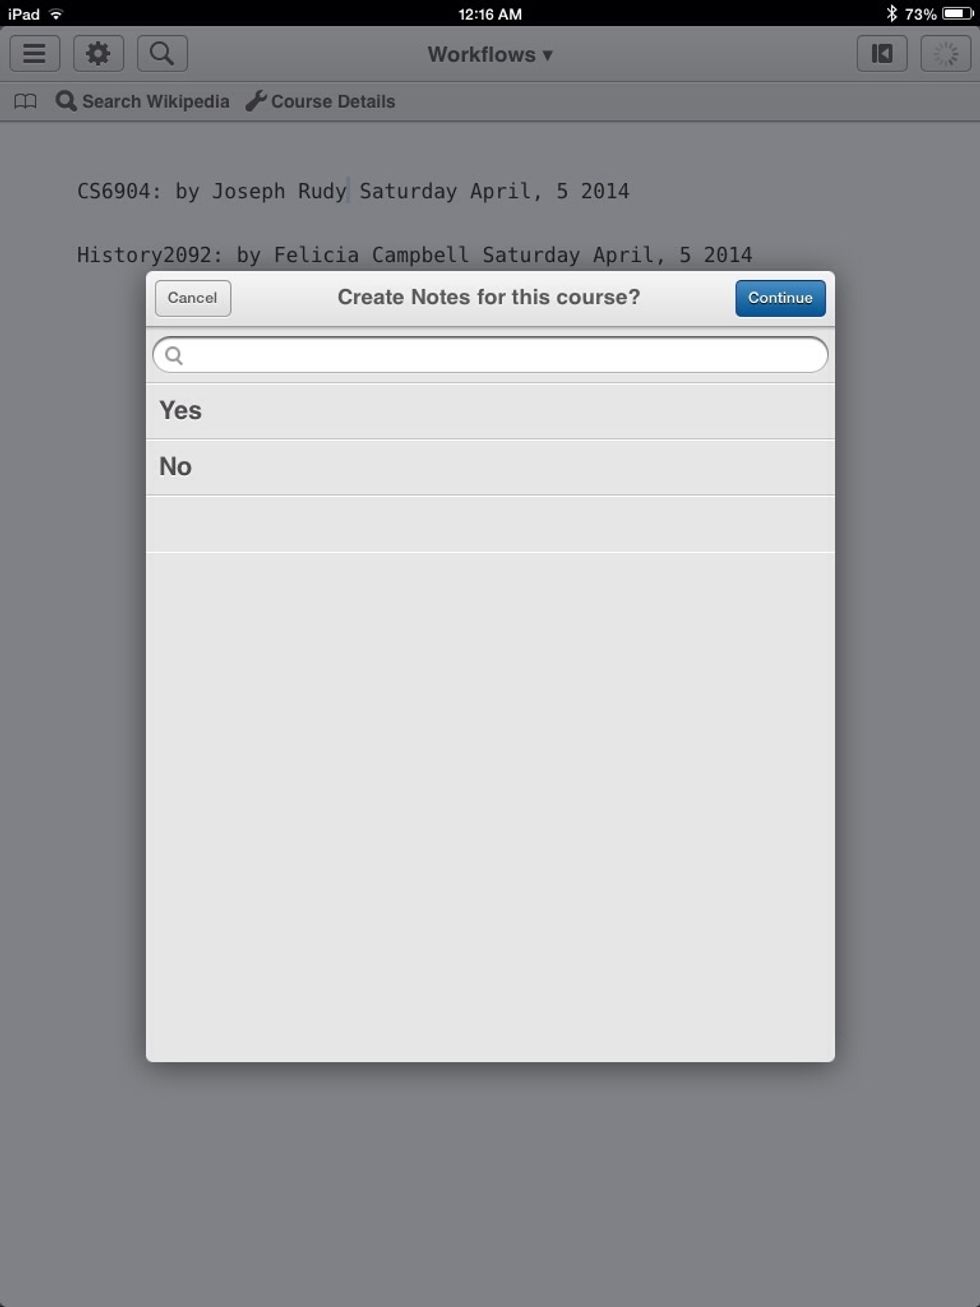
Once you input the information, you are asked if you want to create notes for the course. Choosing yes will print the course details you entered.
I could have made it add the time also.