The Conversation (0)
Sign Up
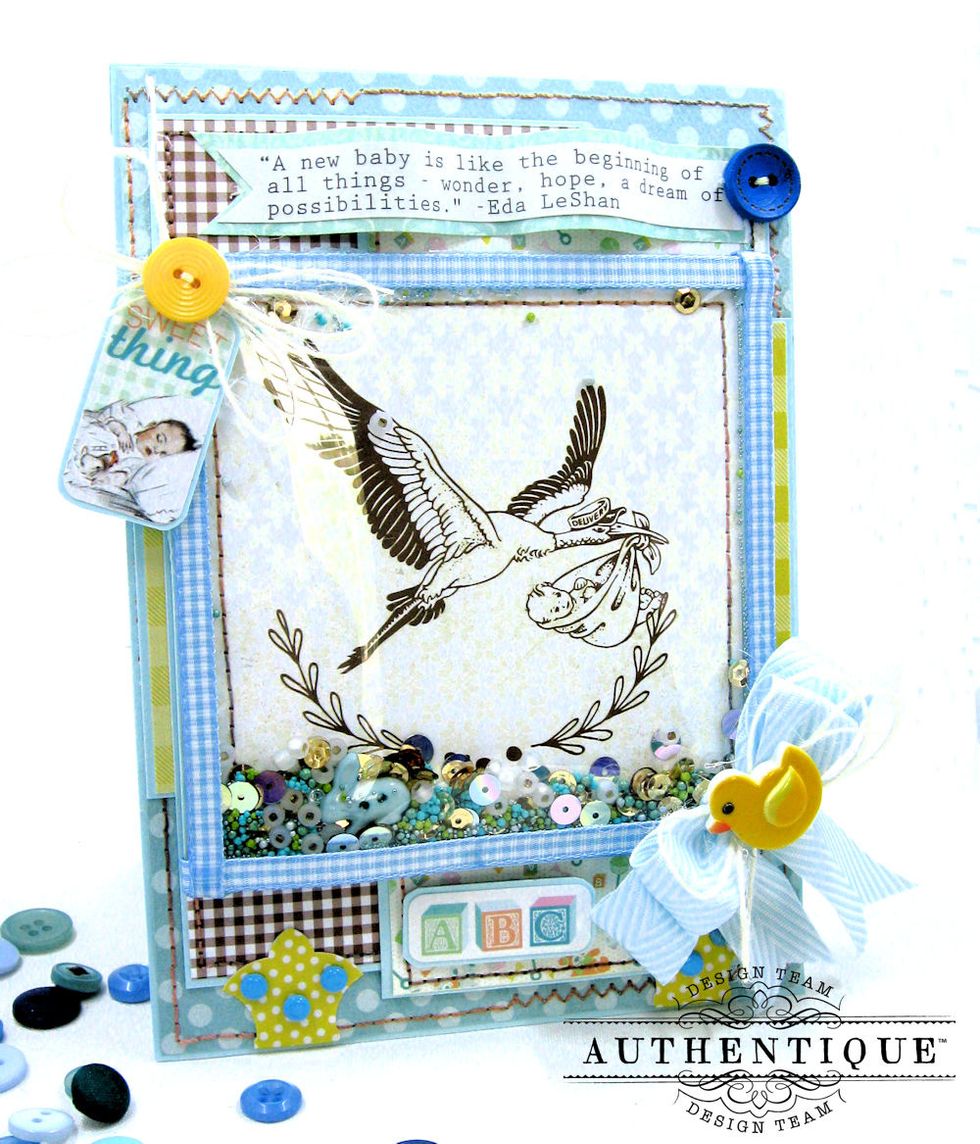
Adding a shaker element to a card always makes it special. It's not as hard to do as you might think. Follow along as I create this folio style card step by step with you.

First, gather your materials. I used Authentique Paper's darling Beginnings Collection Kit which comes with the sticker sheet. I also used the 6x6 Bundle pad, Spectrum prints and micro prints.
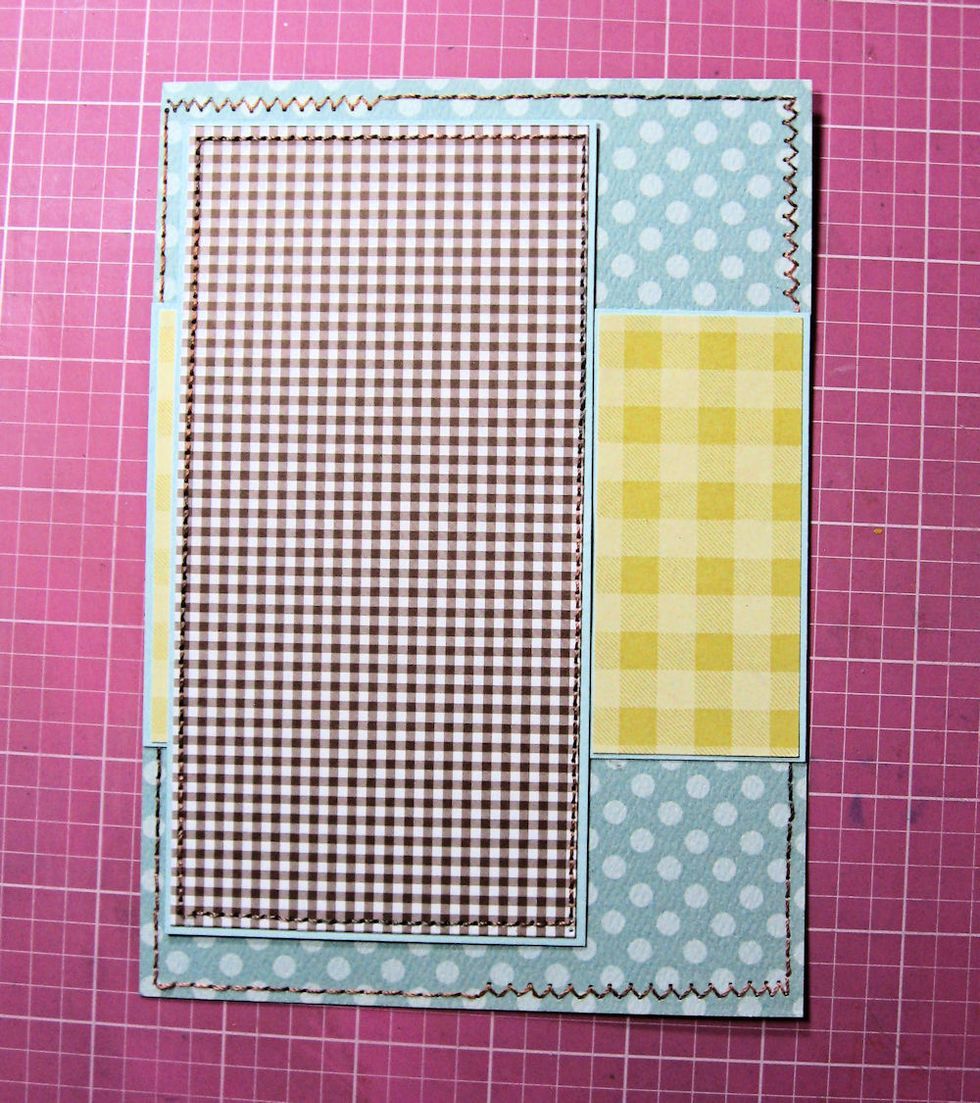
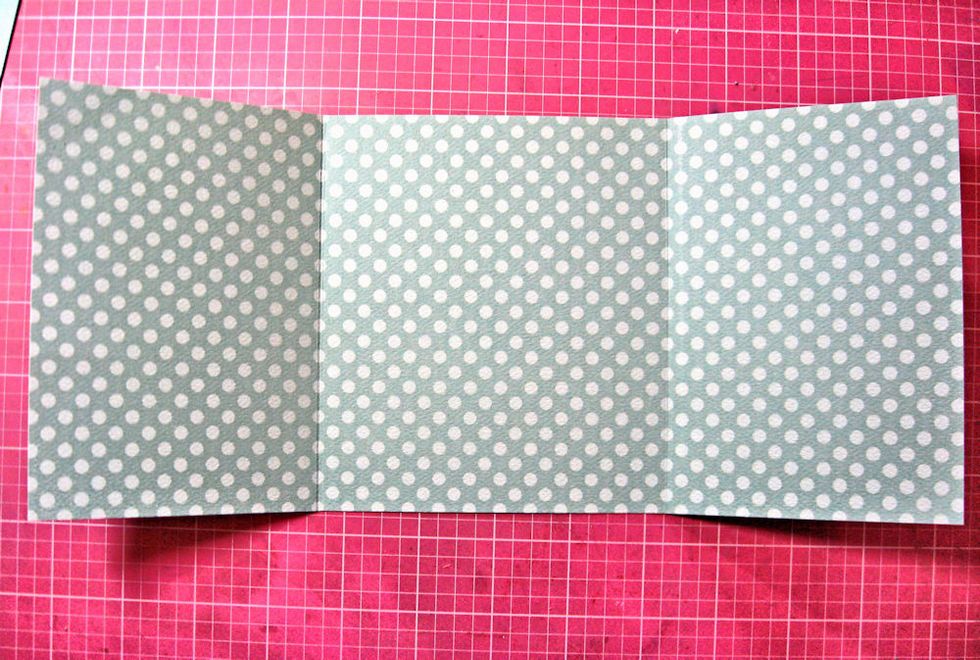
Create 5" x 7" top fold card folio base with light blue card. You will need to join two 5" wide x 7.25" tall panels together with 1/4" Scor-Tape. Score a 1/4" spine to allow for inside elements.
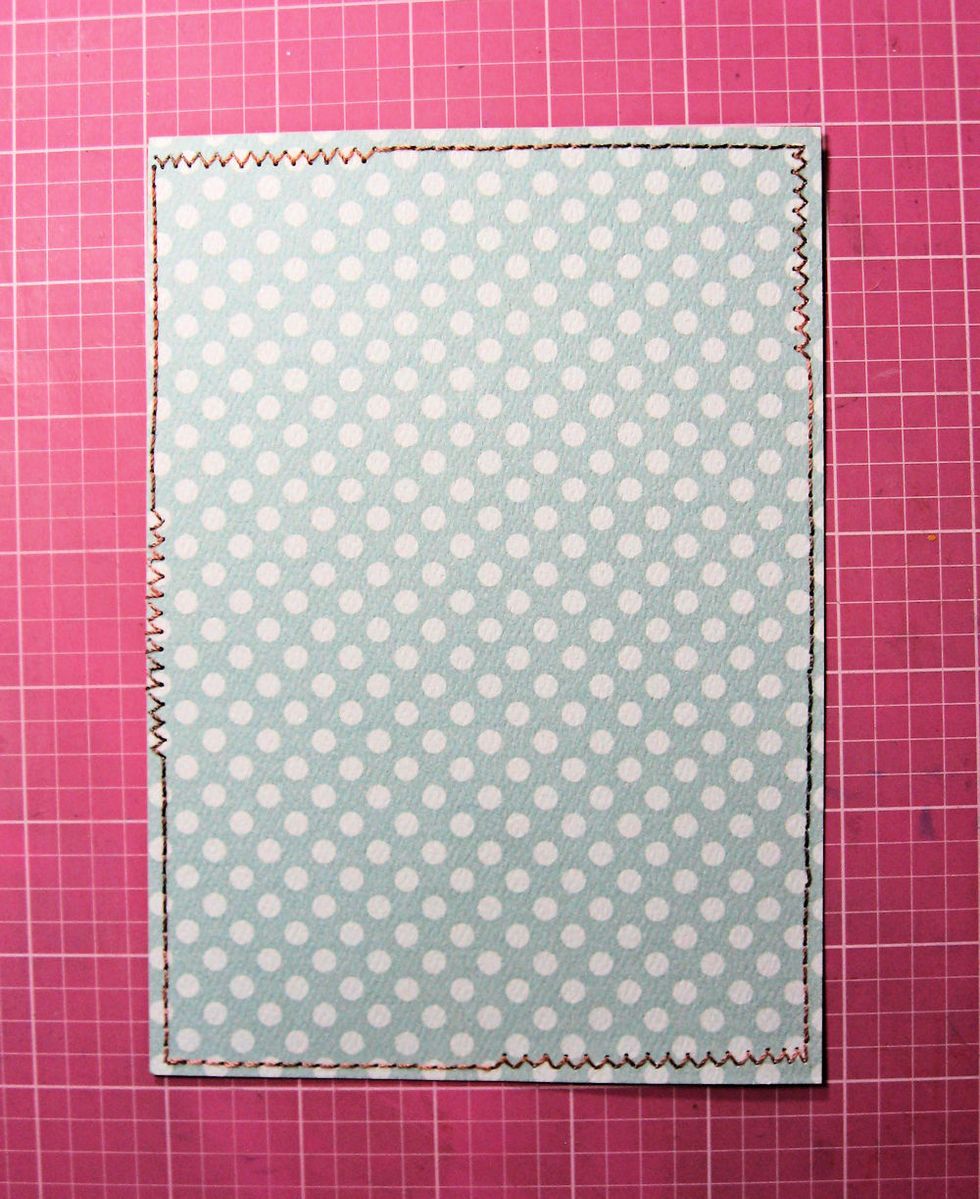
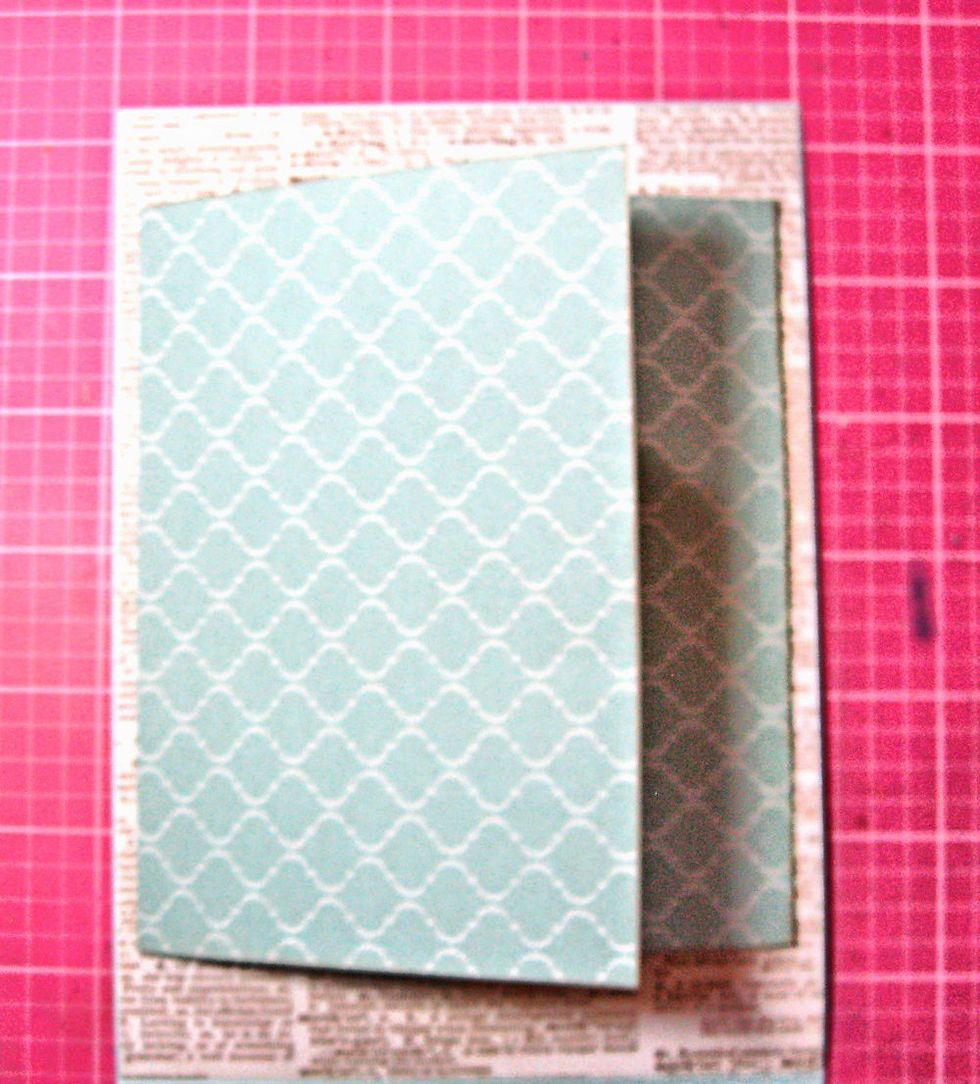
Trim Spectrum Robin's Egg Blue paper to measure 47/8" x 6 7/8". Stitch around the edges. Mat all card layers on light blue cardstock. Build card front but don't glue to base until final step.
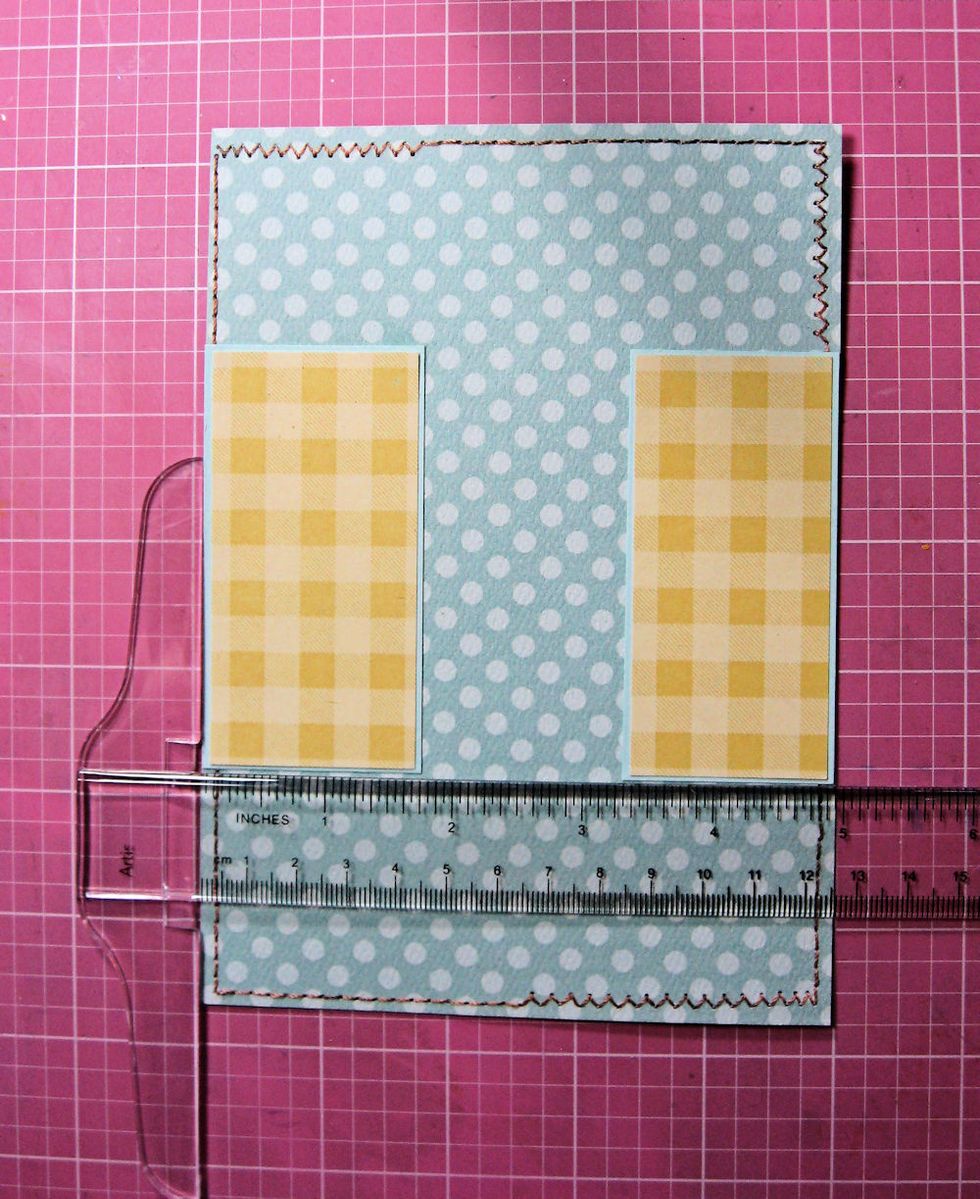
Use two scrap pieces of yellow check paper to form a belly band. These measure1 5/8" wide x 3.25" tall. Use T square or ruler to make sure you glue them down straight.
Cut Brown Micro Check paper to measure 3" x 6". Stitch to blue card. Glue in place.
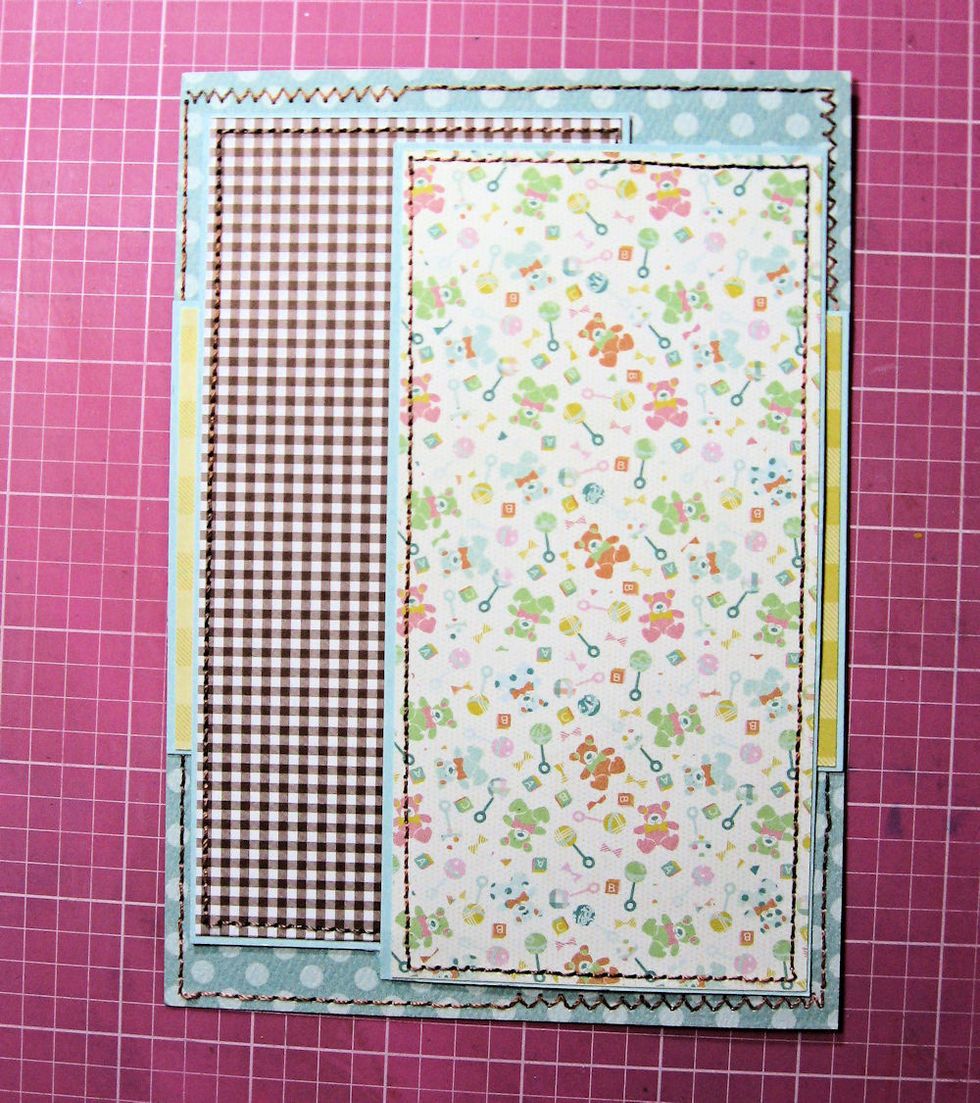
Cut bears and rattles paper from 6x6 bundle. Panel measures 3" x 6". Stitch to card. Layer over brown micro check.
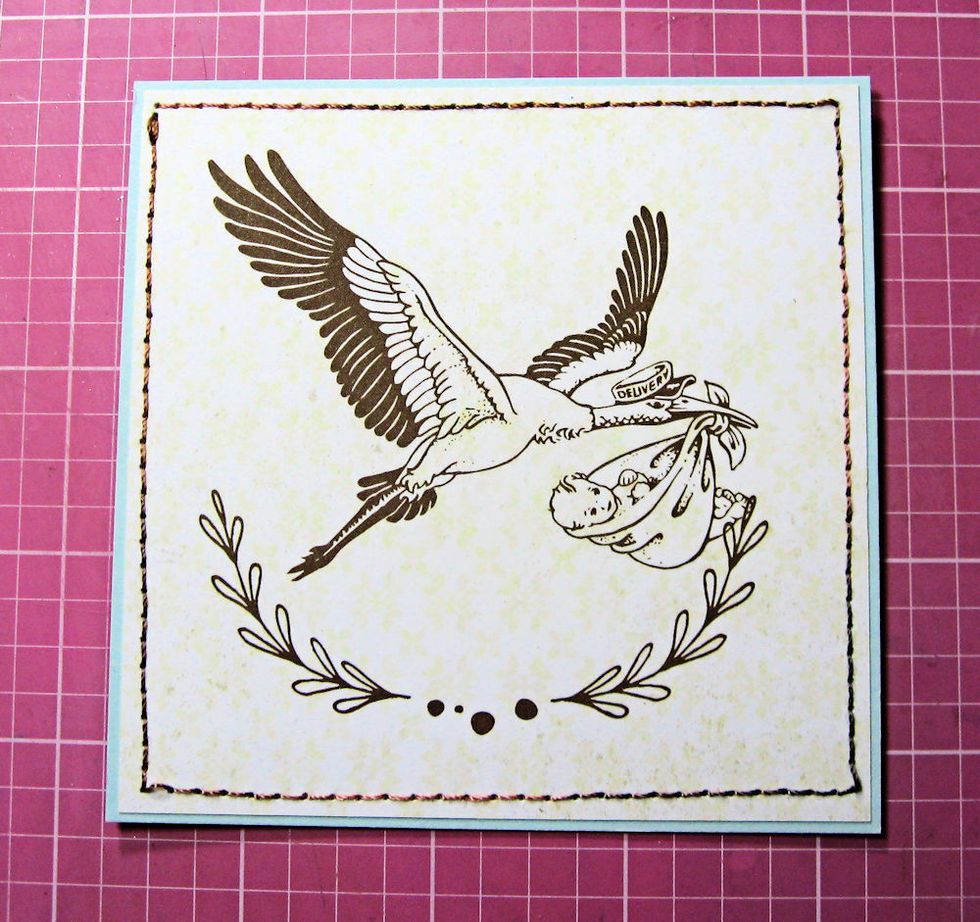
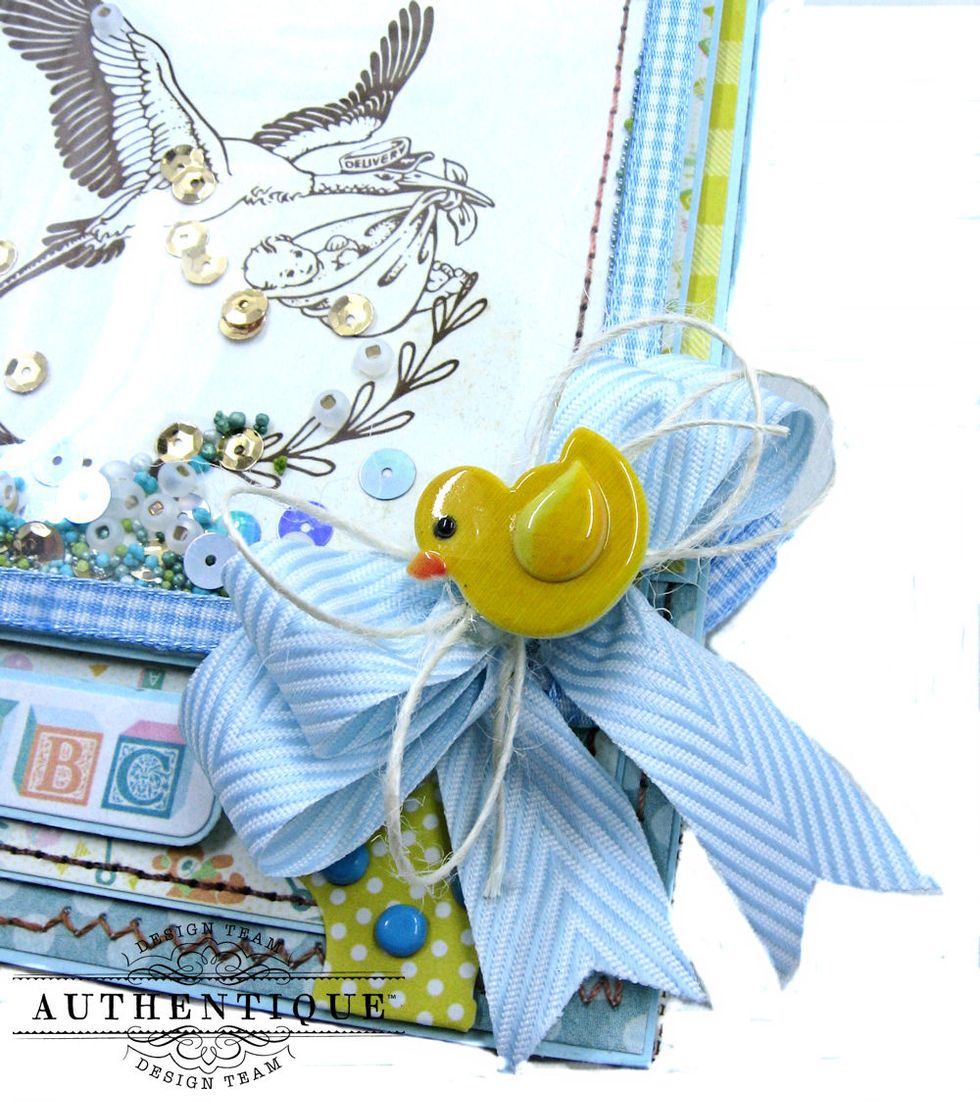
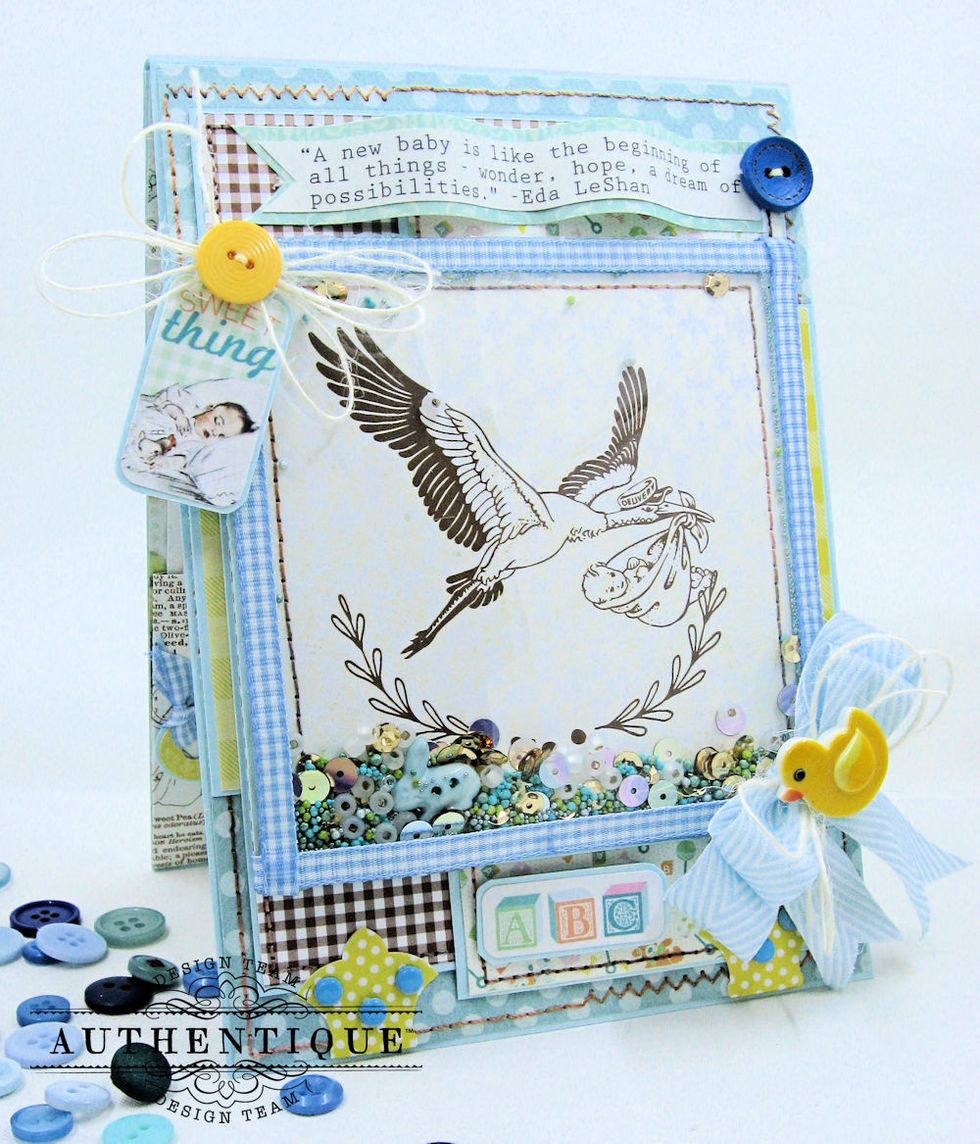
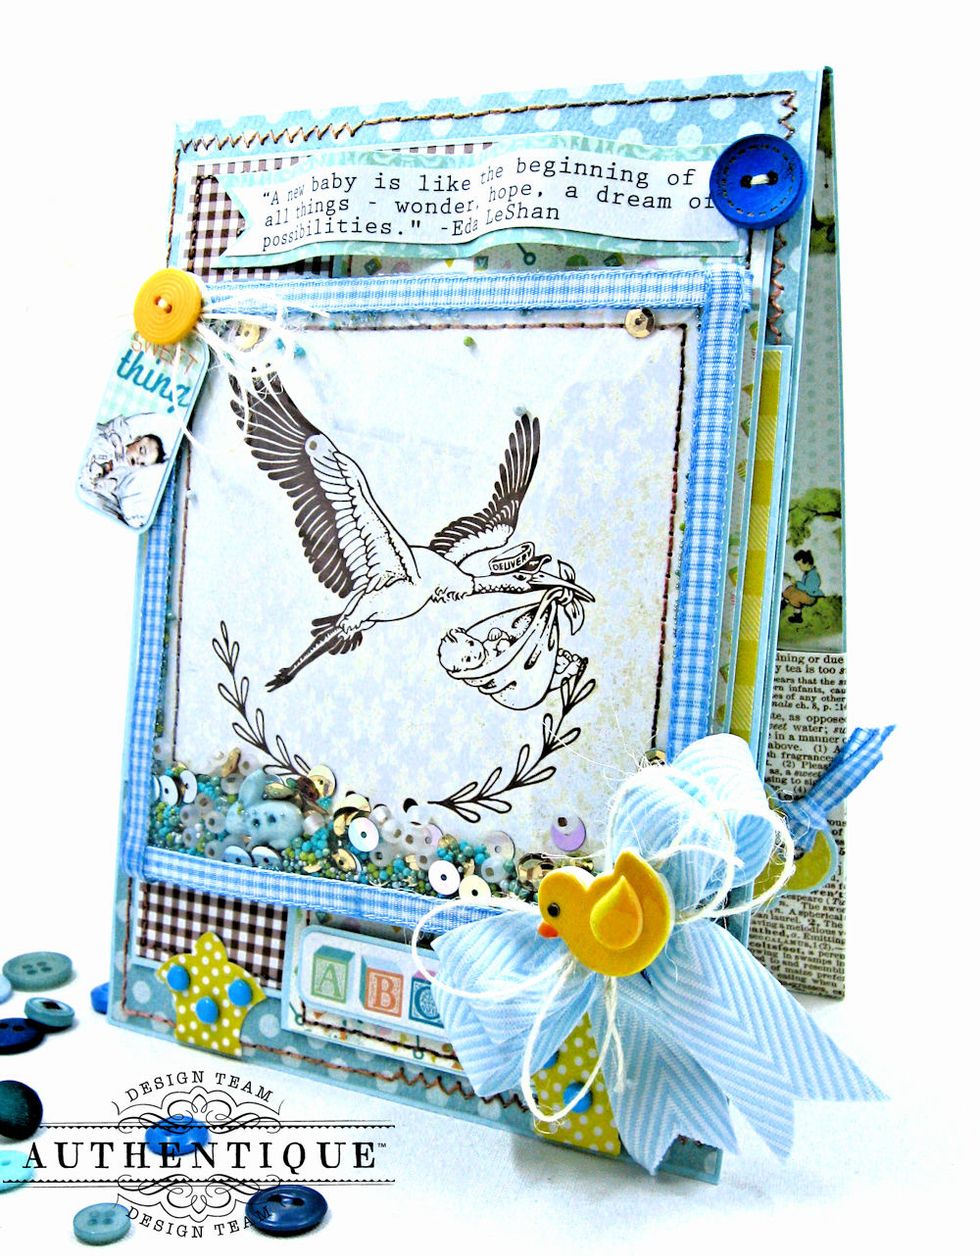
Cut stork image from Beginnings Eight 12x12 paper. Mat and stitch.
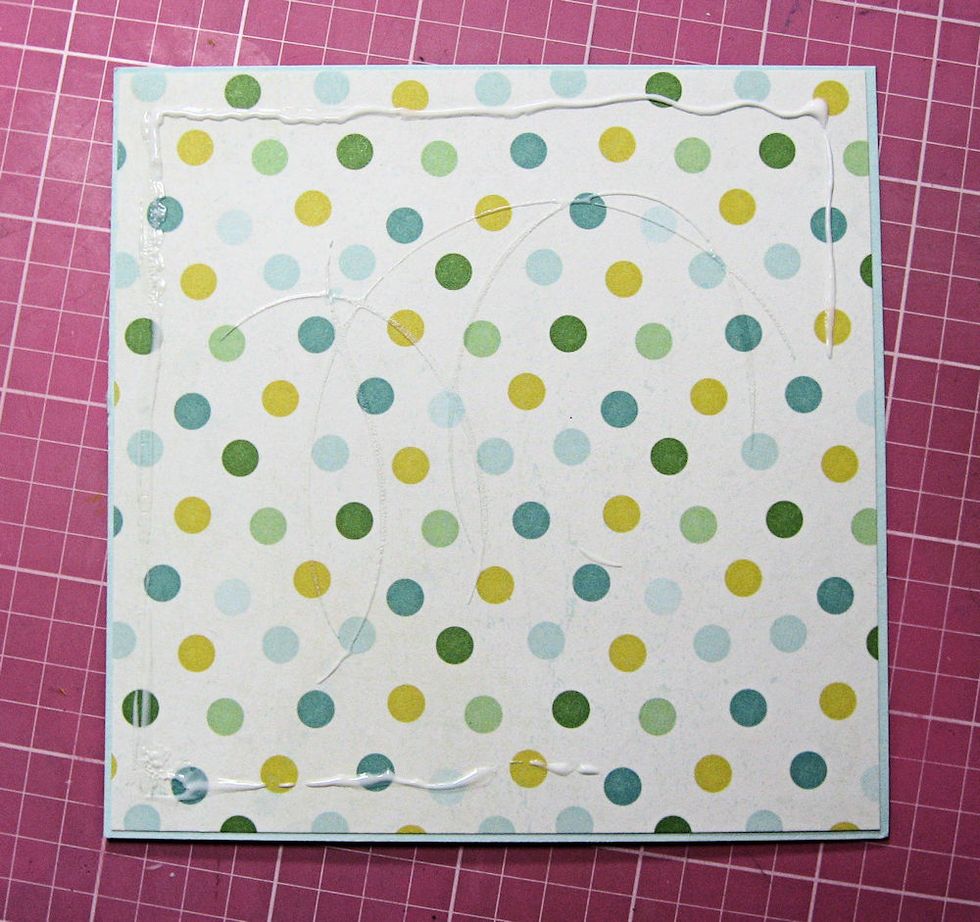
Cut polka dot paper .25" larger than stork image. Mat.

Center and glue down stork image.

Run Kool Tak foam tape around the perimeter of the polka dot paper. Do not remove liner at this point.

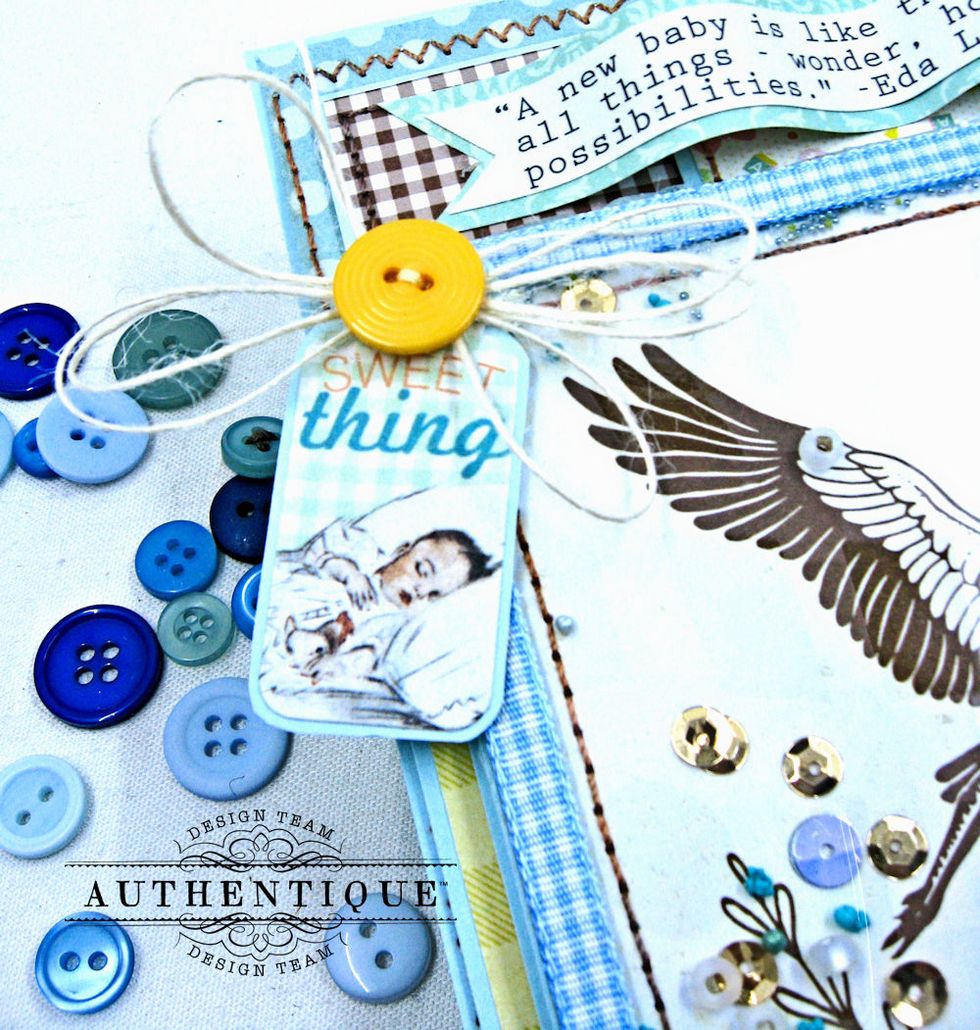
Fill cavity with sequins, small buttons, micro beads, Prills, and seed beads. Remove liner tape. Add a bead of dries clear adhesive to top of foam tape to ensure a good closure on the shaker.

Cut clear cardstock to match the size of the stork panel. Press in place. Run 1/8" wide Scor-tape along the edges.
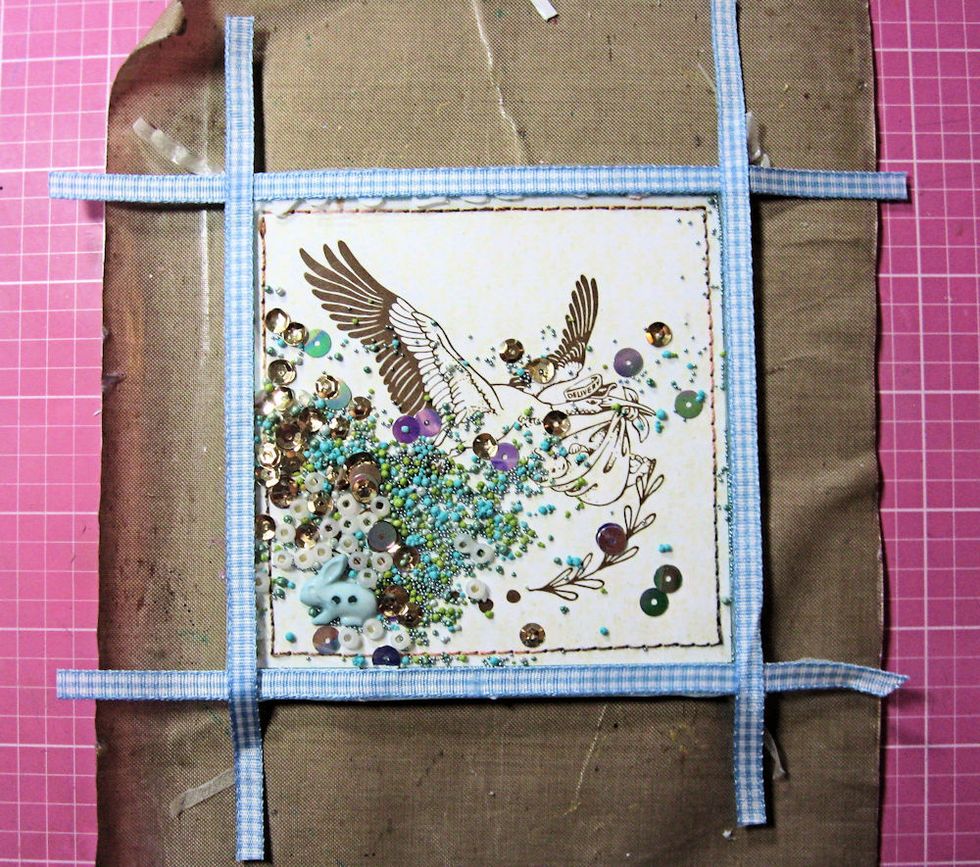
Add micro gingham ribbon over Scor-Tape. Wrap the ends around the back side for a neat closure. Back the shaker element with a piece of cardboard shipping box to add dimension.
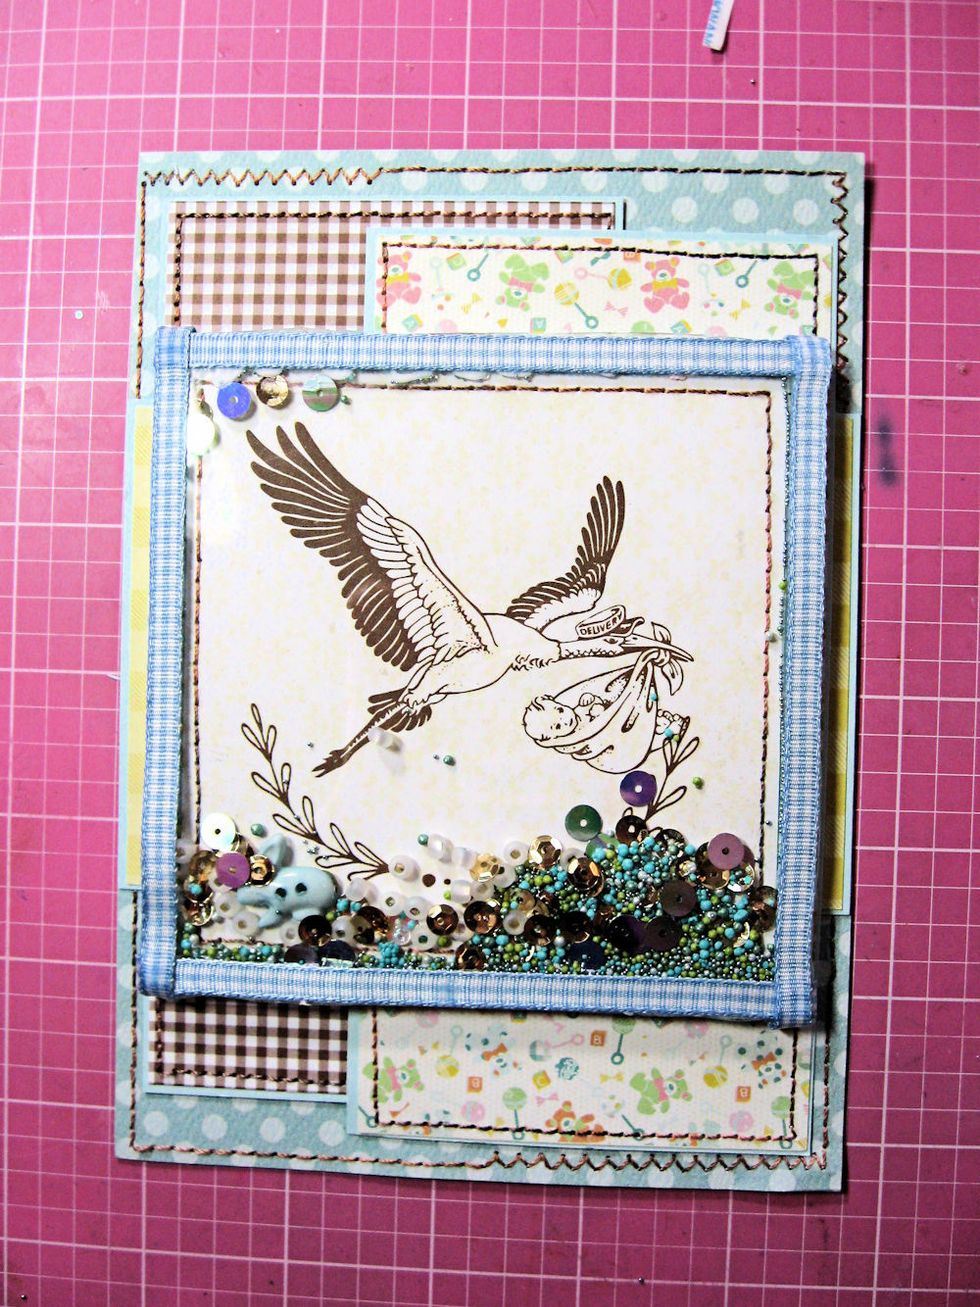
Glue shaker element to card front.
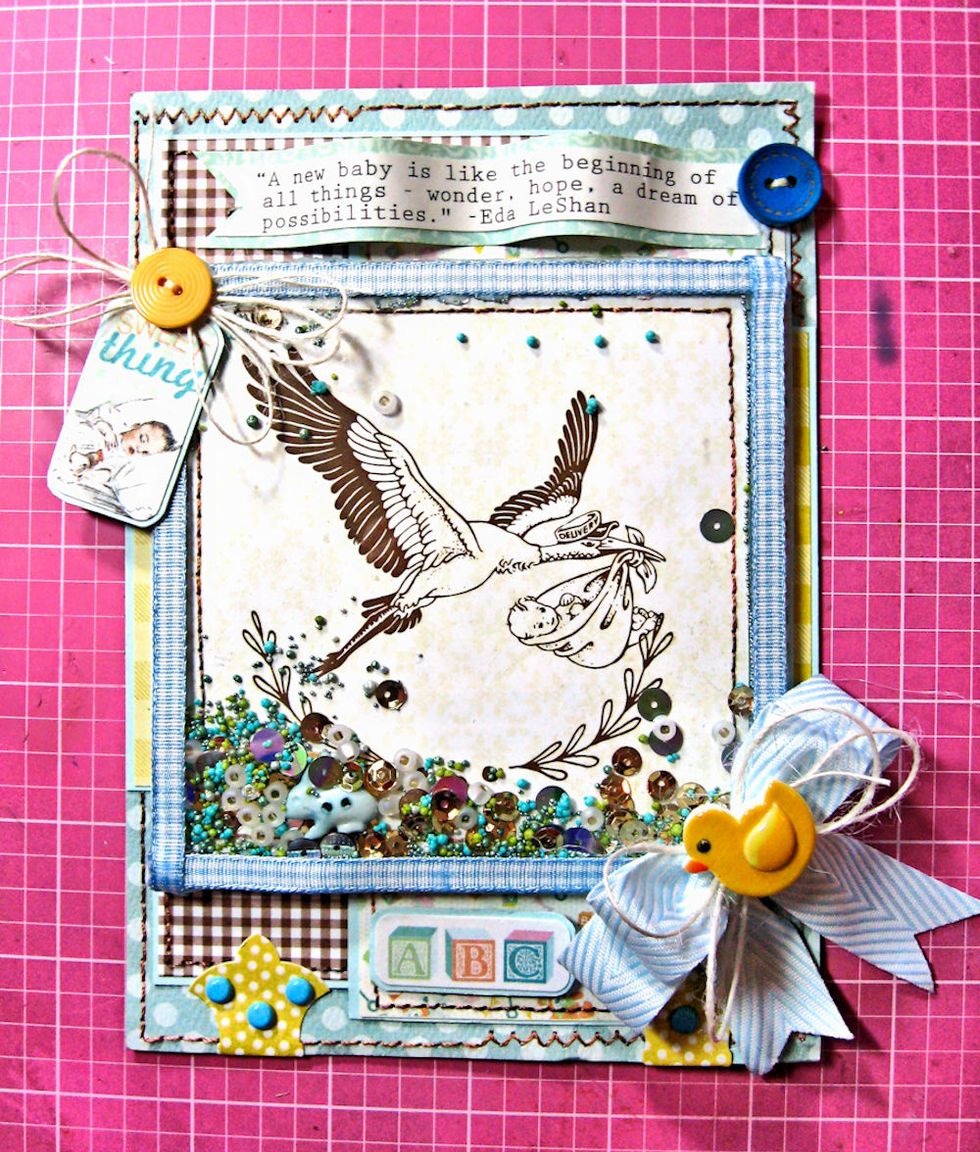
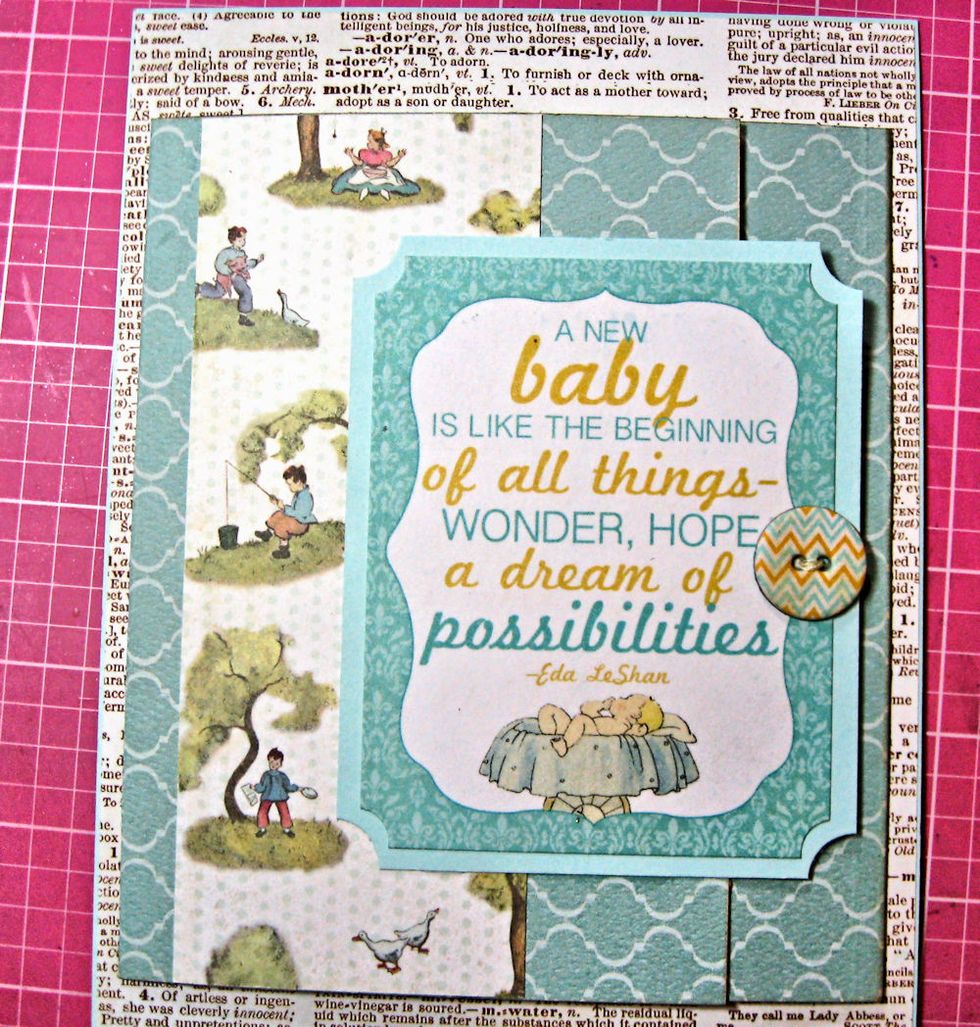
Add buttons, stickers and sentiment strip. Weave sentiment strip through fingers to shape.
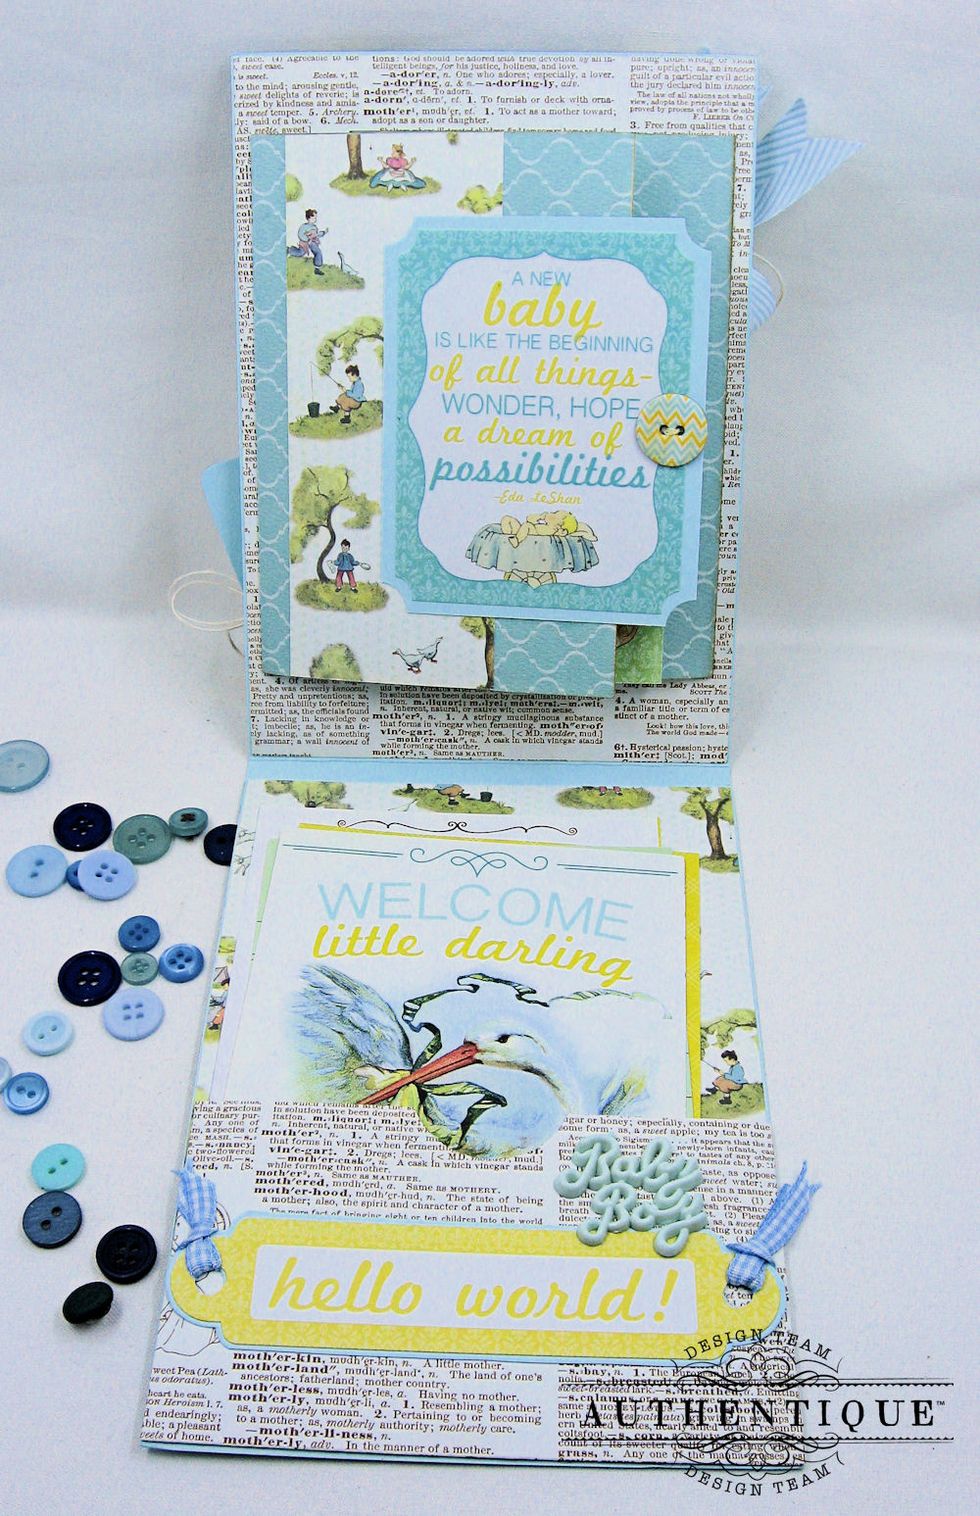
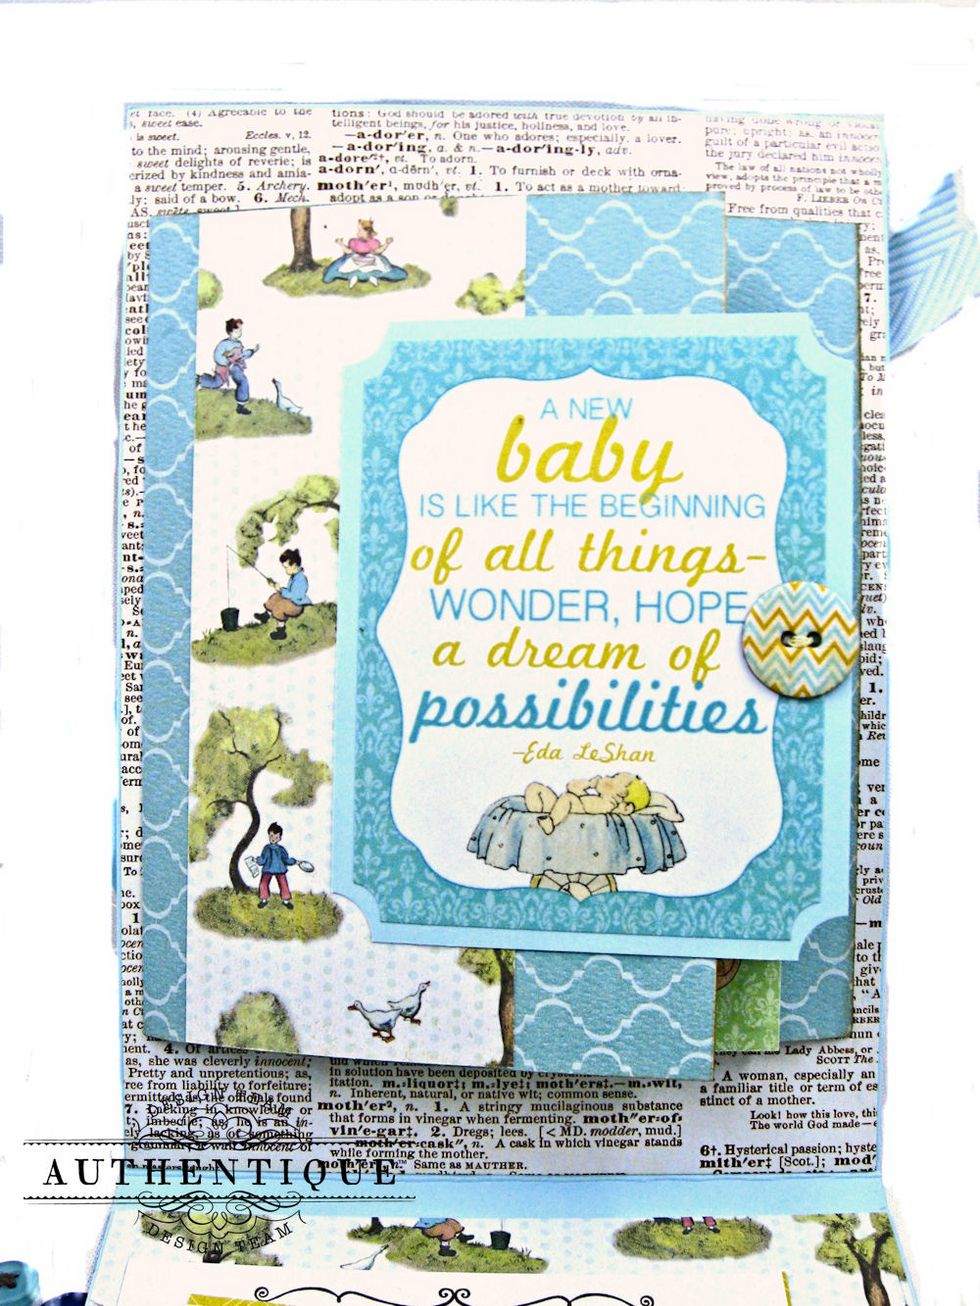
Set the card front aside while you build the interior. This keeps the card front clean. Cover card interior as seen here.
Create fold out element with Spectrum Dot paper. Cut 5.25" tall x 12" wide. Score at 3.5", 8.25". Crease and fold.
Glue to top half of card as seen here.
Decorate with matted sticker and printed paper. Add a button.

Create file folders with sticker sheet. Attach to fold out pages with a hinge. Cut a 1" tall strip of cardstock the same width as file folder. Score in half.
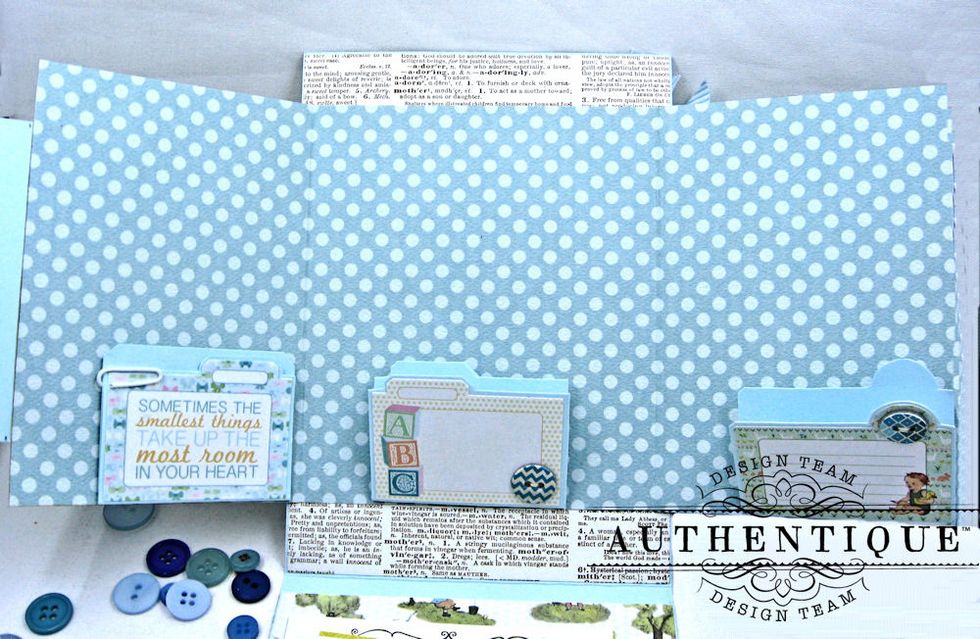
Glue half the hinge to back of file folder and the other half to the fold out. This way, photos can be mounted behind the file folders. Add journaling inside file folders.
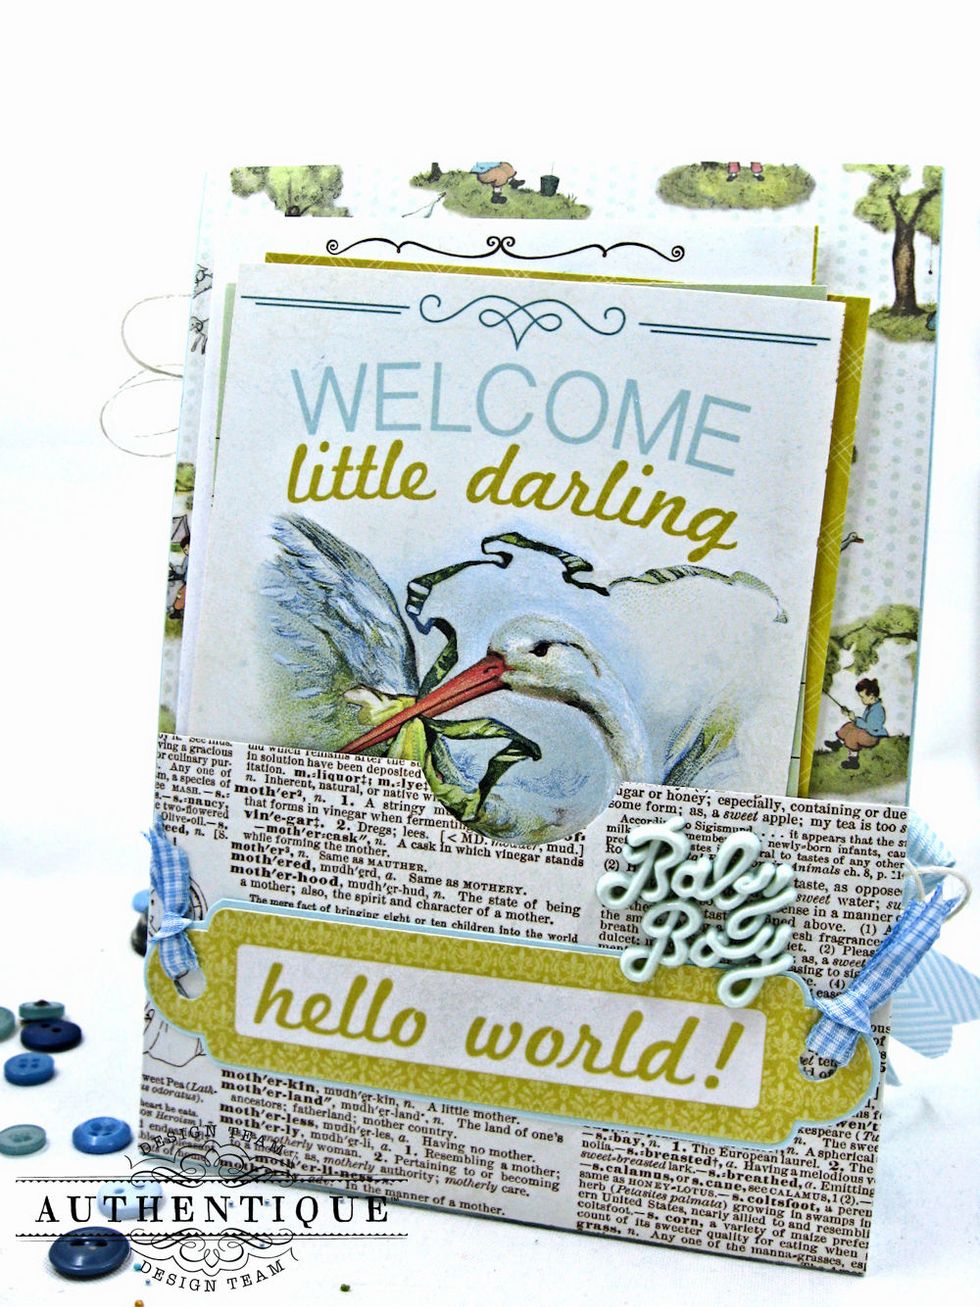
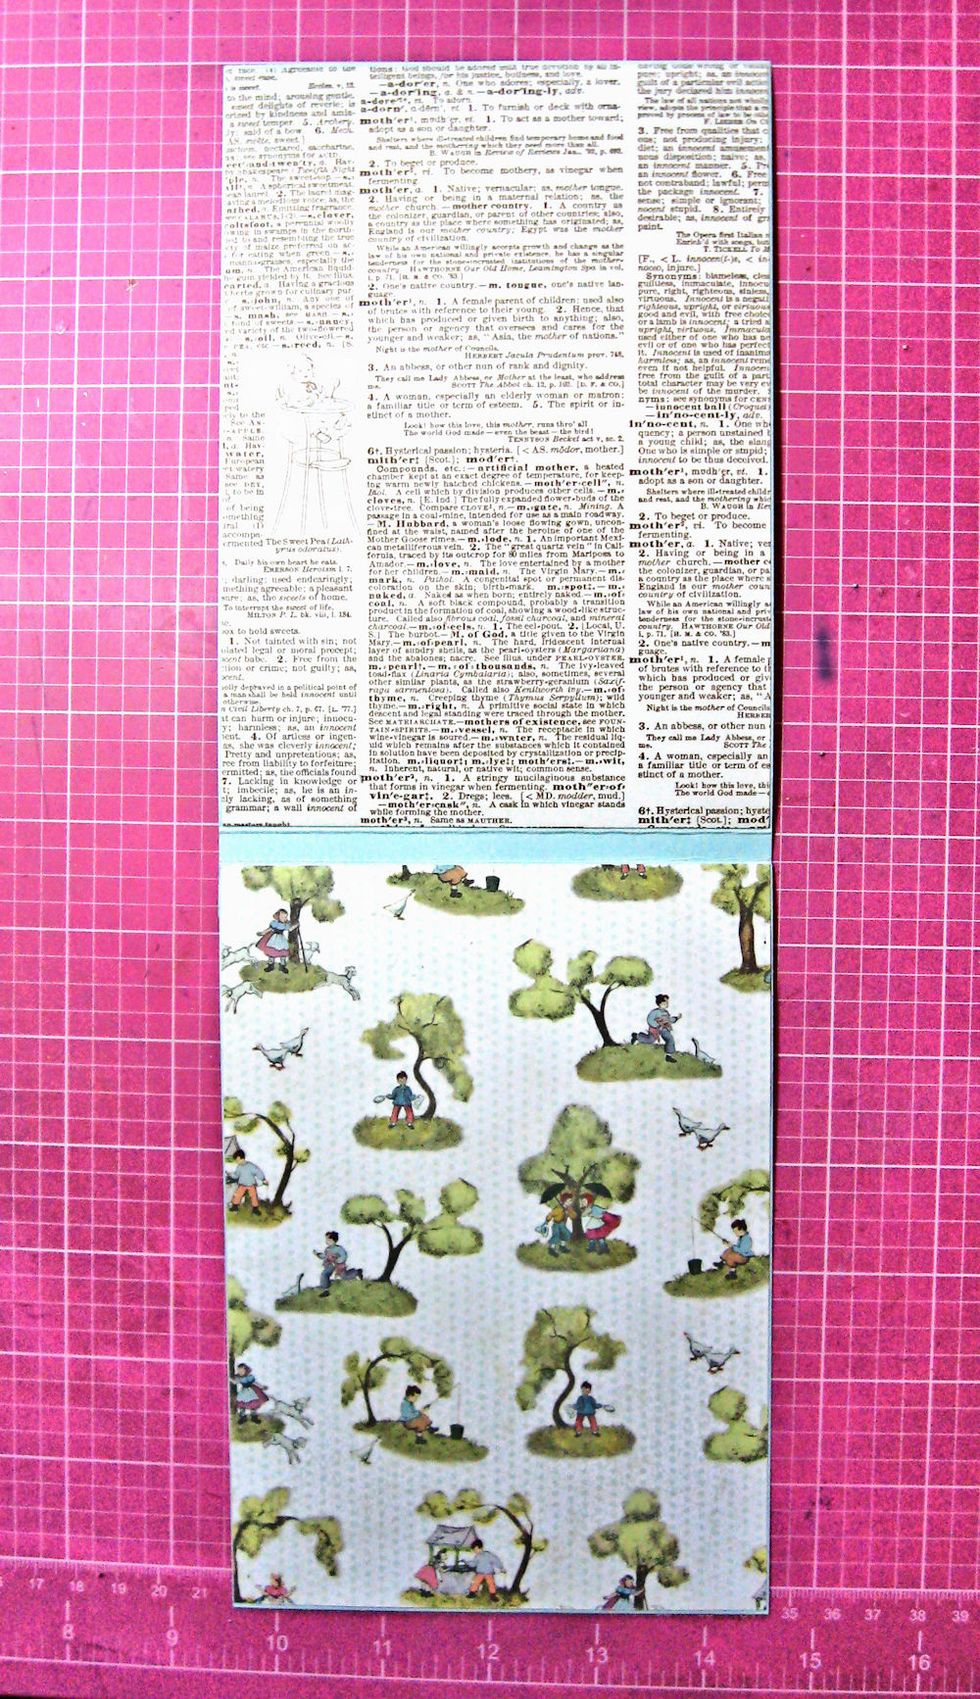
Create a pocket on the bottom half of card interior. Fill with ephemera cards from cut apart pages. Photos can be mounted on the back. Decorate with stickers.
Detail photos.
Detail photos.

Detail Photos.

Thanks for joining me! Have fun making this adorable baby boy shaker card folio! Now go get your craft on!