The Conversation (0)
Sign Up
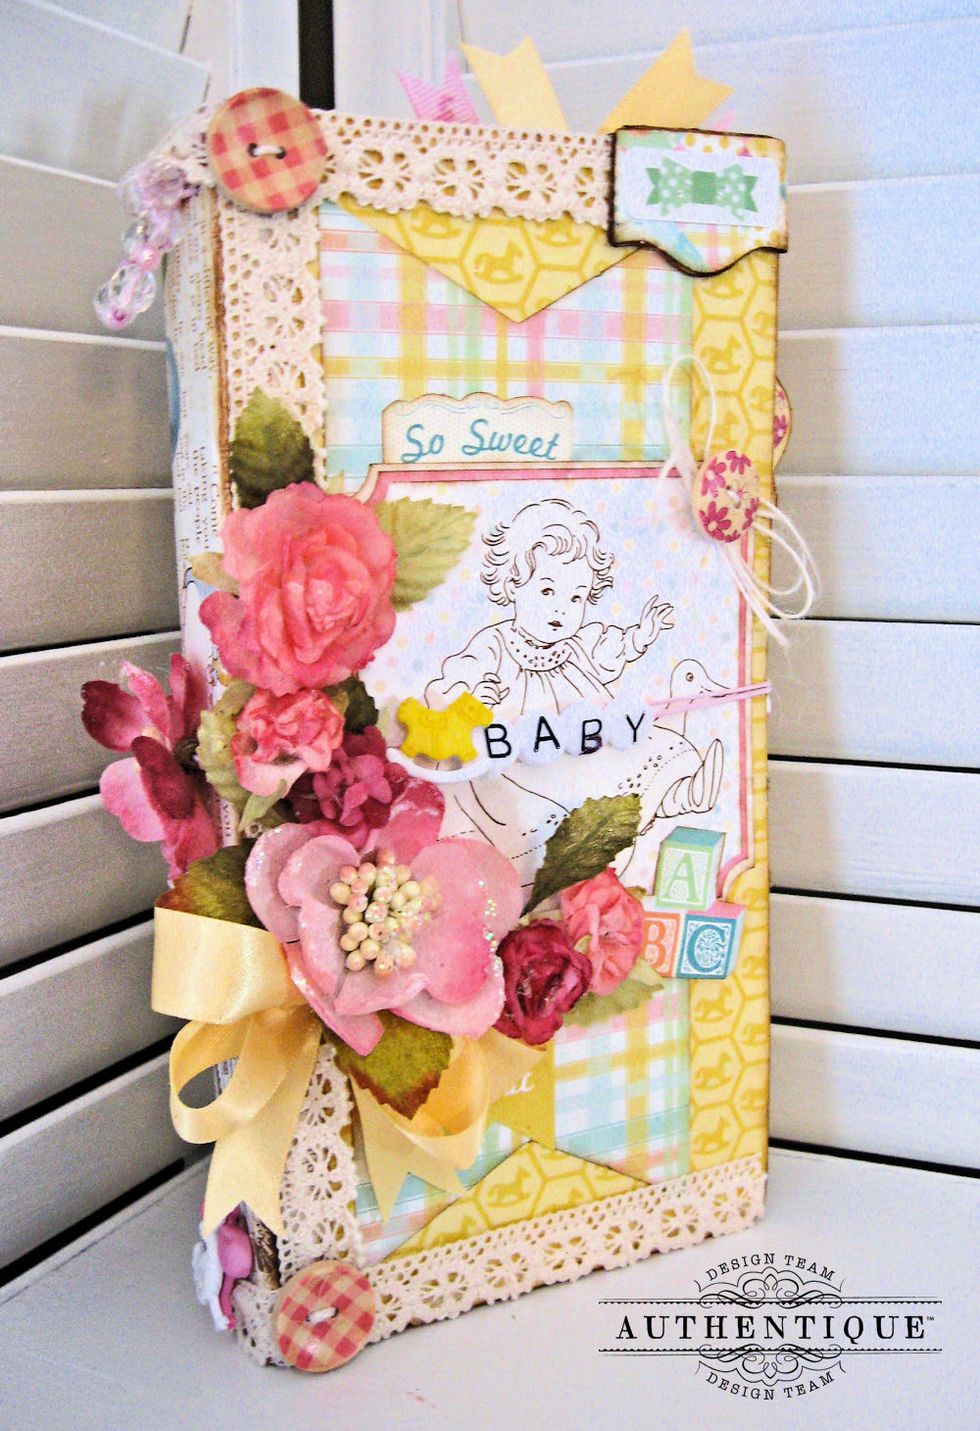
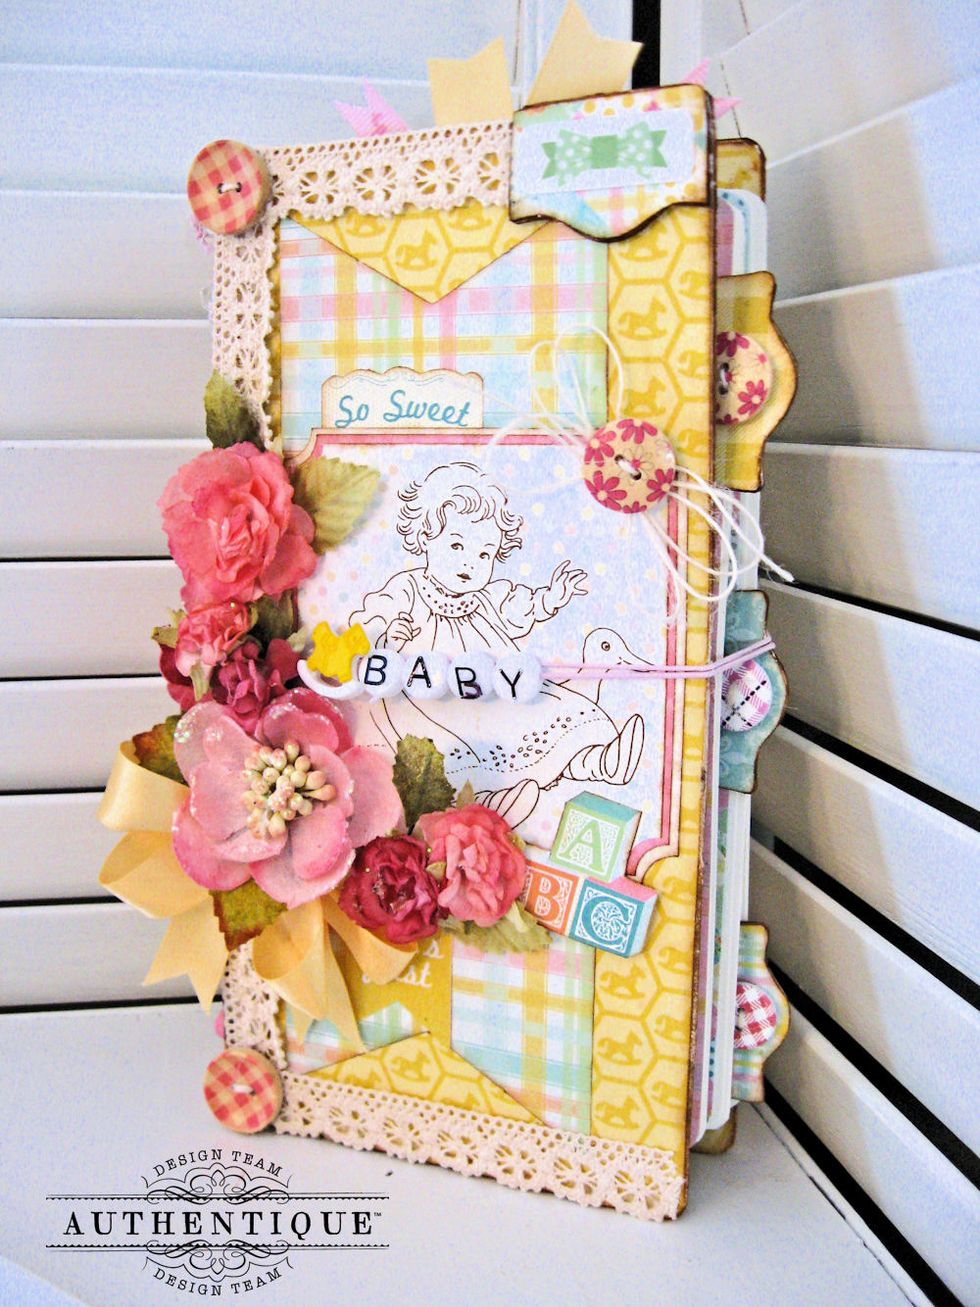
Although this tutorial will focus on cover assembly and creation of the signatures, I'll also share photos of the inside pages.
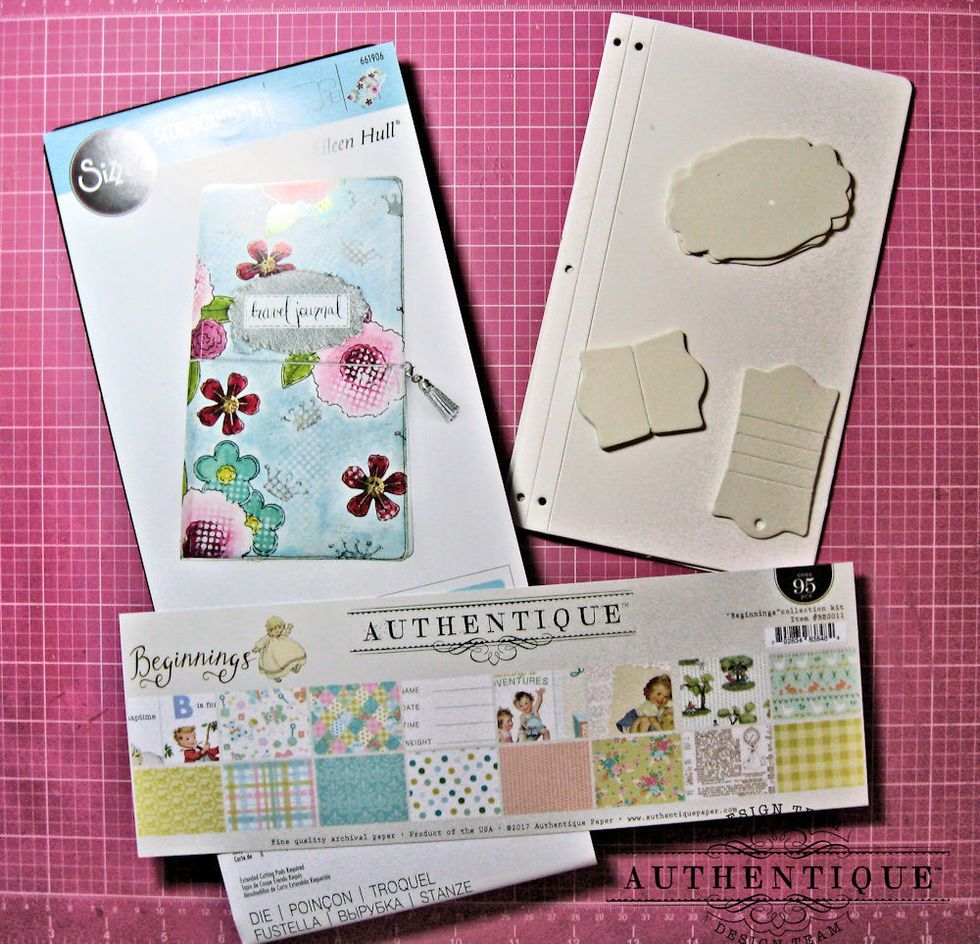
Use the Eileen Hull Sizzix die to cut 2 Traveler's Journal Covers and extras from white matboard. You'll need both the 12x12 Collection Kit and the 6x6 bundle of Beginnings paper for this project.
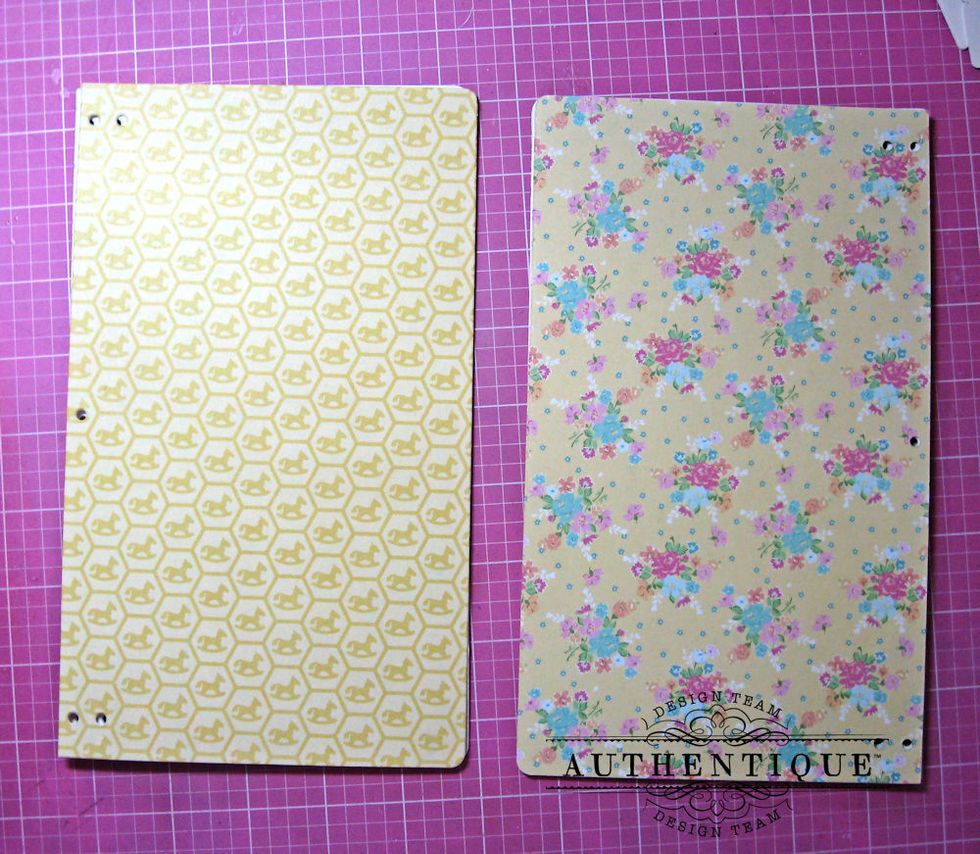
Use the die to cut 2 outer and two inner covers from designer paper.
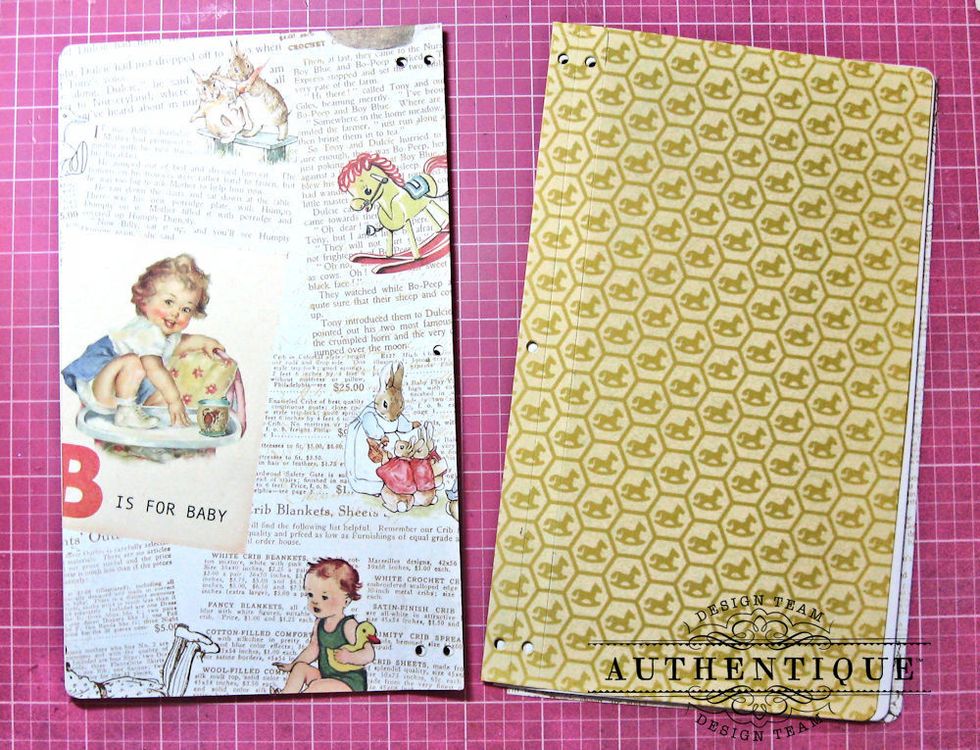
Lay the designer papers up on the matboard so that the punched holes line up. Determine which papers you want to use on inner and outer covers.
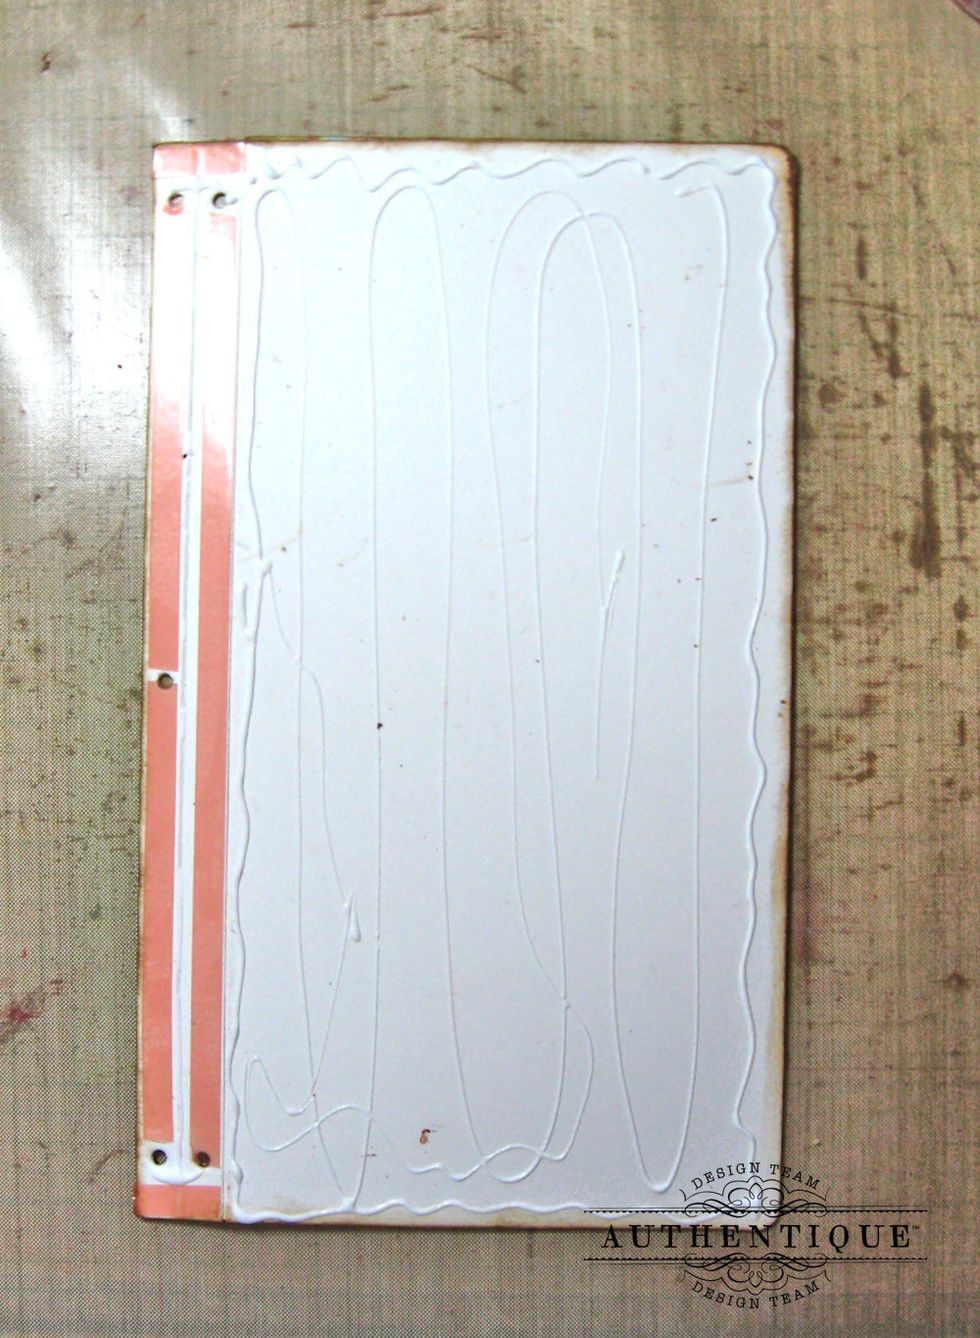
Use Scor-tape, Red Line tape or other strong double adhesive tape along the spine. Do not cover the punched holes or it will be hard to thread elastic. Add adhesive to the rest of the cover.
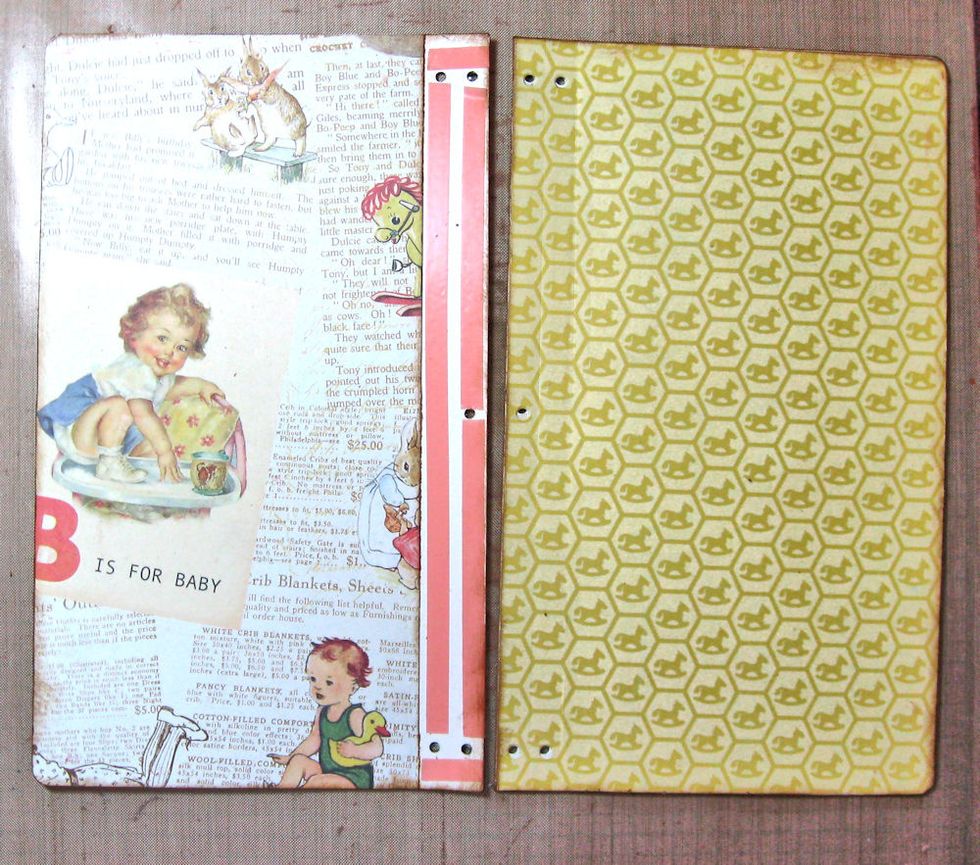
Place papers on prepared matboard and burnish with a bone folder. Then lay the inner front and inner back covers side by side, as seen in this photo. Peel the red line tape away from inner spine.
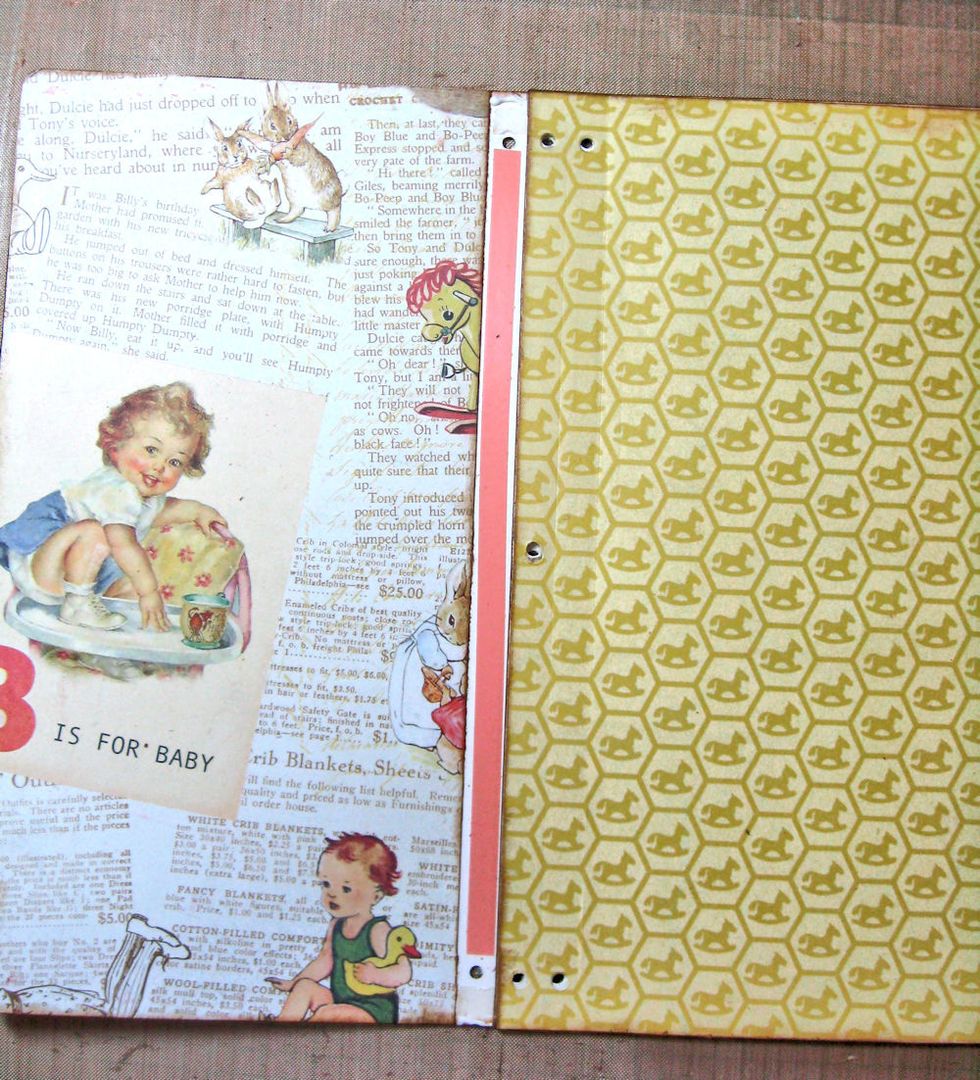
Line the holes at the top and bottom up as seen here. Press in place. I removed a piece of the patterned paper on the left so you could see the placement better. I later added this paper strip.
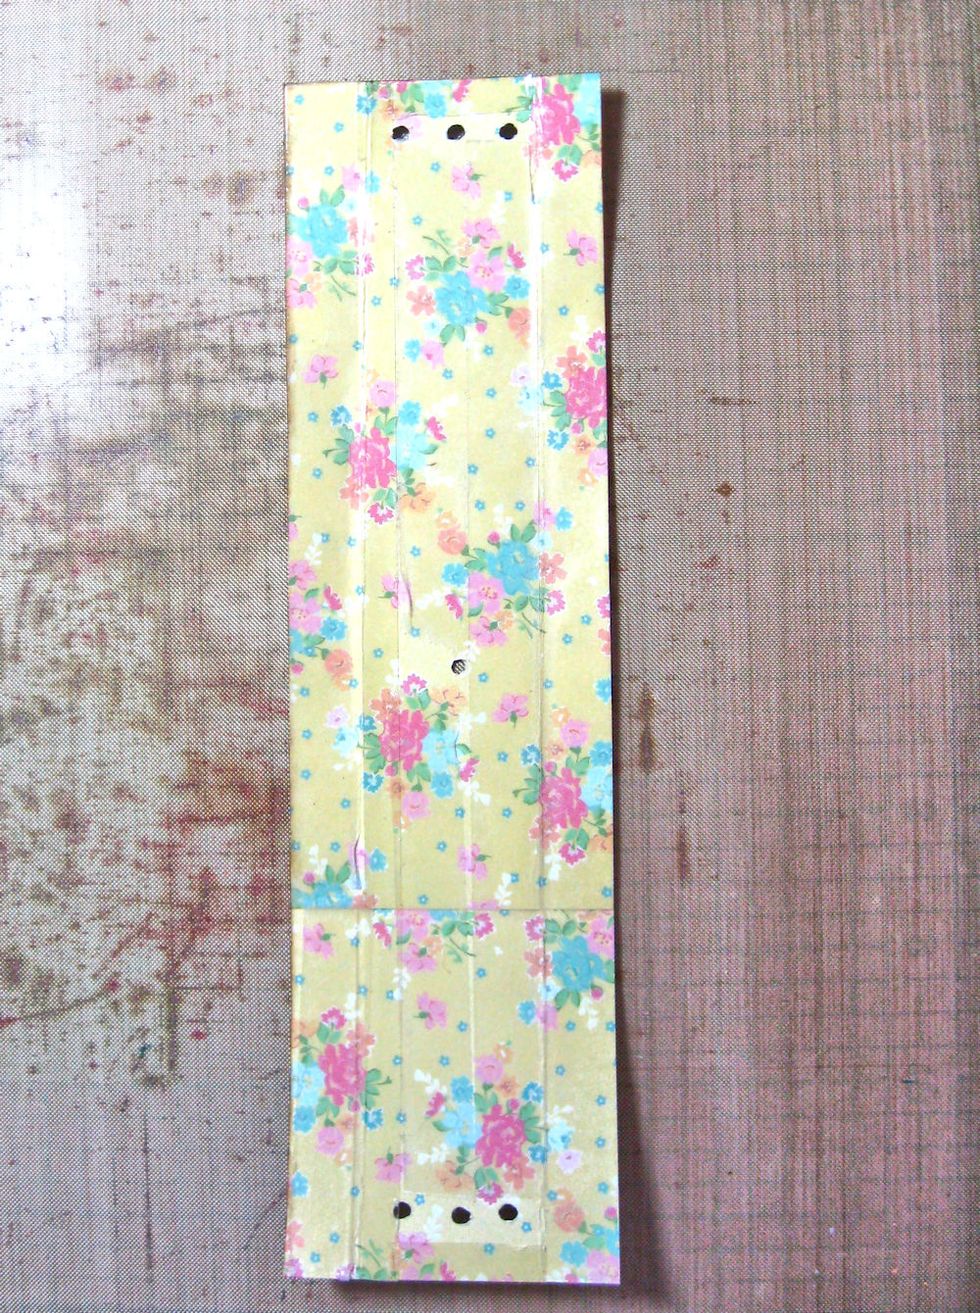
I cut a strip of designer paper to make a contrasting spine. This is not necessary, but I like the way it looks. Mark placement of binding holes. Punch. Add Scor-Tape. Do not cover binding holes.
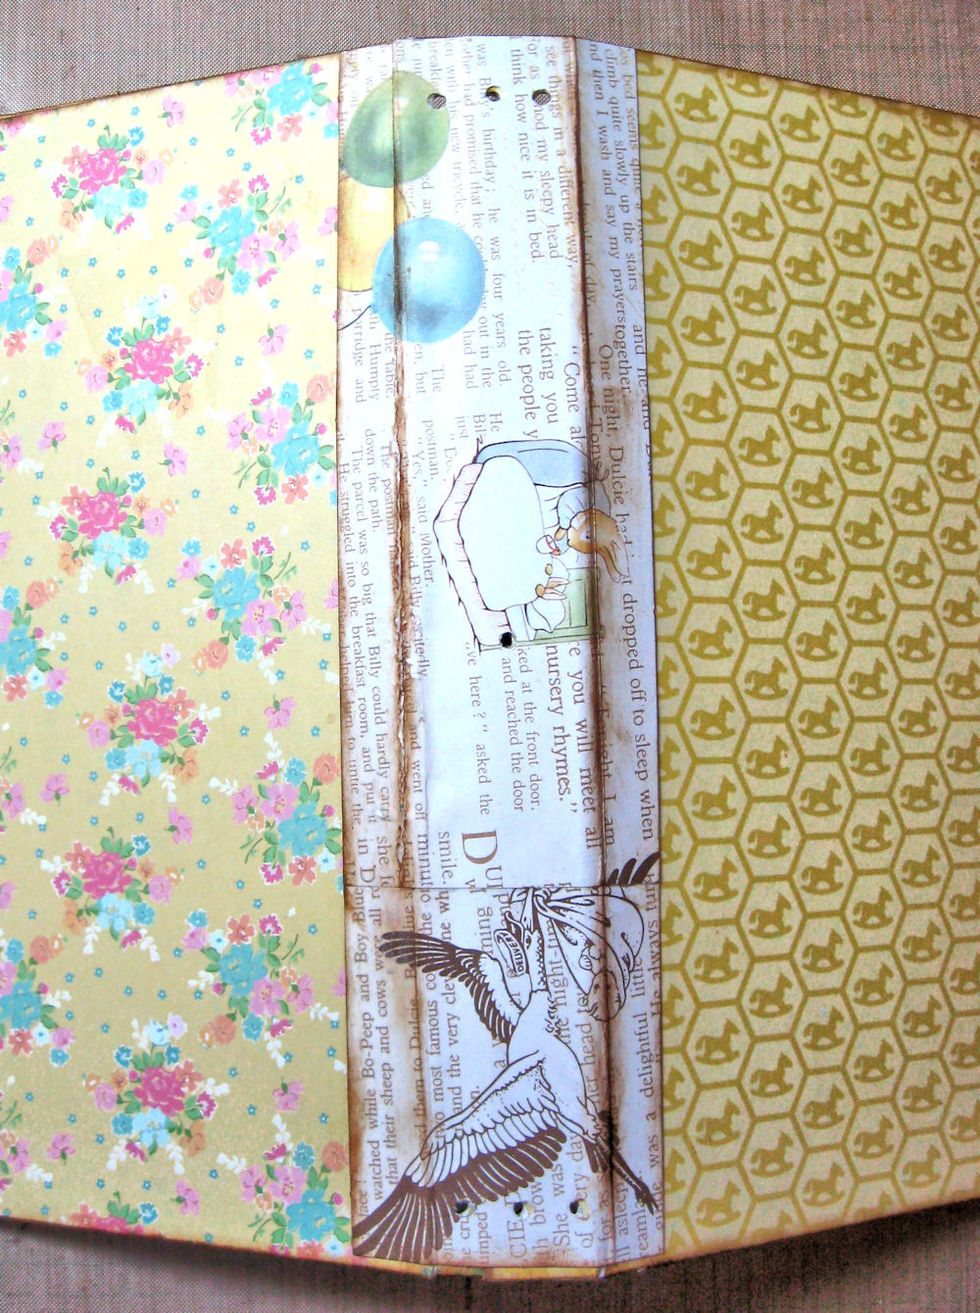
Line up binding holes at top & bottom. Adhere paper. Burnish. Sponge edges with Vintage Photo Distress Ink.
Add binding elastic. The journal die comes with a diagram that shows you how to do this. Elastic should be somewhat tight, but loose enough to allow you to place signature pages underneath.
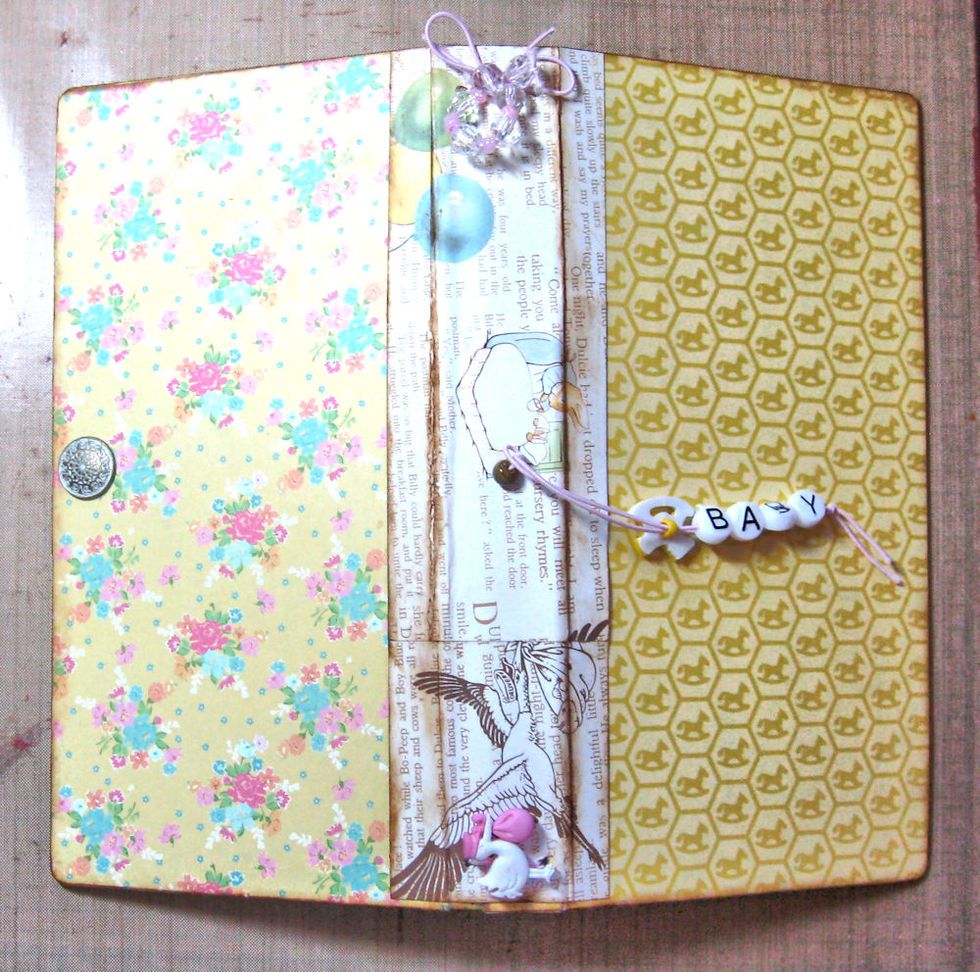
Pull the loose ends through the center hole. Place a bead between the opening and the elastic. Add beads, then tie a knot to form the elastic closure. I also added beads to the top & bottom.
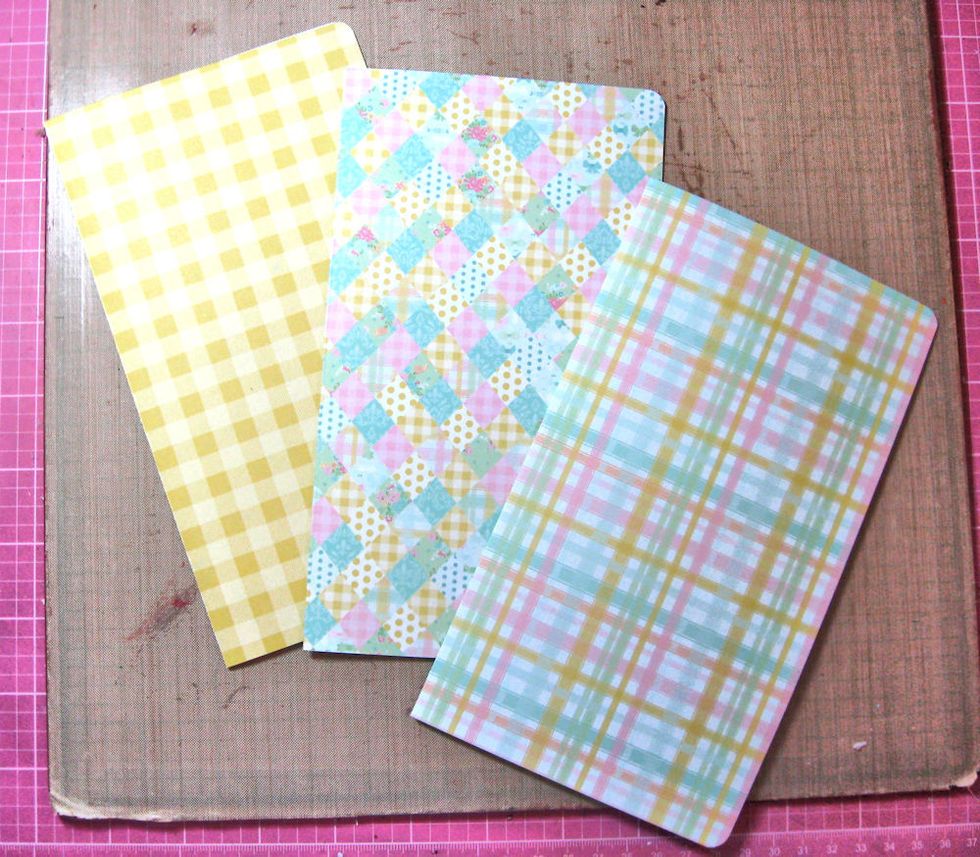
Create signature covers by cutting designer paper to measure 7.75" tall x 8.5" wide. Score in the center. Burnish the fold. Round corners with a corner punch.
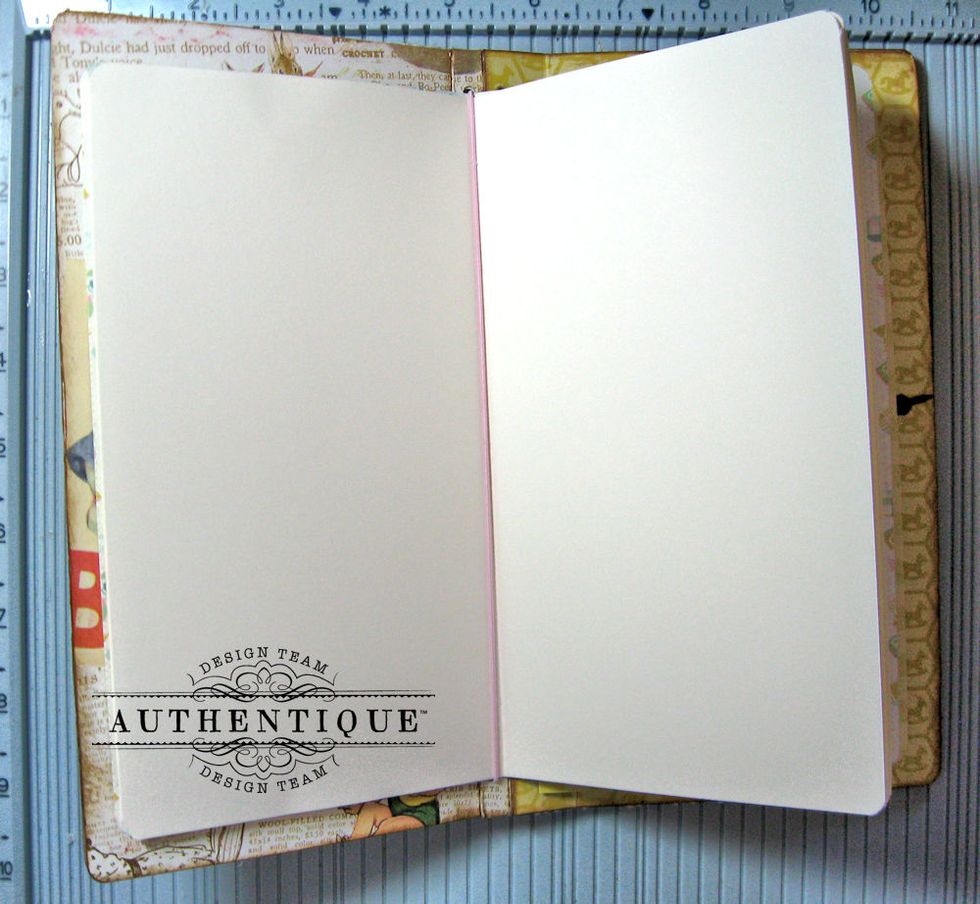
Cut 12 sheets of acid free text paper to measure 7.75" tall x 8.5" wide. Score in center and burnish. Add 4 sheets per signature. Slide signature pages under the elastic binding as seen here.
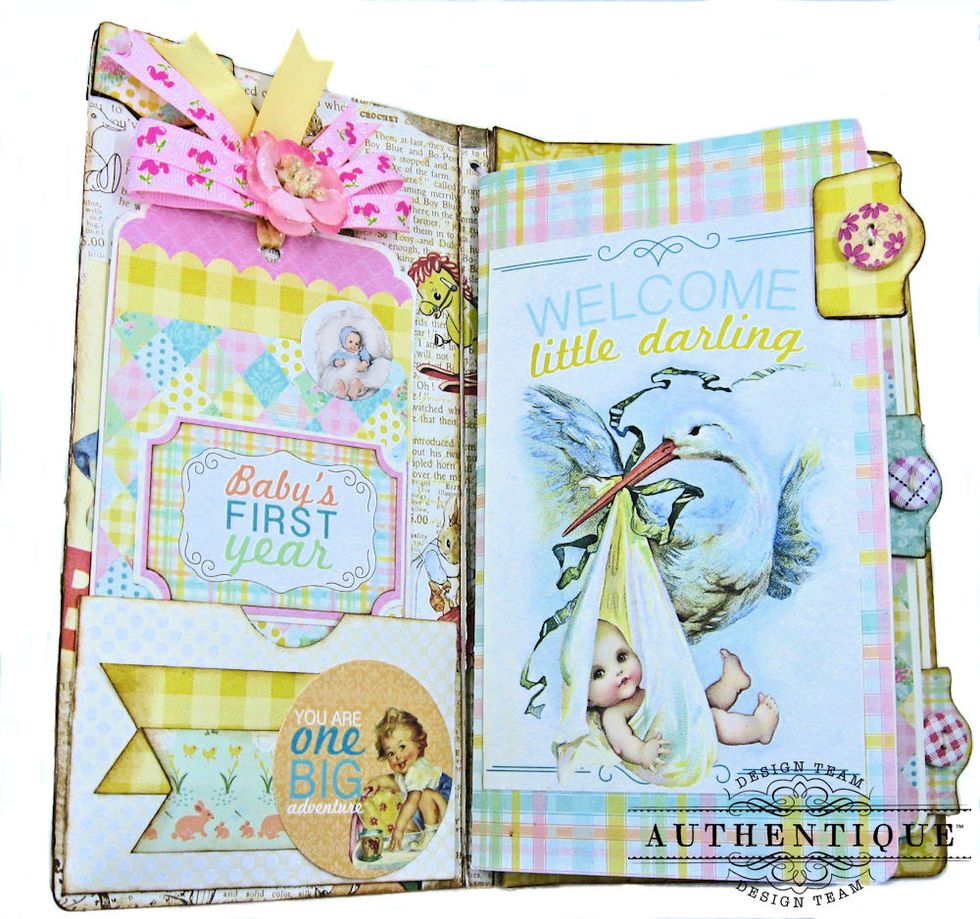
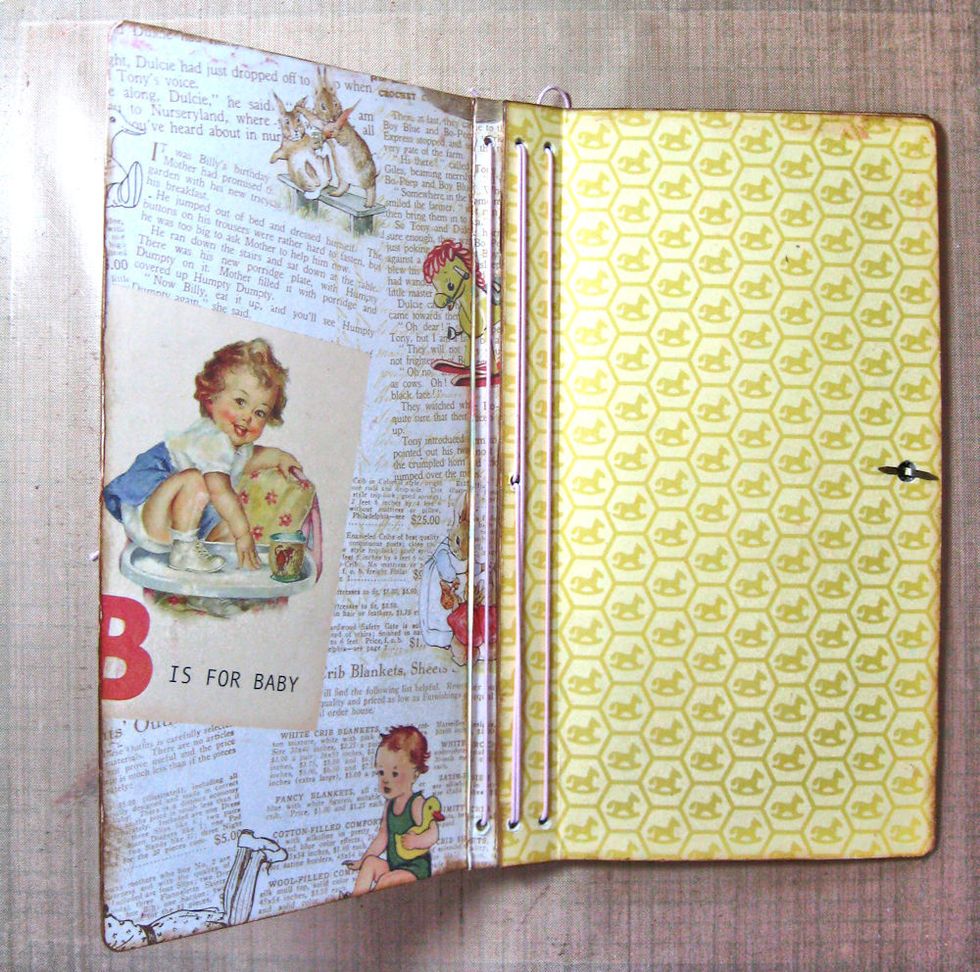
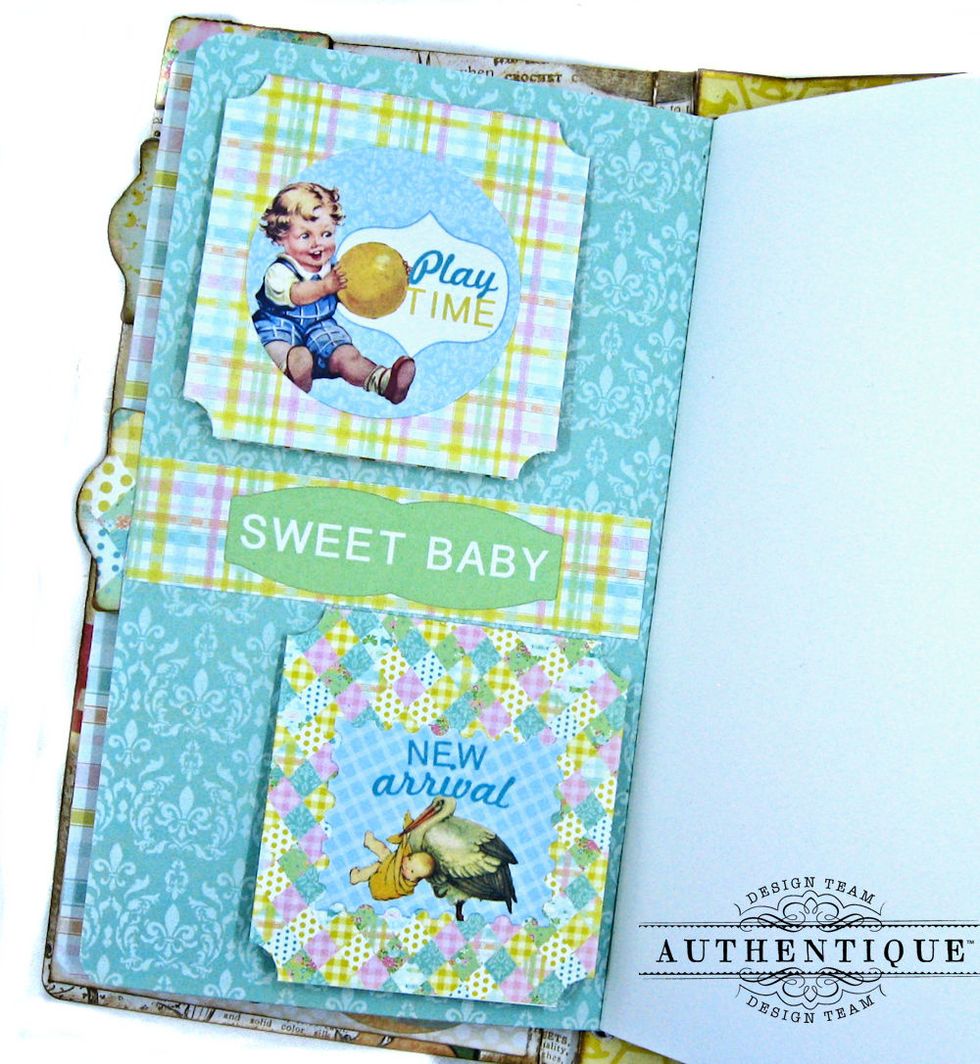
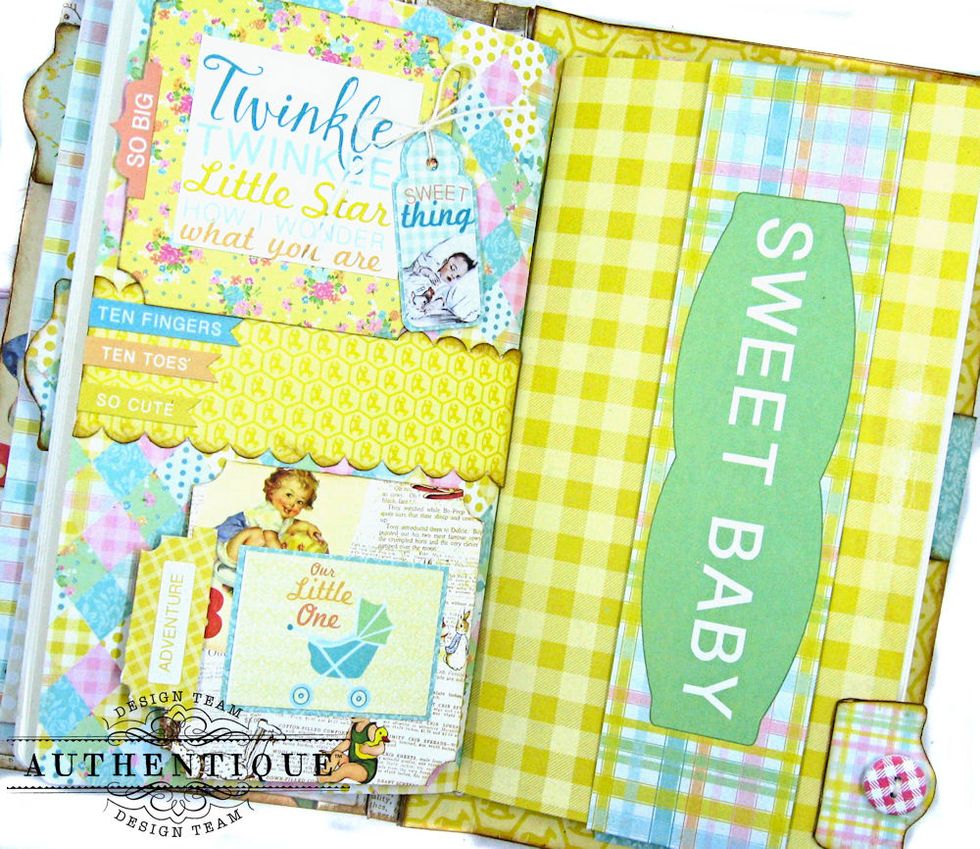
Decorate inner and outer covers and signature page covers inside and out. this is the fun part!
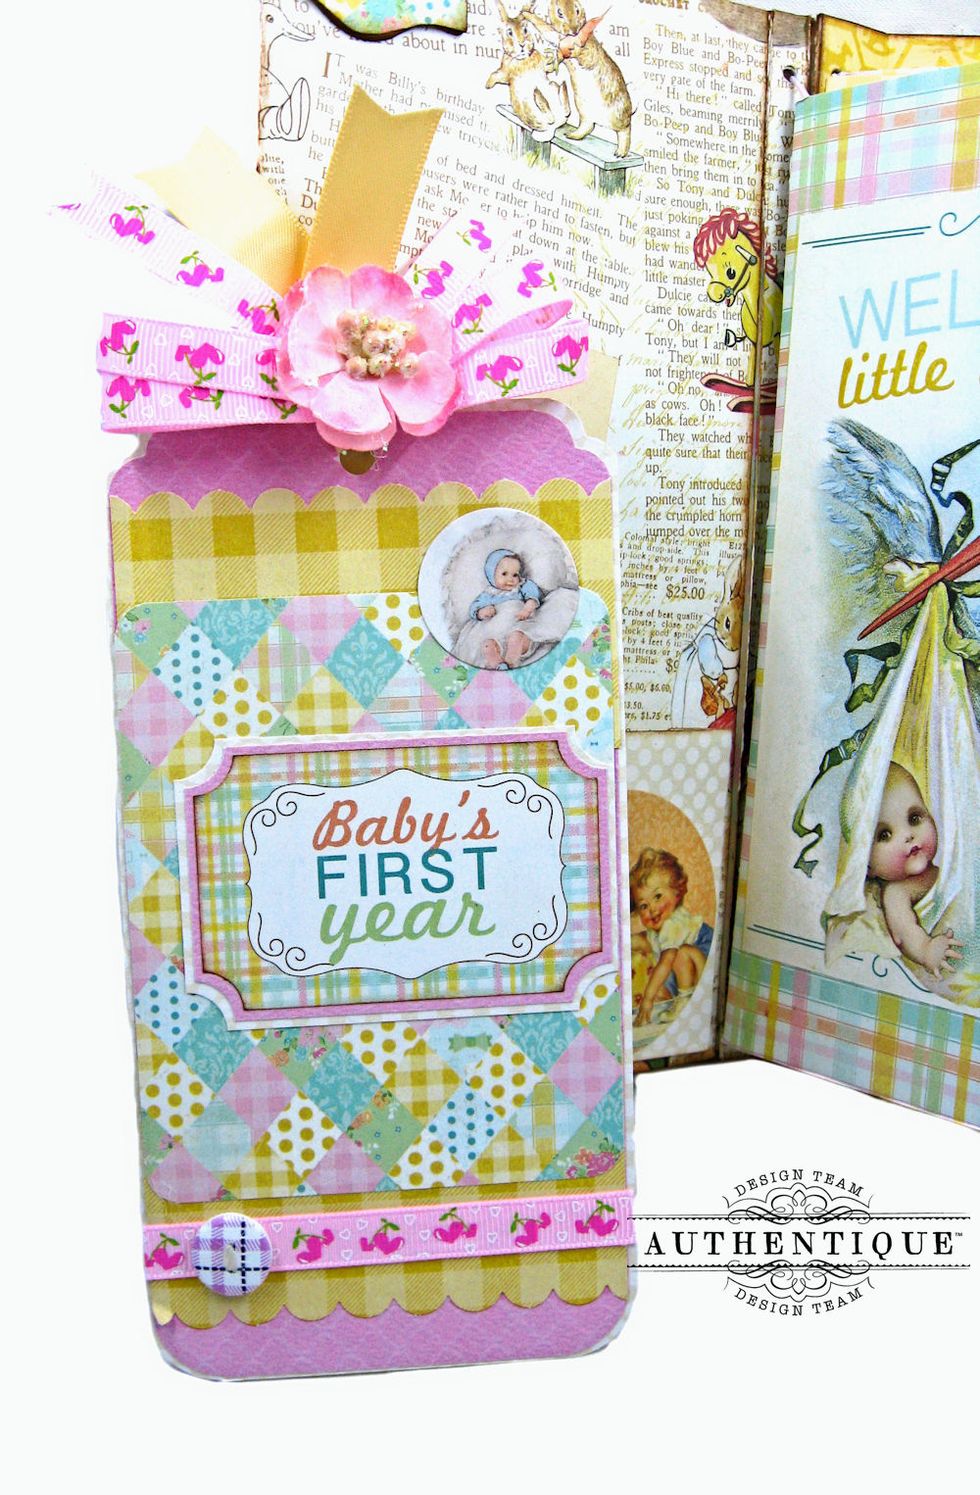
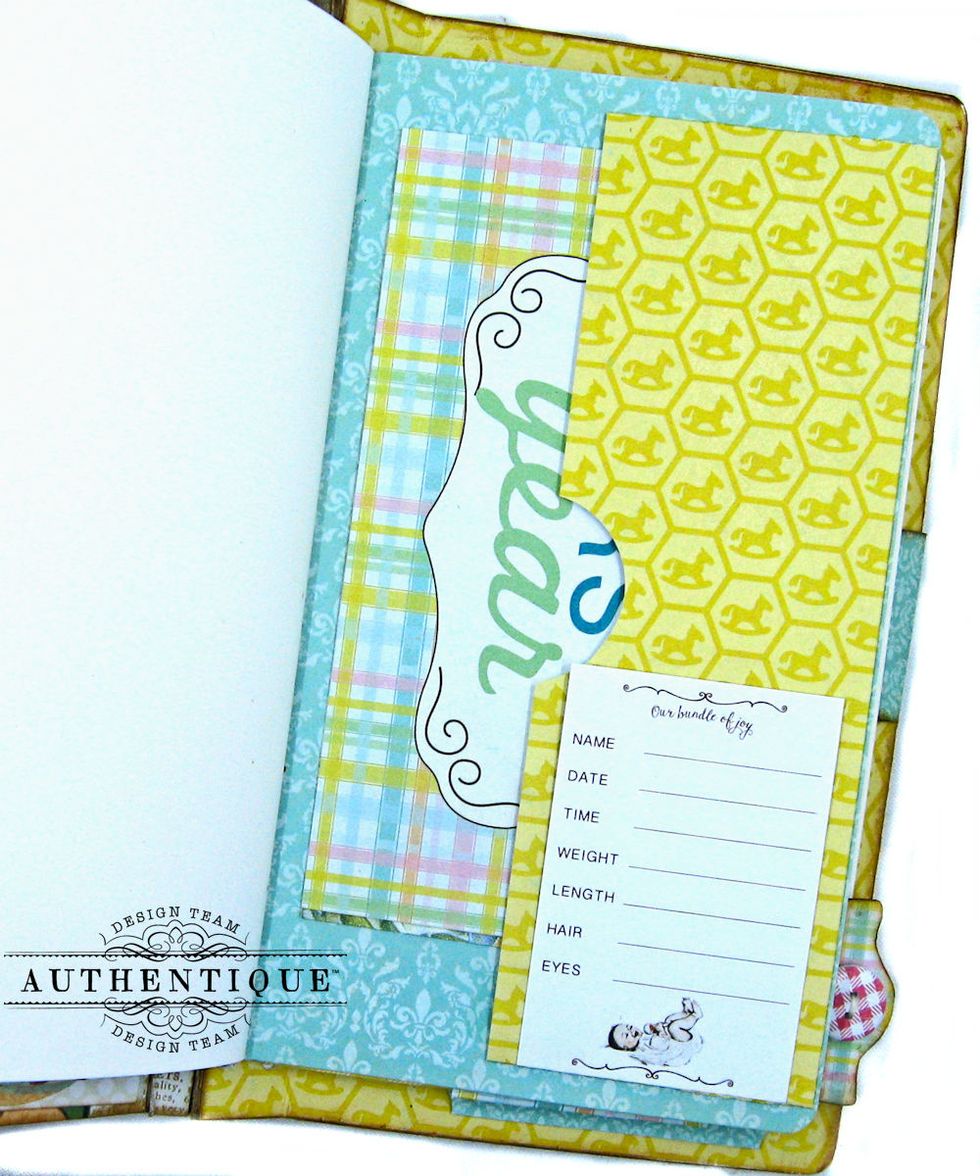
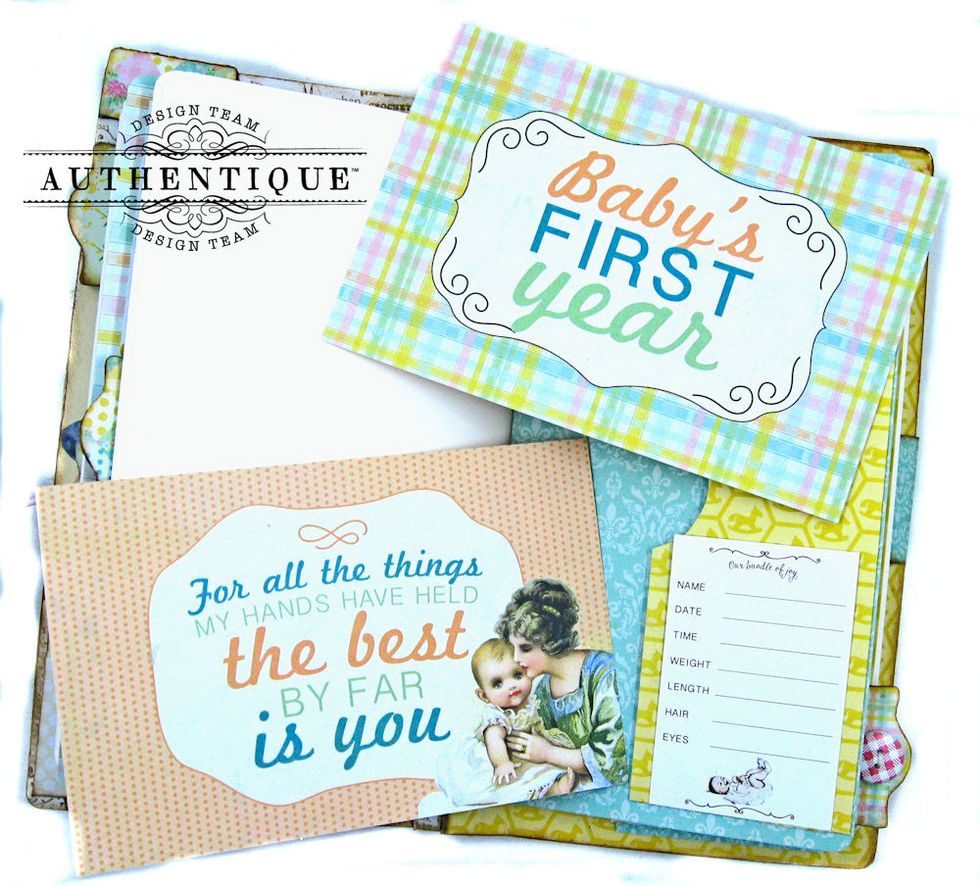
Create tags to insert in pockets....

Or fill pockets with journal cards from the cut apart pages. Blank pages can be used for additional photos, journaling, well wishes from baby's first visitors, etc.
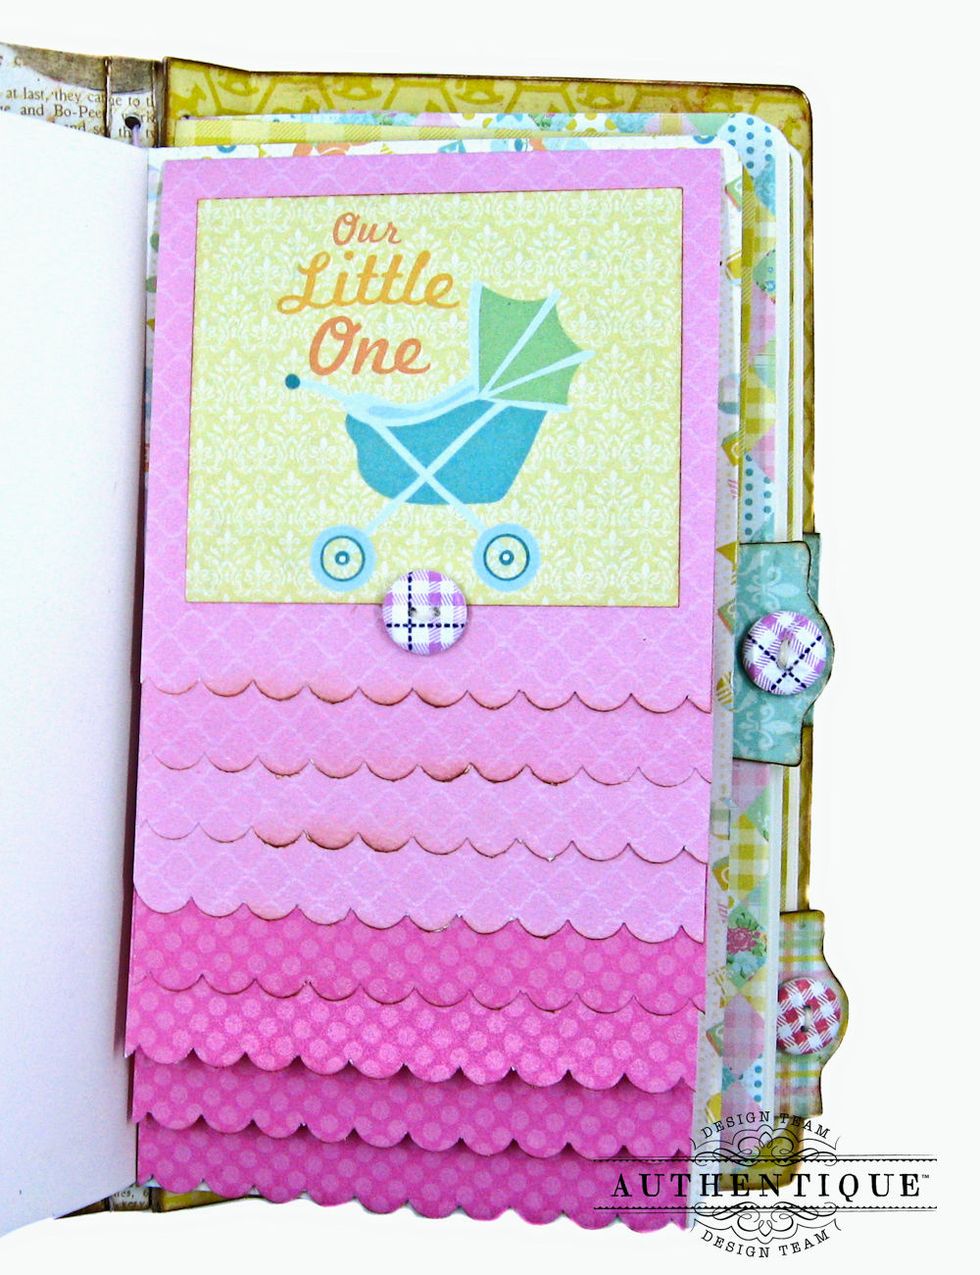
Create waterfall folio. Cut 8 pieces of Spectrum Bubblegum pink 1&2 paper to measure 4" wide x 4.75" tall. Score on long side at 1/2" to form a flap. Punch decorative edge. Add cover decor.

Add different sized papers for variety and fun design.
Flip pages can be made by cutting 6x6 papers to measure 3" x 6". Score in half, shape corners, add cover decor and glue into baby book.
Side pockets can hold 4x6" images from cut apart pages and large photos.
Journal on the back side, or place additional photos on these large cards.
Copies of Birth Certificate, Birth Announcement, Baptism Certificate can be tucked beneath this belly band.
These are just a few ideas for ways that you can decorate the inside of your journal. I know you will think of even more . Thanks for joining me. Now go get your craft on!