The Conversation (0)
Sign Up
The installation is reasonably easy. You should estimate about 3-4 hours to do it, taking your time with the trim removal and laying out the Dynamat.
If using other subs I'd be sure to check their minimum power requirement. The JL 10W1V2-8 I used is specified for 60W minimum. The stock amp won't drive a sub with too high of a power requirement.
Overview: remove the D-pillar covers and the B&O speaker grills, remove Torx screws, remove rear deck cover, swap the sub, lay some Dynamat (optional, but recommended), wire it in, reinstall trim.
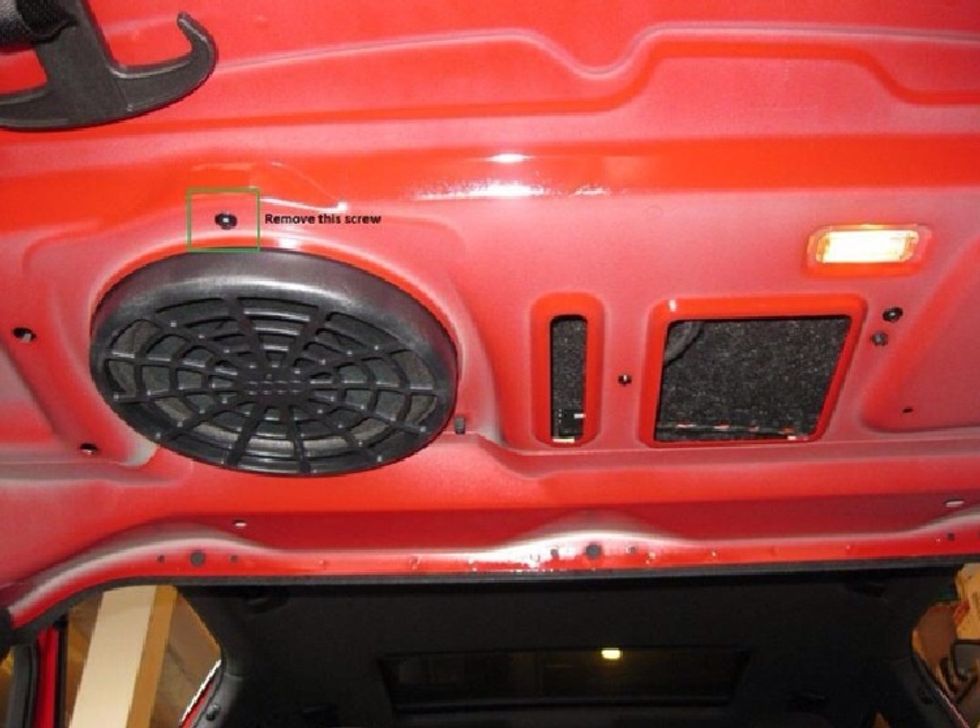
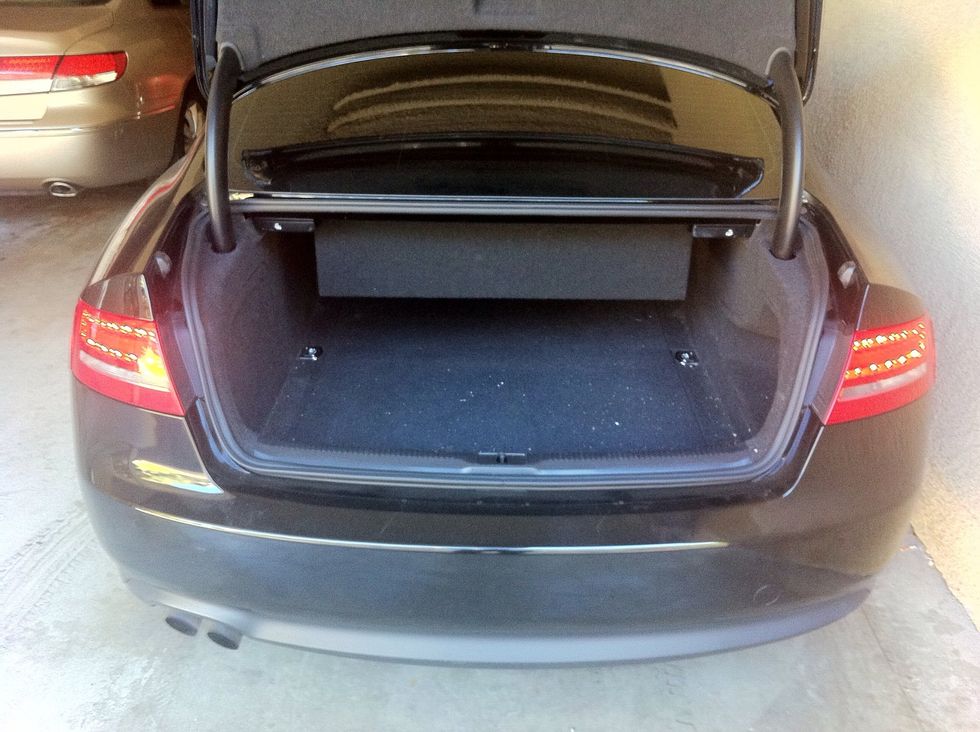
Drop the back seats down. You'll need to do this for easy access and to get at the rear deck cover lip. Remove the Torx screw from the bottom of the stock sub, accessible from the trunk.
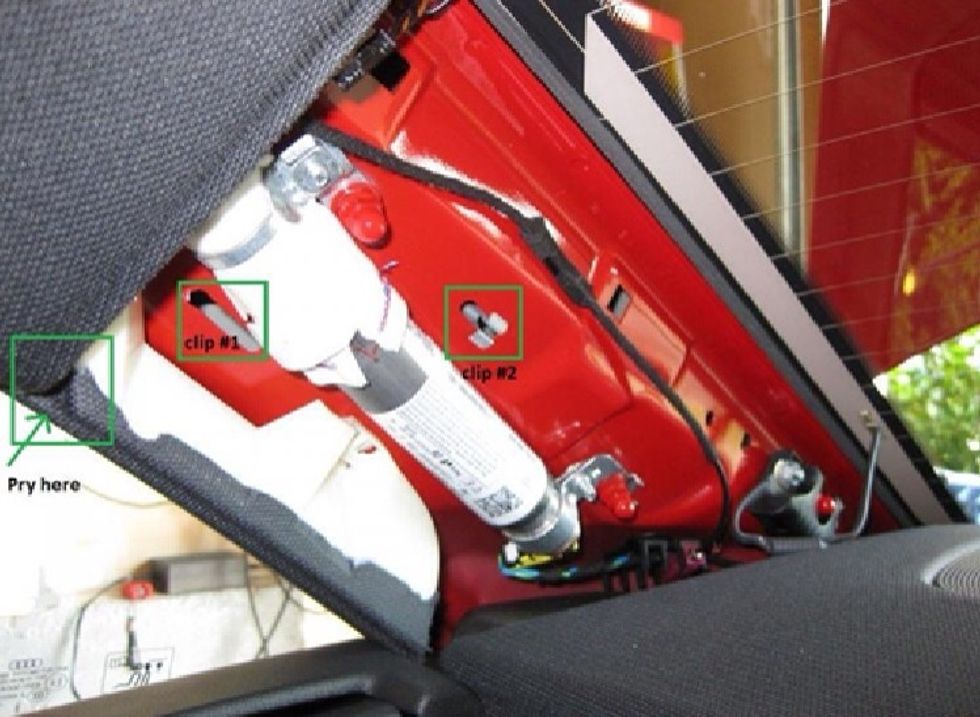
Remove the D-pillar covers. There is a small notch at the top front (left side of pic) of the cover that you can use to slip in a screwdriver. Pry slowly until the 2 clips give & the panel pops off.
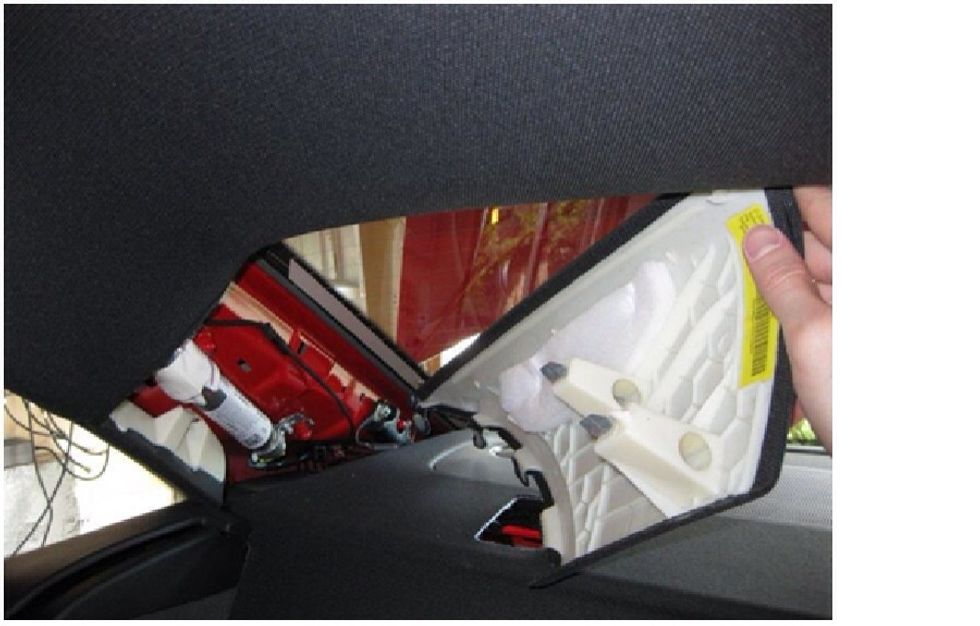
These must come off as there are 4 tabs that slot into the rear deck lid. Use a semi-short screwdriver as you don't want to damage the airbag charge that's inside the pillar.
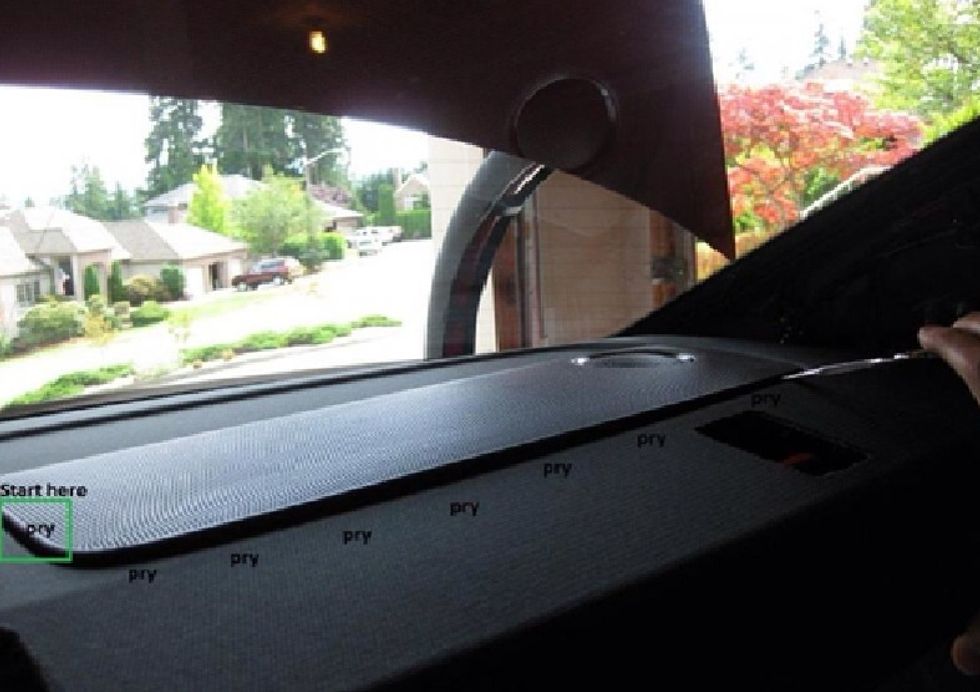
Remove the B&O speaker grills, both left and right. Gently pry up around the edge from one end to another (paint can tool) until it pops out. CAUTION - the grill is very, very easily cracked..
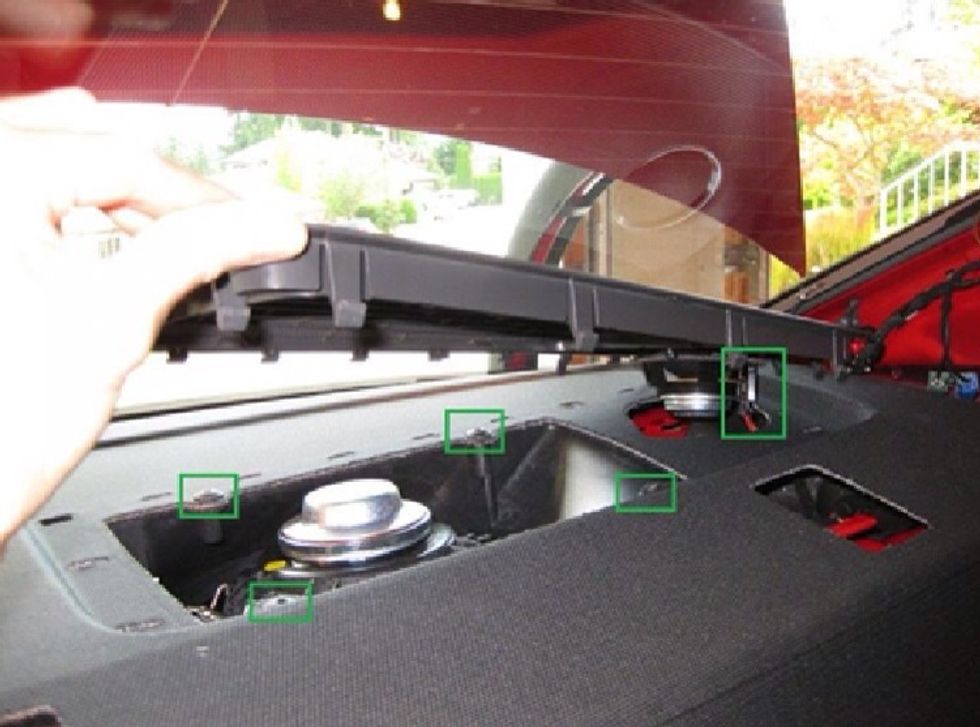
Remove the speaker wire from the tweeter (small speaker). Remove the 4 Torx screws holding the deck cover to the subwoofer housing.
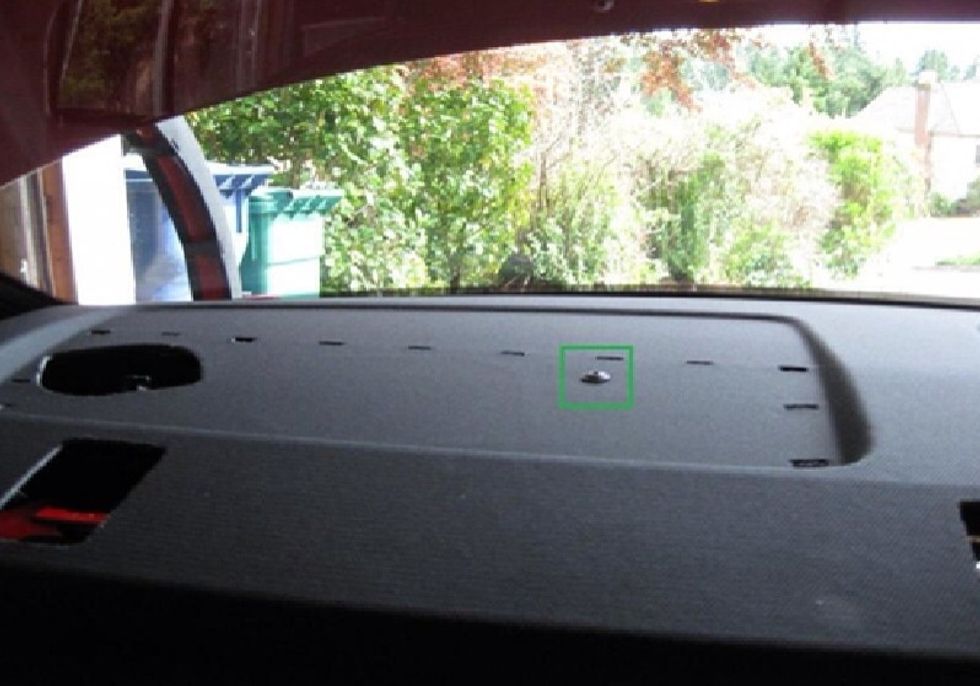
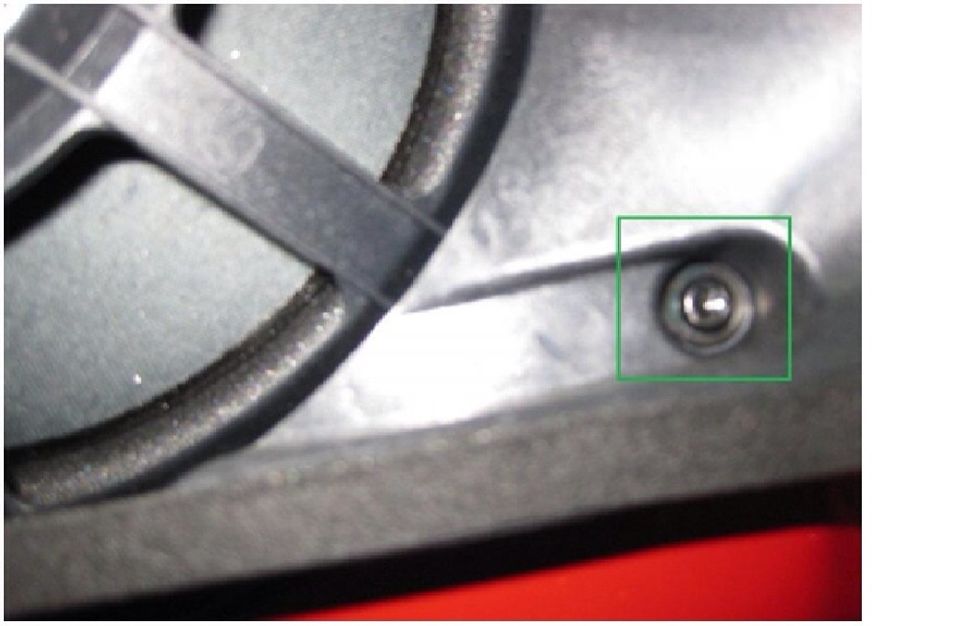
Remove the Torx screw under the left speaker grill. This holds the deck cover on to a support bracket below.
The deck cover is free to remove. There are four clips along the front, where the seat backs lean up against it. Lie down across folded down seats and push up against the front of the deck cover.
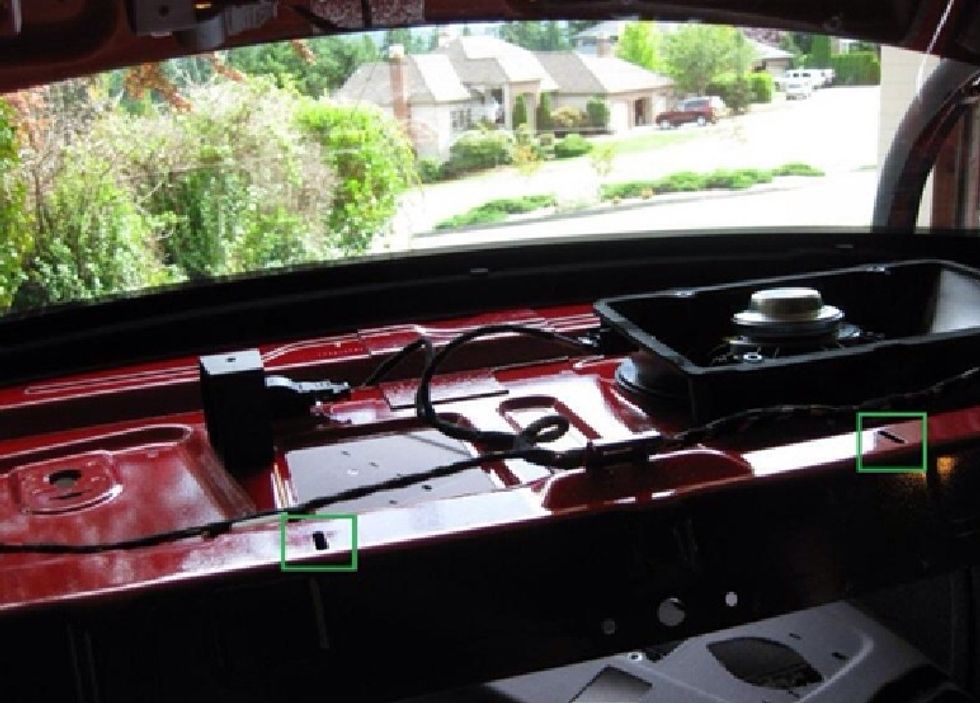
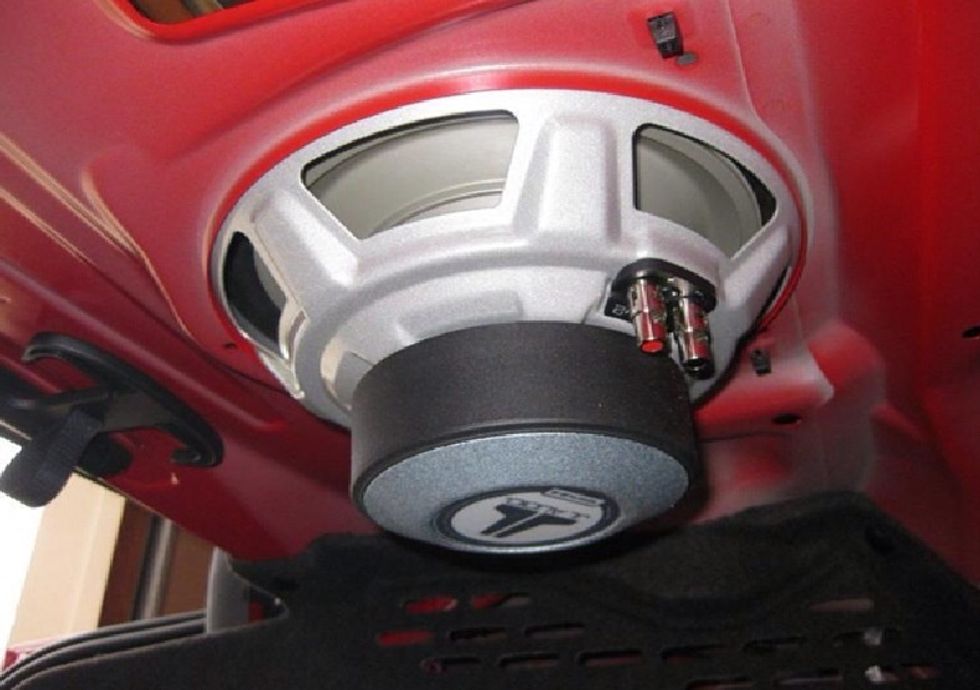
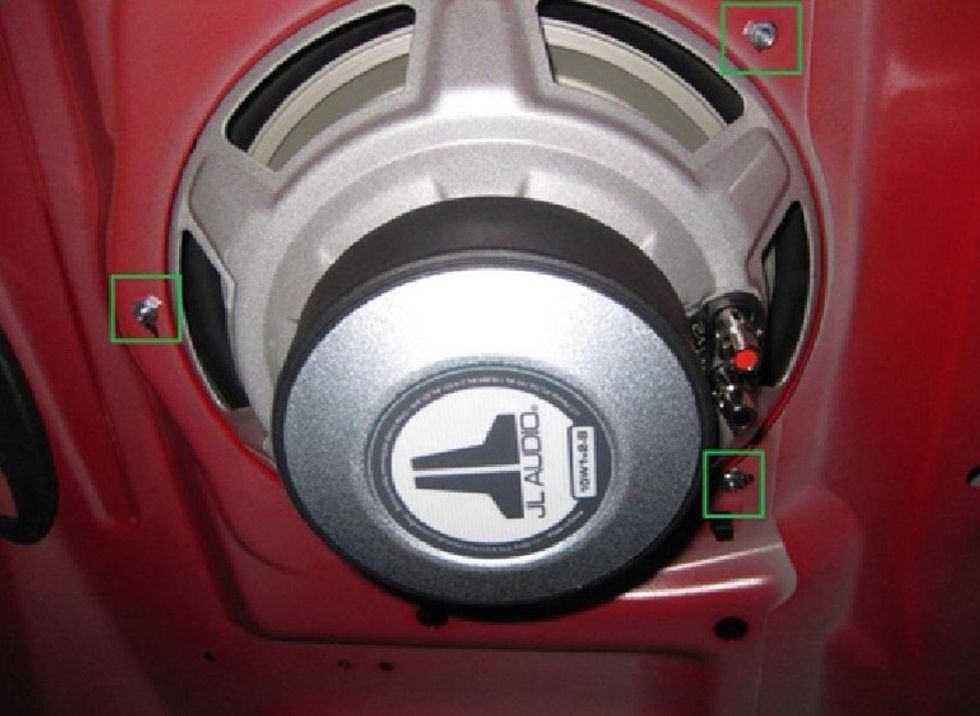
There are two Torx screws down inside the front of the sub housing. Remove these and the housing should lift out. Here's one...
...here's the other. After, disconnect the speaker wire and lift out.
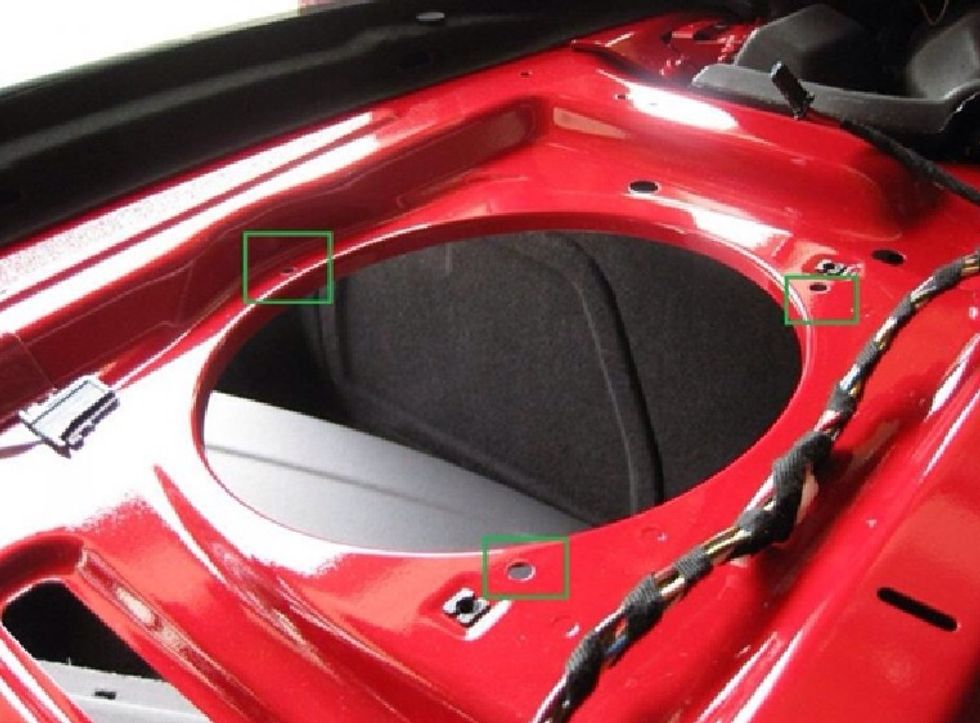
The new sub drops right in the hole from the old sub. There are 3 screw holes around the housing that line up perfectly with the mounting holes in the new JL sub.
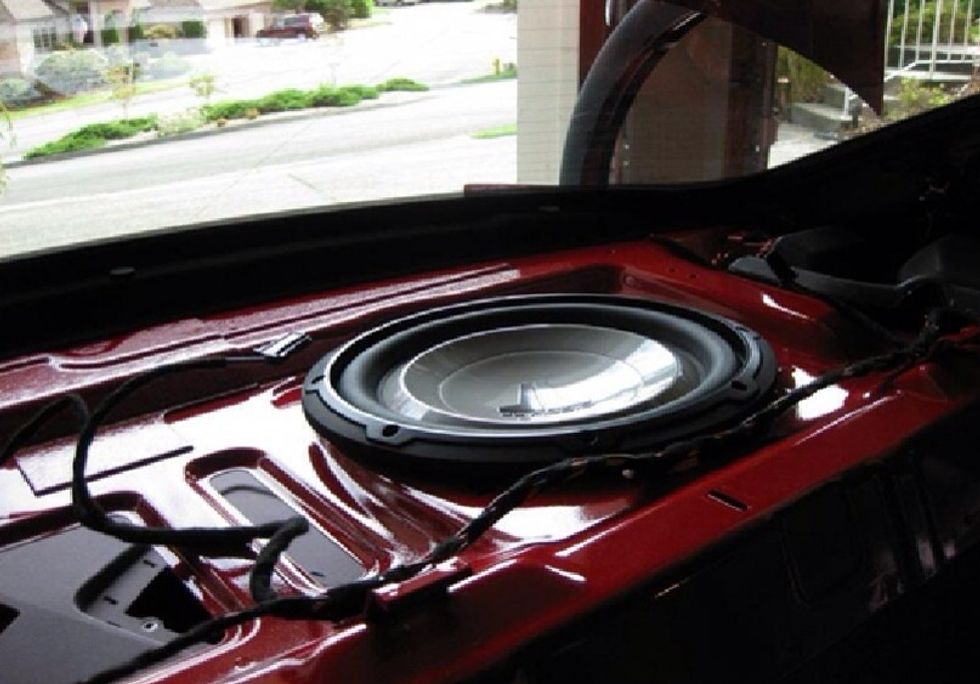
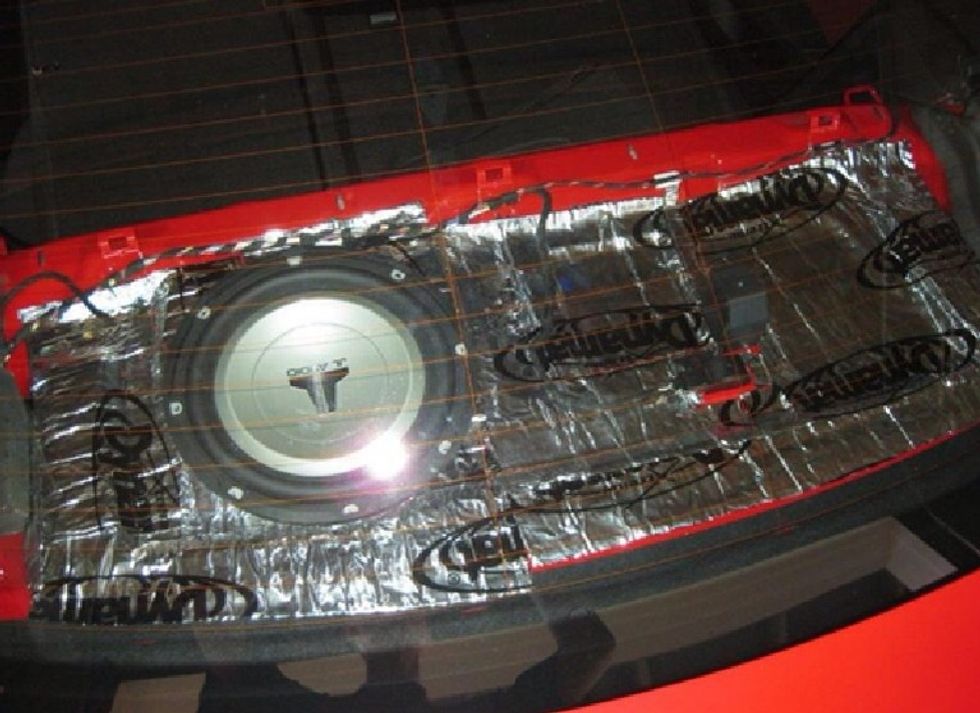
Here are a few shots of the sub fit check, before pulling it out to apply the Dynamat. Shot 1 here...
Shot 2...
And shot 3...
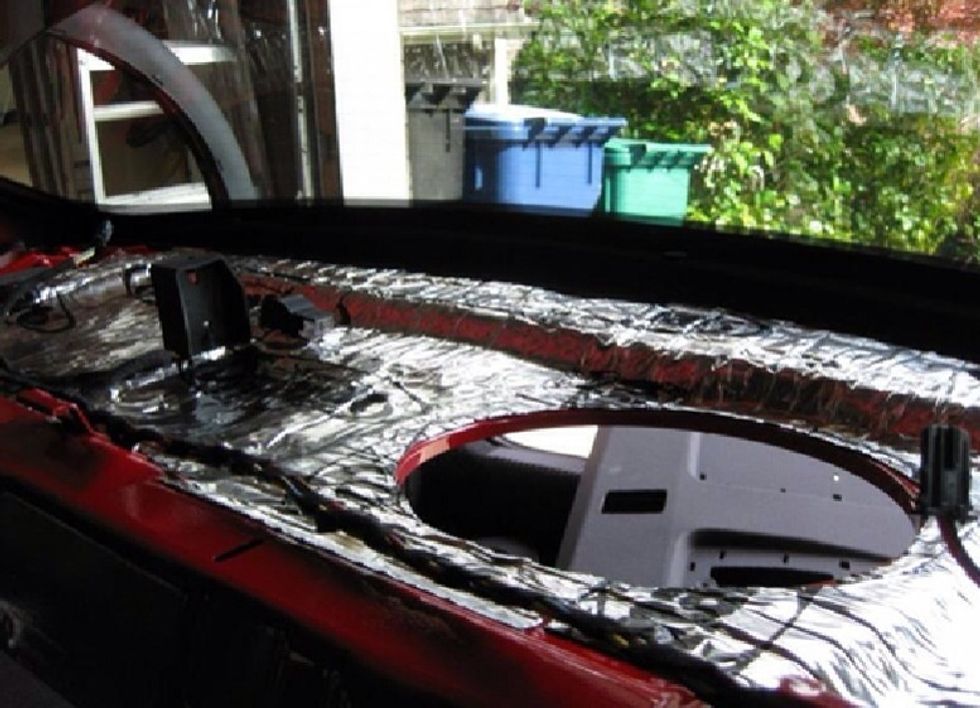
You want to make sure that all holes are covered and the Dynamat has been stuck down securely. If not, it won't be as effective. You can check for light leaks w/ trunk closed.
The lip of the JL sub is not a perfect seal, especially where the Dynamat terminates.
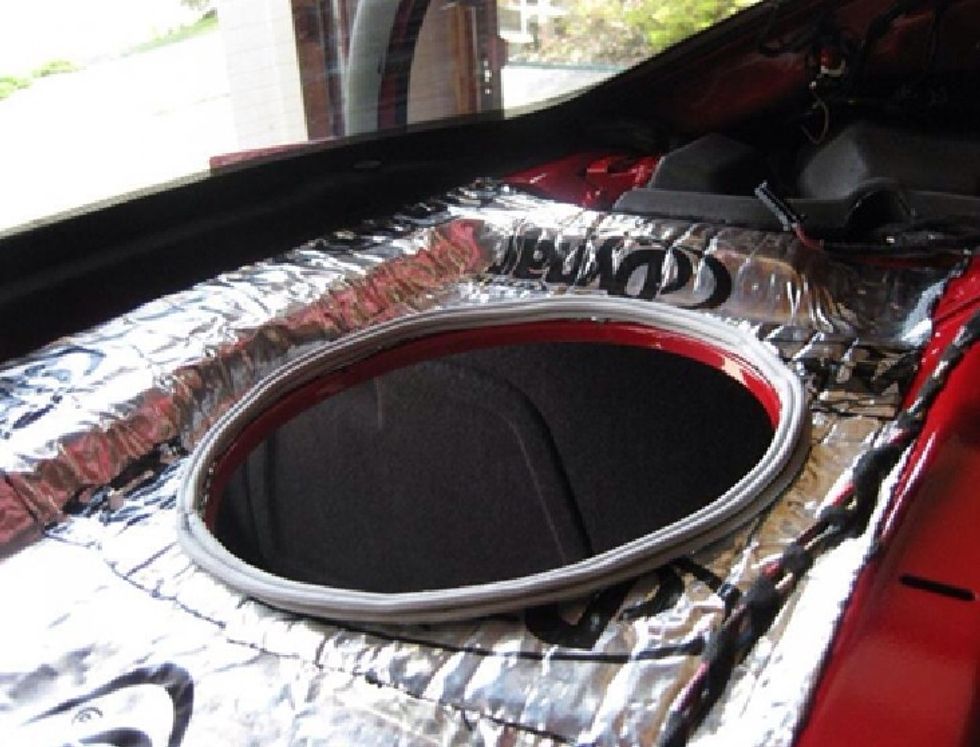
To complete the new sub interface, use 1-2 rings of rope caulk (home depot) to create a reliable and working seal.
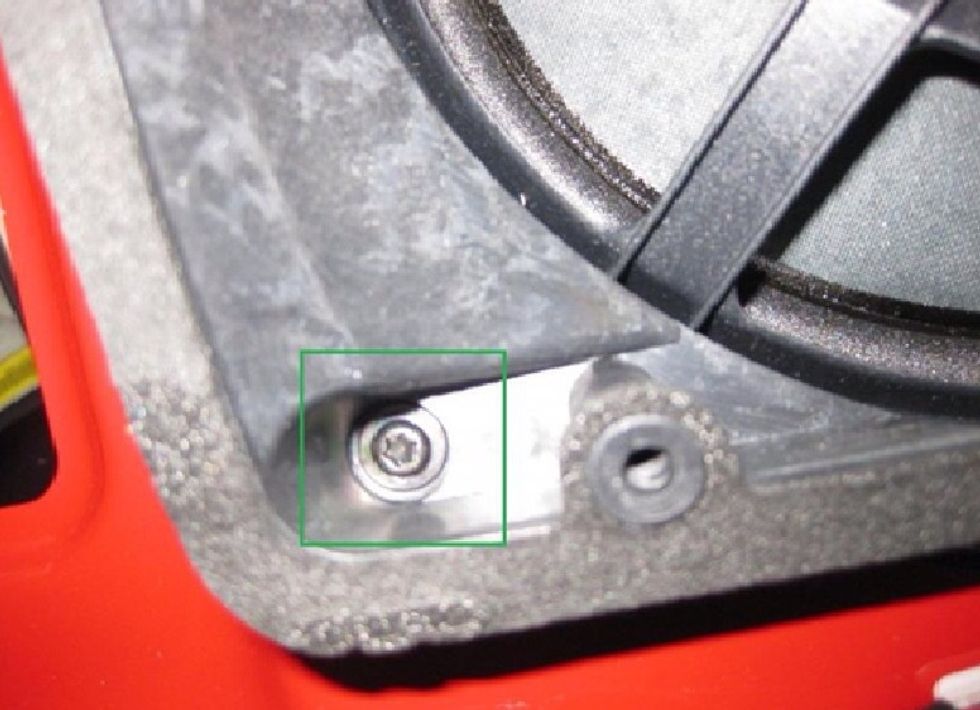
Bolt the sub in place using #8-32 1/2" (or longer) machine screws. There are three holes that line up with the mounting holes in the sub. I didn't feel a need to drill additional holes.
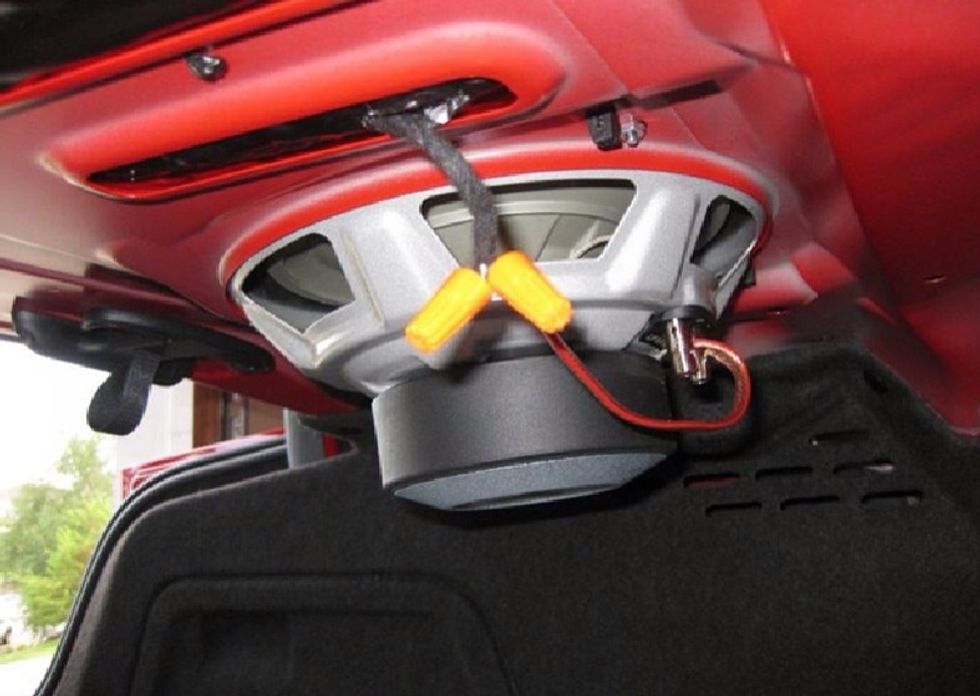
Clip off factory plug to wire the new speaker. Sub is now facing opposite way, so negative wire goes to positive terminal. In the A5, the Blue/Yellow wire should be wired to the positive sub terminal.
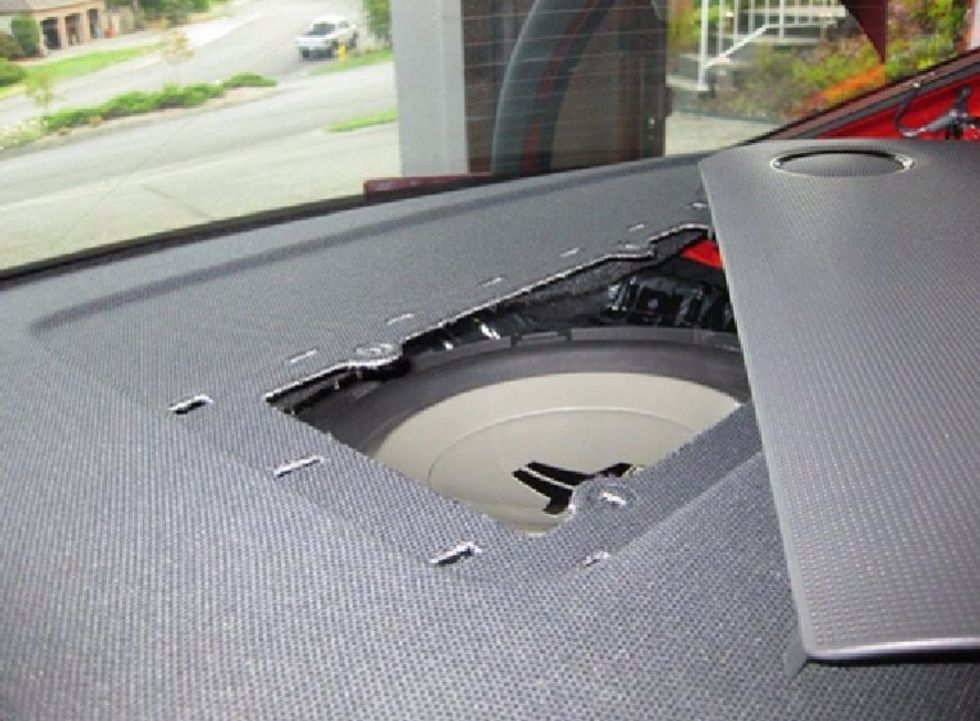
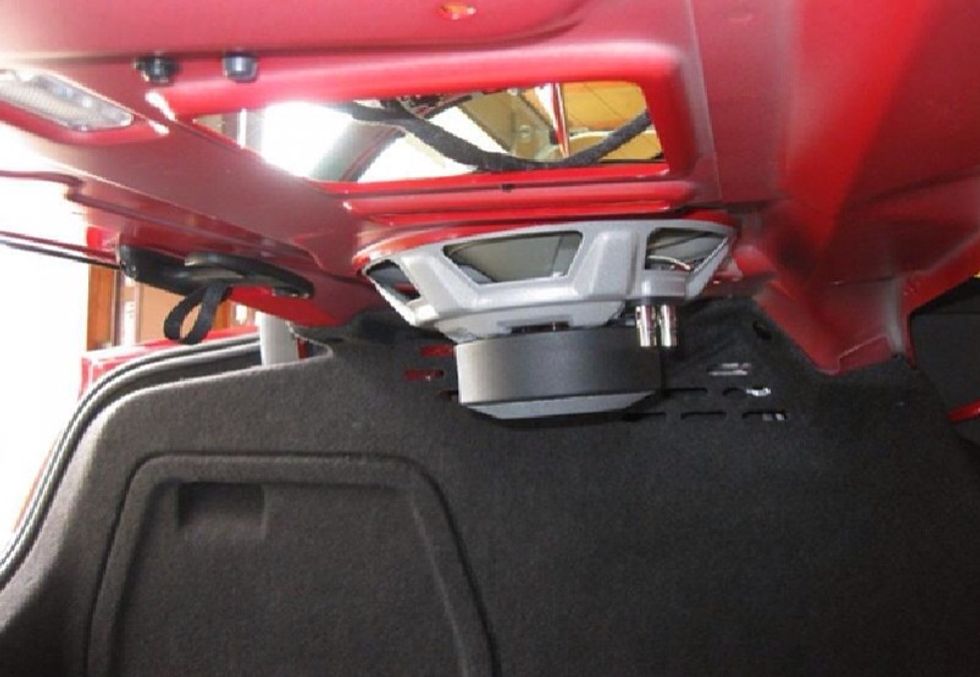
Put the deck cover back in place, there's plenty of clearance for the new sub. Re-attach speaker wires for tweeters. Don't forget center bracket screw. Push down along the front & the 4 clips snap in.
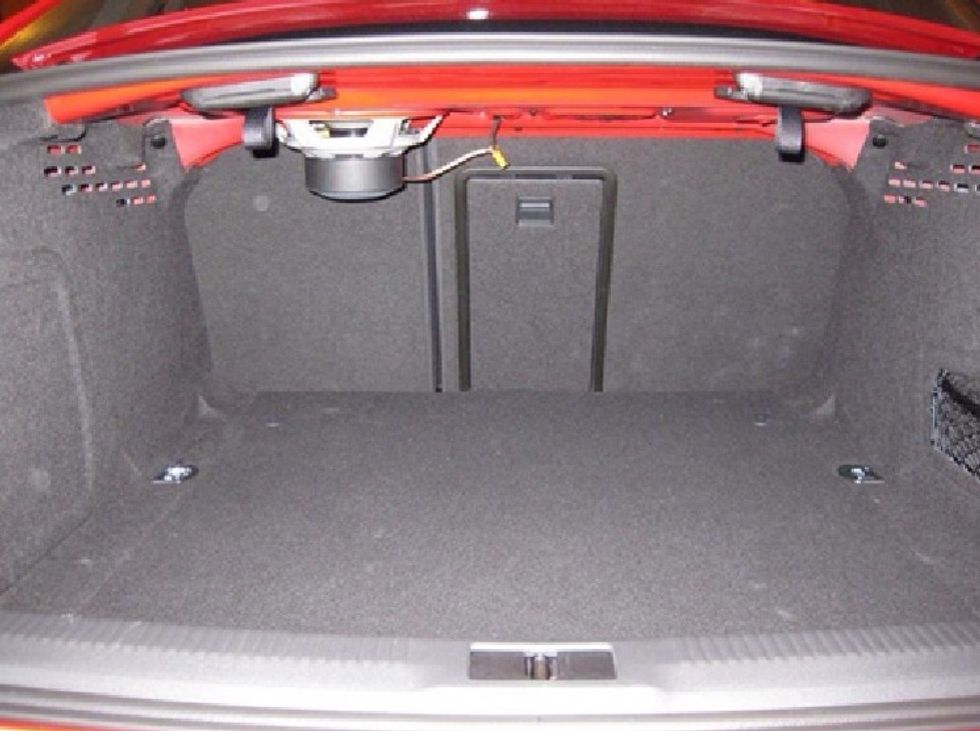
Push the B&O speaker grills back into place. Slot the 4 tabs in the D-pillar covers back into the deck cover and pop them back into place. Enjoy your new sub!
I also built a custom ported enclosure and sealed/bolted it up against the bottom of rear deck. If you are of higher skill and want to really go for it, I can send you the plans for that.