The Conversation (0)
Sign Up
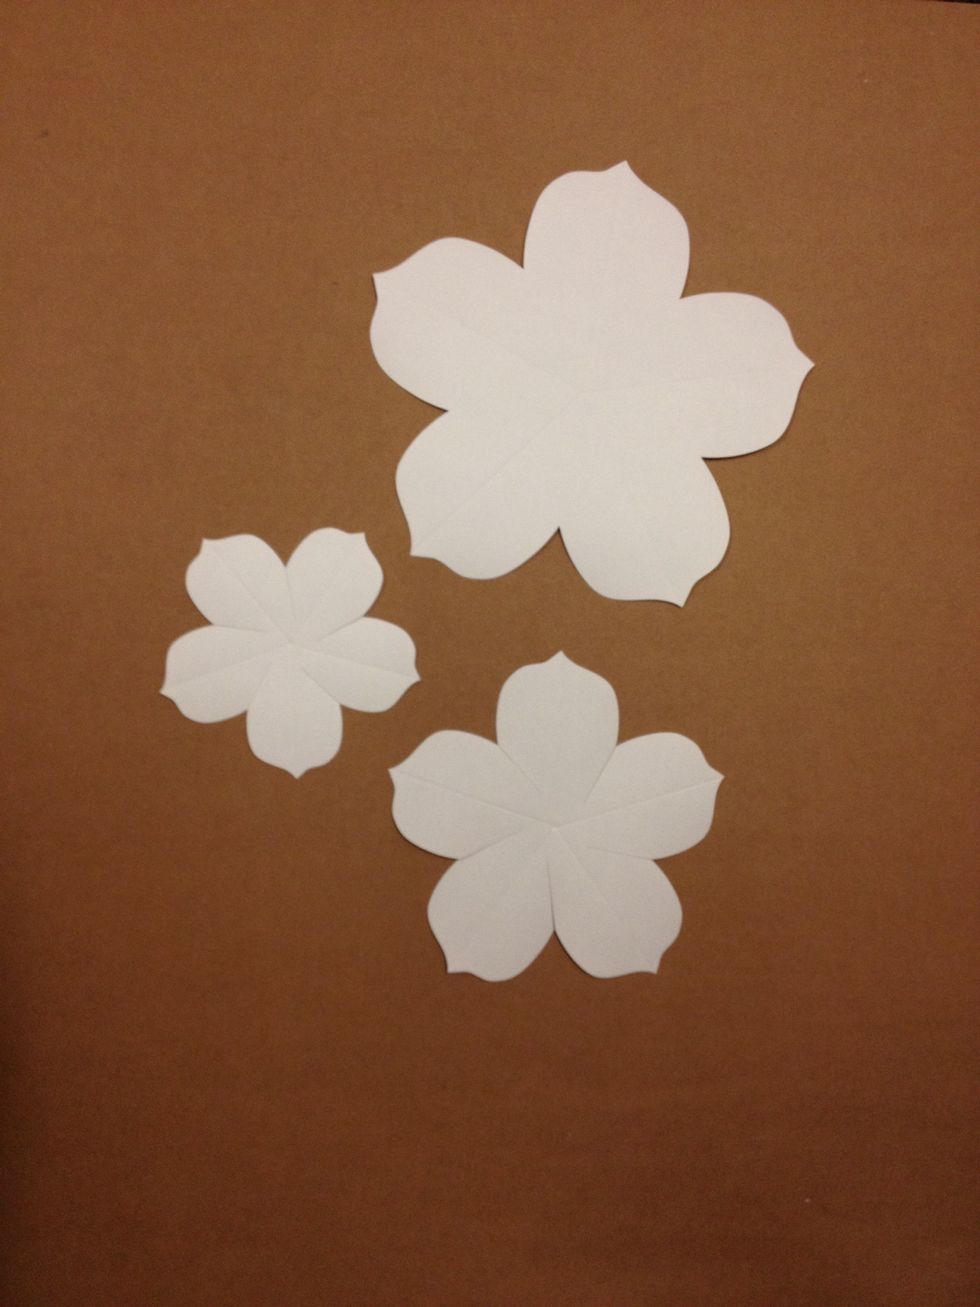
Each Rose consists of an A layer (largest), B layer (middle) and C layer (smallest) petals.
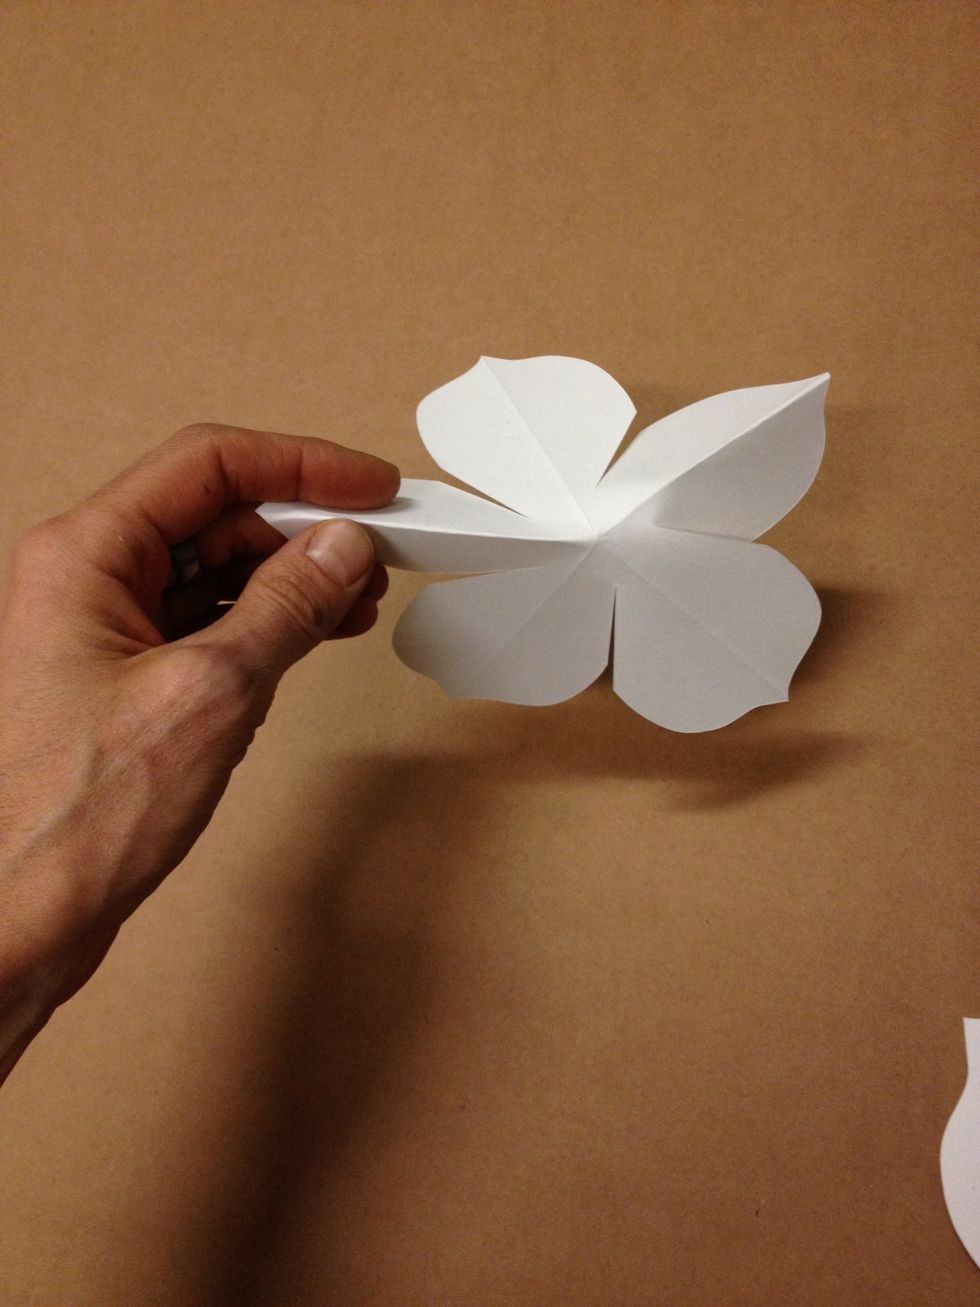
Fold each petal layer at the crease line.
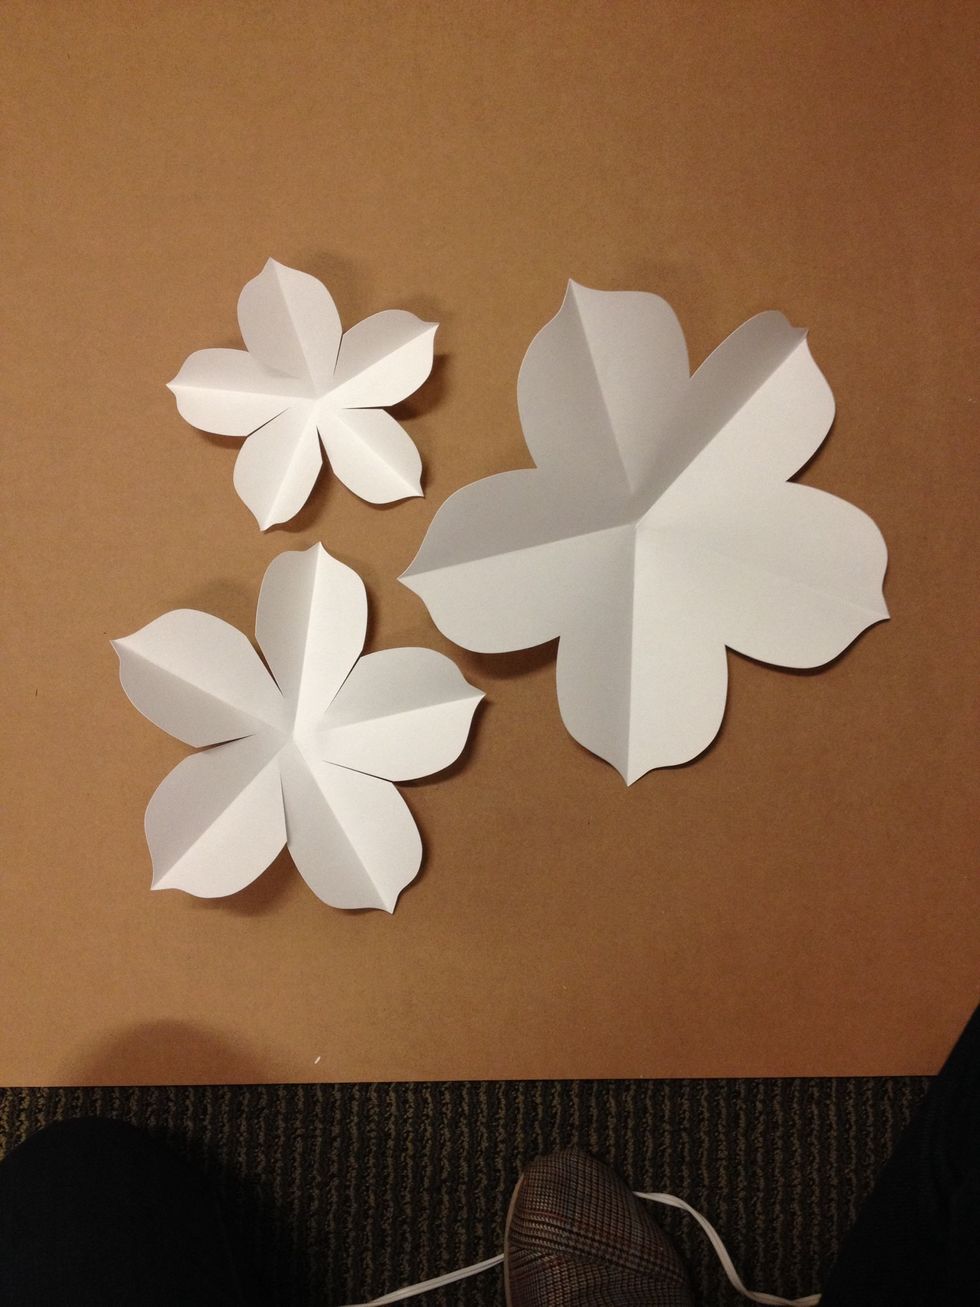
Fold all 3 petal layers before you start to assemble your flower.
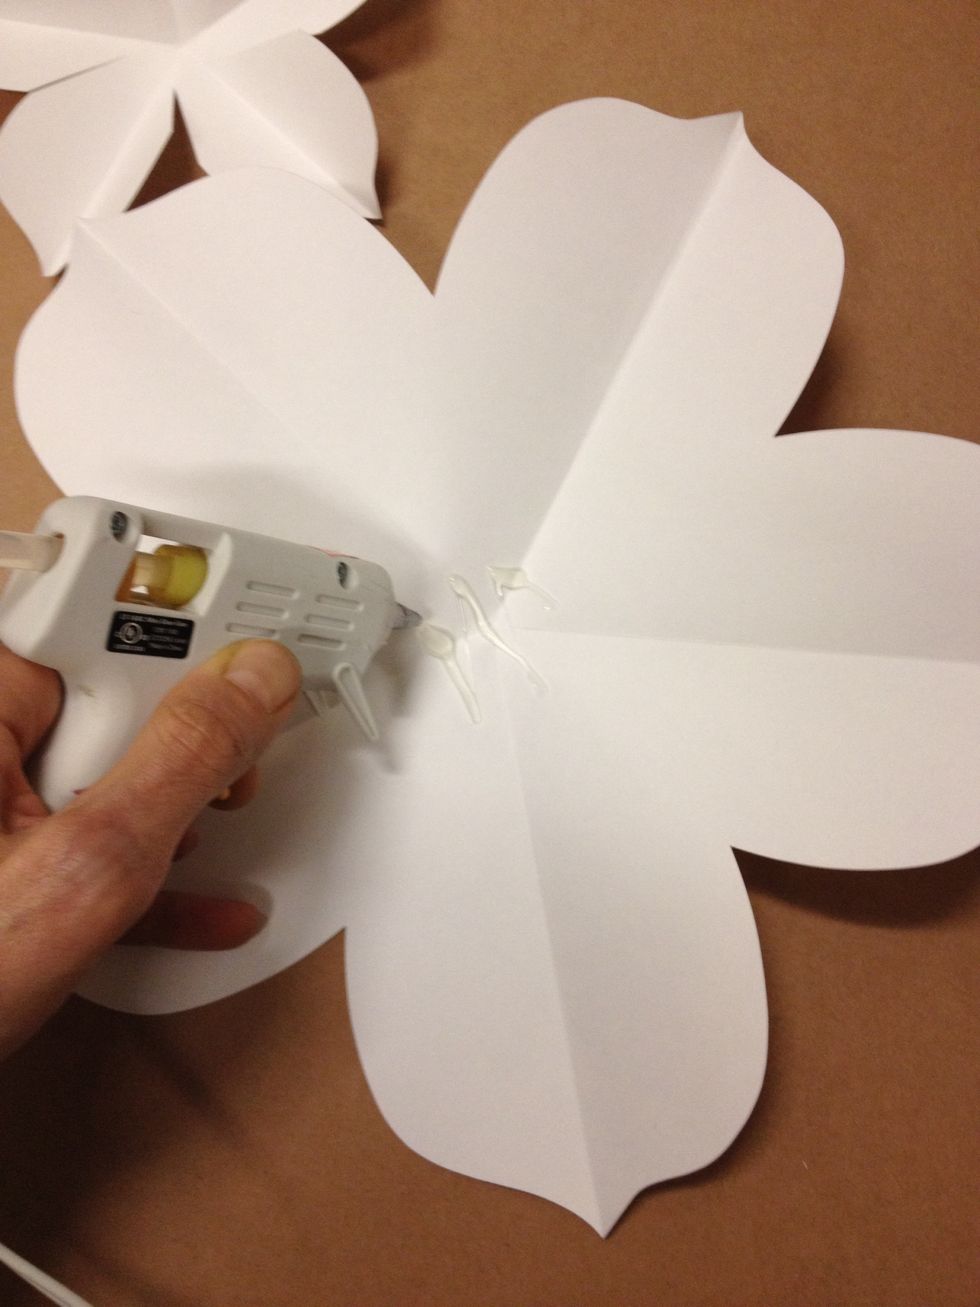
Start to assemble your flower by applying glue to the center of the largest layer (C). 3-4 lines of glue are sufficient.

Attach Layer B and stagger the petal layers as shown.
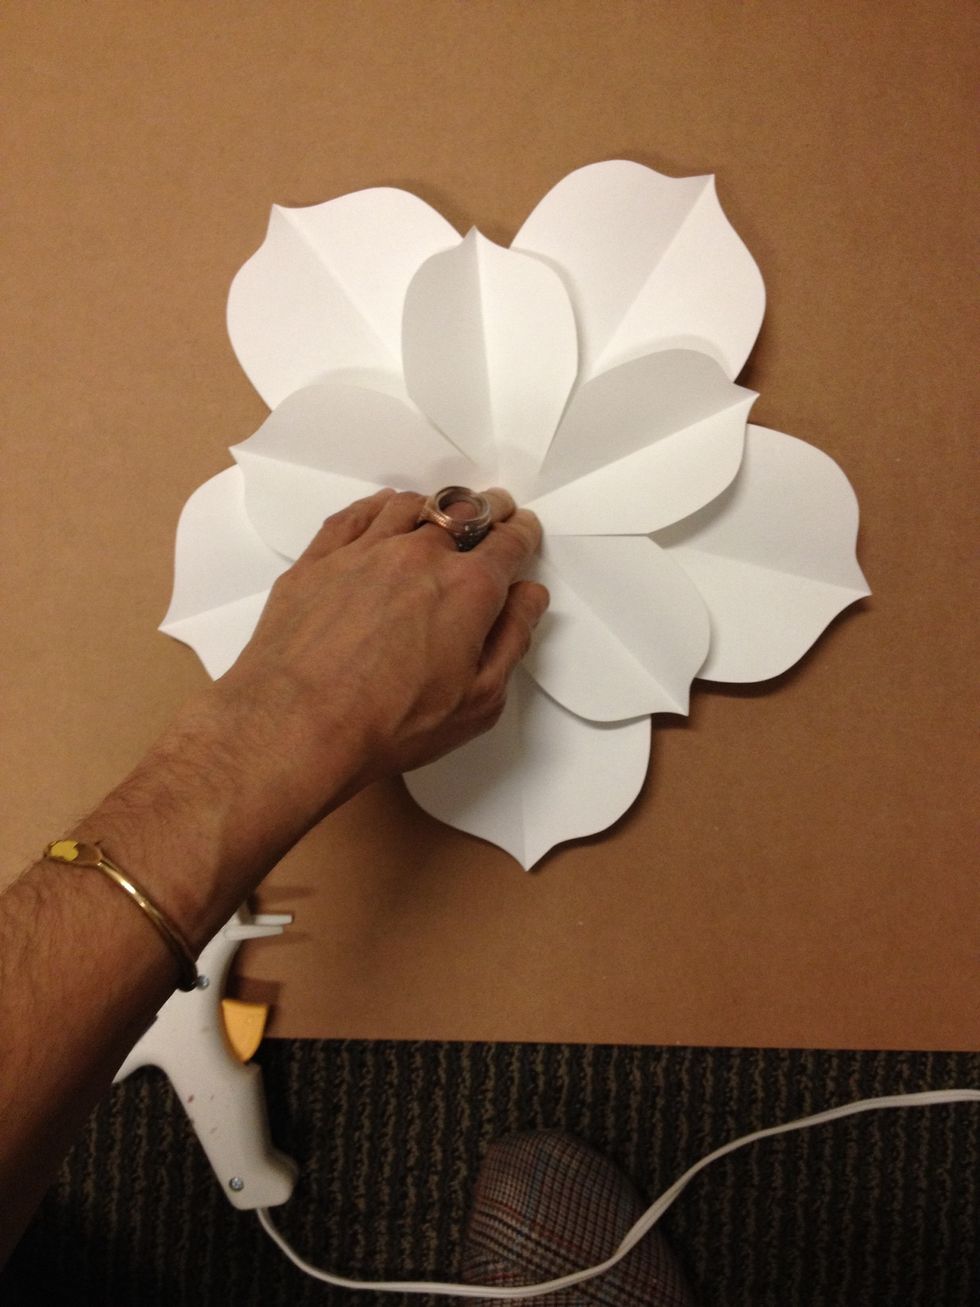
Apply pressure to ensure proper adhesion.
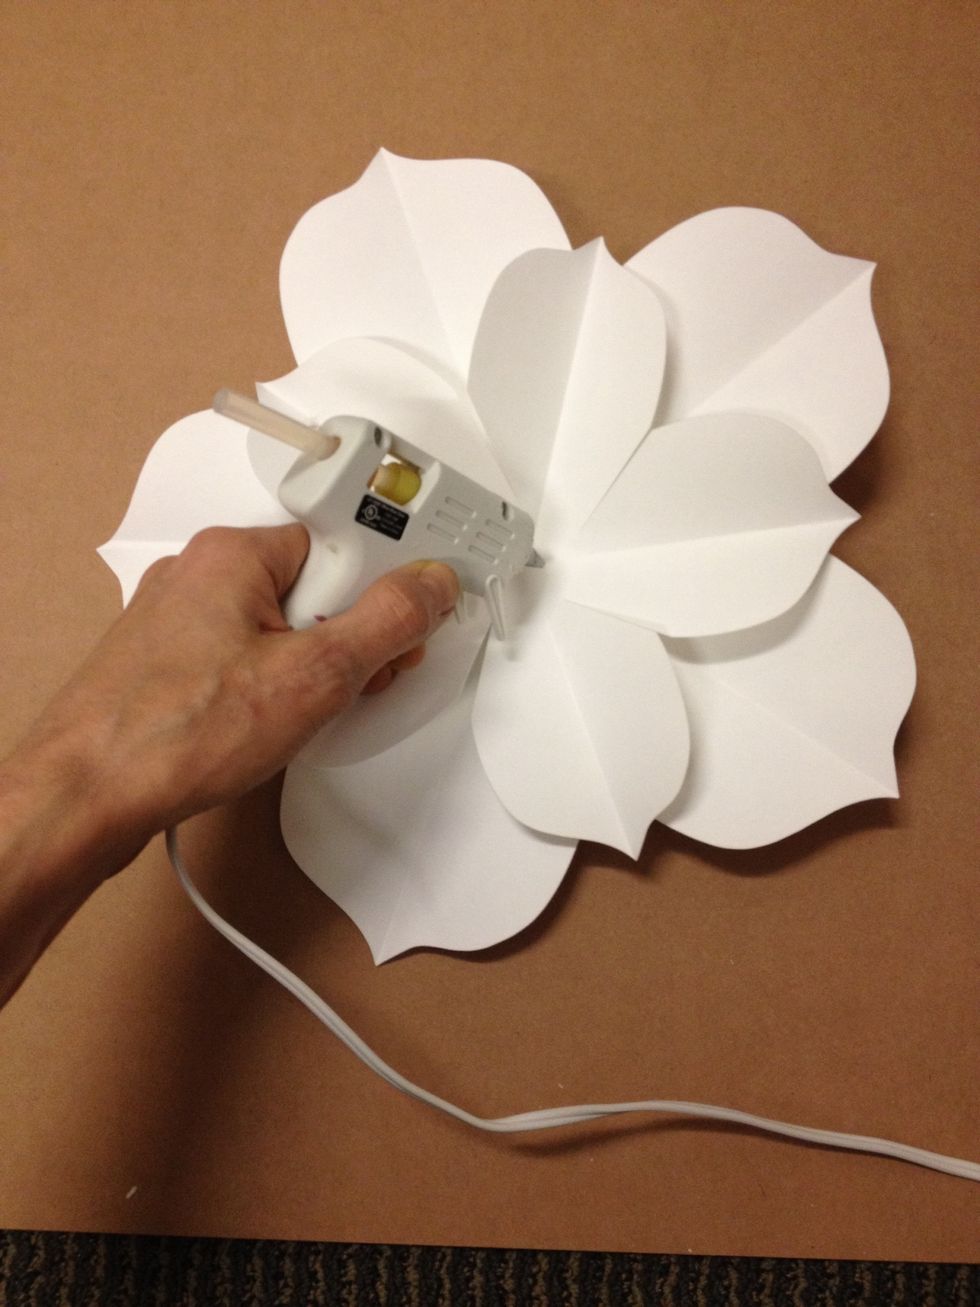
Add glue to the center area of middle petal layer.

Add layer C, smallest petal layer. Stagger the petals. Apply pressure to ensure adhesion.
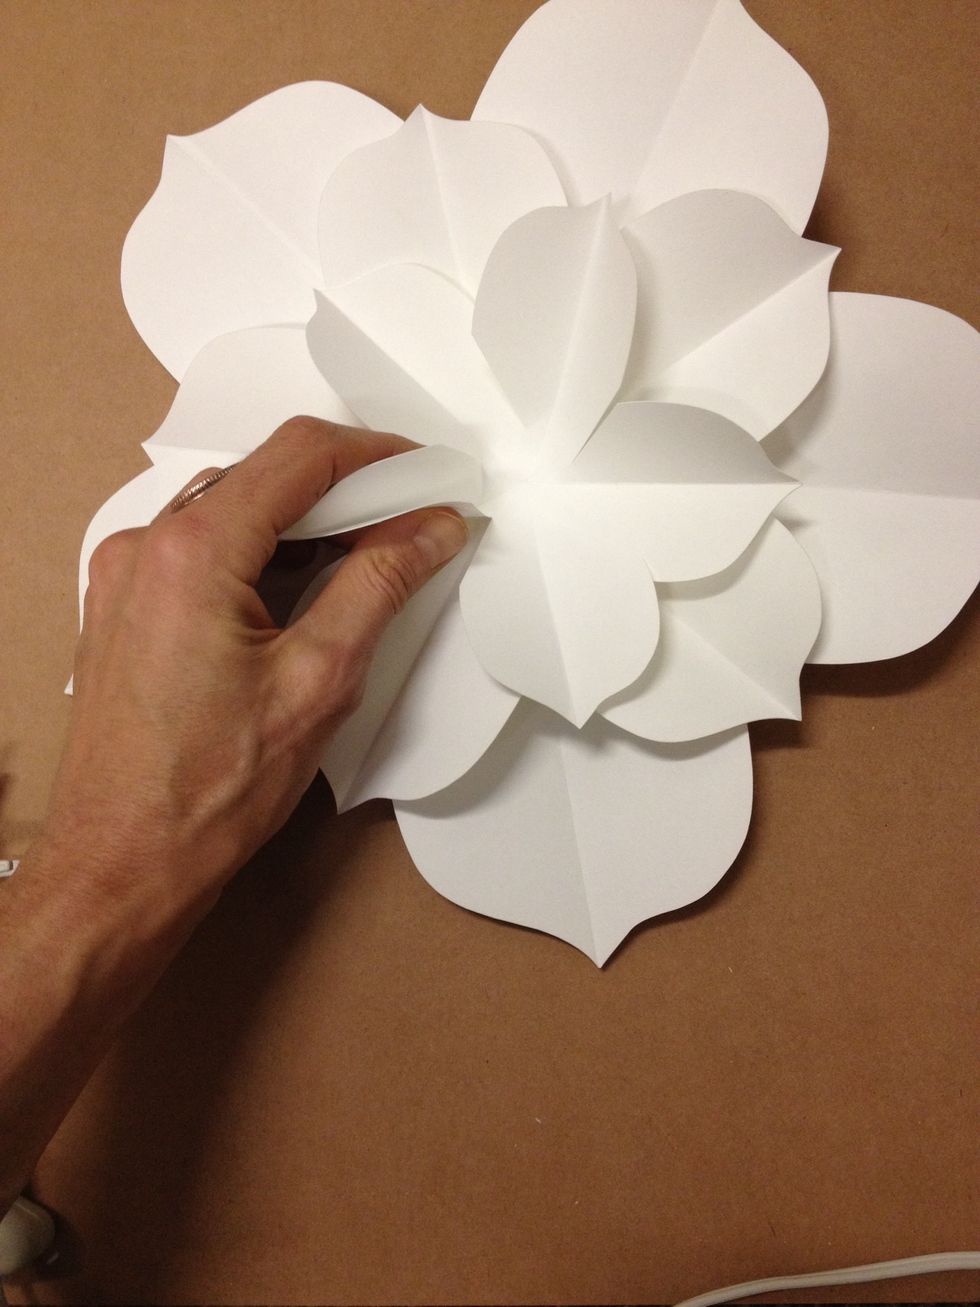
Once fully assembled adjust creases as needed.
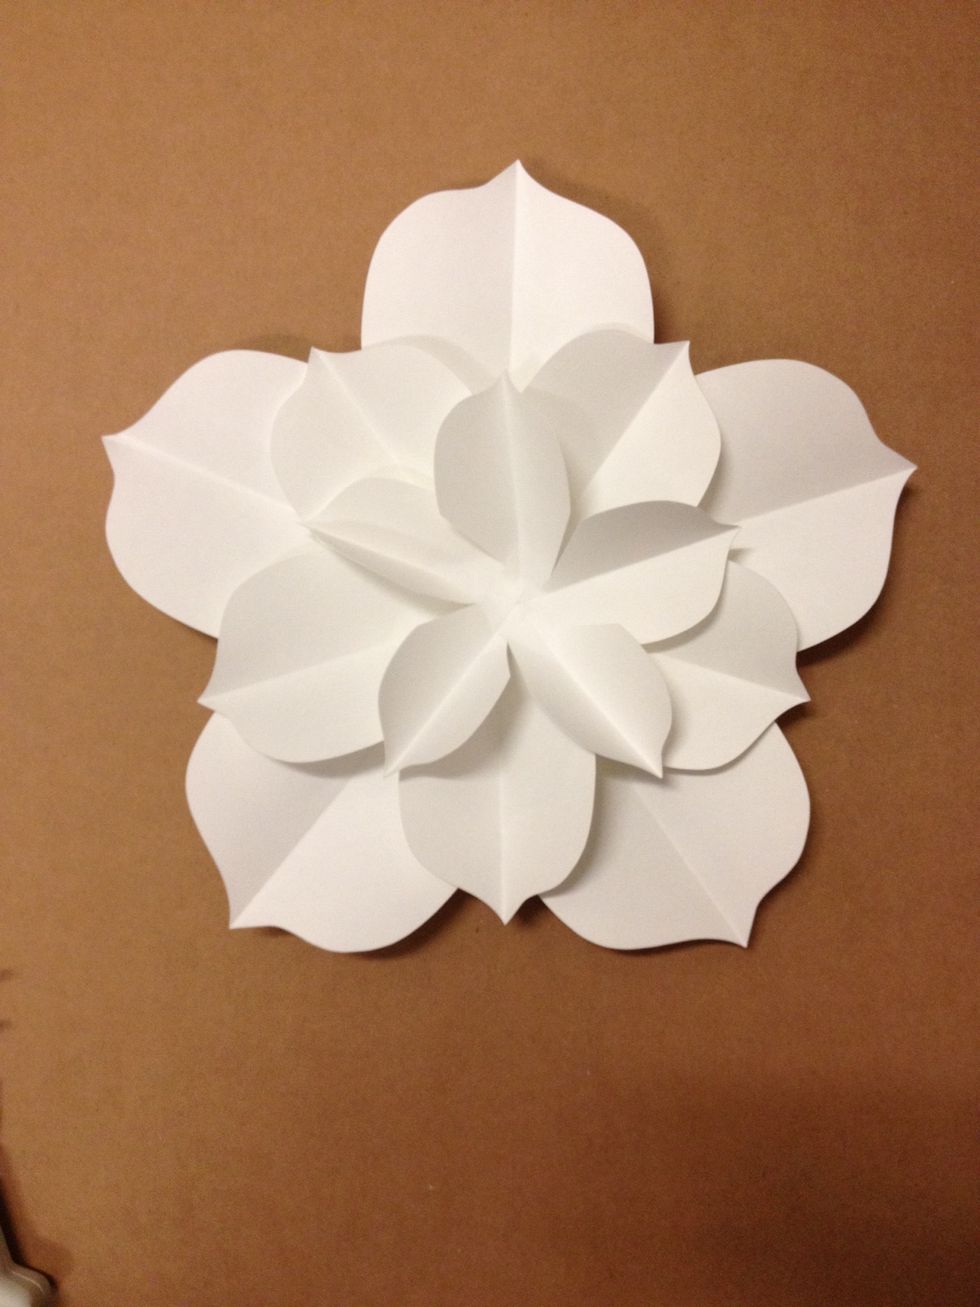
Repeat the steps for each Rose style flower. You will need to assemble 10 total.