How to assemble an emergency bike repair kit
Assemble an Emergency Bike Repair Kit
243
STEPS
TOOLS
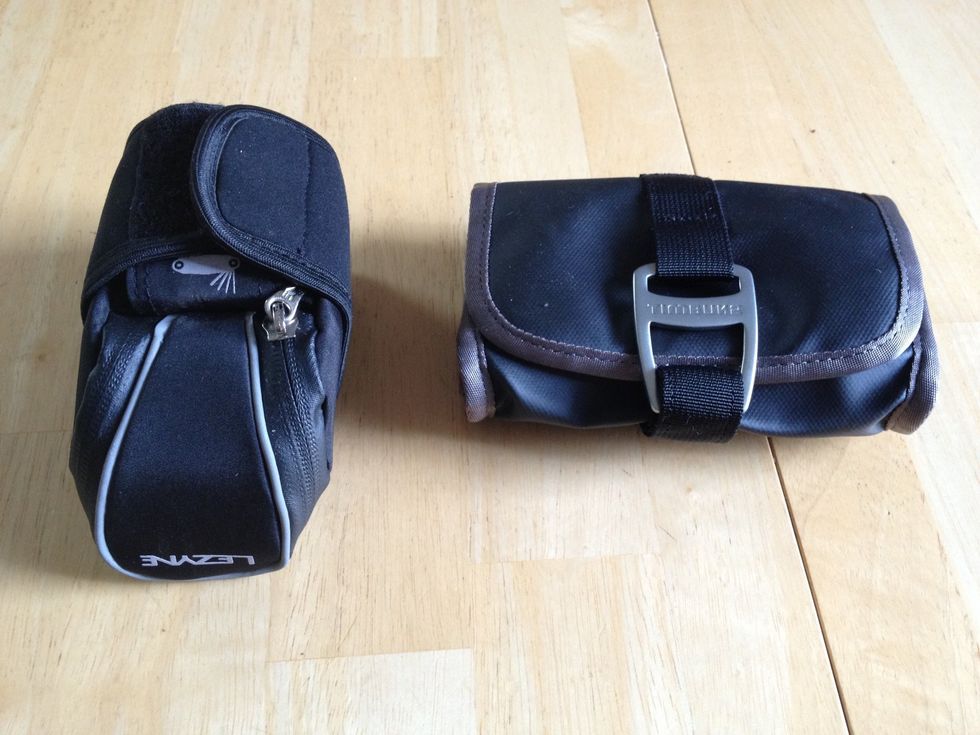
Pick out a compact bag to put your stuff in. On the right is a small utility bag good for commuters. On the left is a saddle bag handy for sport riding (ie, no grubby hipsters around to steal it).
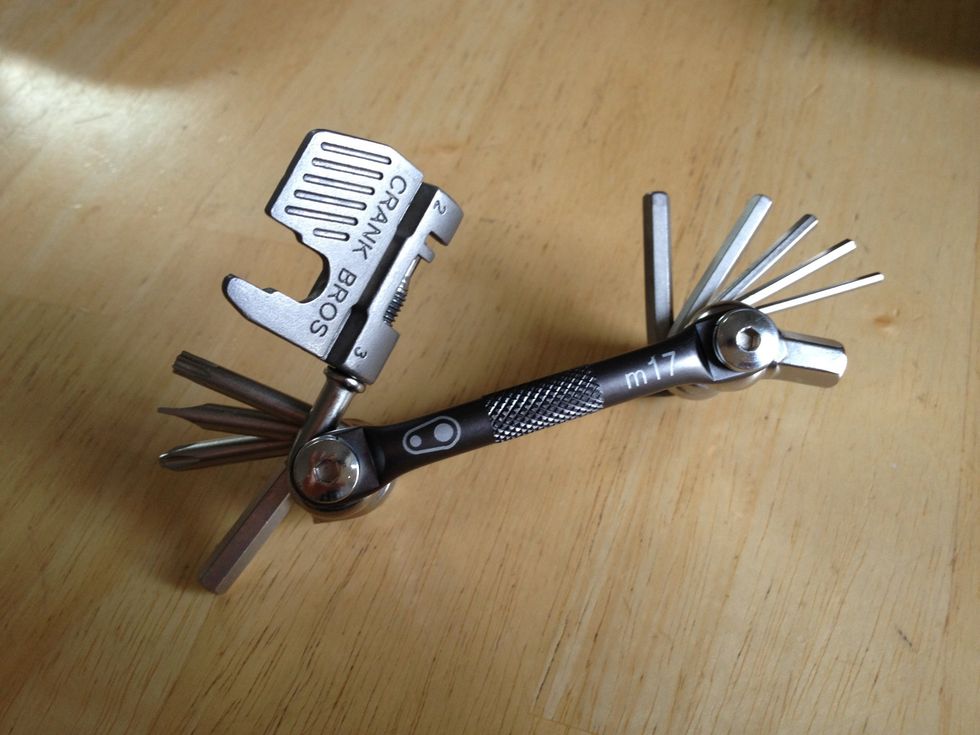
Get a multi-tool. This is the most important piece as you can use it to tweak or fix most parts of the bike. At minimum, make sure you have 4 & 5mm hex tools and phillips & flat head screwdrivers.
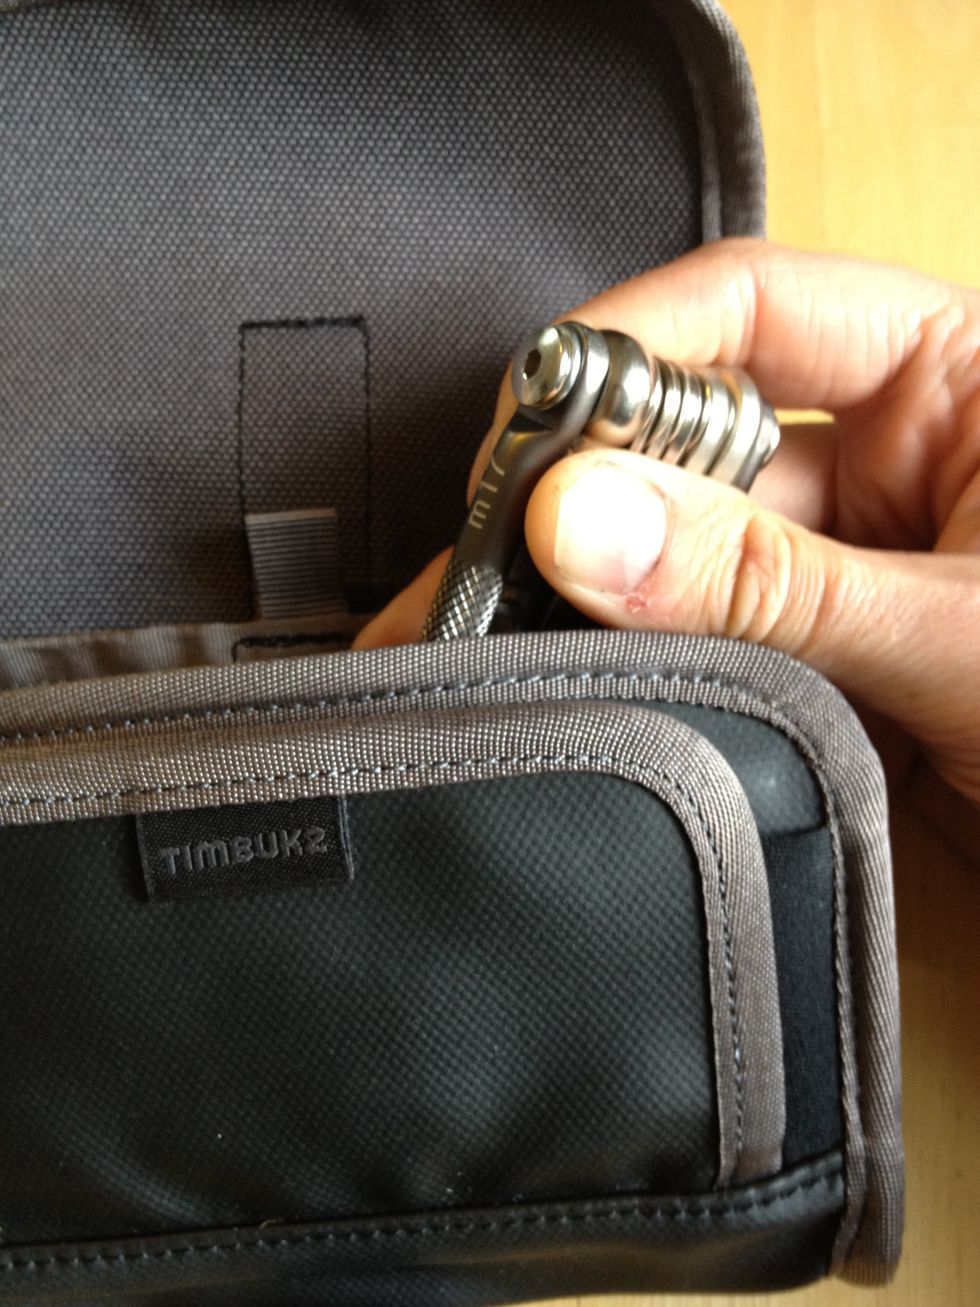
Put it in the bag.
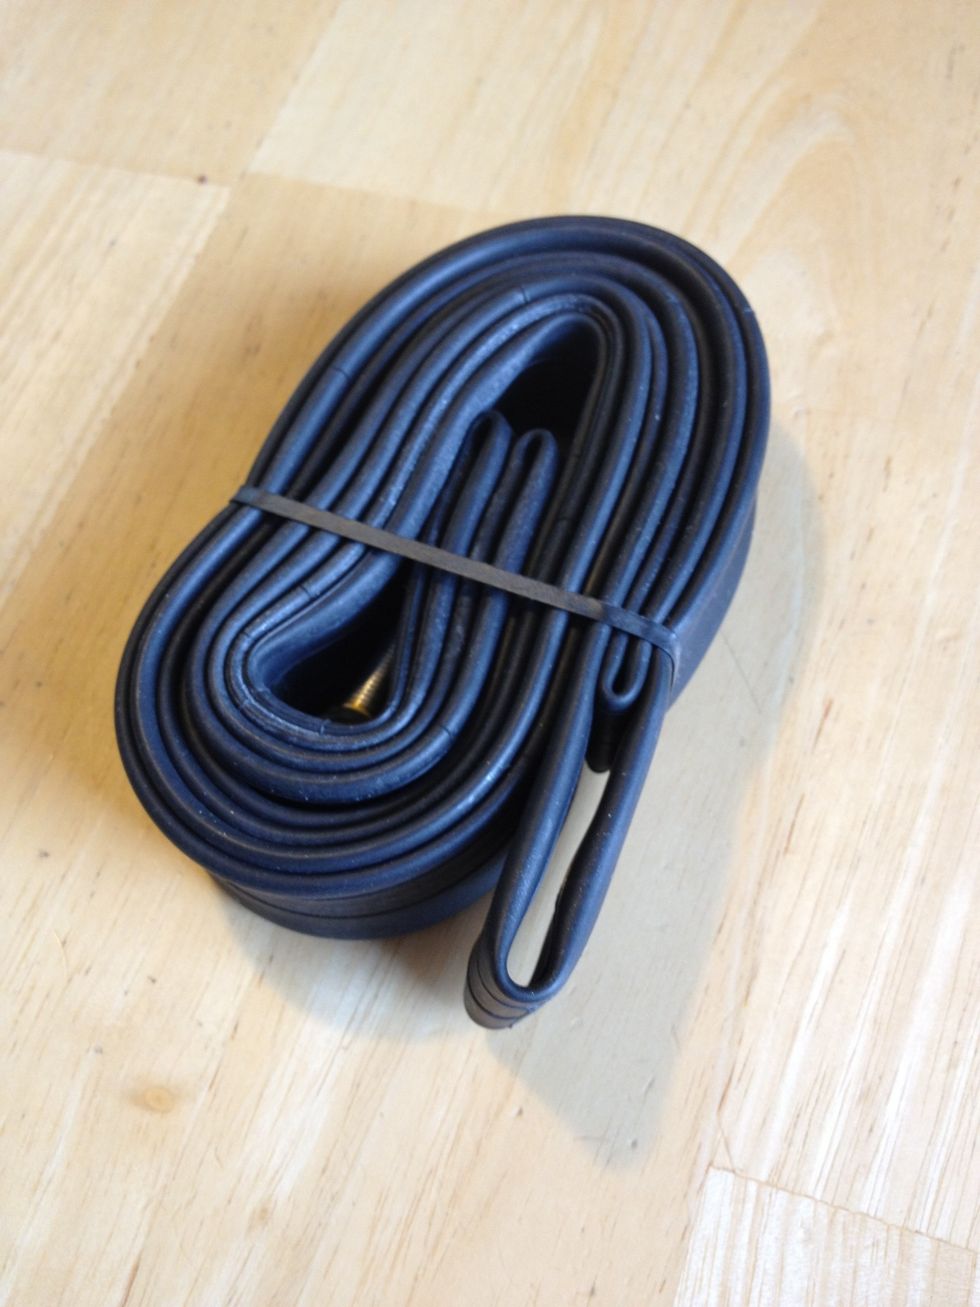
The rest of the kit serves to help you change a flat. Forget patch kits or "mini" tubes. Get a full size spare appropriate for your tires. No need to cut your ride short or change it again at home.
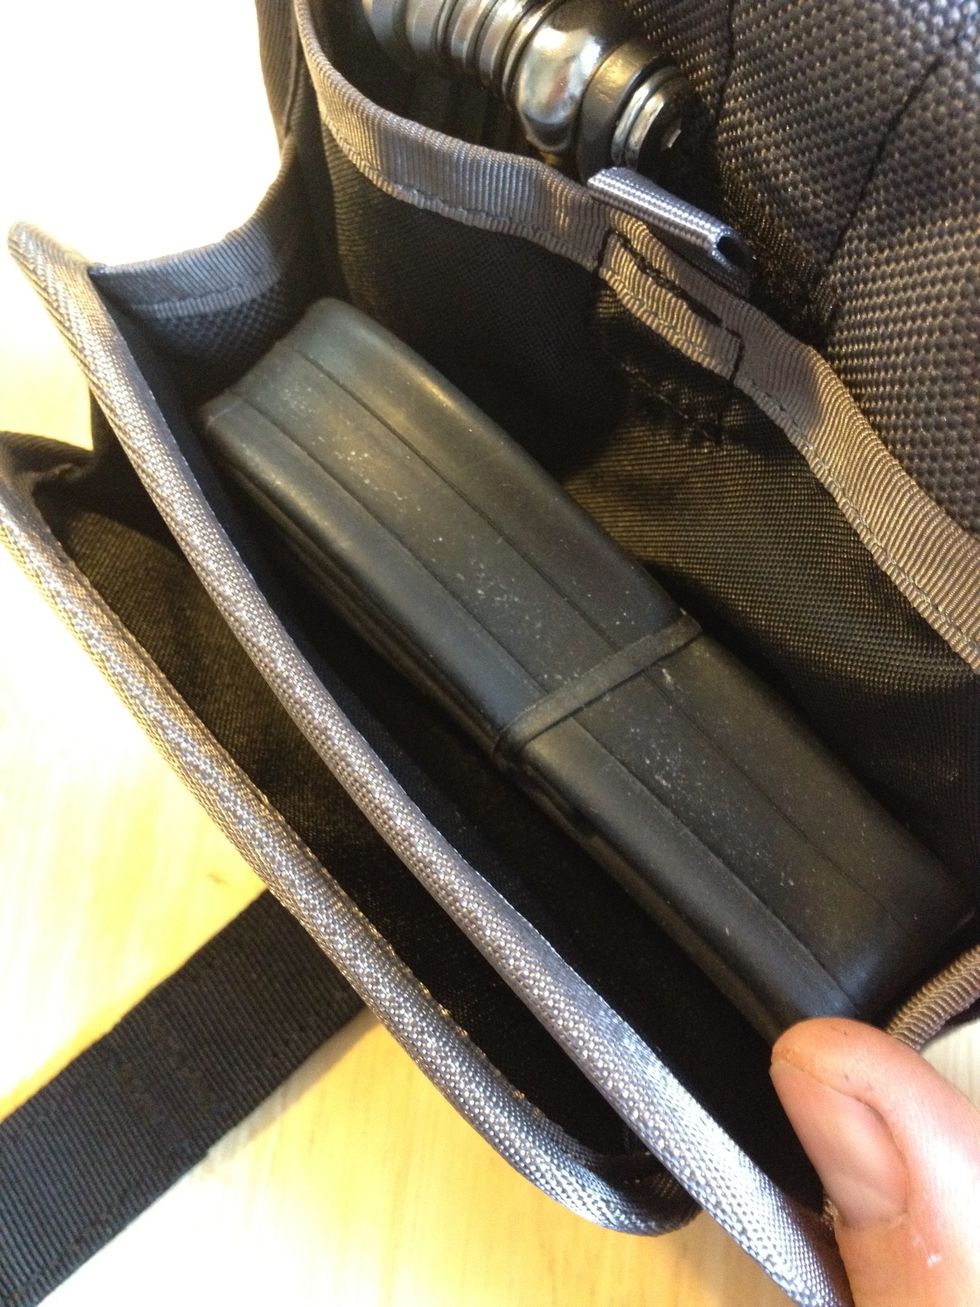
Add the spare tube to your kit…
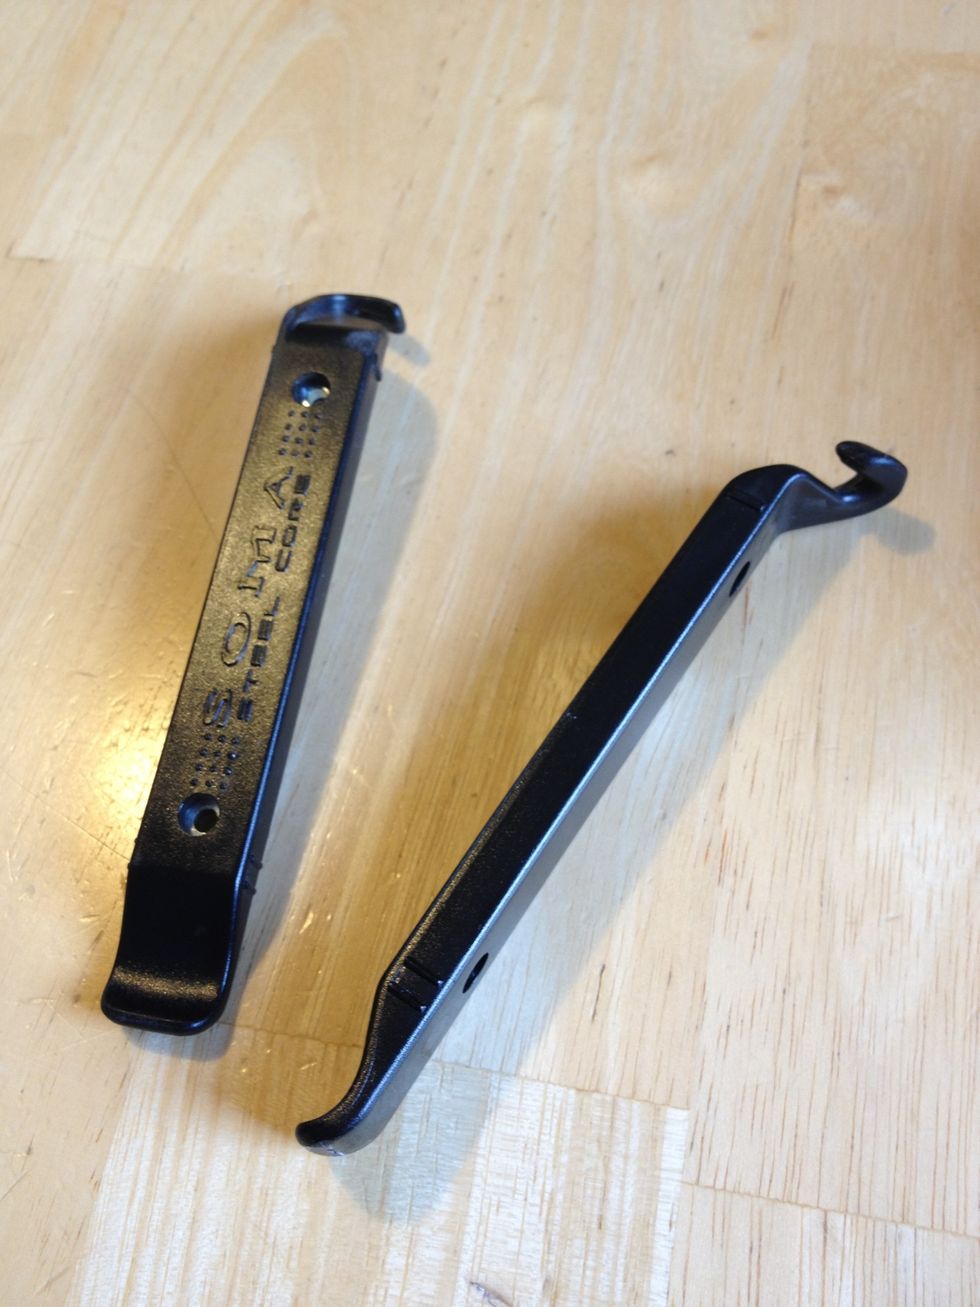
Full-size tire levers are essential. You can change a tire with one but they're small so pack two — you'll be glad you did.
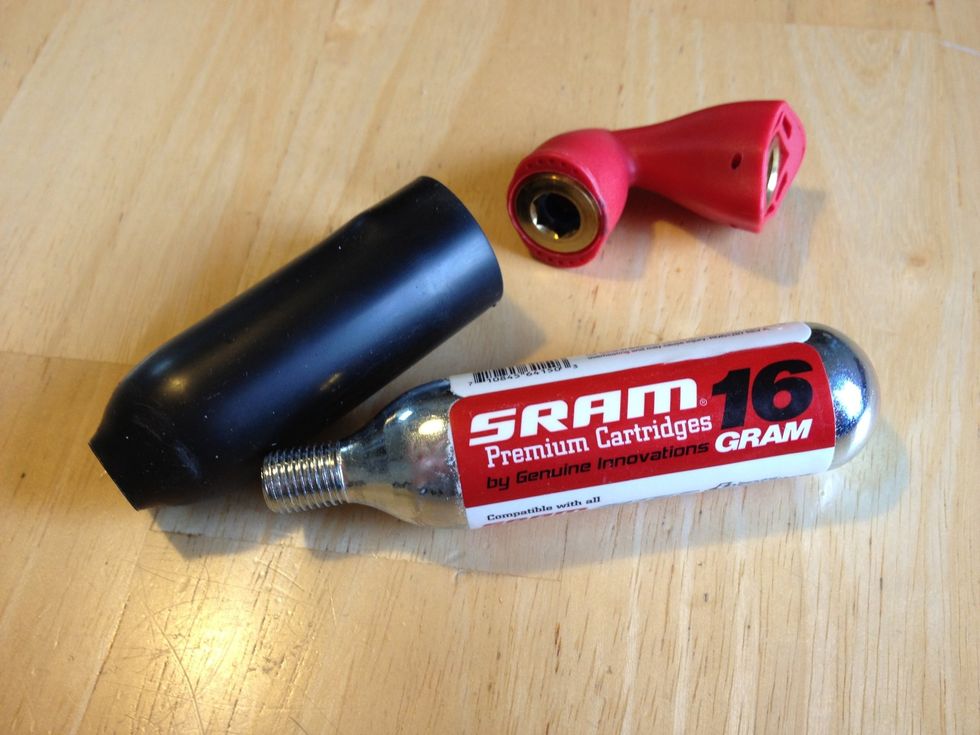
A hand pump is bulky. Pack a CO2 inflator instead. It's small and good enough to cover you in an emergency. You can always carry a lightweight pump or extra cartridges for long treks.
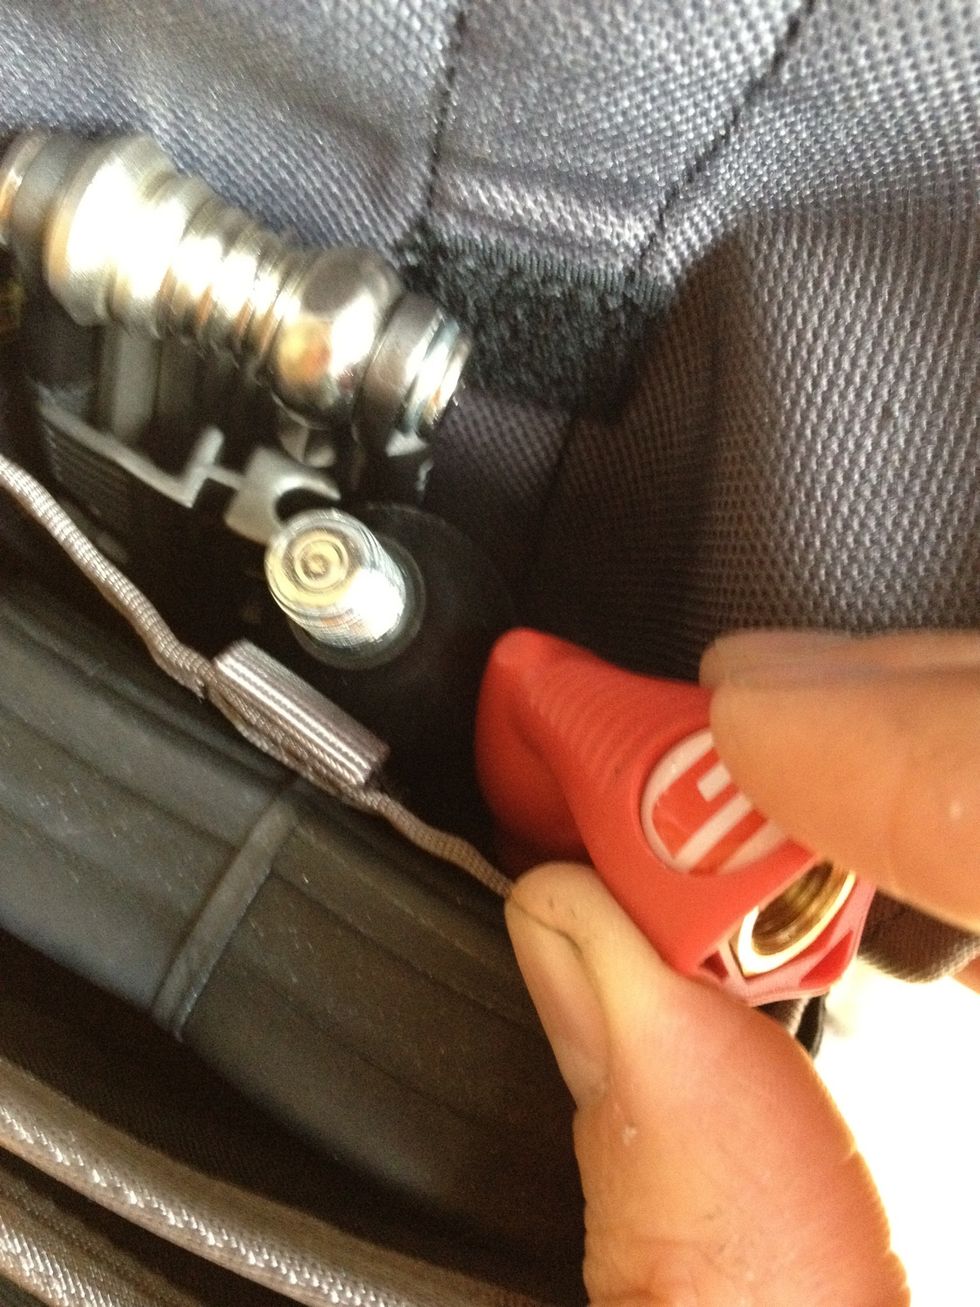
Pack in the inflator - make sure to leave the nozzle disconnected until you need to use it.
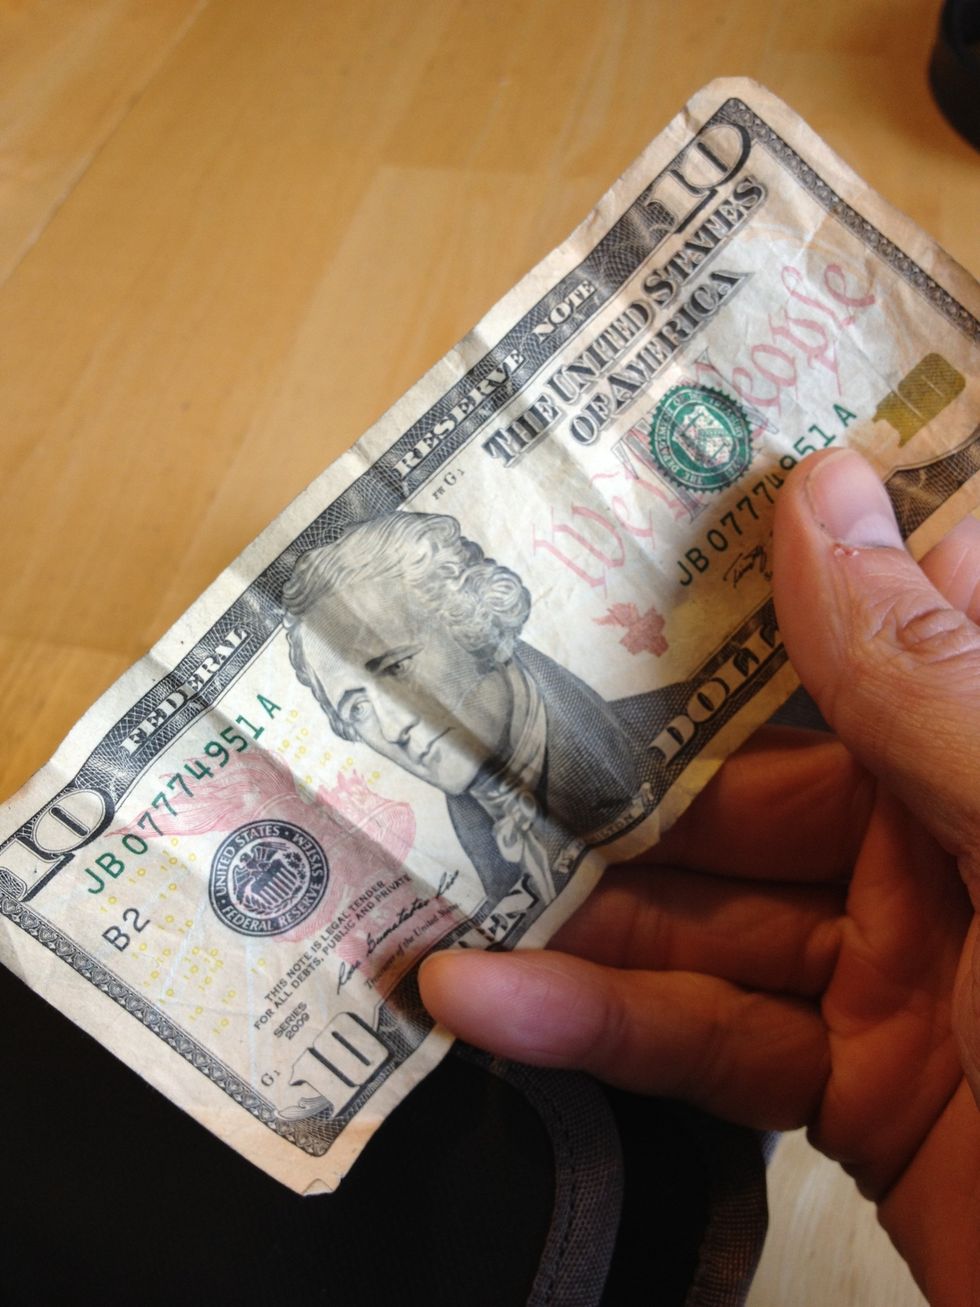
You never know when you'll need a Hamilton to help you out of a pinch…
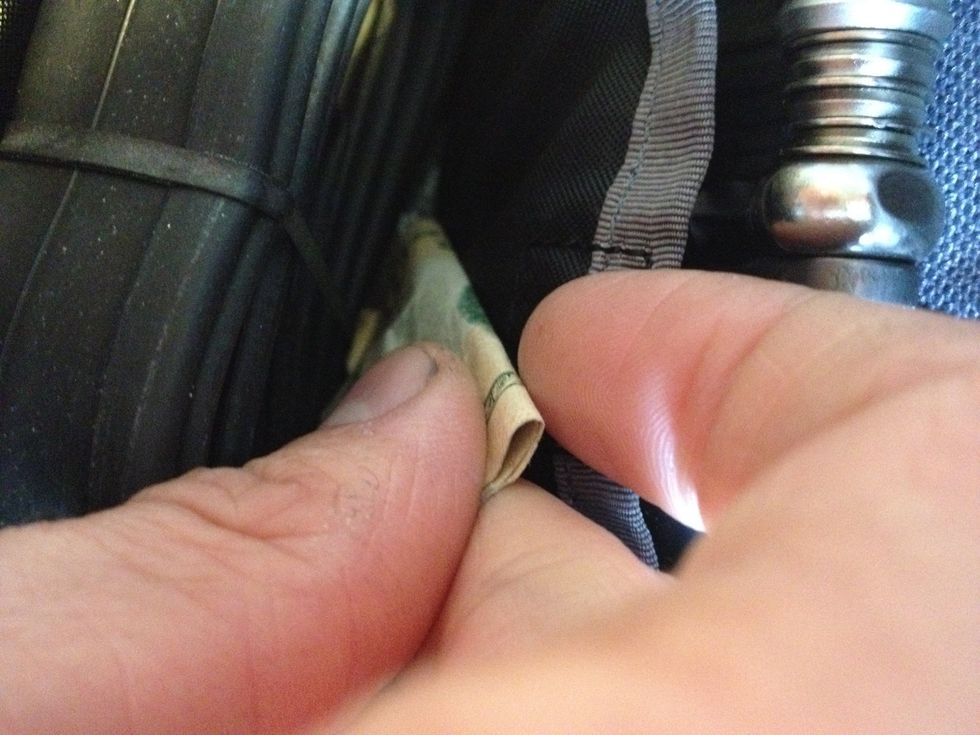
…so keep one tucked away in your kit too.
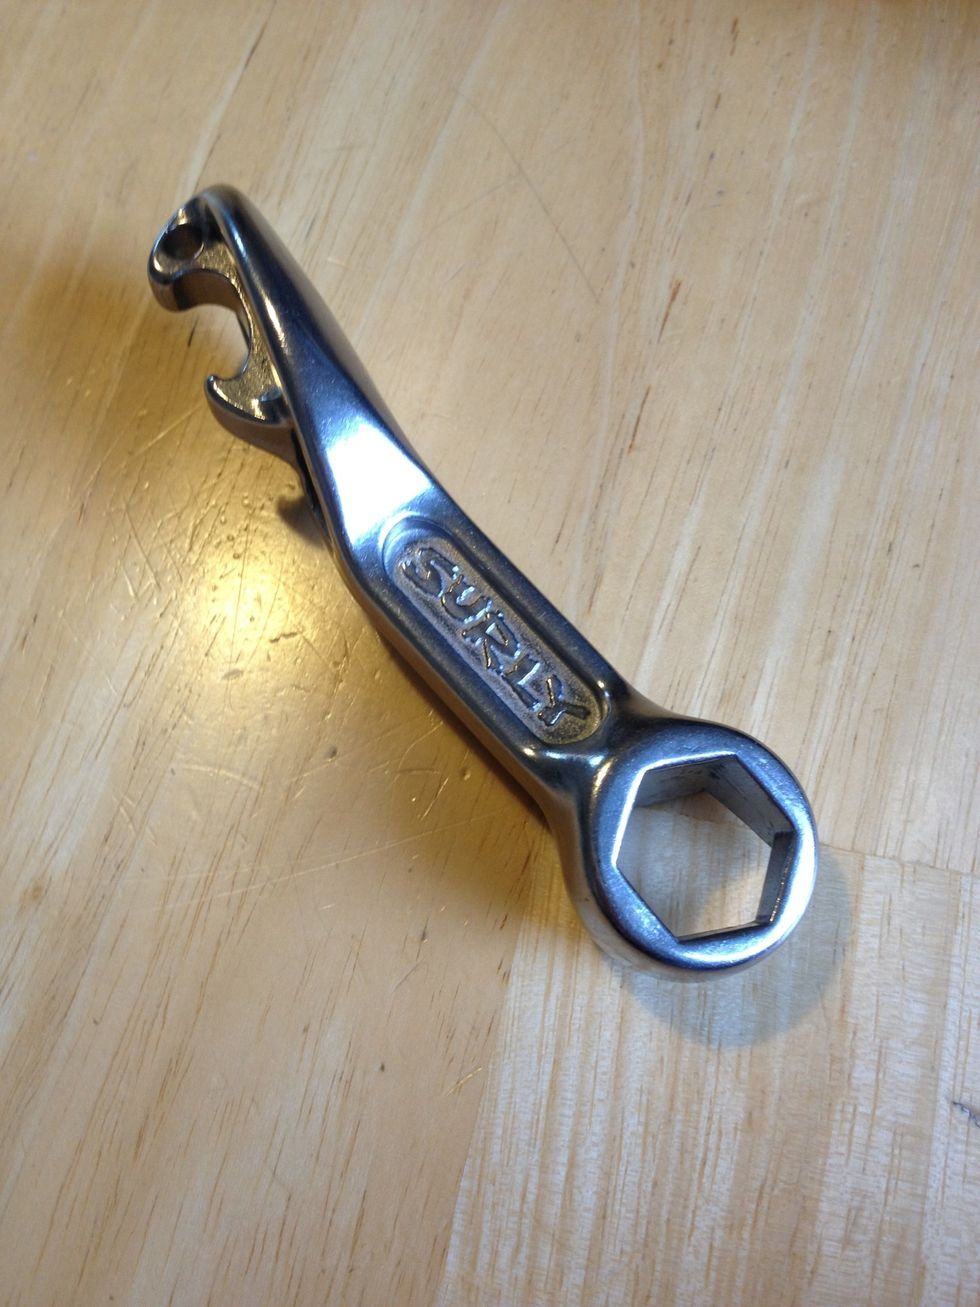
If your wheels are bolted on you'll need to carry a 15mm hex wrench. The one shown here, the Jethro Tule by Surly, is beefy yet compact.
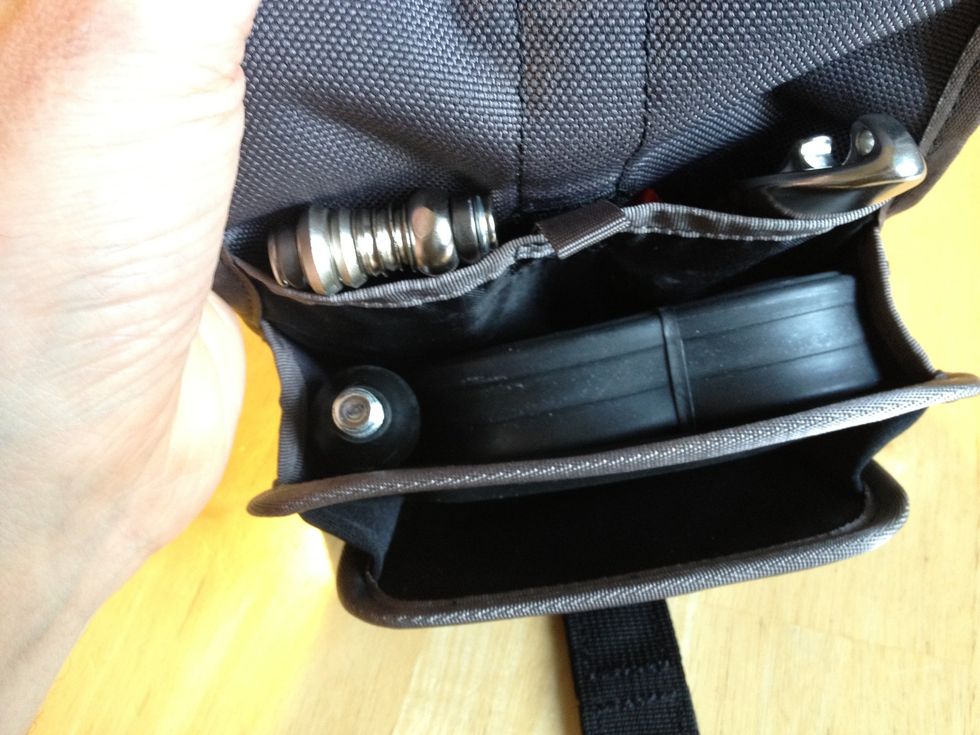
Get all the gear situated in your bag so it cinches up tight…
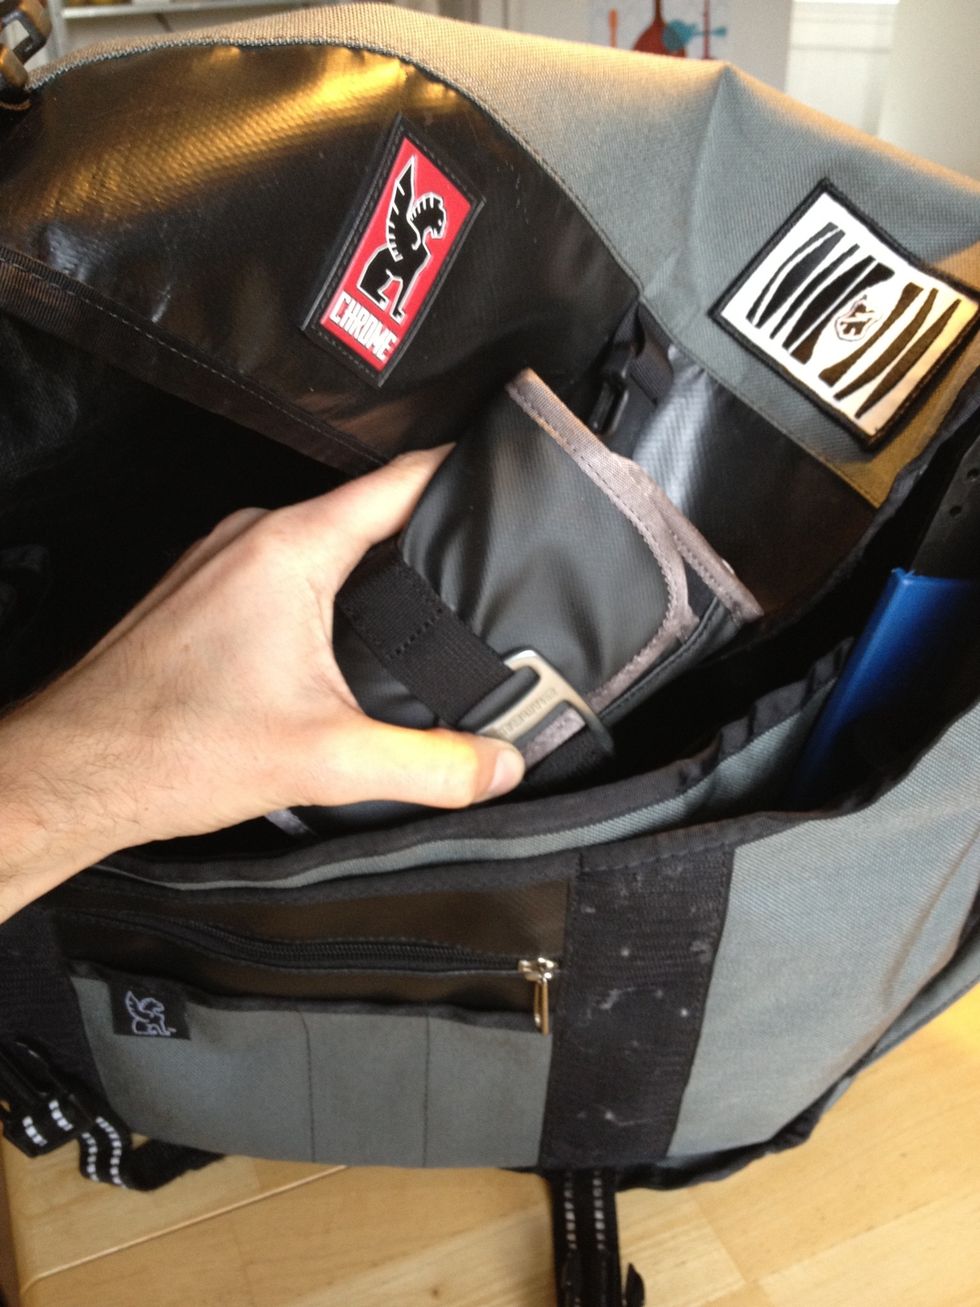
…and keep it in your backpack so you have it when you need it!
- 2.0 Tire lever
- 1.0 CO2 cartridge & nozzle
- 1.0 Bike multi tool
- 1.0 Spare tire
- 10.0 Dollars
- 1.0 15mm hex wrench (for bolt-on wheels)
- 1.0 Small sturdy bag
San Francisco
The Conversation (0)
Sign Up