The Conversation (0)
Sign Up
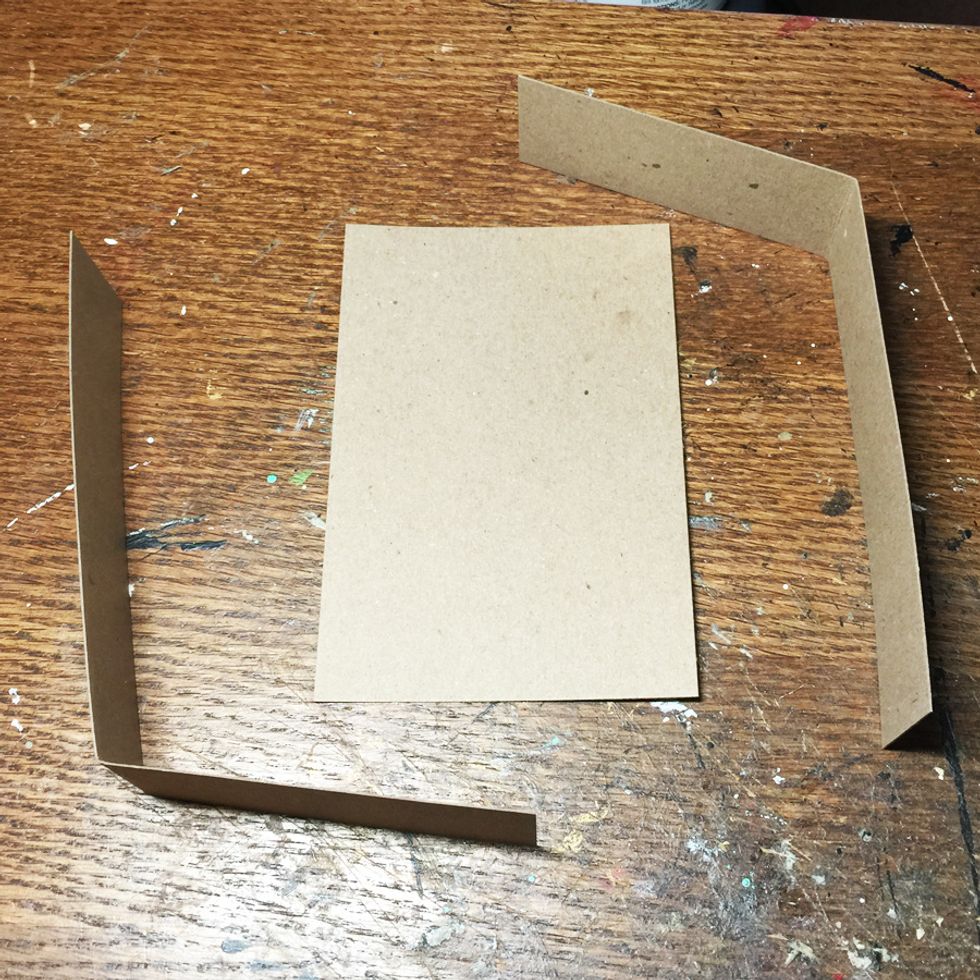
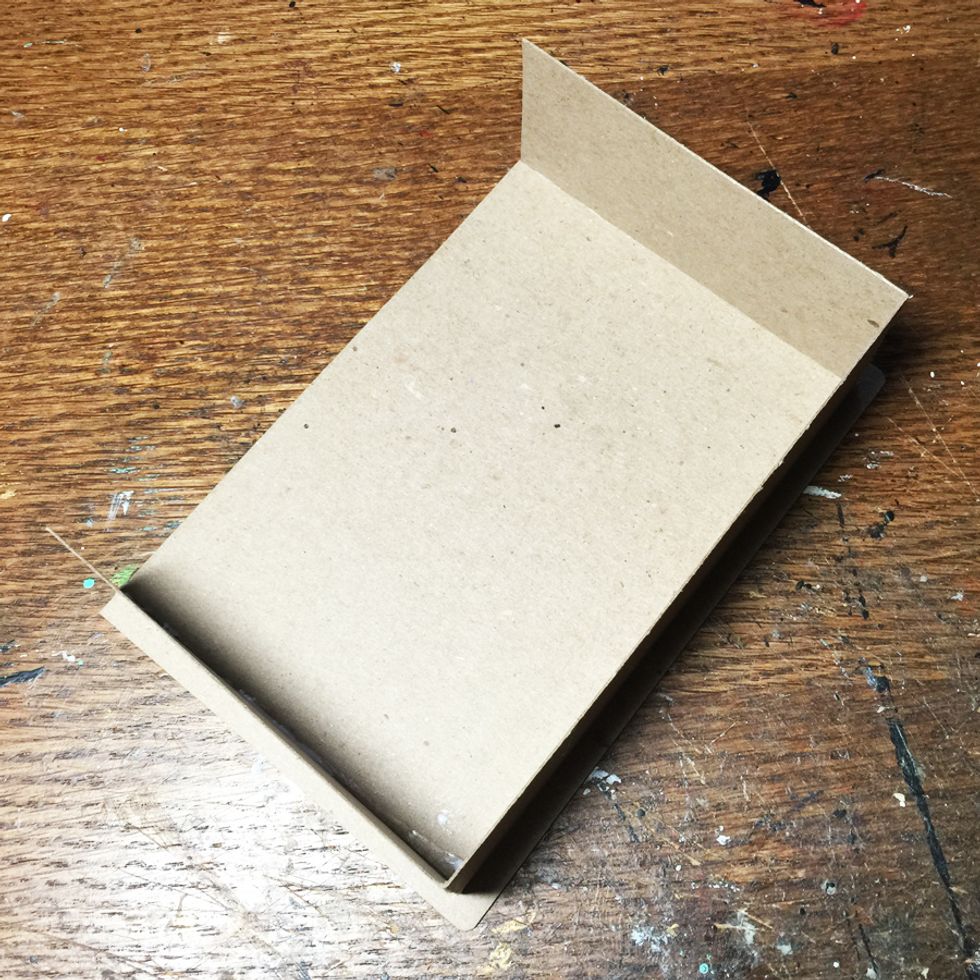
Find the 3 pieces shown and bend the 2 long thin pieces at the fold score.
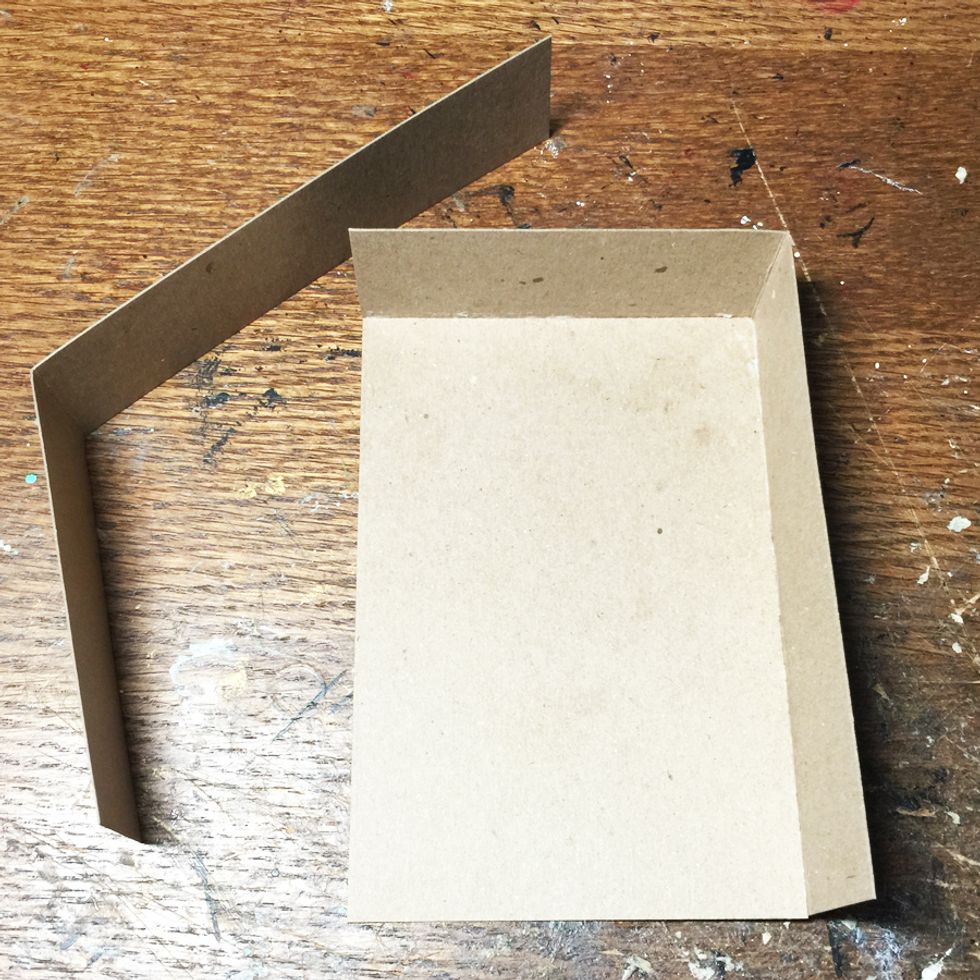
Glue the first piece to the sides of the bottom piece.
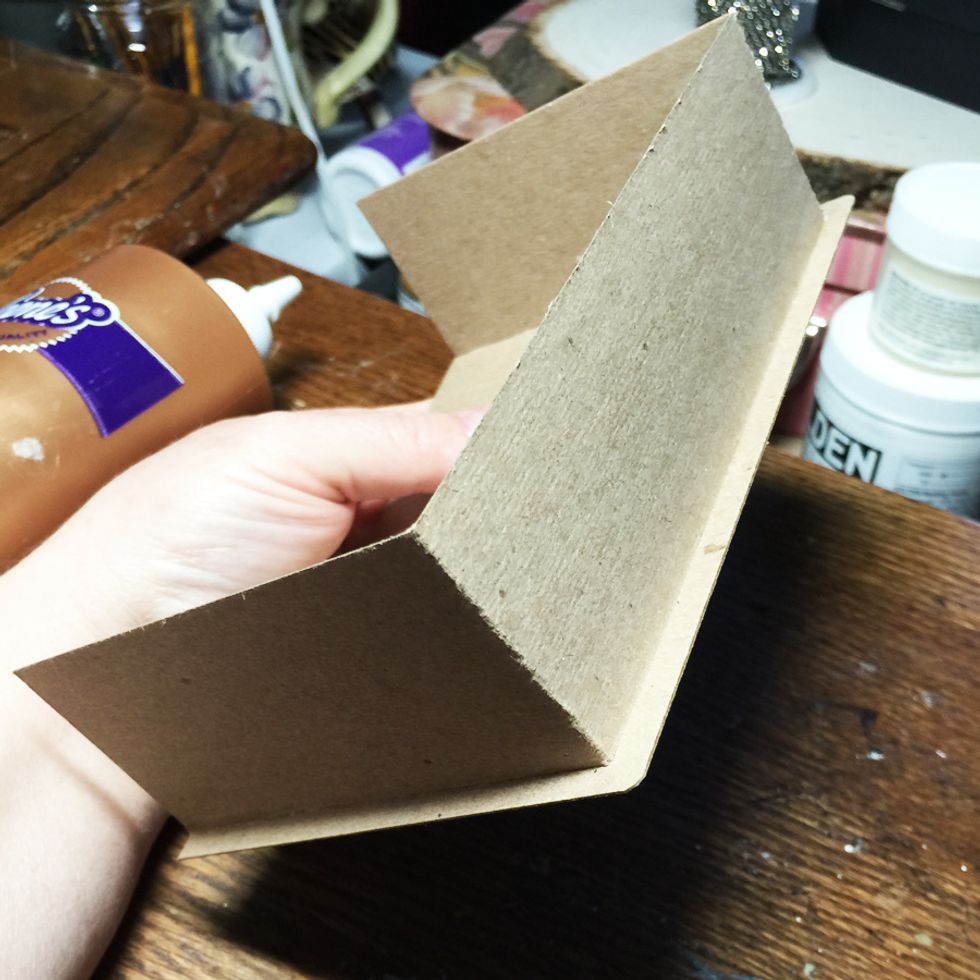
Glue the second piece to the side of the bottom piece as well as to the side of the first piece.

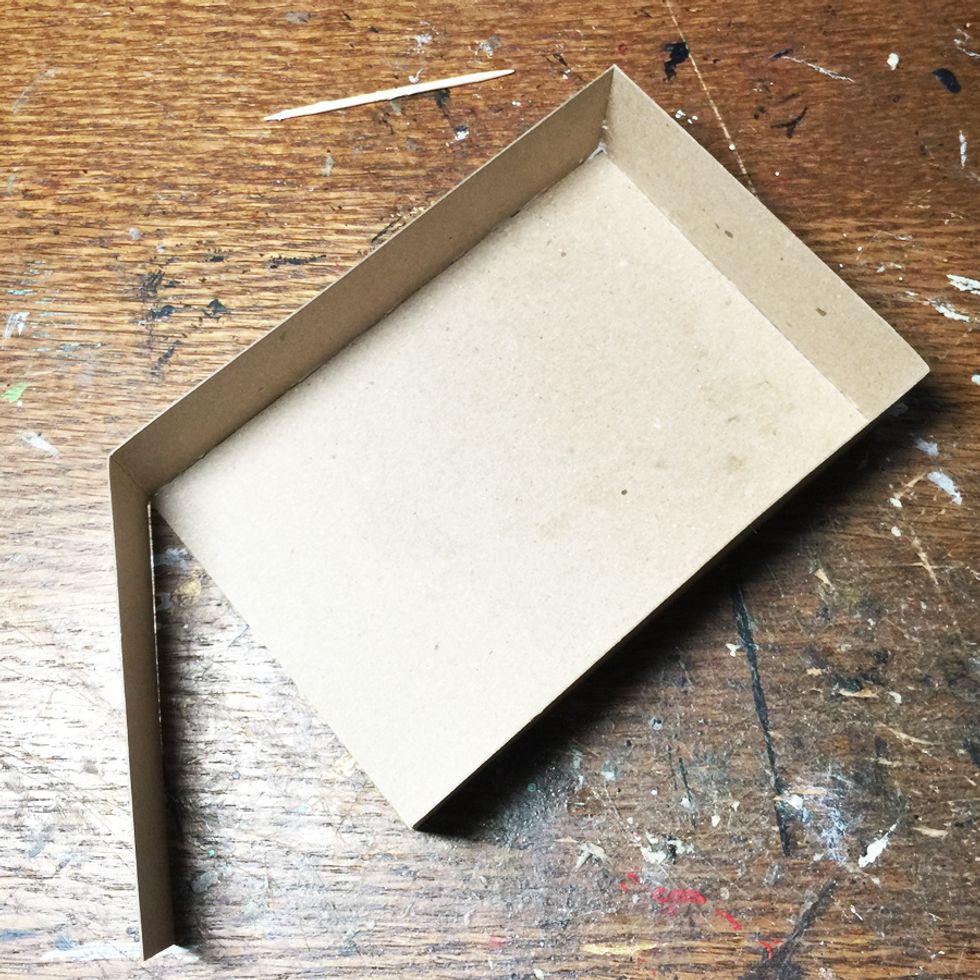
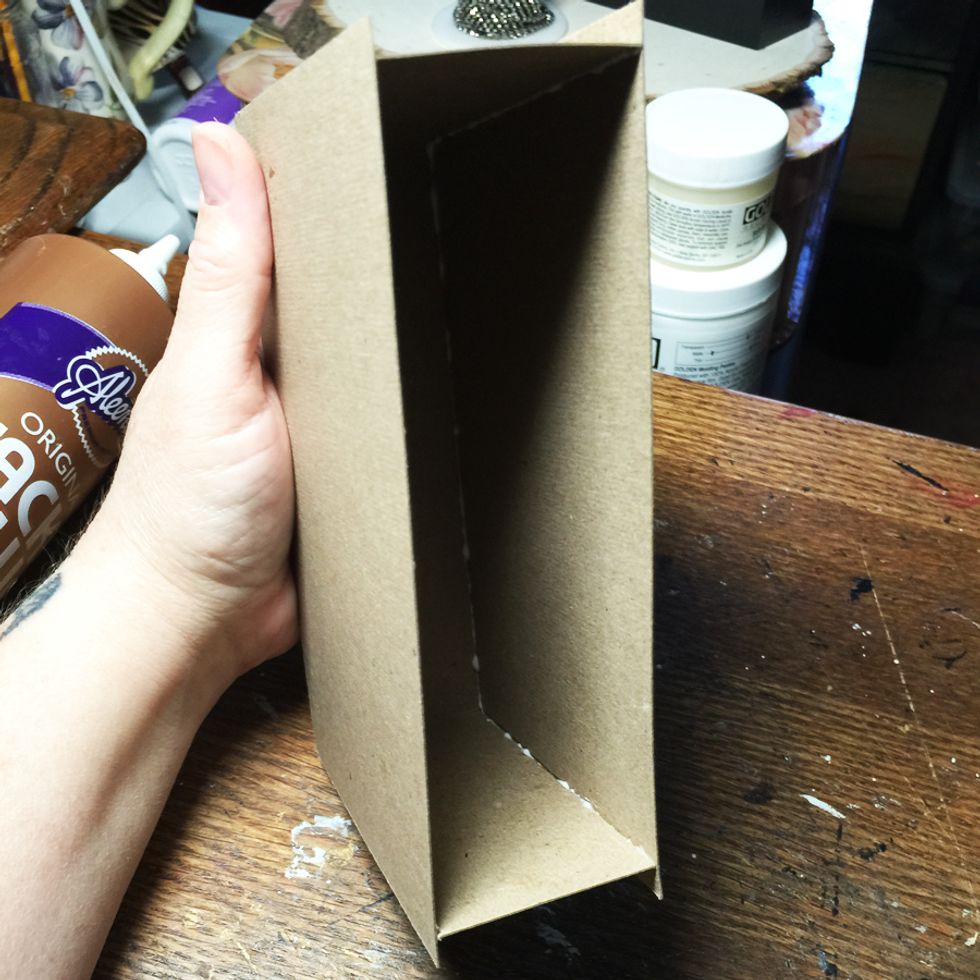
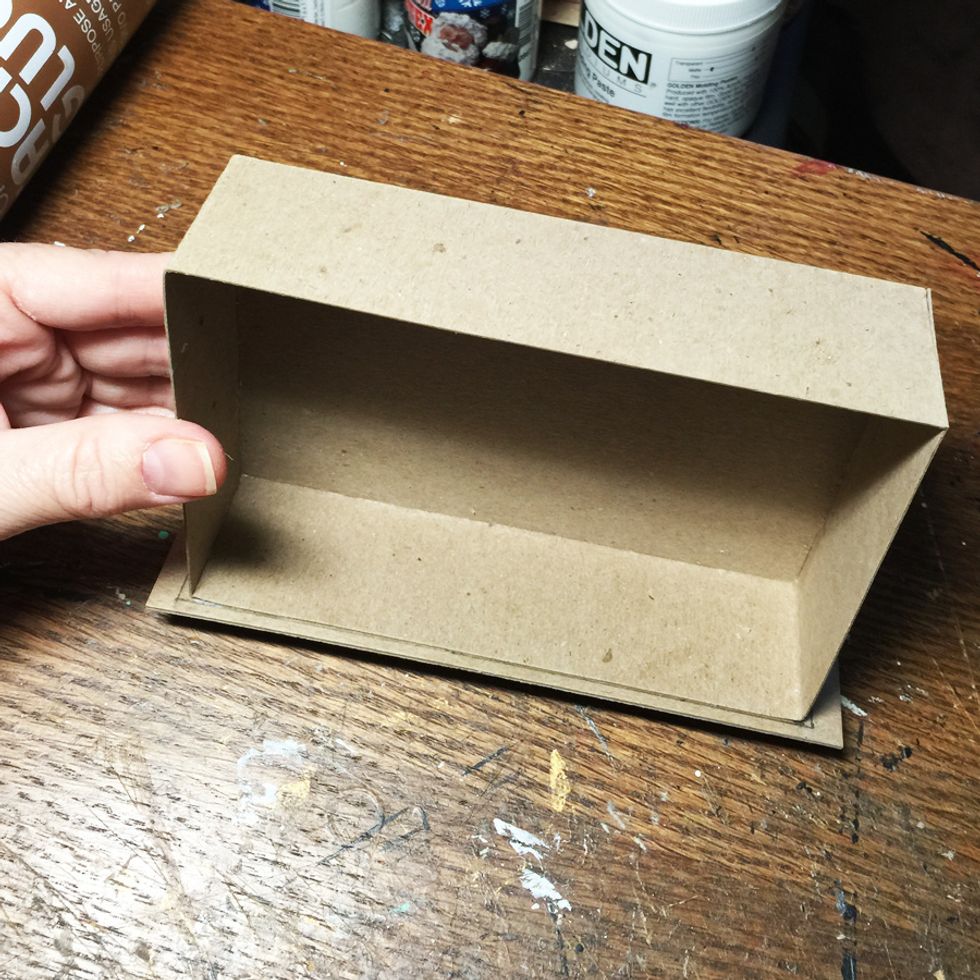
Finish gluing so that you have a box shape as shown.
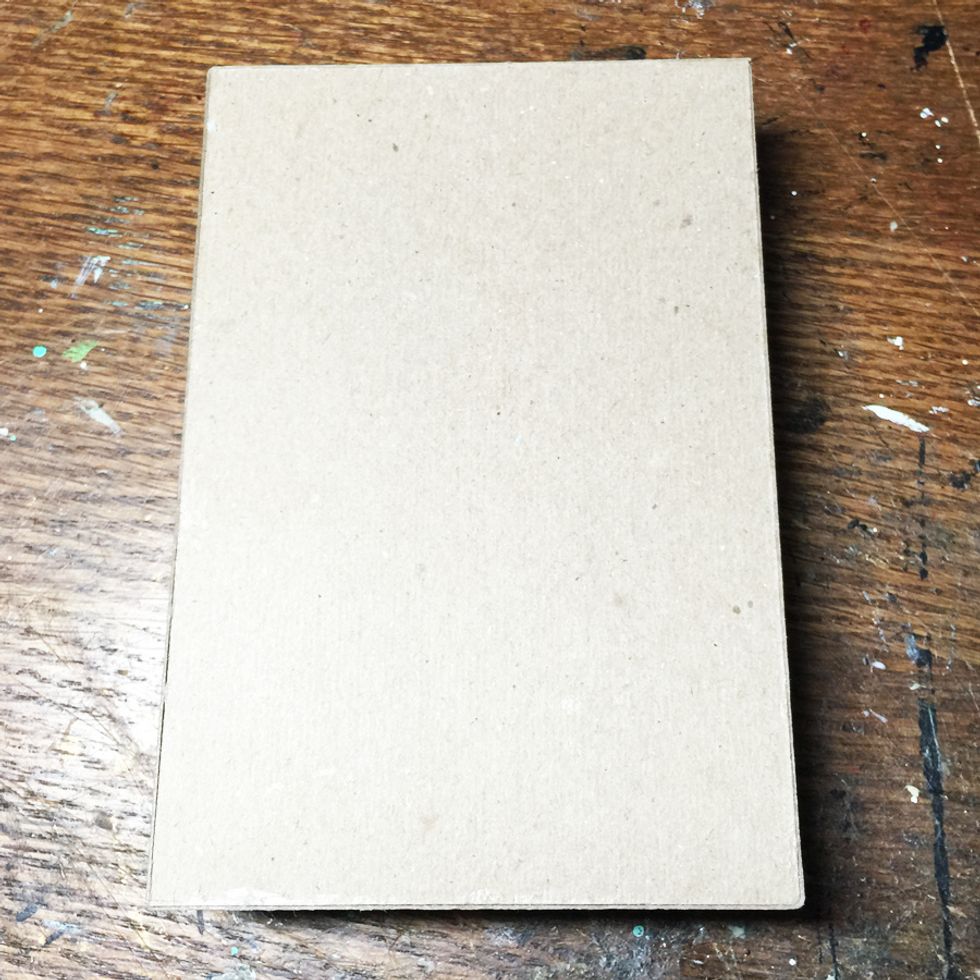
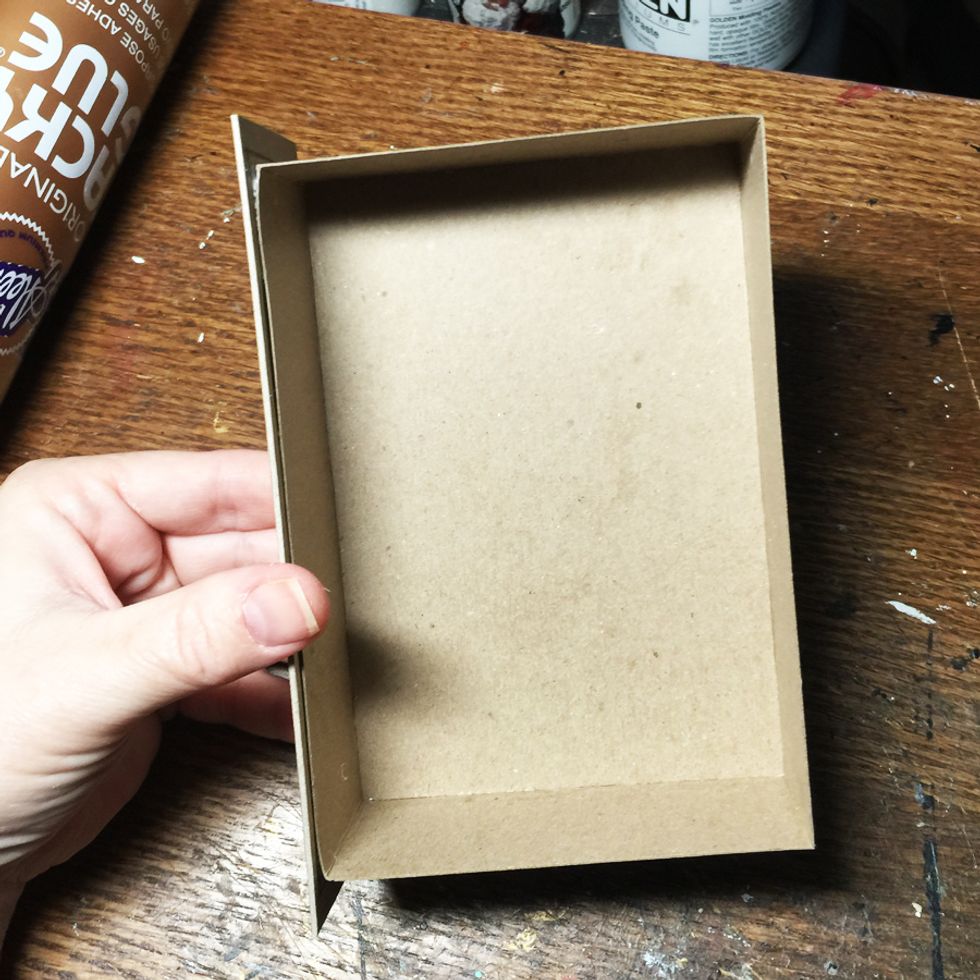
The back/bottom of the box should look like this.

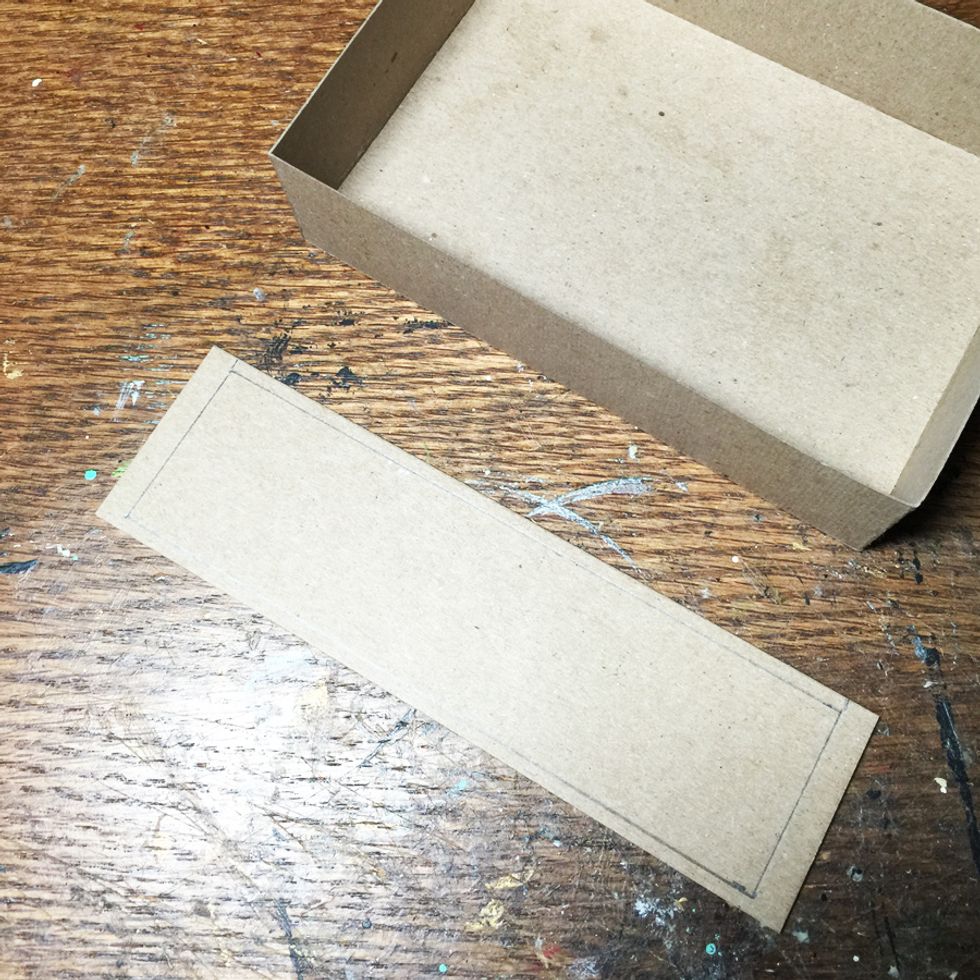
Find the two "cover" pieces and using a ruler mark them as shown. The measurement should be 1/4" from the edges on all 3 sides.
Find the longest piece in your kit and fold at both score lines, then glue to the lines you drew on one of the cover pieces as shown.
It should look like this.

Glue the other cover the same way as the first cover on the opposite side. Make sure the rounded corners are both on the same side of the "book".
Don't worry if it looks a bit messy with glue inside as it won't effect the way the secret drawer slides in and out.

This is how your corners should line up.
Find the thicker piece of chipboard and draw a rectangle as shown. It measures 1/8" from both edges, on the longer sides, and 3/8" on the shorter sides.
Glue the box you created first in the center of the square you just drew as shown.
This is the secret drawer that will slide in and out of the book.

The drawer should fit loosely in the "book" so there is room to add paper and embellishments.
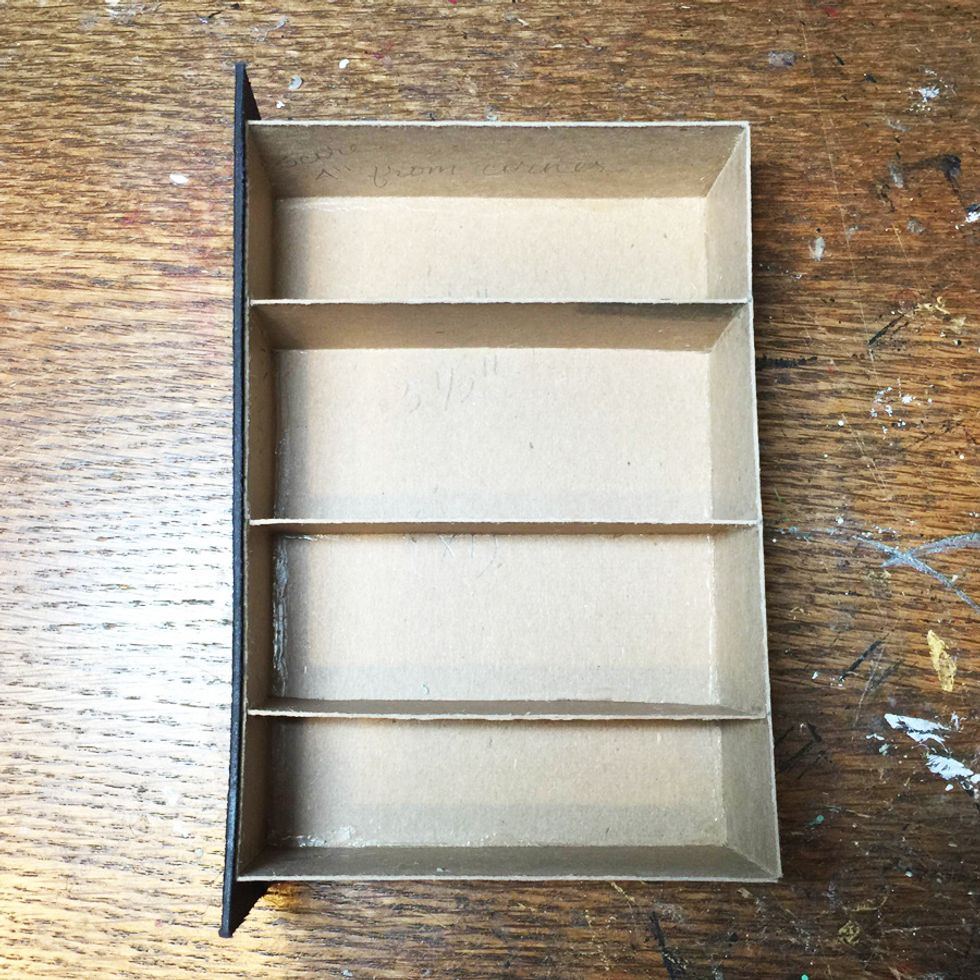
The 3 pieces you have left are to be used as shelves. If you are going to be using the cardstock drawer, you will need to leave a 1" space in between two of the shelves. Mine is on the bottom.

A useful tip: Use masking tape to reinforce the seams of your book box before you cover with decorative paper.
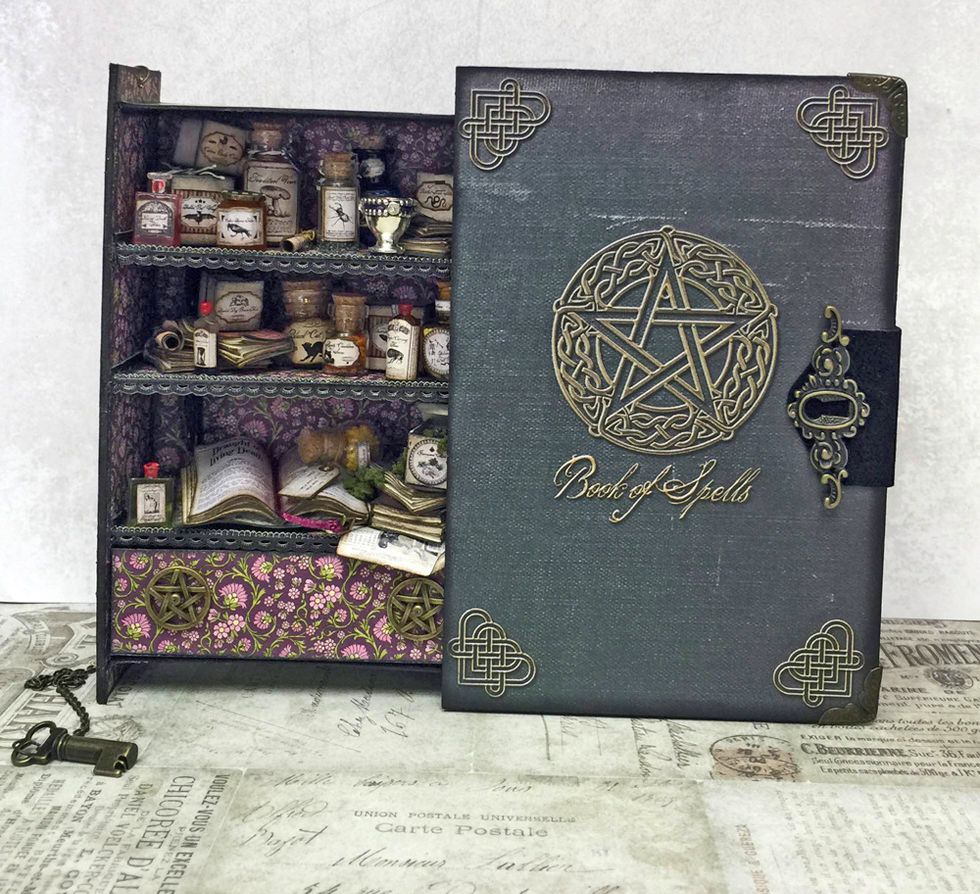
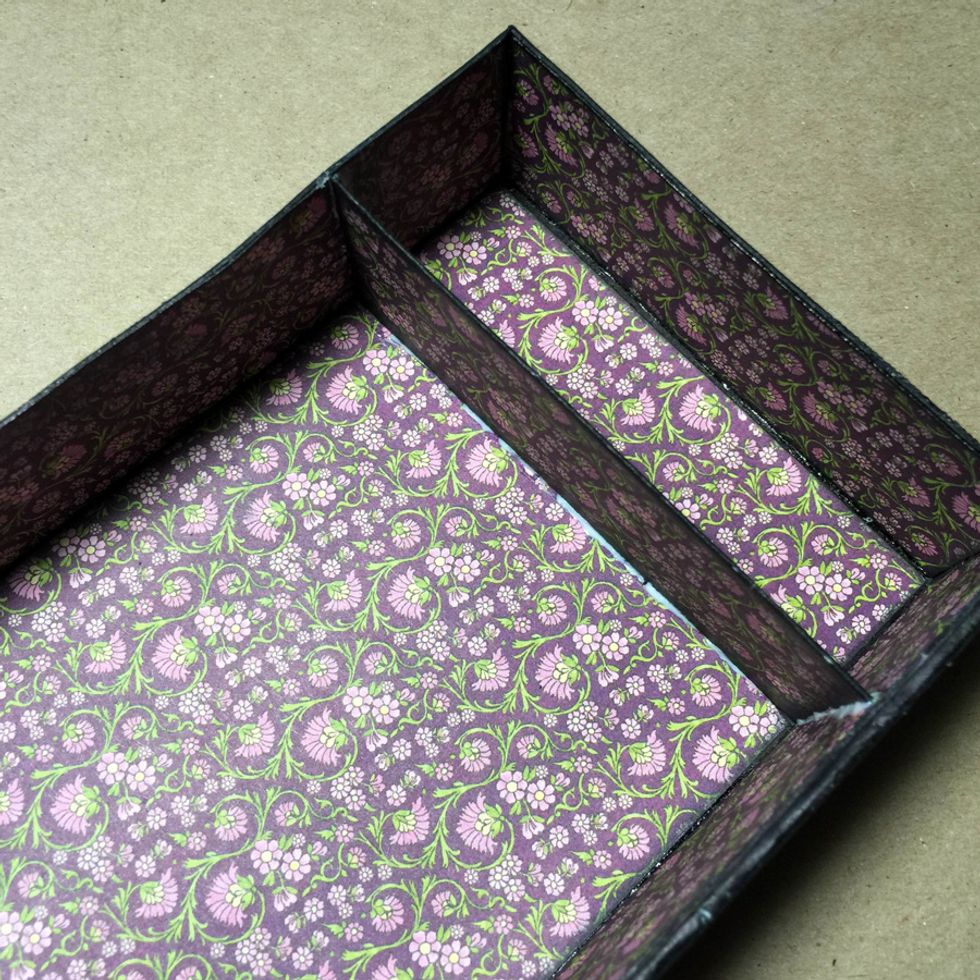
Once you've finished assembly of your book box you can use the labels and other ephemera, provided in the kit, to add some fun!