The Conversation (0)
Sign Up
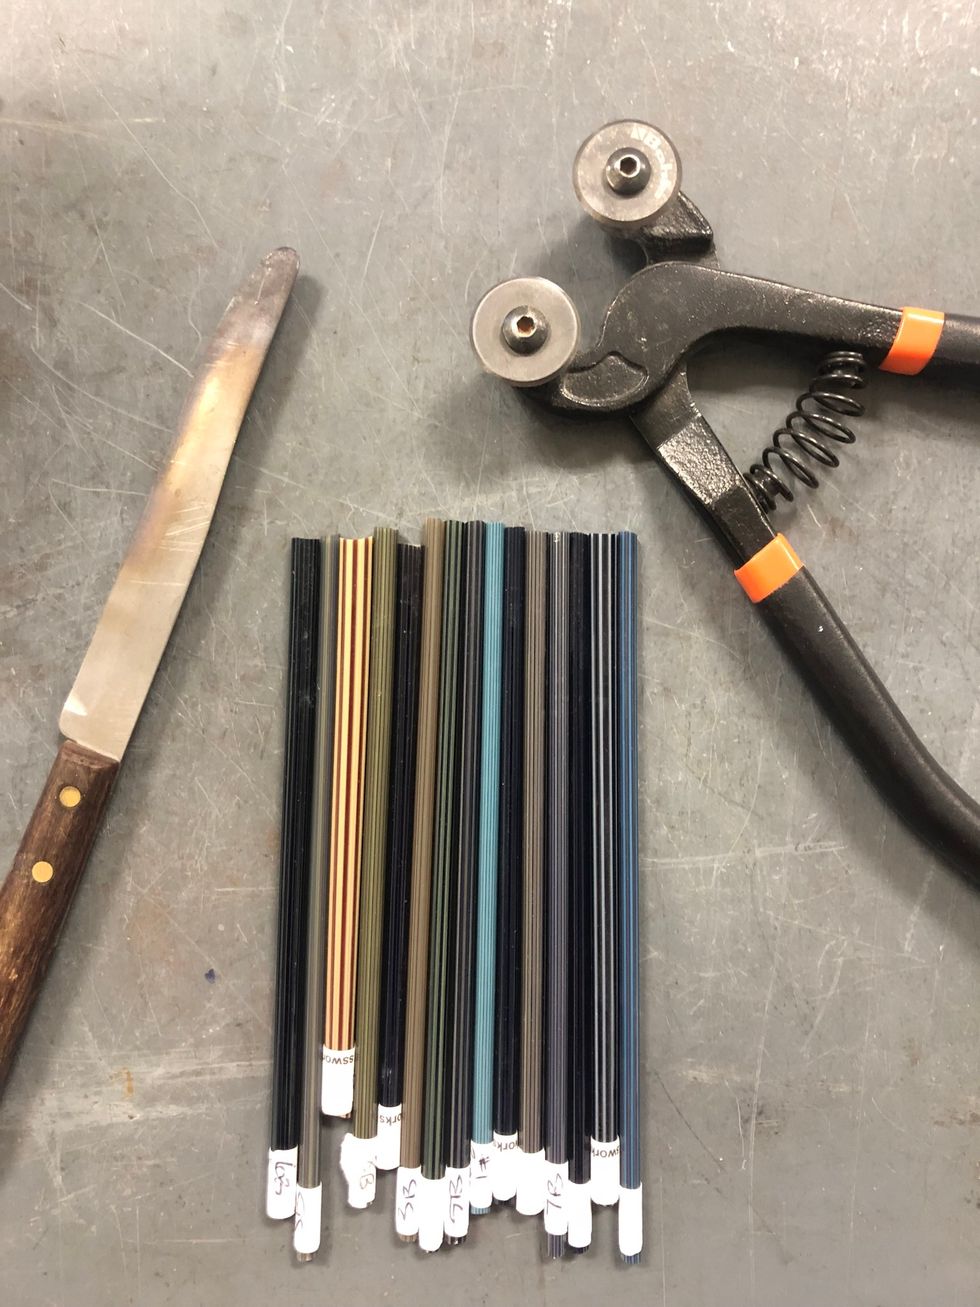
Murrini are glass canes with a pattern contained in the cross-section. By carefully applying and melting in a piece of cane, the pattern can be preserved and enhanced.
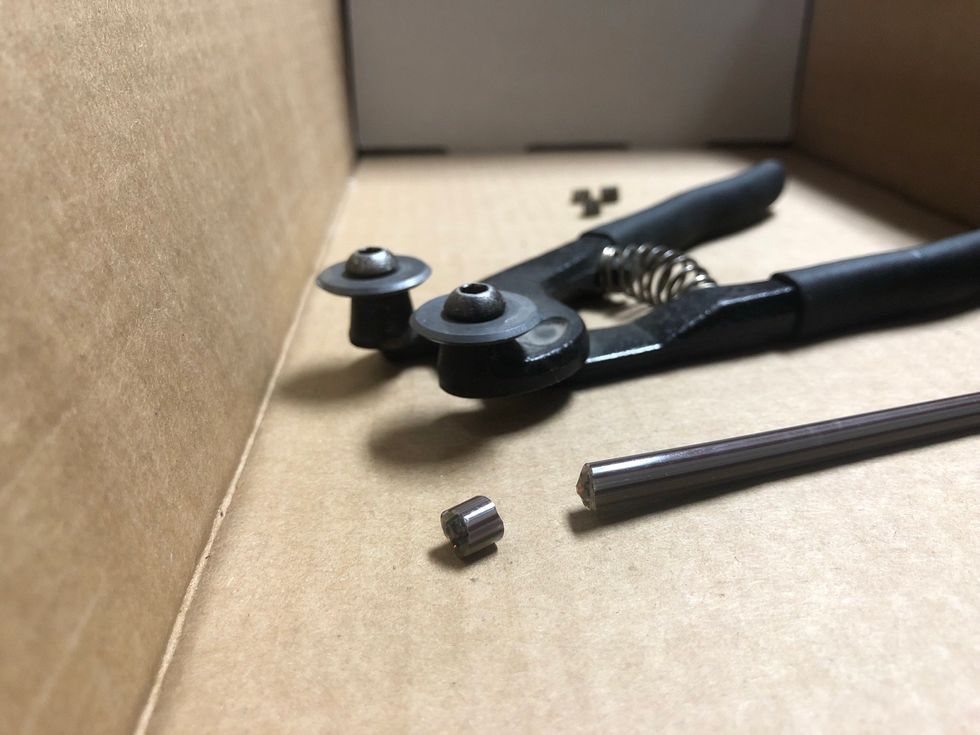
Use disc nippers to cut a slice of murrini cane. Perhaps 4mm long. A cardboard box or similar can be used to catch the slices of murrini. Watch out for glass chips and dust. Safety first!

Graphite tools molded to hold murrini are available from CGBeads. I let mine preheat on top of the annealer, warming the murrini and minimizing thermal shock. Optional, but nice to have.
Ok, on to the beadmaking. Wind on a bead. I’m using Zephyr clear, since it doesn’t cause reactions with the silvered glasses in the murrini.
Round out your bead.
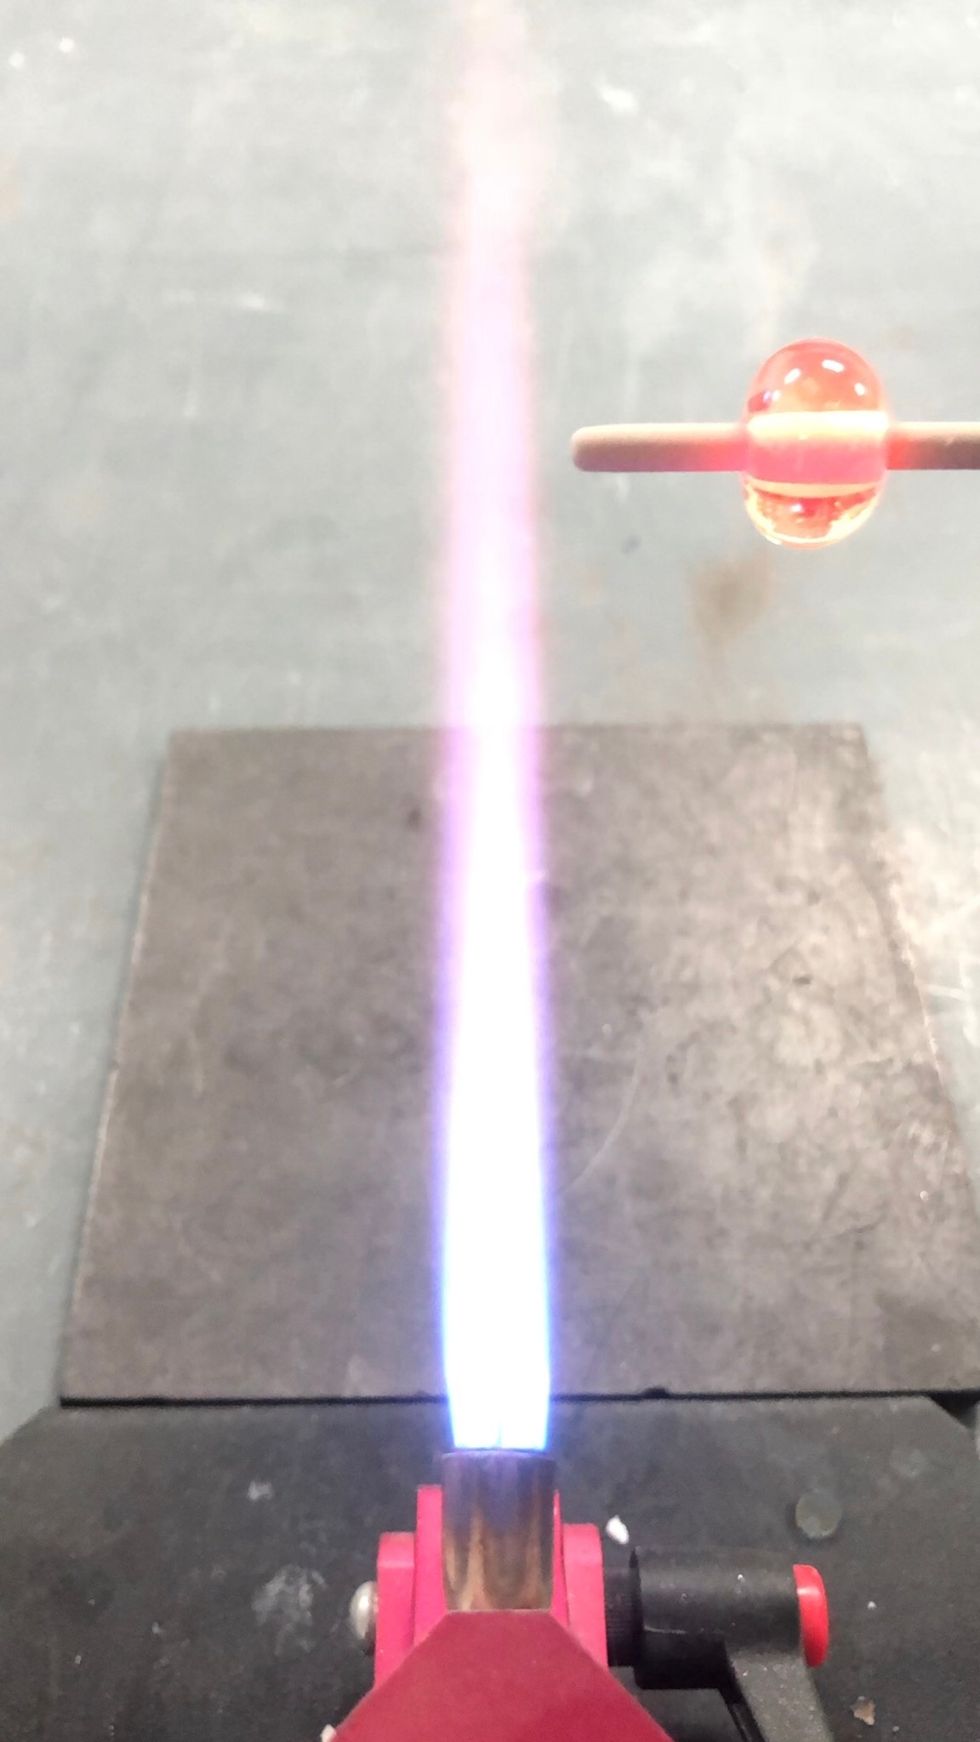
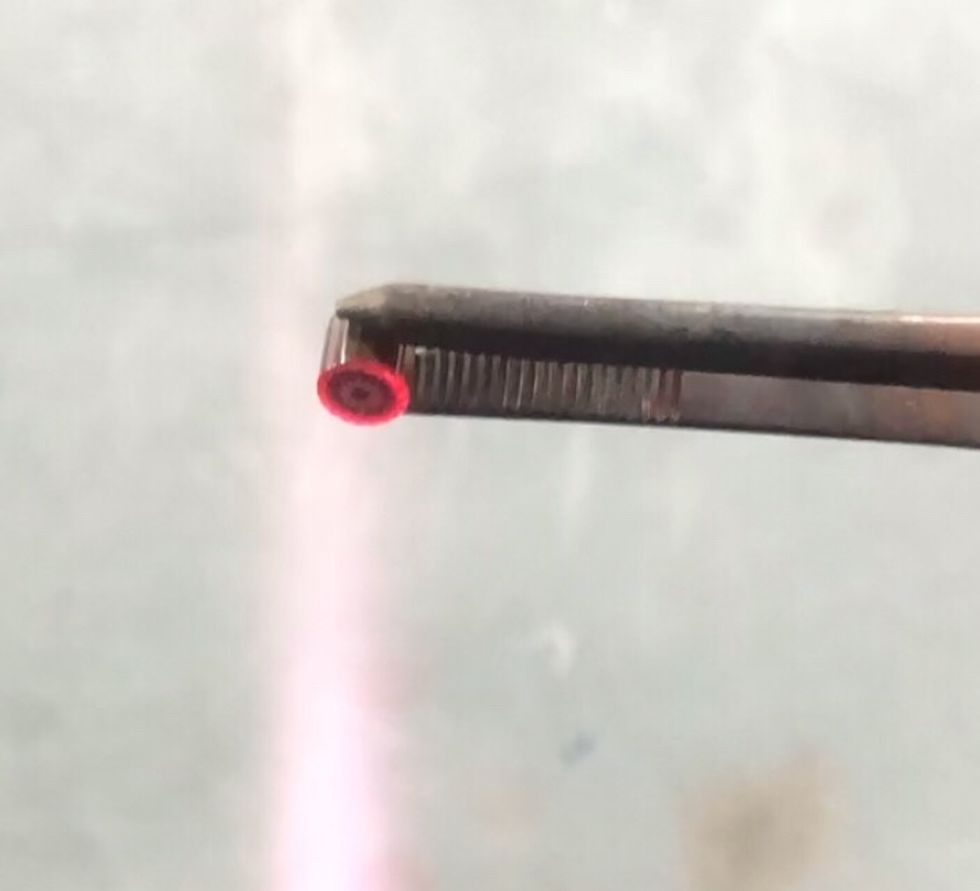
Let the bead cool so that it’s no longer soft. While it’s cooling, pick up a murrini slice using tweezers. It’s best if the bottom of the murrini is free from the tweezers grip.
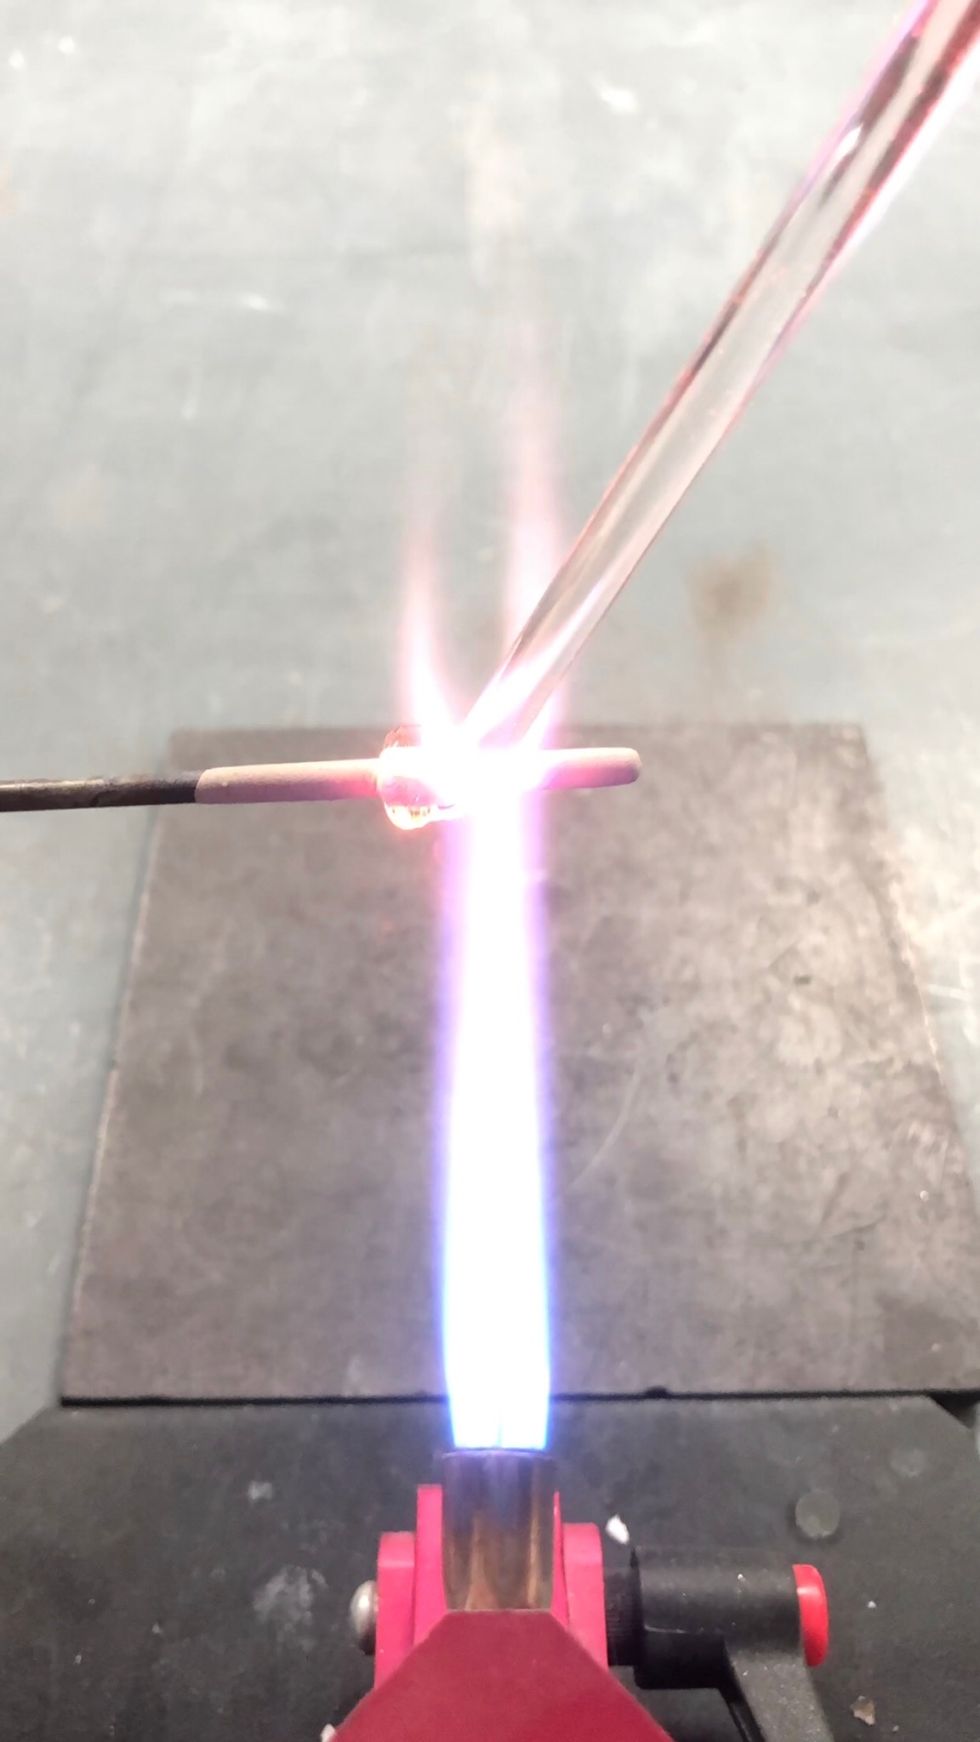
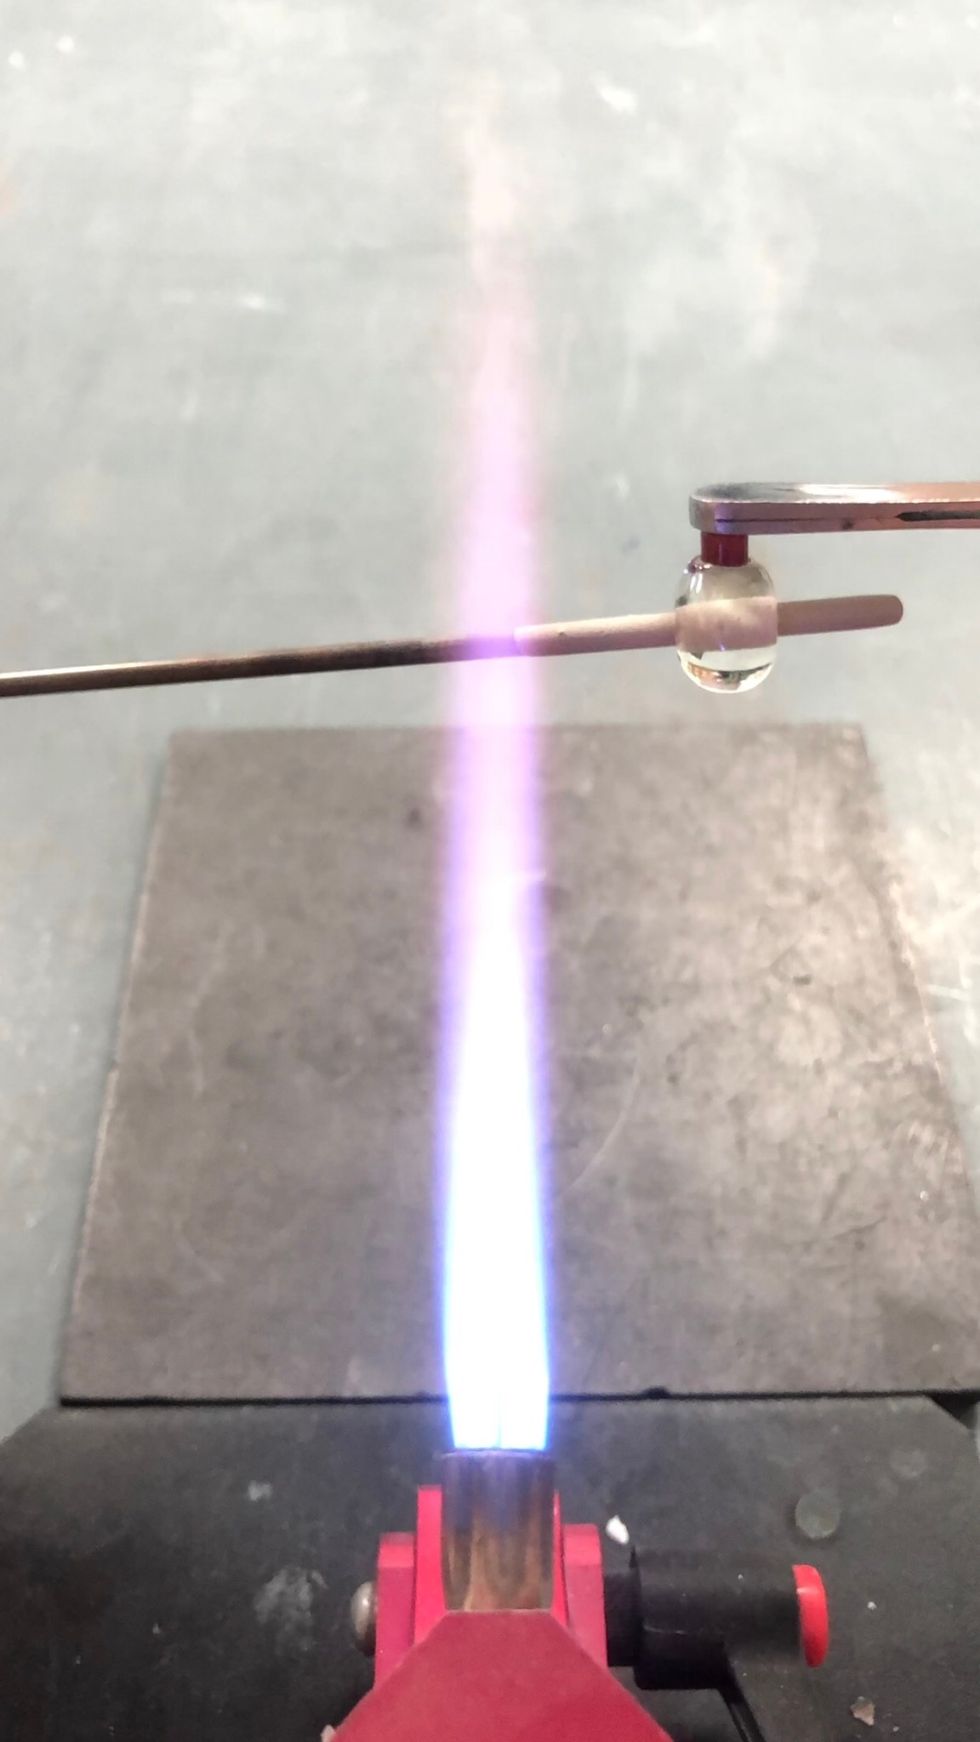
Next we do two things at once. Gently heat the bottom of the murrini far out in the flame. The bottom should just barely glow.
Meanwhile, spot heat the bead where you want the murrini to be placed.

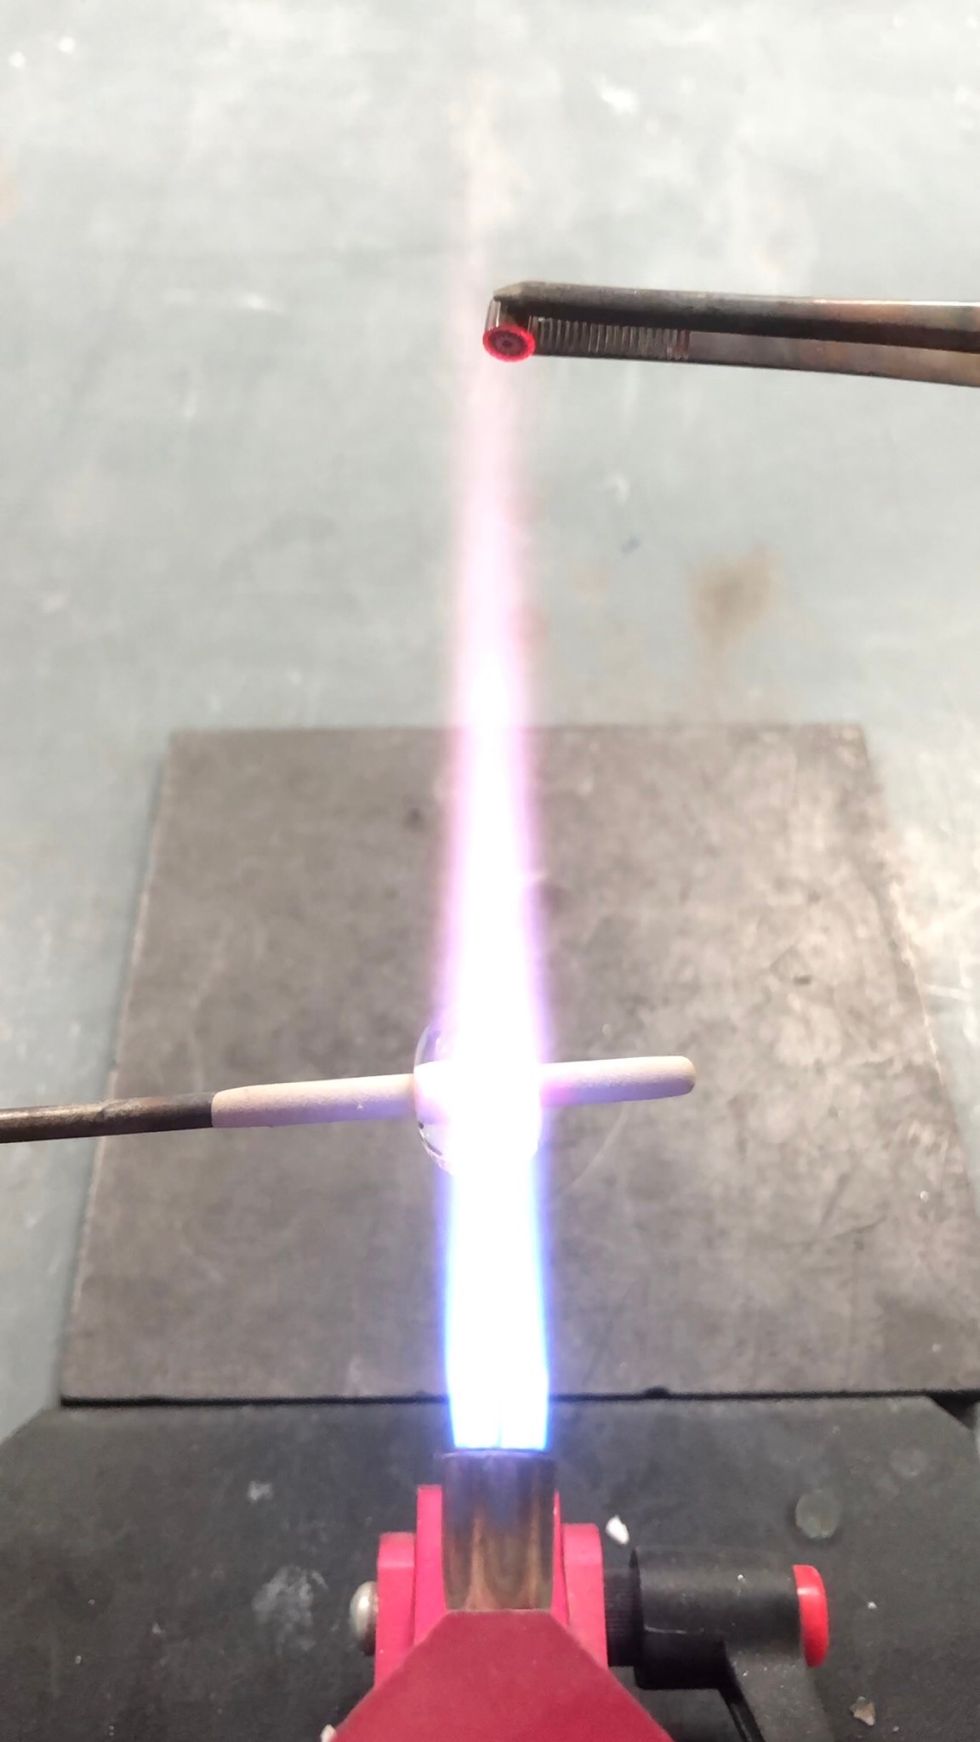
Place the murrini slice onto the preheated spot on the bead, pressing in gently. If your heat is right, it will stick in place nicely with minimal distortion of the bead.

Press the murrini gently into the bead to make sure it’s seated.
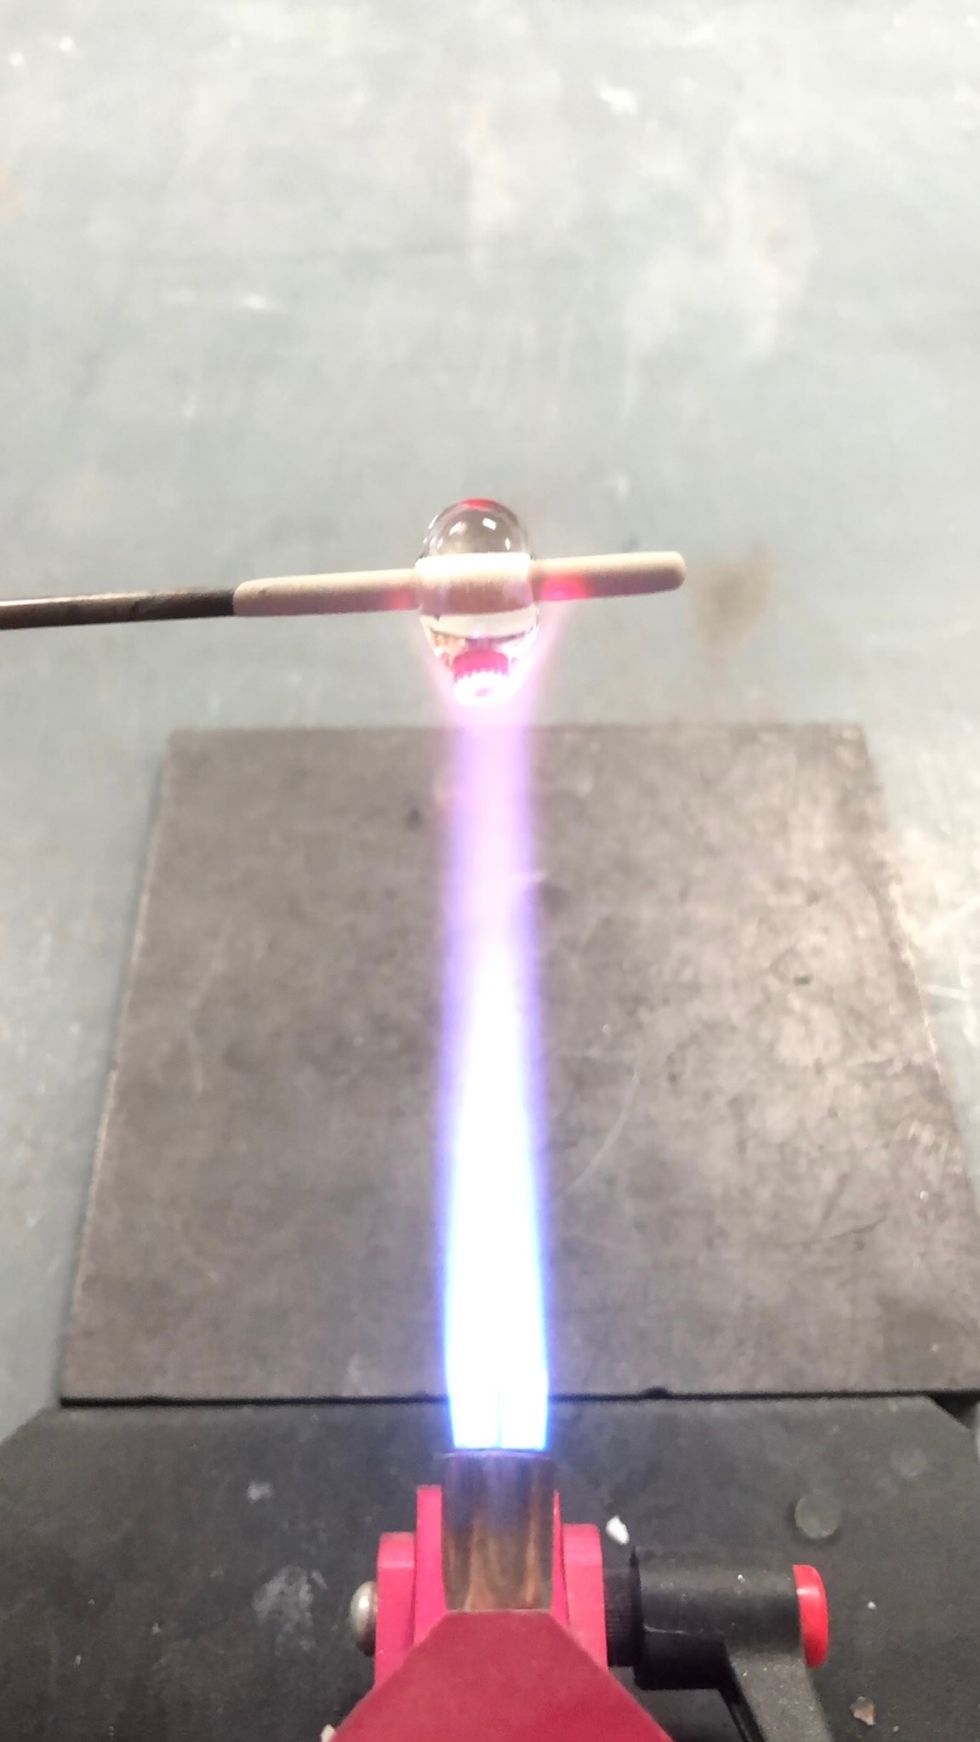
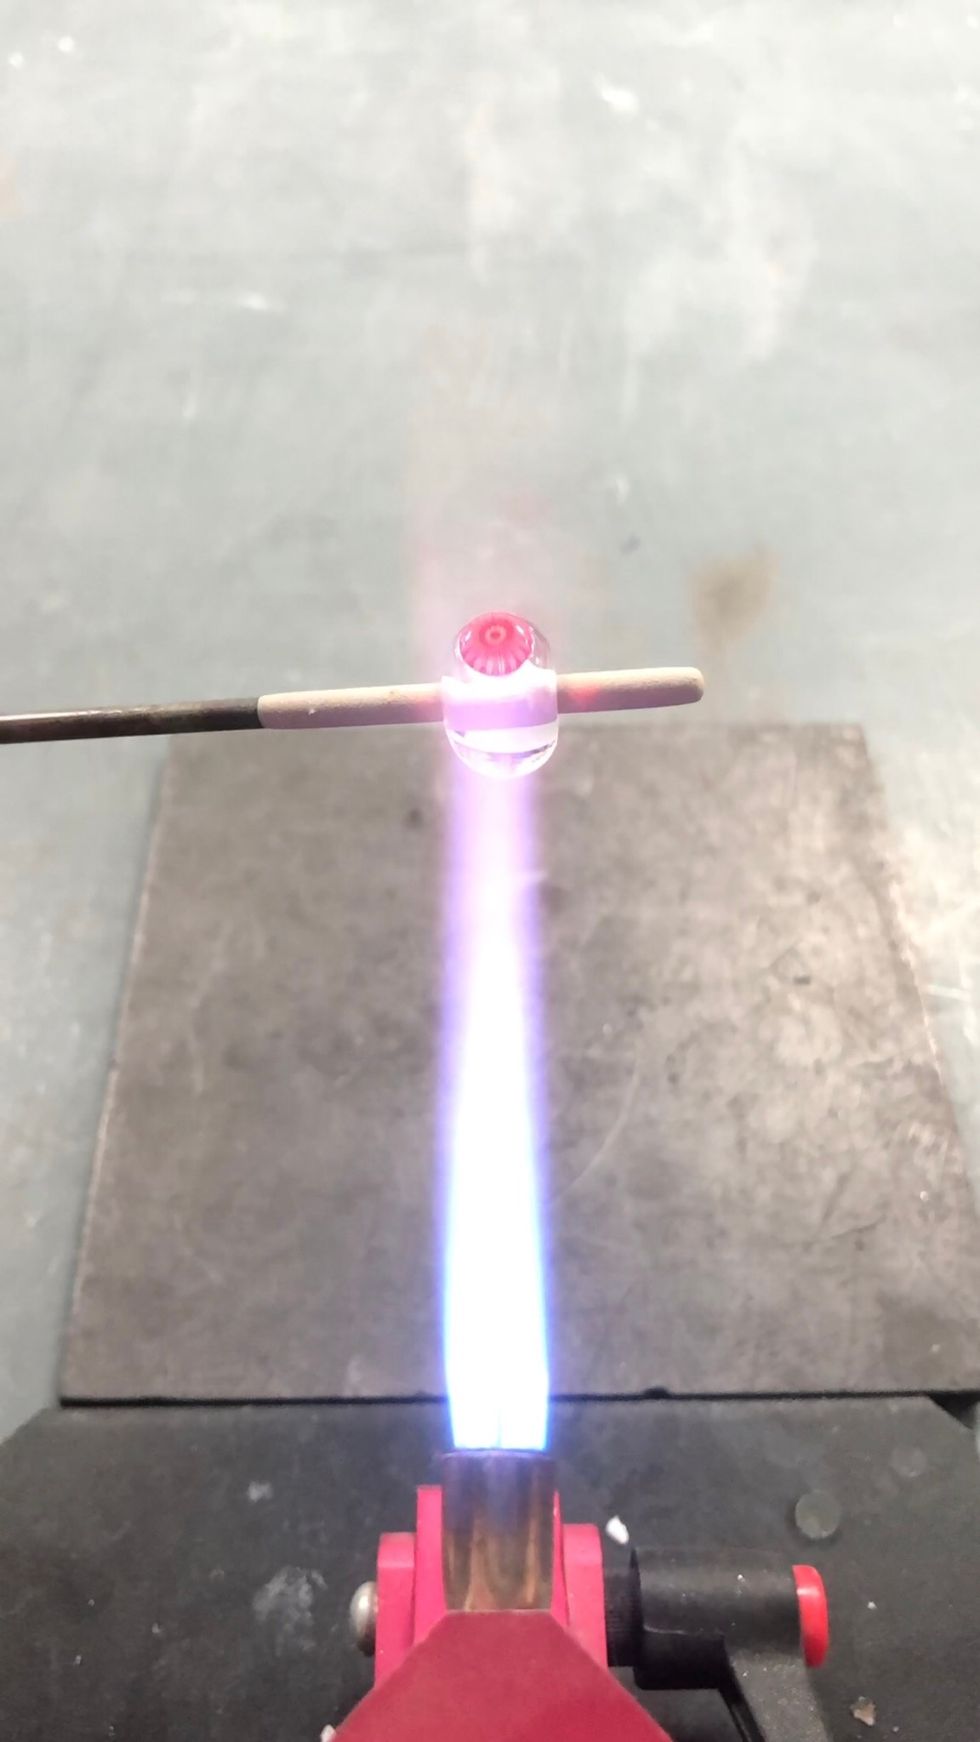
Apply a very gentle heat to the murrini. The goal is to soften the glass enough to carefully flatten the murrini while keeping it cool enough to avoid distorting the pattern.
Touch a flat metal tool to the face of the murrini. Using a metal tool pulls heat from the face of the murrini, preventing distortion.
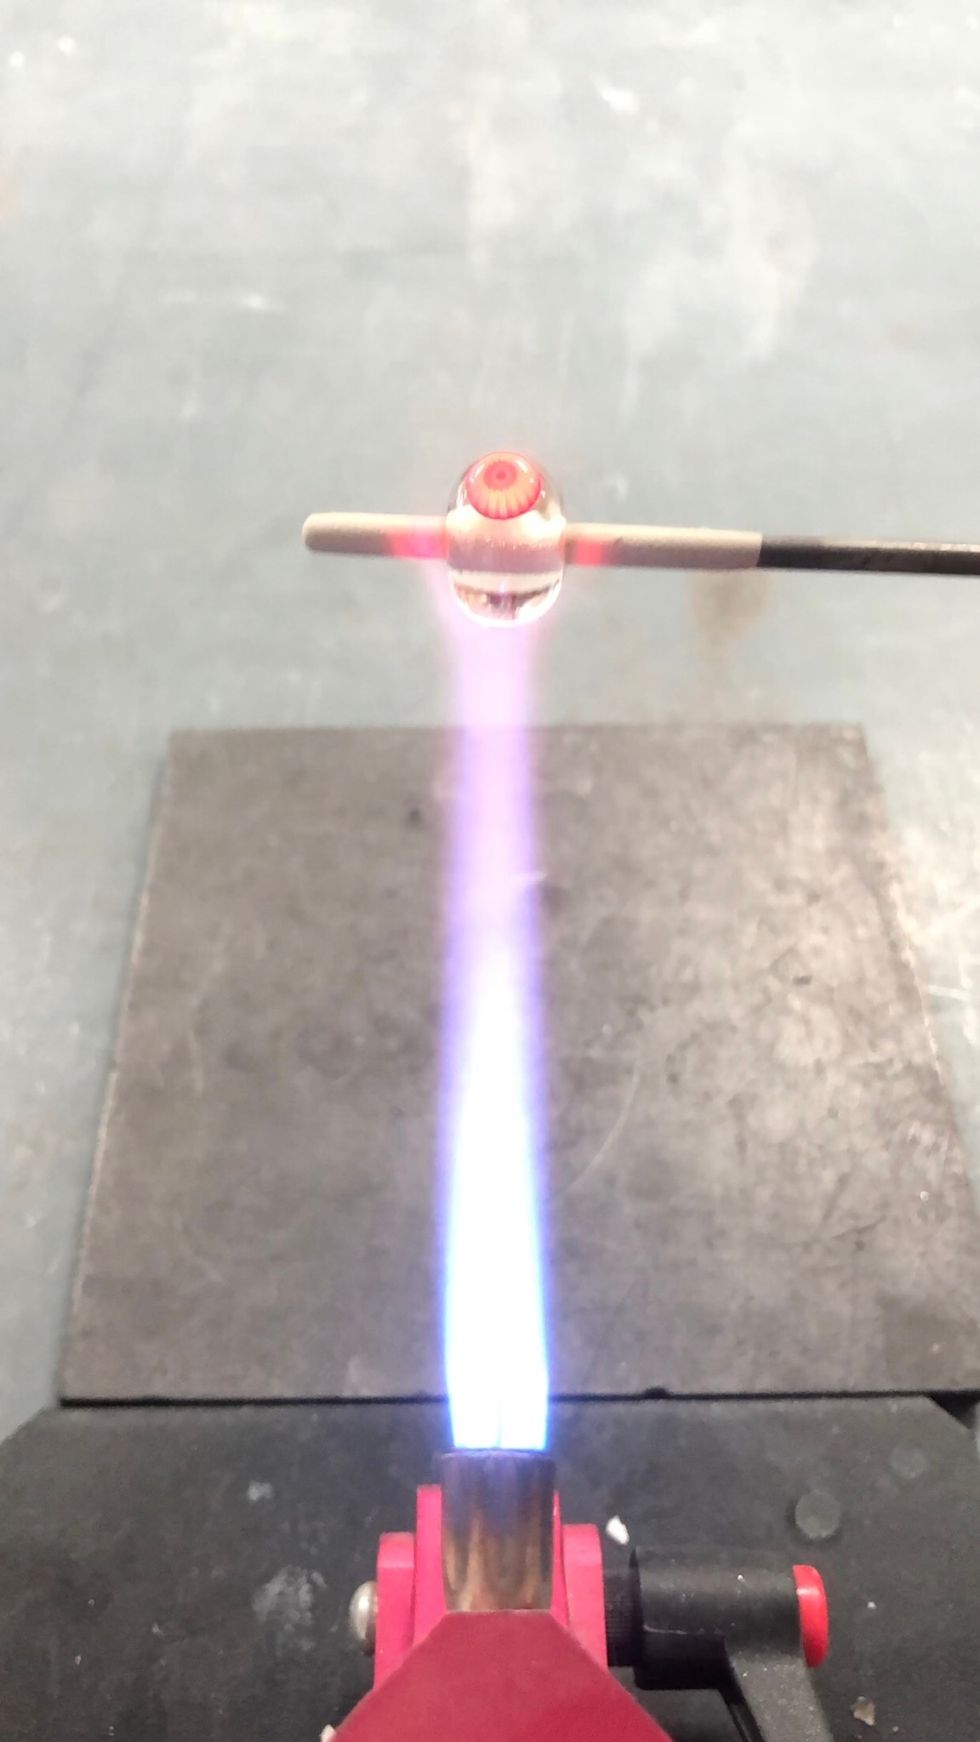
Again, apply gentle heat to the murrini, so that it is soft enough to move when pushed, but not so hot that the murrini rounds over.
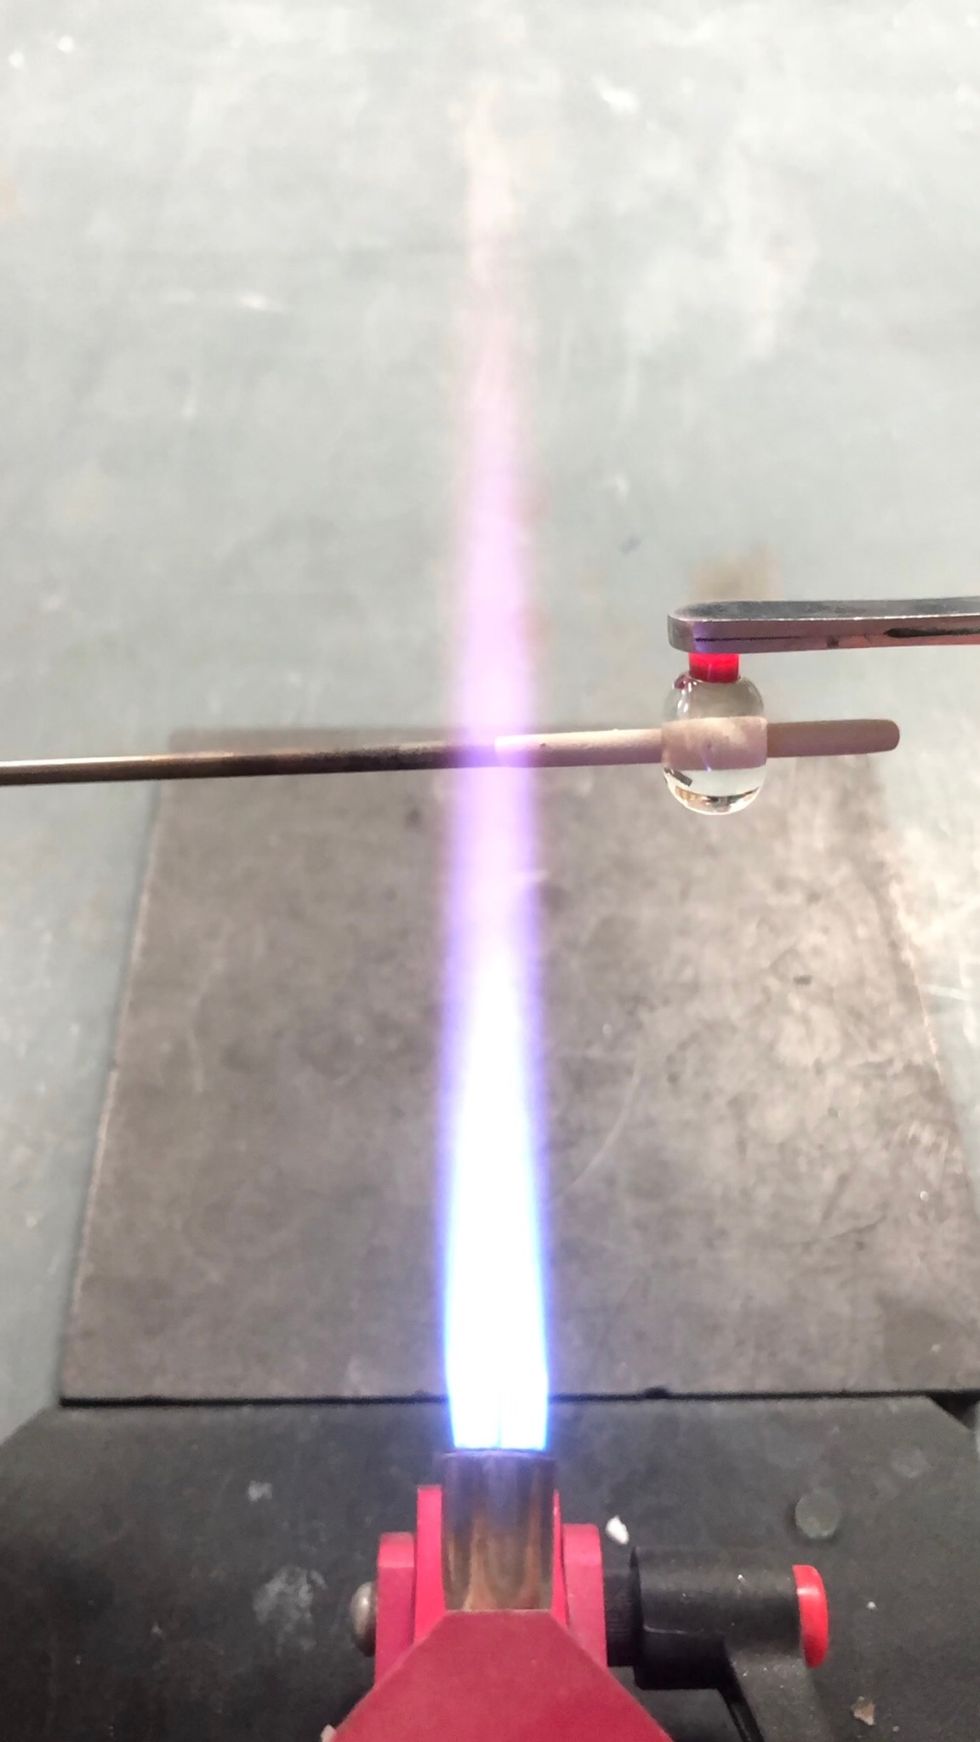
Gently press straight down on the murrini. Don’t try to get it all the way flat in one go. Use repeated, more gentle heating and pressing.
Heat again...

Press again...the goal is to keep the face of the murrini flat and let the movement of the glass come through the sides, like squishing an ice cream sandwich.
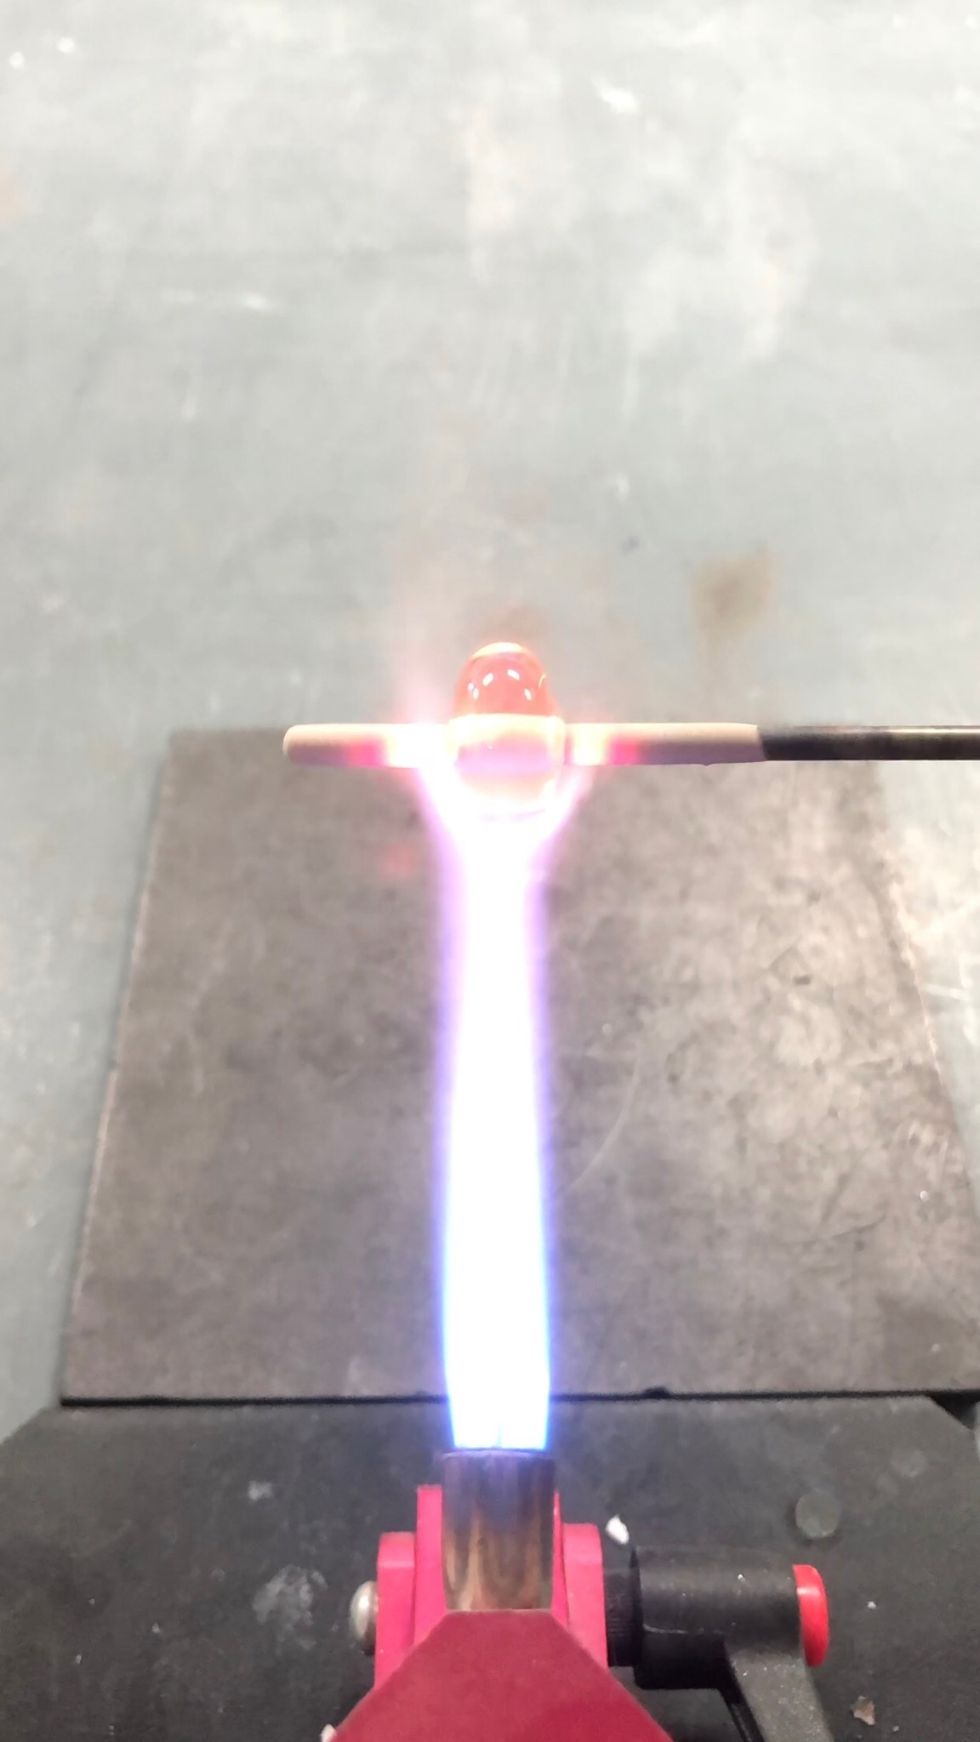
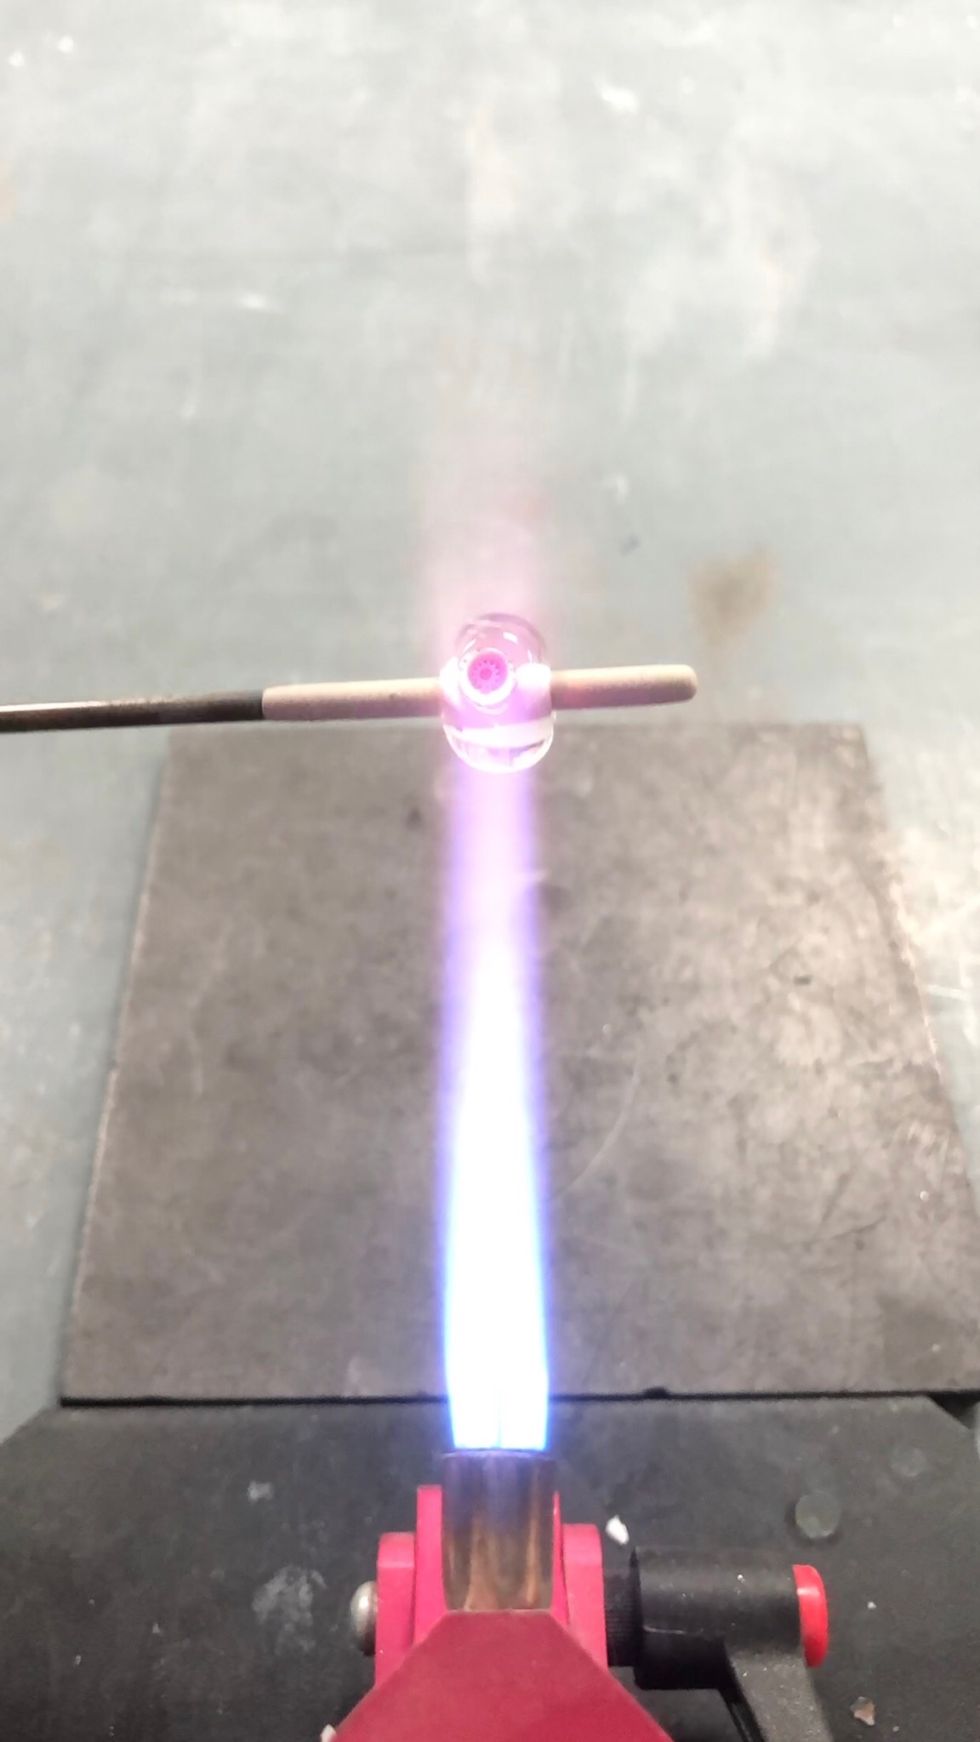
Looks good so far. Now we are ready to make it one with the bead. Heat the whole bead gently. Think of it as softening the clear enough to absorb the murrini.
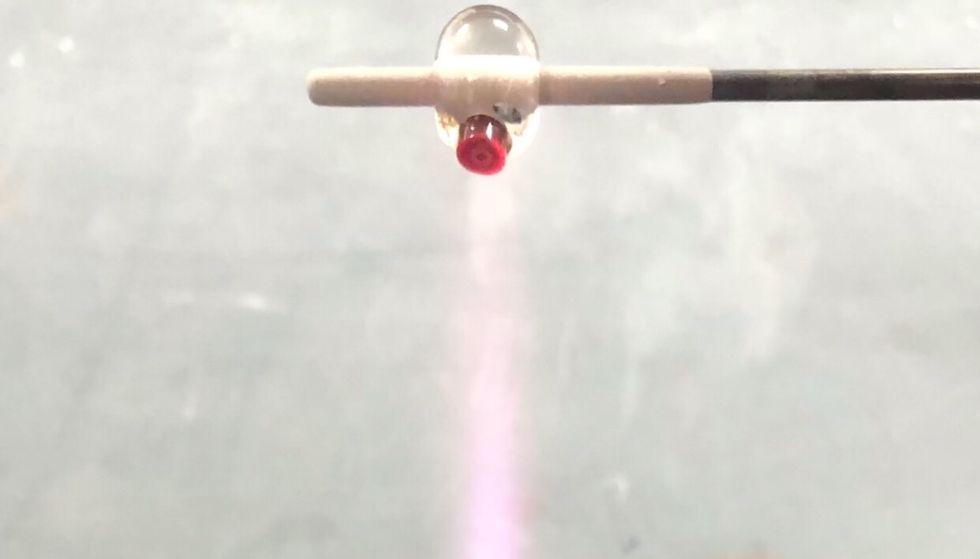
The chip will spread a little bit as it joins with the clear base.
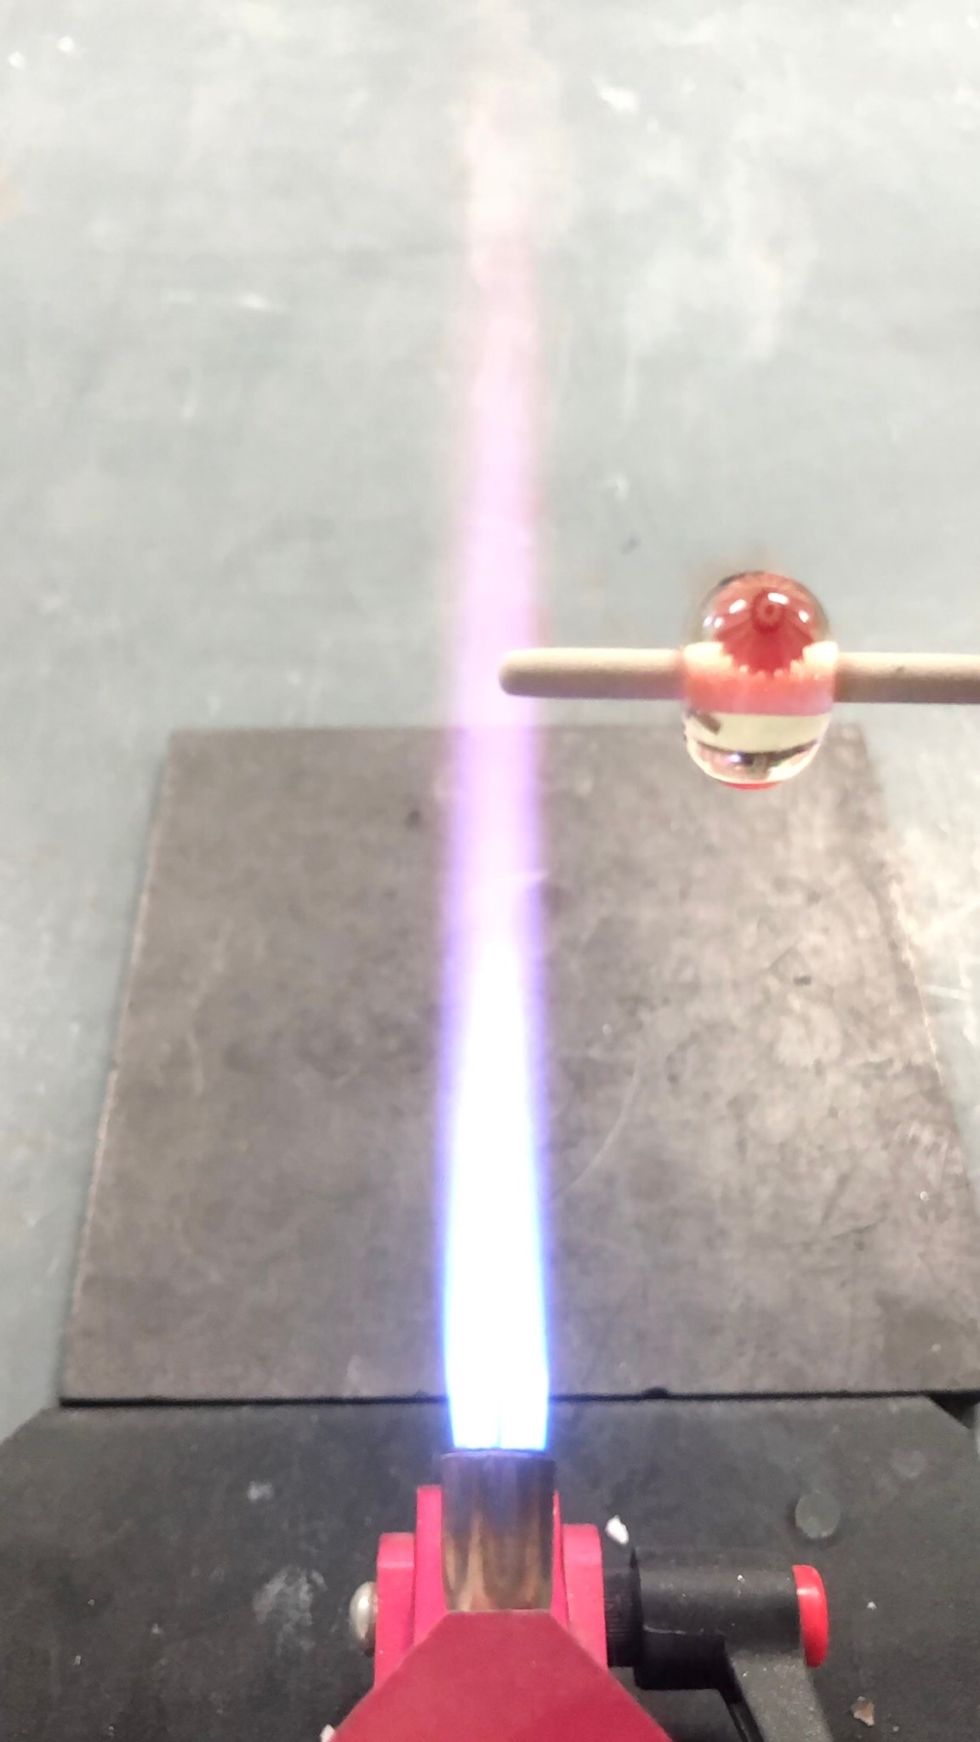
There we go. A nice clean patterned design.

Give it a try! It’s fun! Since our murrini cane are made with both striking and reducing colors, various effects can be achieved depending on which techniques you choose to use.