STEPS
TOOLS

This is one complete eye. Pardon the no make up. Follow next steps to see how to get this look. I use the entire package. 2 rows per eye....
In a nutshell before I begin: there are 4 rows lashes. I use 2 rows per eye & layer them on. I do one eye completely before moving to the next. I layer one row on then layer the next row on top.
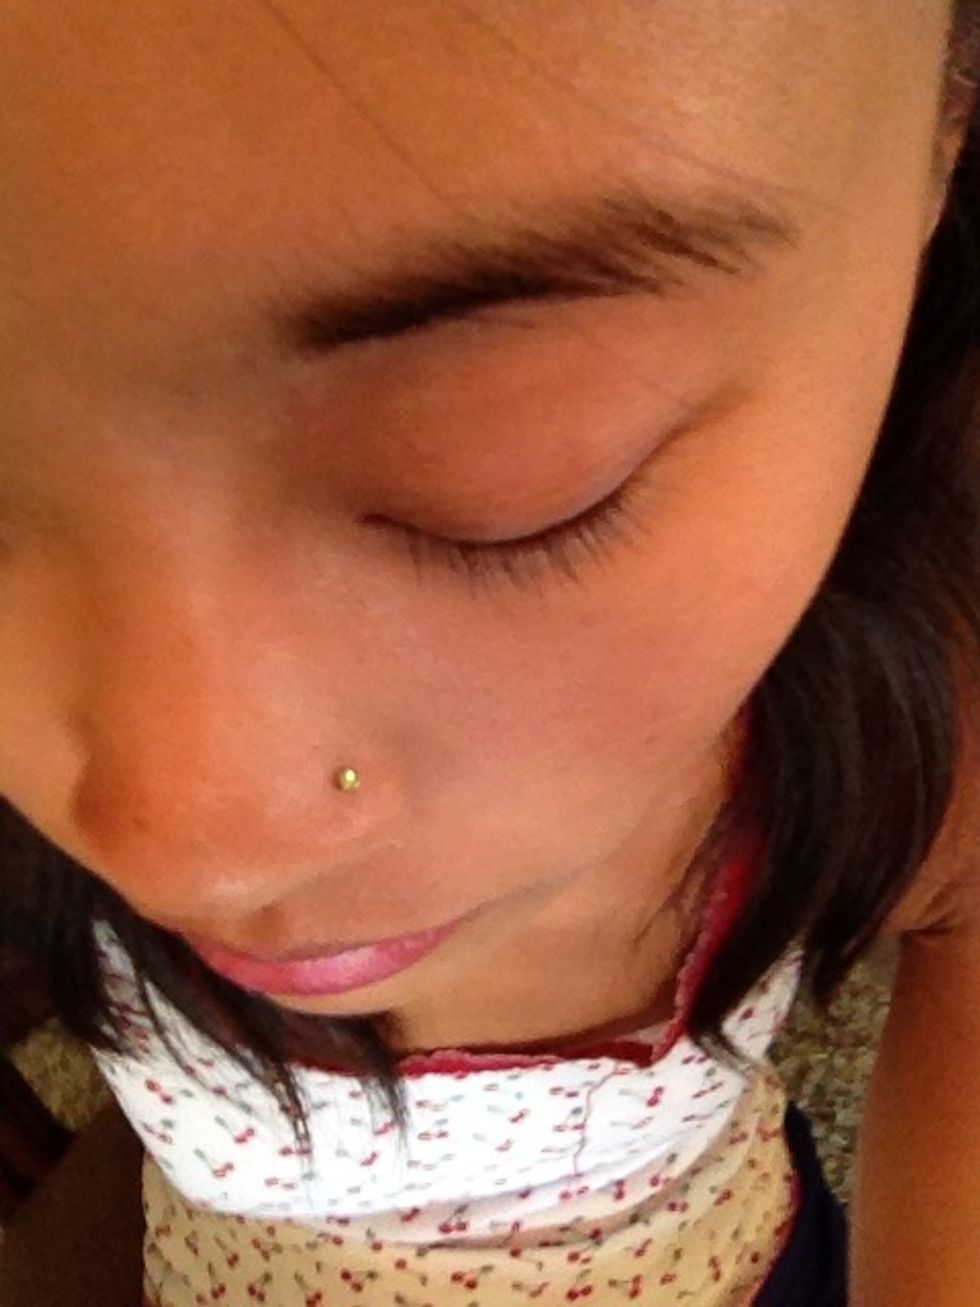
This is me with no lashes. Make sure your eyes are completely clean of any makeup. I use makeup wipes to do this because it doesn't leave an oily finish that some eye makeup removers do.

This is one layer done. Look at next slide to see how to get this.
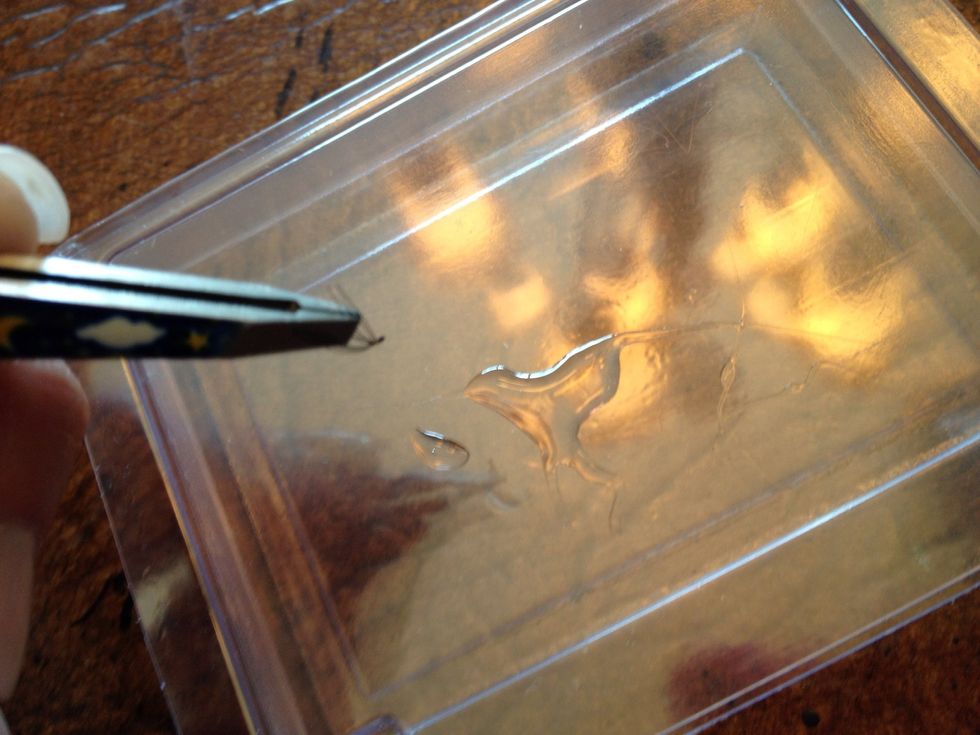
Pour small amount of glue onto anything other than paper. I use the container they come in, others use foil. I usually end up doing 2 small pours of glue. I find its better than one large dump of glue
... Because the glue will dry on you. So it saves your glue and is less wasteful
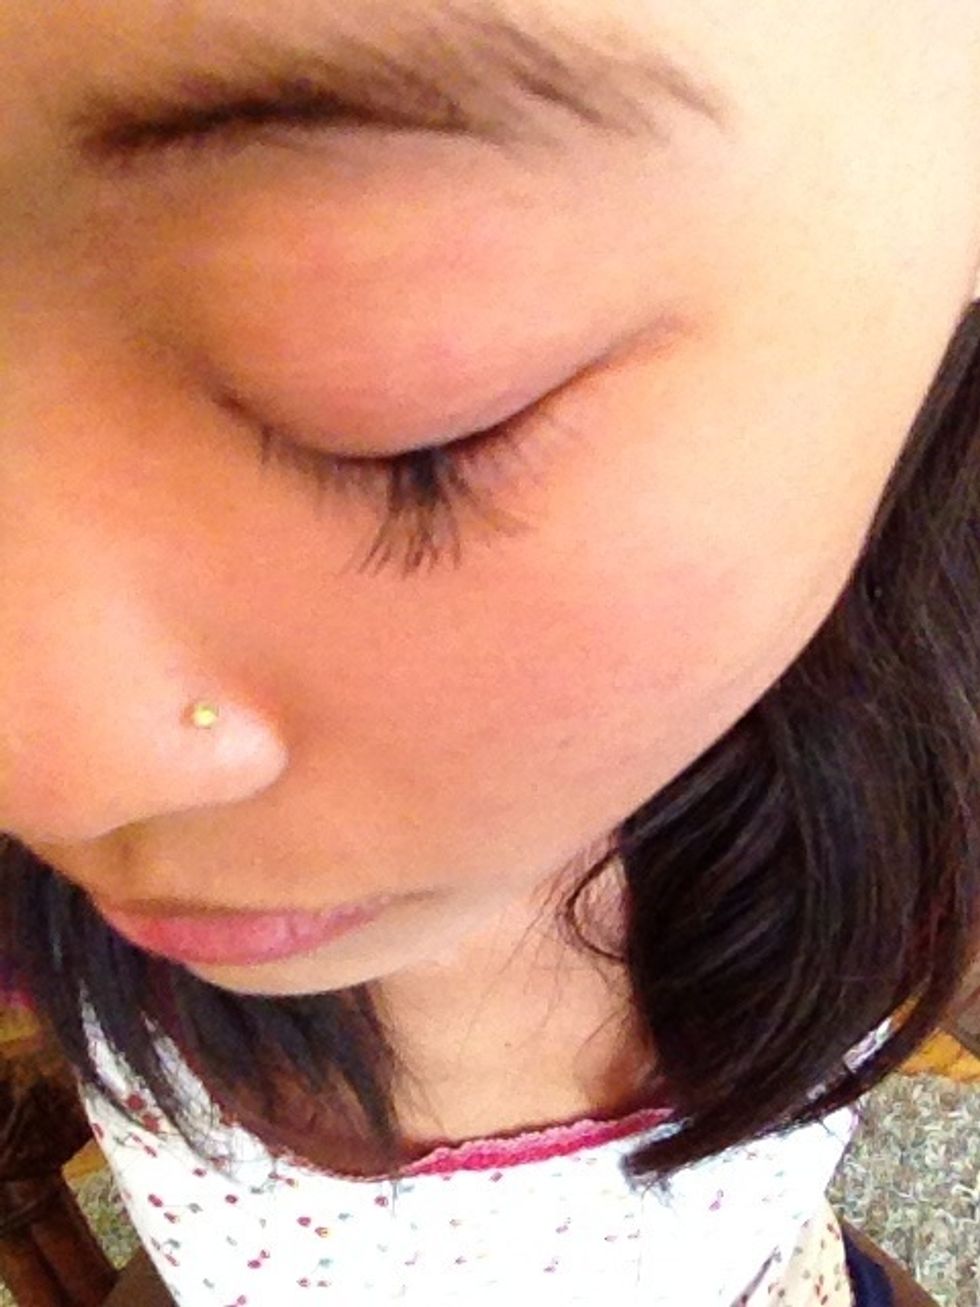
Usually directions on box say I start on outside but I start in middle. I find its most stable for starting out especially if you have baby lashes like me
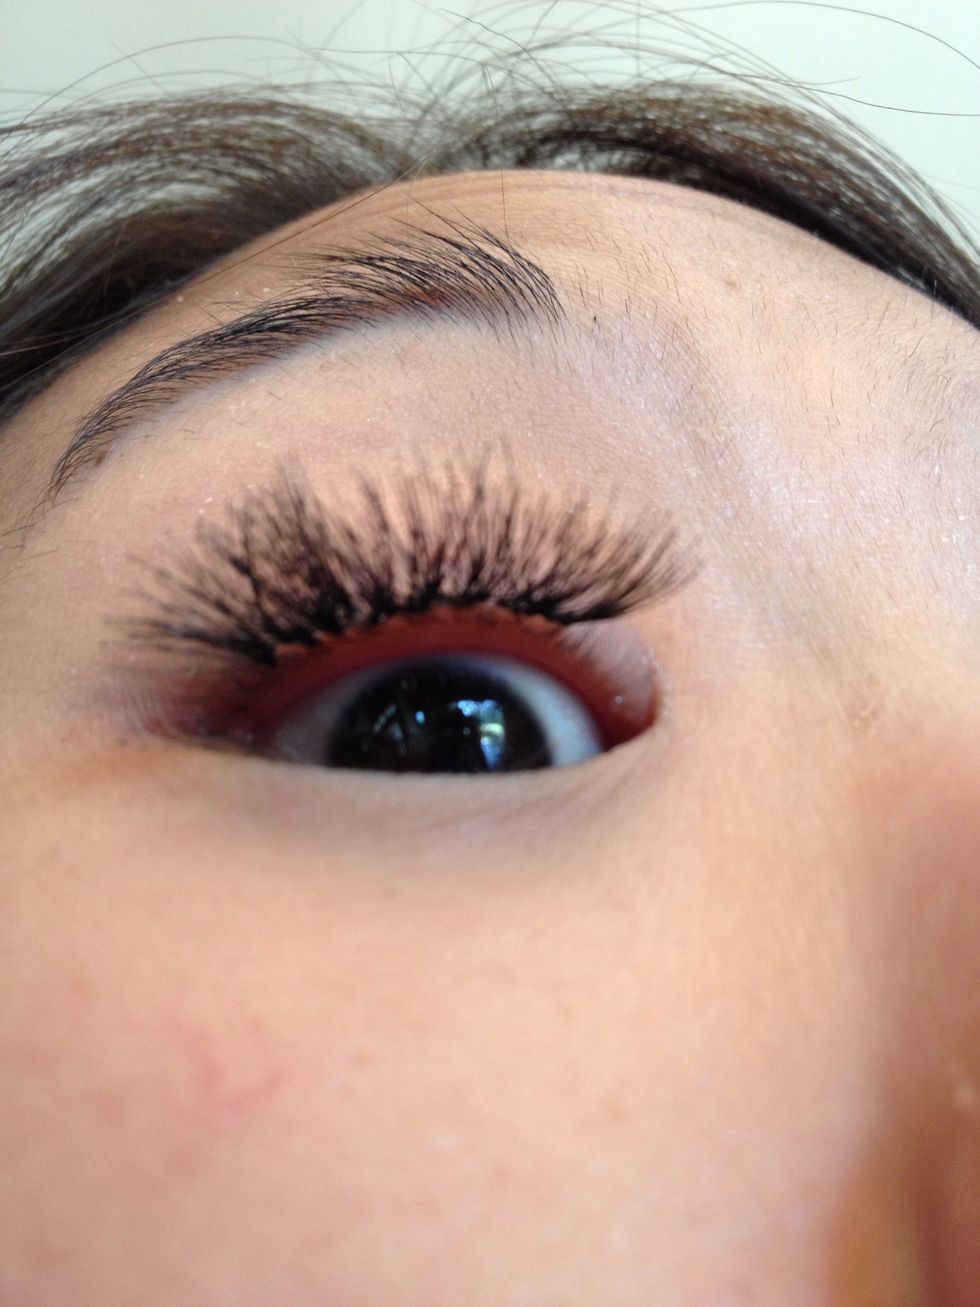
After you have the first layer on, look @ your lashes from 'below' in mirror to look for any 'bald' spots, then after that start on layer 2
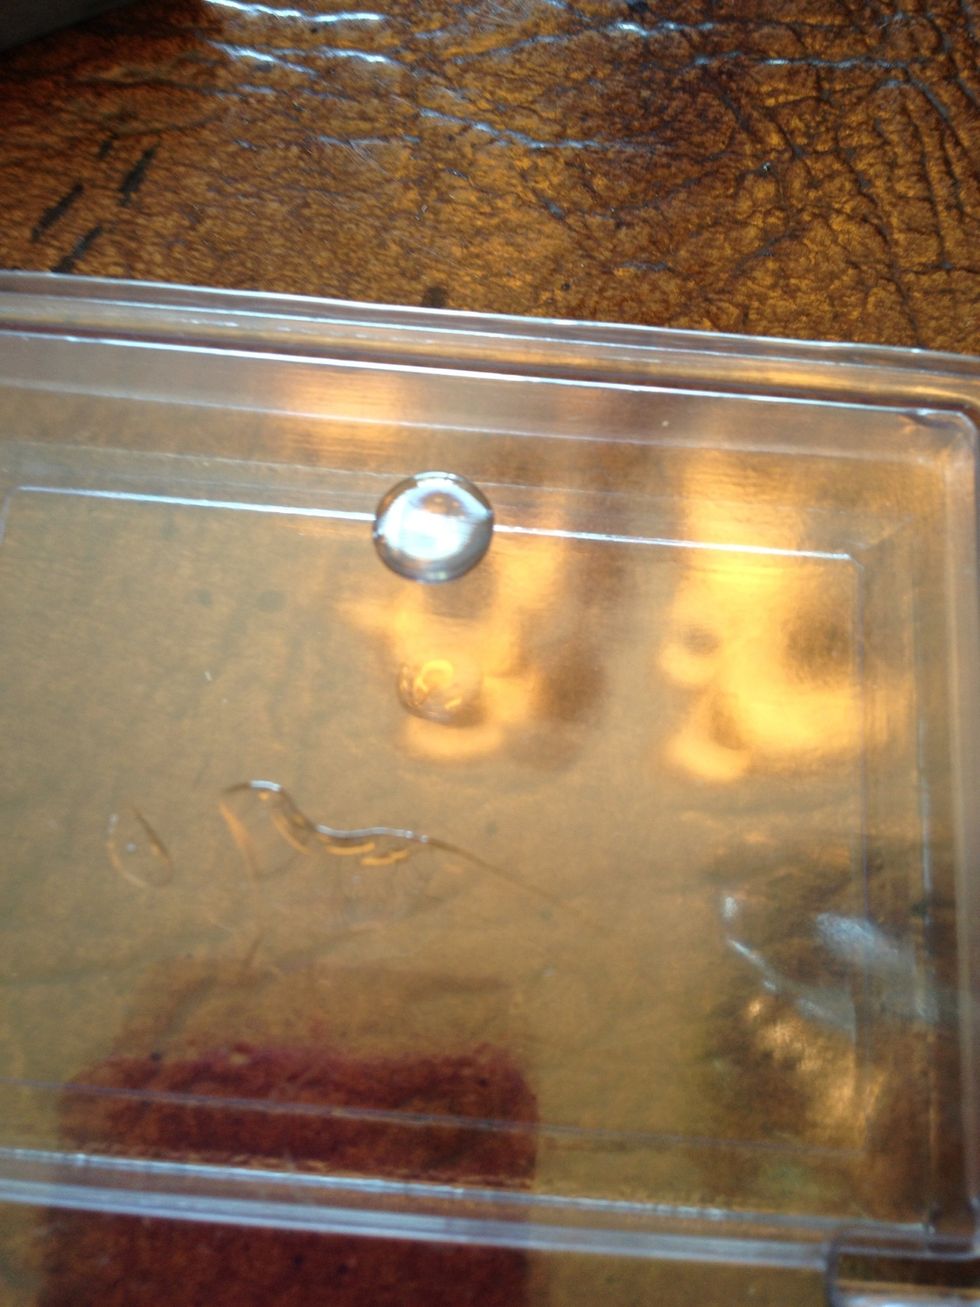
When dipping your lash into the glue, get as least of glue as possible, the more glue you use, the longer it takes to dry & I've found they will fall easier during the process of you gluing them on

Now you have two rows left for your second eye. Repeat on other eye. (Layer one row on, look for bald spots, use last row to fill bald spots in and to layer 2nd layer on eye)
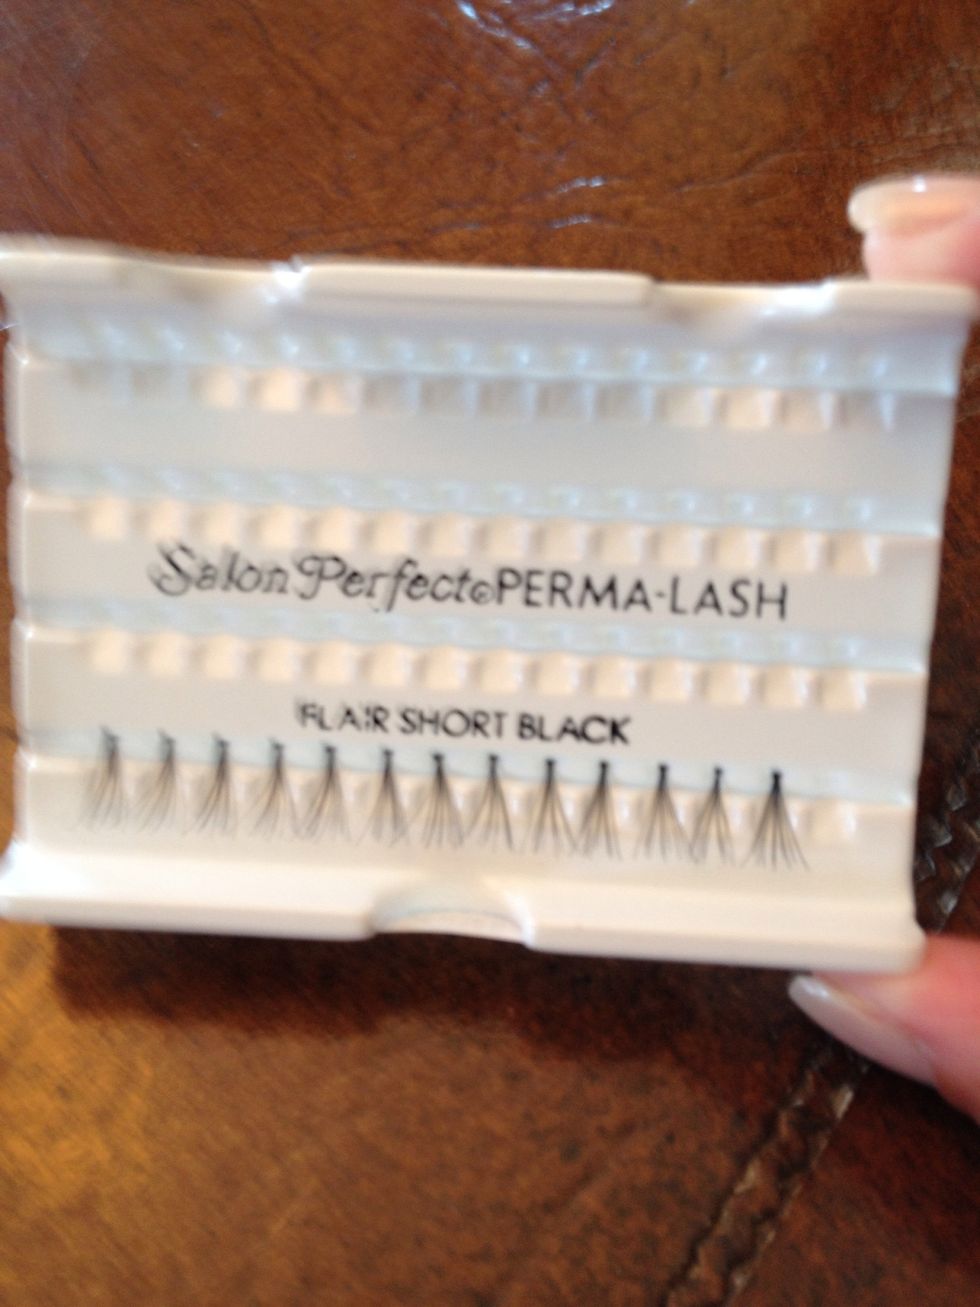
If you're still confused about the row to layer ratio.... One row ( see picture) = one layer on eyelashes. And I do two layers on each eye. If you want, you can just do 1 layer, it's up to you.
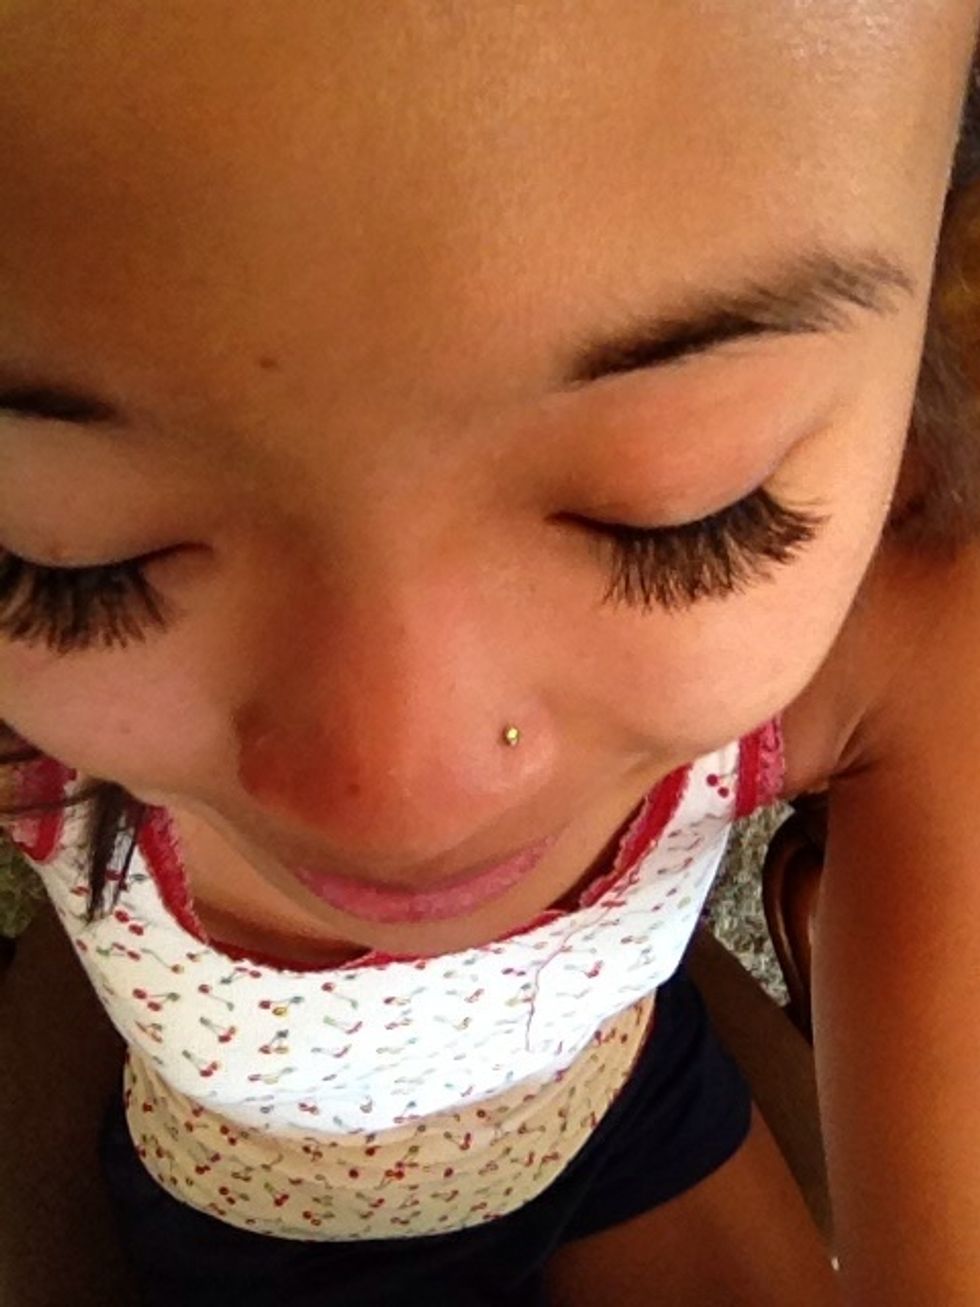
Complete lashes. Mine stay on for up to 2 weeks. To make them last as long as possible: dont rub them. Also,Use oil free make up remover (I actually use make up remover wipes and wipe AROUND lashes)
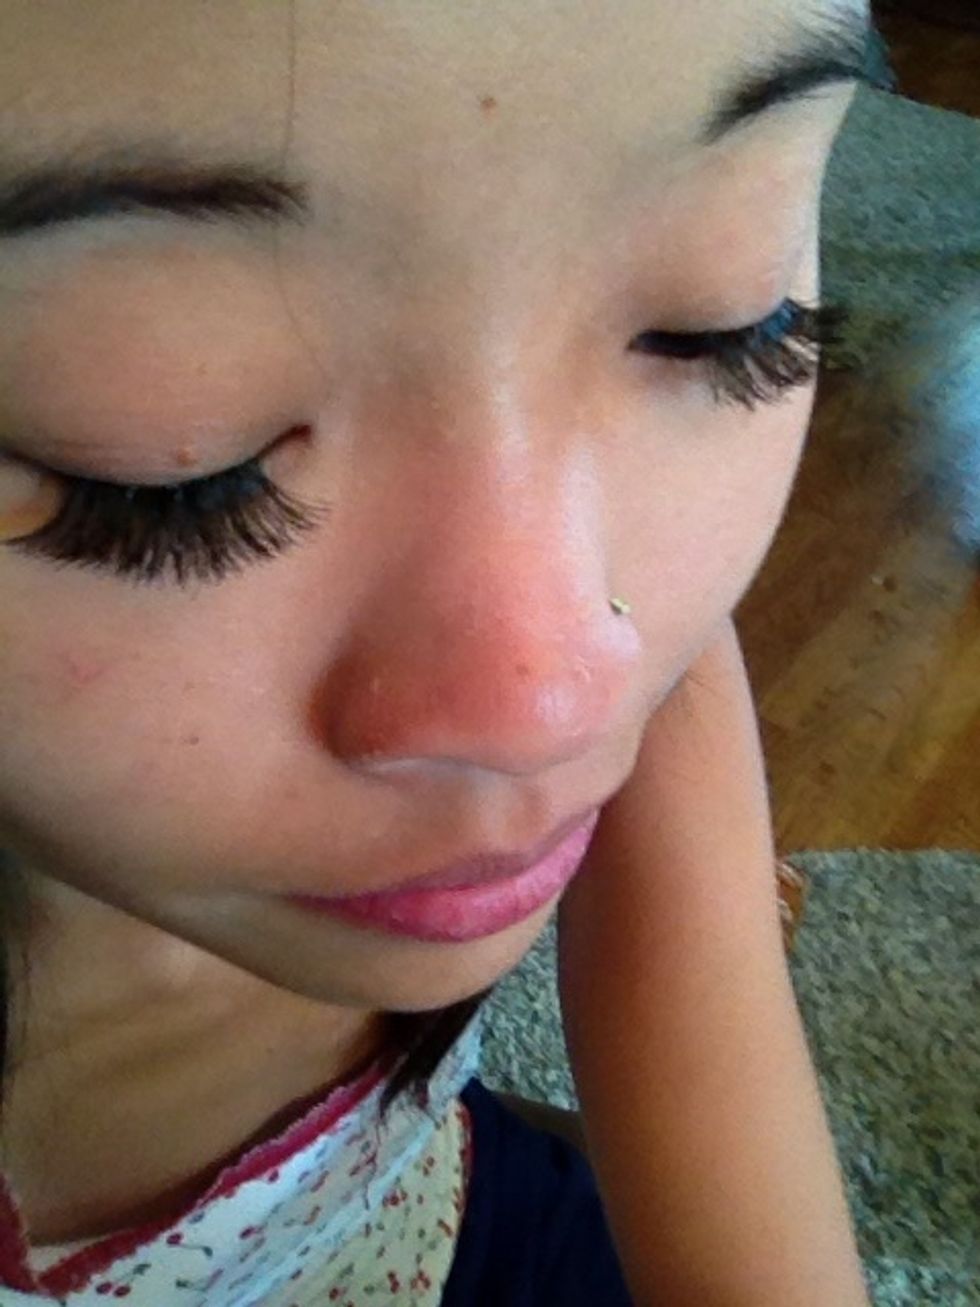
... Don't use mascara on them. If you do, use it towards the end of their wear.
If you're like me & have a spot where you don't have natural lashes, apply lashes on both sides of the troubled spot and work your way in. The faux lashes will bridge the gap.
It's not guaranteed that lashes will stay on for entire two weeks, or even longer. Some only have lashes stay on for a week, sometimes less. The better you get at applying, the longer they will stay.
Make sure lashes are applied as close to lash line as possible. This not only makes them look more natural, but helps them adhere better , at least I've found so (thus lasting longer)
Removal: usually they sluff off for the most part when it's time and I use a bit of olive oil on a q tip to get the rest off. As long as its oil based, it helps to break down the glue. DON'T PULL
BECAUSE YOU'LL PULL YOUR EYELASHES OFF. TRUST ME I'VE DONE IT BEFORE.
Thanks for reading! And again, don't forget, use INDIVIDUAL eyelash glue, Not strip glue. This makes a big difference.
- Individual lashes. Whichever brand you prefer
- INDIVIDUAL eyelash glue
- Tweezers
- Eye makeup remover (non oil based) optional
Mia Morales
My name is Mia. I've had my aesthetics license for 6 yrs & I <3 makeup artistry. I'm currently in school for my BSA in accounting. I like pretty things.
Overland Park Kansas
The Conversation (0)
Sign Up