The Conversation (0)
Sign Up

Cut your pillow front and back 1" larger than your pillow. I'm using two fabrics. My pillow insert is 12 x 18 so I cut mine 13 x 19
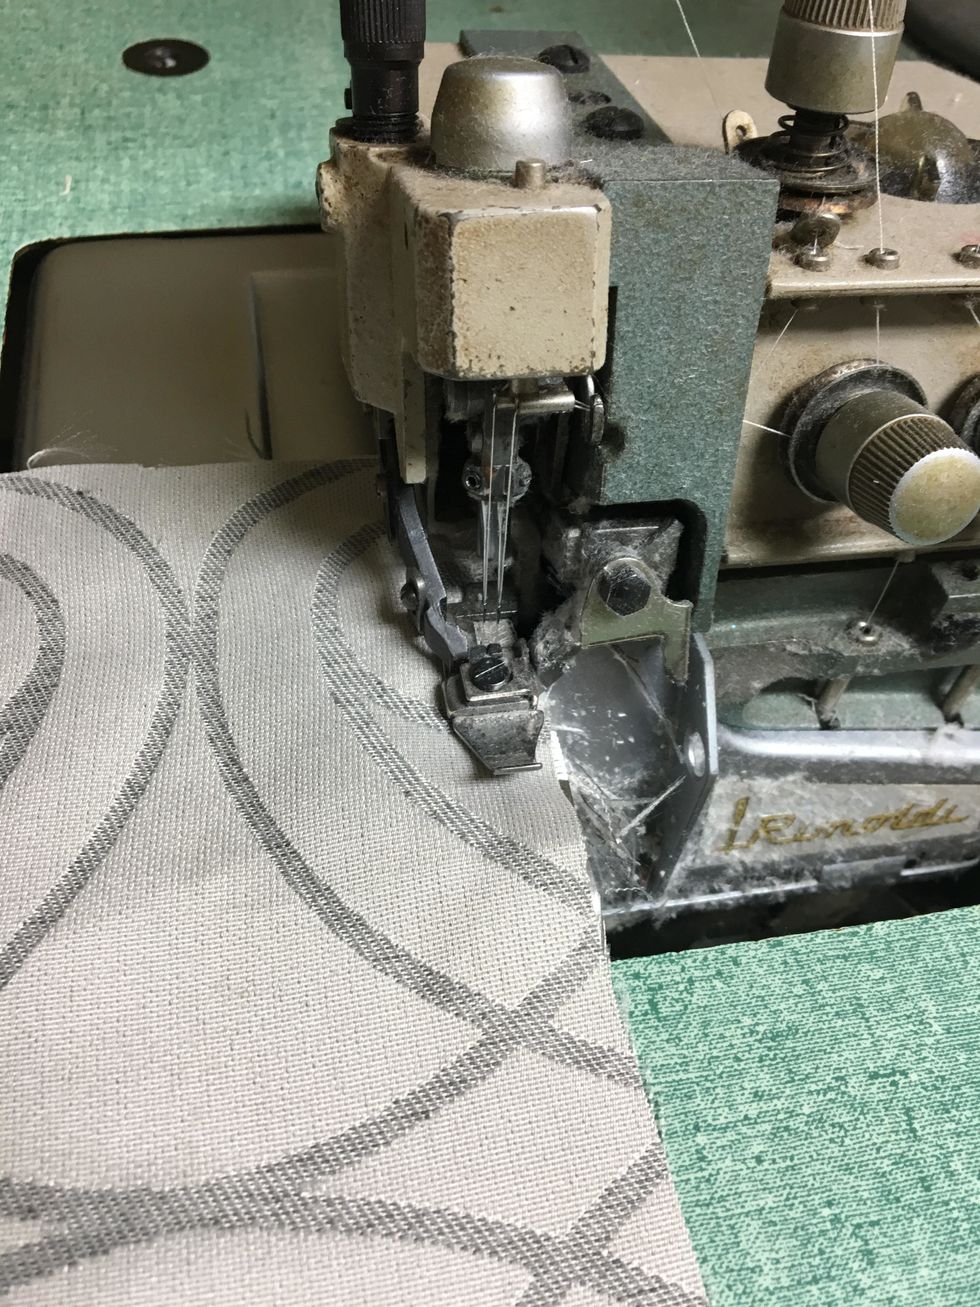
I have a serger so I served around all 4 sides of the pillow front and back to finish off the edges but it isn't necessary.
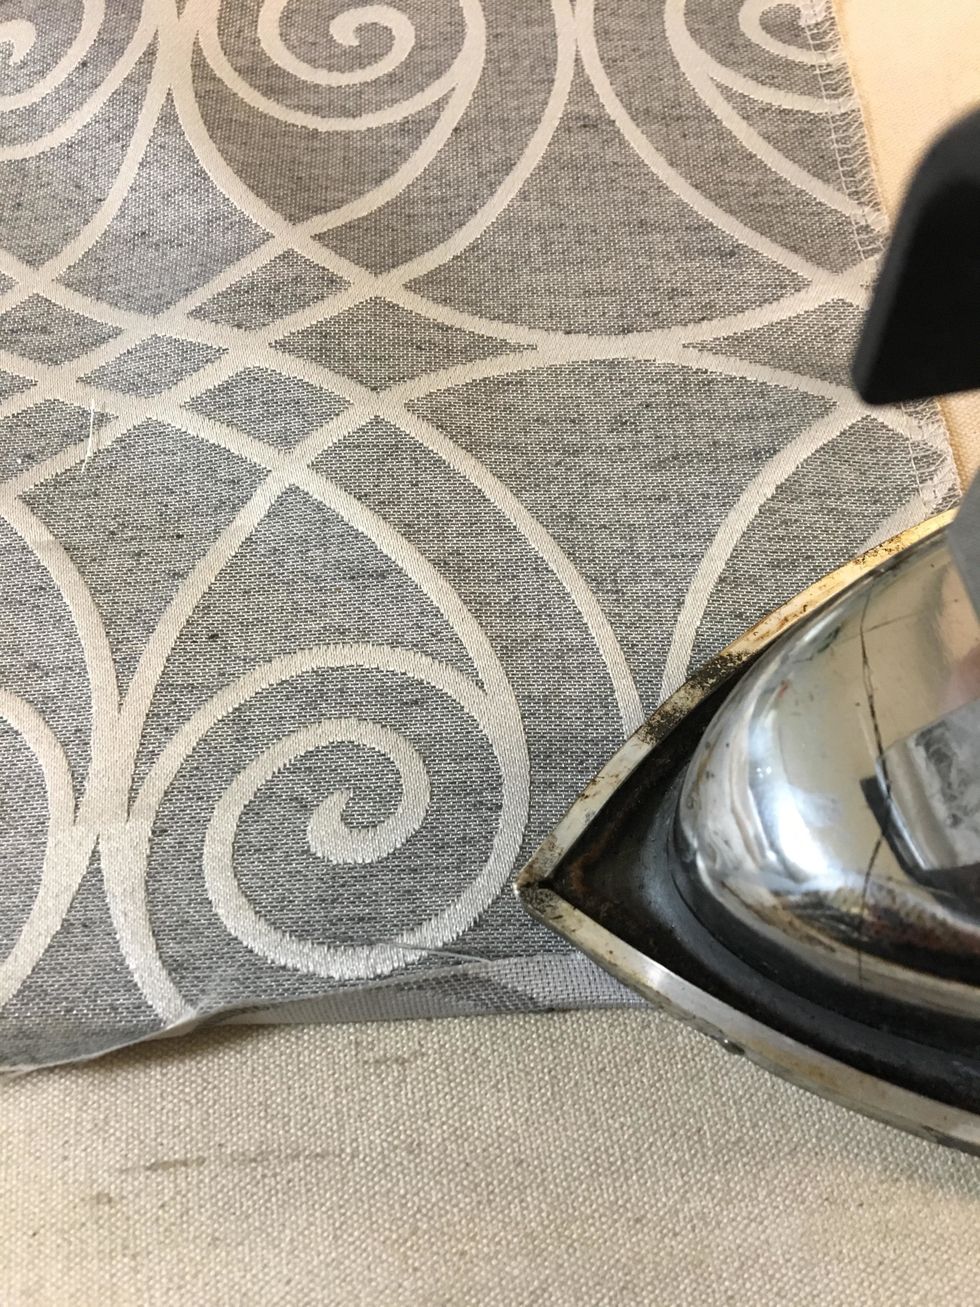
If you don't have a serger just turn up 1/2" and press to the wrong side as shown

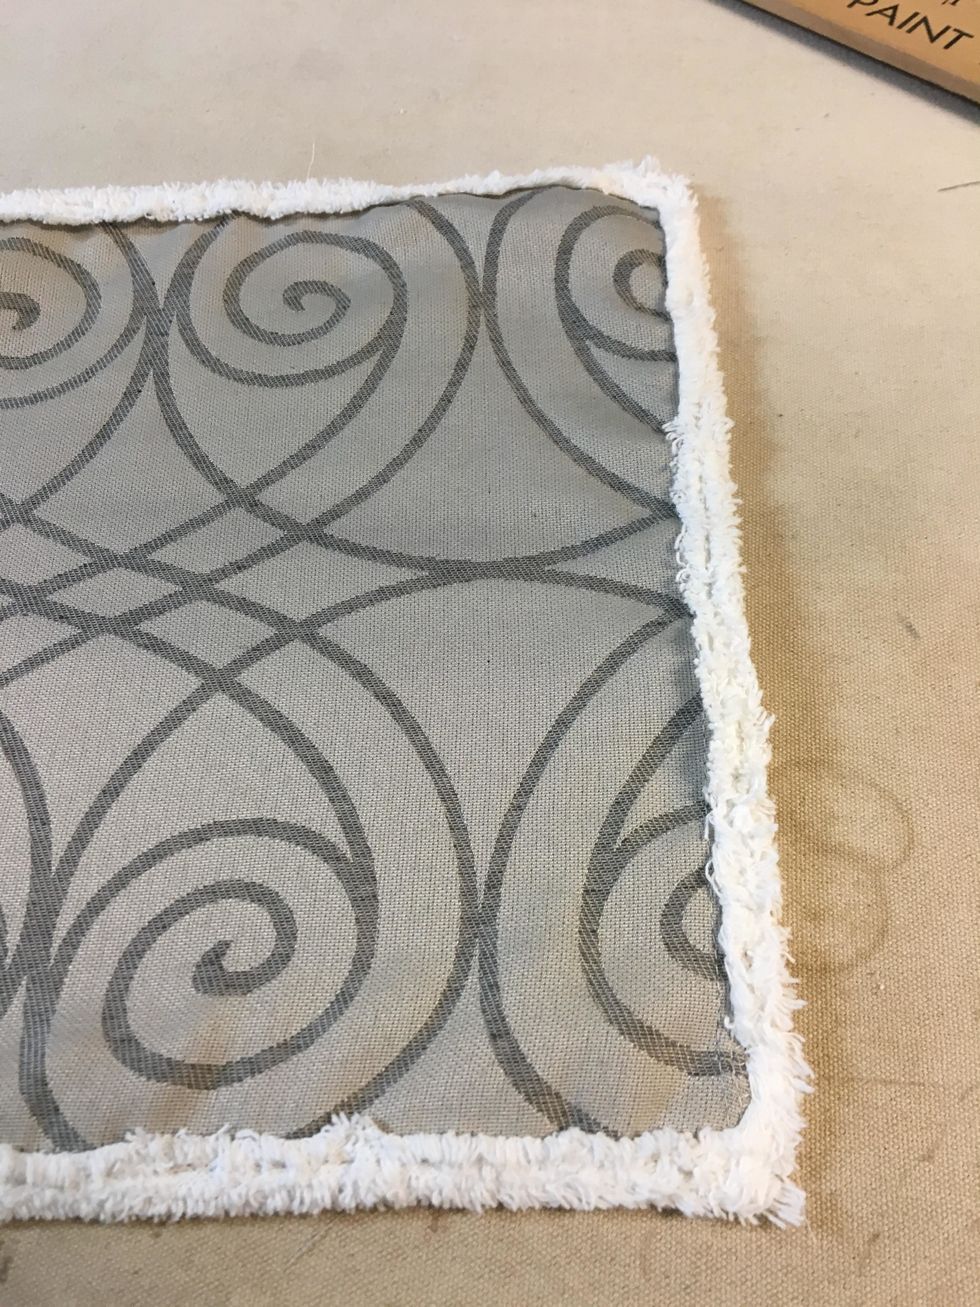
Stitch the Chenille-It to the edges of the right side of the pillow front and back. You can use 1 layer but I'm using 2 layers on each side. 3/8" and 5/8". More is better!
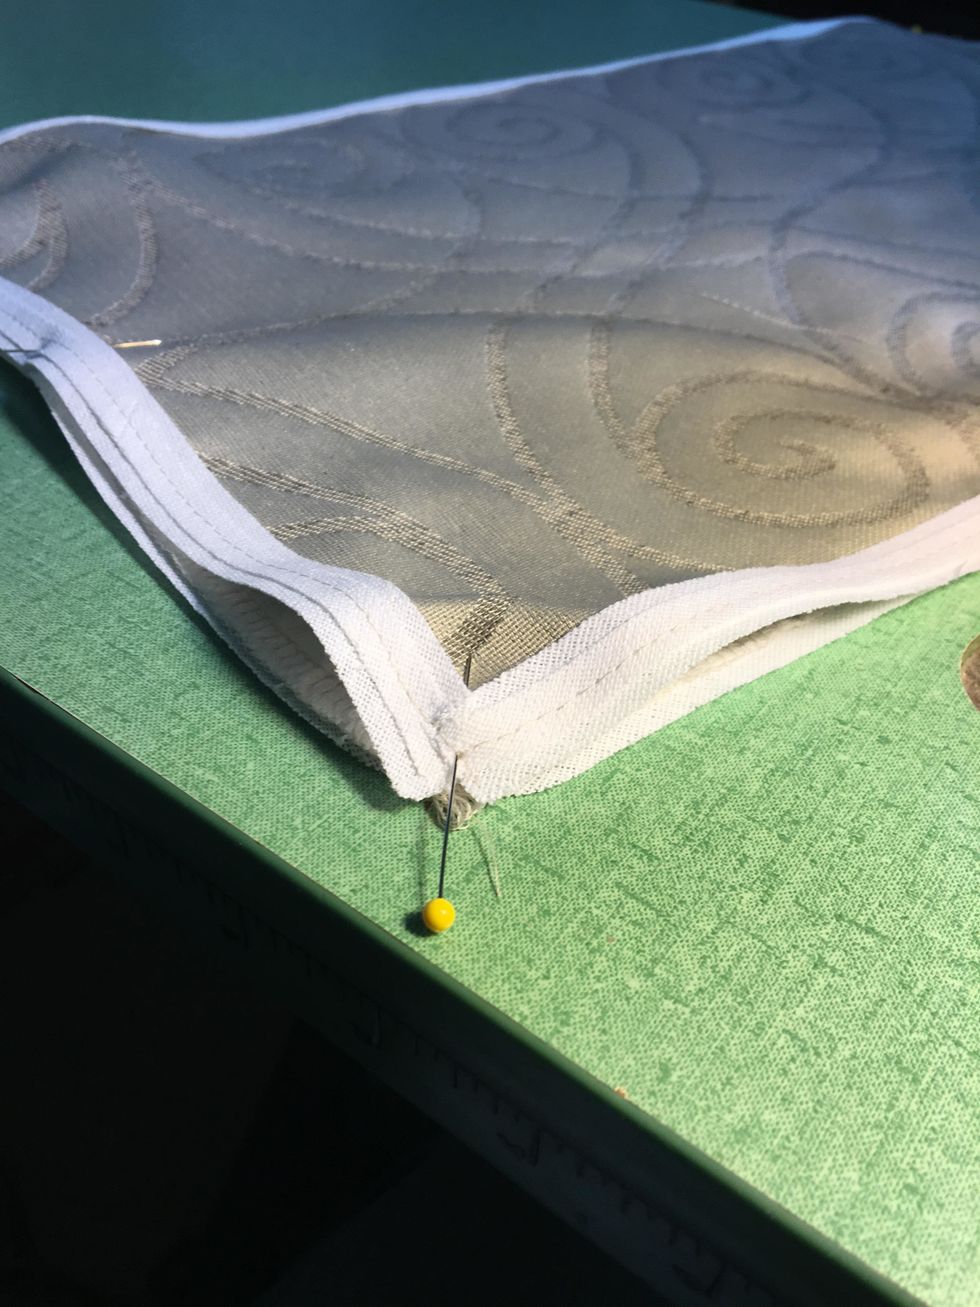
When you have applied it to all 4 sides of the pillow front and back pin pillow front to back at the corners, wrong sides together
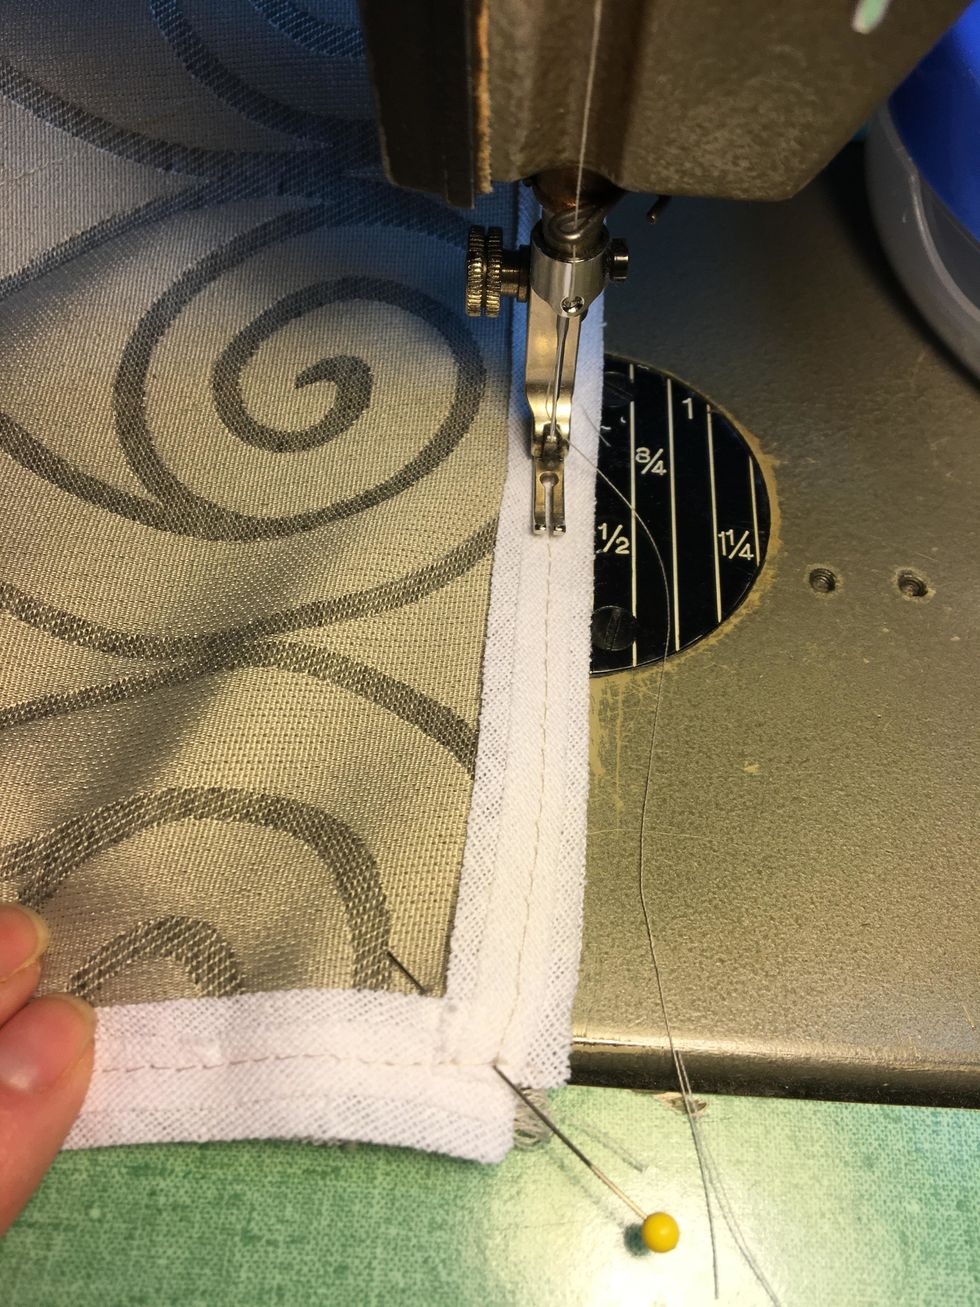
Begin stitching along the bottom about 3" from the bottom left corner of the pillow. Stitch all the way around to the bottom right corner of the pillow

Make the turn and stitch about 3 inches along the bottom edge of the pillow and stop. Not continuing to the starting point allows for an opening to insert the pillow.

Your opening will look like this

Press it out really good and clip your strings. Now throw it in the wash and dry
Wallah!!! Can you believe how it fluffs up!!!
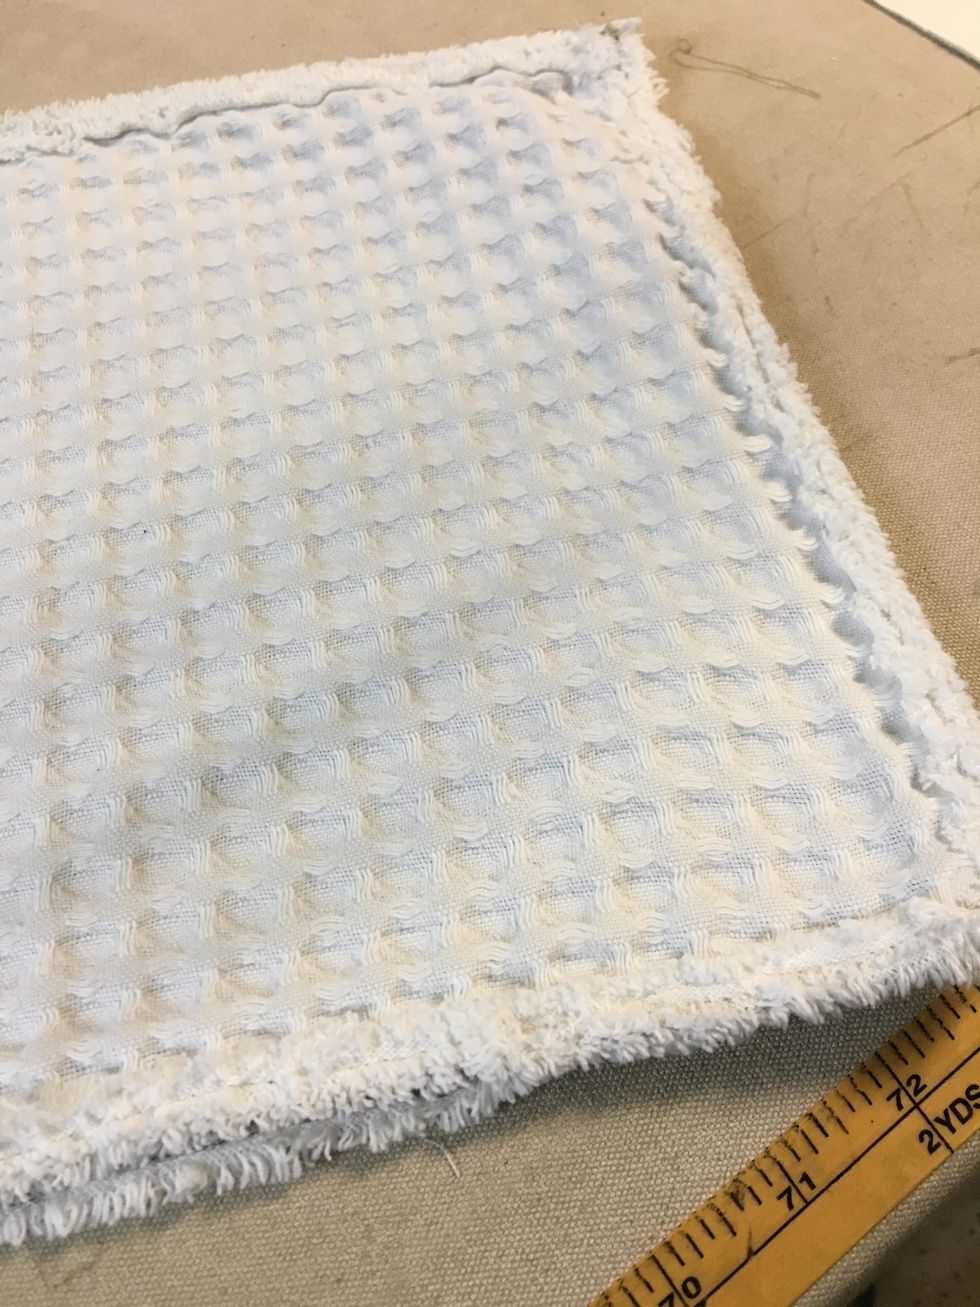
Press the fabric and check to make sure you caught the pillow in the seams. If not stitch over any gaps
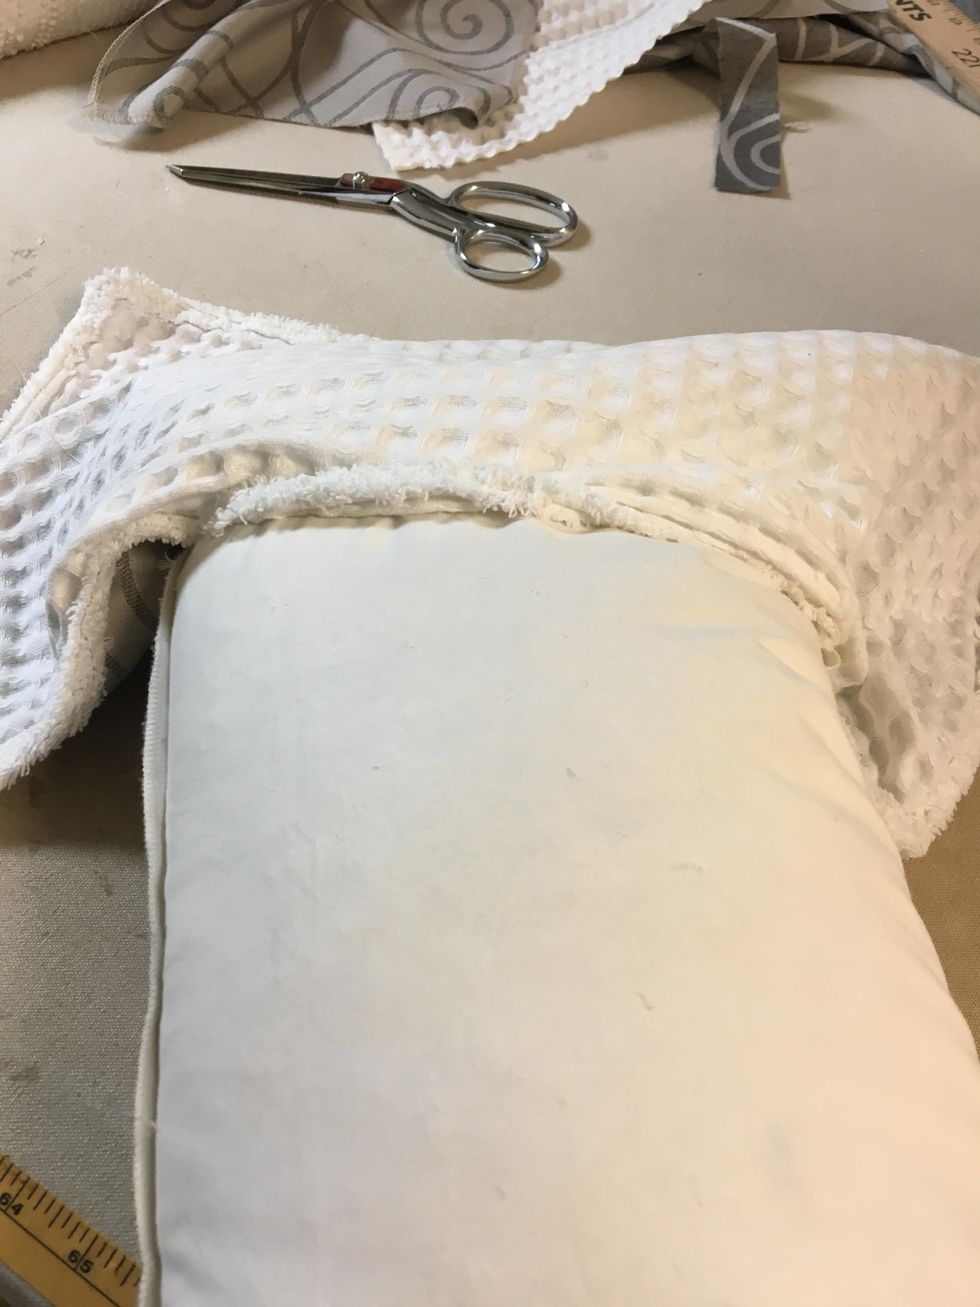
Start working the pillow form into the pillow
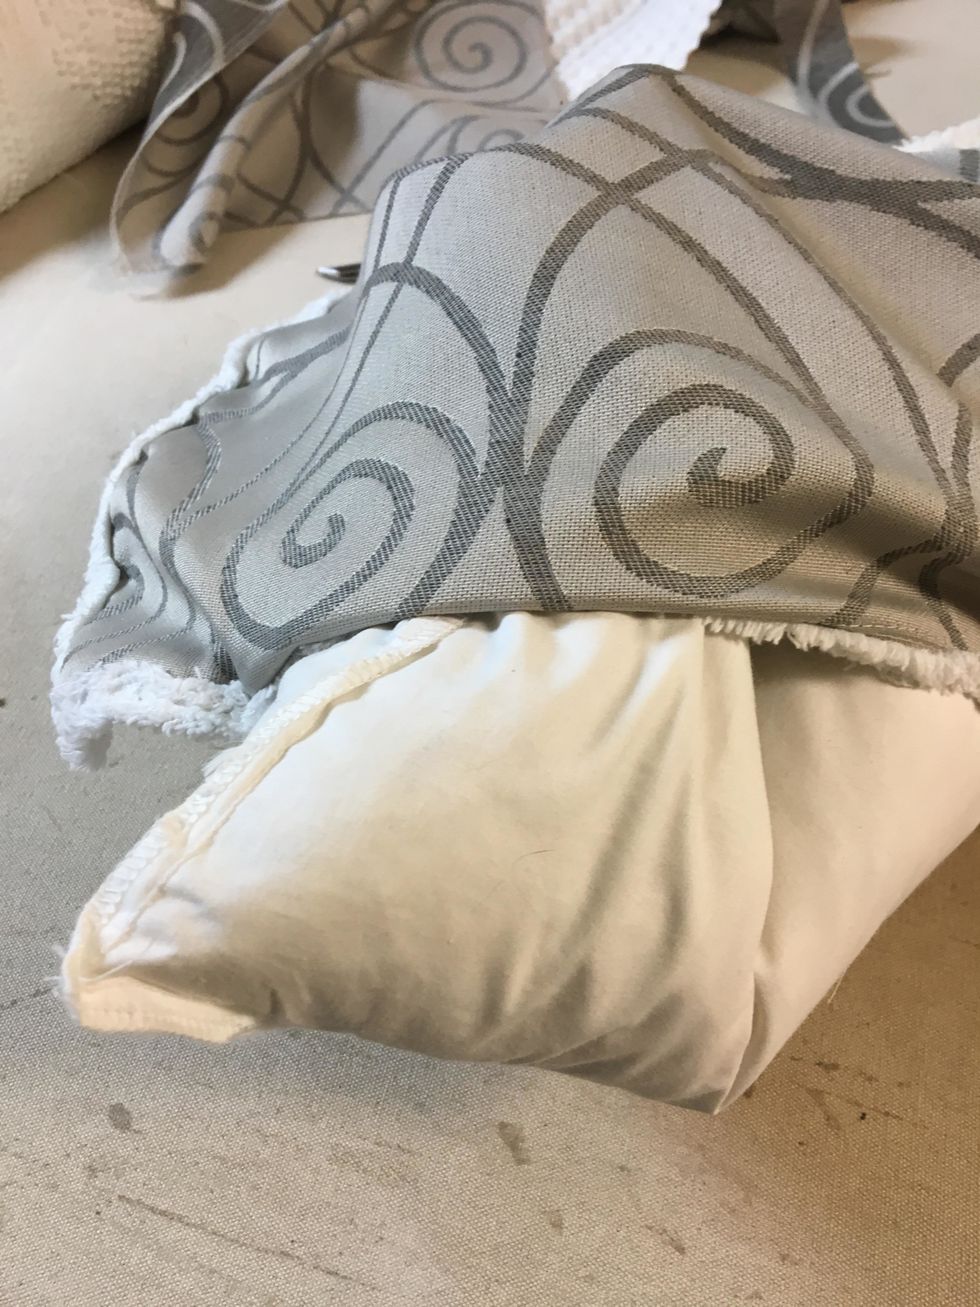
Being careful not to rip the seam. Fold the pillow in the middle and it will work into the opening easier.

Work the pillow into all the corners then pin your opening closed

Stitch the opening closed trying to stitch along the same stitch line the trim is applied with

I don't know which side I like best ..... the white .......
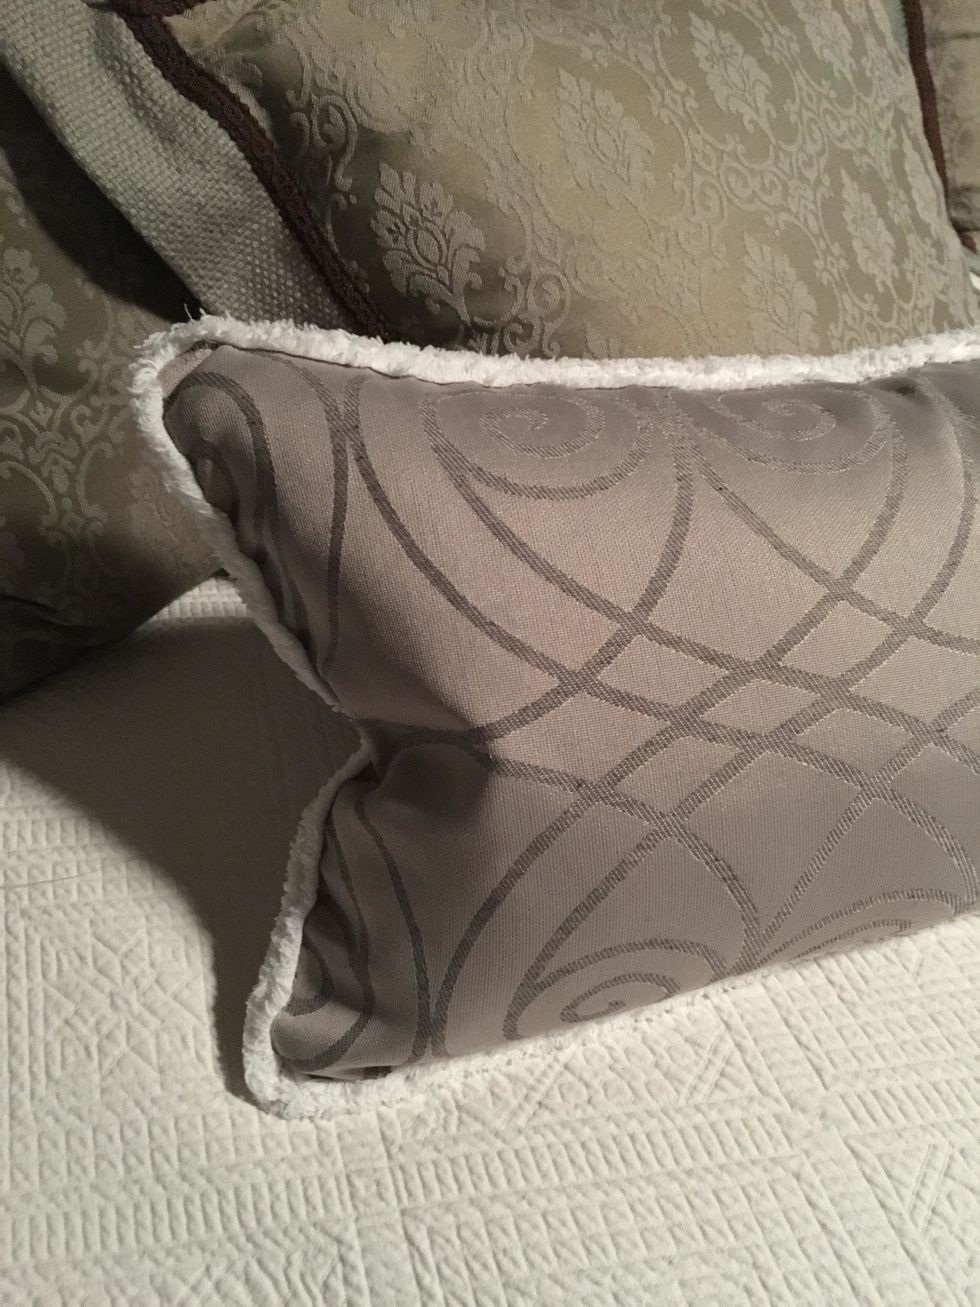
Or the gray!