The Conversation (0)
Sign Up
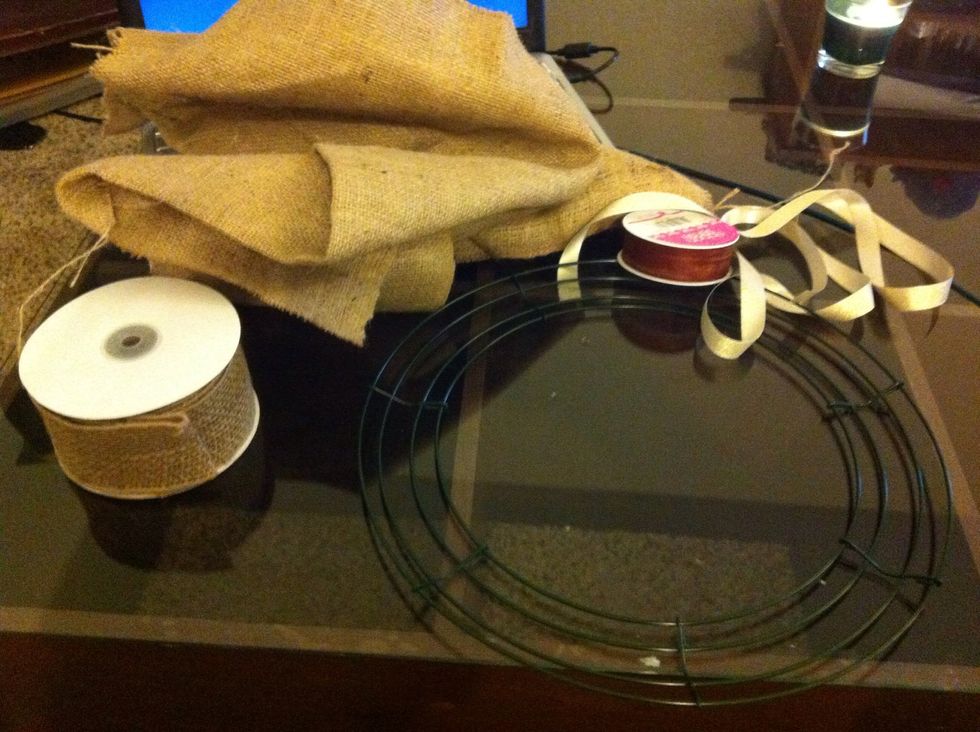
Start with your supplies. I want lots of texture in my wreath so I'm using different kinds of burlap and ribbon.
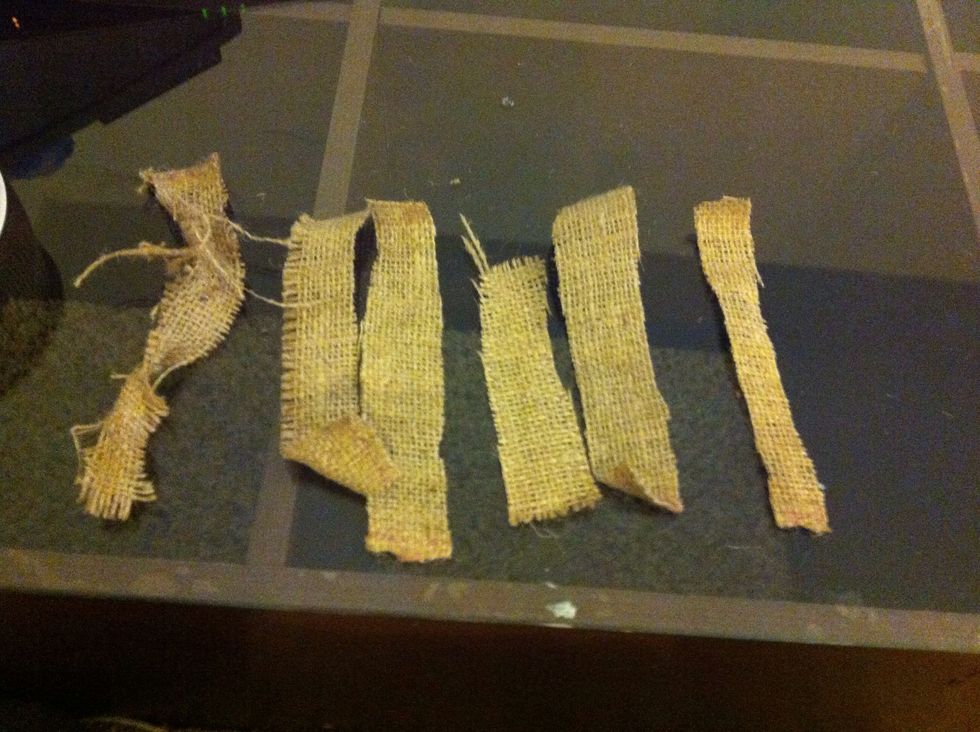
Start cutting. Like I said, I want lots of texture, so I'm not too concerned about my strips looking similar in shape and size.

And cut a lot! I cut my burlap into about 4 inch strips.
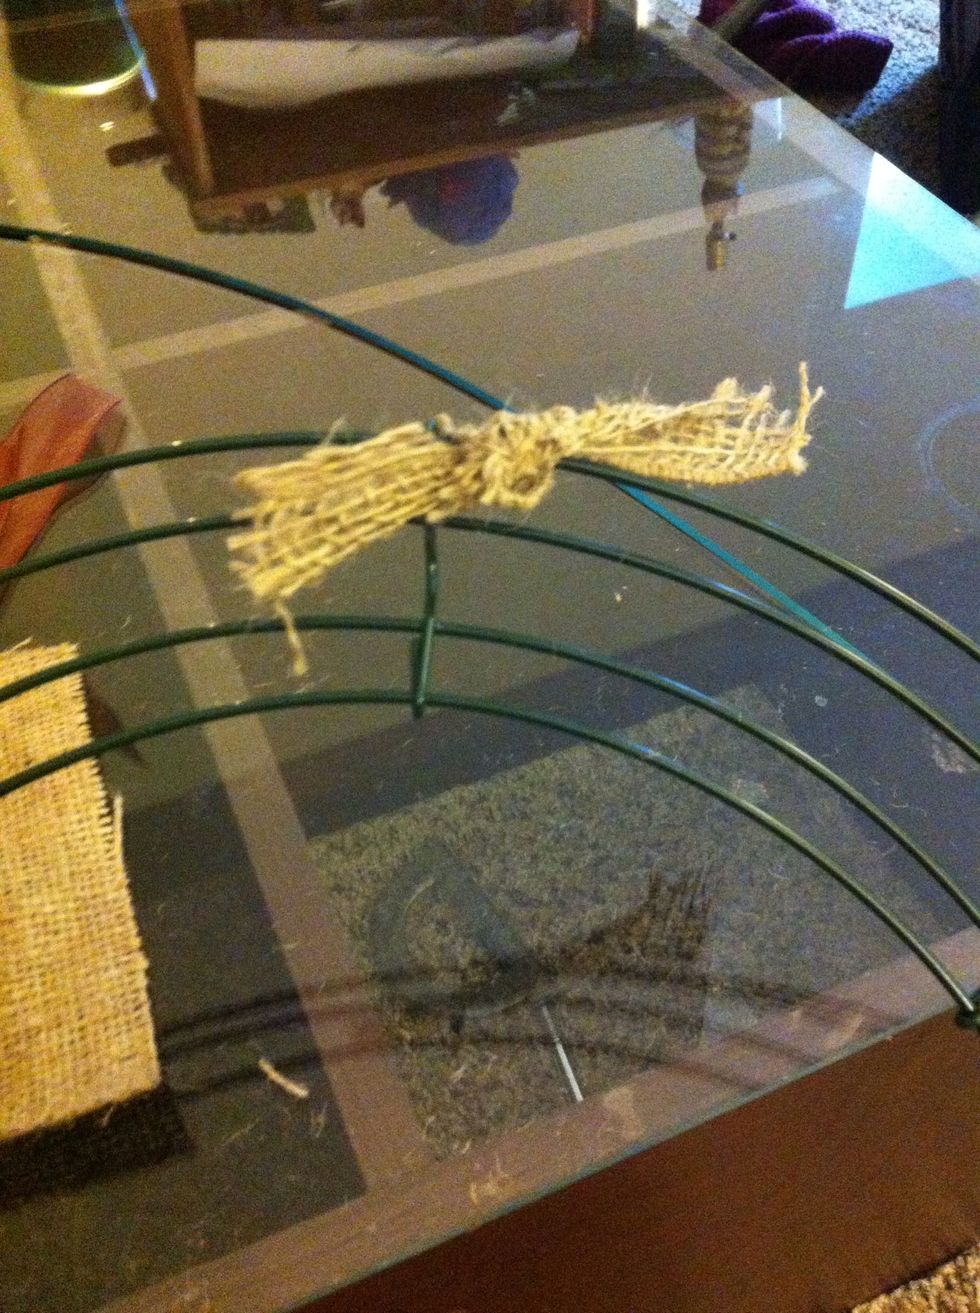
This part is easy. Start with one strip at a time and tie a not. That's it! Simple.
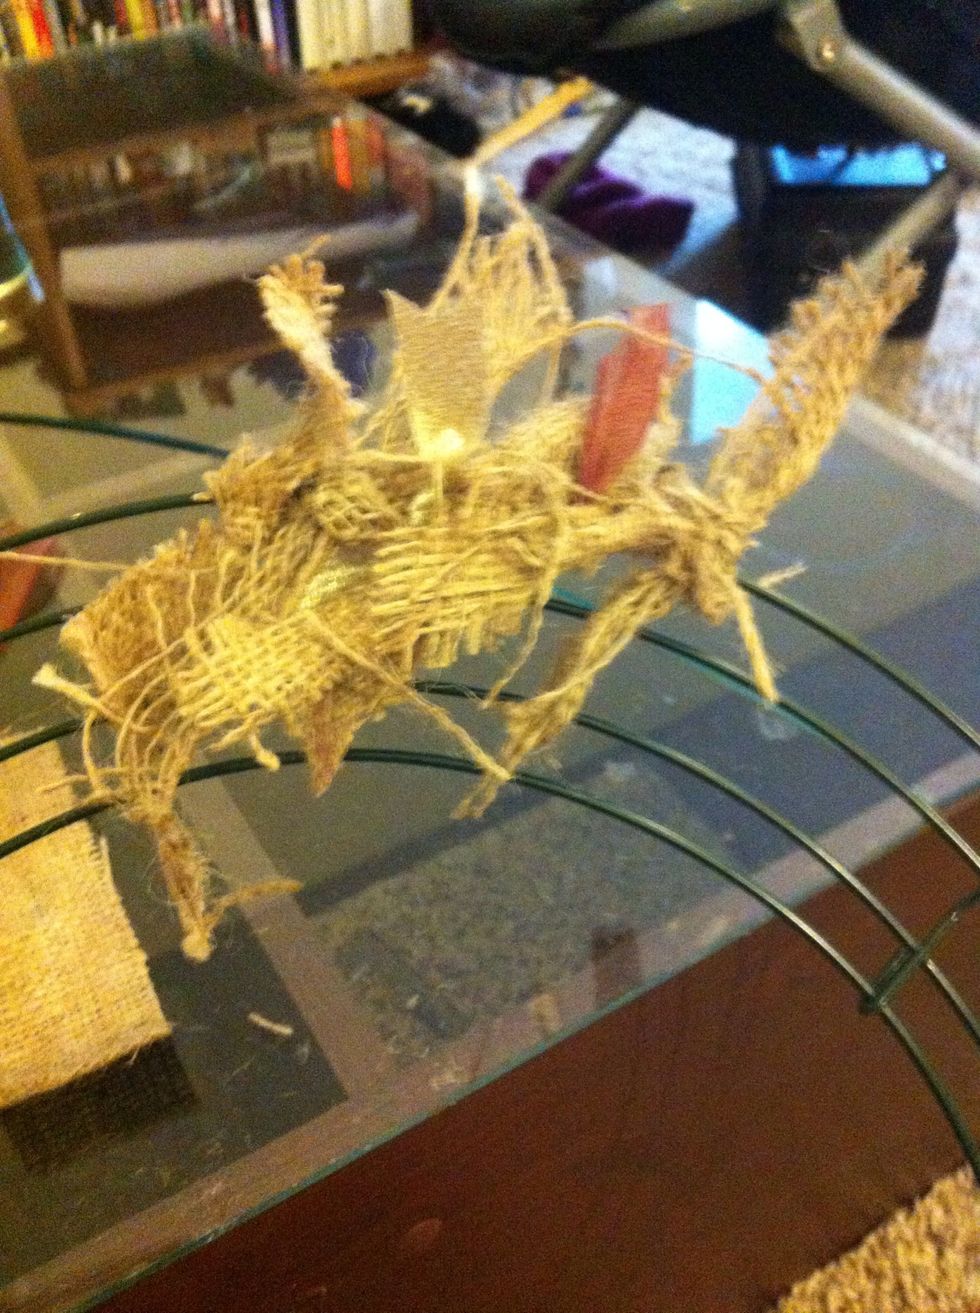
Keep tying more.

And more. This is about half way done.
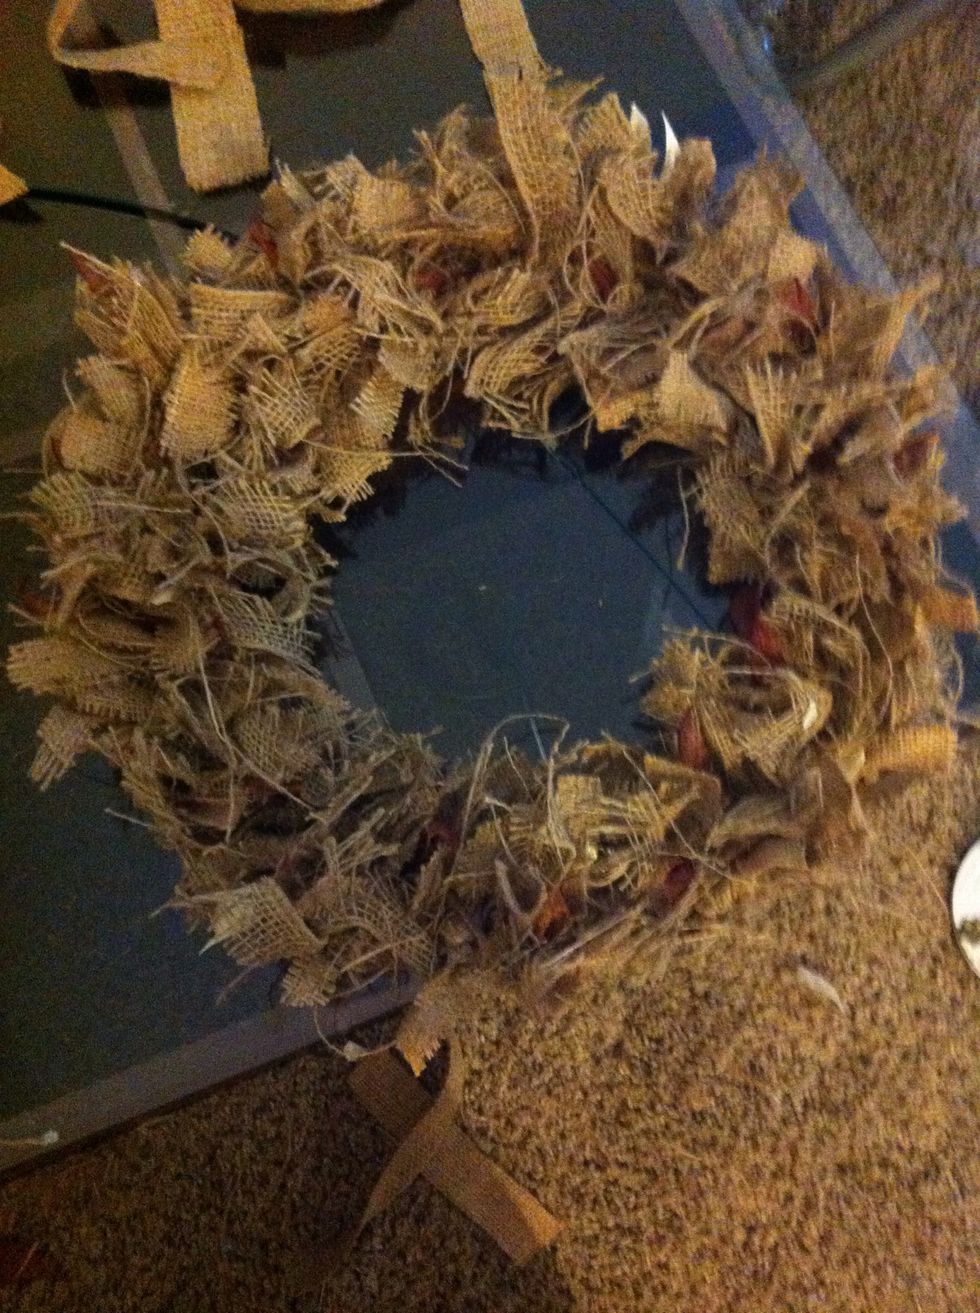
And done! I put little bits of burgundy and gold ribbon in mine to add a little pop of color.
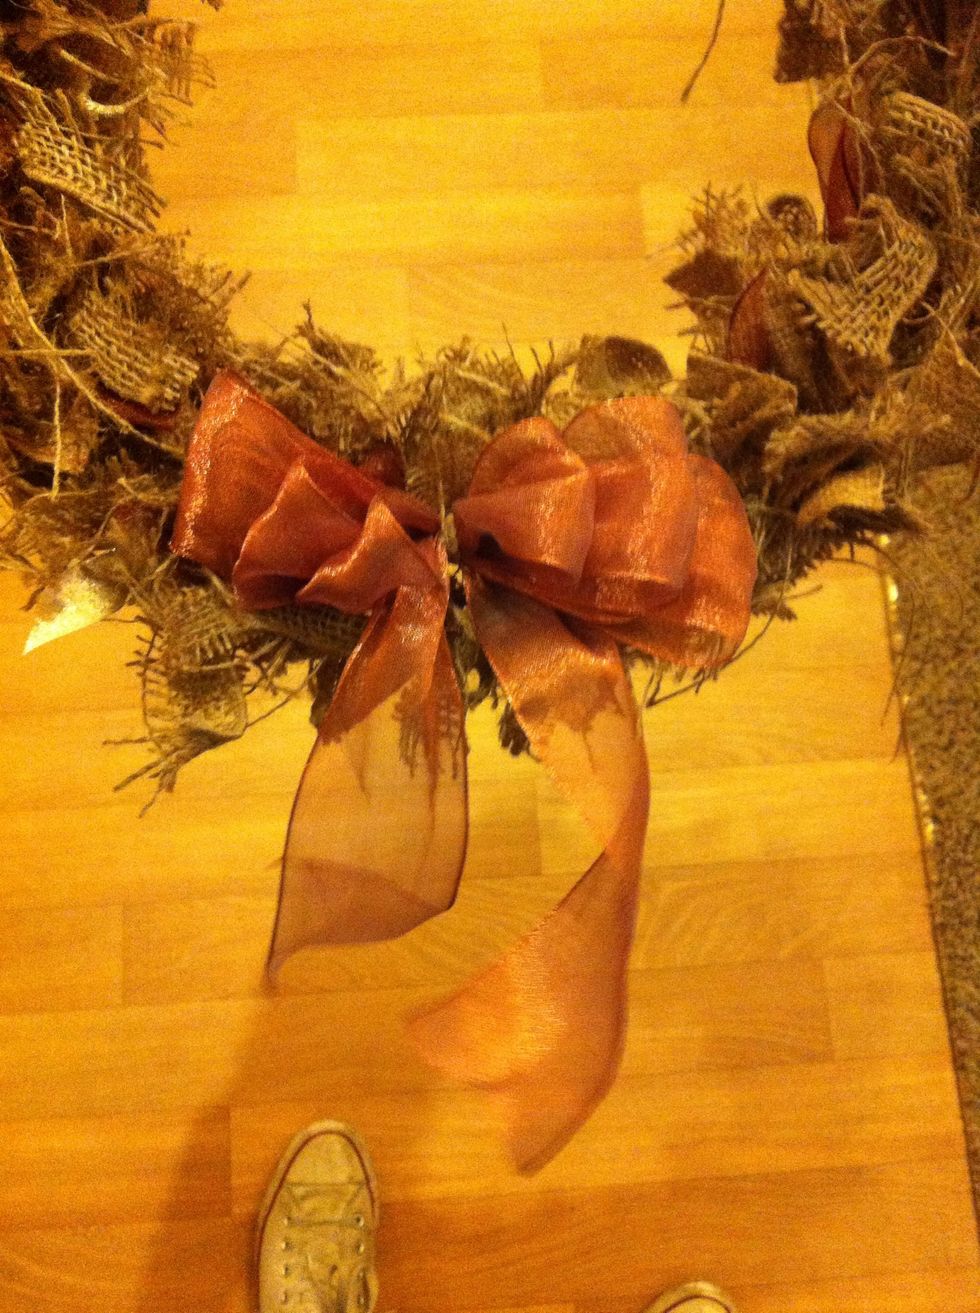
My wreath ended up being fuller on one half than the other, and I wanted more color, so I added a bow.
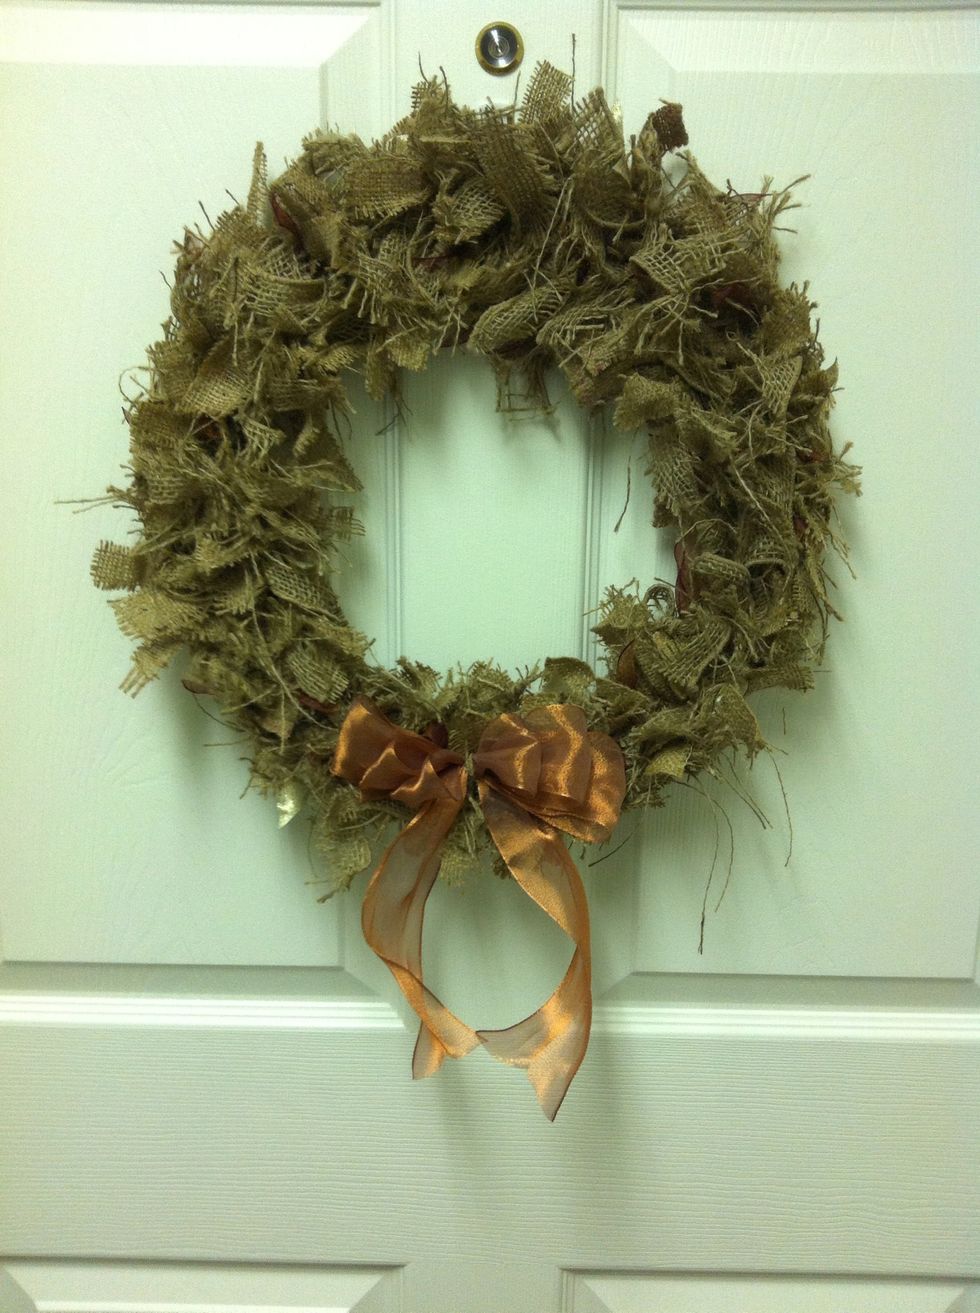
Hang it up and you're all ready for your Autumn decorations! This whole project took me about 2 hours. Such an easy way to add a nice decoration to your home!