The Conversation (0)
Sign Up
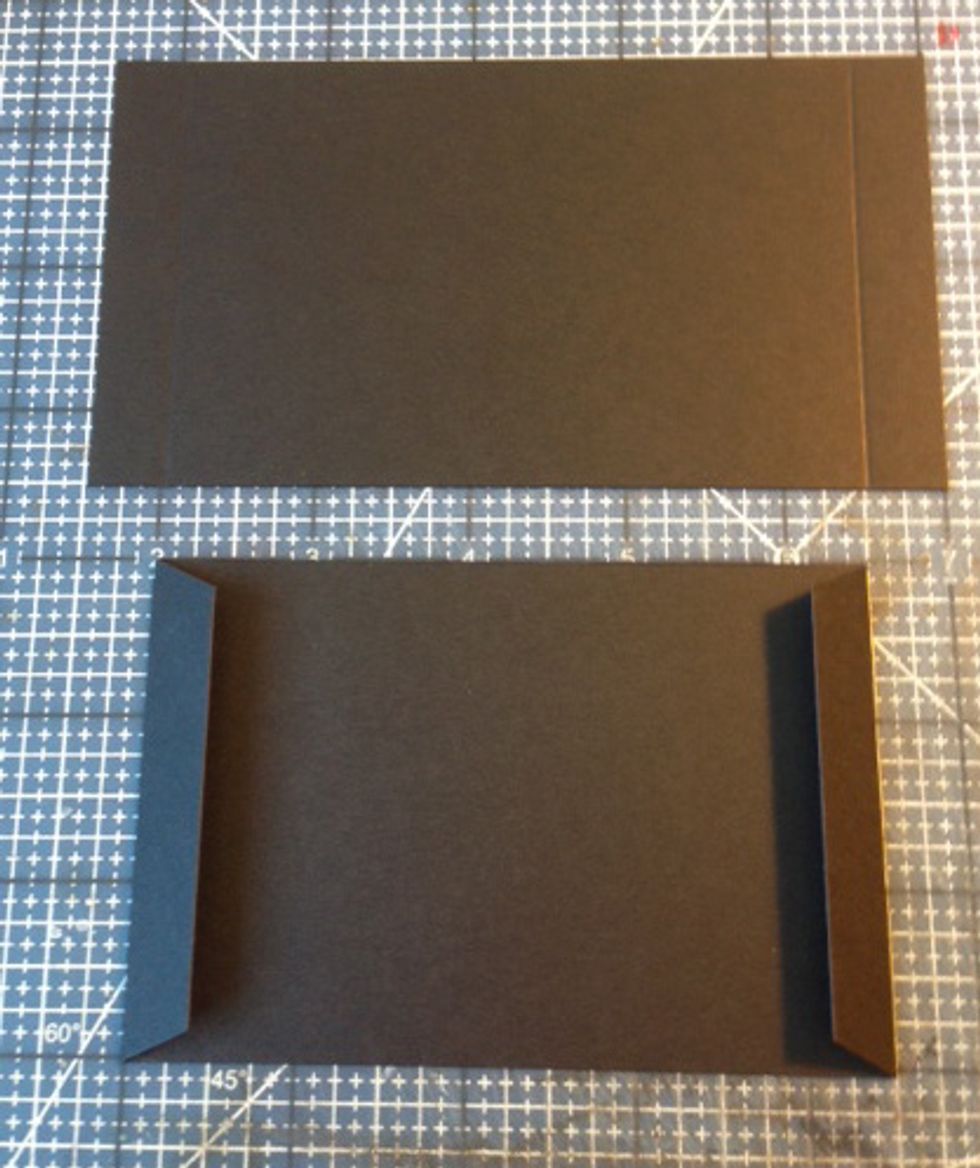
Score and fold 1/2" tabs along sides of Card stock A rectangles. Trim corners and fold towards center.

Fold long strips in half as shown.

Fold down at 45 degree angle with corner at fold. Repeat for other side.
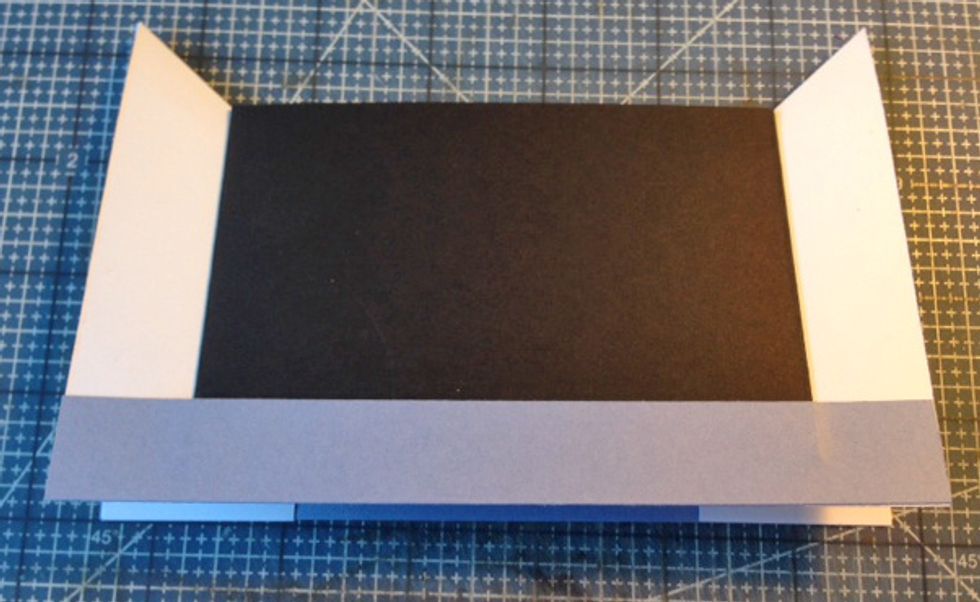
Attach tabs of rectangles with Card Stock A to folded strips so that folded edge is in 1/2" from inside edge of folded strips.
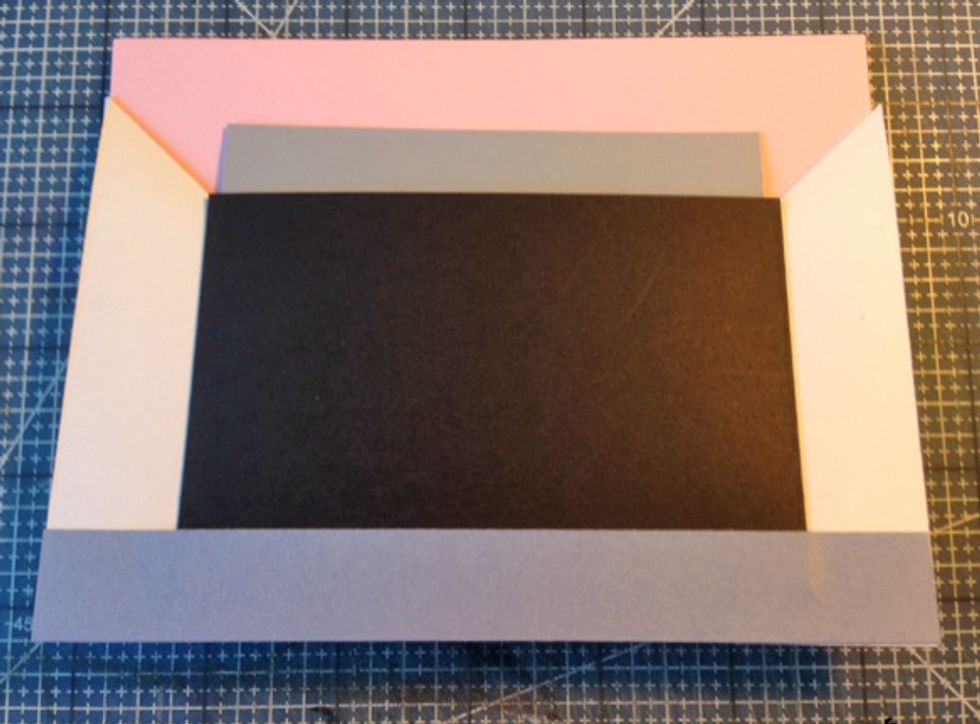
Add 3/4" x 6 1/2" strip of Accent card stock to bottom edge on each side of pocket page. Add an 8 1/4" x 6 1/4" matte folded in half to main pocket and a 3 1/4" x 4 1/4" tag to front pocket.
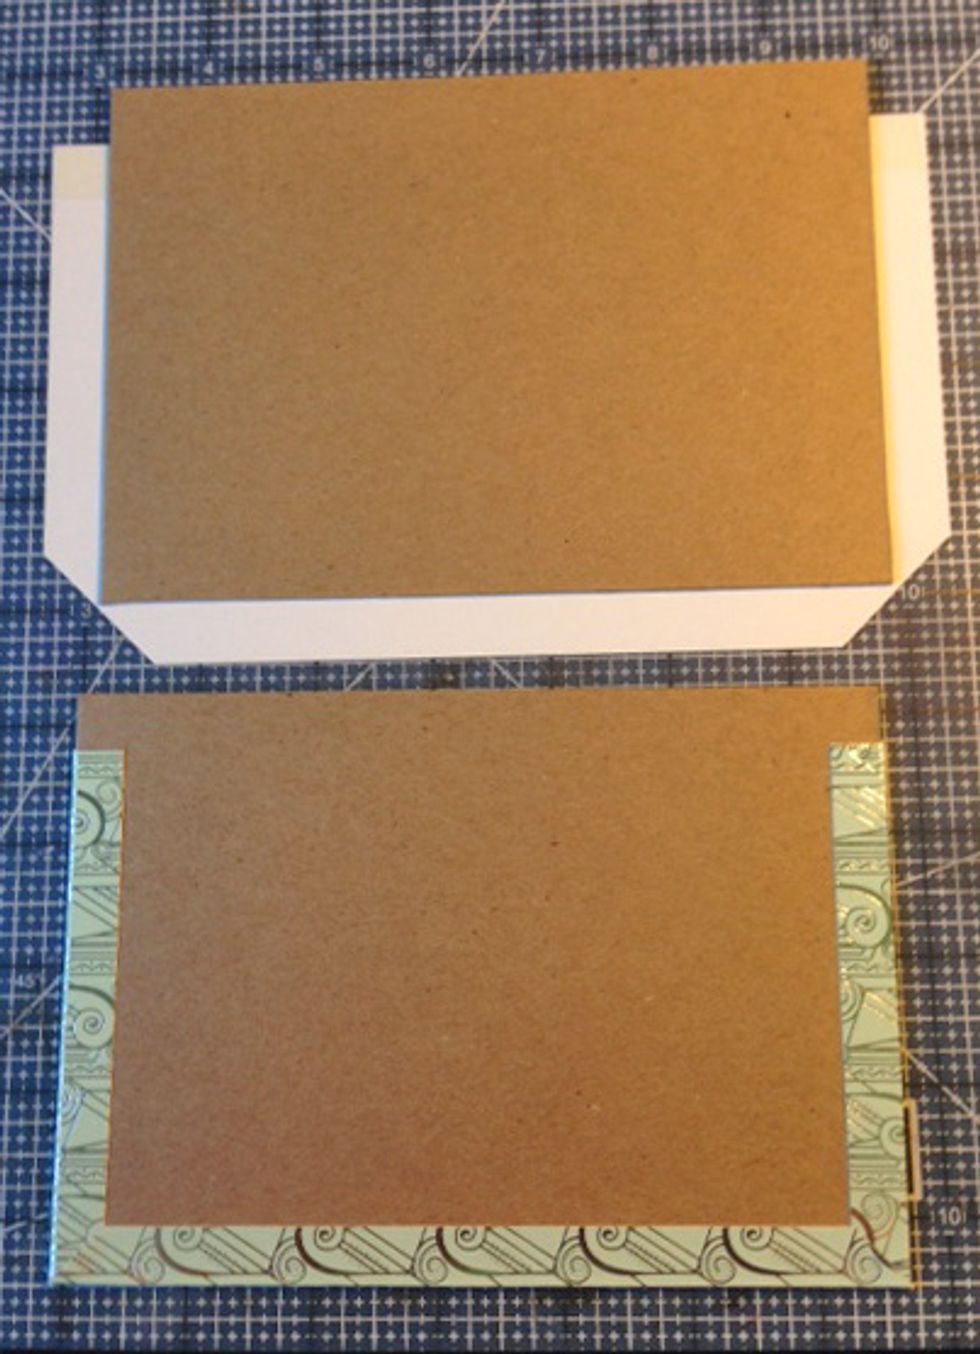
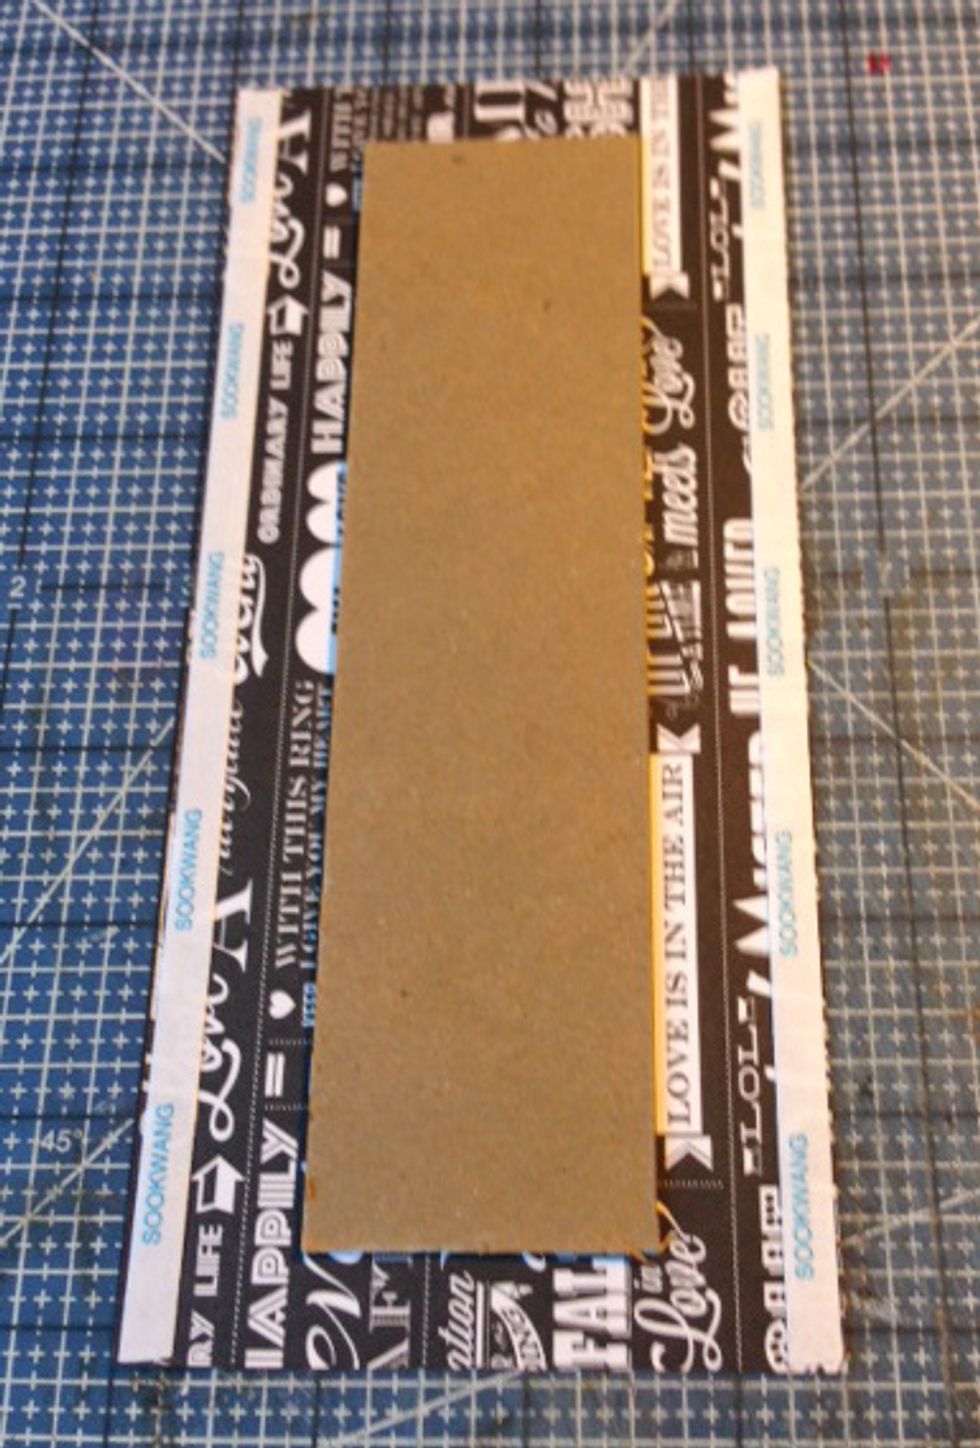
Cover chipboard covers with patterned paper. Allow a 1/2" strip of exposed chipboard at binding edge. Wrap 1/2" tabs of paper to inside of cover as shown.
Cut 3" x 7 3/4" rectangle of patterned paper for spine. Attach spine to center of paper.
Attach covers to excess binding paper. Allow a scant 1/8" gap at joints. Wrap excess to inside.
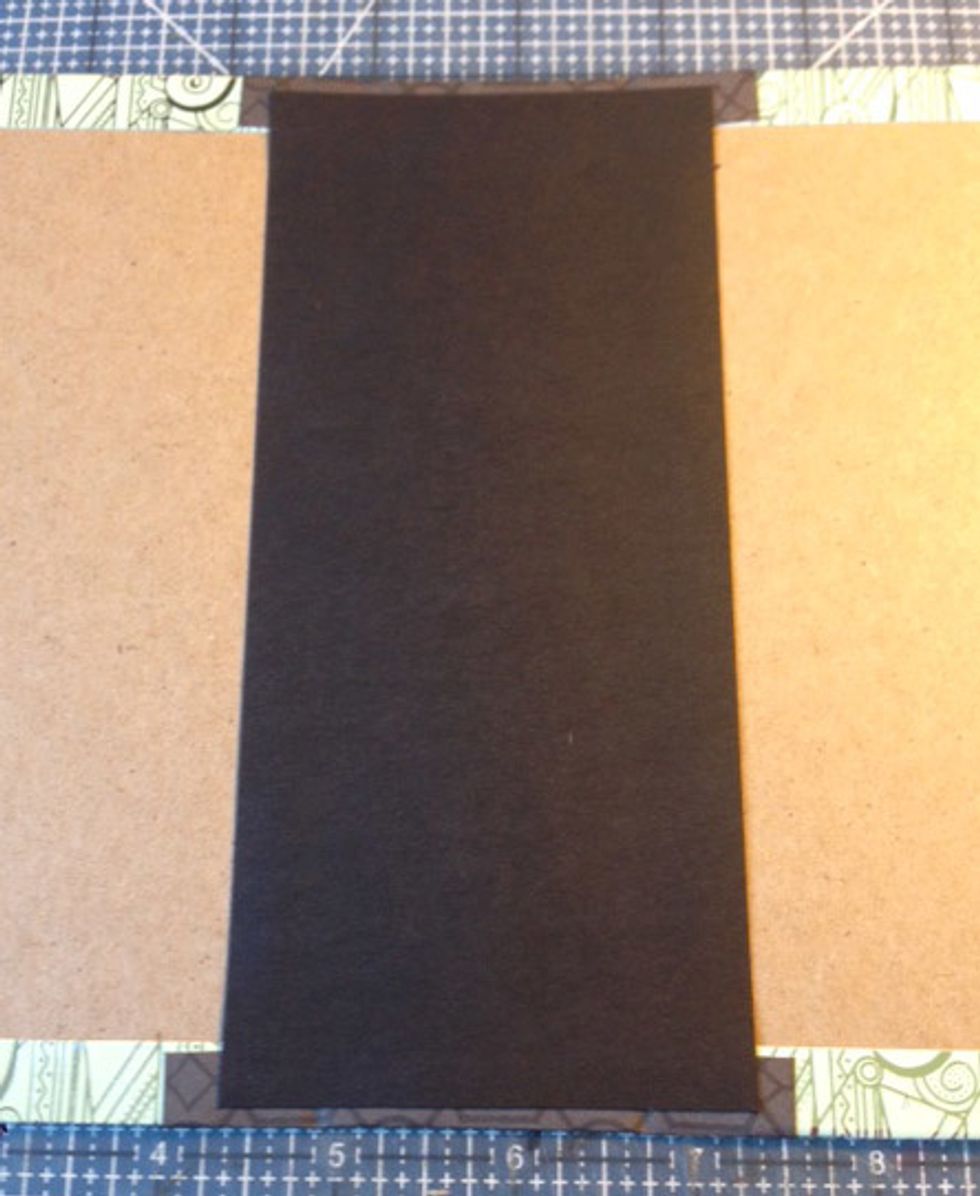
Cover inside of spine with a 3" x 6 1/2" rectangle of card stock.

Cover inside of covers with patterned paper.
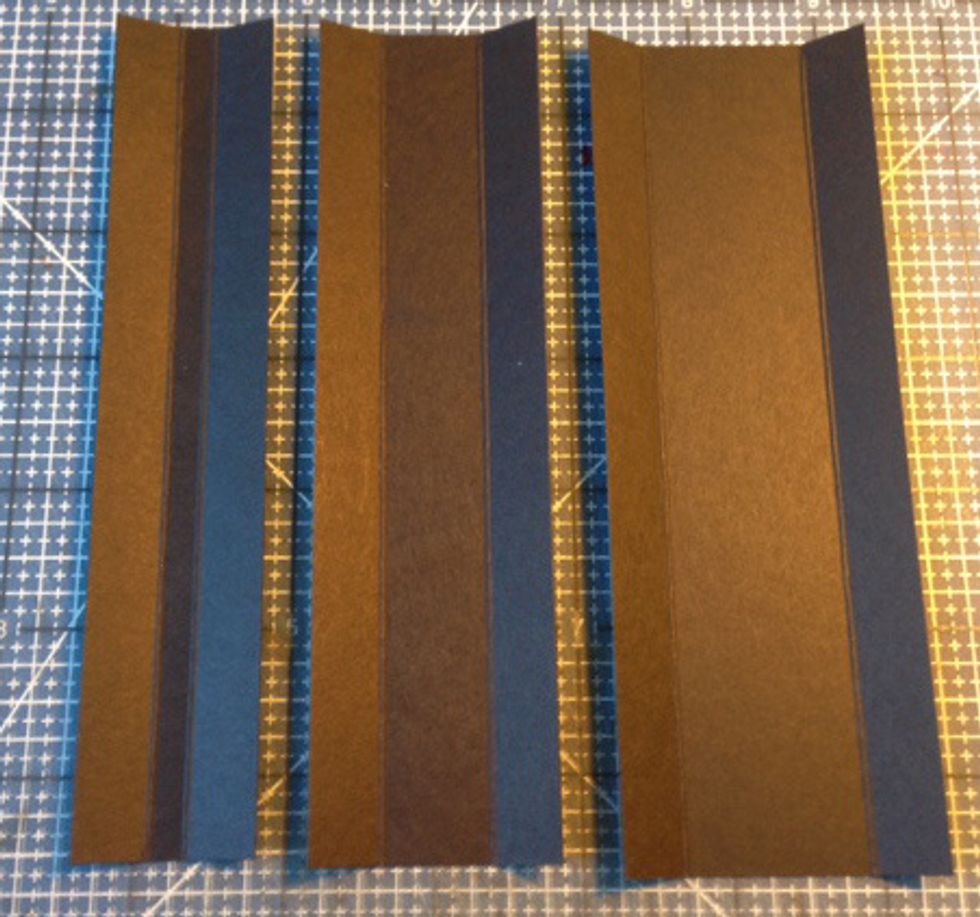
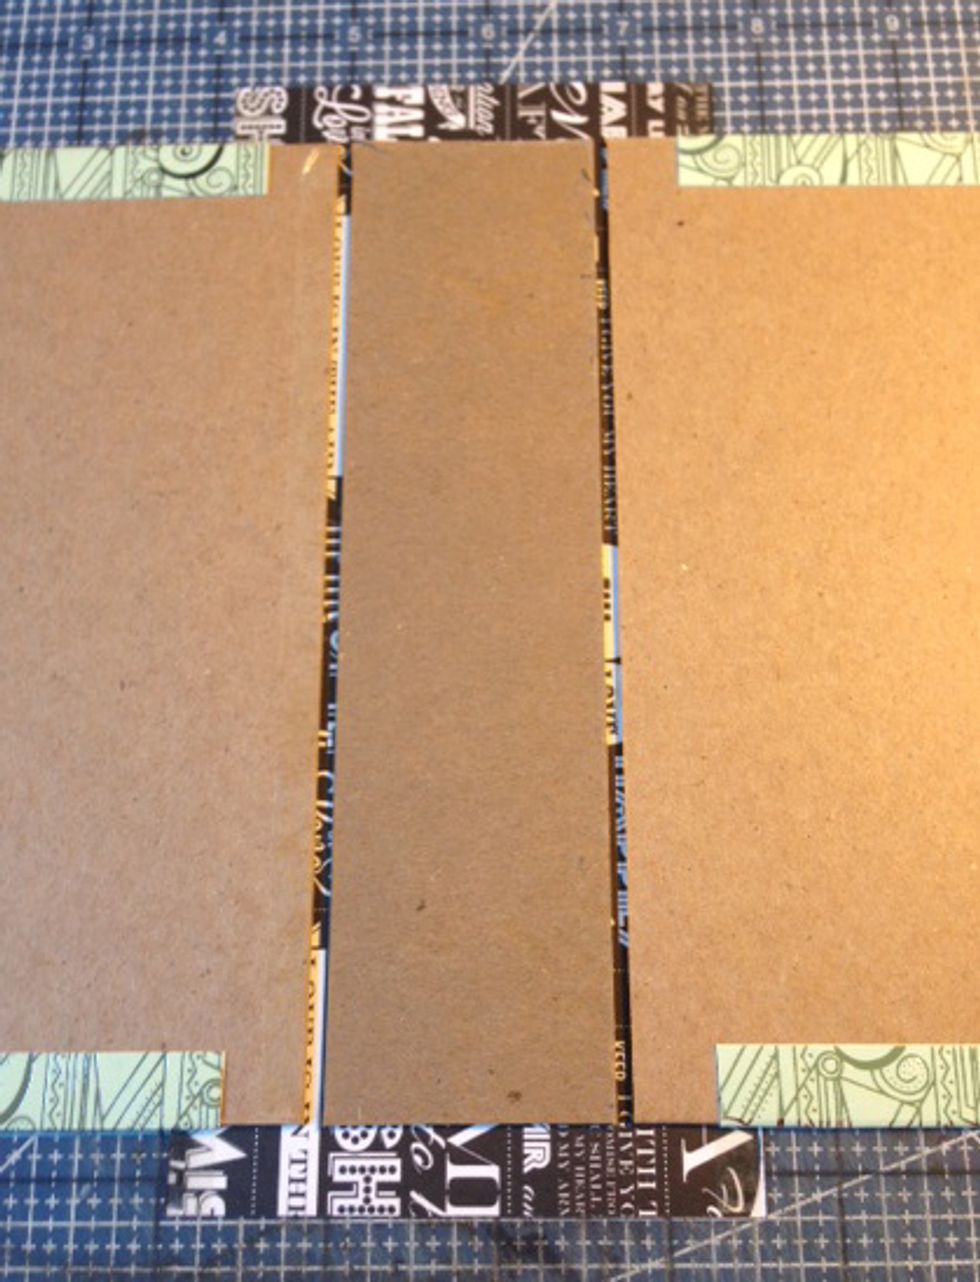
To create Stack the Deck Binding, cut a 1 1/4" x 6 1/2"strip, a 1 3/4" x 6 1/2" strips and a 2 1/4" x 6 1/2" strip of card stock. Score and fold each strip 1/2" on each long side.
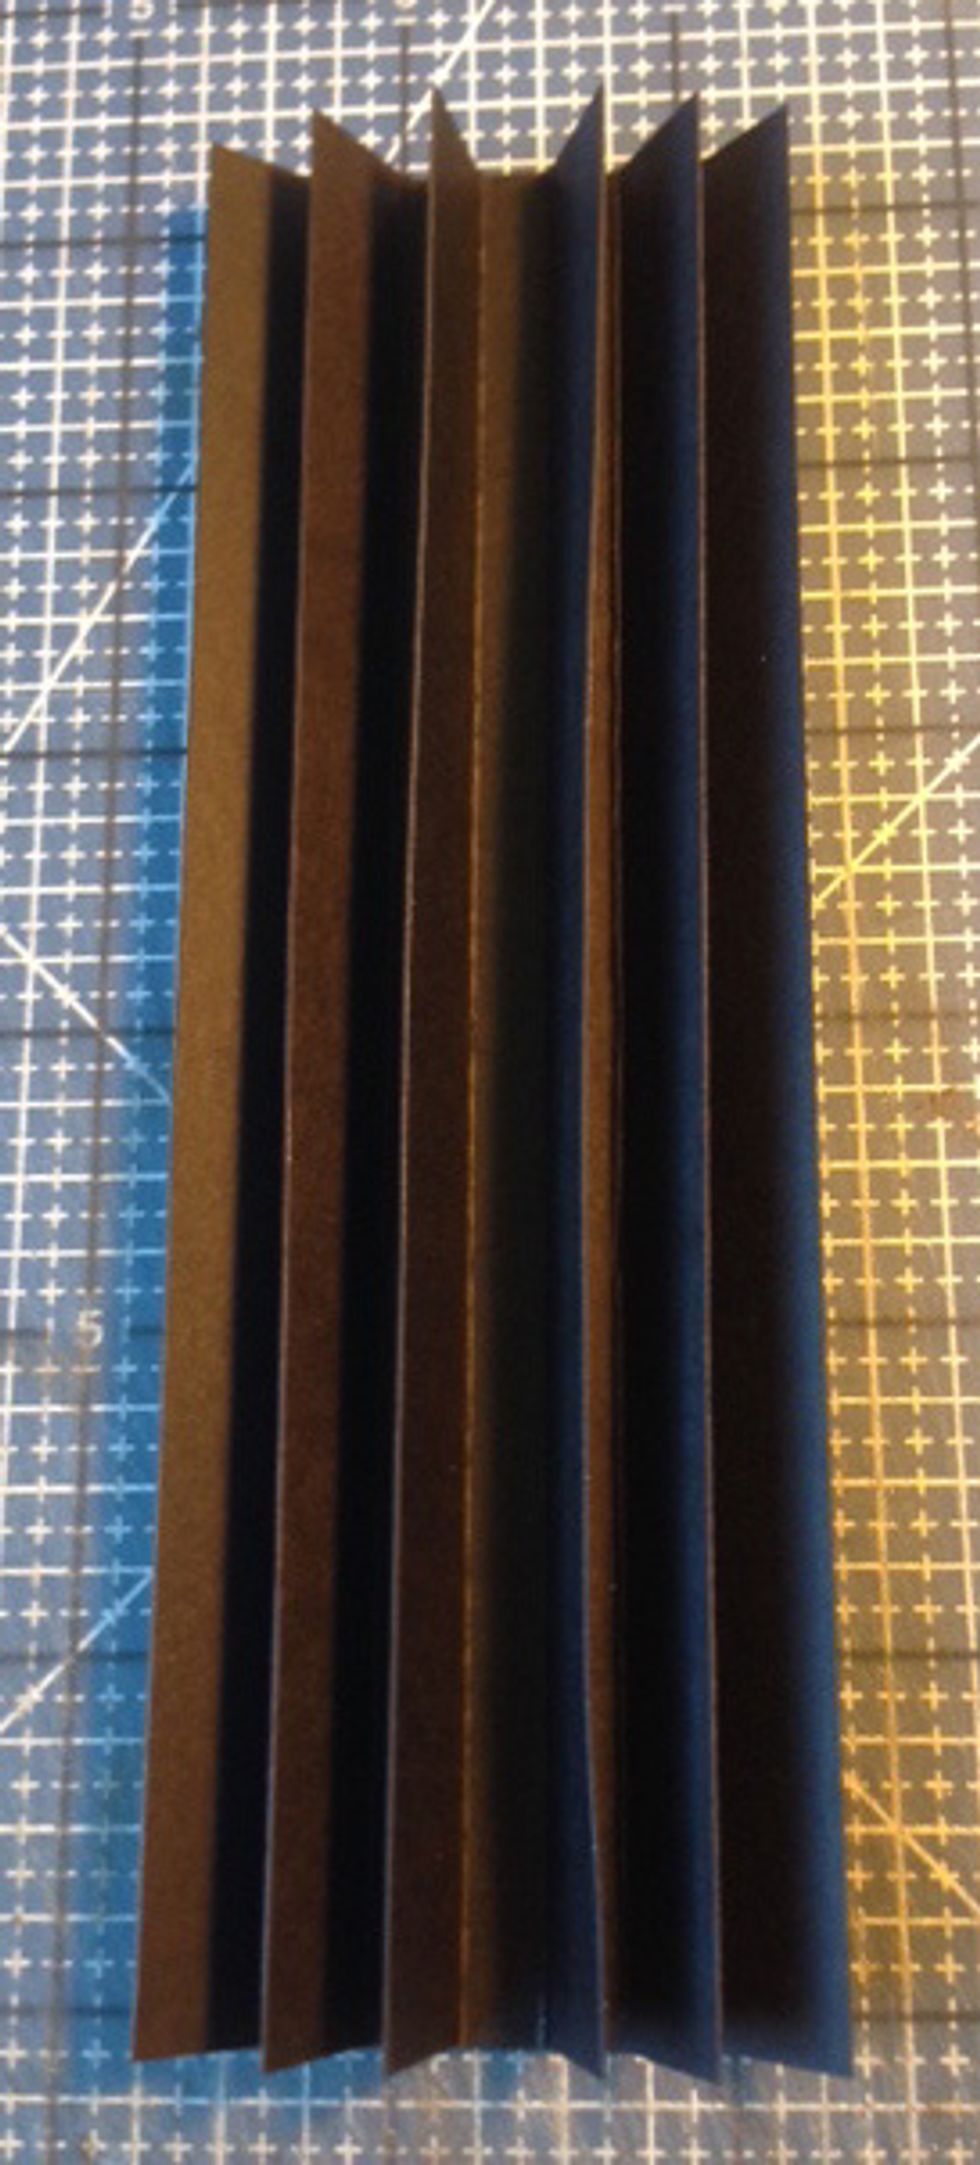
Stack strips with narrowest on top, centered on next wider strip. Fins should be approximately 1/4" apart.

Attach Stack the Deck Binding to center of inside spine of cover.

Add glue to each side of one fin.
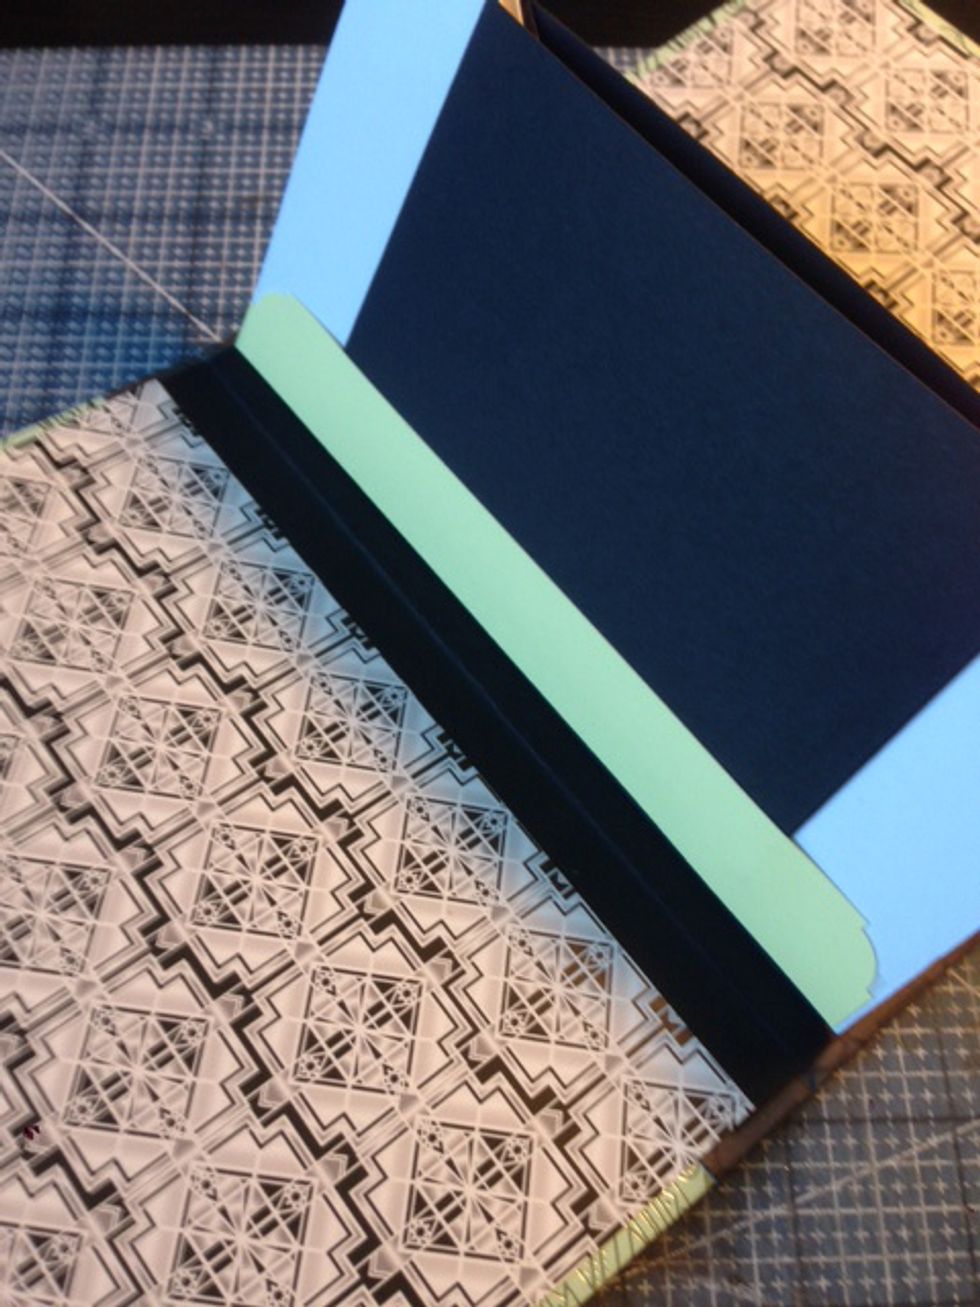
Attach page so that fin is sandwiched between page sides.

Add tags and mattes to pockets.
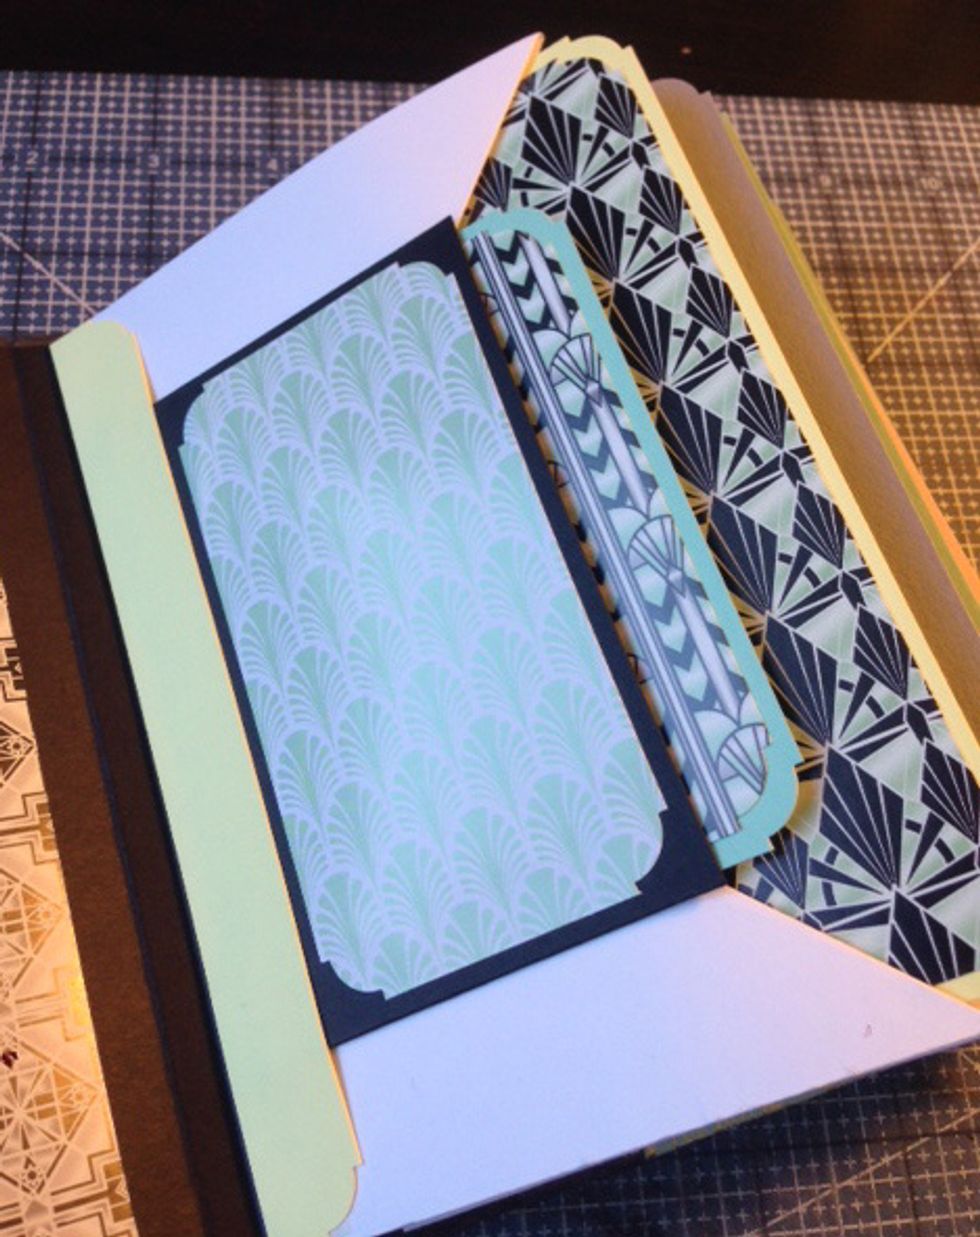
Add patterned paper to front pockets and mattes, and tags. Add embellishments as desired.

Add embellishments to cover as desired.