The Conversation (0)
Sign Up
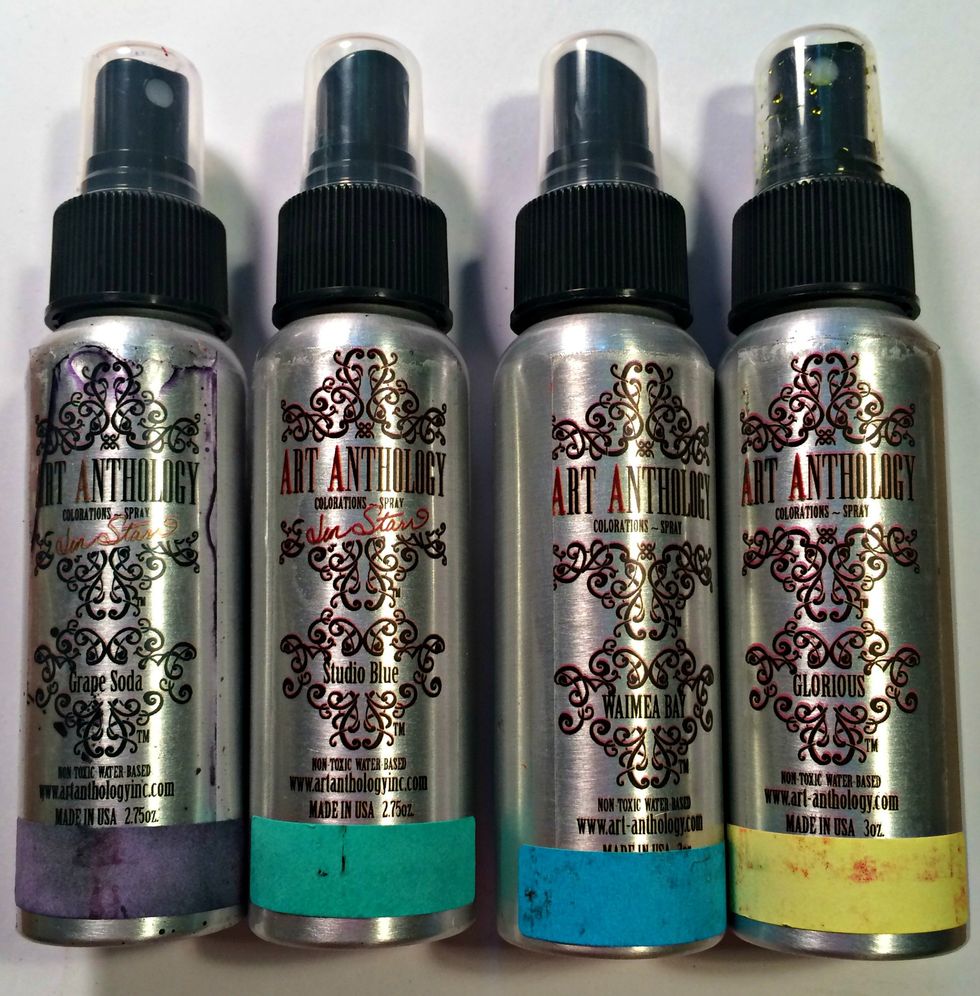
First grab your Art Anthology Colorations Sprays in Grape Soda, Studio Blue, Waimea Bay, and Glorious. Then grab a piece of white cardstock.
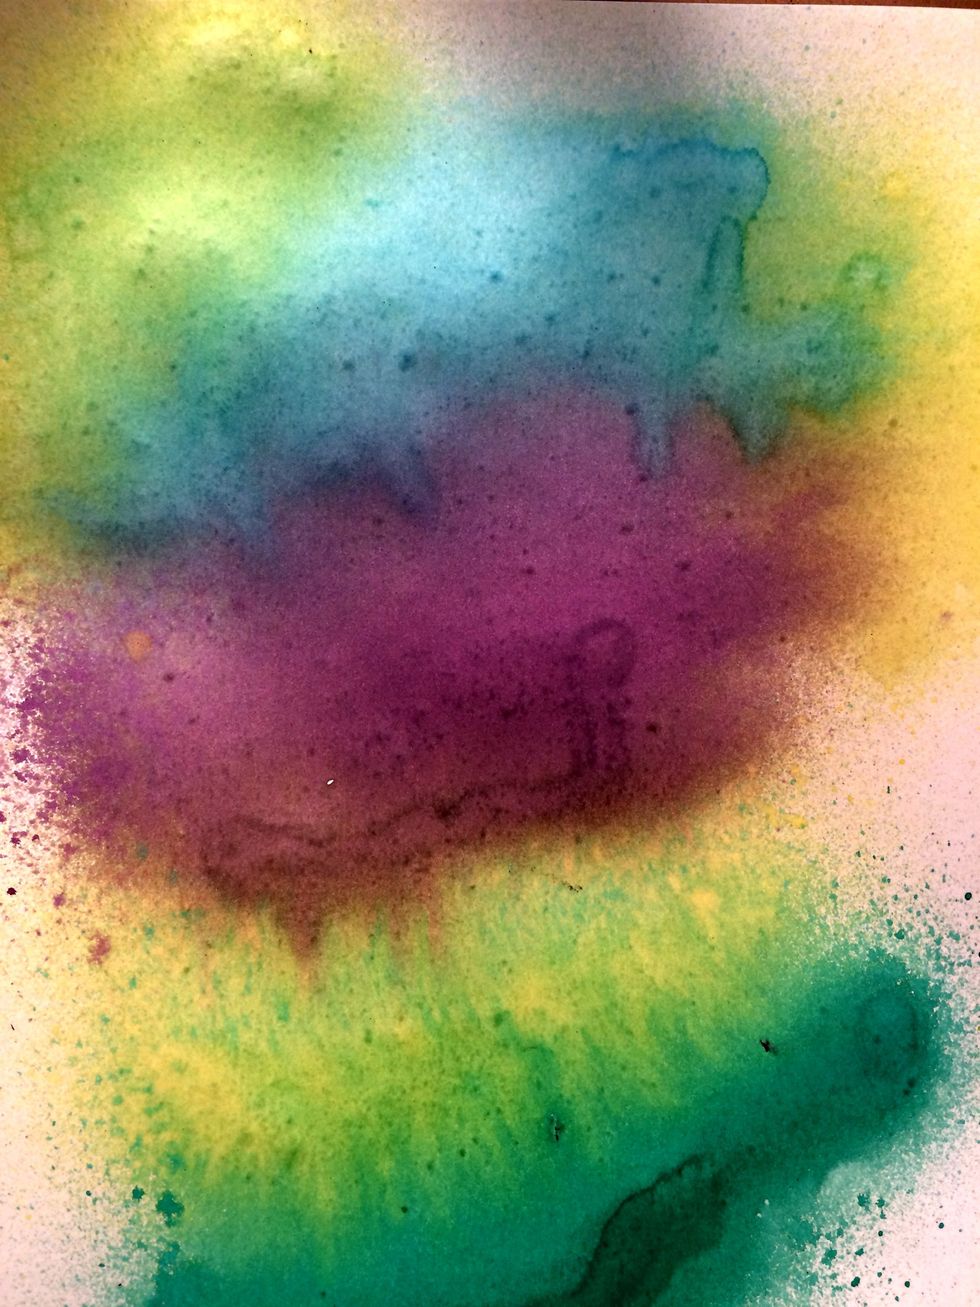
Mist your cardstock with Waimea Bay, Grape Soday, Glorious, then Studio Blue. Also mist a bit of the Glorious up at the top. Dry with your heat gun
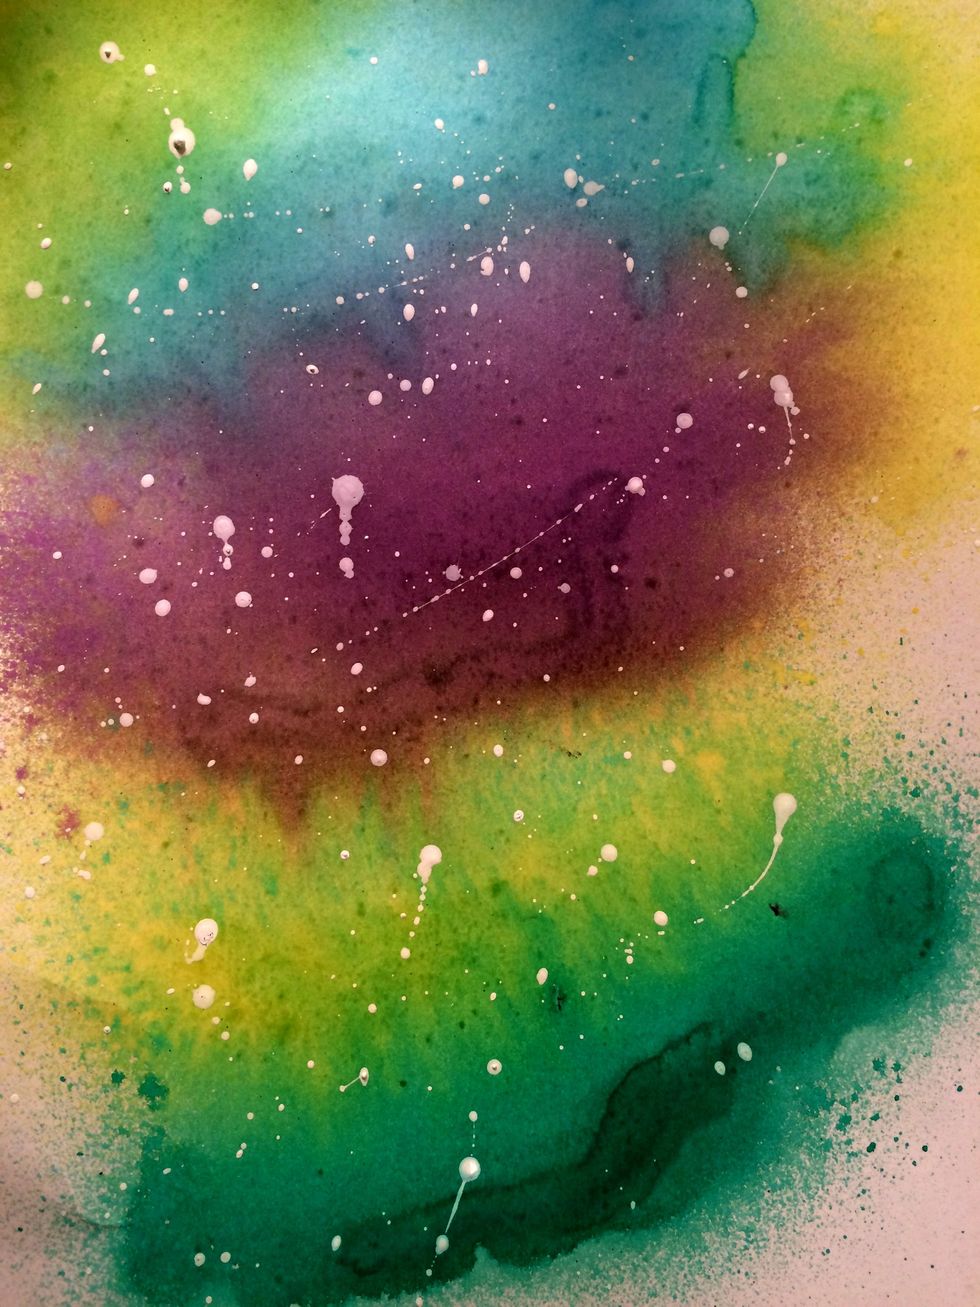
After it's dry, grab your white ink, and using the dropper just fling some white ink on the cardstock you just misted with color. After this dries, spray the entire piece with Art Anthology Gold spray
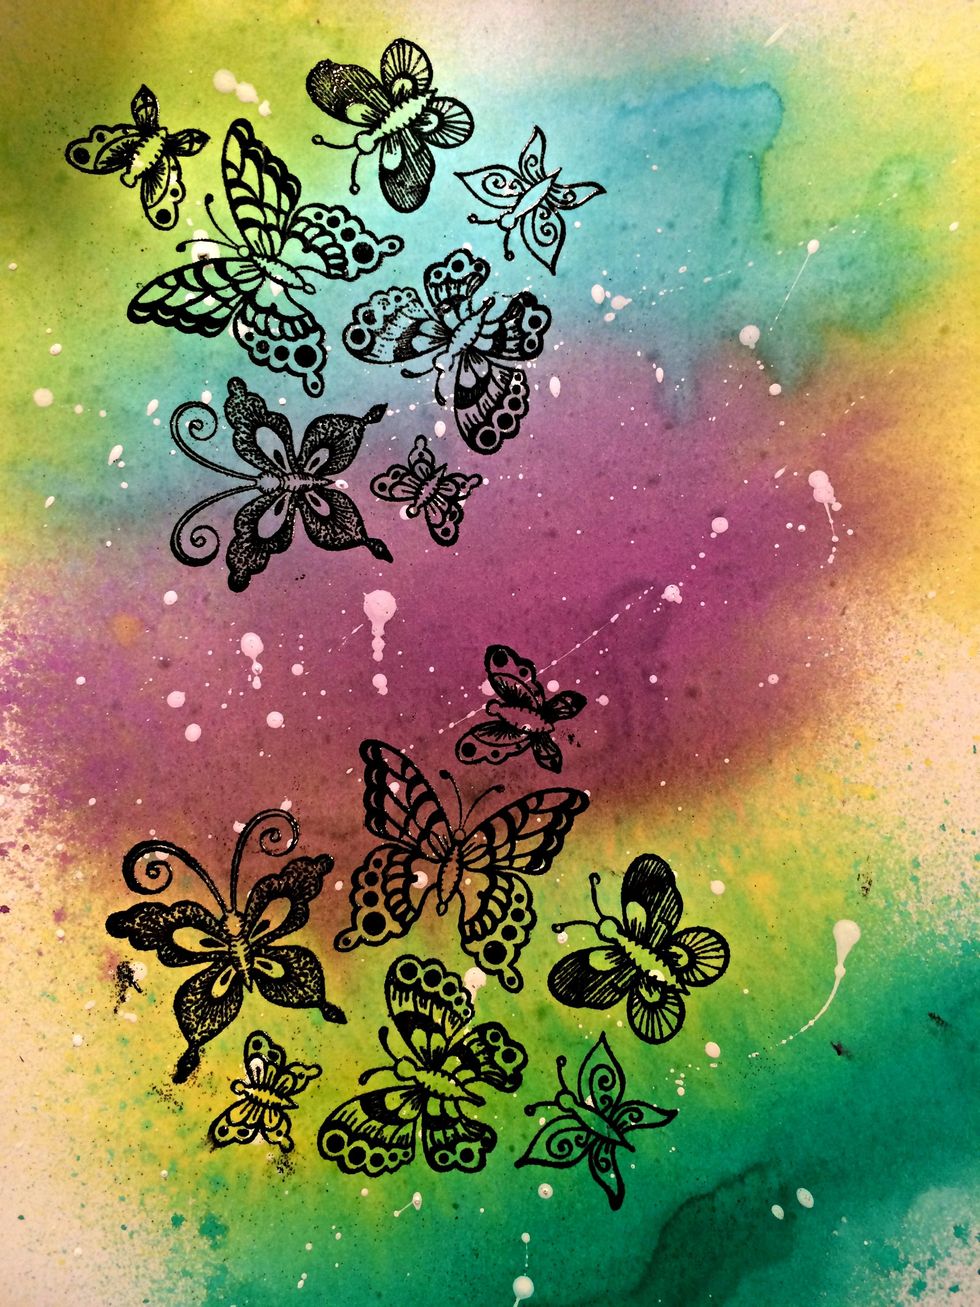
Using the Heartfelt Creations cling stamp and Black Staz On, stamp the image onto the paper 2 times. Cover withe black embossing powder and heat set using your heat gun
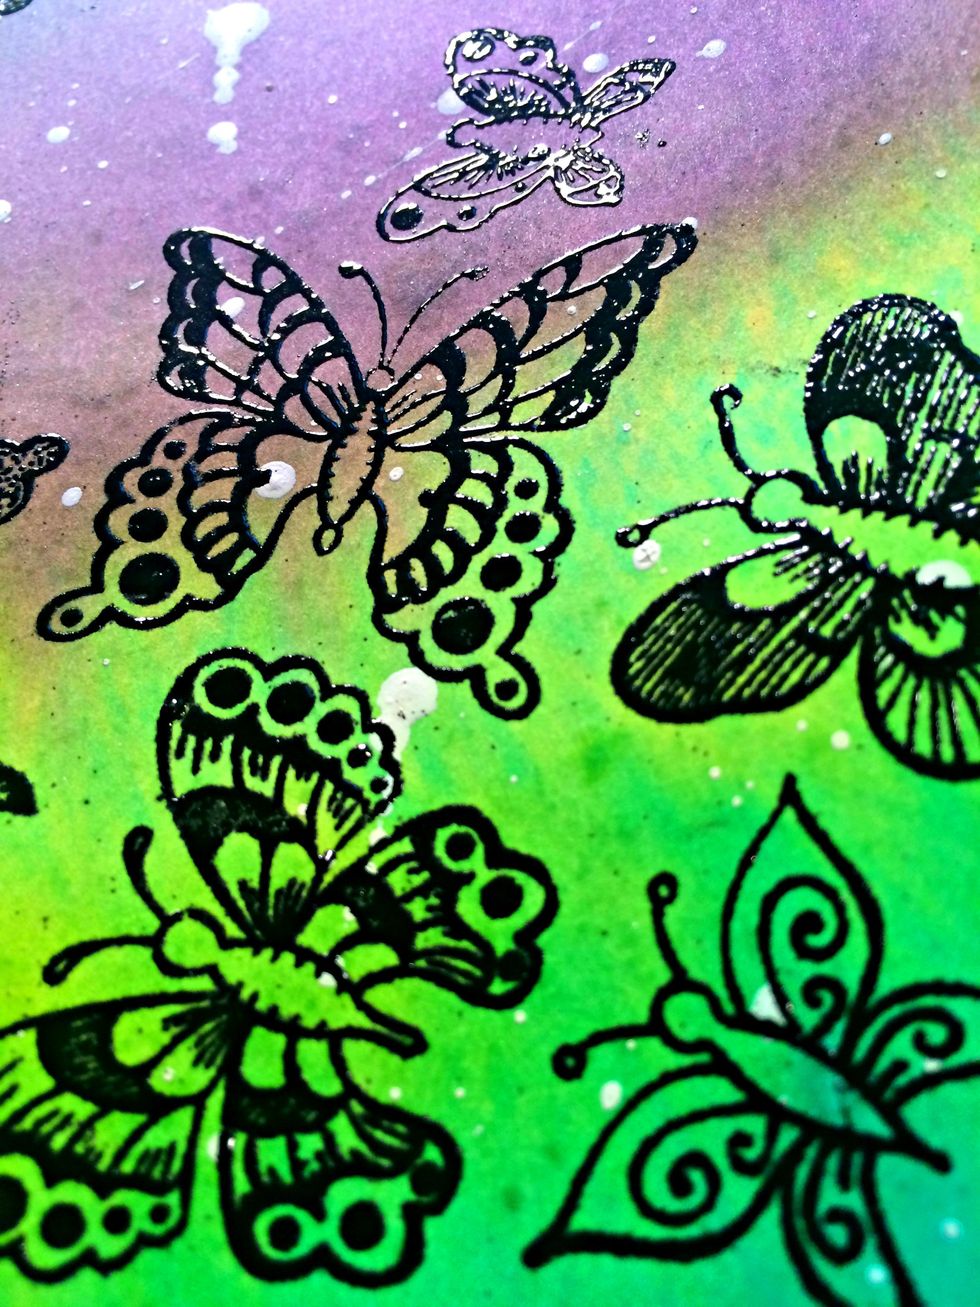
Here is a close up of the butterflies after they have been stamped and embossed. Cut the paper to fit your die cutting machine and line up the die with the stamped image and run through the machine.
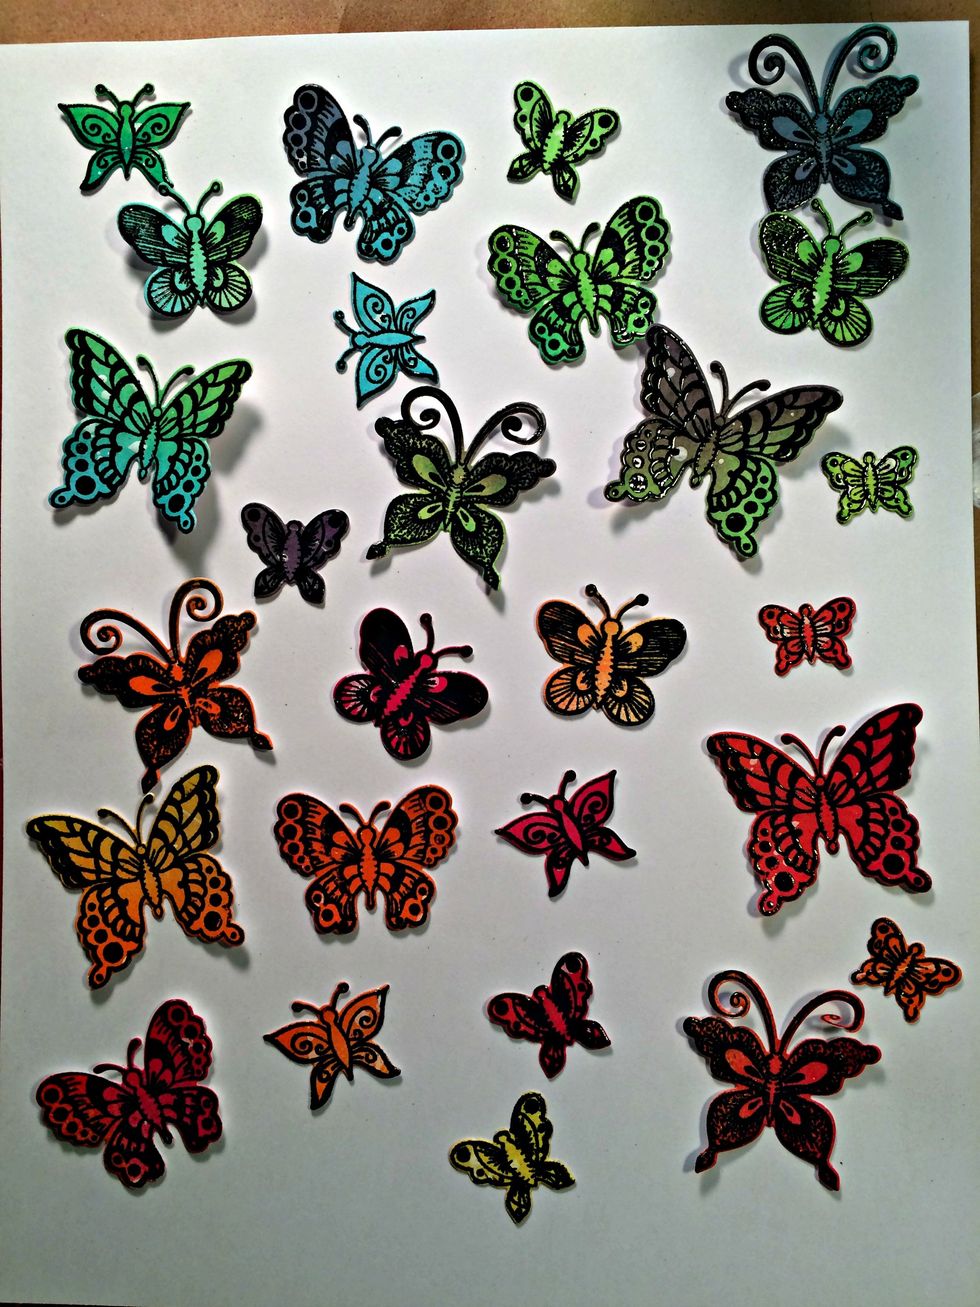
Here is a picture of the butterflies after they have been run through the die. As you can see I also did some in shades of orange and red. I will use these in another project (so stay tuned)
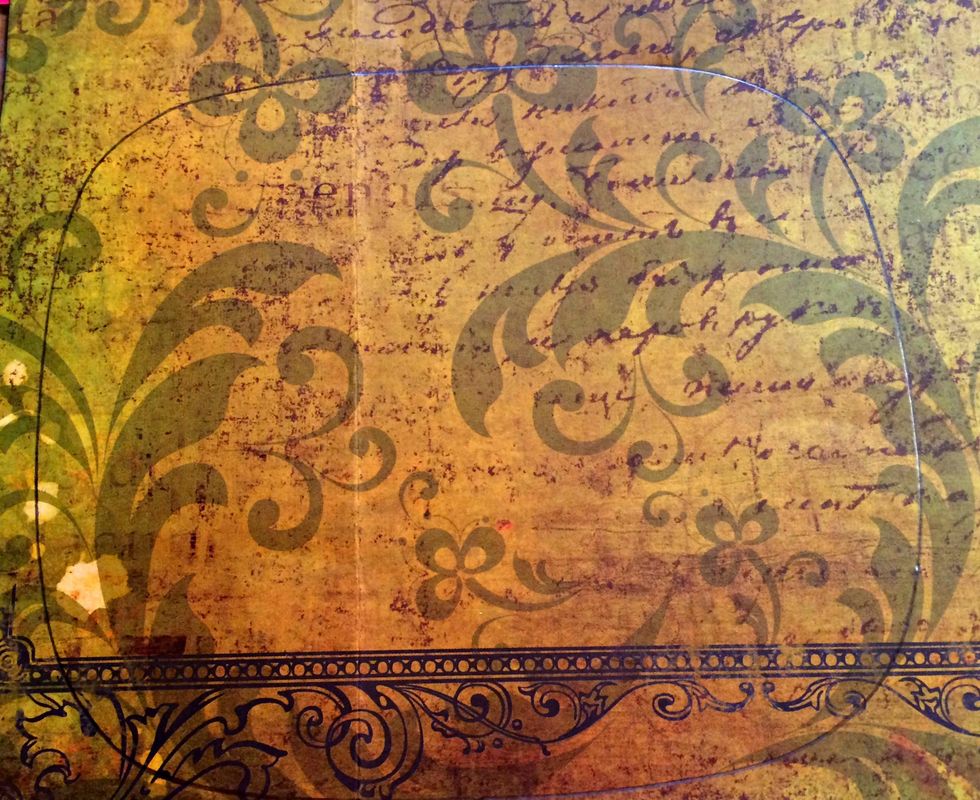
Using the piece that came in the back of the Prima Frame, trace the shape onto the scrapbook paper you have chosen for the background piece on your project, then cut it out and glue it into place.
I misted the paper with Art Anthology Gold spray and it gave it such a beautiful gold sheen.
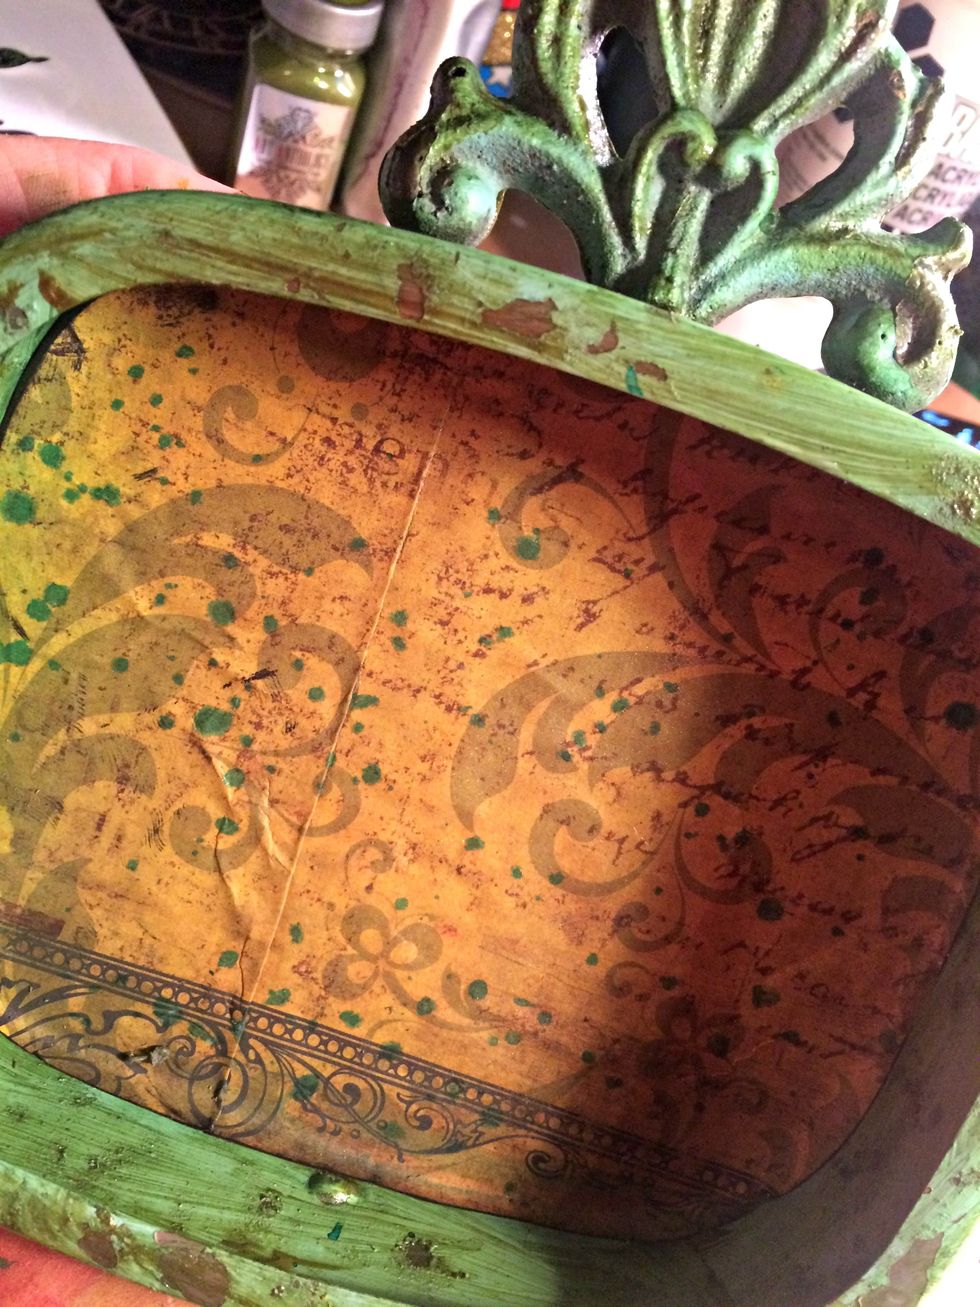
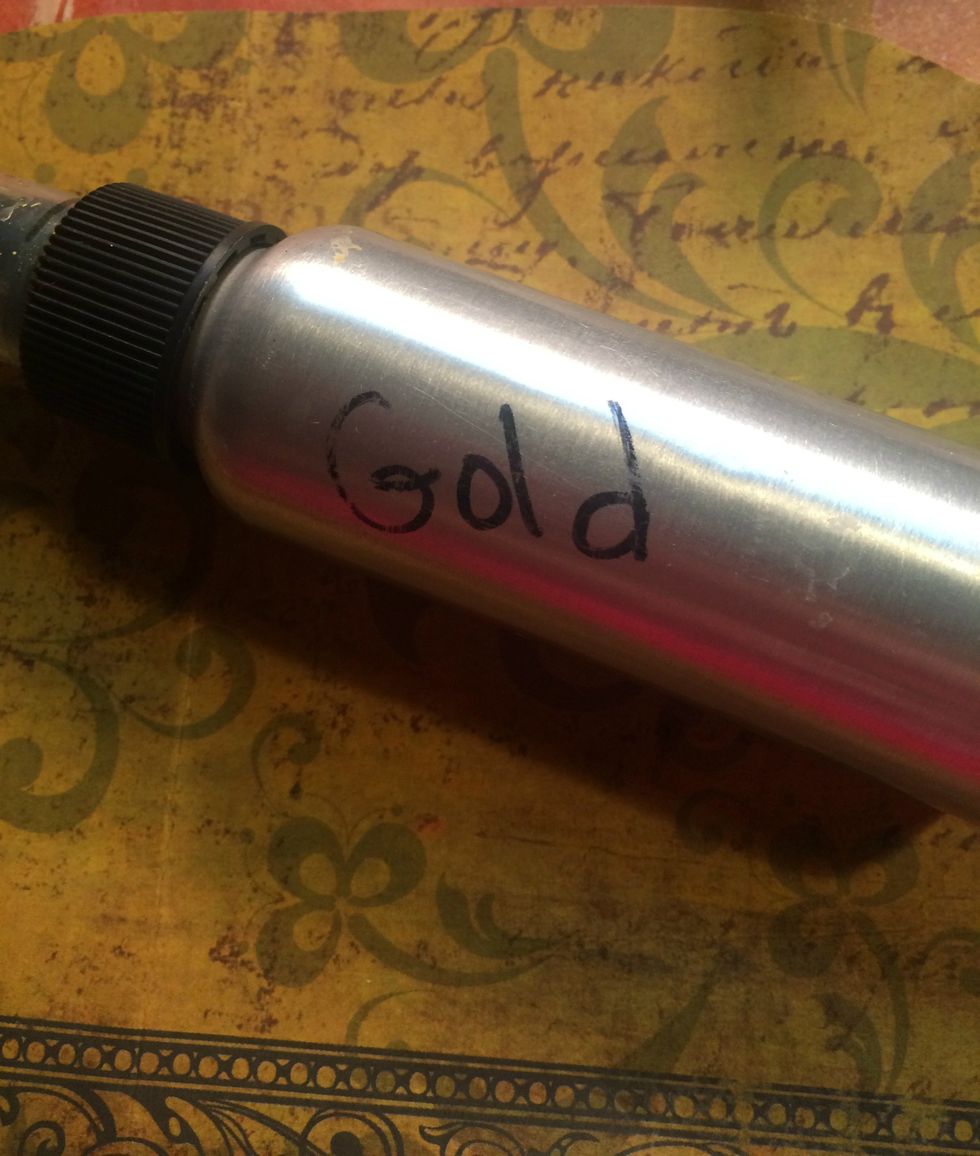
After I misted with the Gold I splattered some Studio Blue on the background paper by unscrewing the mister from the bottle and just using the end.
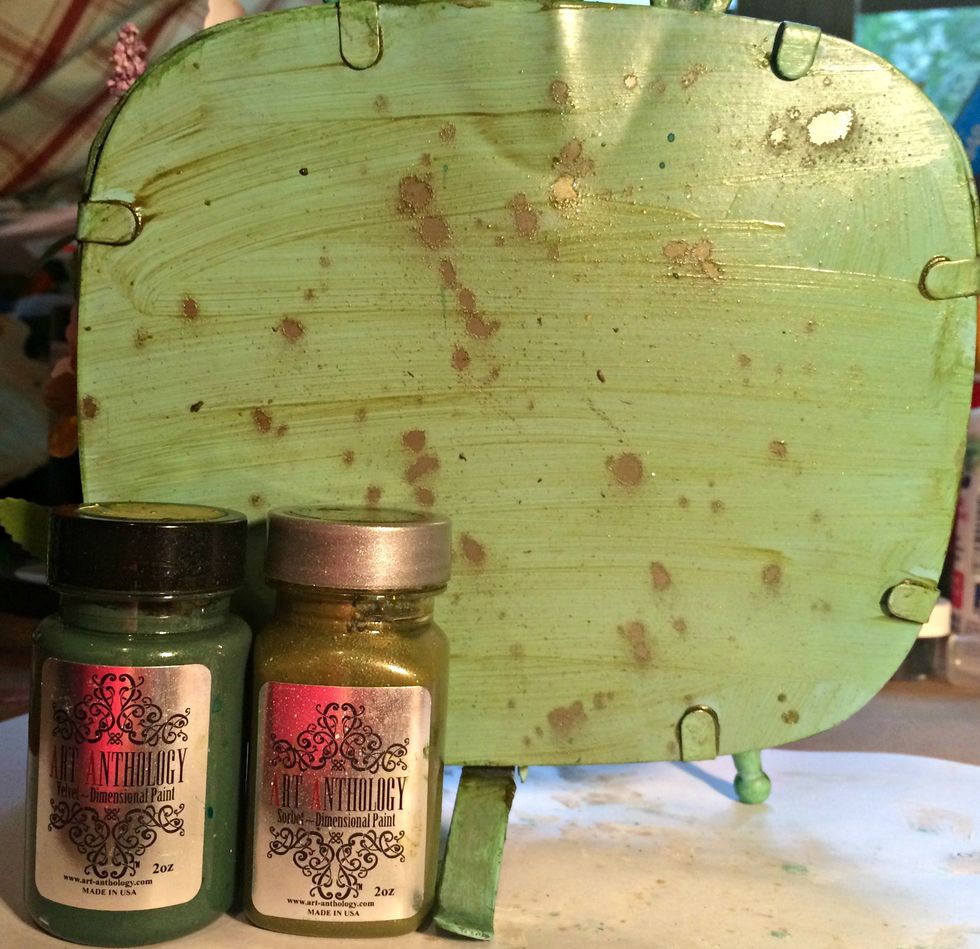
Apply Art Anthology Shamrock to the entire outside and inside of the Prima Frame. Once that dries, go over some areas with Art Anthology in Leaf. It's translucent so you can still see some blue.
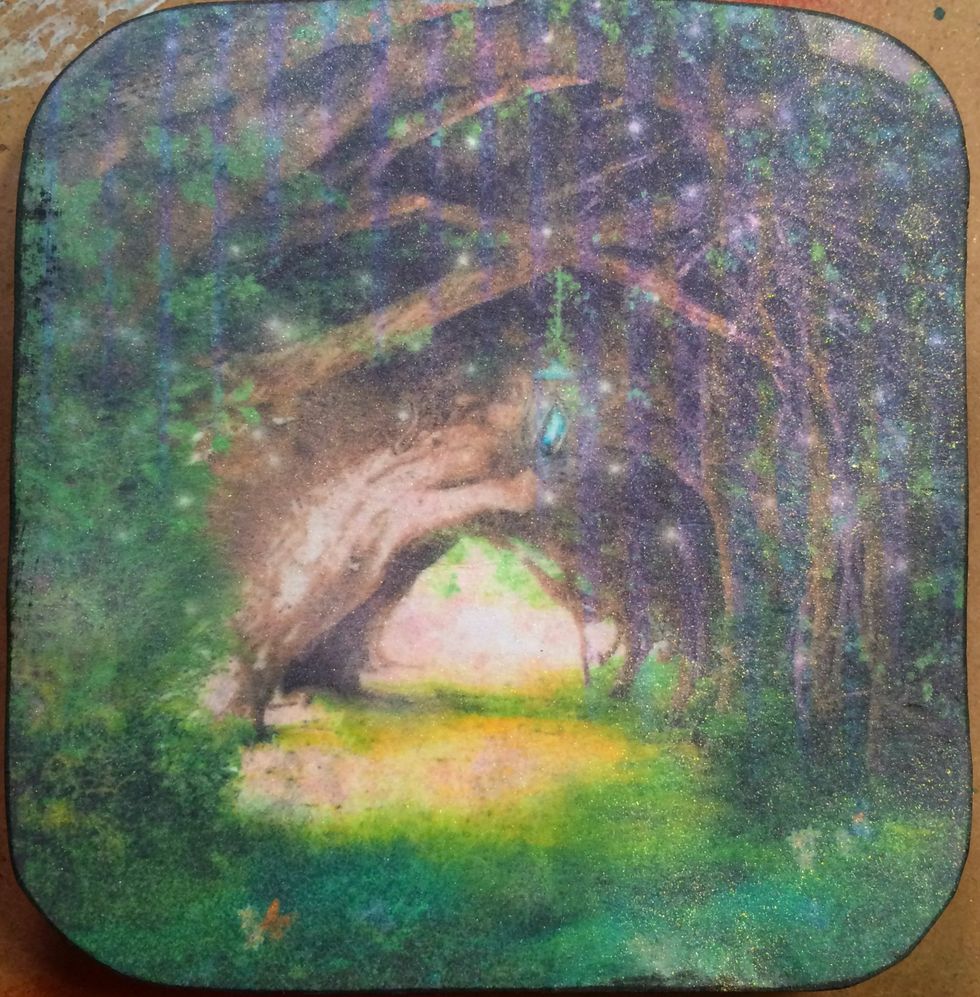
Print and cut your printable to the size you want. I did mine 4x6 and rounded the corners. I then misted it with Art Anthology Mist in Gold.
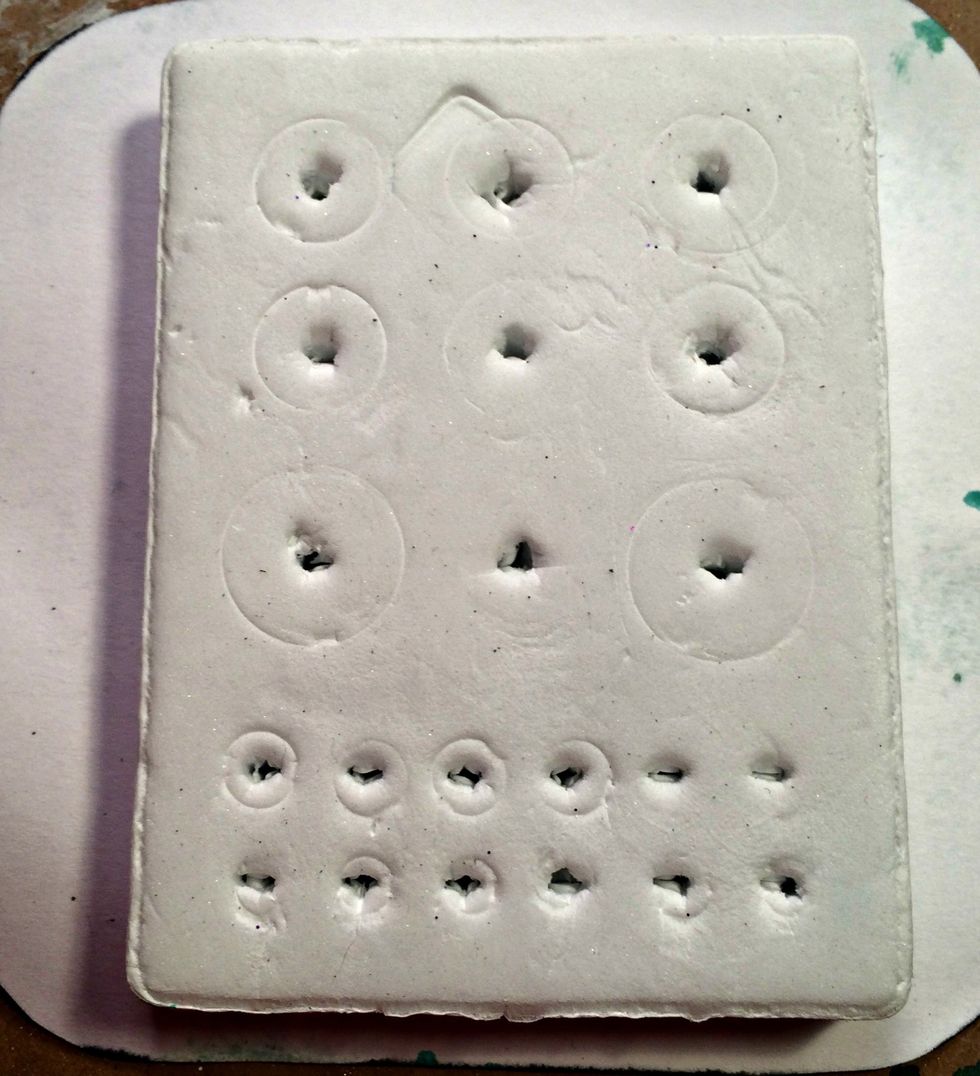
I used this old foam brad holder and glued it to the back of the printable to pop it out from the background piece. You can use layers of cardboard or just about anything as a base for your printable
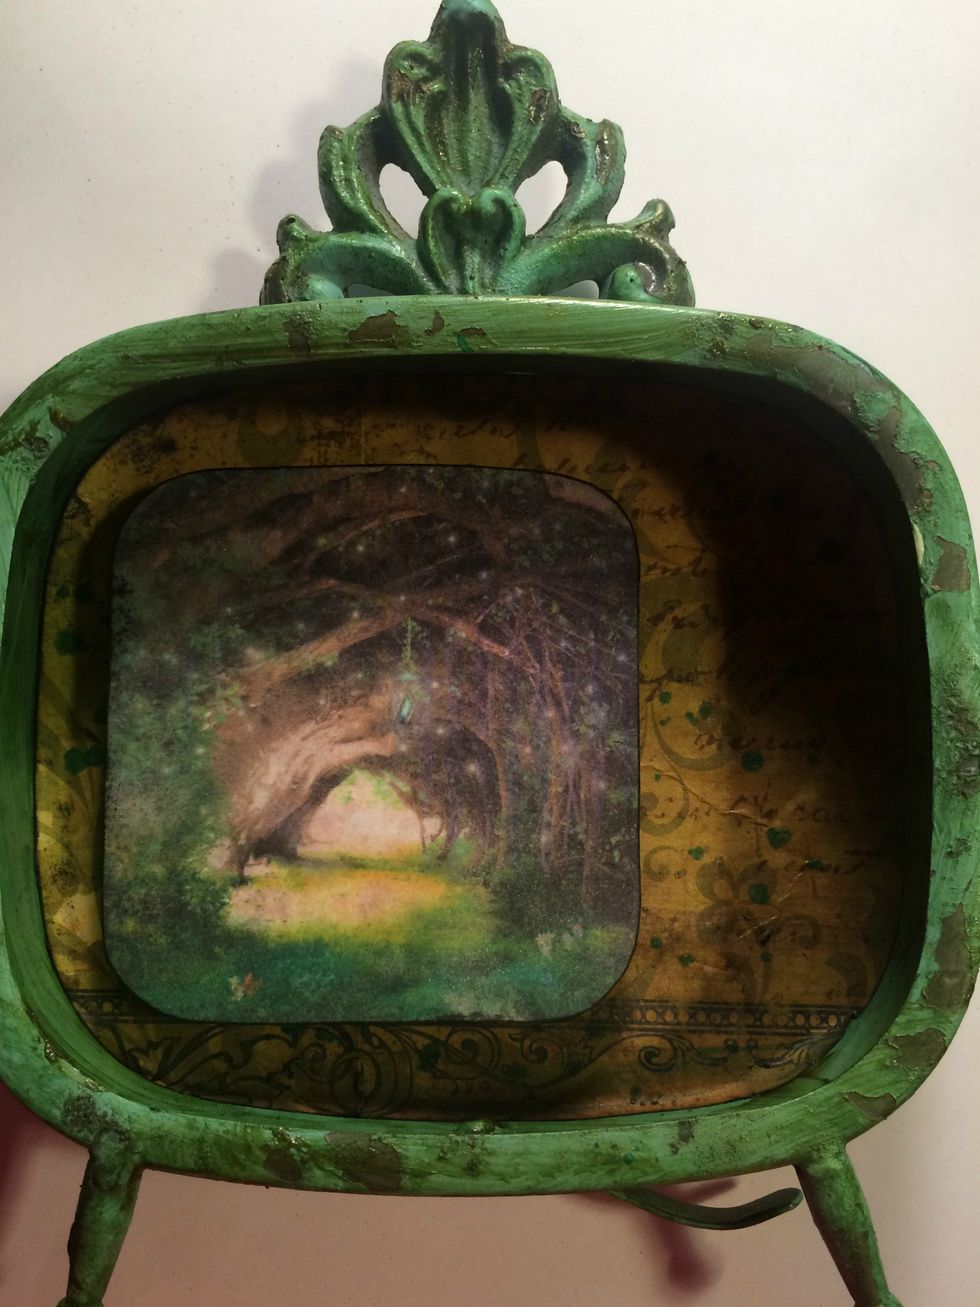
Glue your printable to the background paper. I offset mine to the left because I knew I wanted the flowers on the right side. You can do it however you want. :)
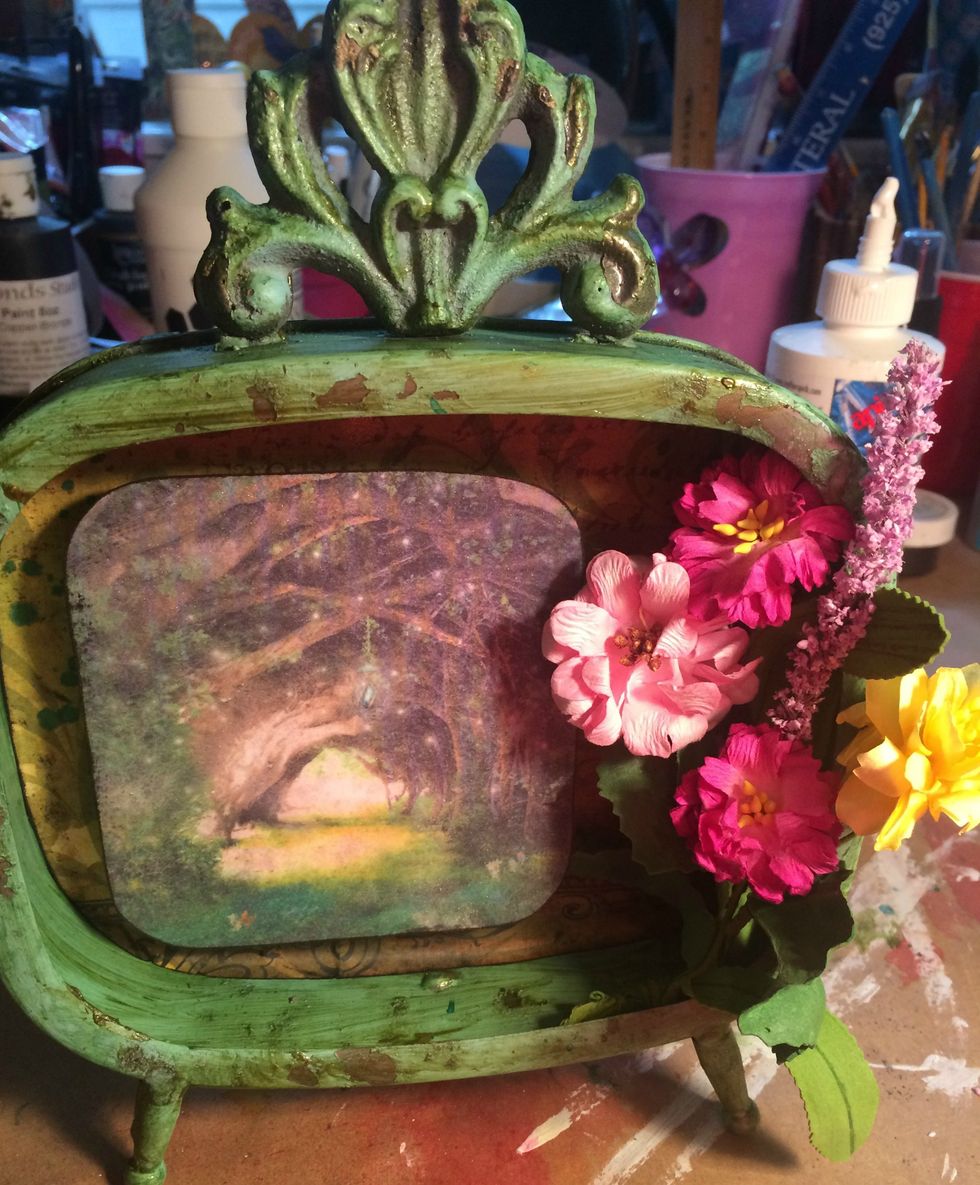
I cut the flowers that I wanted to use from the garland, then wired them together and glued them onto the right side of the frame with hot glue. I cut some longer flowers and glued them in as well
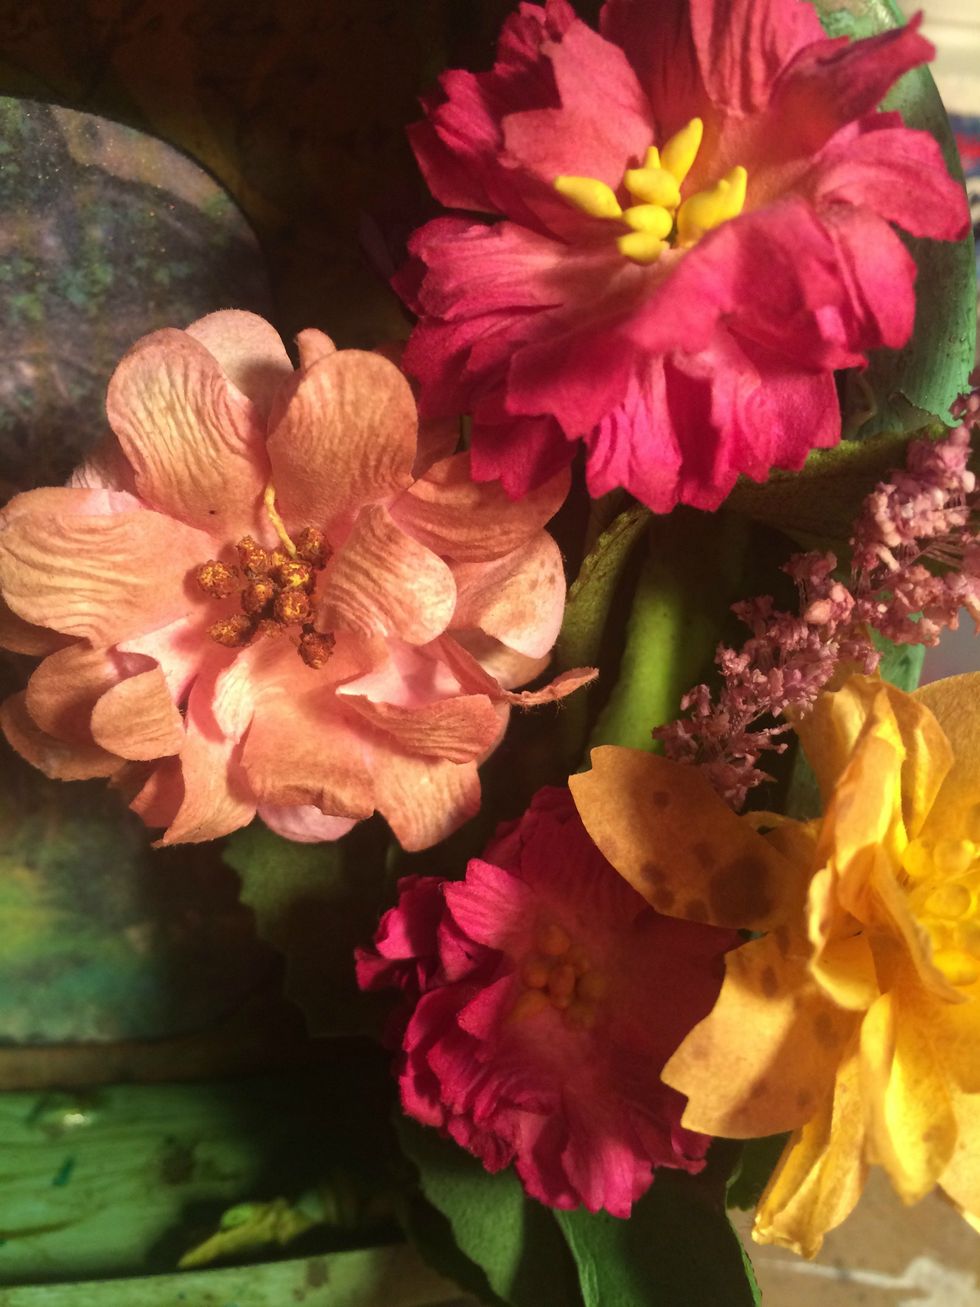
The flowers were a little brighter than I wanted them, so I sprayed them with Art Anthology Spray in Sandstone. It toned them down and gave them a vintage look.
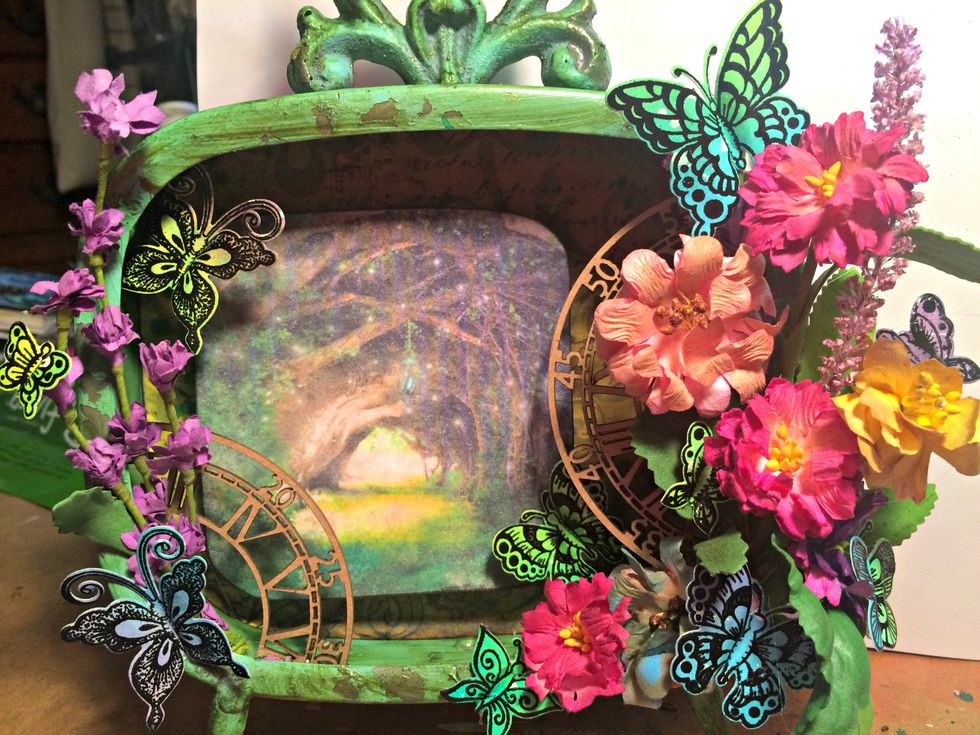
I added the longer flowers on the left. Cut my chipboard time piece in half and glued it in place with hot glue. I then added all of those beautiful butterflies. I used hot glue to adhere them as well
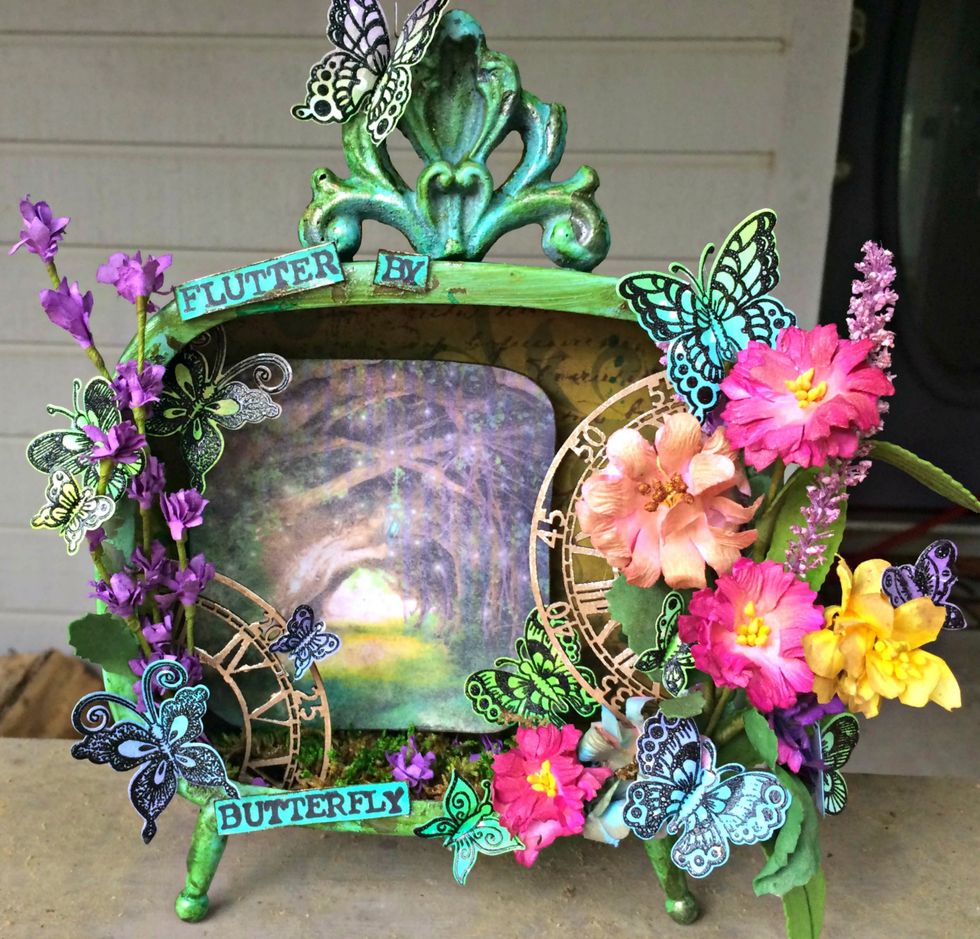
I added some moss to the bottom of the frame. I added my quote. I also used the Metallic Lustre on the chipboard pieces and randomly on the metal frame. I then sprayed the entire piece in Gold.
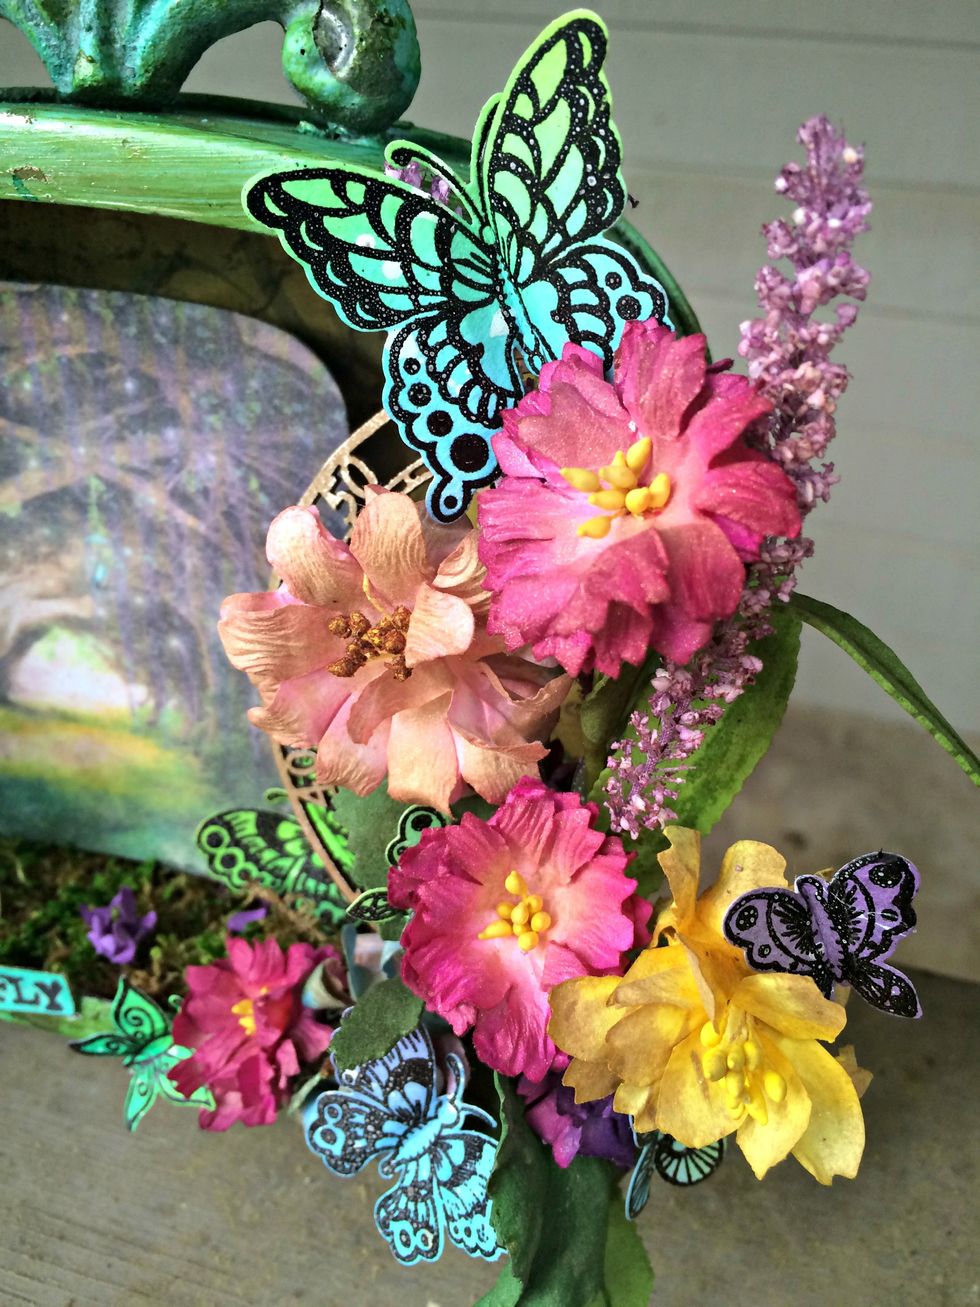
Here is a close up of the flowers and butterflies. I really love how this project came out and I cant wait to use my other butterflies on another project.