The Conversation (0)
Sign Up
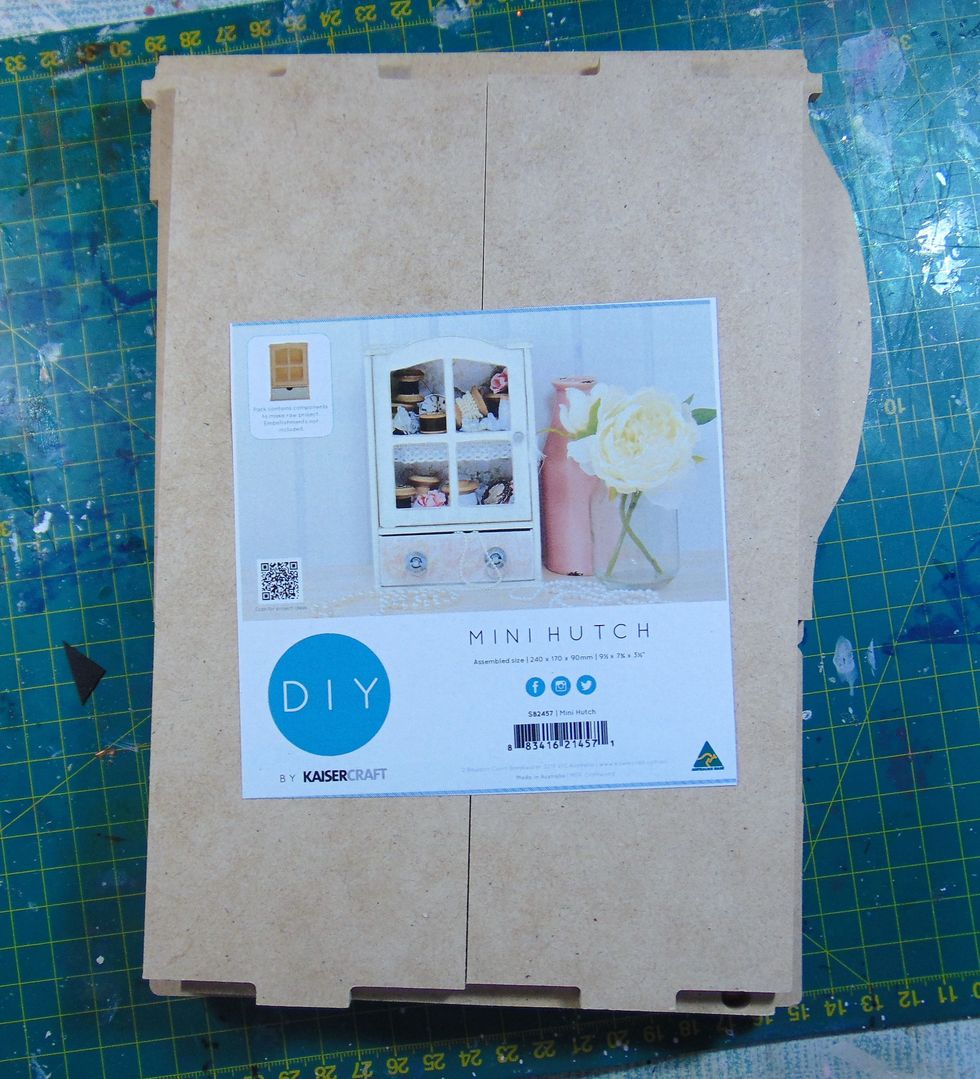
Here is the Kaisercraft Mini Hutch from the Swirlydoos January Project Kit Add on. Now to assemble it!
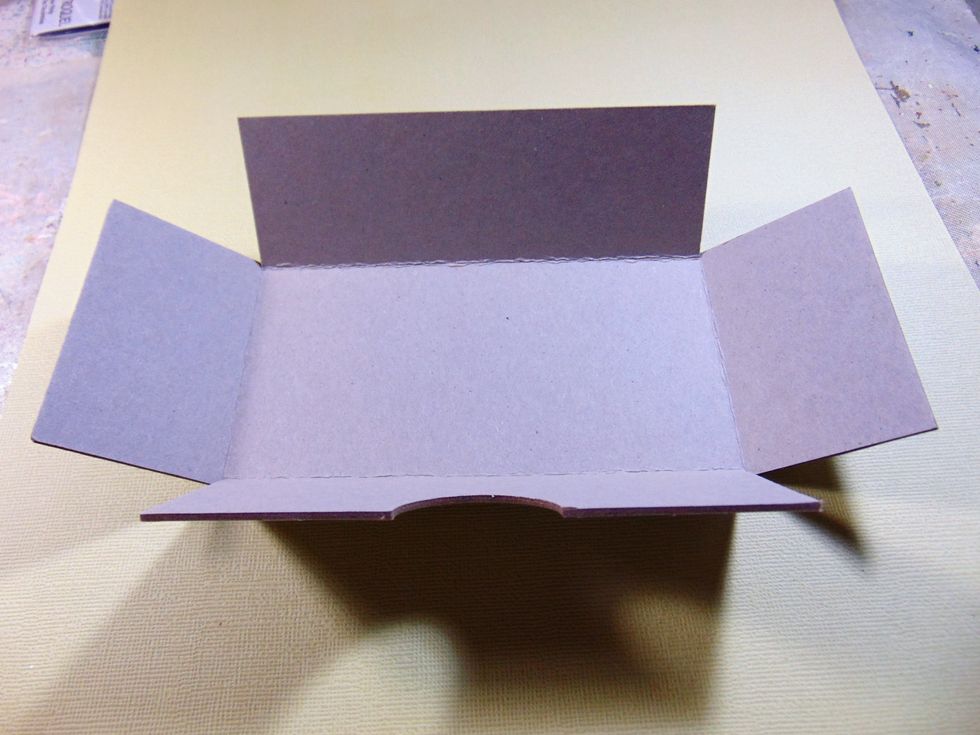
The drawer is the chipboard piece. Bend up the sides where the scores are.........
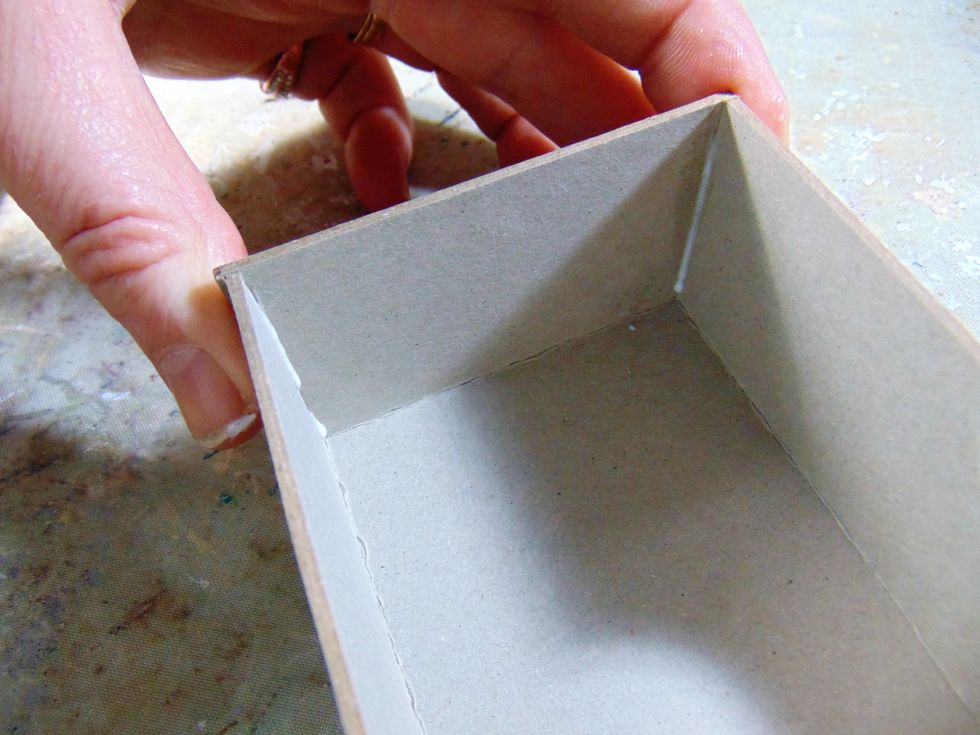
..... glue the edges and hold together until the glue bites and it stays stuck. Then put to one side to dry completely.
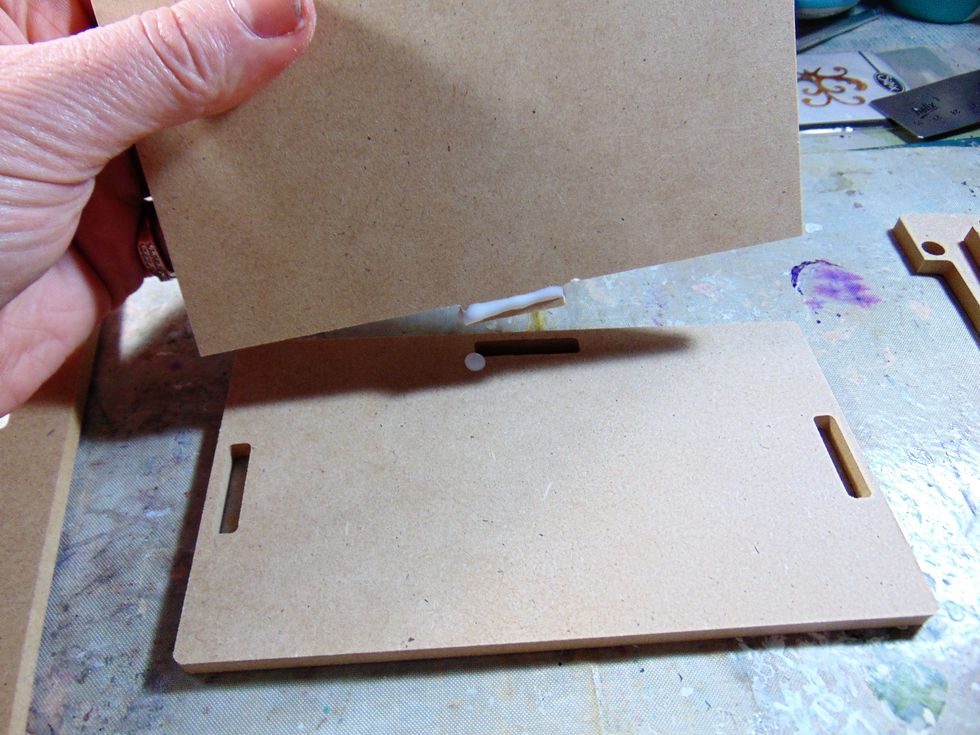
Assemble the wooden hutch unit. I use glue in the slots just for extra strength.........

.... just make sure you have the wholes for the door the right way round!
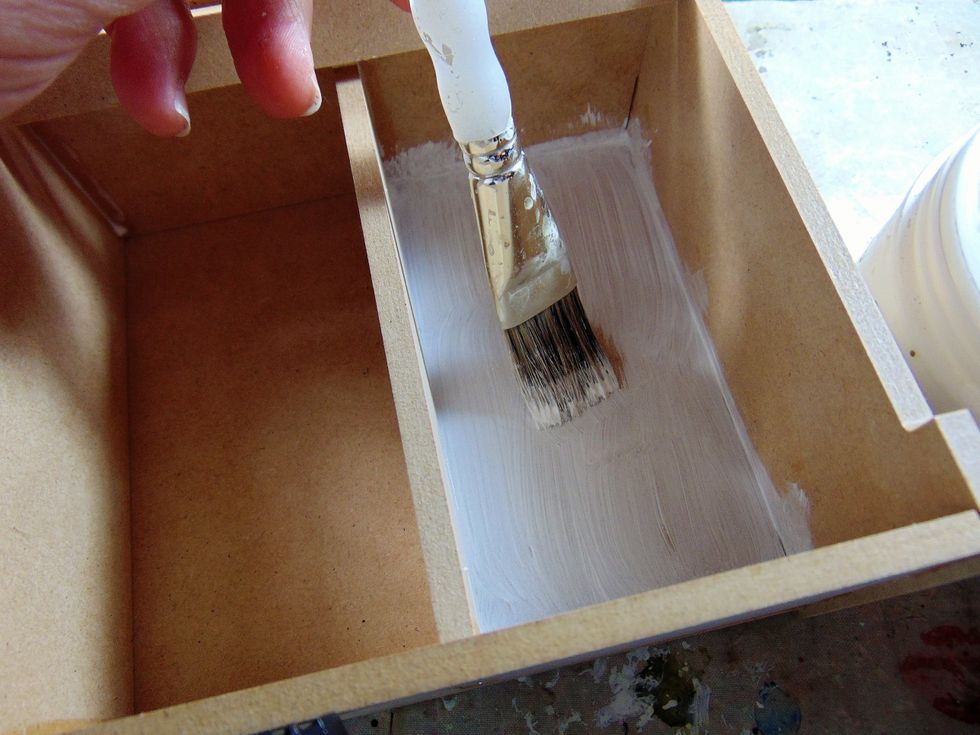
Now paint the whole thing with gesso, inside and out.
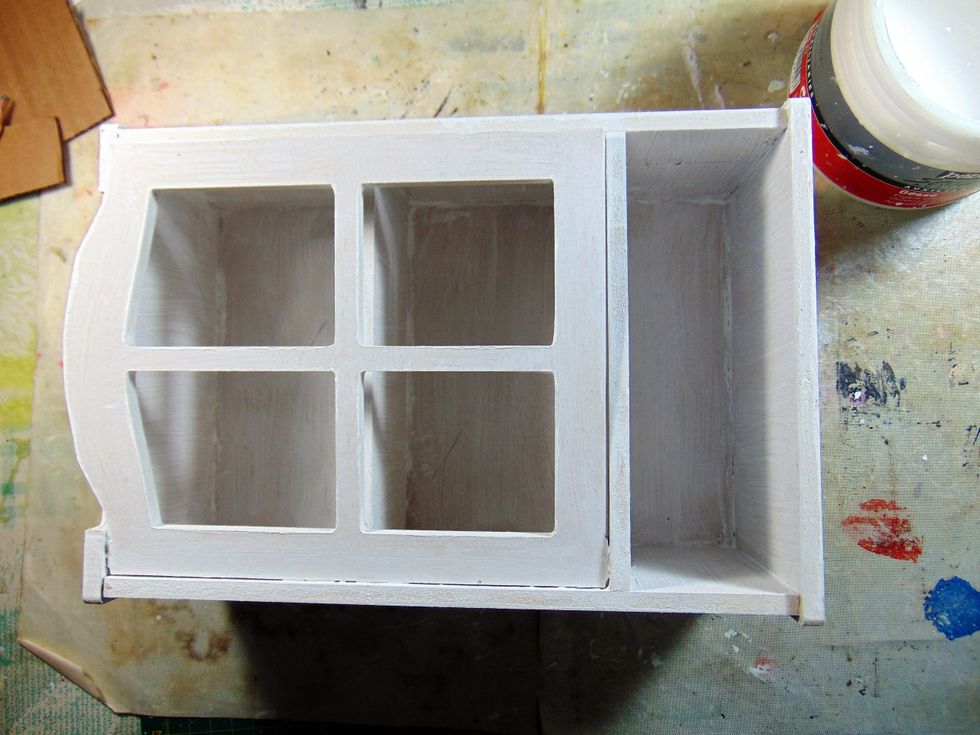
Voila! and not forgetting to paint the drawer too!
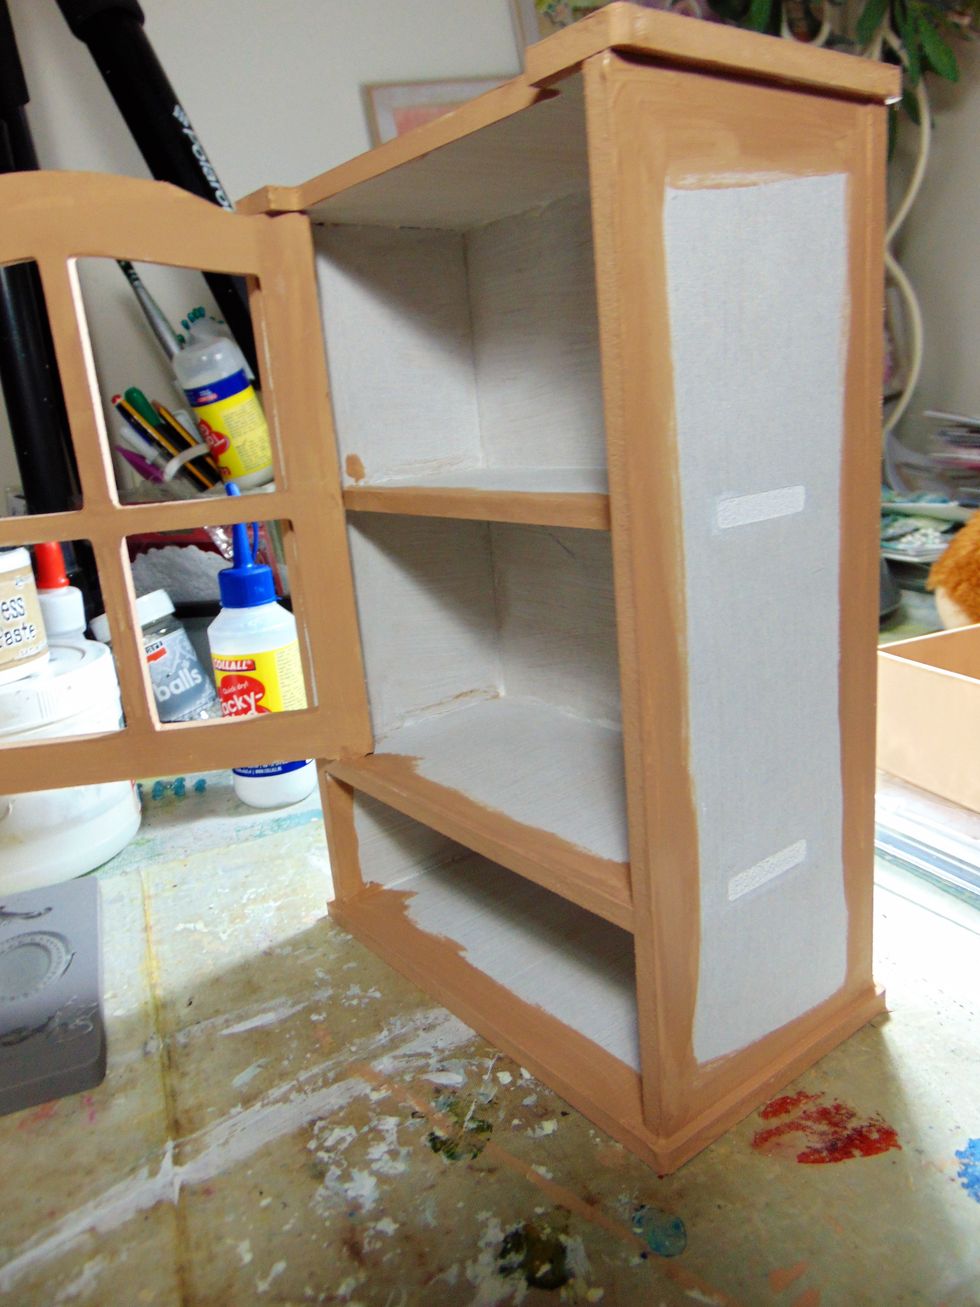
Now choose a different coloured paint. I chose a beige chalk effect paint and paint all the edges with this colour.
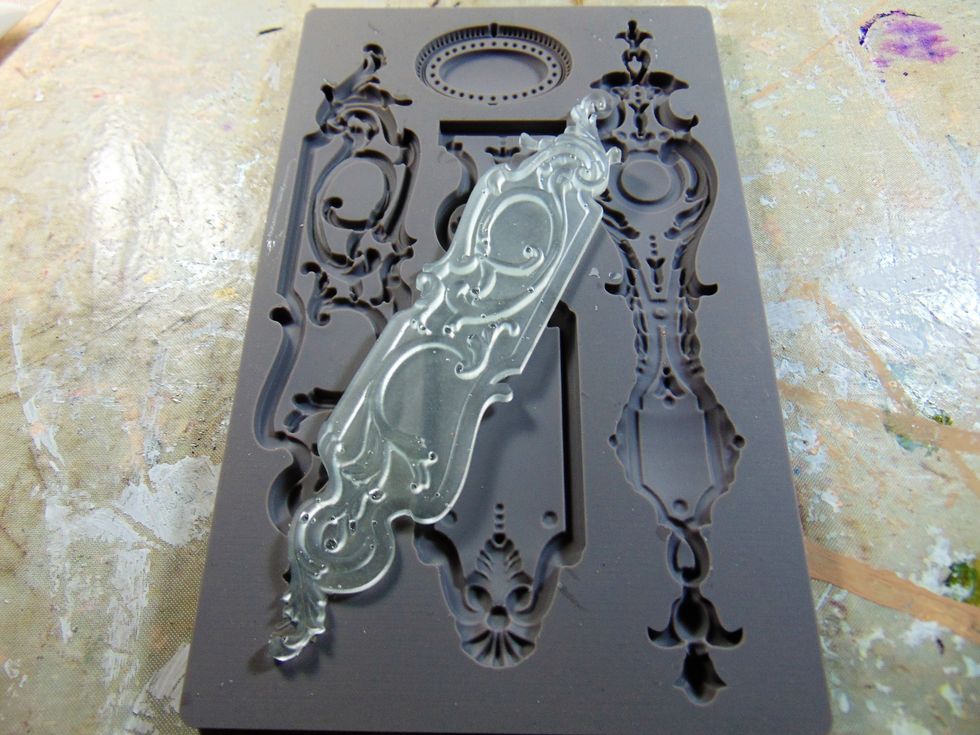
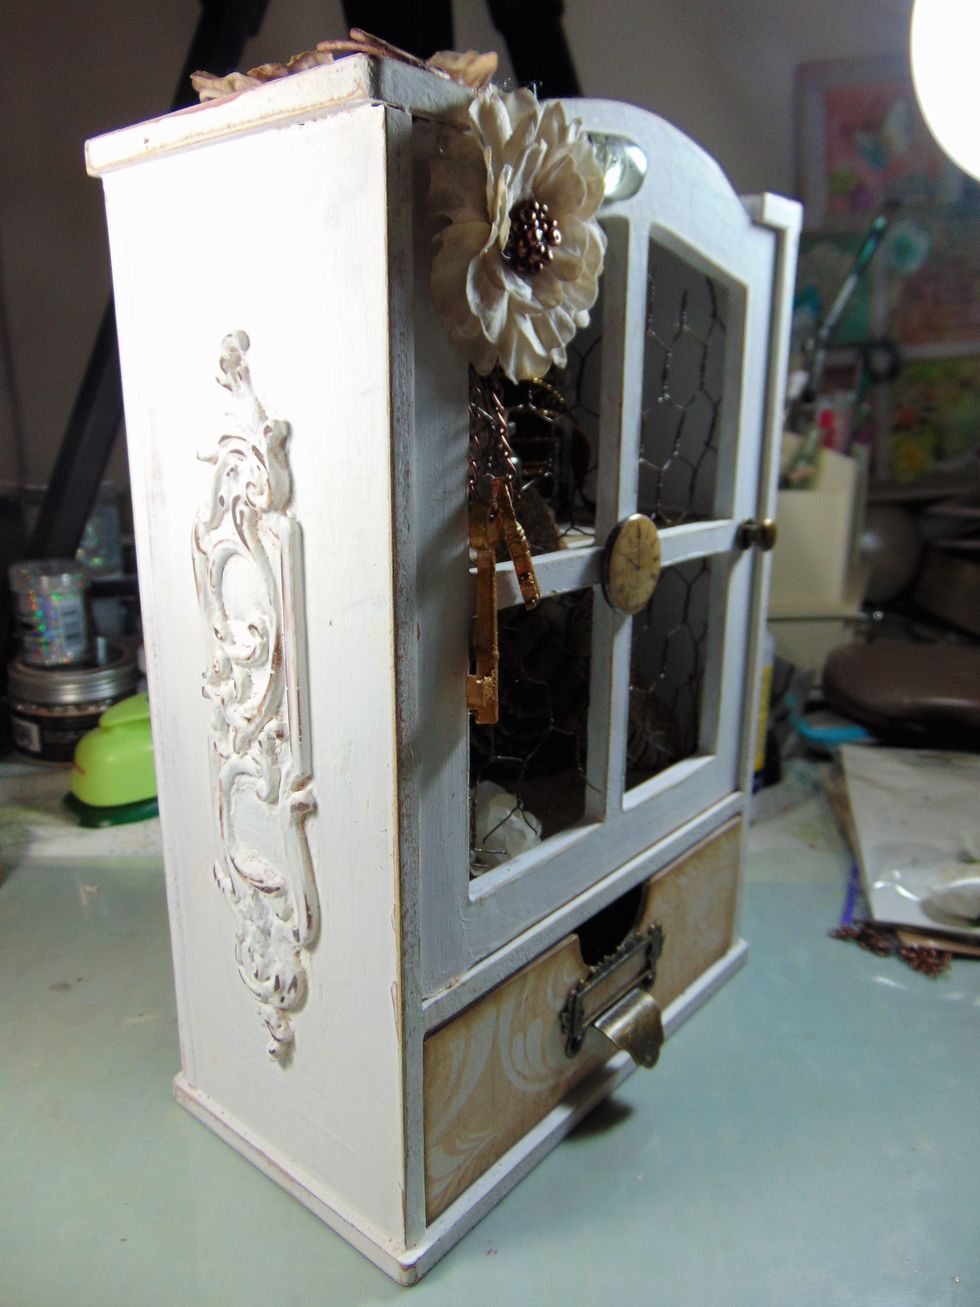
My detail on the sides of the hutch were Ice Resin pieces made in the Prima IOD moulds from last months kit. You need two of the same design.

Glue one to each side of the hutch.
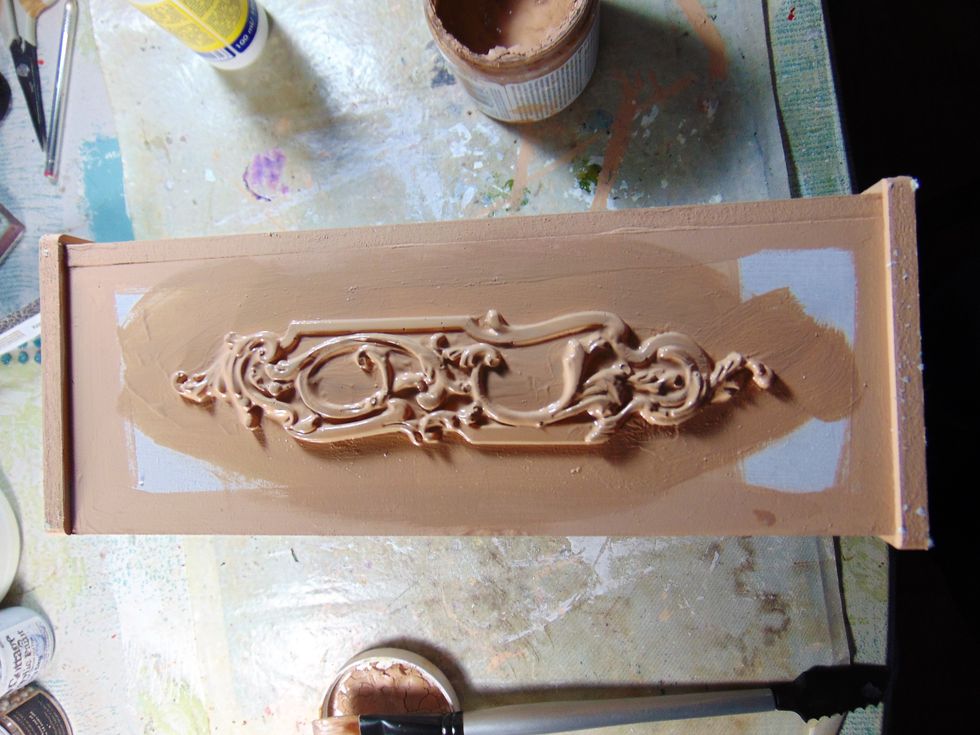
Then cover in the beige/ coloured paint of choice to match the edges.
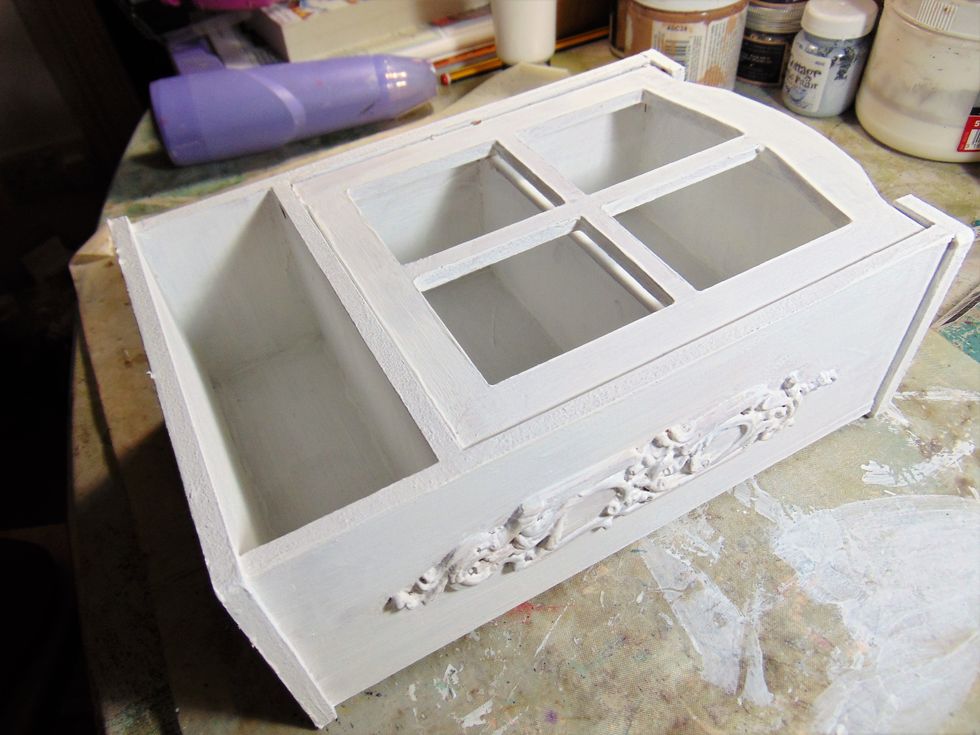
Now paint the whole thing again in a white acrylic paint. This is the final paint layer.
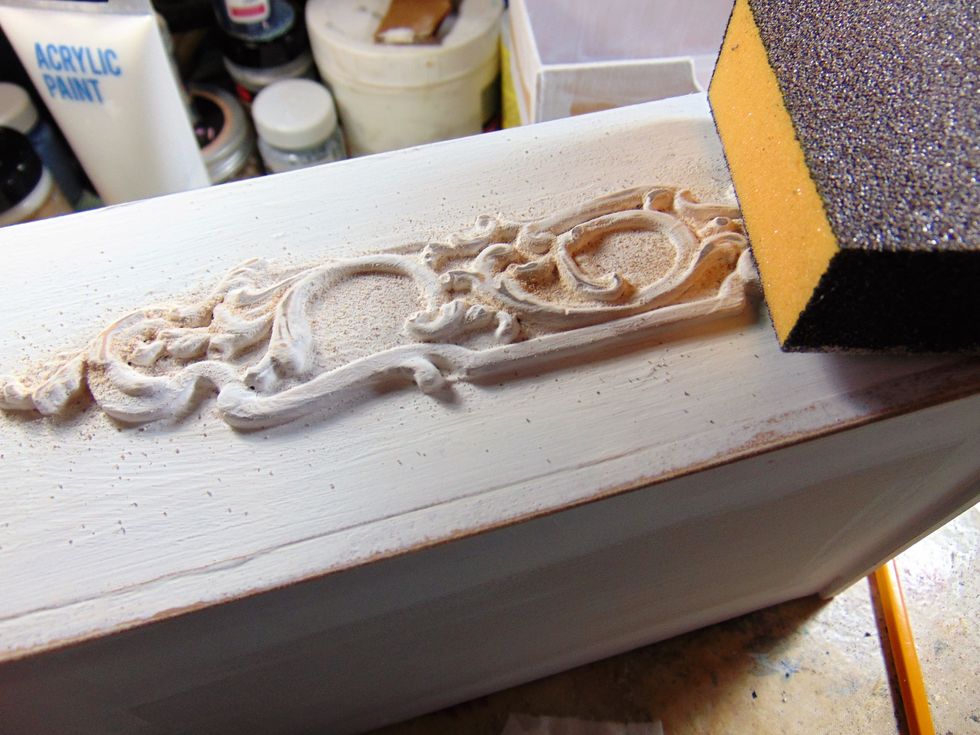
Its sanding time. With a sanding block gently rub away some of the white acrylic paint on the raised details to reveal the beige paint underneath, thus creating the shabby, worn look.
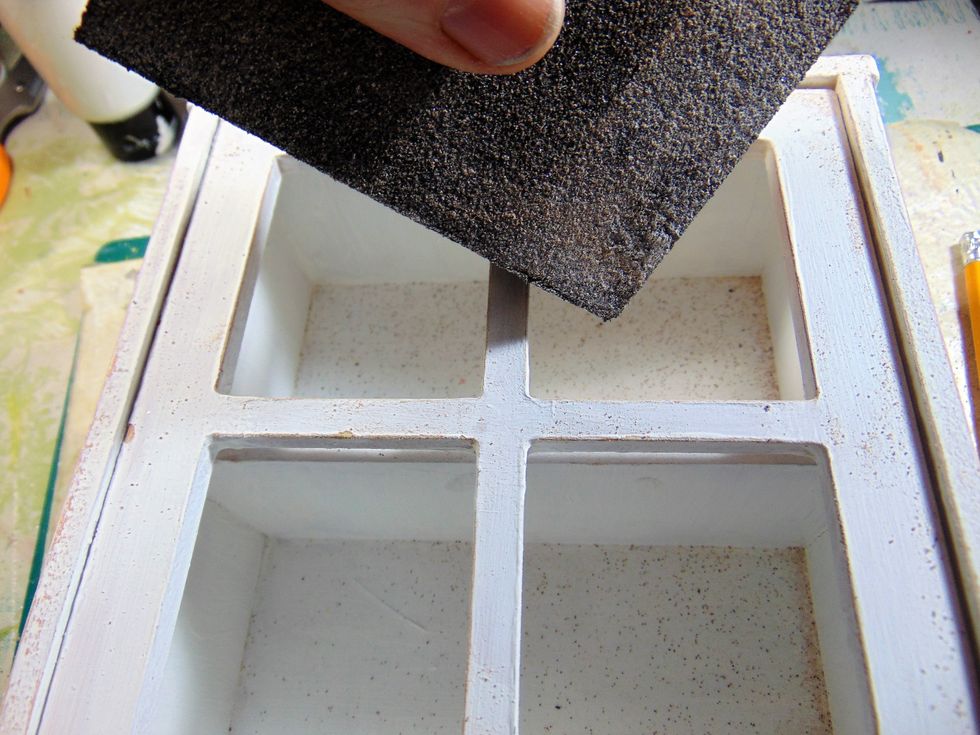
Do the same to all the edges, inside and out.
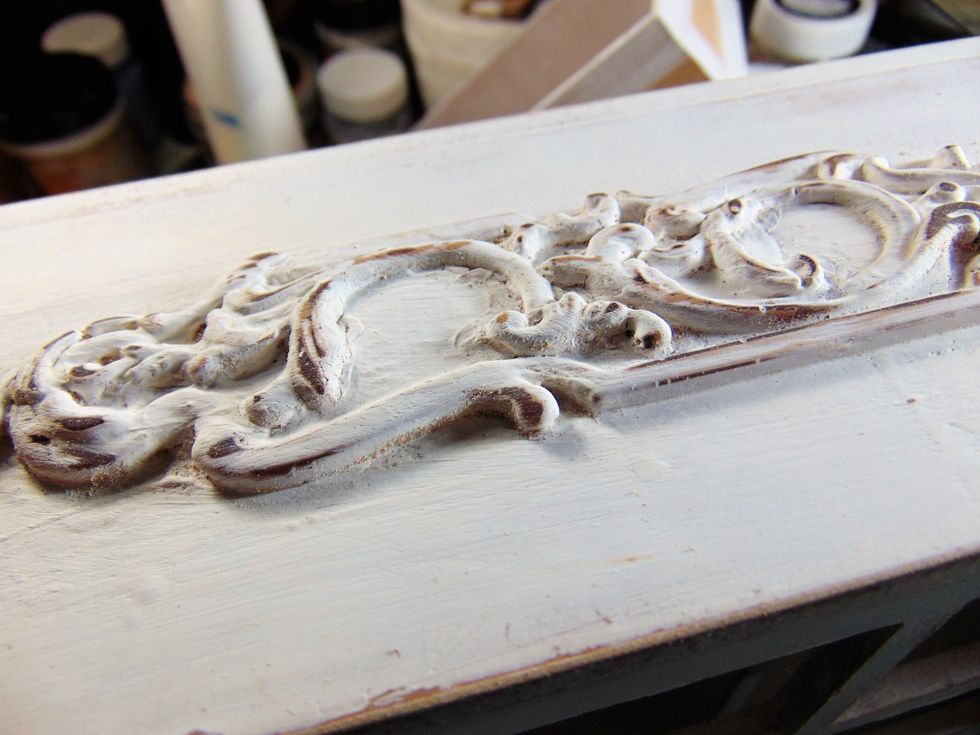
Don't you just love this effect!
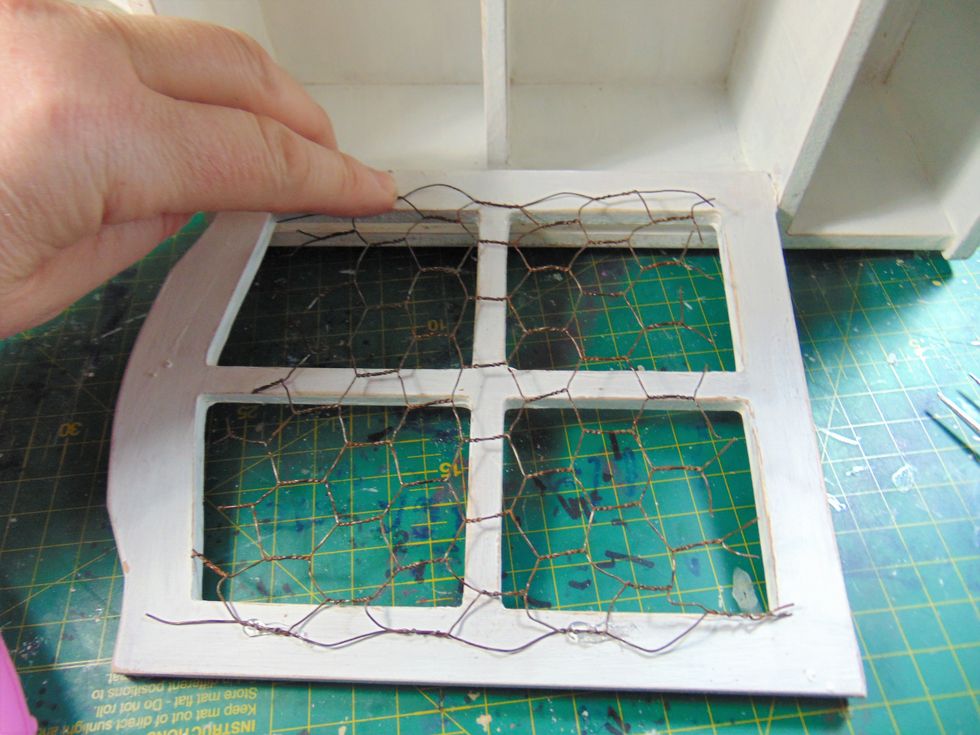
I fitted some chicken wire to the inside of my door window. My stapler wasn't working so I used some hot glue instead. I used a piece that was smaller then the window to keep the whole shabby look!
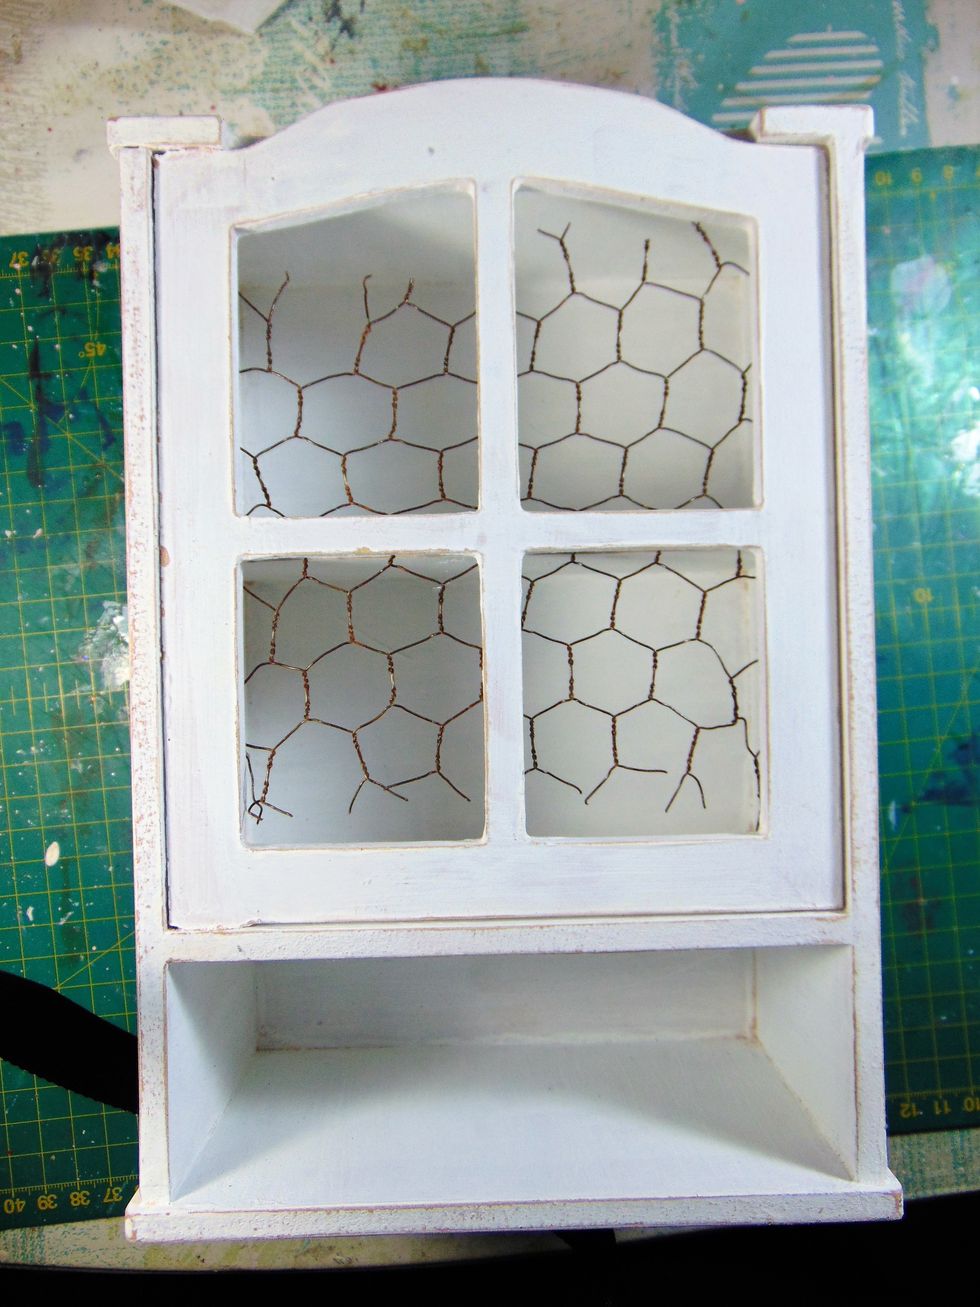
Looking good!
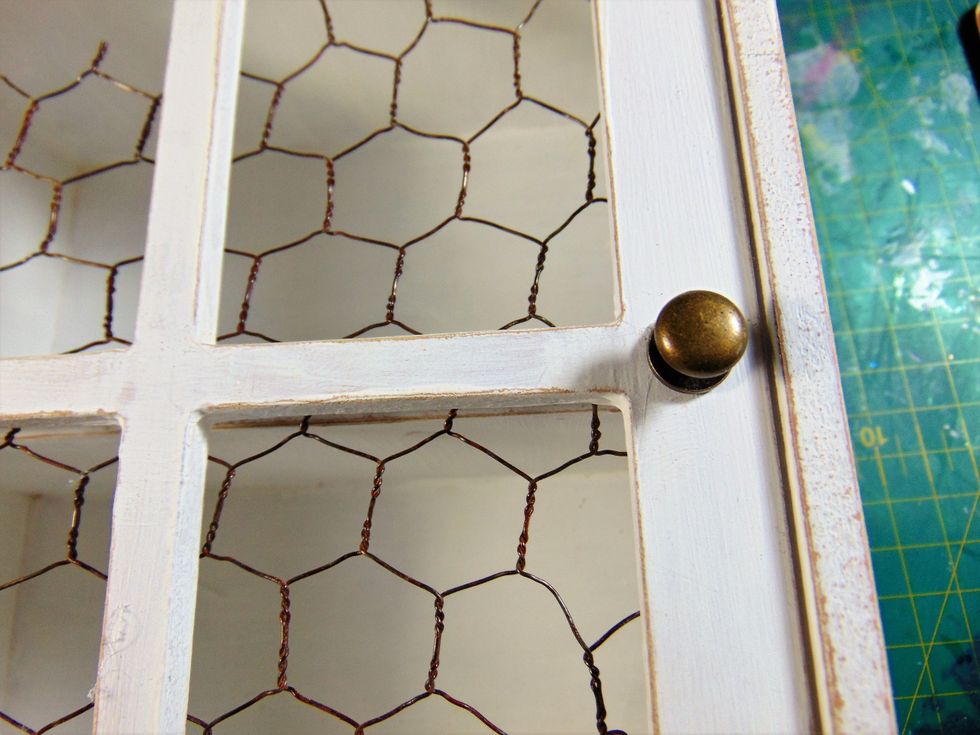
Add a door knob....
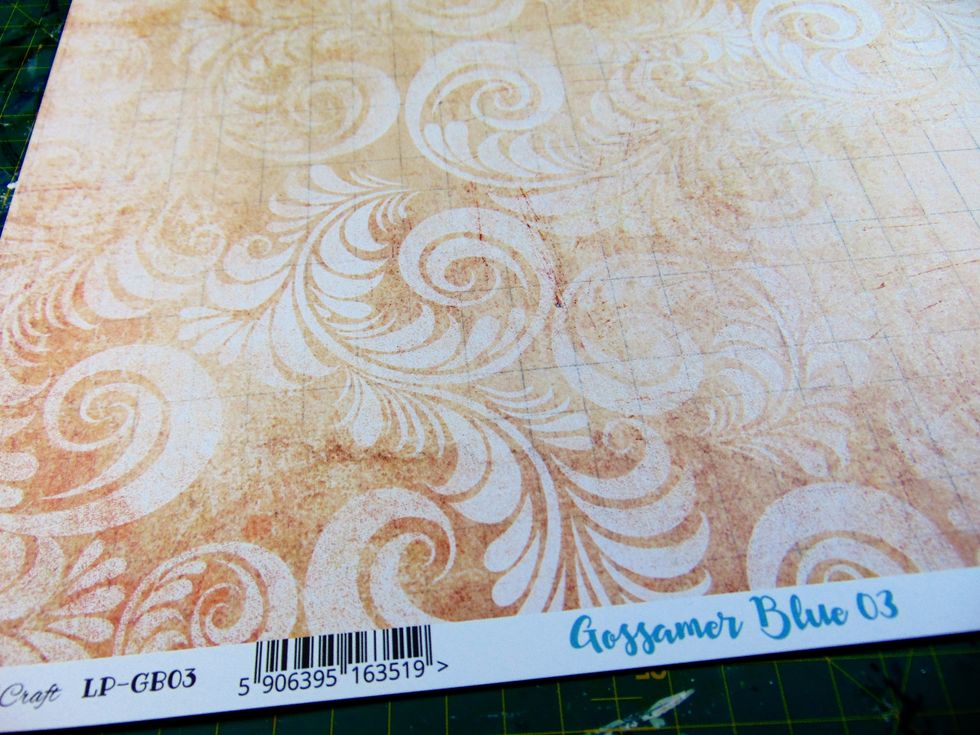
Now it gets exciting! I chose this Lemon Craft paper from the main January kit .....
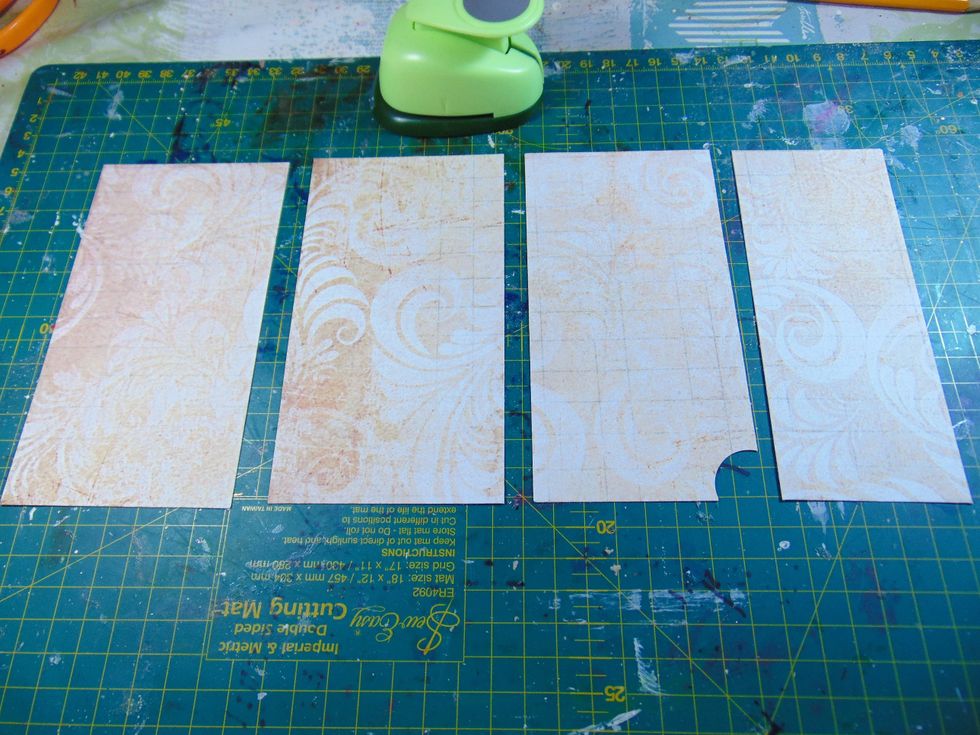
....and cut pieces to line my the inside of my hutch. You can see the piece with the 'in cut' corner which will fit around the swinging door post.
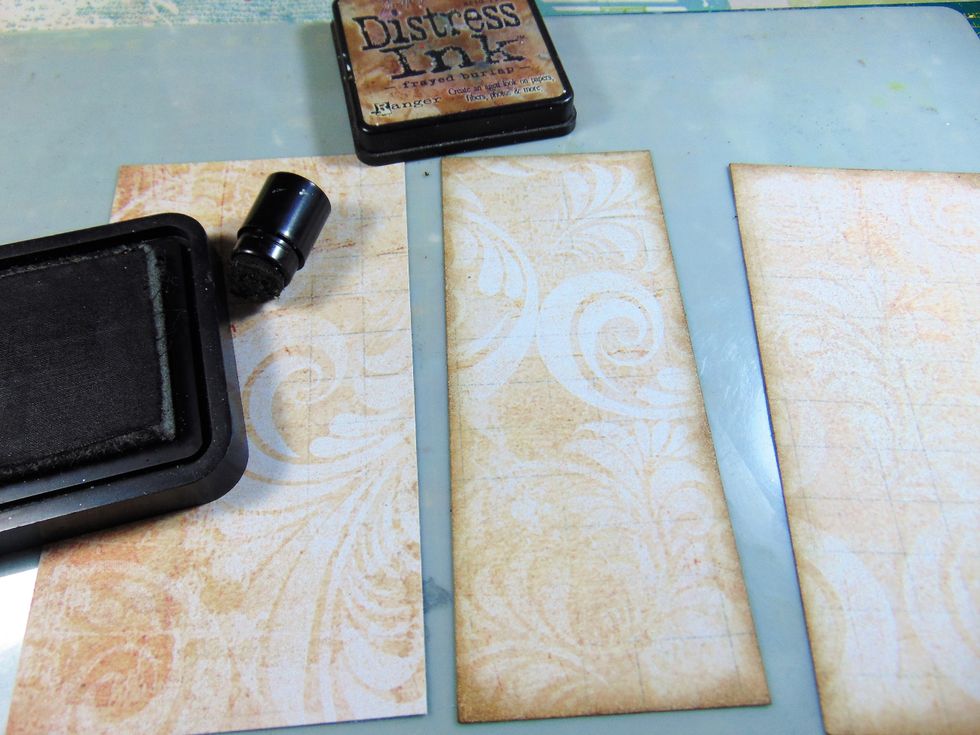
Ink the edges.....
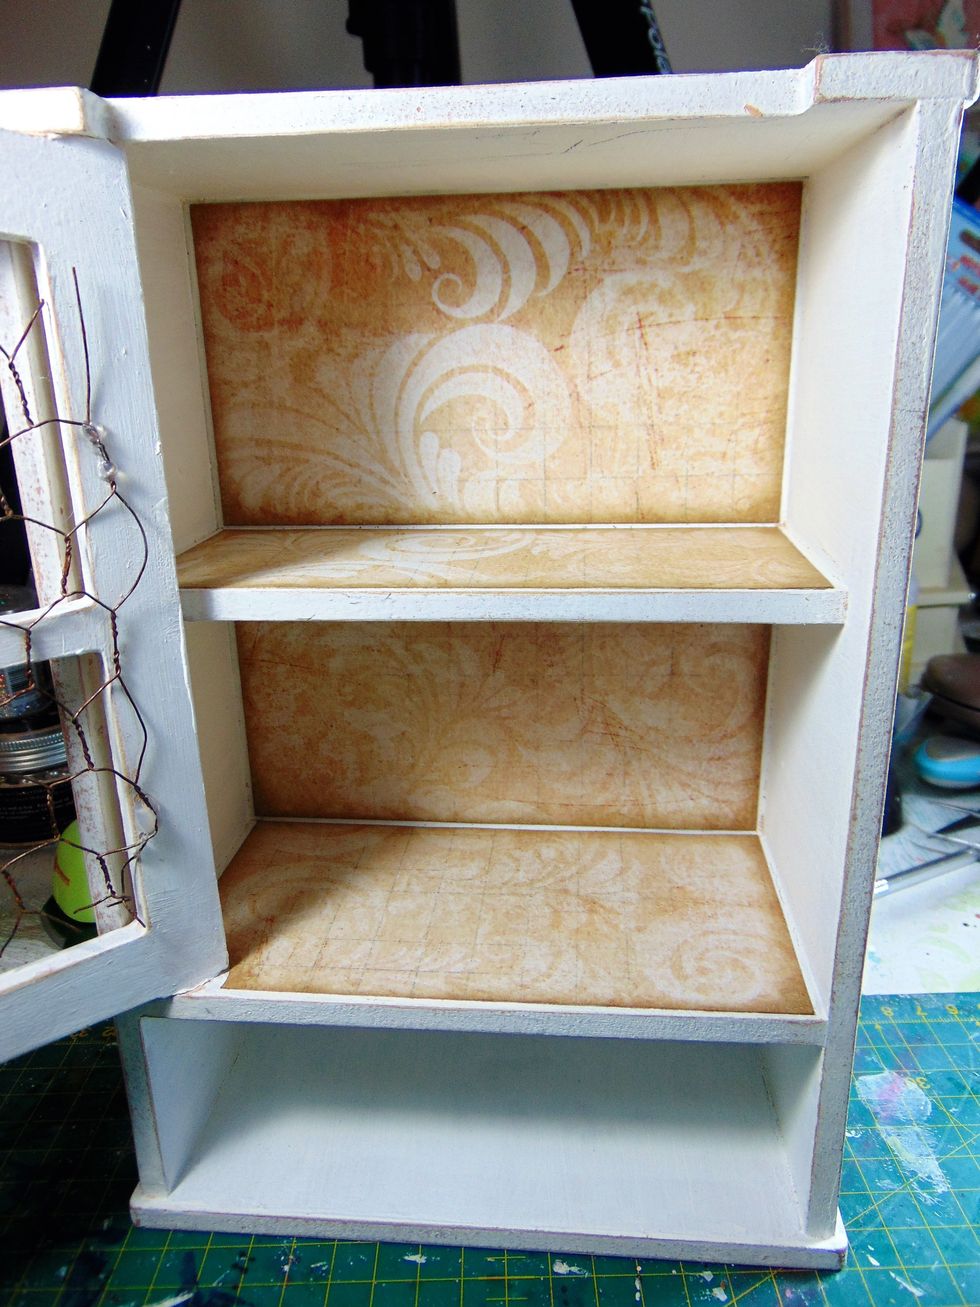
.... and glue into the hutch like so.
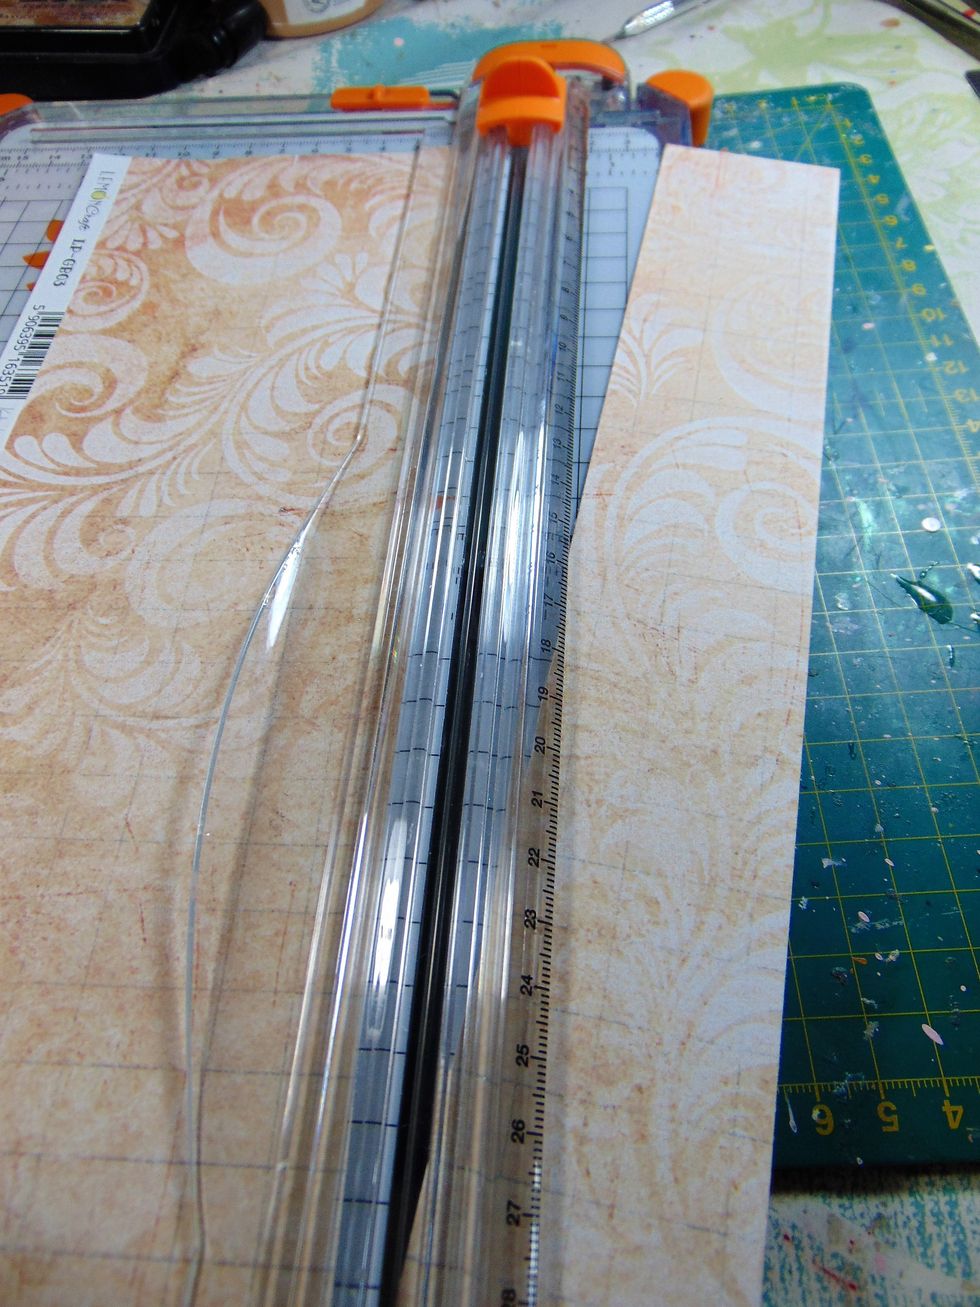
I had enough of the same paper left to cut to 12" strips for my drawer....
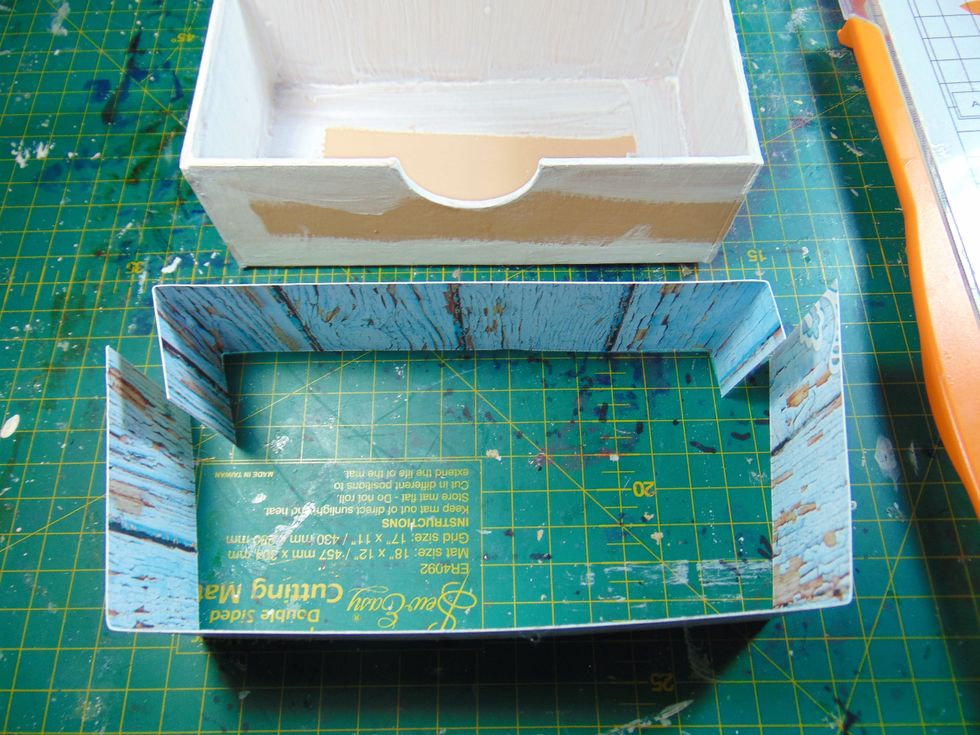
I always 'wrap' my drawers in PP as I feel it makes the drawer stronger to use and strengthens the corners. As long as its glued tight the drawer will still fit into the drawer cavity.
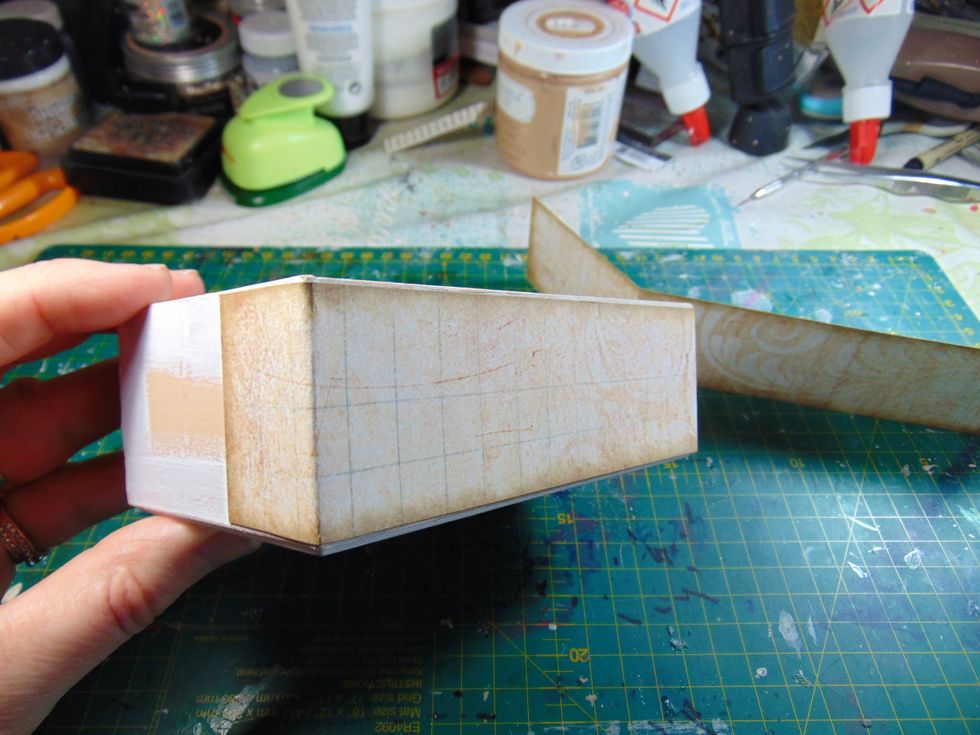
Make sure any seems are on the sides or the back NOT the front.
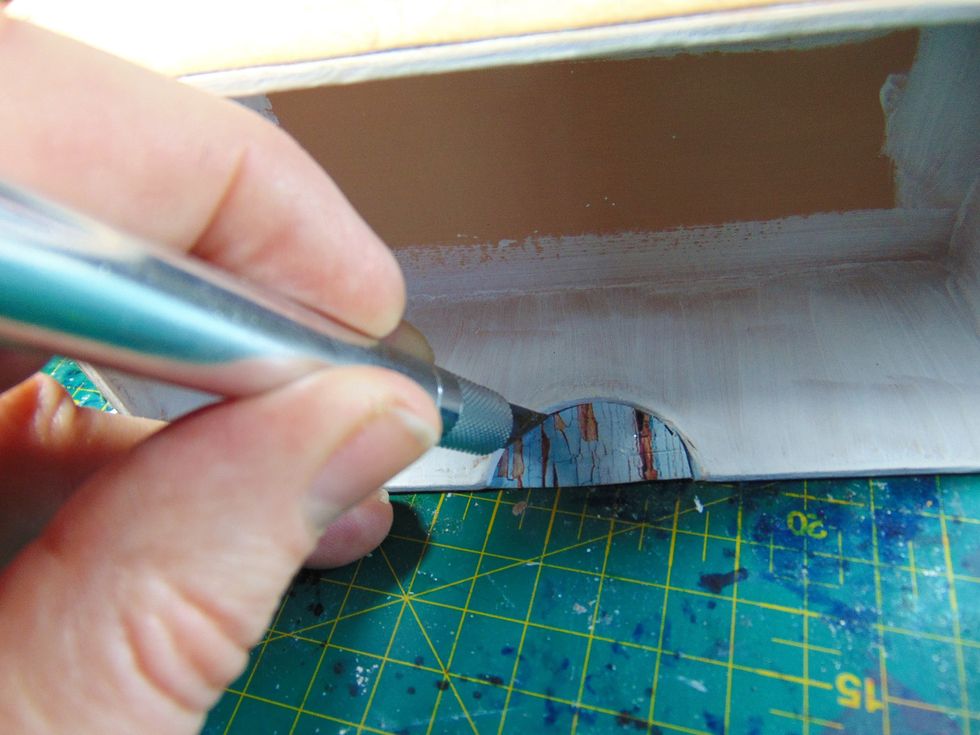
Cut the finger pull out with a craft knife....
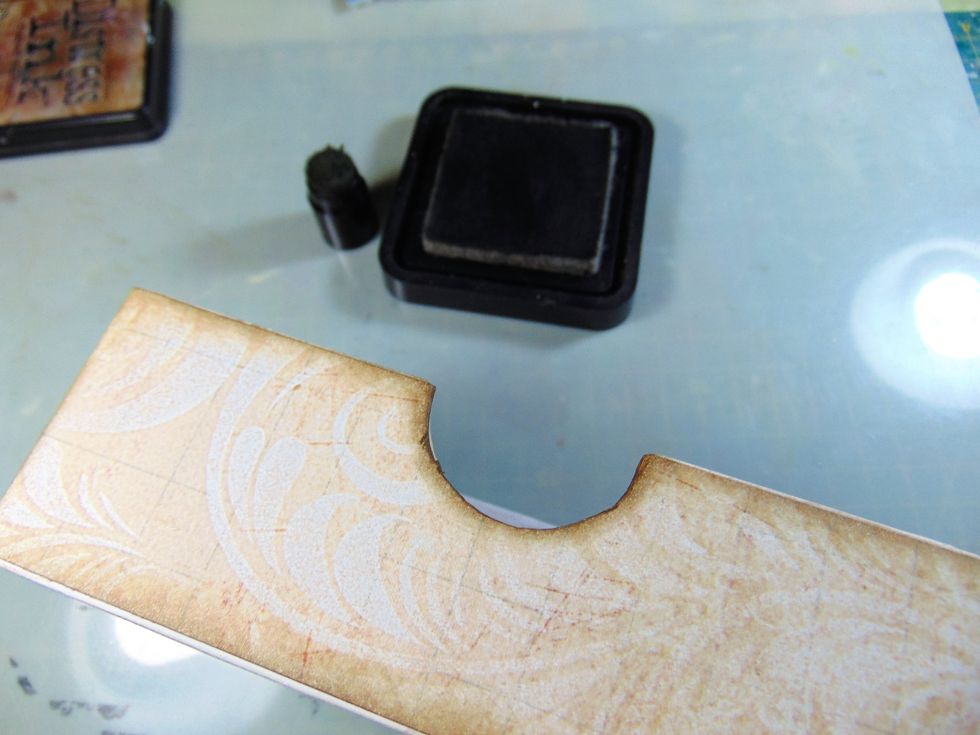
.....and ink the edges.
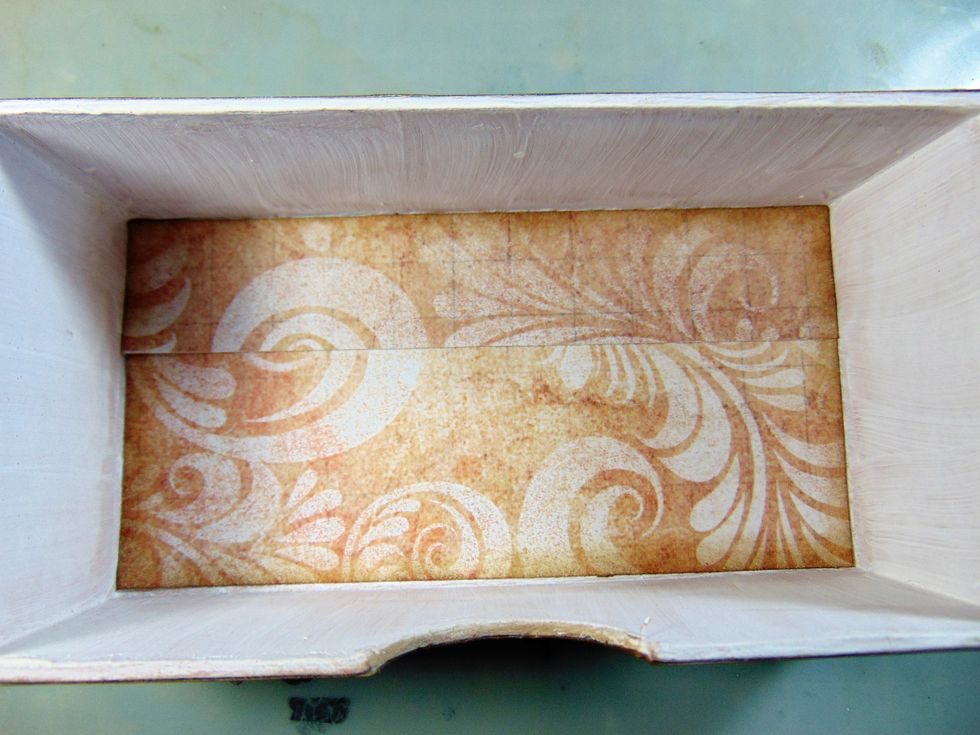
I used the remaining pieces of paper to line my drawer. It wasn't one whole piece but they nearly matched !
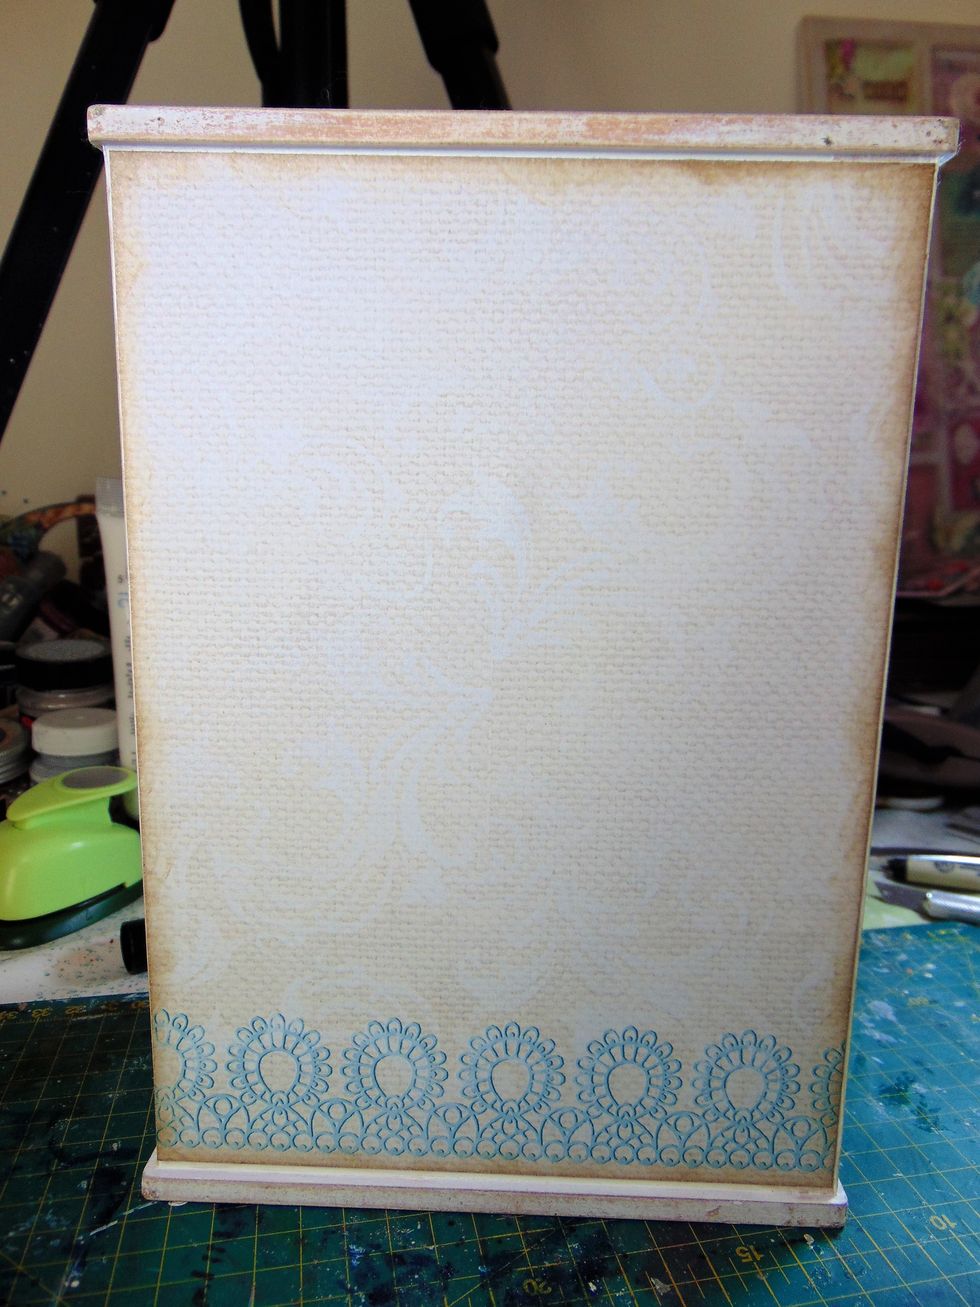
Cover the back of the unit with a piece of inked pattered paper.
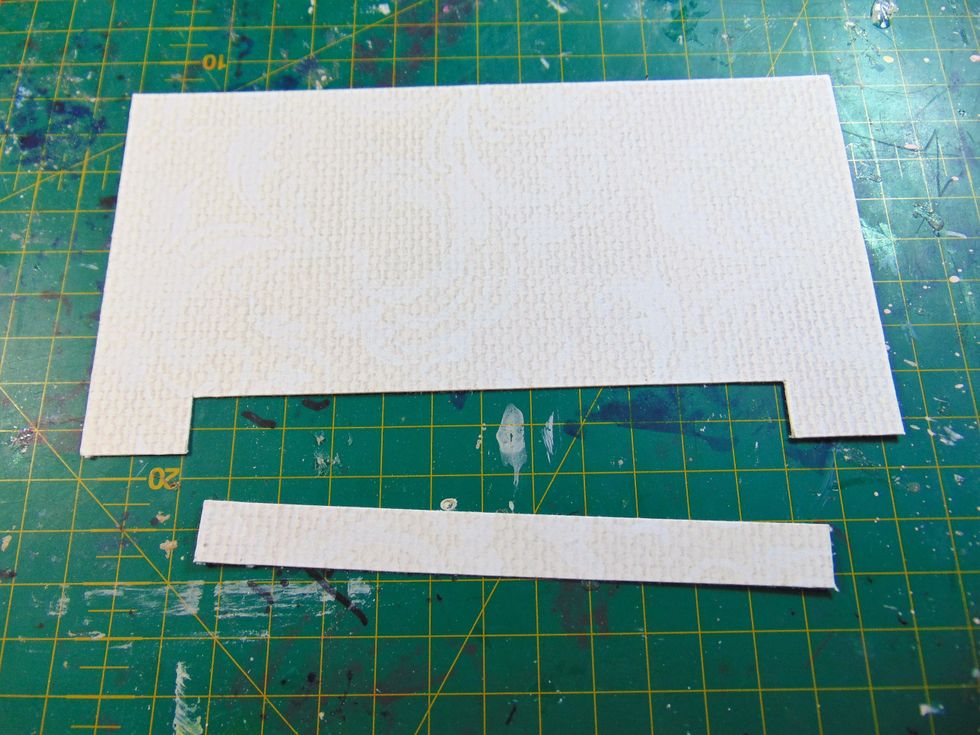
And then carefully measure and cut a piece to fit the top of the unit remembering to cut out the front to fit the shape where the door closes....
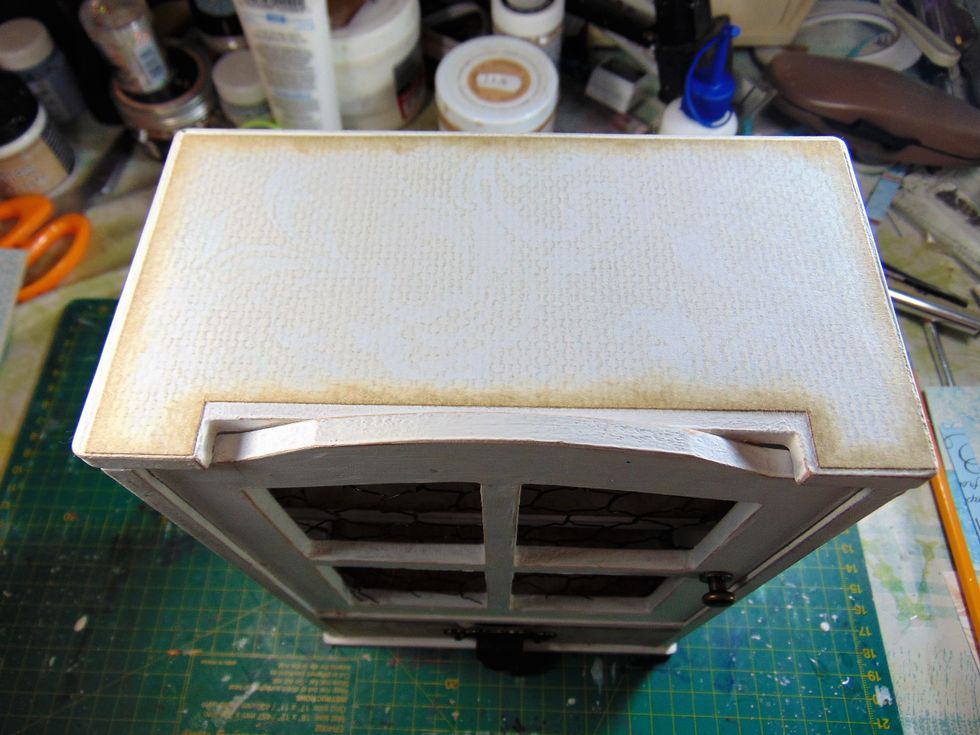
..... ink edges and glue on.

It's embellishments time! All of these came from the January main kit, the project kit and the embellishment/ flower add on's. Glue the clock badge to the middle front.
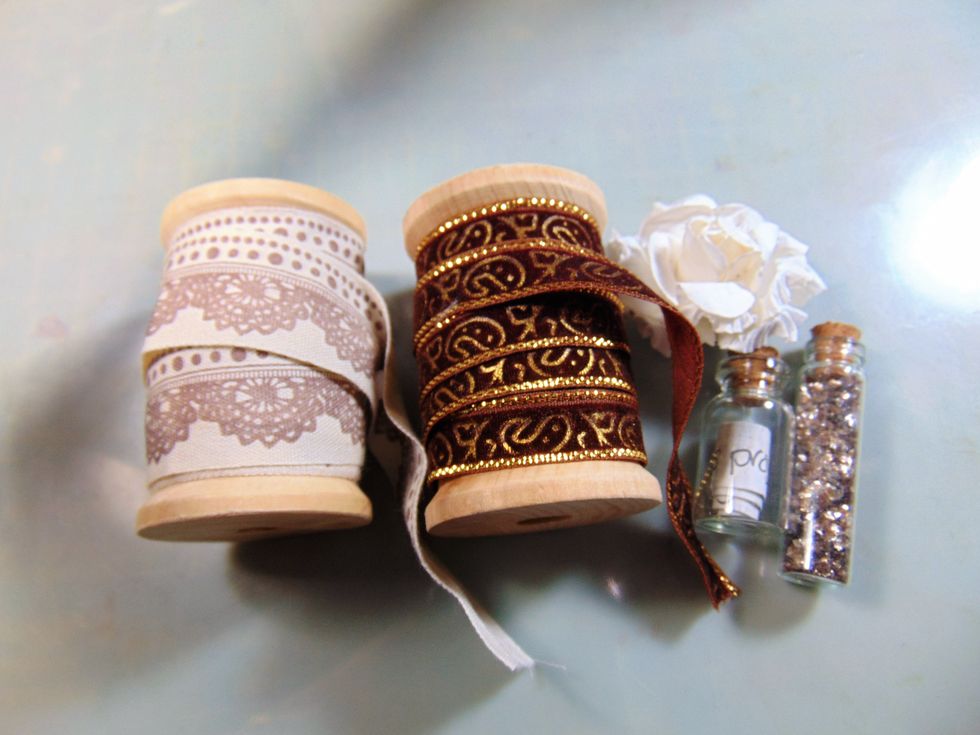
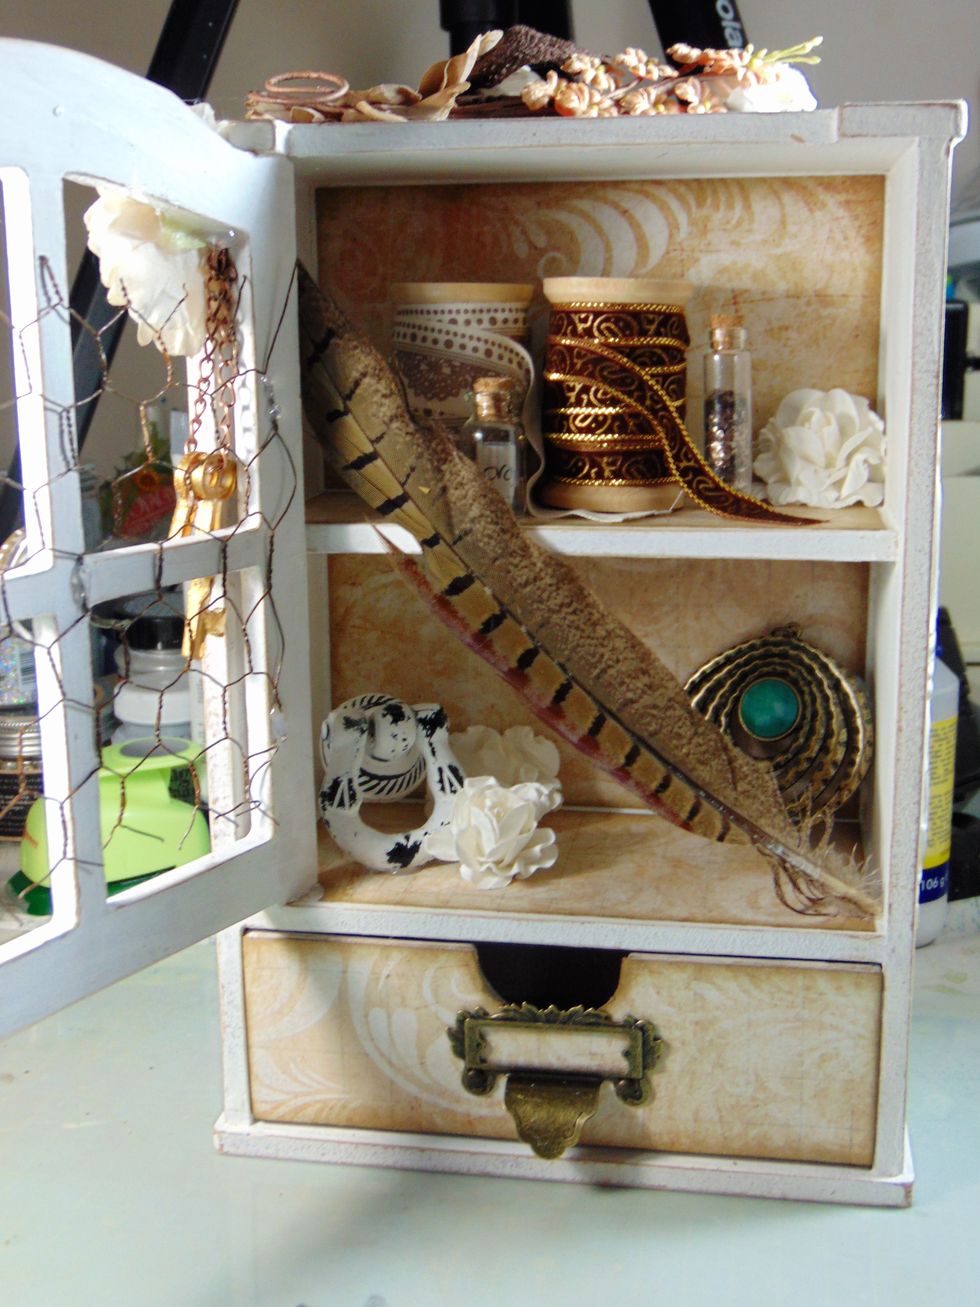
Wrap ribbon around the spools. I put Mica flakes in one bottle and a piece of paper with the date the Hutch was made on in the other. A flower and that was the top shelf complete.

The bottom shelf I added some of the larger items from the kit with some flowers.
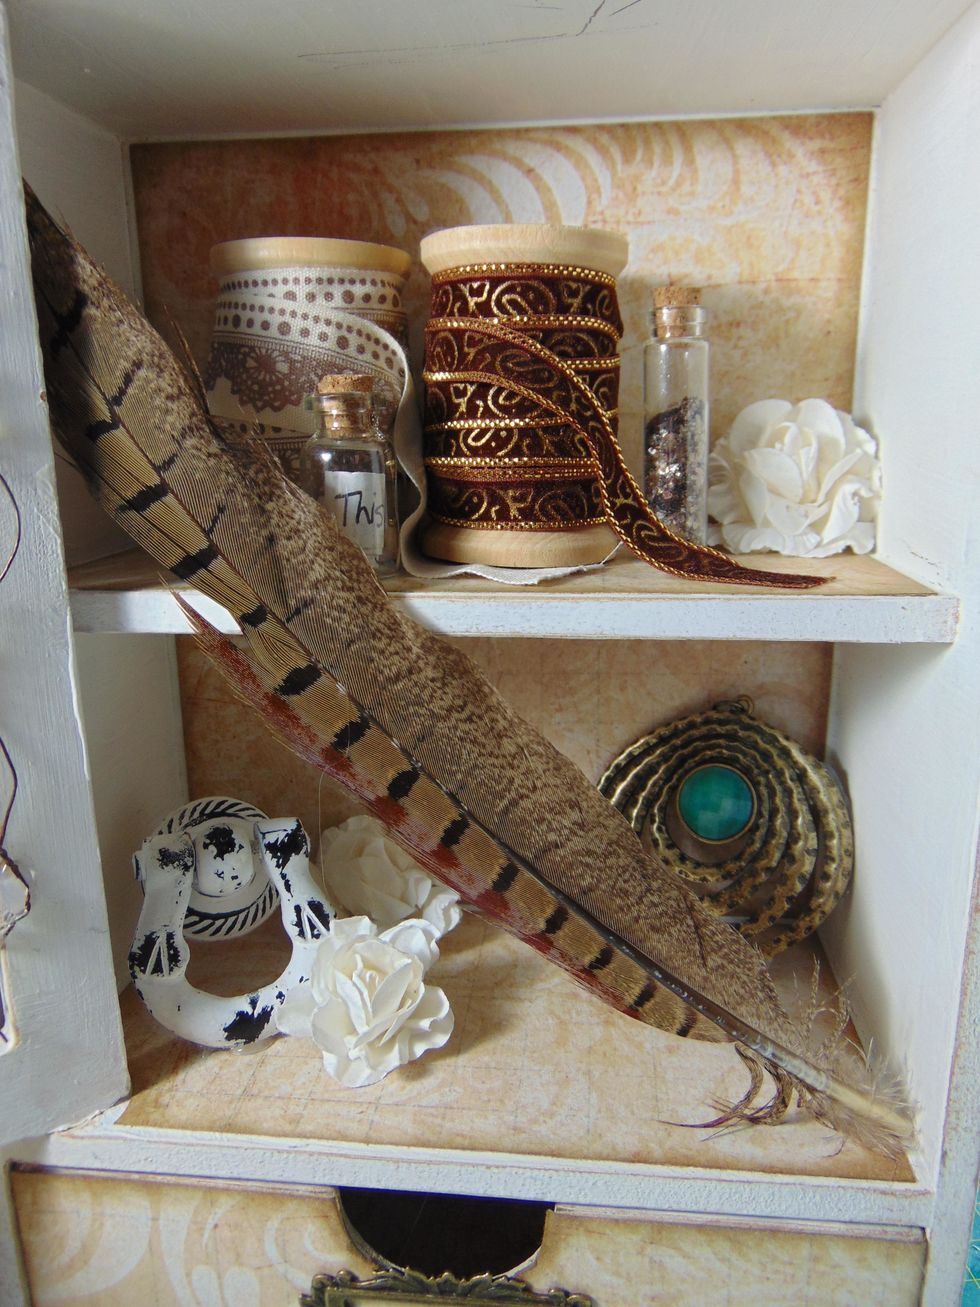
I then stuck one of the gorgeous feathers inside the door across the shelves. The door still closes nicely.
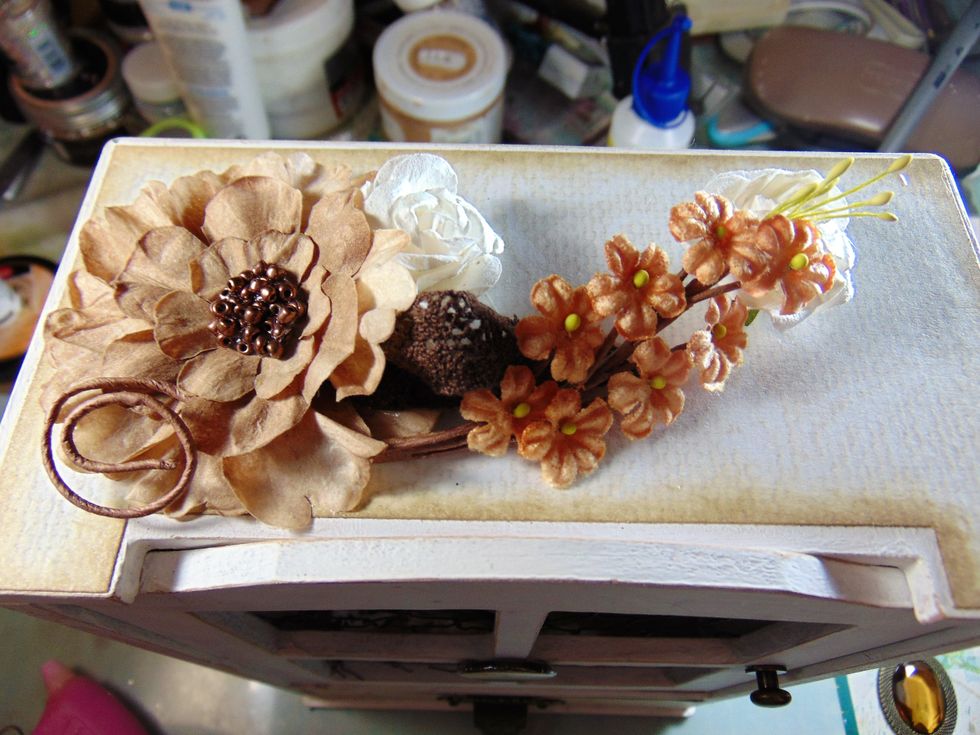
On the top of the hutch I added some flowers from the kit, a ribbon and a vine flower from a previous kit.

For the door I used these embellishments. The keys are made from Ice Resin in MS moulds and then covered with Inka Gold and strung on some copper chain.
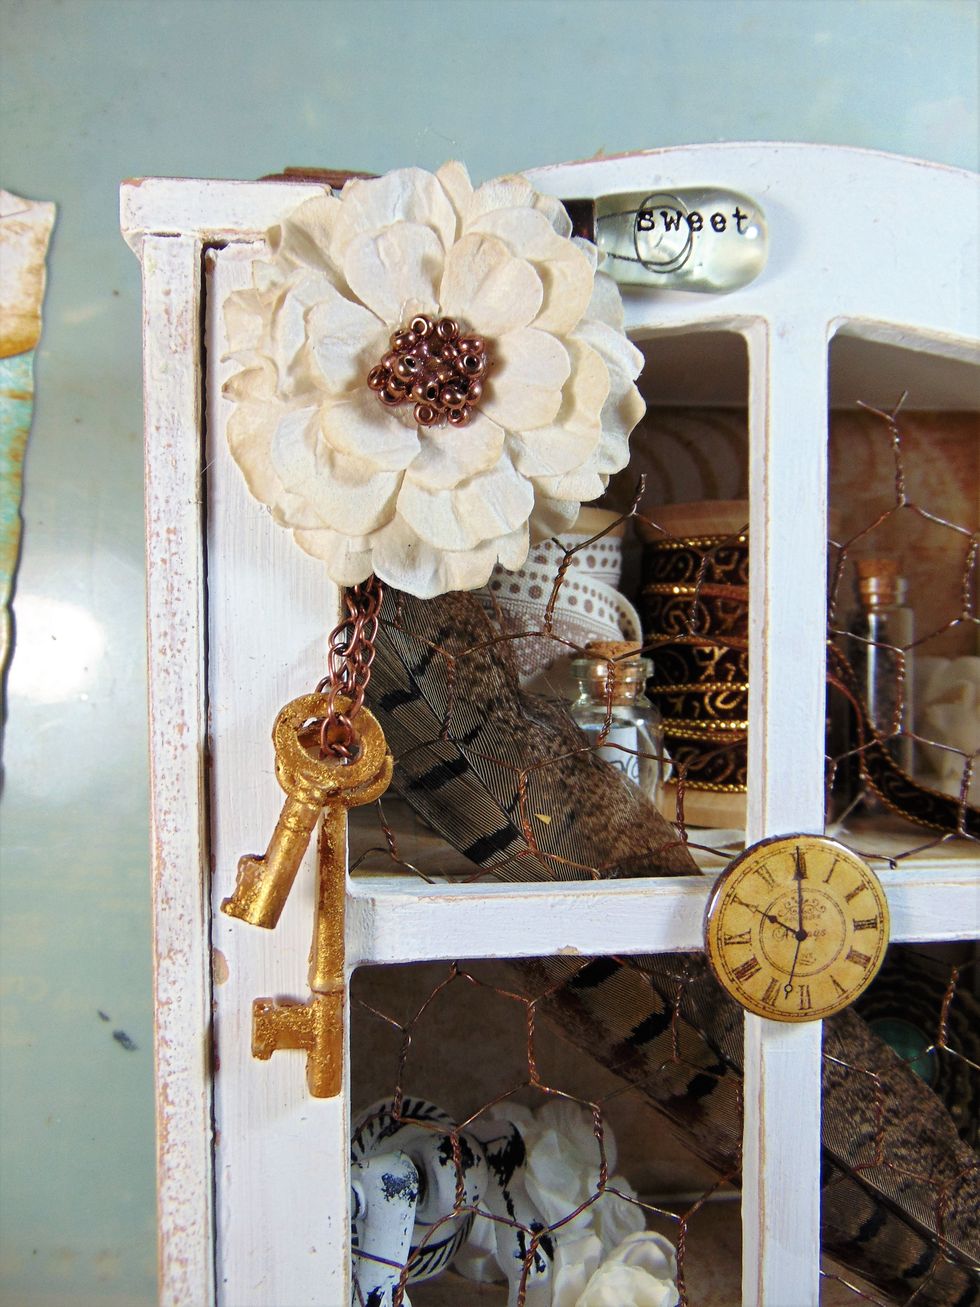
Glue these to the top left corner. I use hot glue for all this type of gluing so it is rock solid!
Add Graphic 45 label door holder to the front of drawer with the little brad fixings provided, its easy to skewer holes through the chipboard drawer to do this. Line the inside to cover split brads.
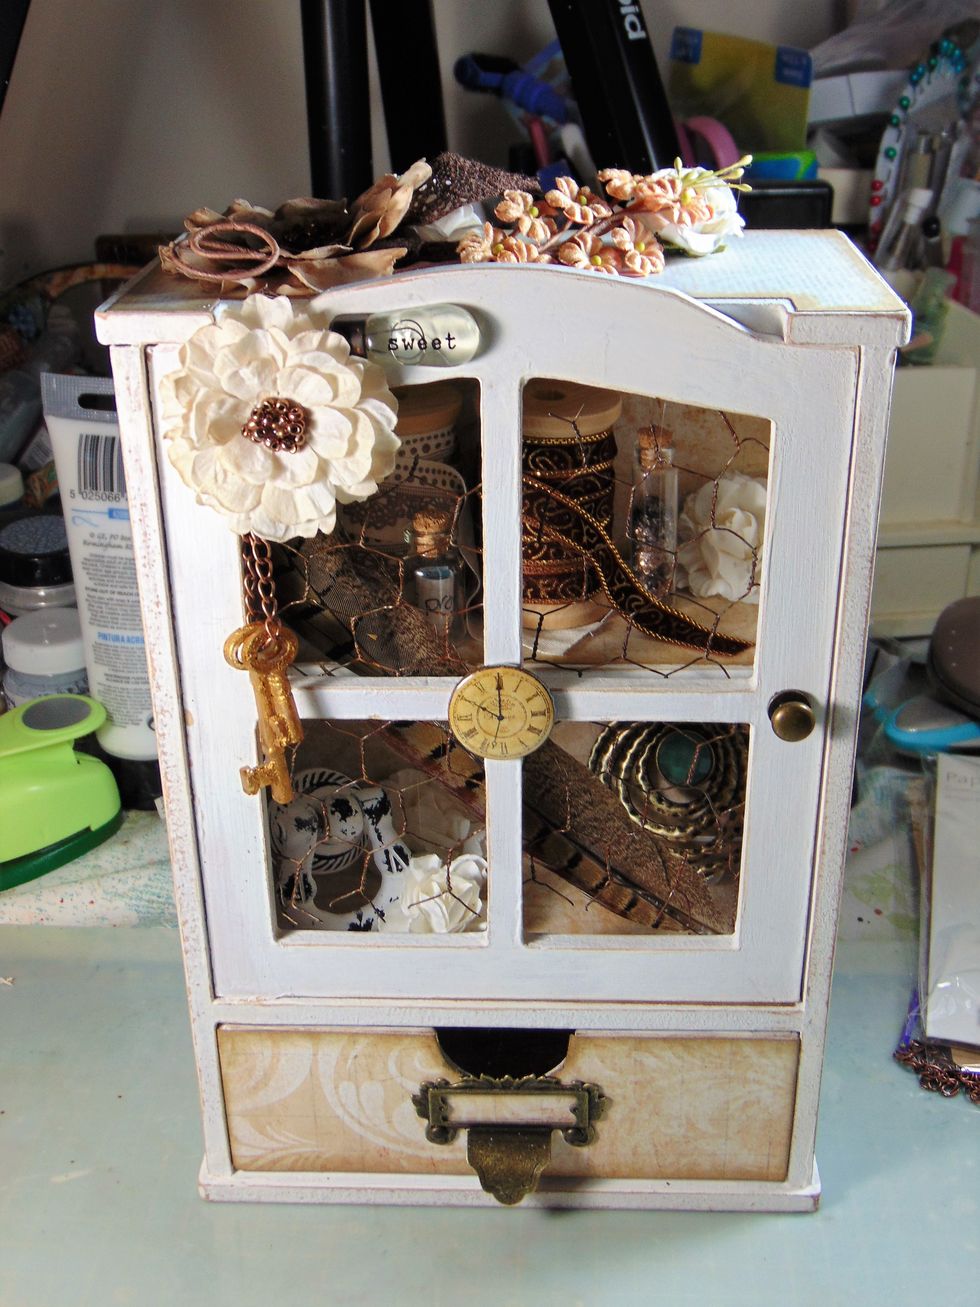
Voila! All done!
The finished Shabby Chic Mini Hutch.

This is a design team creation created for Swirlydoos kit club. If you are ready to receive beautifully co-ordinated scrapbook kits directly to your door then visit www.swirlydoos.com for more info.