The Conversation (0)
Sign Up
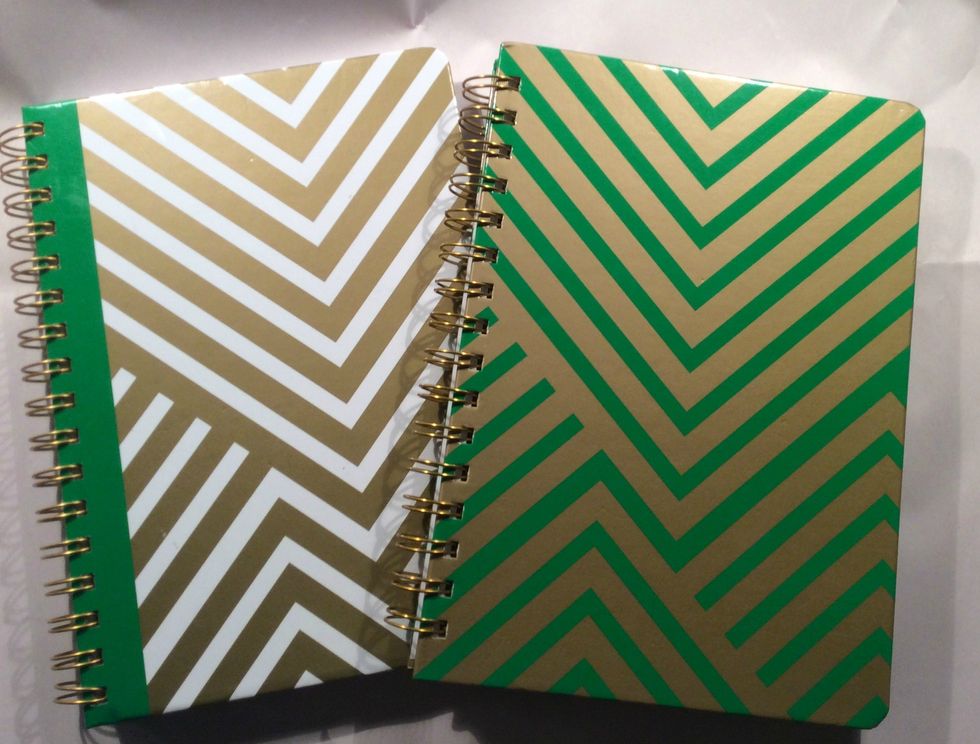
I purchased these journals at my dollar tree. Remove the covers and the first page of the journal from owires.
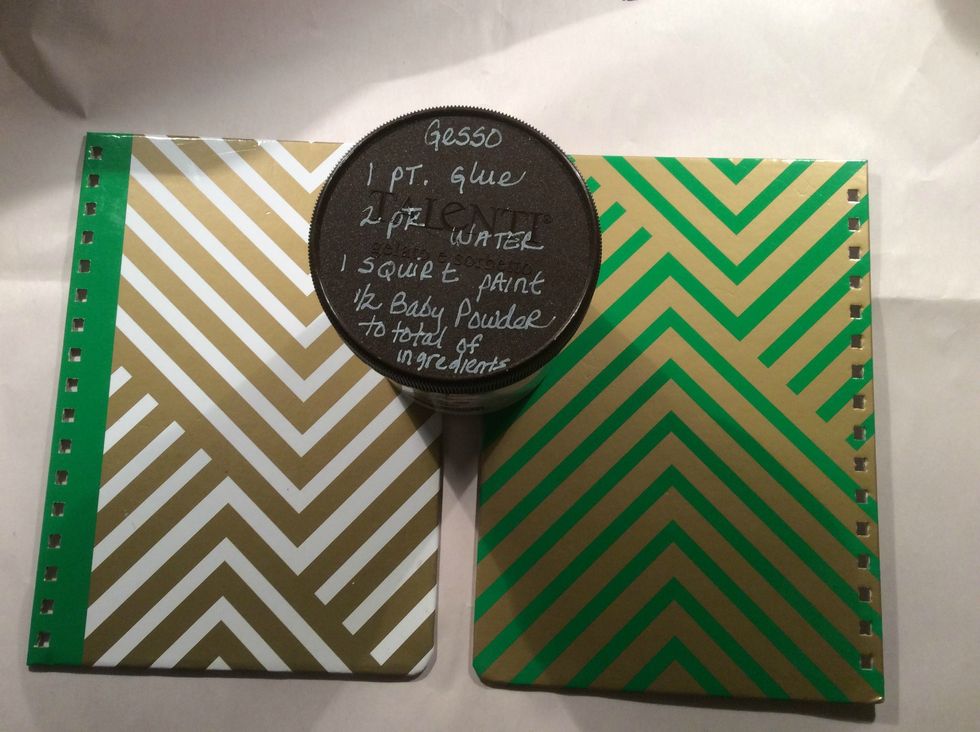
I applied two coats of handmade gesso to both sides of front and back of journal covers.
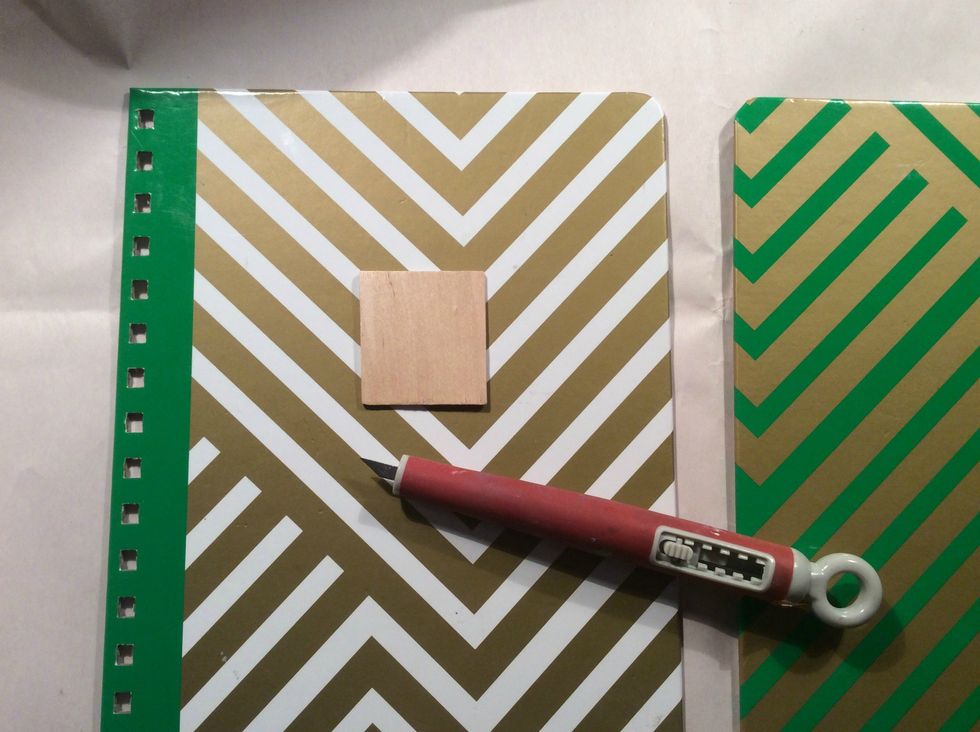
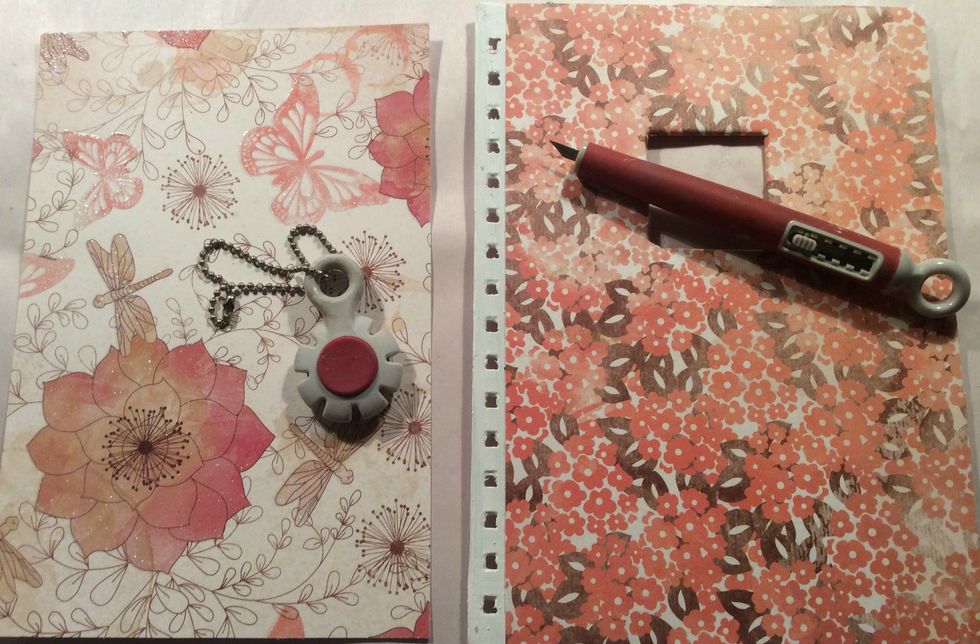
I wanted to personalize the cover so I decided to cut a hole in the top cover. Using a template I drew the size I would need and then cut a hole.
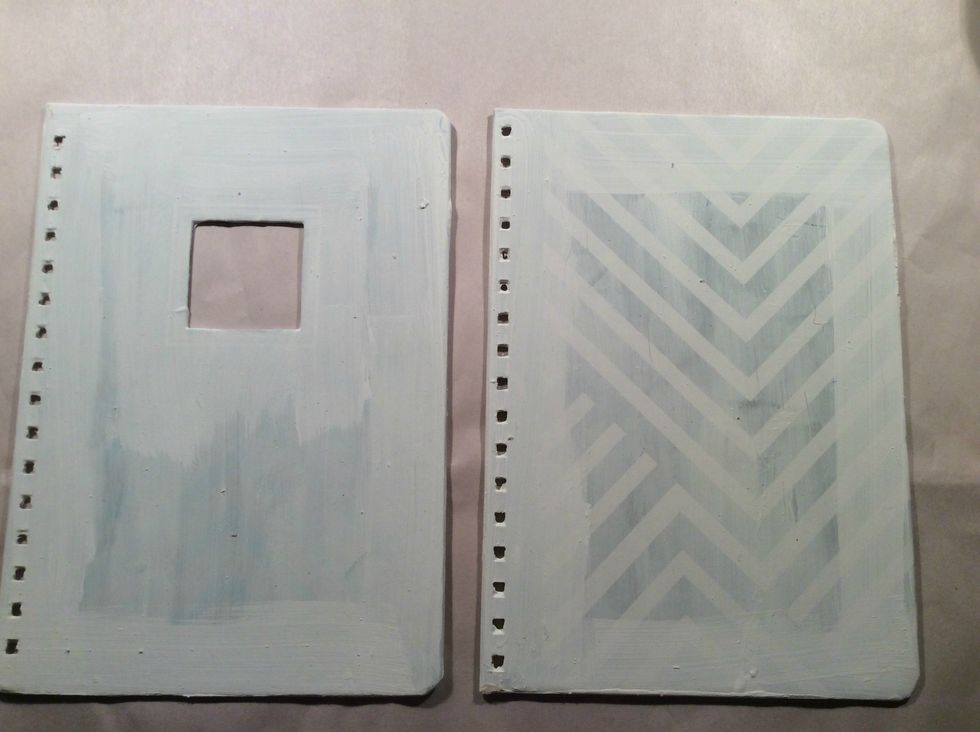
Here are both front and back with 2 coats of gesso and then I added a coat of white acrylic paint to all the edges.
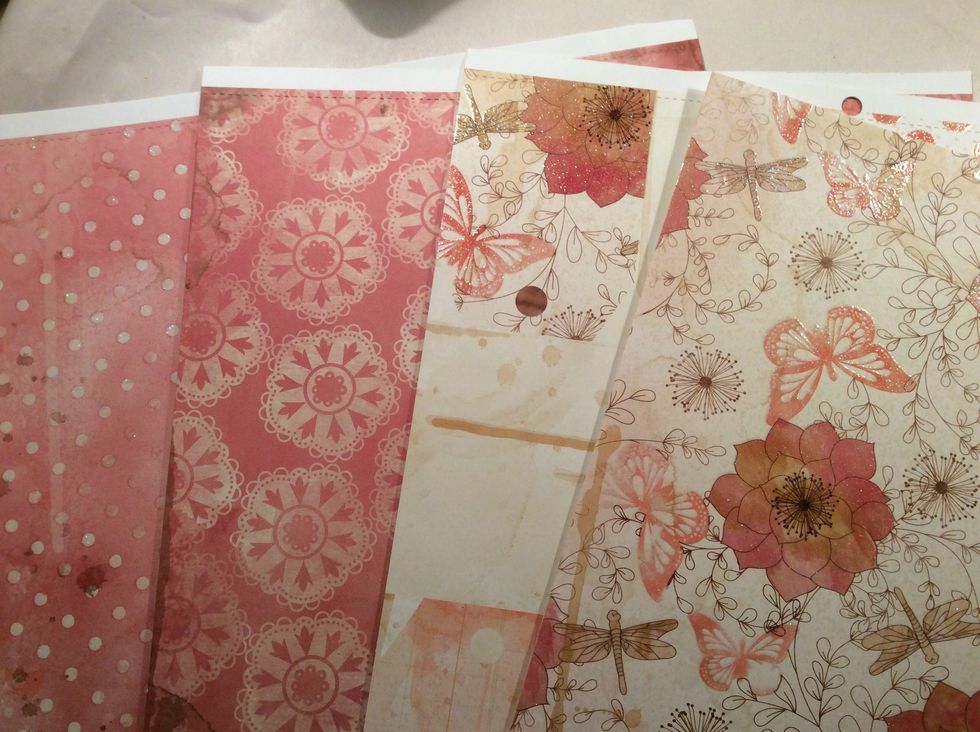
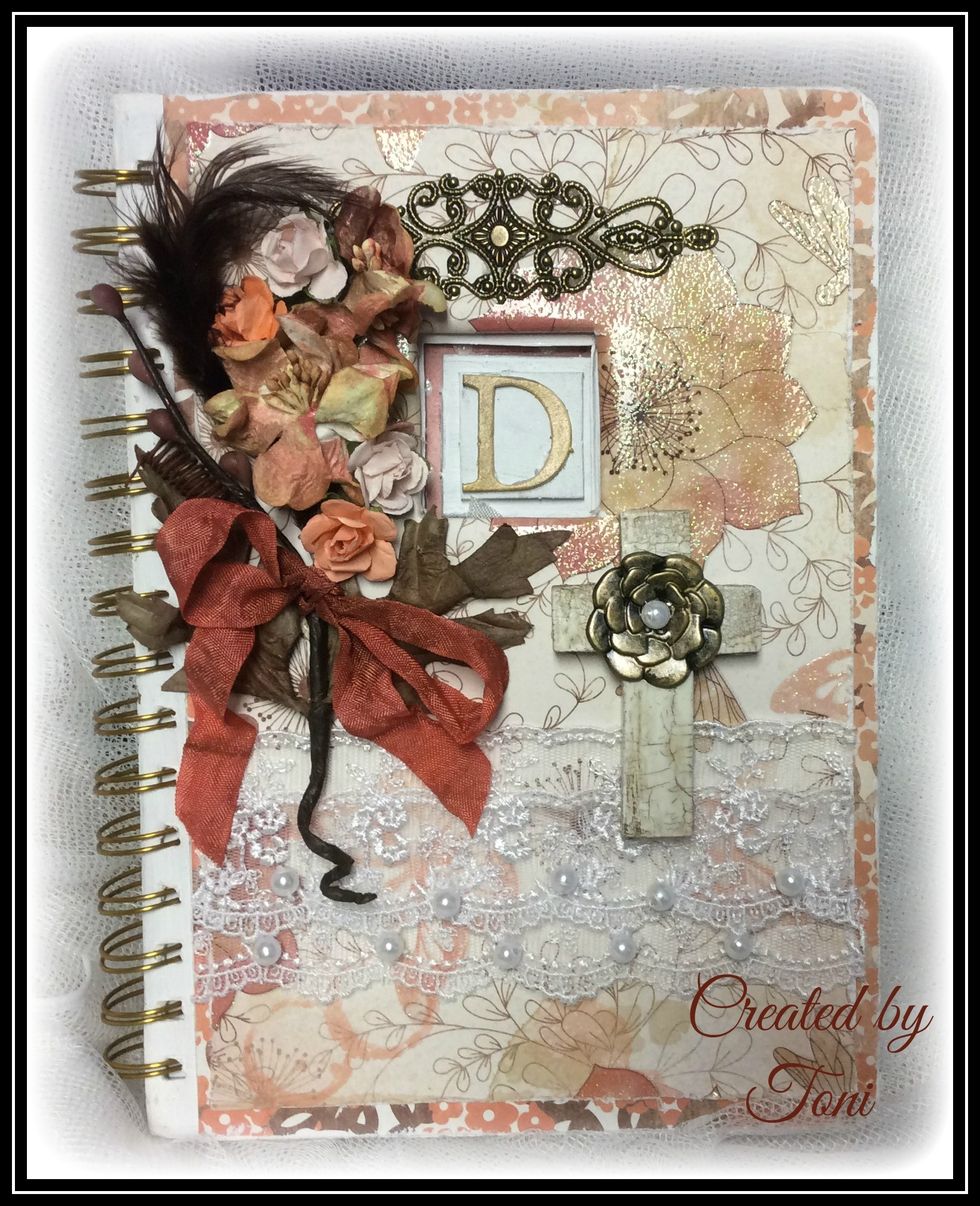
The paper collection I used is DCWV's beautiful Garden Tea Party... Love this paper, it has a vintage feel, pretty blush & peach tones with the pages tea stained here and there.
For the cover I cut my base paper and glued down, then for the top layer I cut it 1/8 " smaller than the base and distressed it then adhered to the top.
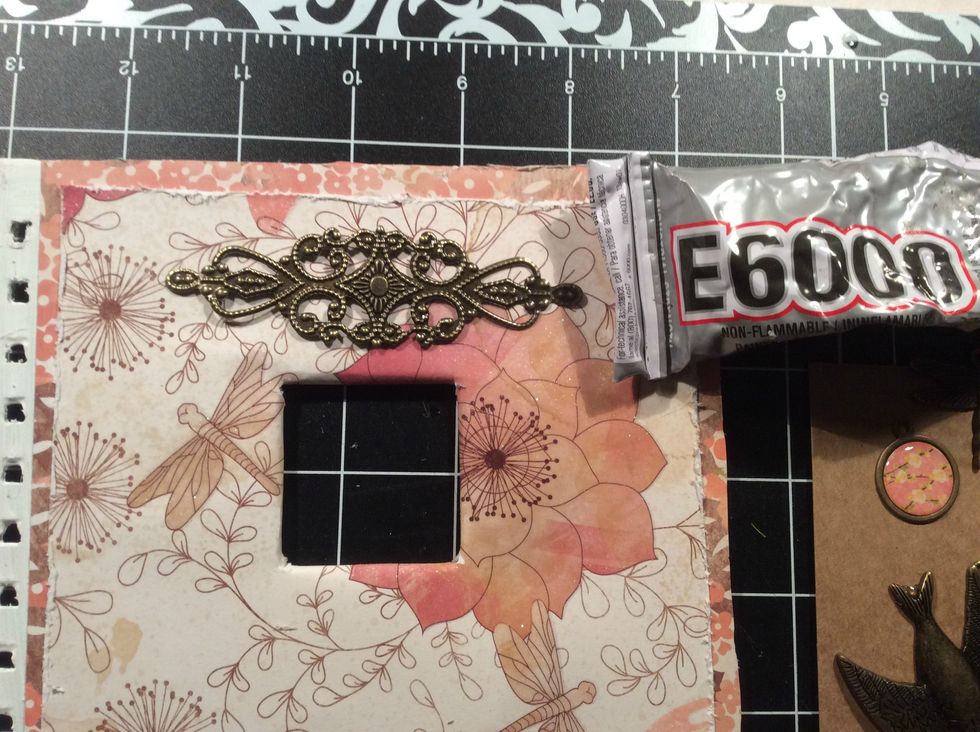
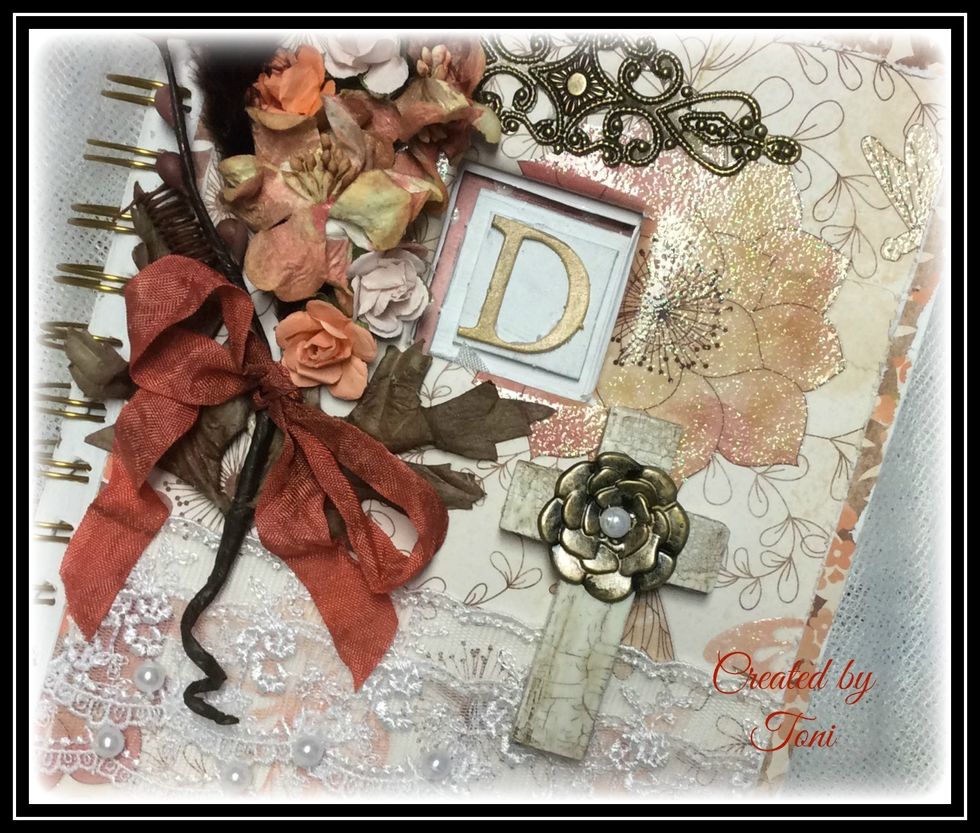
I wanted the vintage look to continue with the use of metal pieces adhered using E6000 glue. Go through you stash and have fun with this.

Using my hot glue gun I adhered two rows of lace to the bottom.
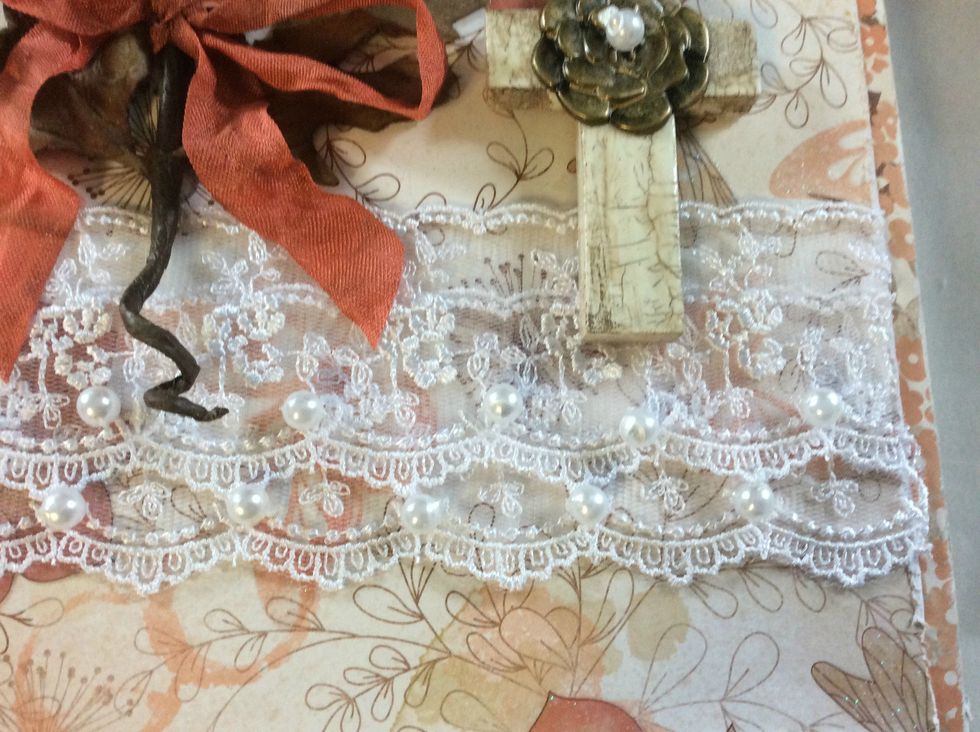
I added pearls to the lace for added interest.
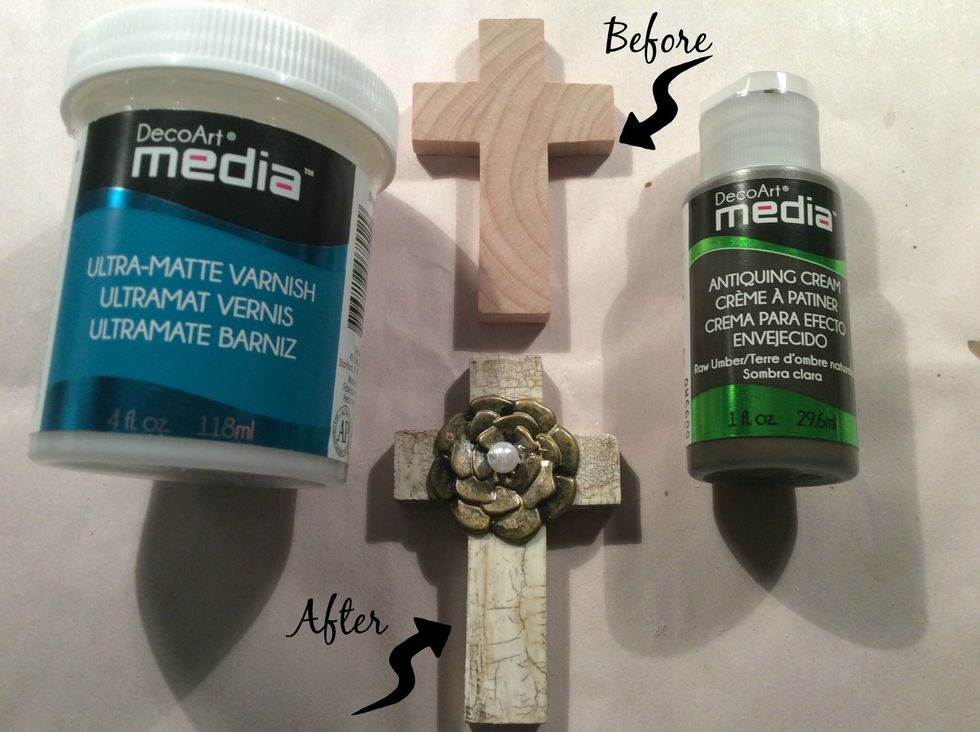
Gave the crosses a coat of white acrylic paint, then applied the crackle varnish and allowed to dry. Then applied antiquing creme and buffed off. Attached metal flower and pearl to center.
I think the cross has a beautiful transformation. It actually looks like marble.
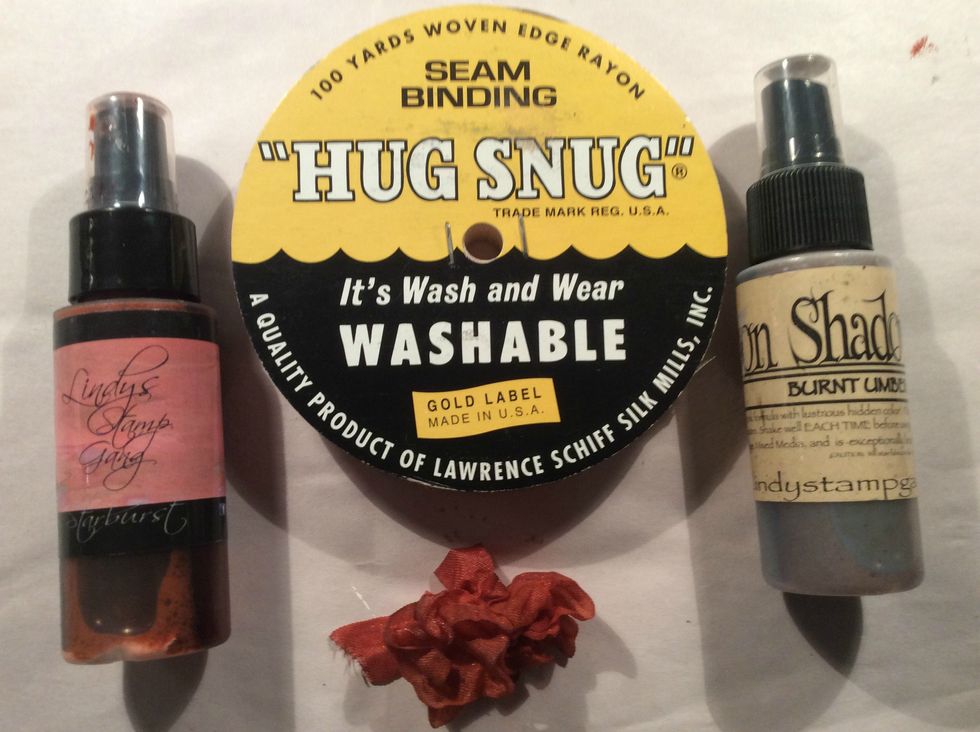
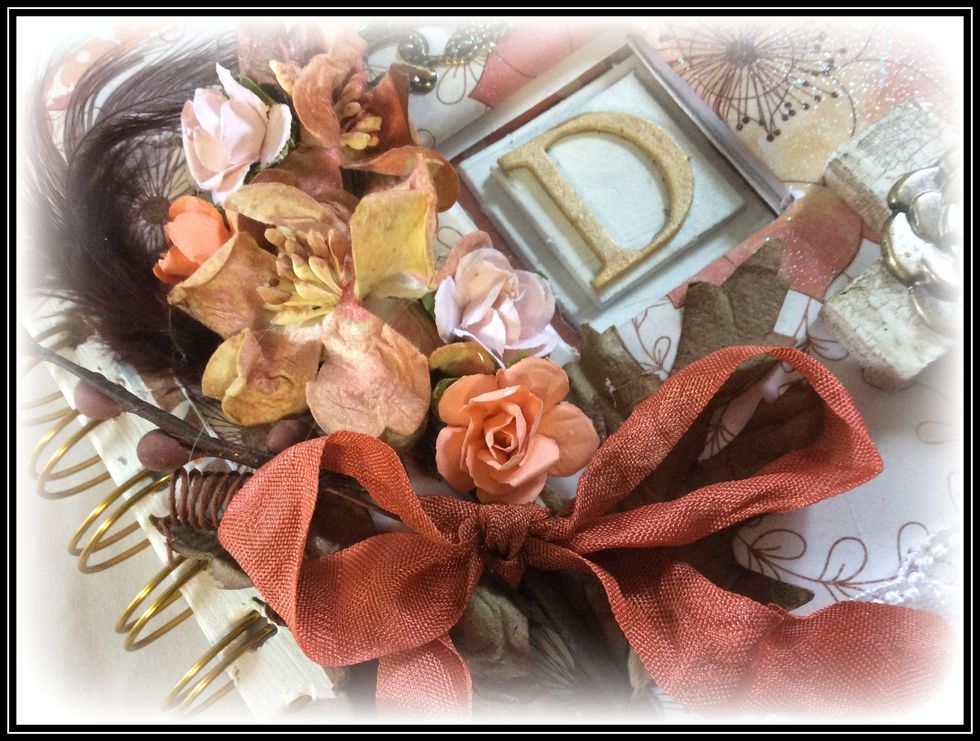
I use this seam binding on everything. Purchased it on EBAY for next to nothing and it lasts a long time. I gave it some nice coats of Lindys and scrunched it up until dry.
The flowers were also highlighted with Lindys. Many of them I used a paint brush and just touched up the petals because I didn't want the entire flower sprayed.
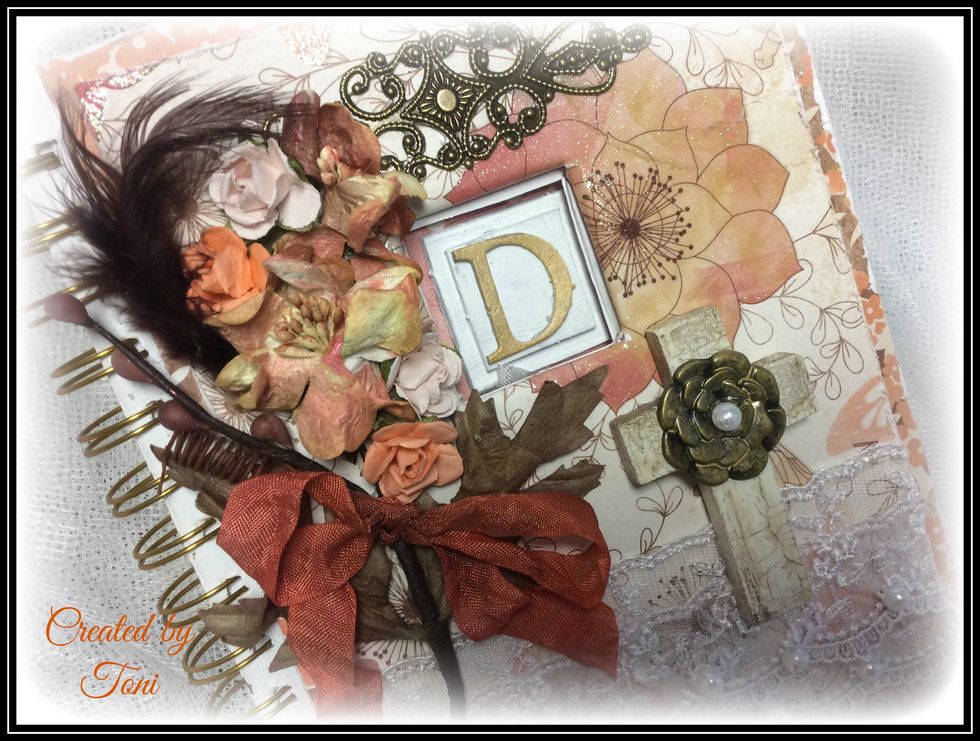
Gather your flowers, feathers, charms etc and adhere using a glue gun.
To personalize this I gathered grungeboard squares in two sizes and my letter. Paint with white acrylic, then the letter is painted with Tarnished Brass Distress Stain. Glue together.
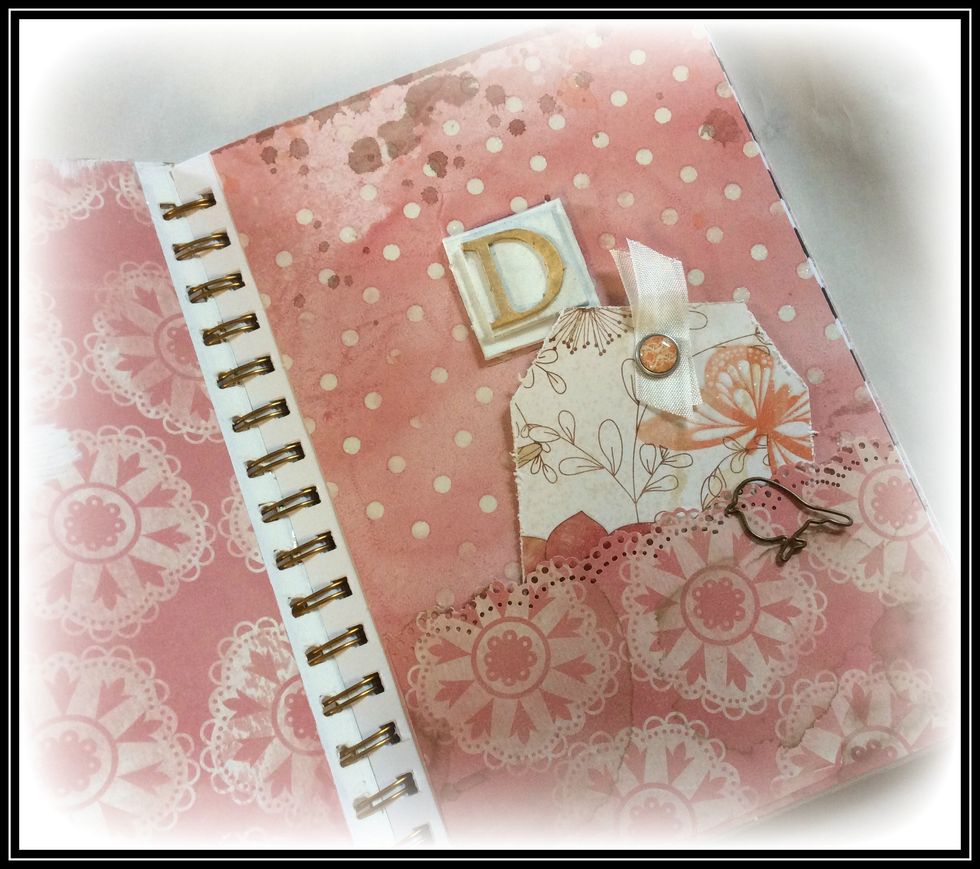
The first page of the journal I covered with paper and made a pocket to hold a tag which I will sign. This is also where you will glue your grungeboard letter to pop through the front cover.
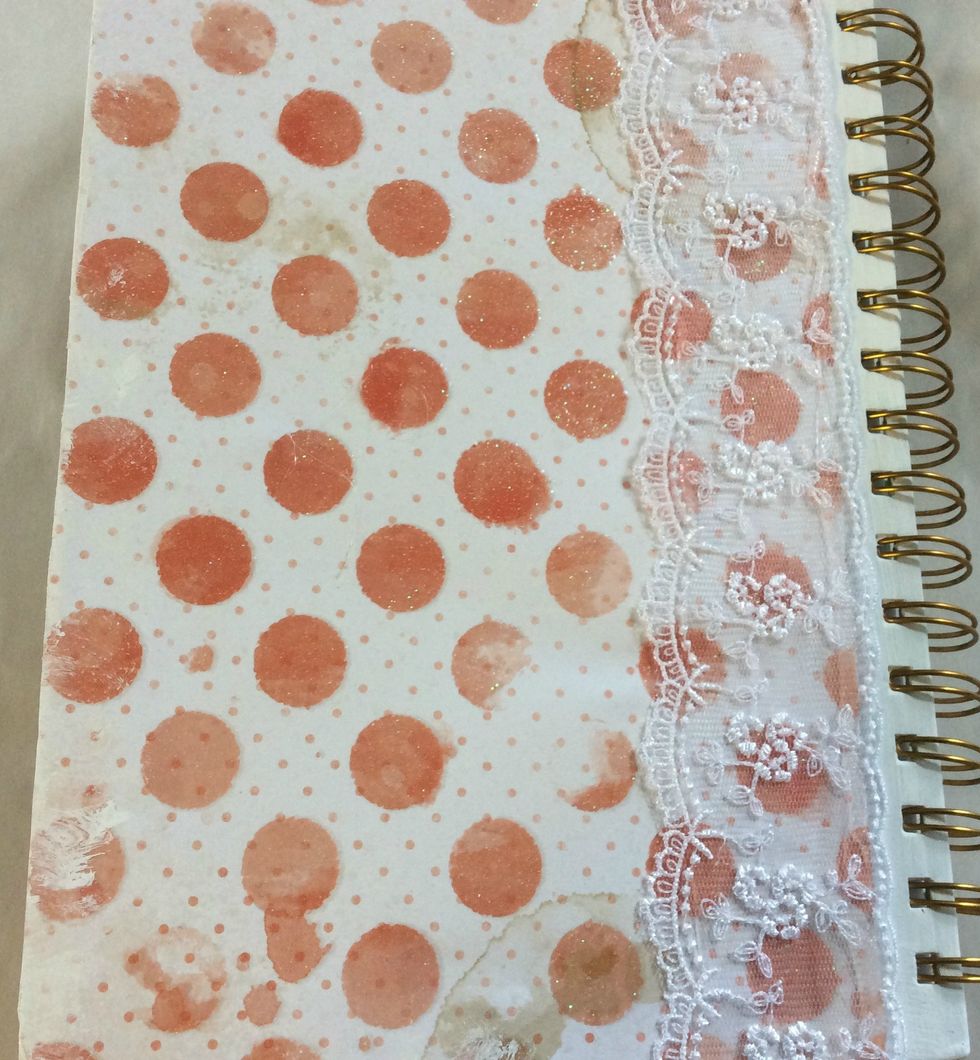
The back cover was kept very simple, just covered with coordinating paper and glued lace down the side.

Hope you enjoyed and were inspired. For more ideas visit my blog @ www.toni-burks.blogspot.com