The Conversation (0)
Sign Up
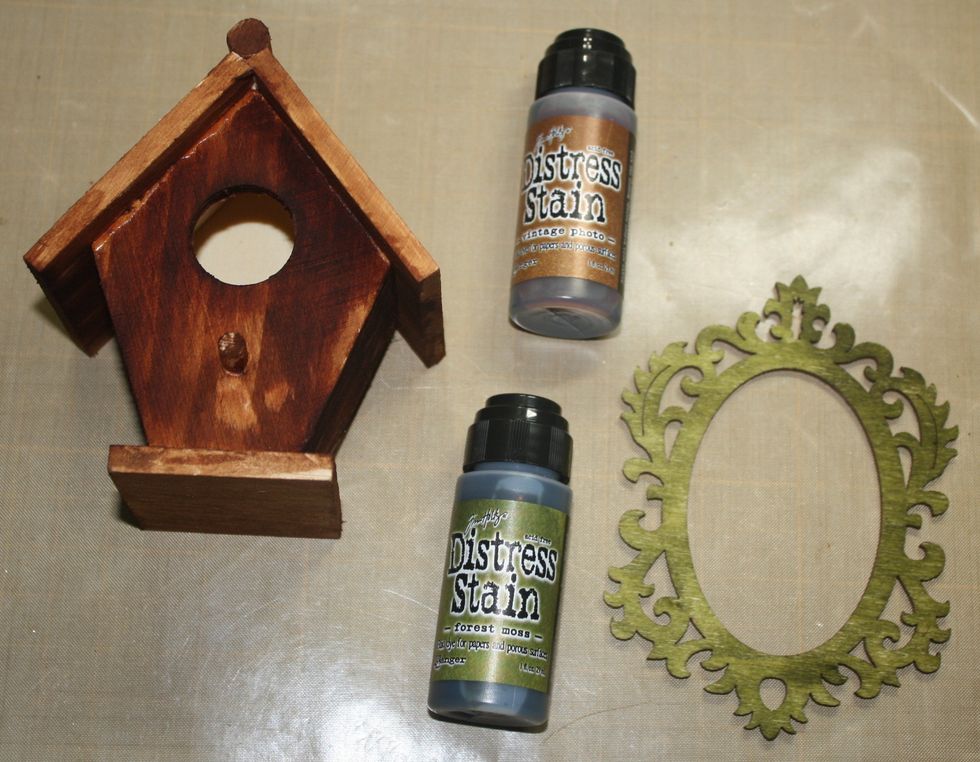
Step One: Stain (or paint) birdhouse. Tip: I had to use a paint brush to get into the corners. You can carefully remove the top of the Distressed Stain and then use a paint brush.
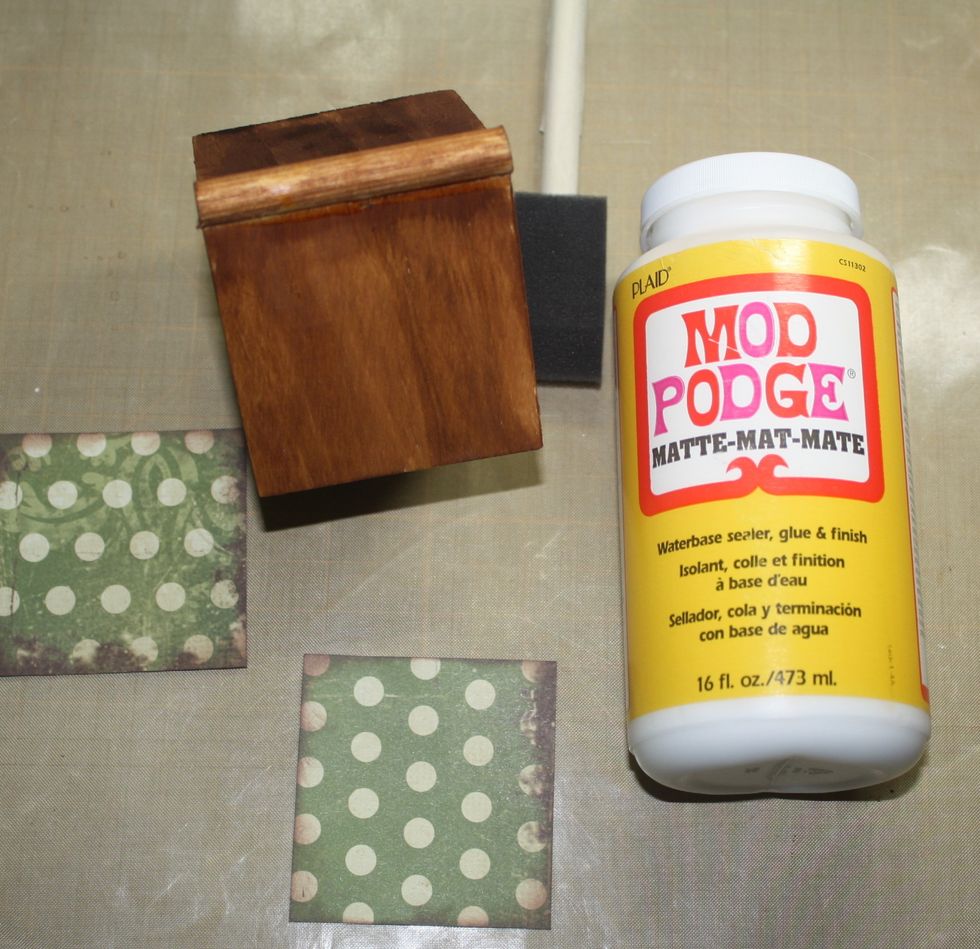
Step Two: Measure and cut paper to roof of birdhouse. Adhere with liquid glue (I used Mod Podge.) Allow time to dry.
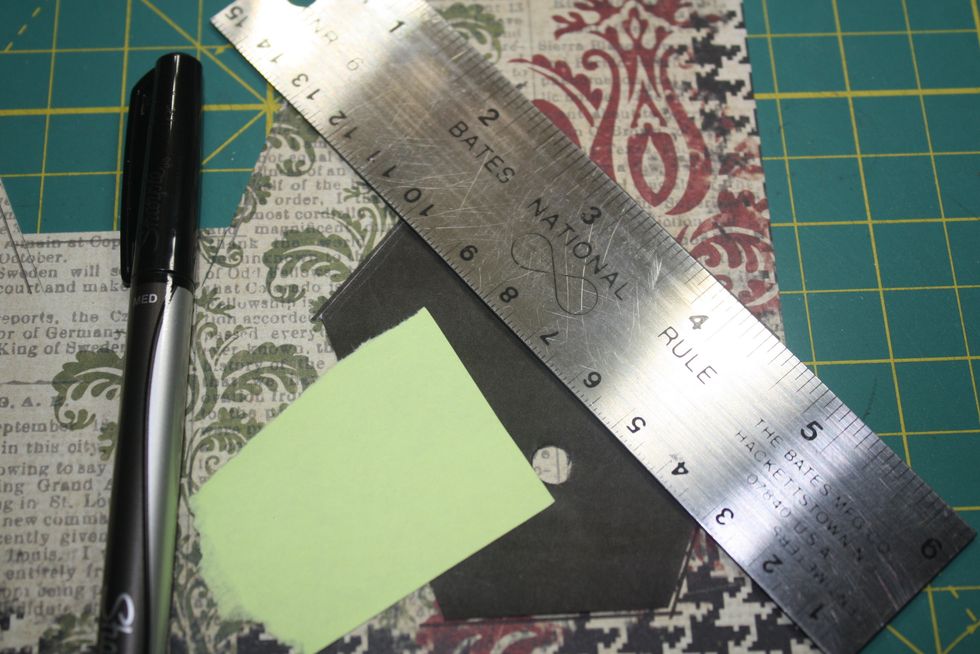
Step Three: Cut coordinating paper to cover front, back and side.
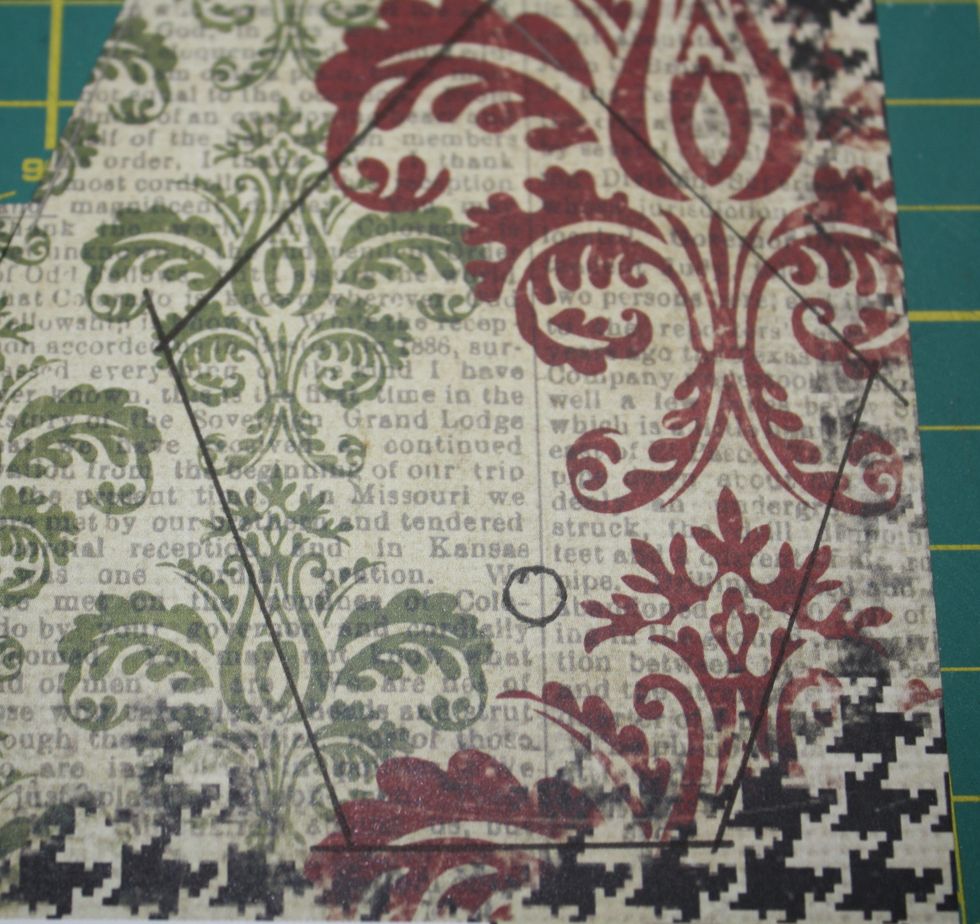
Tip: To make a template for the front and back of the birdhouse I copied the birdhouse on my printer. I taped it to my patterned paper with a post-it note and used a ruler and knife to cut it out.

Step Four: Lay the paper on the birdhouse. Poke a small hole in the center of the opening. Then use a small scissors to make cuts to the edge of the opening.
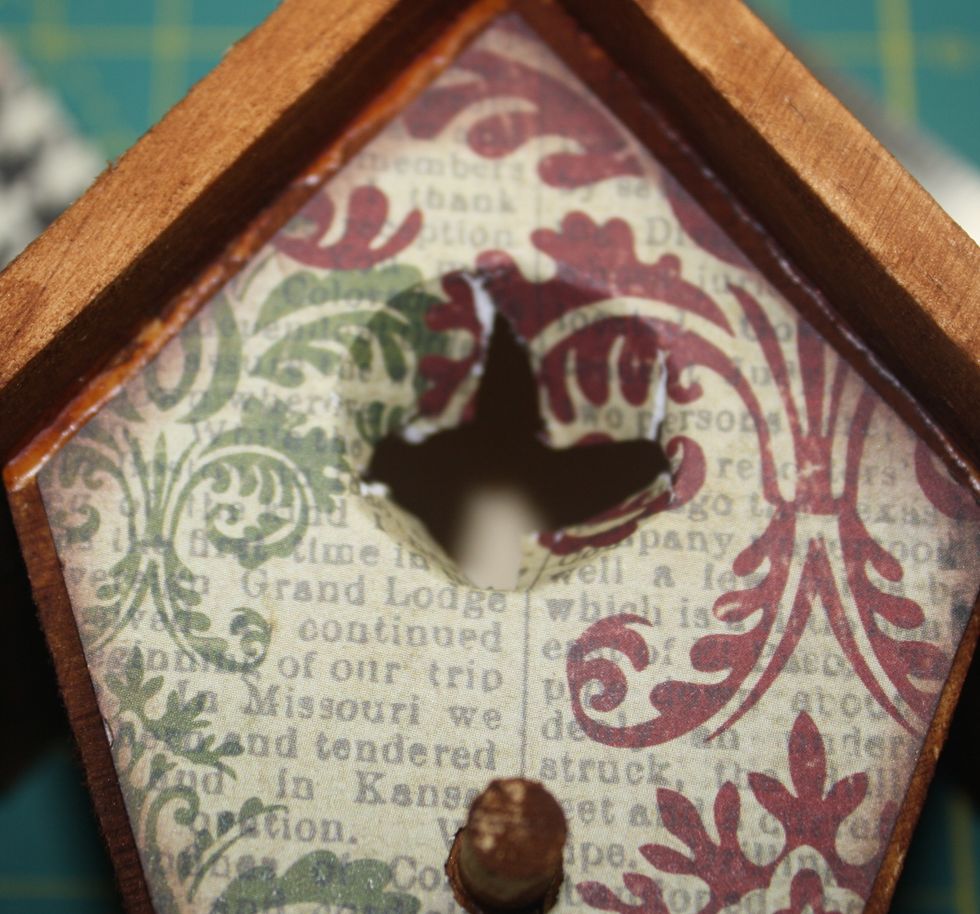
Step Four (cont): Push the paper inside the birdhouse and crease the paper to mark the circle. Remove the paper and cut the circle for the opening.
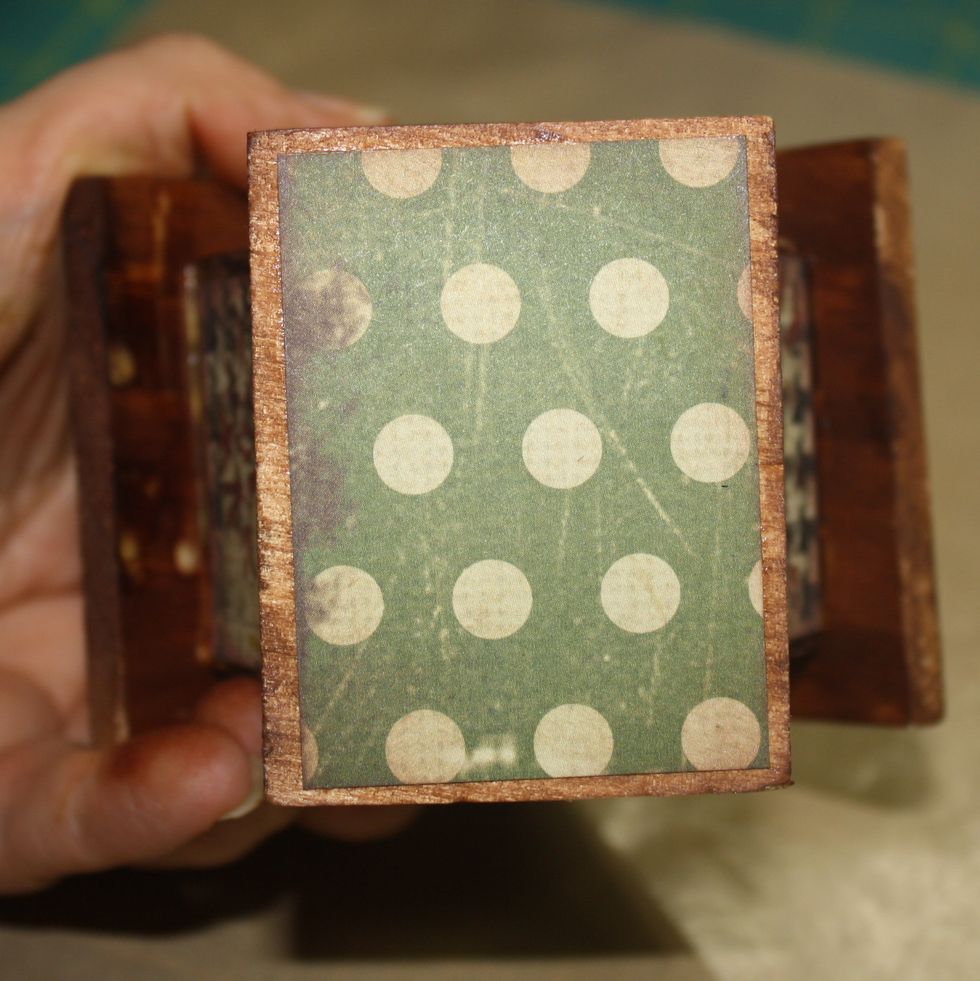
Step Five: Don’t forget to cover the bottom. :)
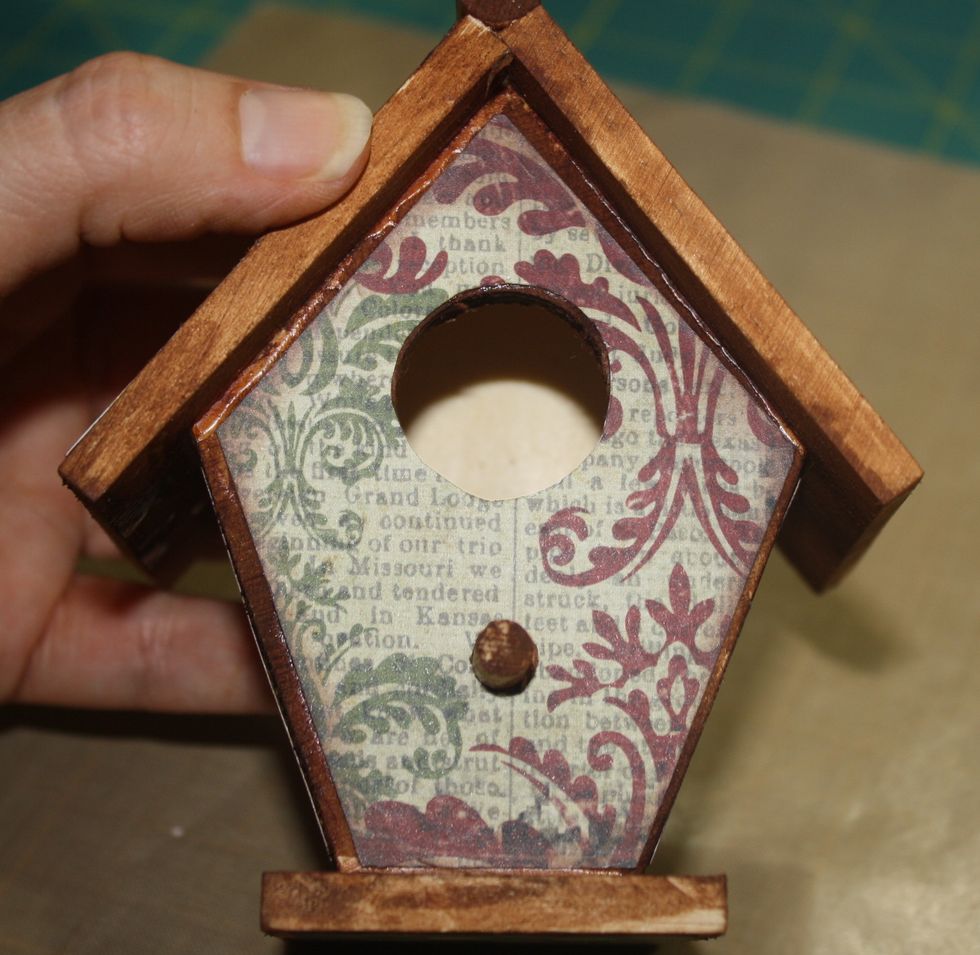
Step Six: Cover the back and sides of the birdhouse. Adhere paper with Mod Podge and allow time to dry. Your birdhouse is now ready to be embellished.

Step Seven: Embellish your birdhouse. Now comes the fun part. Stop by my blog, http://everydaymoodlings.blogspot.com/, for ideas. Including a video on adding glass beads and Snow-Tex.