The Conversation (0)
Sign Up
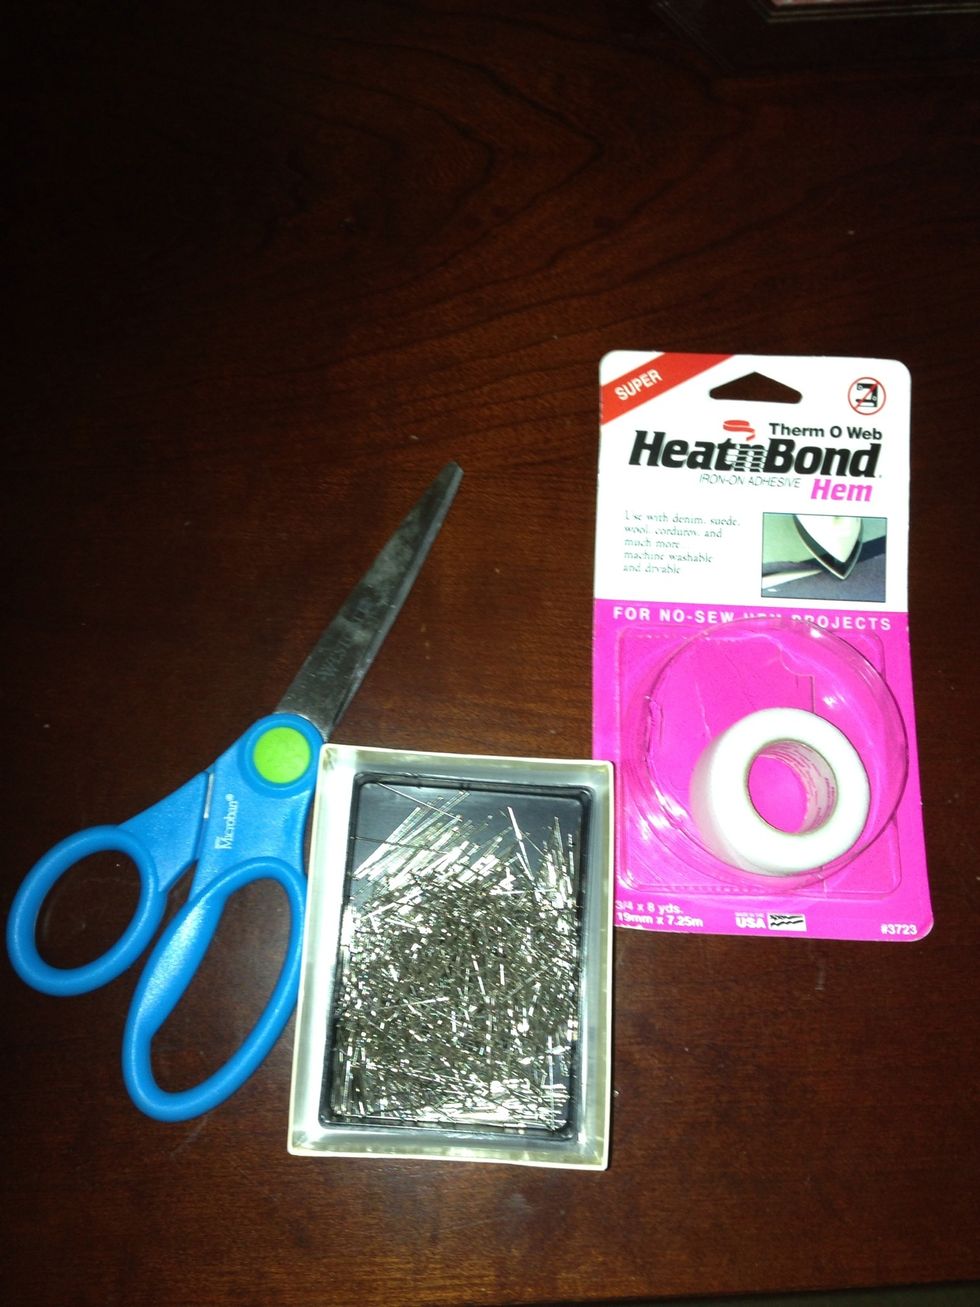
These are the basic supplies needed.
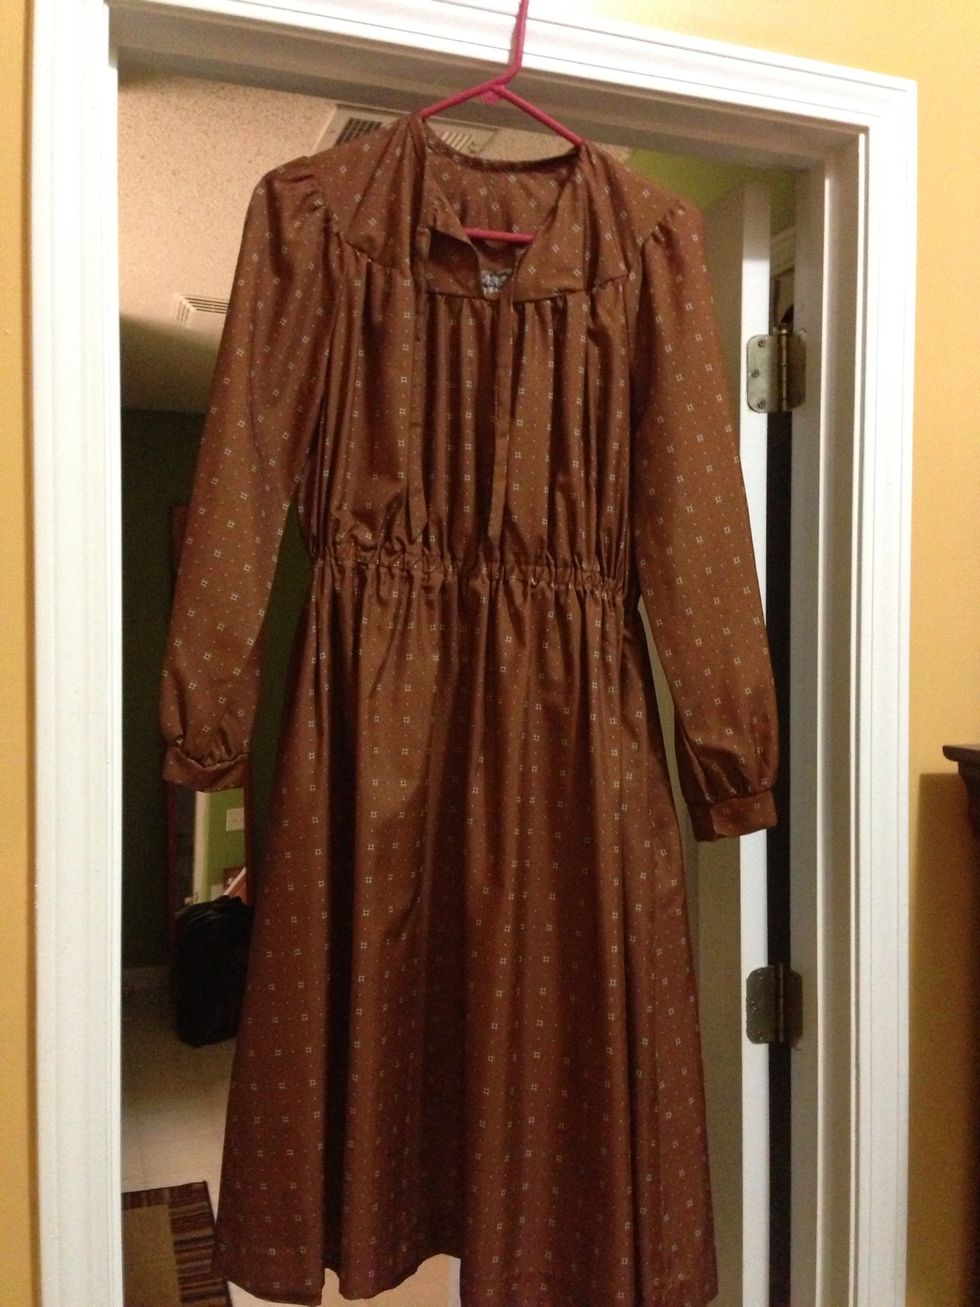
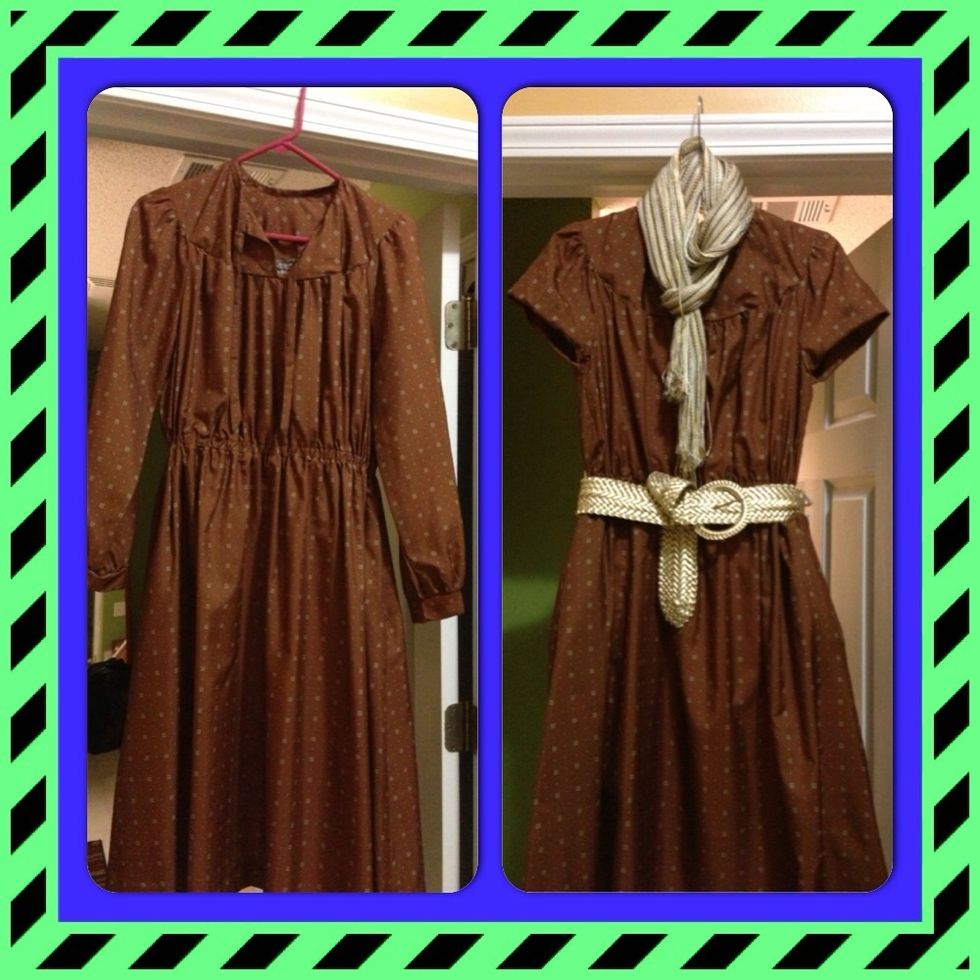
So this is a vintage, hand made dress I found at the thrift store. I paid around $2 for it. I don't like the sleeves & wanted to update it a little....

First I measured how short I wanted to cut the sleeves.

Using straight pins, pin sleeve folded to where you want to make the cut. I pinned at the top & bottom of the sleeve to hold it in place better.

Then be brave & CUT!! 🙈🙉🙊

Now, turn the dress inside out & head over to your ironing board.
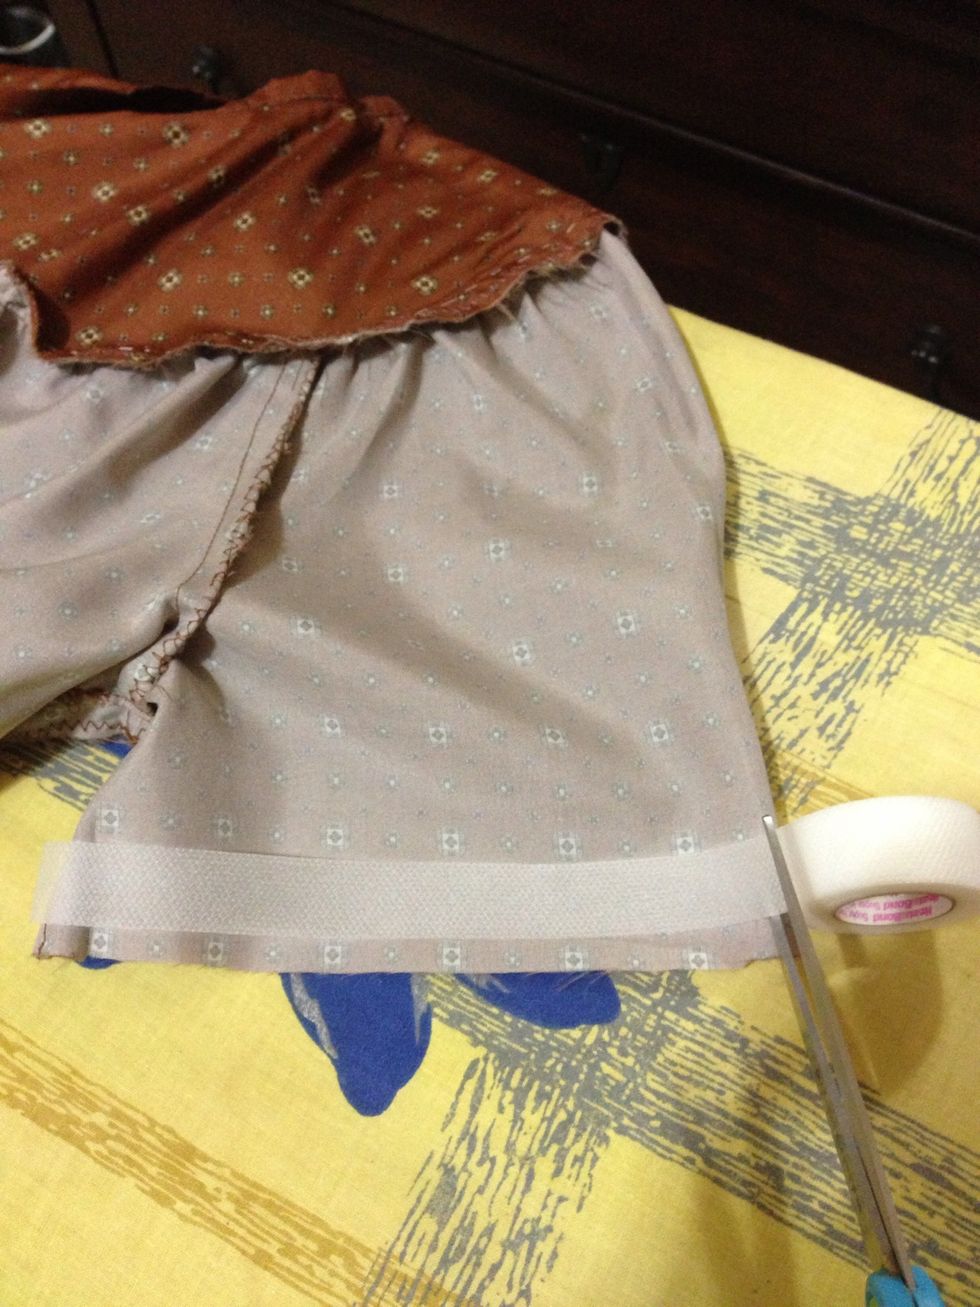
Measure & cut the amount of adhesive hem you will need.

Make a cuff in the sleeve. I didn't measure because I knew I wanted it folded close to the existing underarm seam. Tuck the pre-cut adhesive hem tape into the cuff.
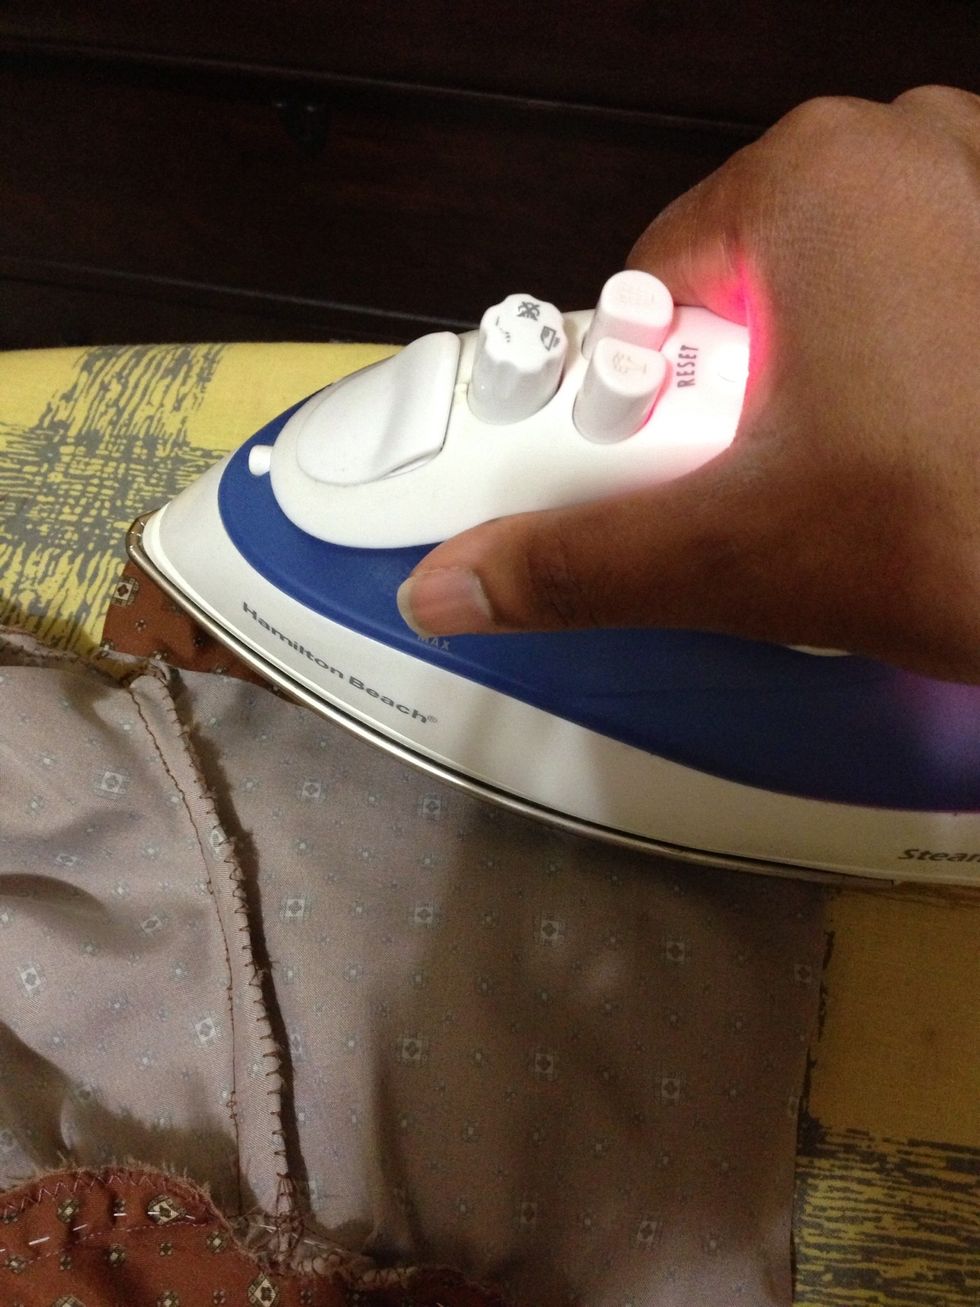
Iron down the cuff & adhesive hem tape.
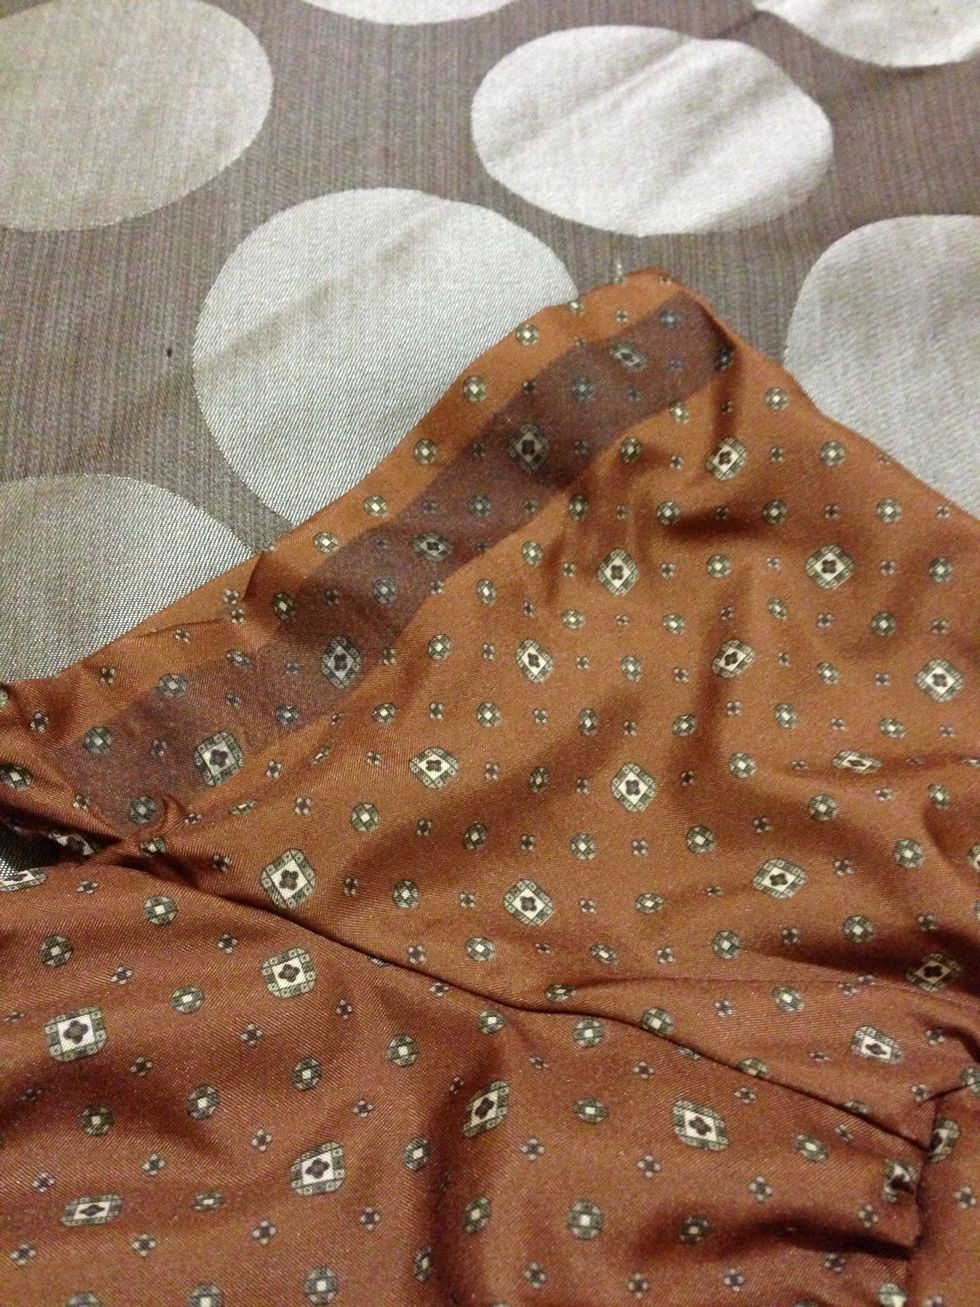
Yikes!!! Look at that ugly glue line in the sleeve!! What on earth shall I do now??? *be careful using adhesive hem on certain fabrics. This is a silky polyester type fabric & really thin*
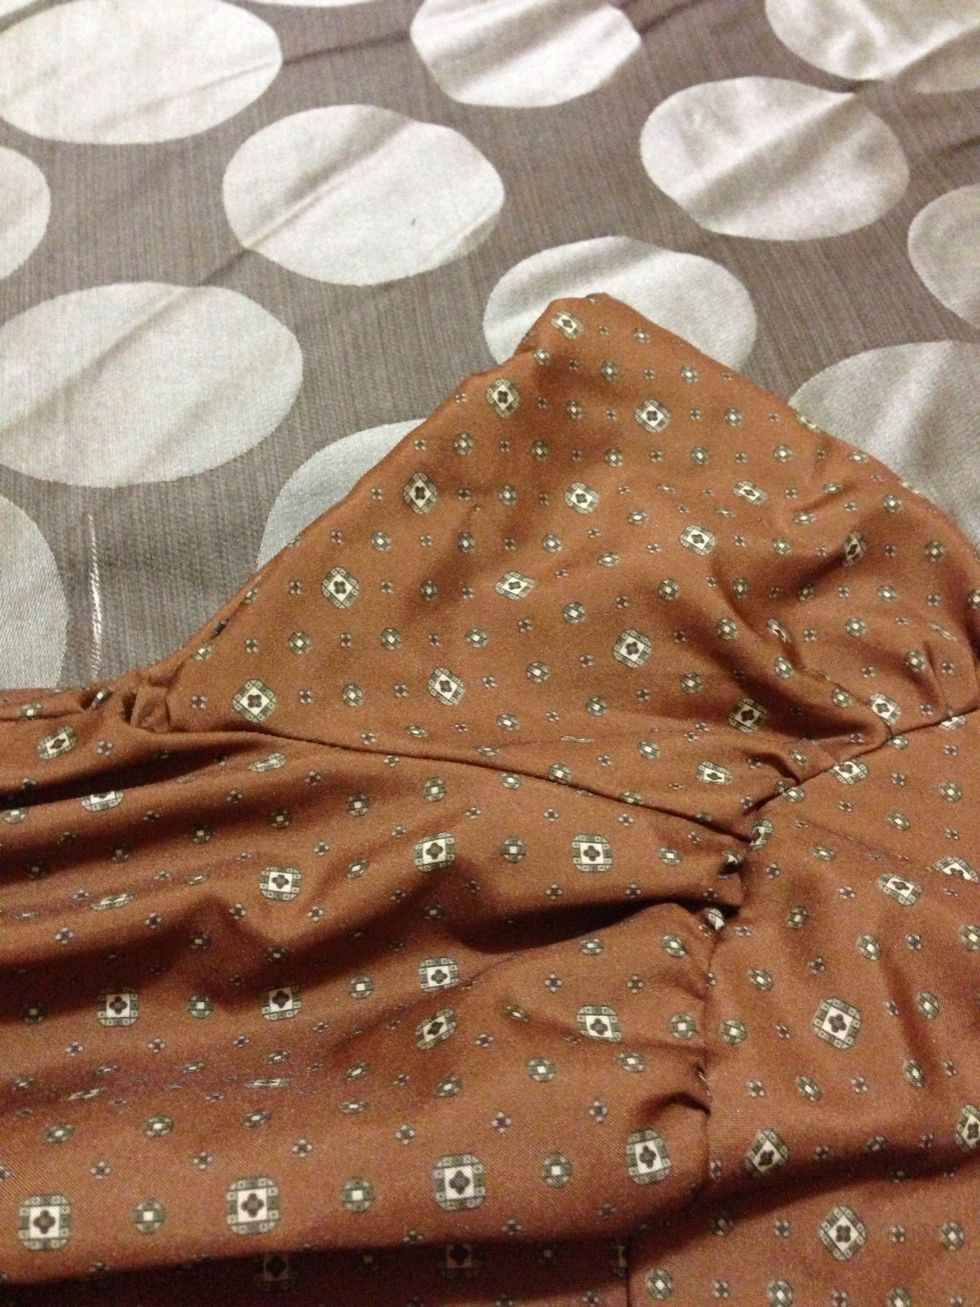
Well I folded the sleeve in once more & mistakenly got the "cap sleeve" effect I really wanted!!! Yay!! 👏 To secure the fold, I hand stitched a few places around the sleeve.
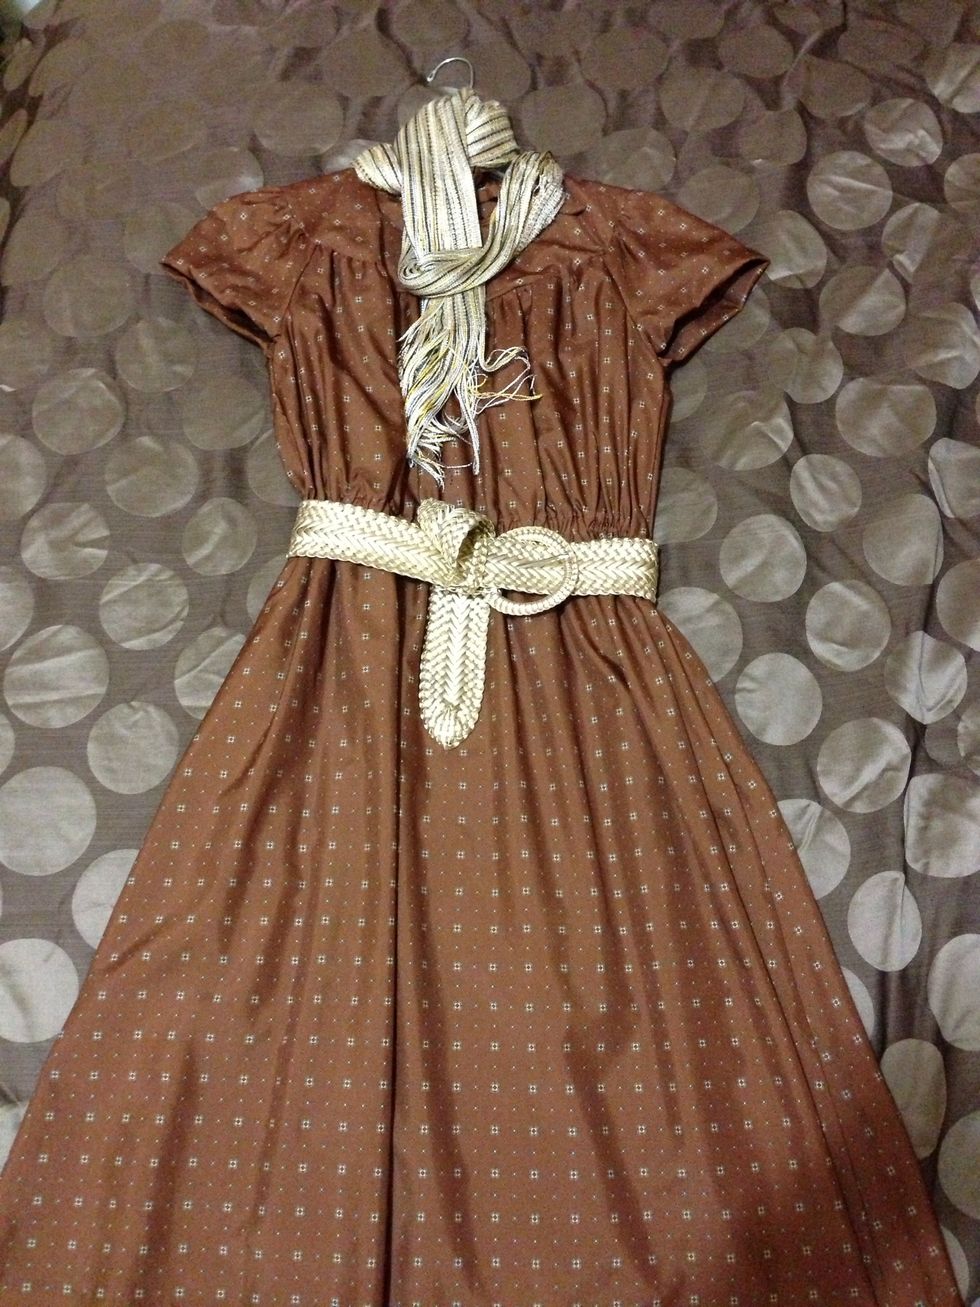
And here's the finished dress with a few accessories!!
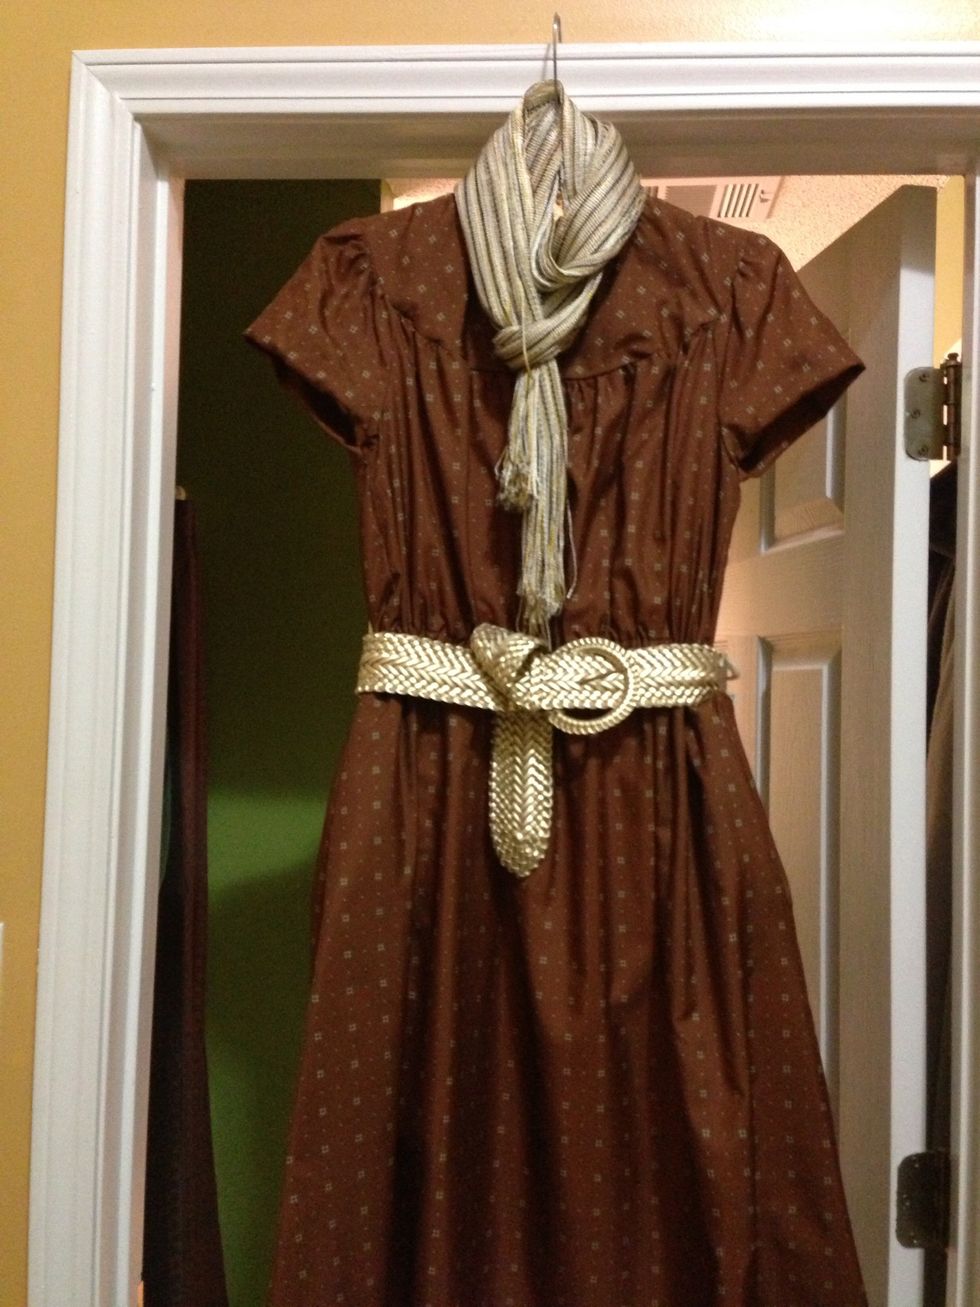
Way cuter, dontcha think? 👗
Thanks for watching!!! 😊