The Conversation (0)
Sign Up
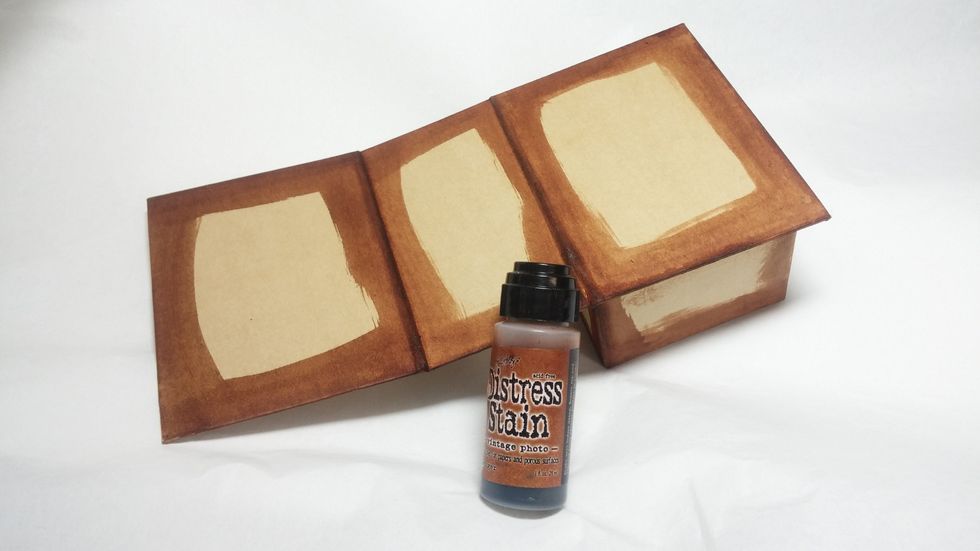
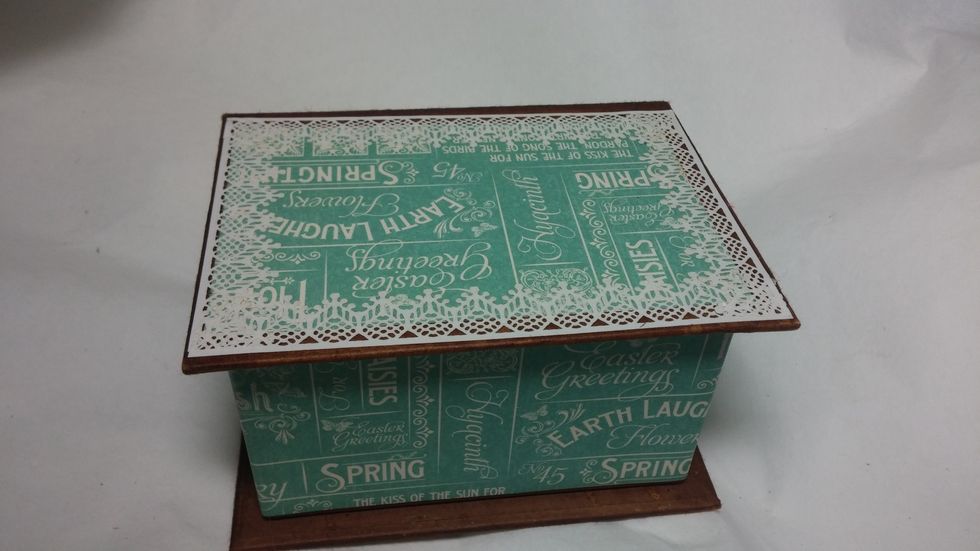
Start off by coloring all the edges of the book box with stain. I also spritzed it with water to activate the fun distress properties of the stain.
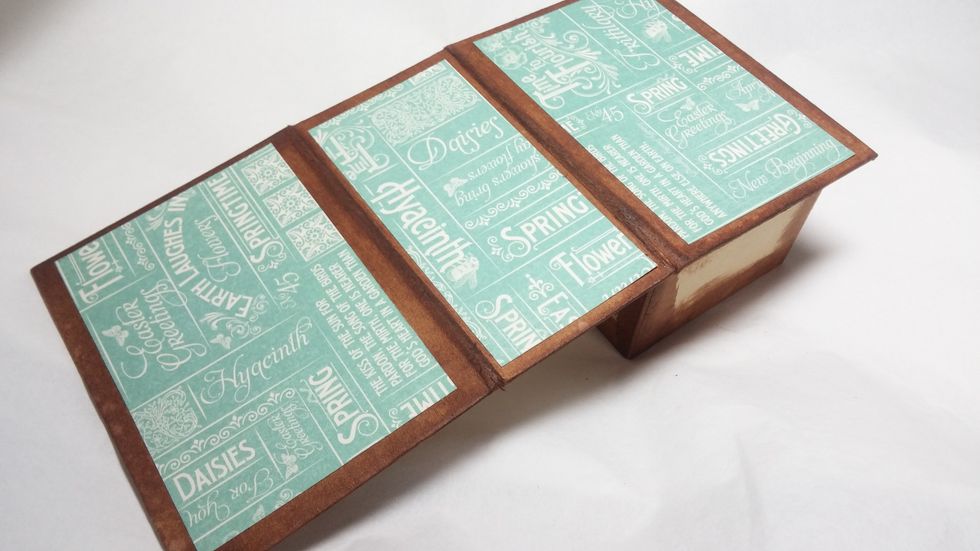
Next cover your box with paper.
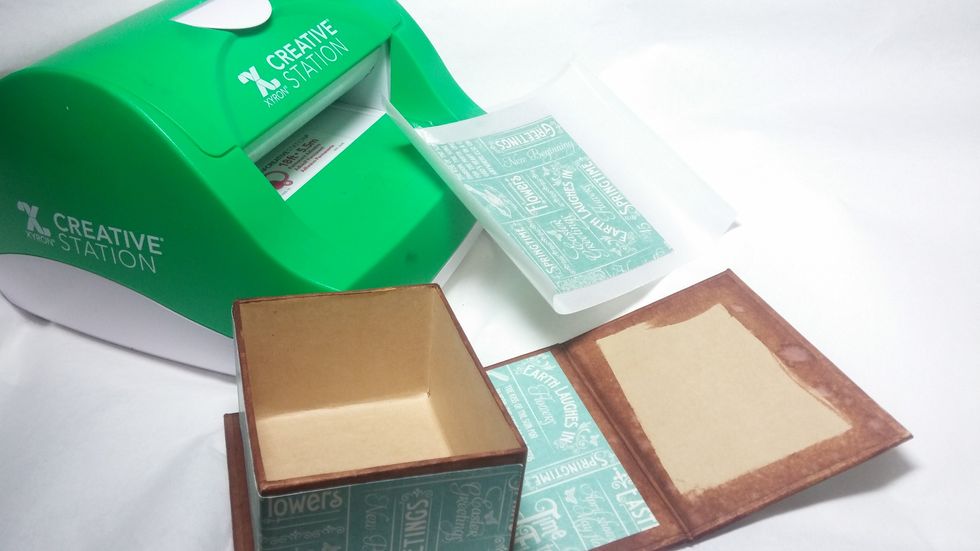
I found that using my Xyron Creative station, this made this step super quick and accurate. The glue gets on every little corner, making for a quality connection to the surface.
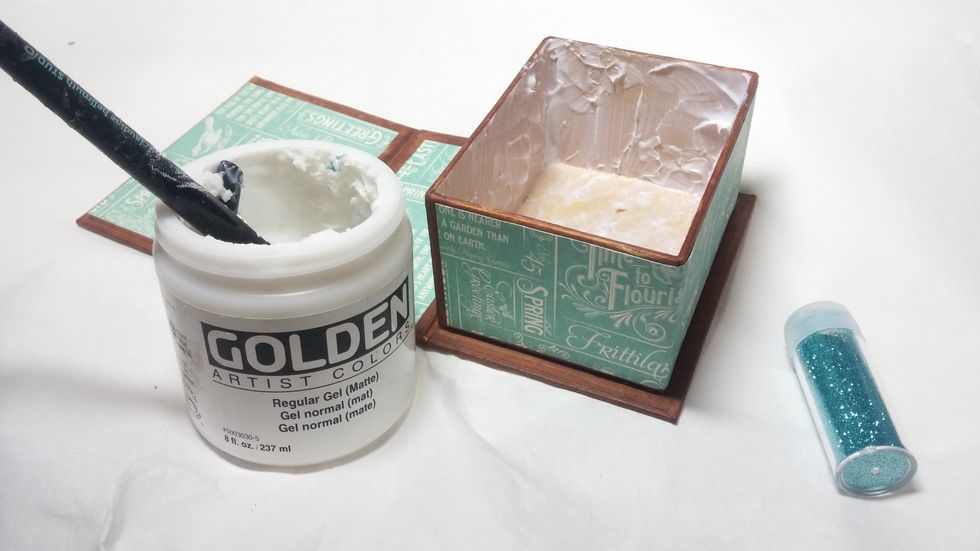
Now I primed the inside of the box with matte medium so I could add glitter.
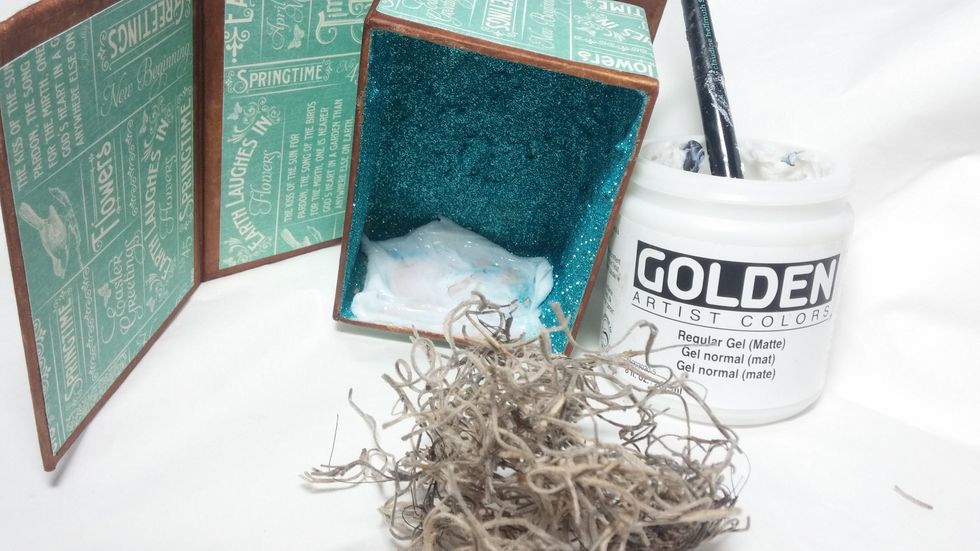
The moss was next. I used the matte meduim once again for this task. I did not worry about every little spot being covered, as I knew I would be adding other elements and layers.
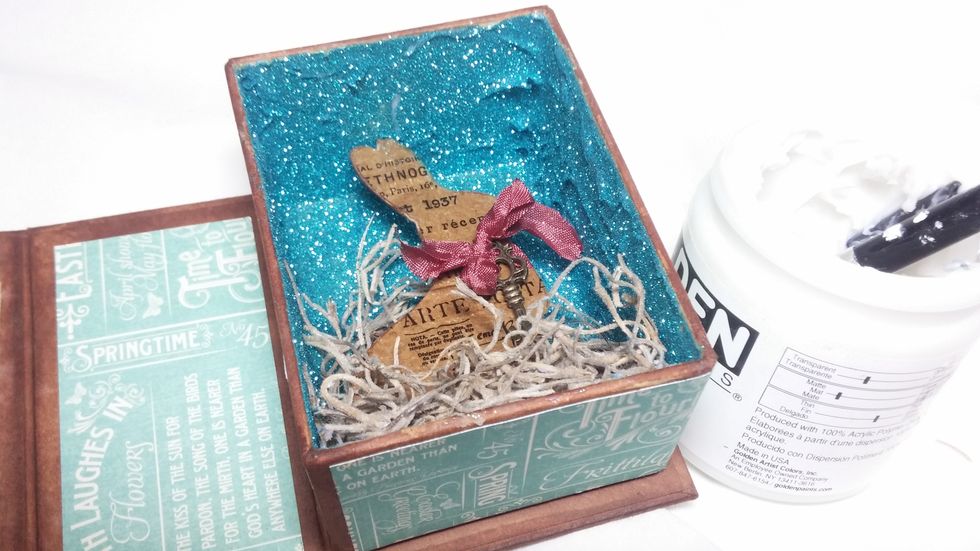
Here you can see I have added my die cut rabbit. I used a scrap of chipboard layered with tissue paper covered in Ice Resin to give my rabbit some texture.
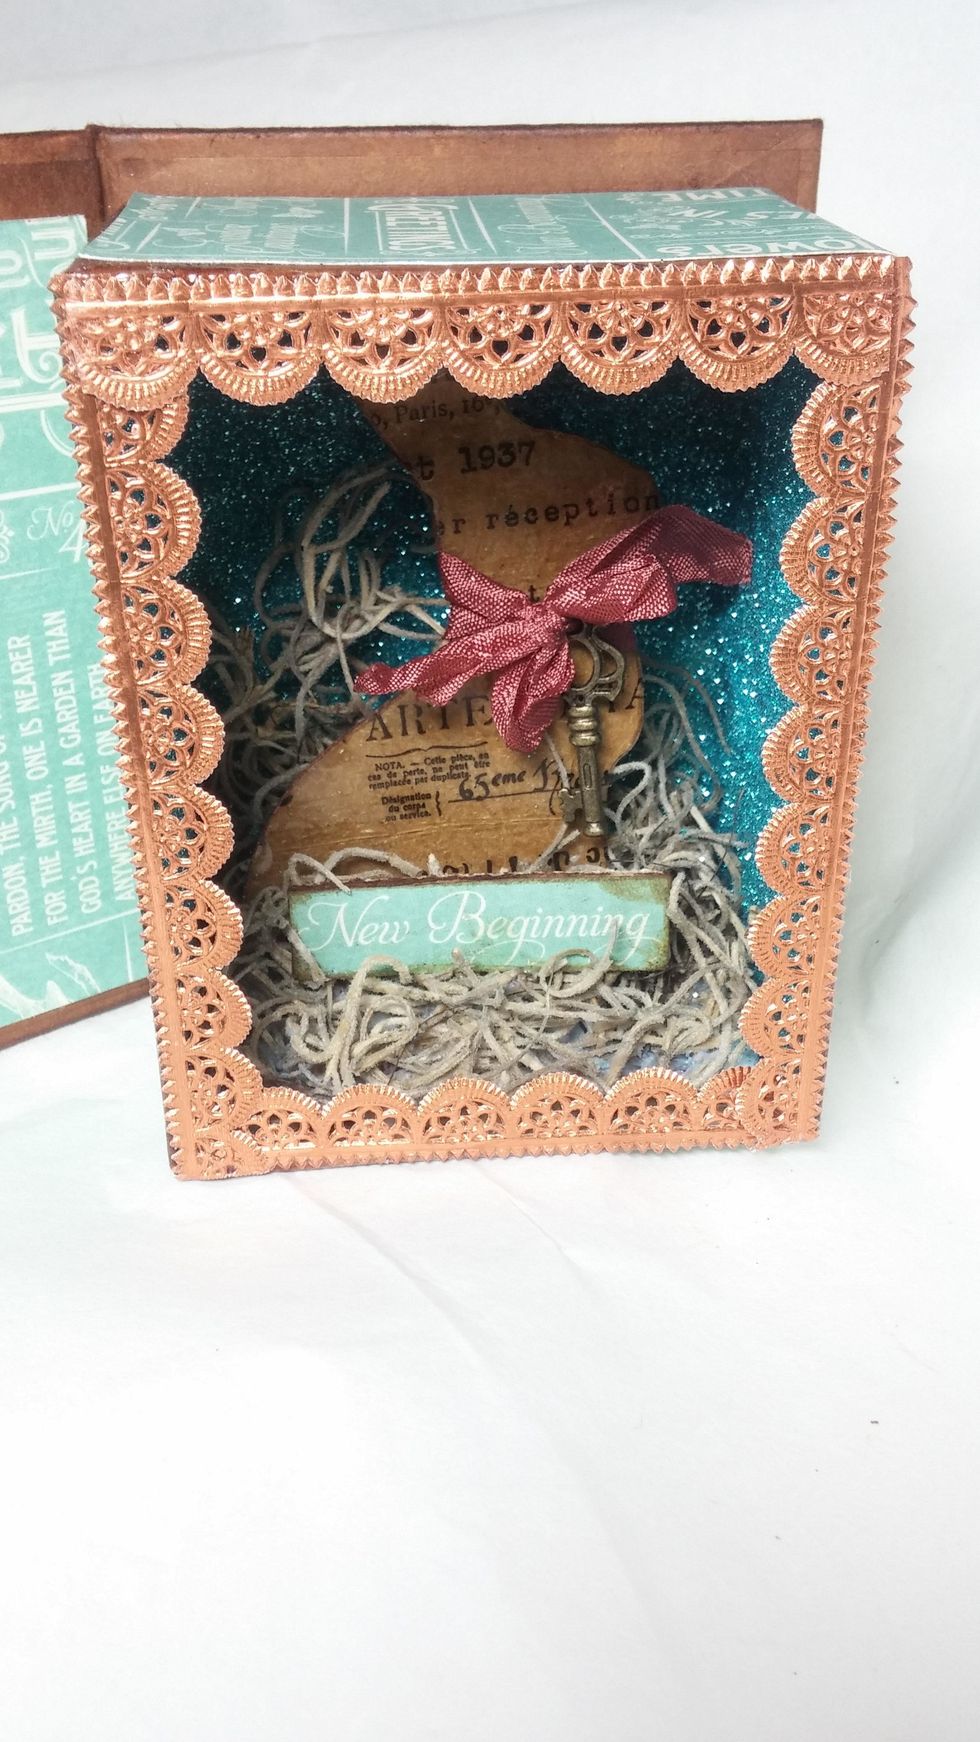
The next element is the Dresen border that I added around the edge. Tip: Be sure you are done decorating on inside before gluing this in! I learned this the hard way...it gets in the way!
I added in more moss and a little sentiment to fill in the bottom more. The sentiment was cut from paper and backed with chipboard to make it nice and sturdy.
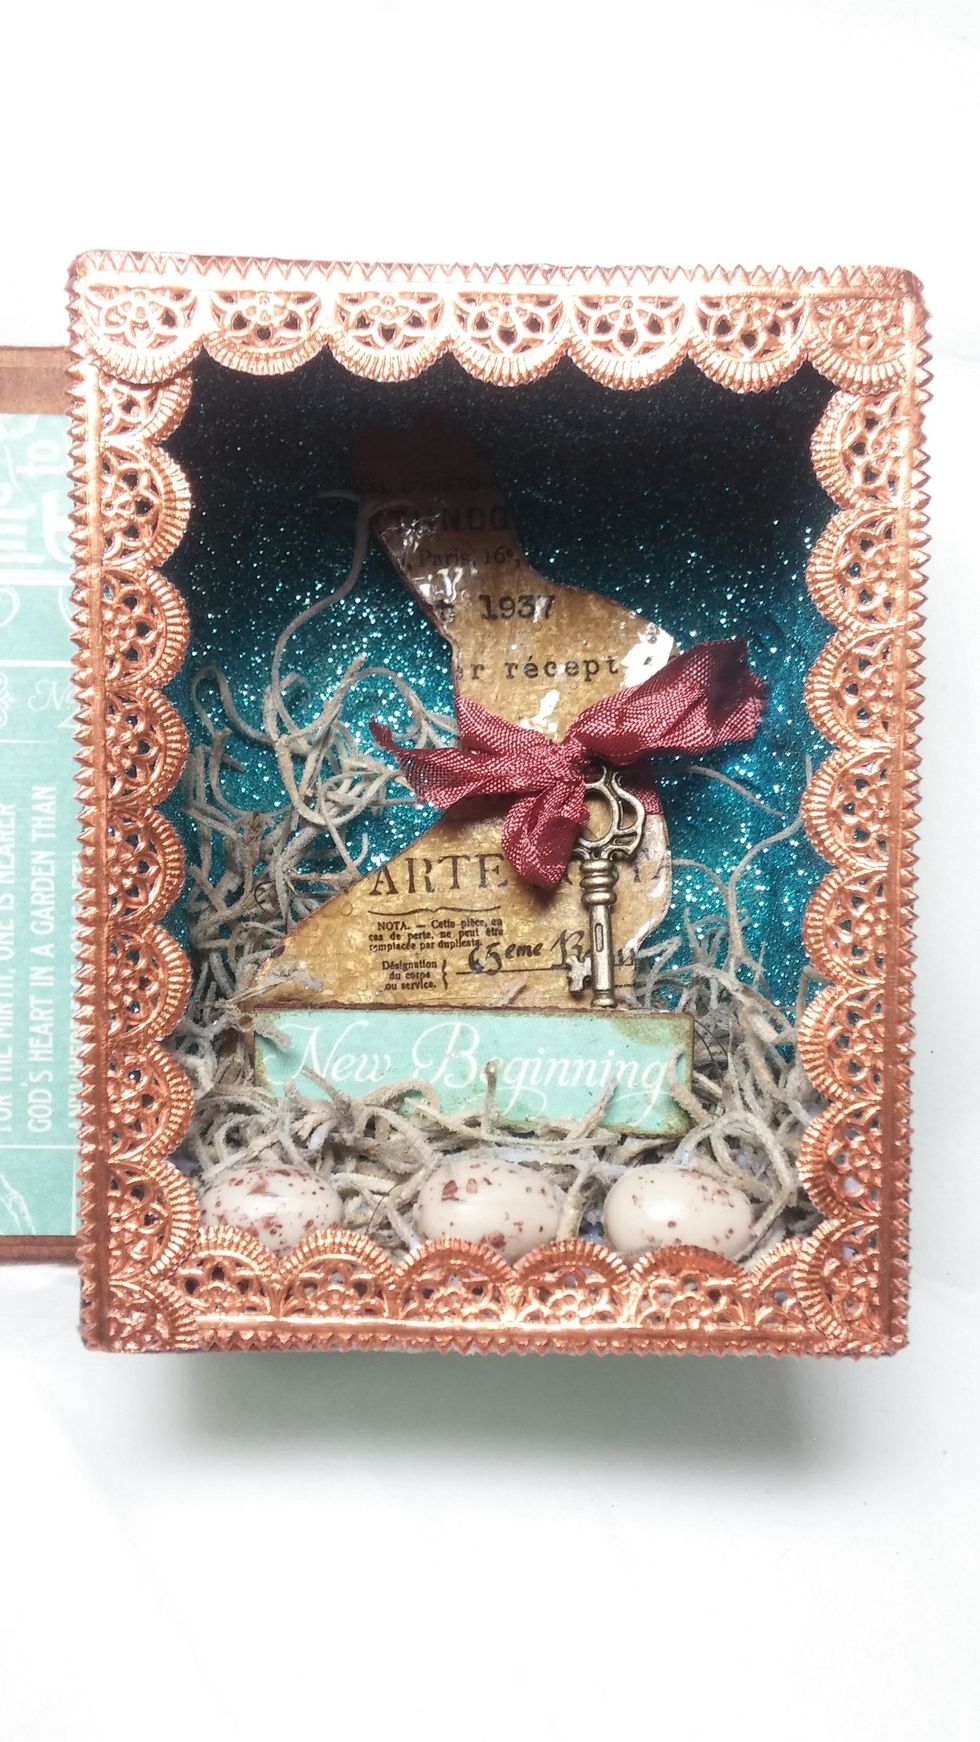
The eggs came next. These were a bit of a pain to get situated as I liked. More moss was added to be sure they looked all tucked in.
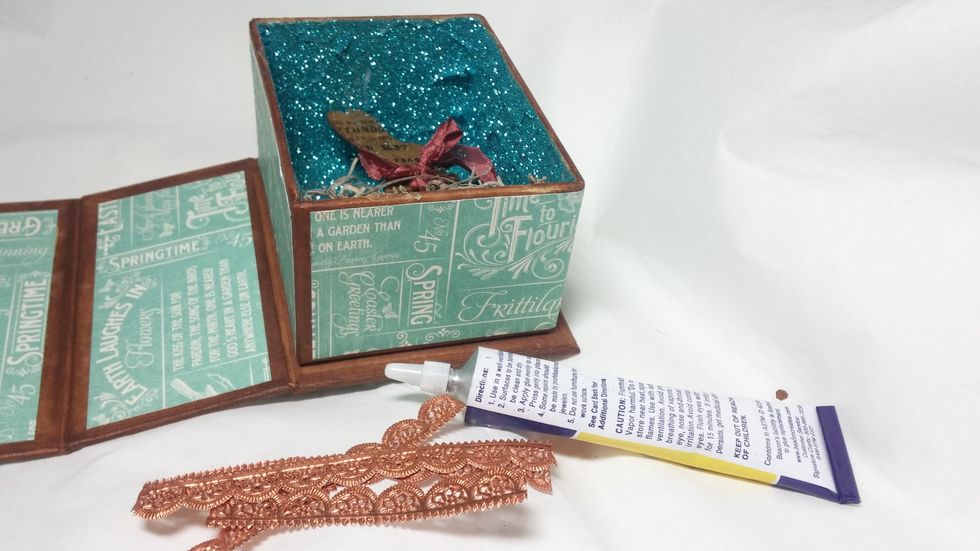
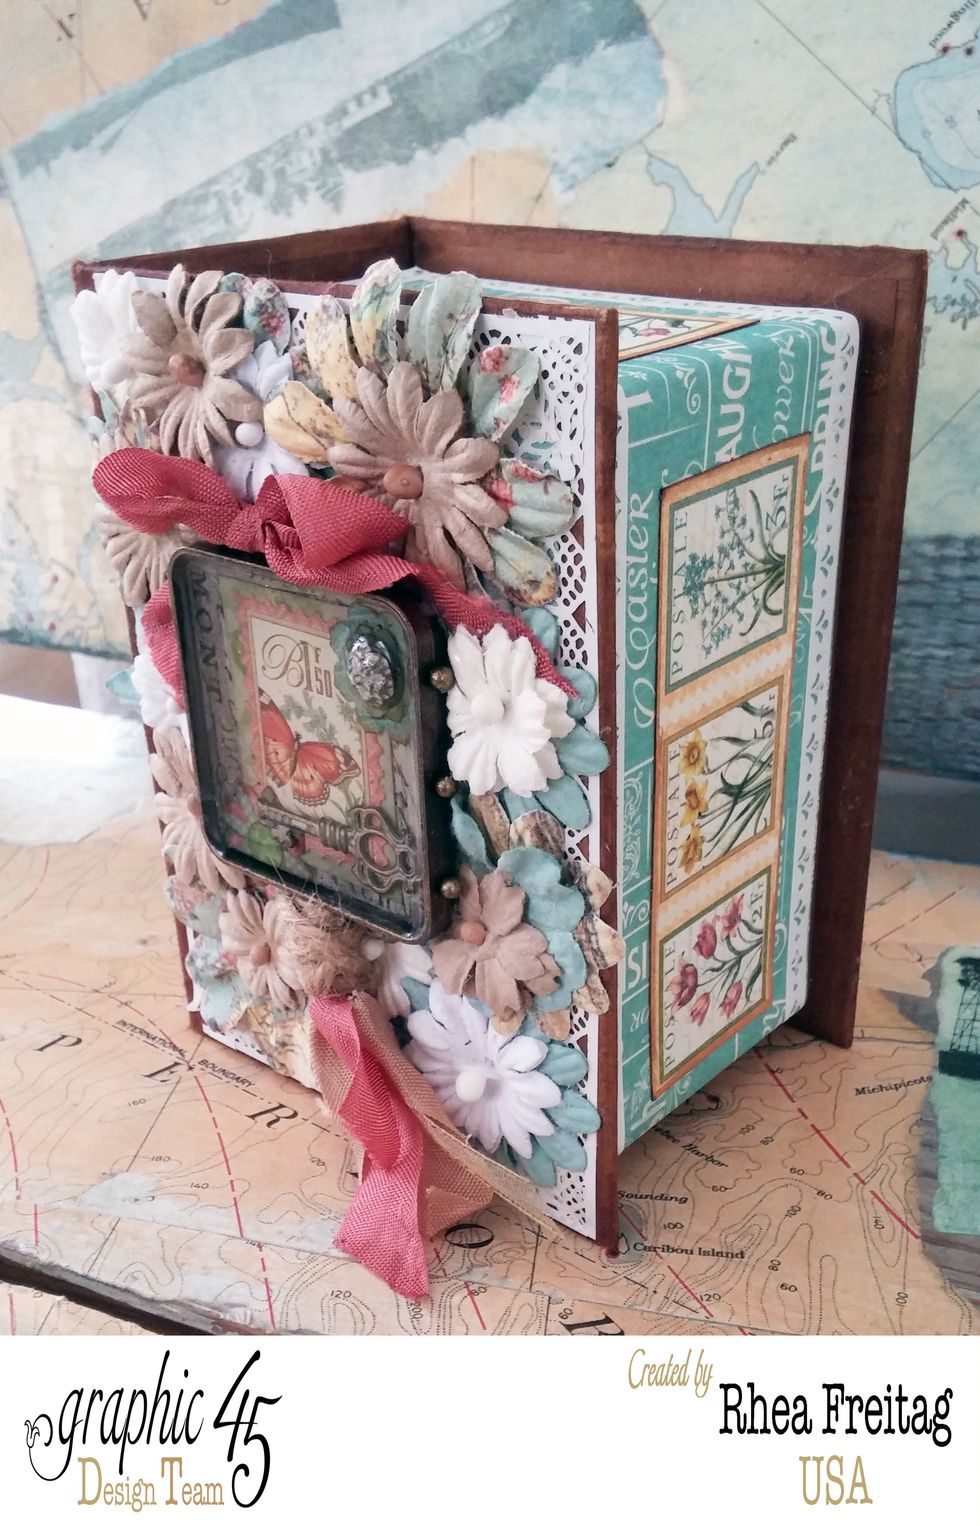
I went back to the outside of the box while the inside was drying. Layers of lacey edge stickers were added all over the box.
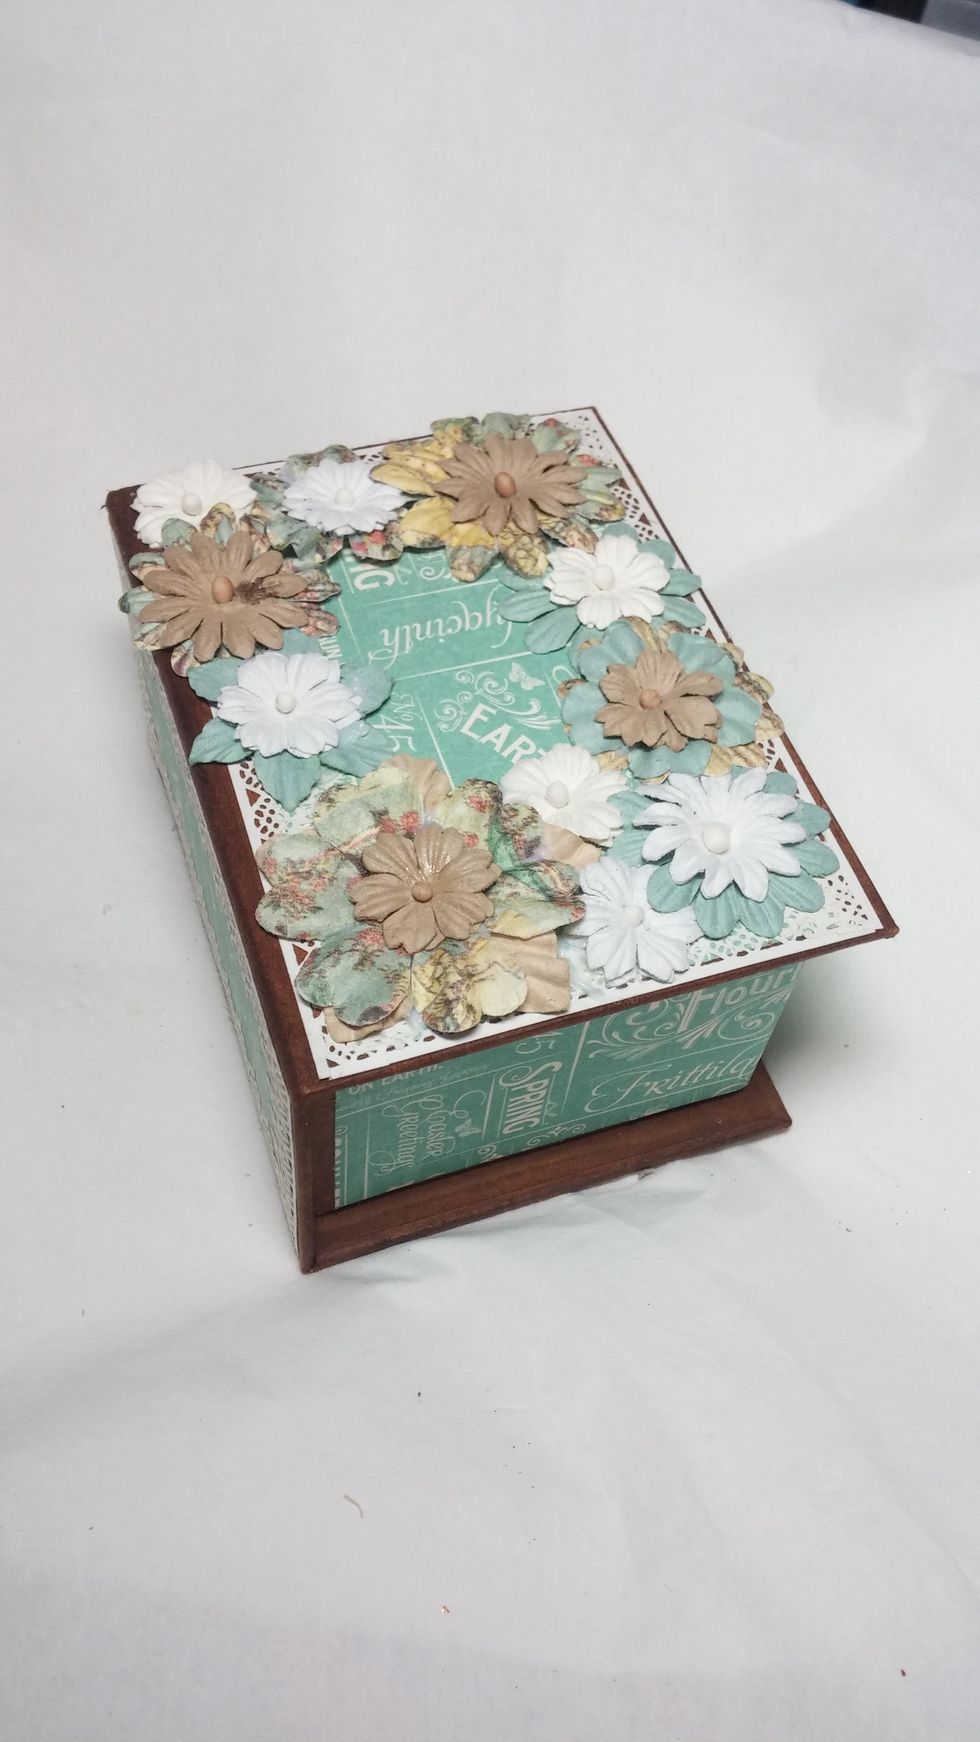
Then I started to experiment with my box top elements. I always like to audition things to see what it will look like.
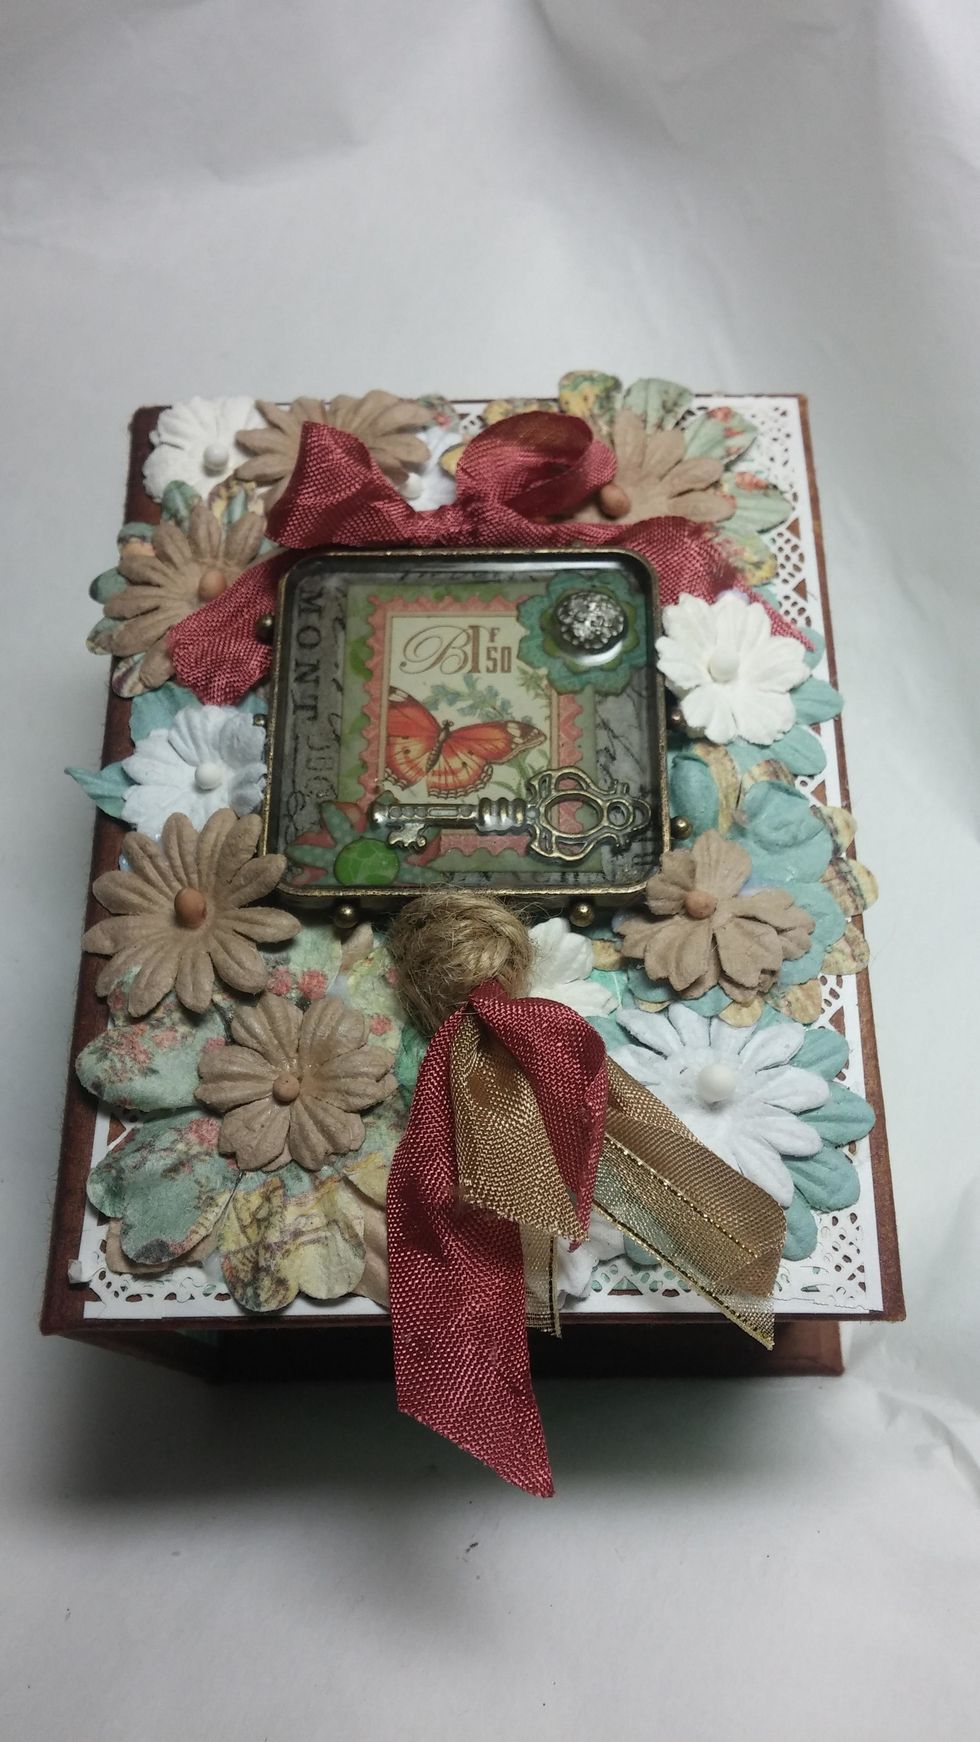
An old bezel I had made in another tutorial for Graphic 45 was the perfect fit for a focal on my box. This was made with the lovely Botanical Tea stickers, Ice Resin and some Graphic 45 Staples.
Now enjoy your beautiful box.