The Conversation (0)
Sign Up
I first did this method with a vintage pattern. They were not drawn to modern day sizes. With a bit of maths, I worked out my measurements and used my compass to help follow the sewing lines.
Everybody is a different size and although patterns have measurements on the pack, you may not fit it exactly. I like to alter patterns before I make my toile and garment.
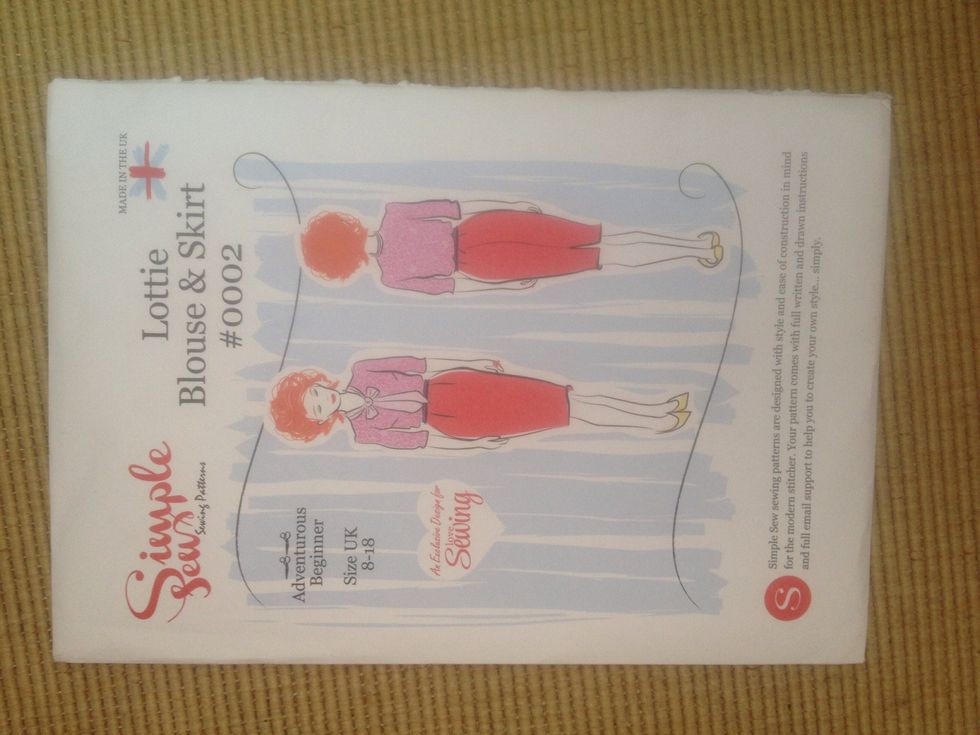
I got this pattern free with a magazine. It's very simple to read and looks very easy to make.
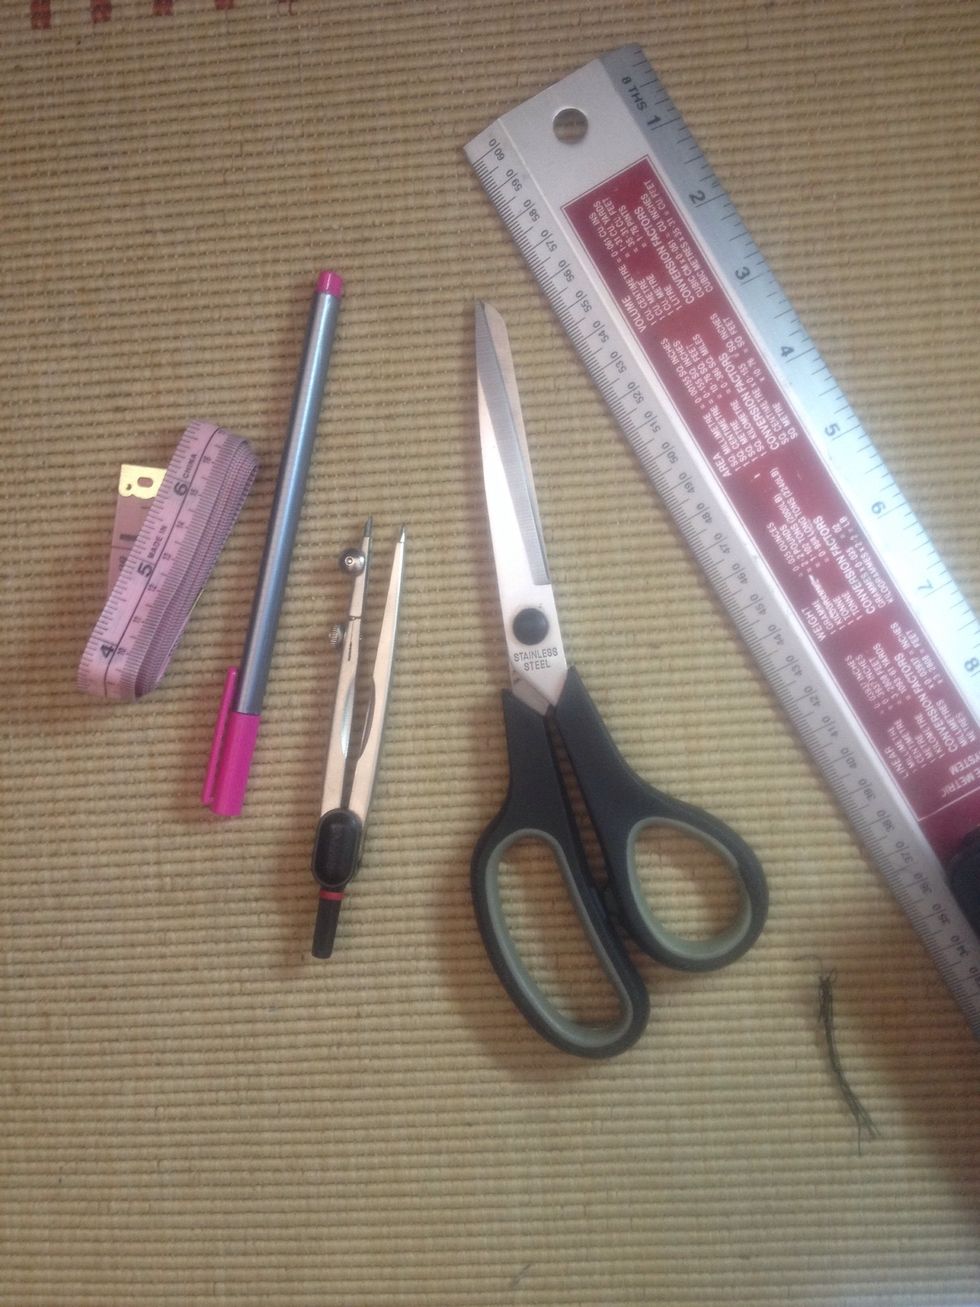
These are my supplies. I don't use the same scissors for fabric and paper as the blades will get blunt and not cut fabric cleanly.
You can use the size closest to your measurements to make adjustments from, both larger and smaller.
I'm going to do both patterns for the blouse and skirt at the same time as they are split over all the sheets.
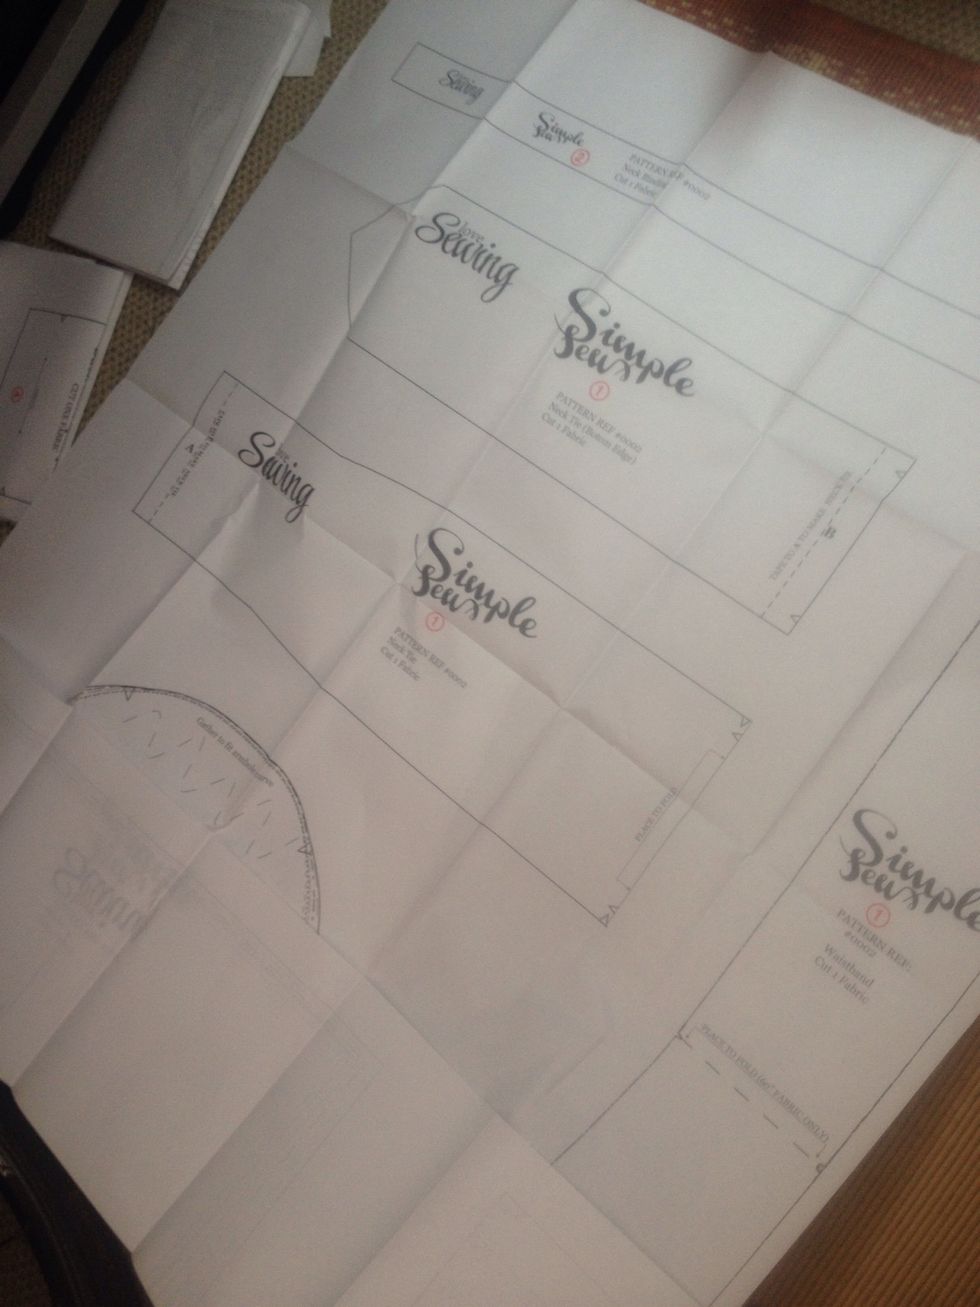
Lay out your pattern on a large flat surface. I prefer doing this bit on the floor as I'm quite a messy person!
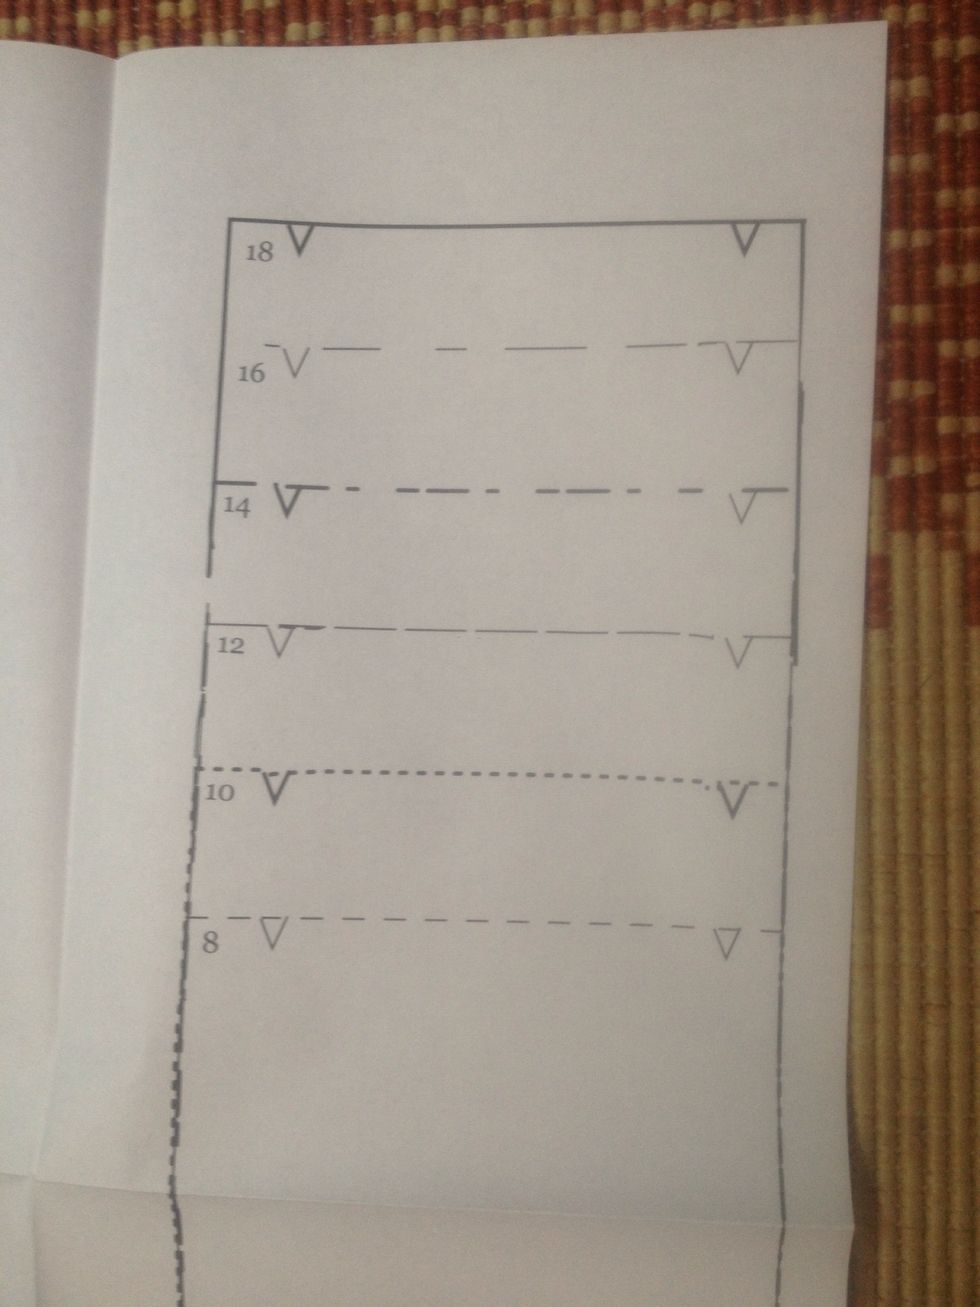
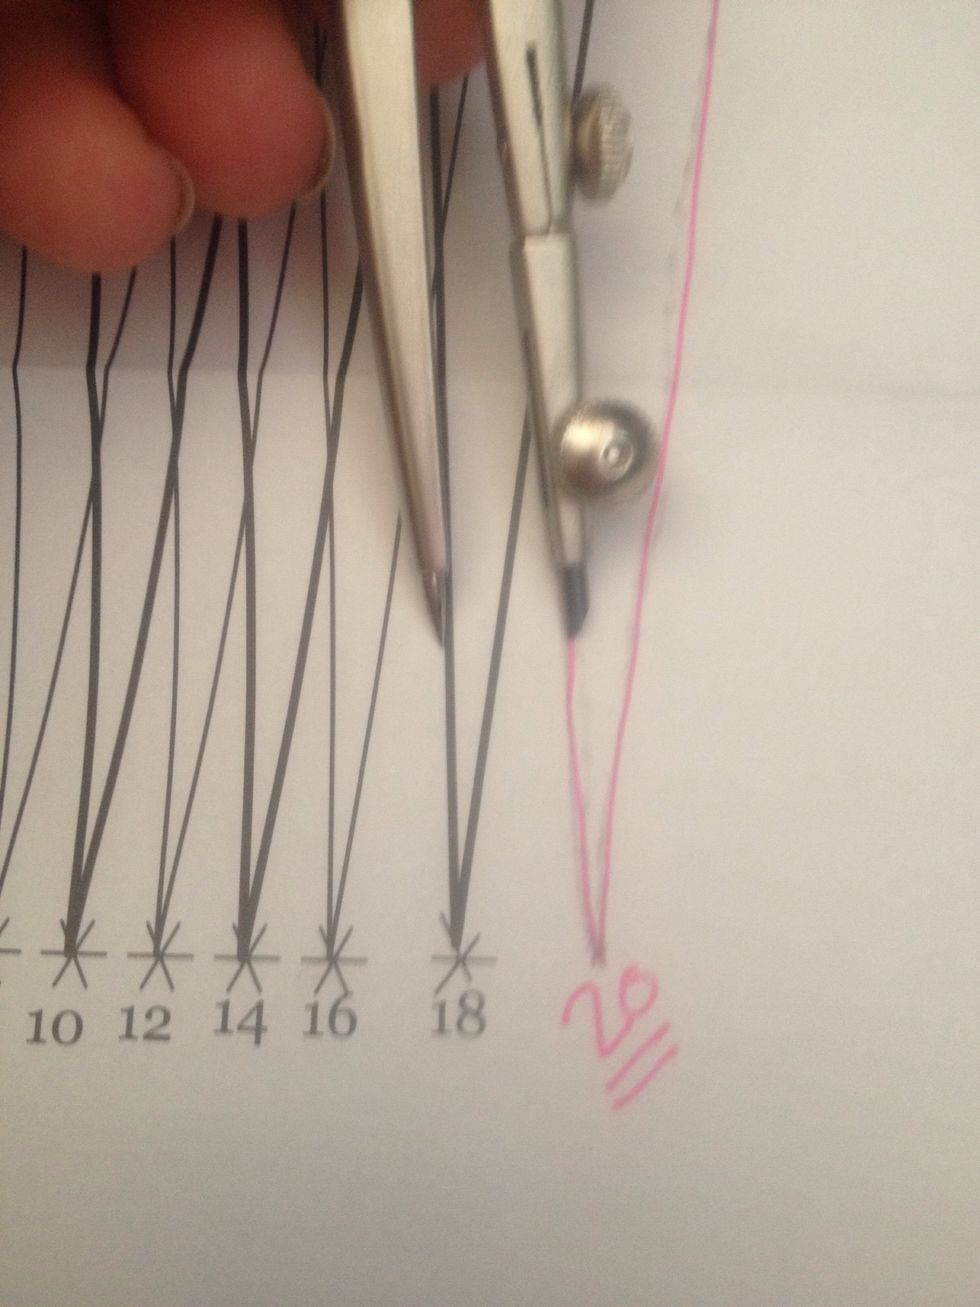
This is the waist band for the skirt. I'm going to enlarge this to a size 20 for this example.
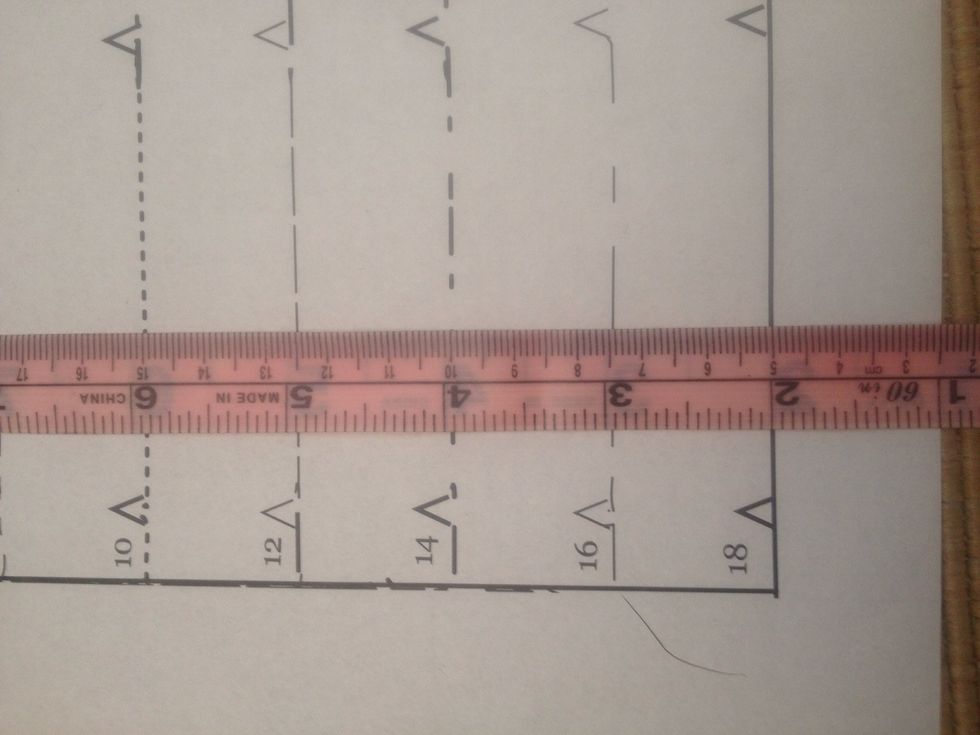
Each size is nearly 1inch larger on each end for this piece. I'm going to follow that as you can always cut a bit off if it's too long :)
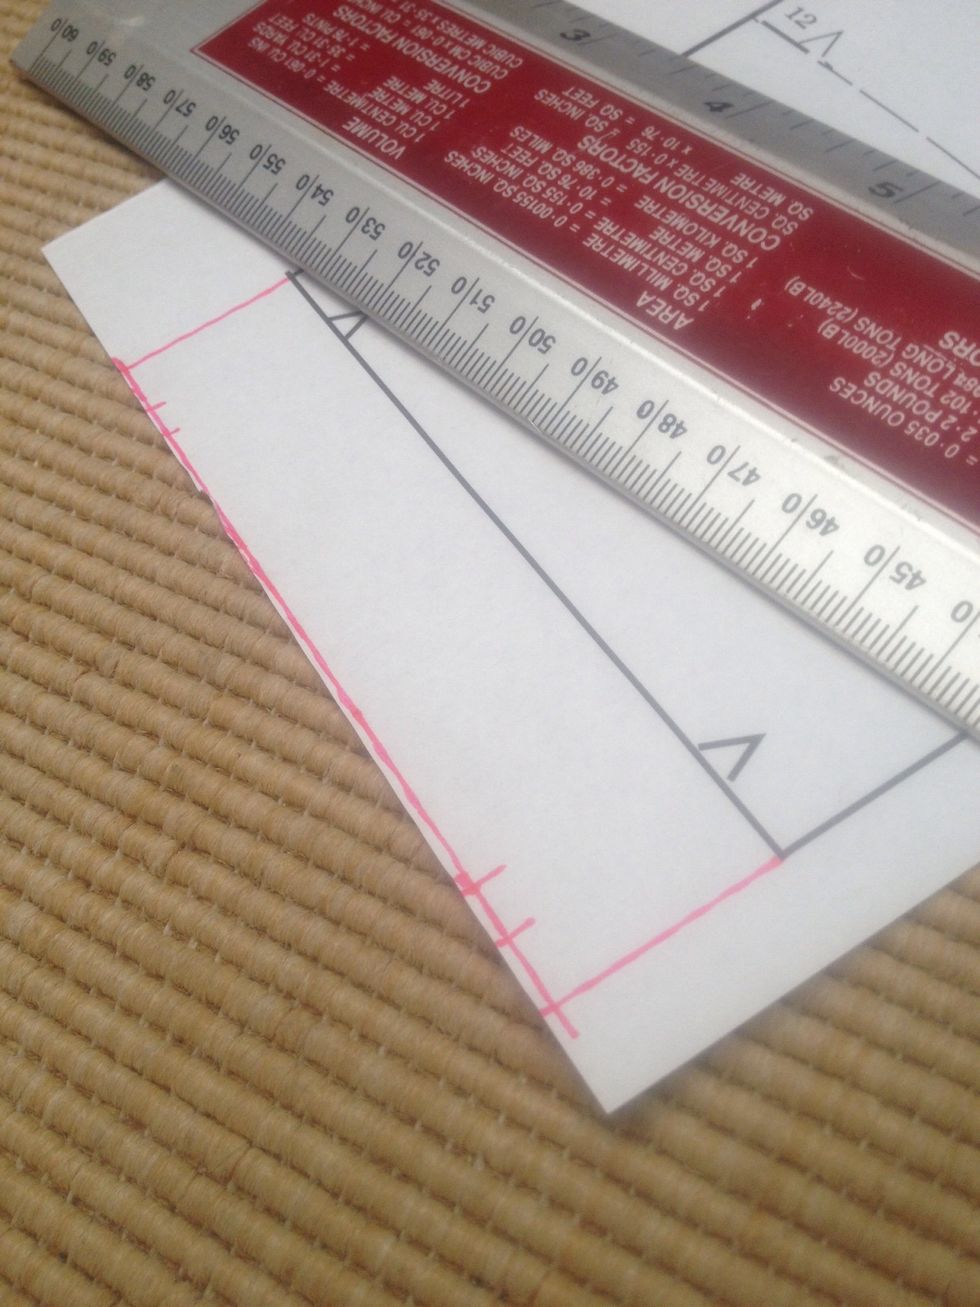
Using a ruler, measure down your desired length and join up both sides. Follow the line for the darts placement.
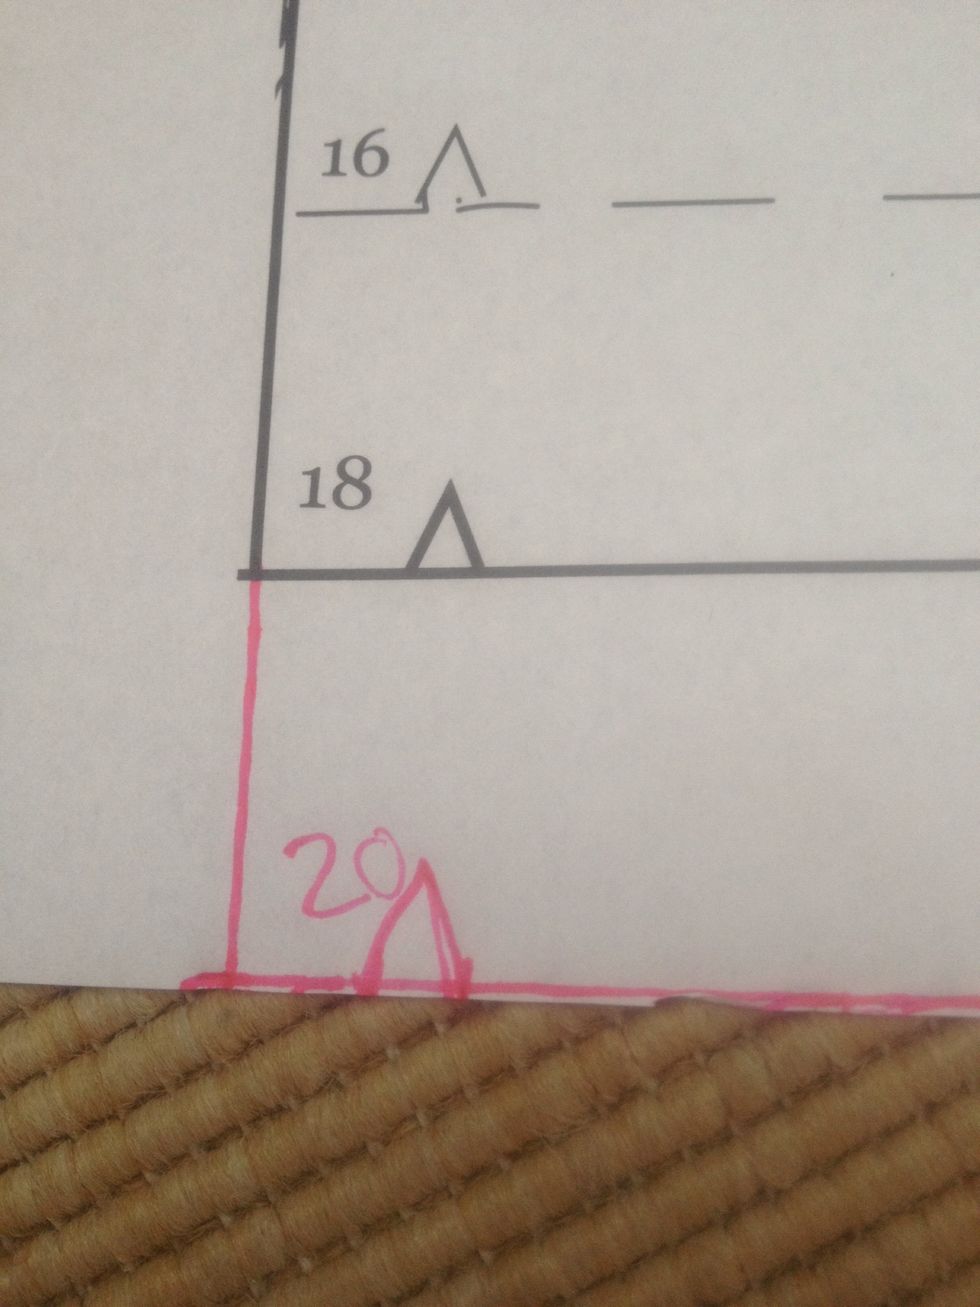
Mark your size. You can add more sizes on by adding extra paper to your pattern
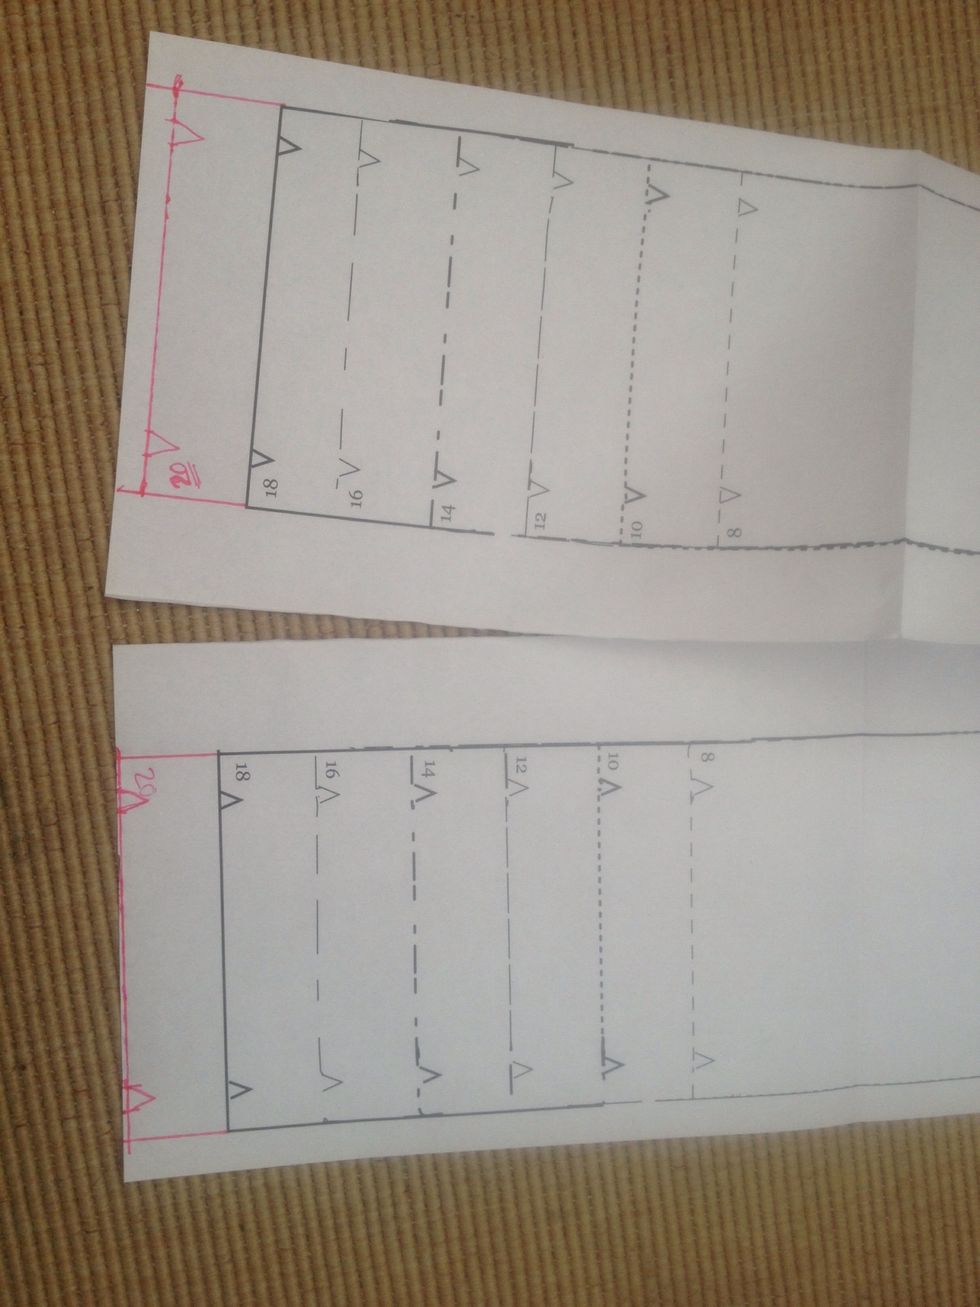
Easy waist band finished!
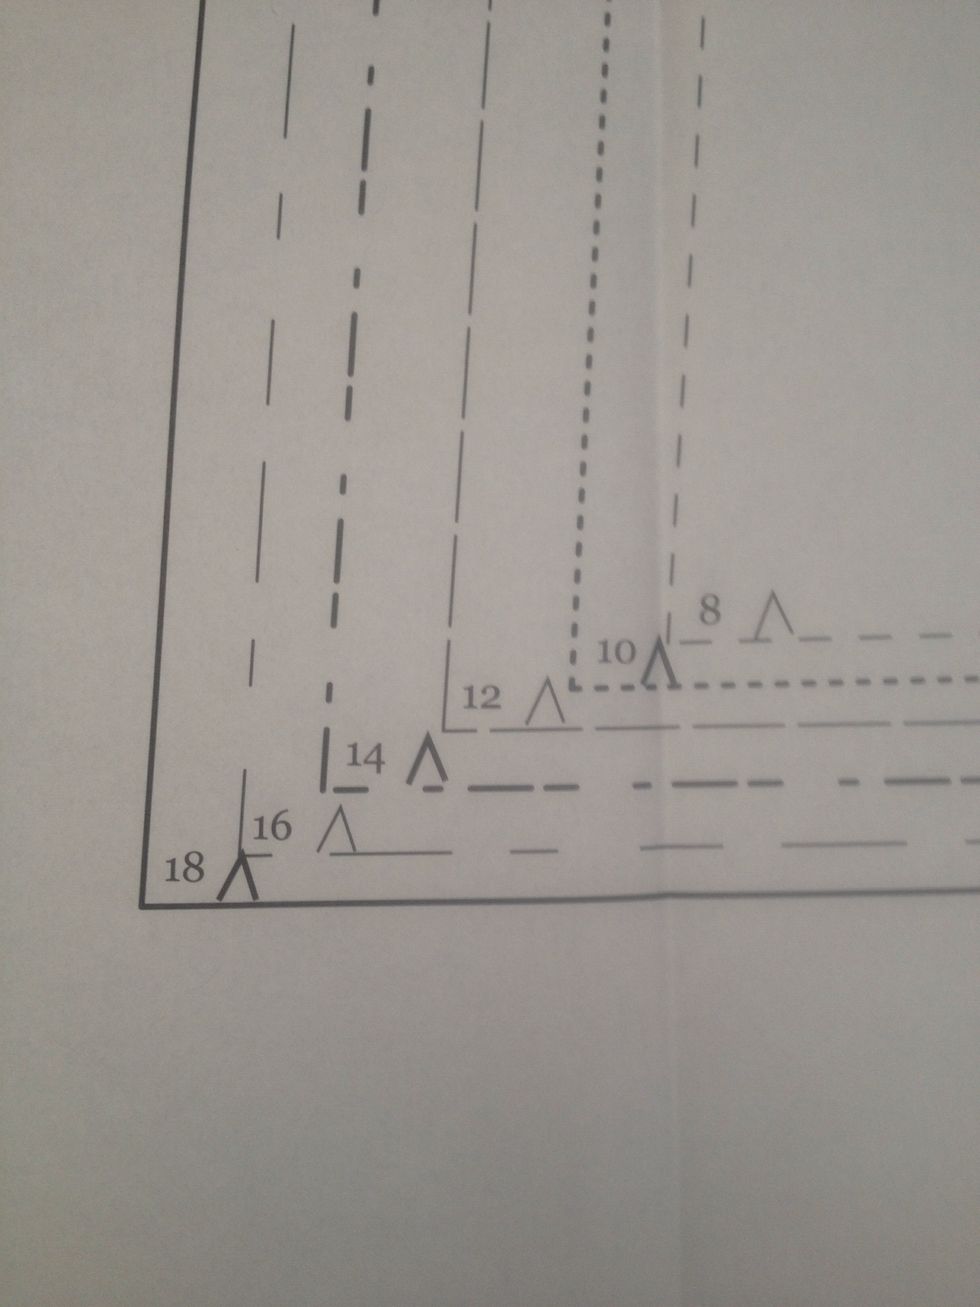
This is the bottom corner of the blouse back. See how the bottom hem is in different length increments to the side seam.
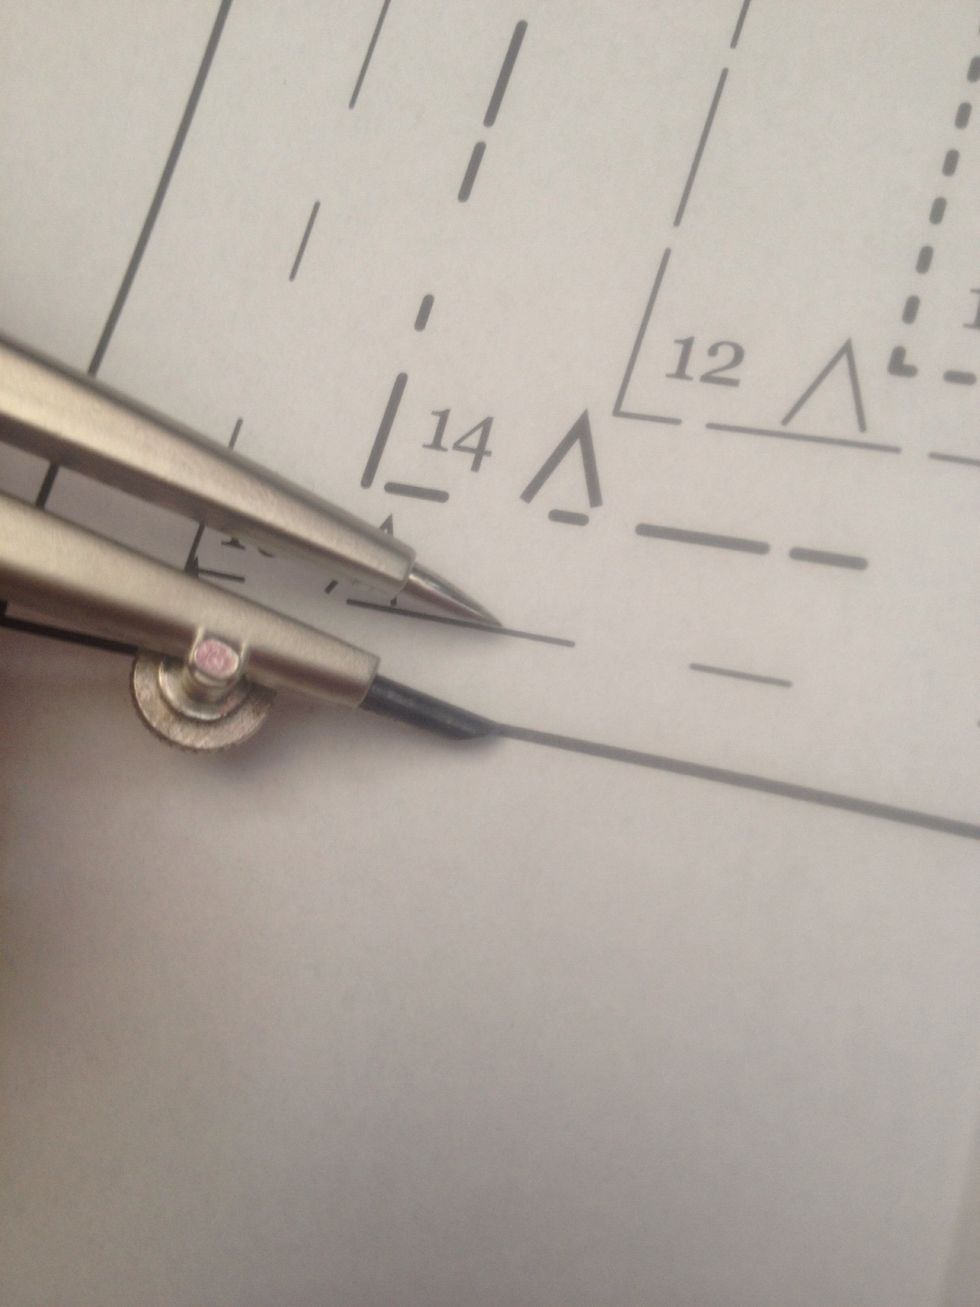
Taking your measurements into account, use the compass as a guide to follow along the pattern
This is Phillipa! She likes to help me sew and sleeps in a bag of satin fabric under my desk while I'm working :)
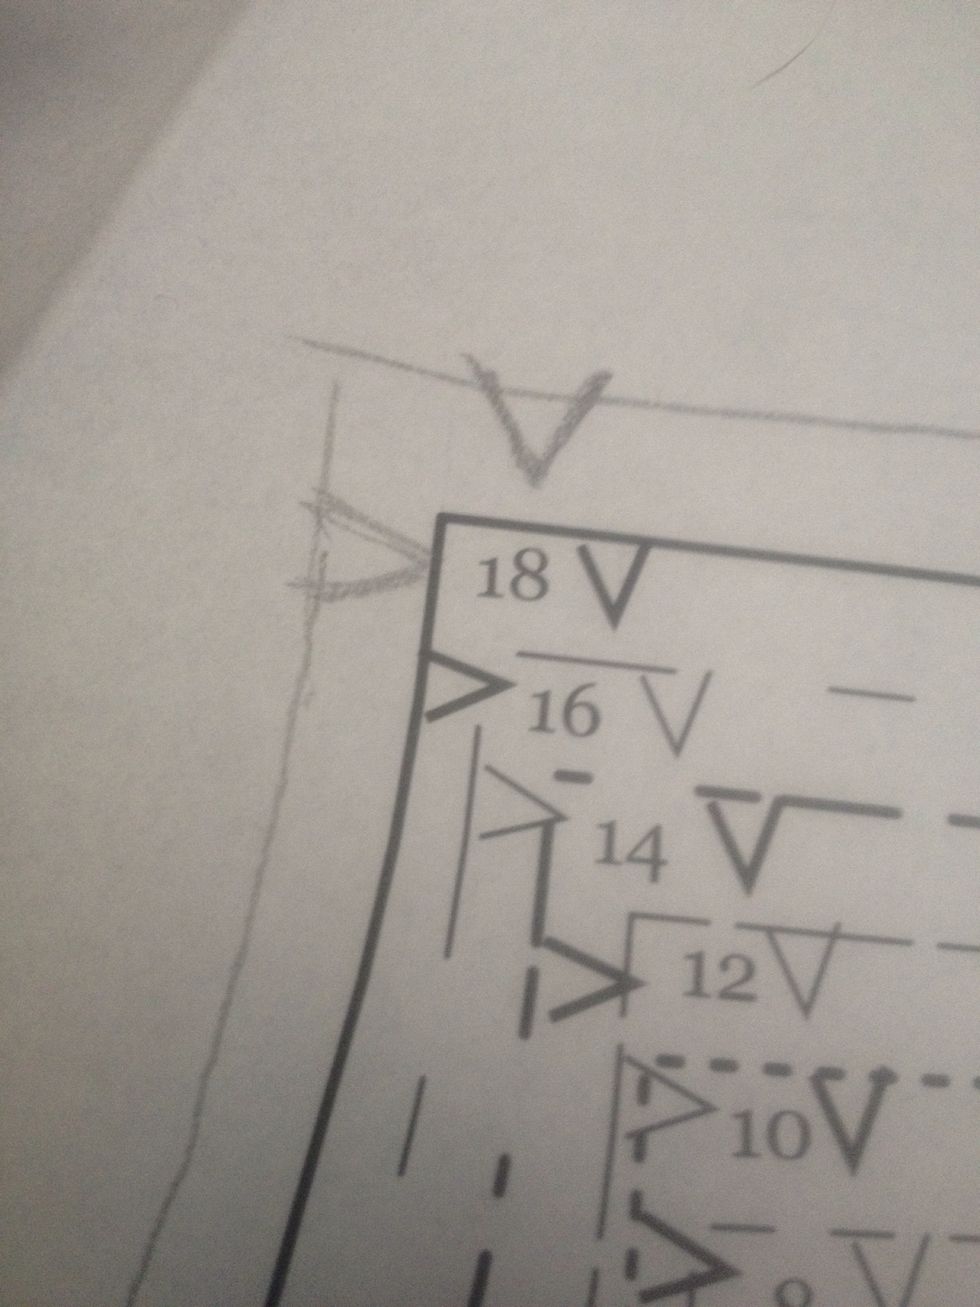
Add notches to your pattern
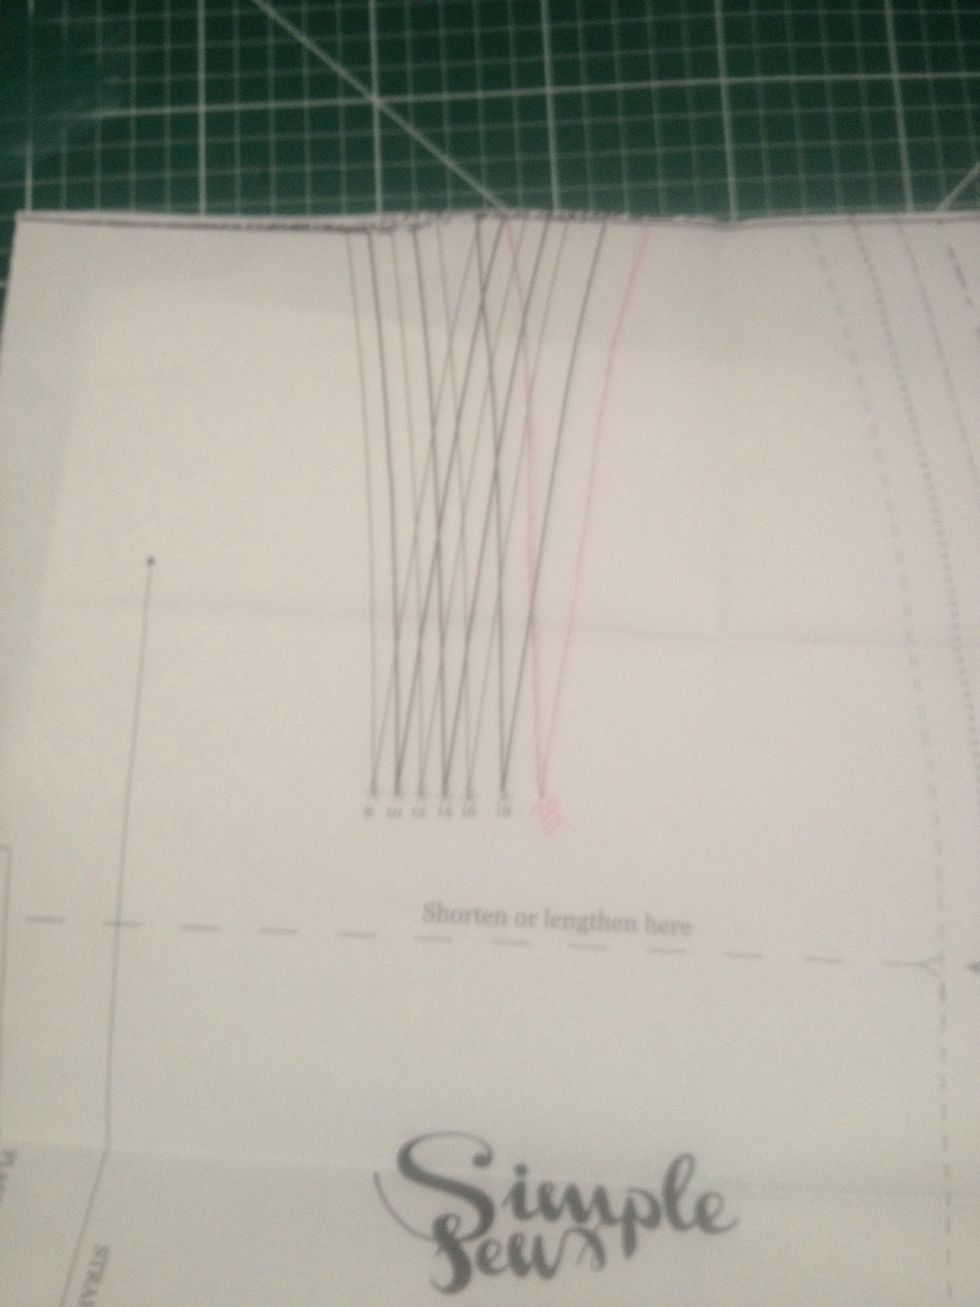
This is the front dart or the skirt. All the lines are parallel so again use a compass to trace along.
Like this
Now my pattern is all all marked up and ready to cut out! I prefer to cut the pattern out roughly (not all the way upto the line) so I can hold it against my body form to check approx fit
By no means is this the professional way to do pattern cutting, it's just what works for me. I find it's better to have more fabric to play with when fitting than not enough :)
I'll add a finished picture when I make them both!